


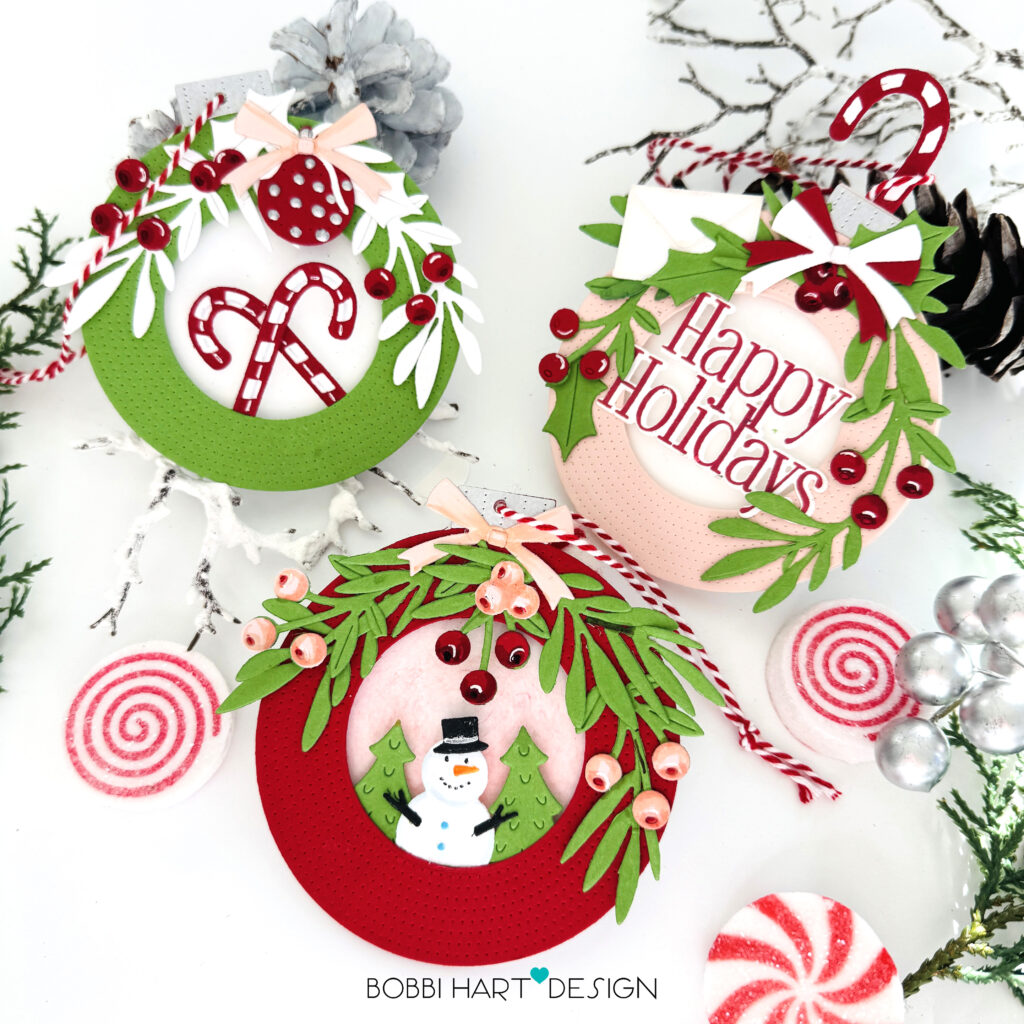
Hi friends. It’s Bobbi here with some very merry and detailed handmade gift tags. I like to say that they are very “ORNAMENT-all.” I love to put a beautiful gift tag on my presents. Sometimes, I skip the bow and just add the tag so it does not get lost in the ribbons. Today, I’m sharing three Christmas gift tags using the following Papertrey Ink products:
This is Big Sentiments: Happy Holidays stamp set and coordinating die set
These tags are made from all Papertrey Ink cardstock with the white back base made from Stamper’s Select White cardstock. True Black Ink was used for all the black ink stamping on the back, too. I am using the following cardstock colors:
Stamper’s Select White cardstock
Here are the step-by-step details for creating this card.
Step-by-Step Instructions
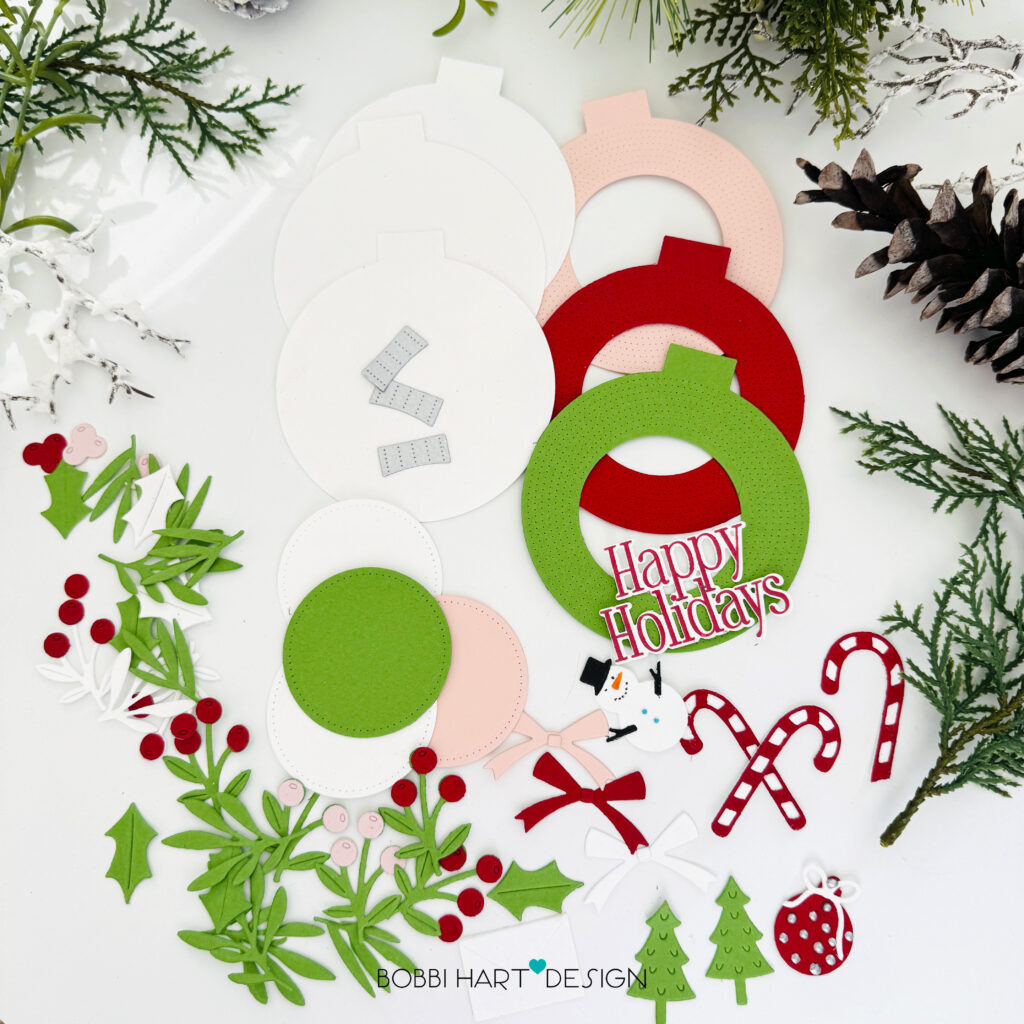
STEP ONE: Die cut the following elements and create the sentiment.
Using the Timeless Ornament Die, cut 3 white solid backs for the ornaments.
Using the Timeless Ornament Die, cut 3 ornaments with the detailed circular line die. Cut one each from New Leaf, Pure Poppy and Sweet Blush cardstock. Cut a hole in the middle of each one using the smaller stitch circle die from the set.
Using the Timeless Ornament Die, cut 3 silver metallic cardstock ornament tops.
Using the Build-A-Stocking Die, die cut lots of greenery (around 8 per tag), berries, 2 mini Christmas trees, an ornament, 4 bows, 1 snowman and its accessories, 3 candy canes (2 small, 1 large) and 1 white envelope.
Using the This is Big Sentiments: Happy Holidays stamps and coordinating dies, stamp and die cut the “Happy Holidays” sentiment using Pure Poppy Dye Ink. Add an additional white backing for the sentiment to that it is sturdy when suspended over the inner opening of the ornament.
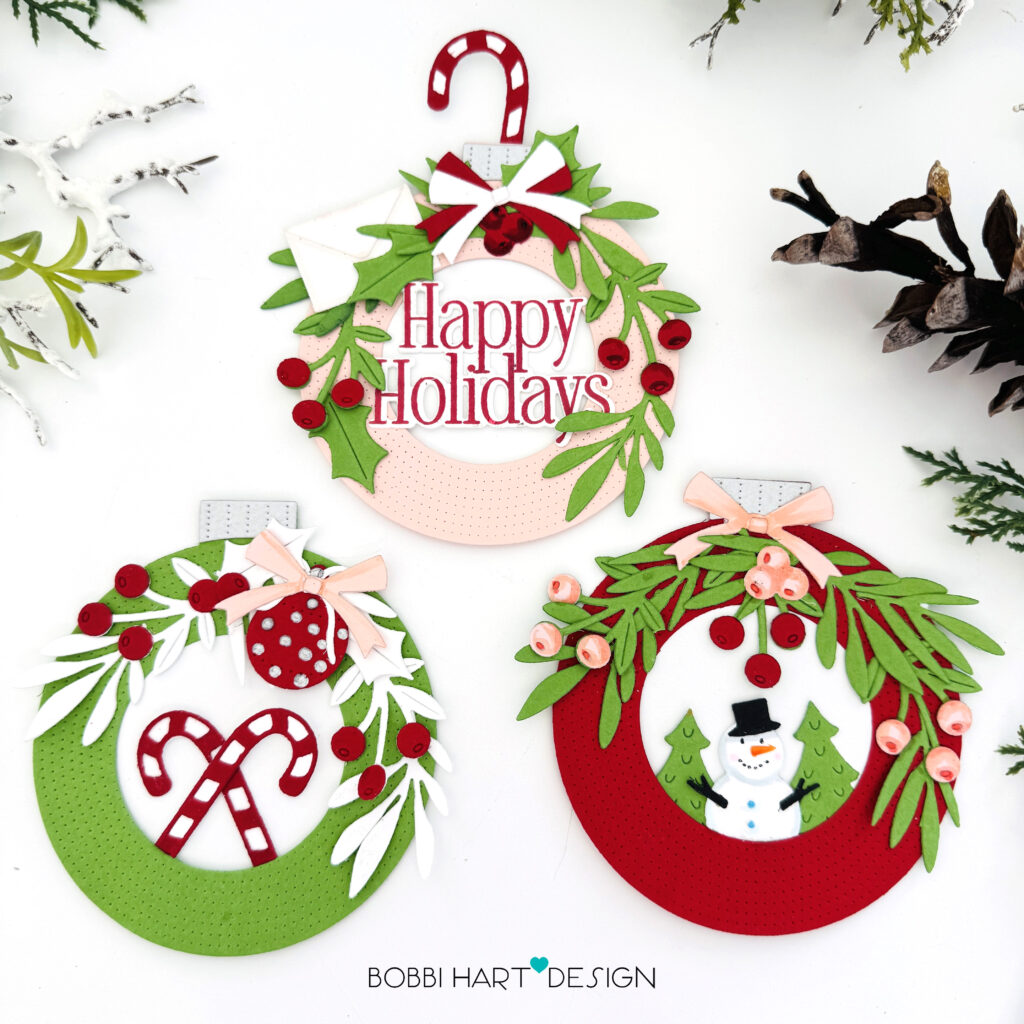
STEP TWO: Assemble and layer the die cuts on the ornaments. Anything in the inside circle should be glued to the back of the ornament while the rest of the items are glued to the front.
Get creative by adding more detail to the die cuts. Add tiny metallic drops of silver using Pearl Pen to the Pure Poppy red ornament. Use the larger candy cane as the “hanger” on the pink ornament. Use a Gelly Roll White Ink Pen to add highlights to the candy canes and berries. Use Copics to add shadows and highlights on the bows, snowman and berries for more interest.
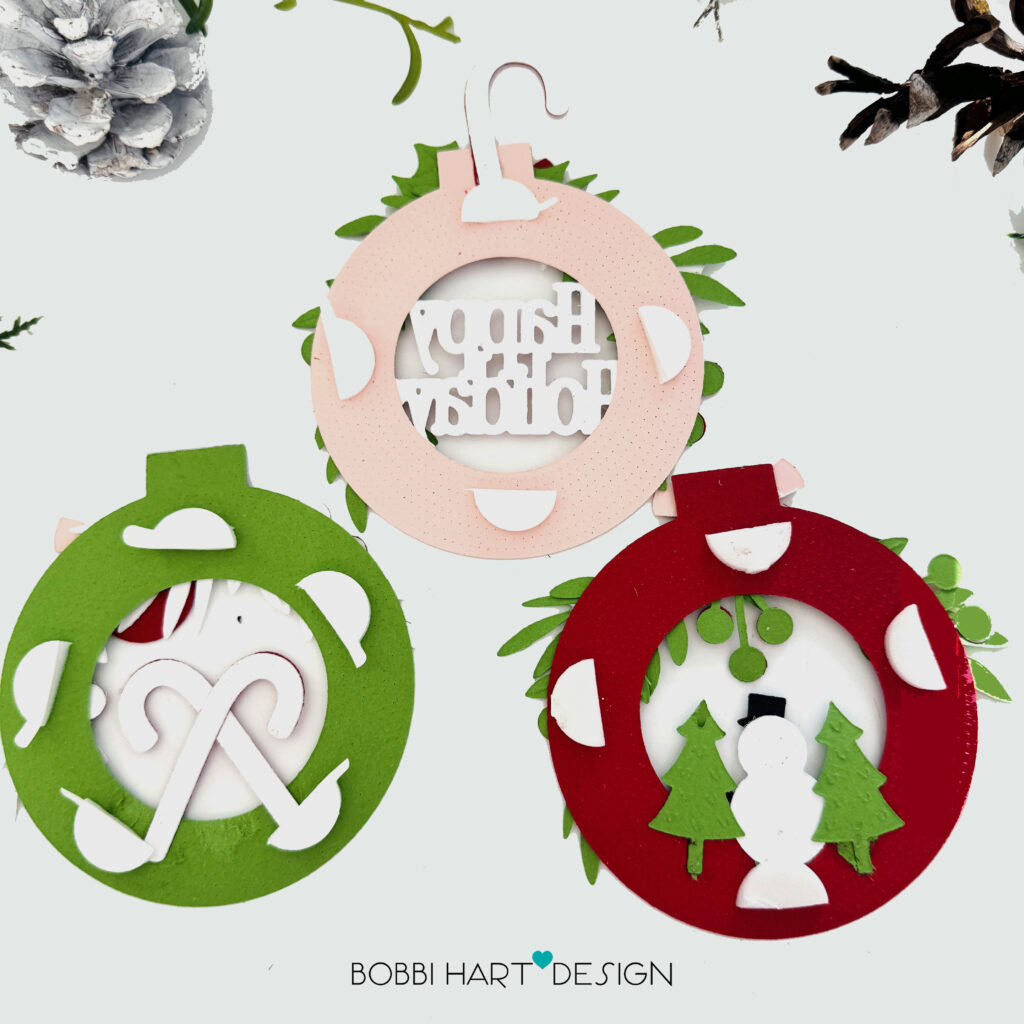
STEP THREE: Attach foam tabs to the back of the ornaments around the circle (at least 4 on each). Do not add foam tabs on the protruding top of the ornament hanger. Reserve this for the strings and punched hole.
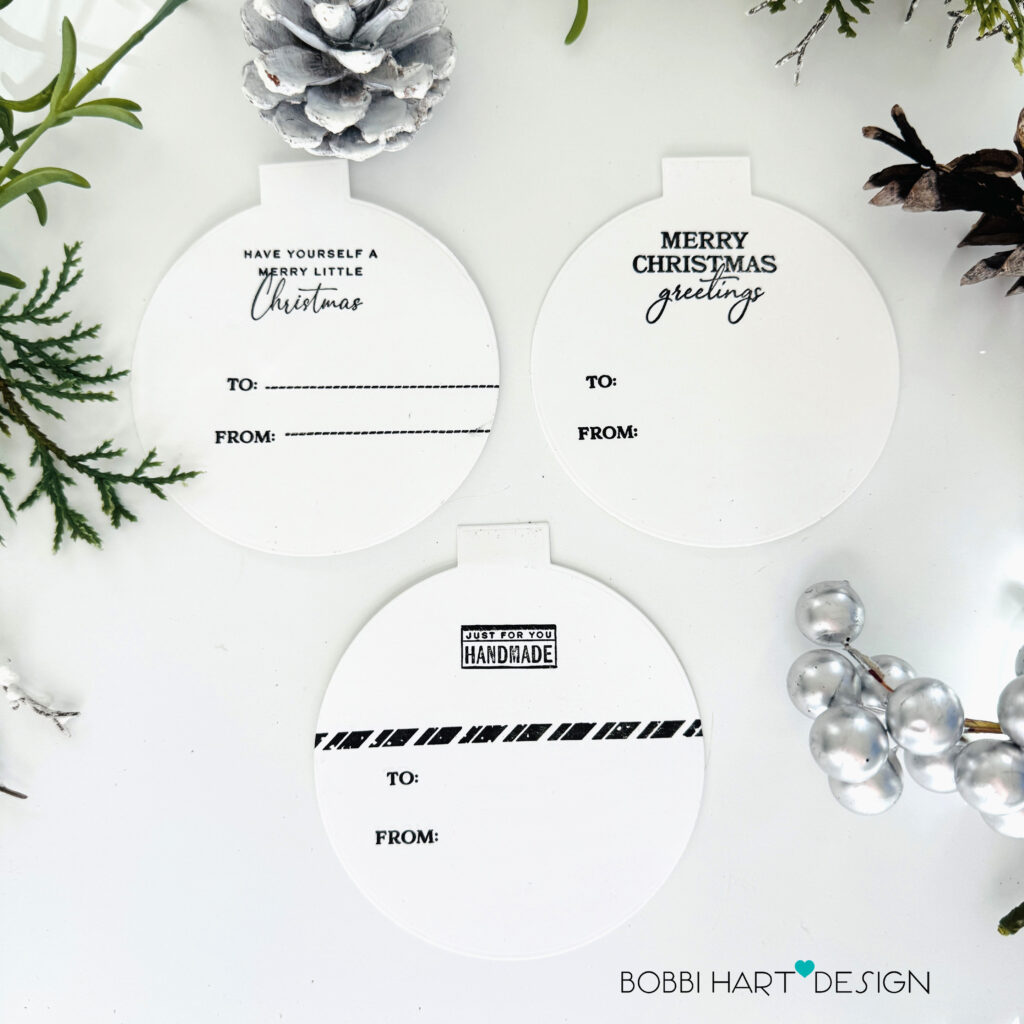
STEP FOUR: Using the North Pole Mail stamp set, stamp the fronts of the white backs of the ornaments. This is a great place to add a special message. Since the ornament is symmetrical, put the back side to the inside of the ornament “sandwich.”
STEP FIVE: Use the die cut circles from the centers of the ornaments to create a colored back to the ornament centers. For example, the red ornament has a pink backdrop for the snowman and trees. Blend ink on the centers for extra texture and interest to the inside scene. Even some snow would be fun!
Position and attach the ornament backs to the fronts using the foam tabs. Using a hole punch, punch holes at the top and attach a string. These ornaments have a red/white striped baker’s twine for their strings.
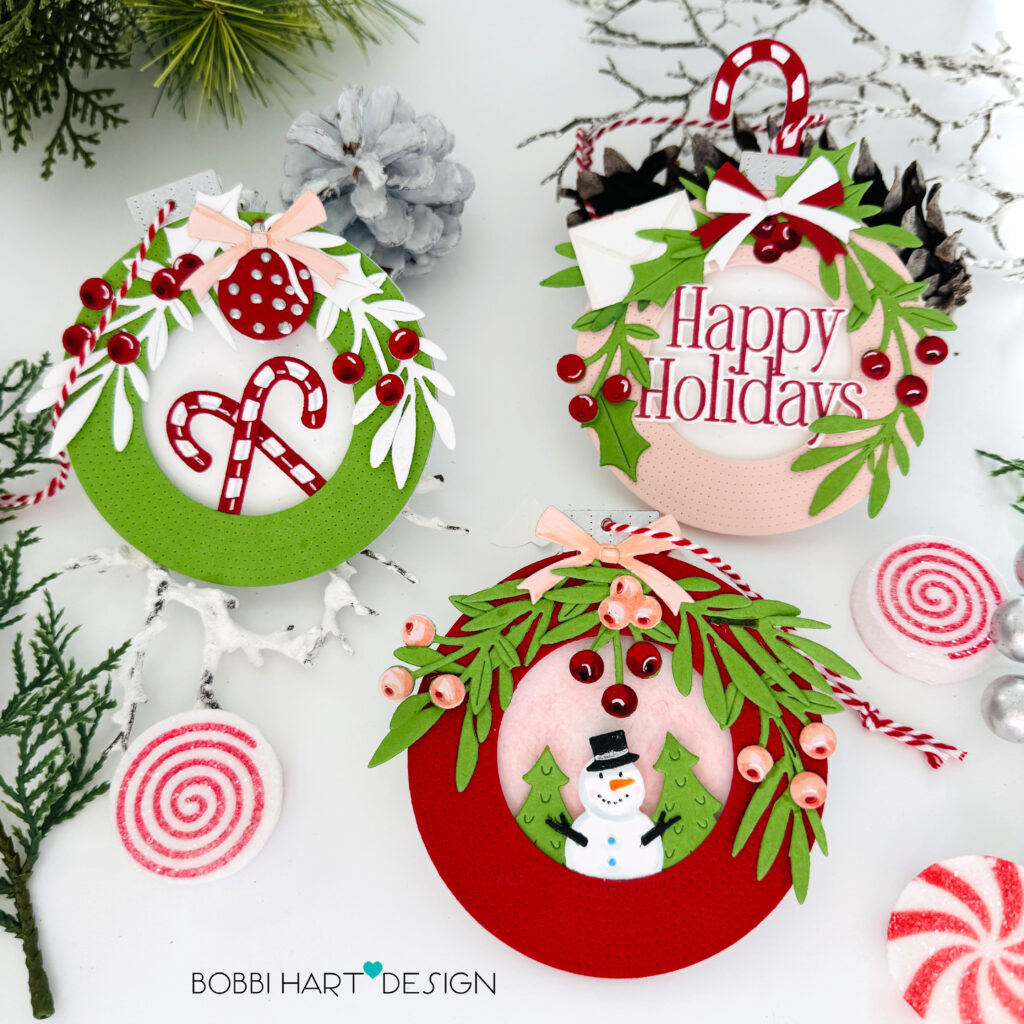
Here’s a close up of each tag…
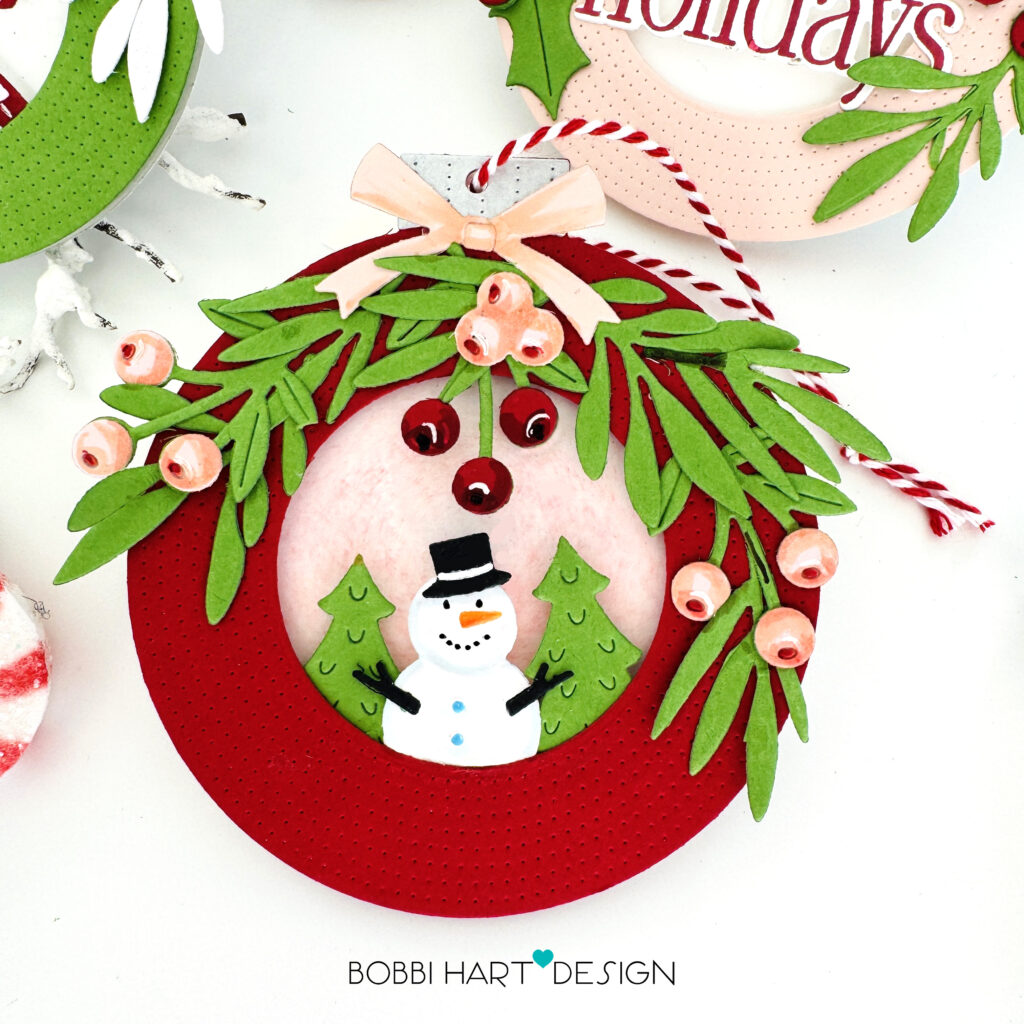
The “Red Snowman Tag” is fun and festive for the child or “kid at heart” recipient.

The “Pink Happy Holidays Tag” is just right for a more elegant and sophisticated gift and/or recipient.
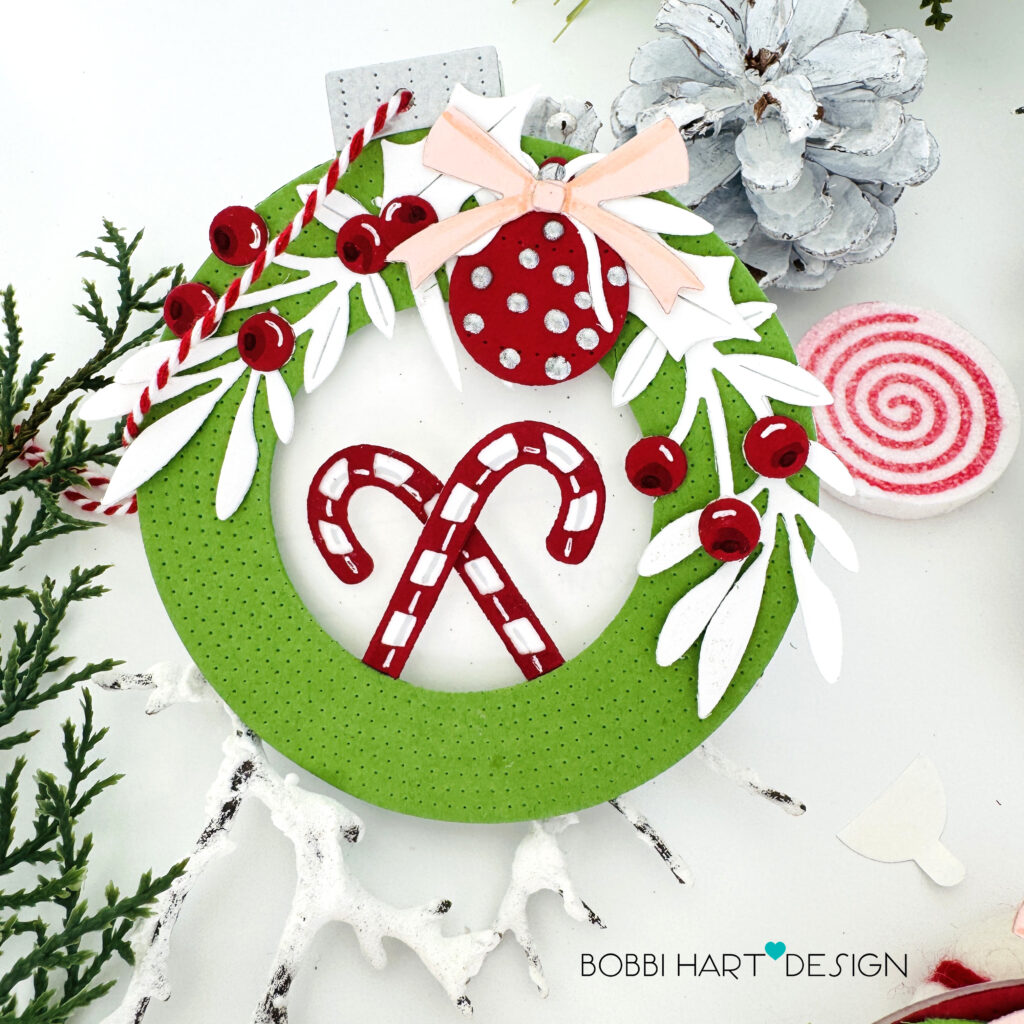
The “Green Candy Cane Tag” is as sweet as can be in traditional colors for the sweetest one on your list!
You can shop the entire collection here at Papertrey Ink! If you decide to place an order, please use the links in this post so that Papertrey Ink team knows what inspired you. I appreciate it very much. It helps me to continue to bring more ideas to you!
Thanks for stopping by today. If you want to see more ideas and inspiration from me, subscribe to my blog, BobbiHartDesign.com. I’ll send you updates on new posts! You can also find me on Instagram as @BobbiHartDesign and on Facebook as BobbiHartDesign. Bobbi Hartmann Lemanski, Bobbi Hart♥ Design, Adding h♥art into every design
Laura Corkill says
Thank you for sharing this step by step. These are absolutely adorable!
Jacqueline says
Going to add this to my list!!!