


I love making Christmas cards. Starting early really helps when it comes to the December rush. I’m always thankful early December that the cards are ready to send! My vintage-inspired project inspiration features several new sets from the October release including the following:
Timeless Ornament Die and coordinating mini stamp set
Cover Plate: Stitched Snowflakes Cover die
Vintage Flair stamps and coordinating dies
This card measures 5″ X 7″ and fits inside an A7 envelope. Here’s some step-by-step directions.
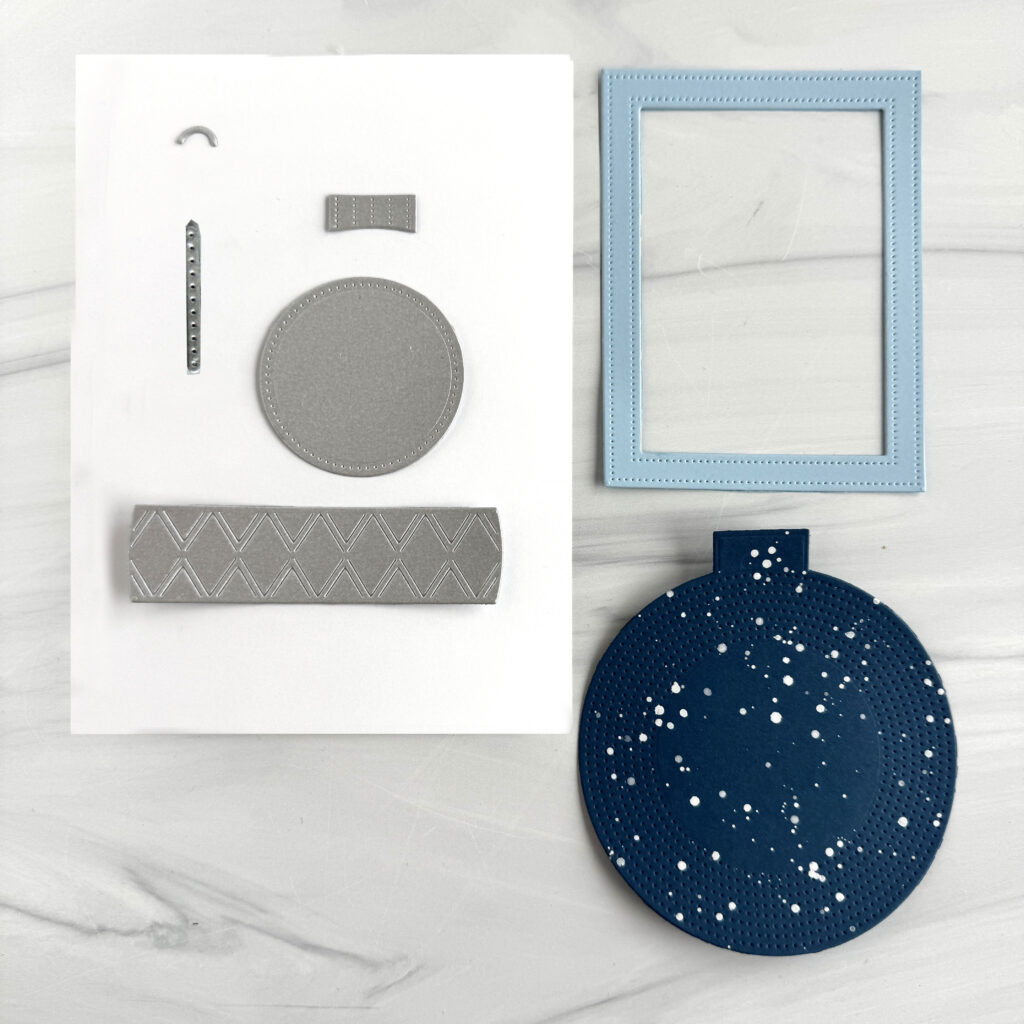
Step 1: Die cut the 5″ X 7″ card front panel from Stamper’s Select White cardstock. Using the Timeless Ornament Die, die cut the ornament from Enchanted Evening cardstock. Splatter the ornament with white paint and set aside to dry. Die cut the ornament accent pieces from silver metallic cardstock. Die cut the frame using the In Frames: Rectangles Dies from Spring Rain cardstock.
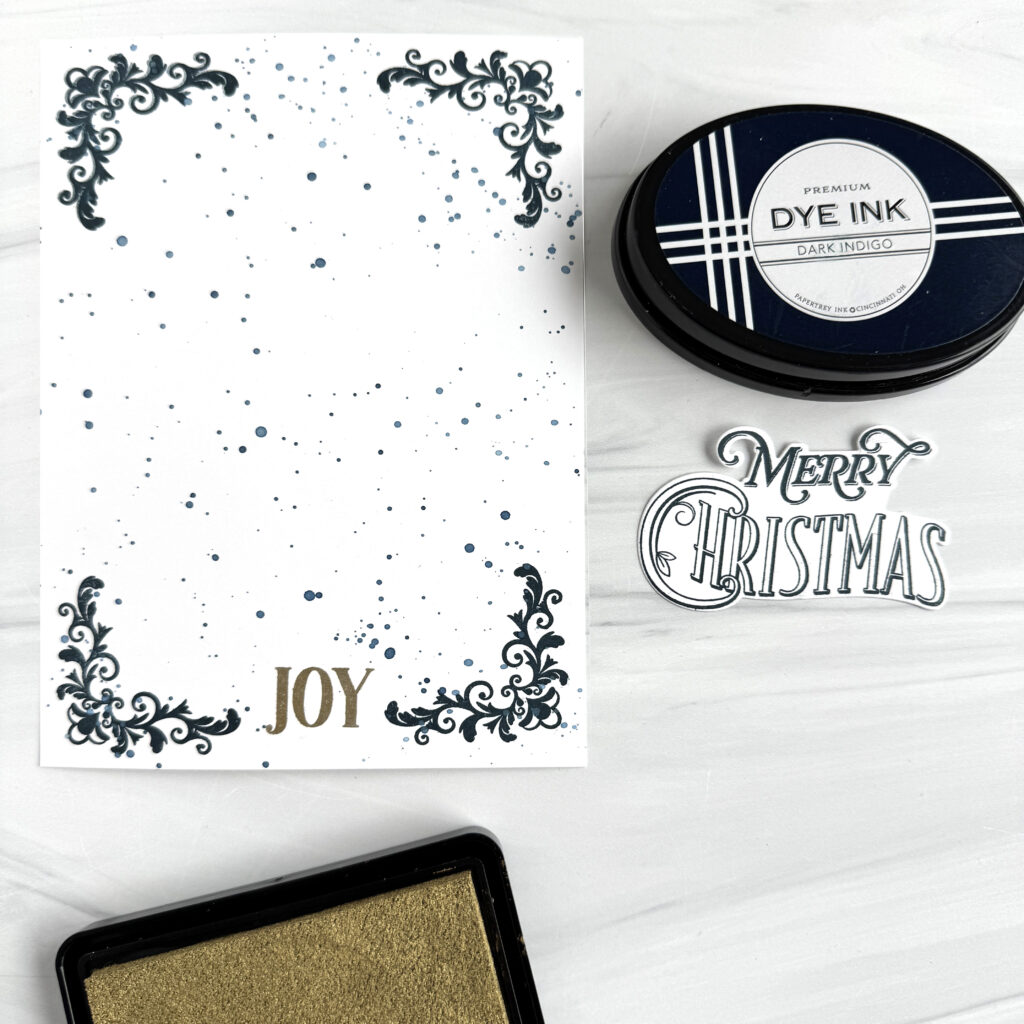
Step 2: Stamp the card front panel with the Merry Motifs stamp set corner stamp using Enchanted Evening ink. Splatter blue watercolor ink over the entire front. Set aside to dry. Stamp “JOY” at the bottom center using gold metallic ink. Stamp “Merry Christmas” using the Vintage Flair stamps and coordinating dies in Enchanted Evening ink on white cardstock.
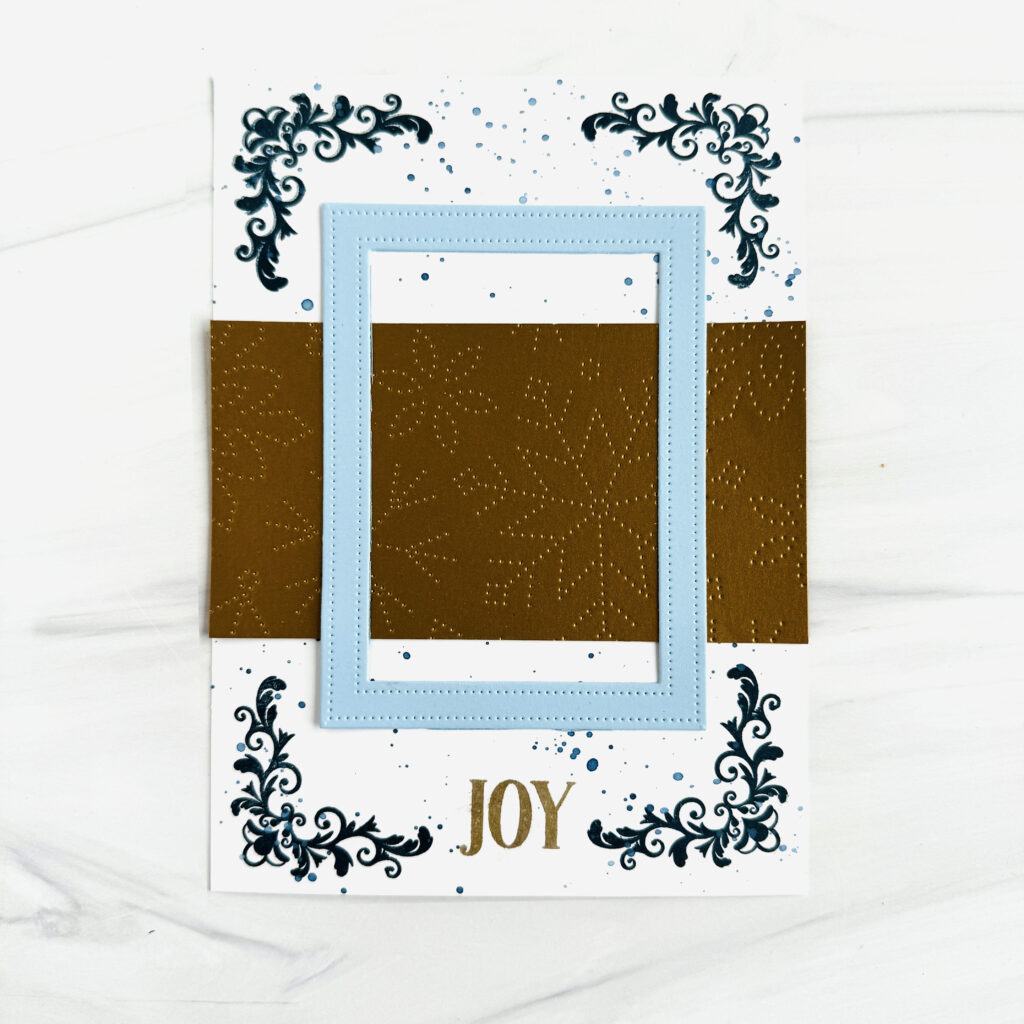
Step 3: Die cut a 5″ wide X 3″ tall metallic gold band using the Cover Plate: Stitched Snowflakes Cover die. Attach the metallic band to the card front panel. Attach the rectangular frame over the band, centering the die cuts.

Step 4: Assemble the ornament. Splatter some blue paint on the “Merry Christmas” sentiment and color in the letters of “Christmas” using a Copic Sketch Y26 or Y28 or other marker. Attach the sentiment over the center of the ornament using a foam tab.

Step 5: Add Pearl Pen in metallic bronze to the frame corners. Add drops of silver metallic to the metallic gold band.

Step 6: To make the card more “vintage” looking, blend a light brown ink around the edges of the card front panel.

You can shop the entire collection here at Papertrey Ink! If you decide to place an order, please use the links in this post so that Papertrey Ink team knows what inspired you. I appreciate it very much. It helps me to continue to bring more ideas to you!
Thanks for stopping by today. If you want to see more ideas and inspiration from me, subscribe to my blog, BobbiHartDesign.com. I’ll send you updates on new posts! You can also find me on Instagram as @BobbiHartDesign and on Facebook as BobbiHartDesign. Bobbi Hartmann Lemanski, Bobbi Hart♥ Design, Adding h♥art into every design
Helen F. says
Beautiful Christmas card, Bobbi! Love the Vintage feel you created here.
Carol Froehlich says
Very beautiful card. Thank you for sharing.