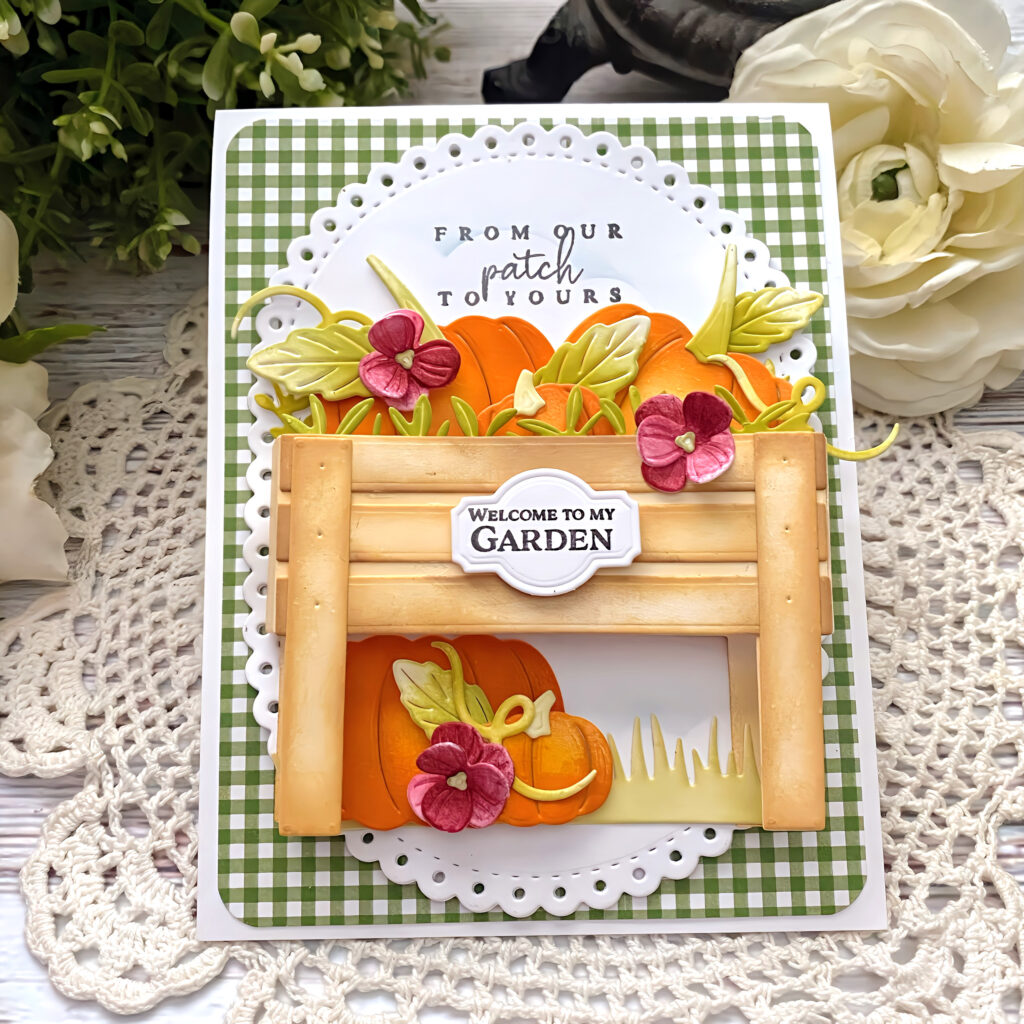
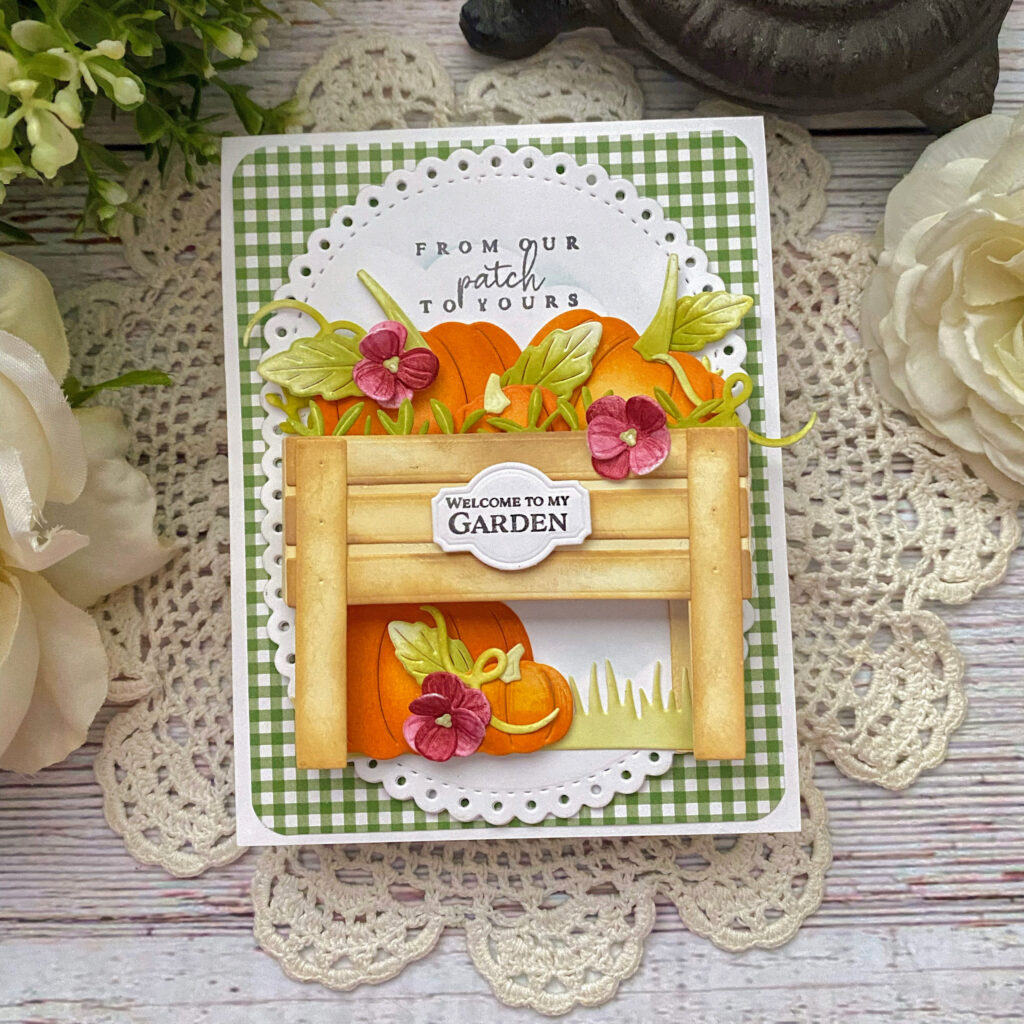
Kelly’s latest design captures the playful spirit of autumn with a garden box overflowing with plump pumpkins and rich seasonal colors. The layers and textures give it the look of a cozy patch you’d love to wander through on a crisp fall day.
She shares, “When the Above Ground Stamp/Die Set was released, I was so excited to create a pumpkin patch when the season started to change! Well, friends, today is the day! In the words of Linus, I hope I have created ‘the most sincere’ pumpkin patch! Ha ha! This was such a fun card to create, and it came together in just a few easy steps!”
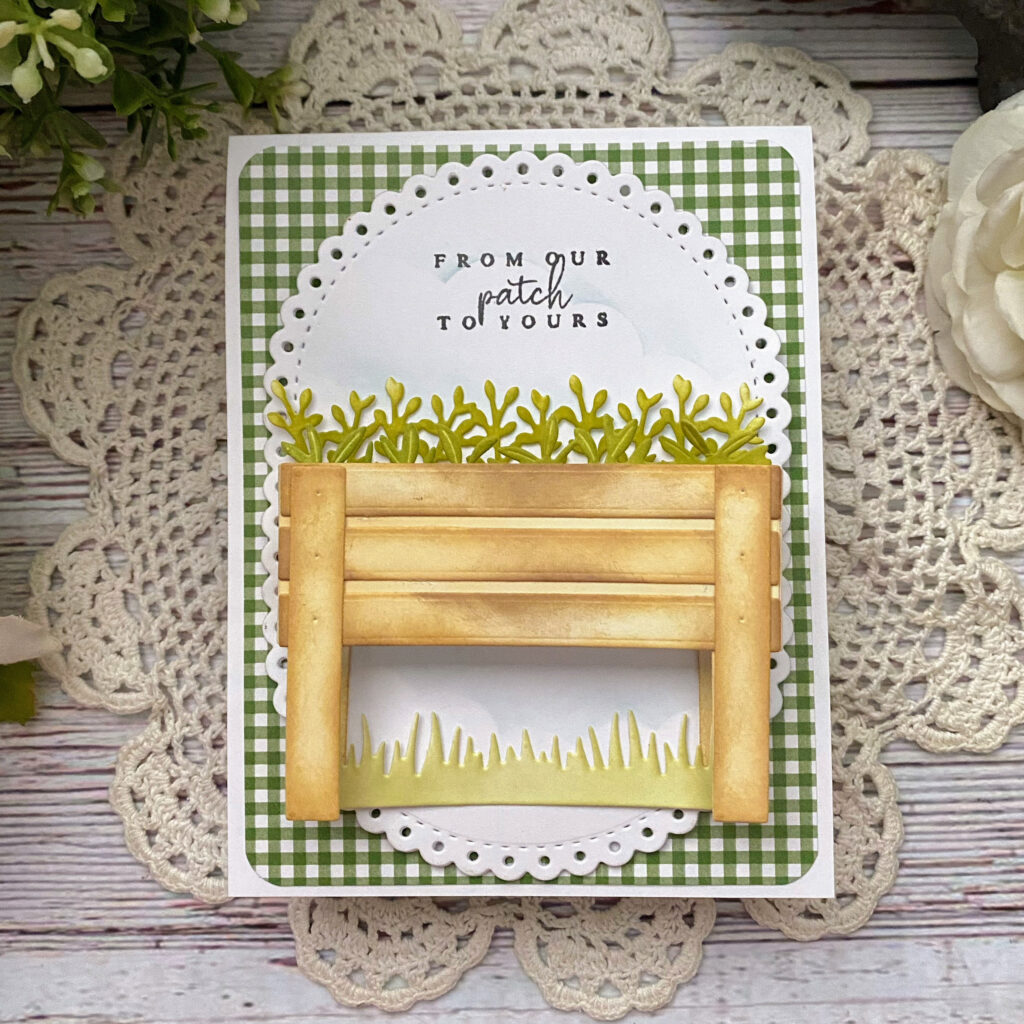
Step 1: Cut a piece of gingham paper to measure 4 by 5 1/4 inches and round the corners with a punch. Attach it with liquid glue to a top folding white card base.
Step 2: Cut an oval from white cardstock using the largest die included in the Love to Layer: Scalloped Ovals. Use a blender brush and cloud stencil. Stamp the sentiment in black. Attach it to the card base using foam squares.
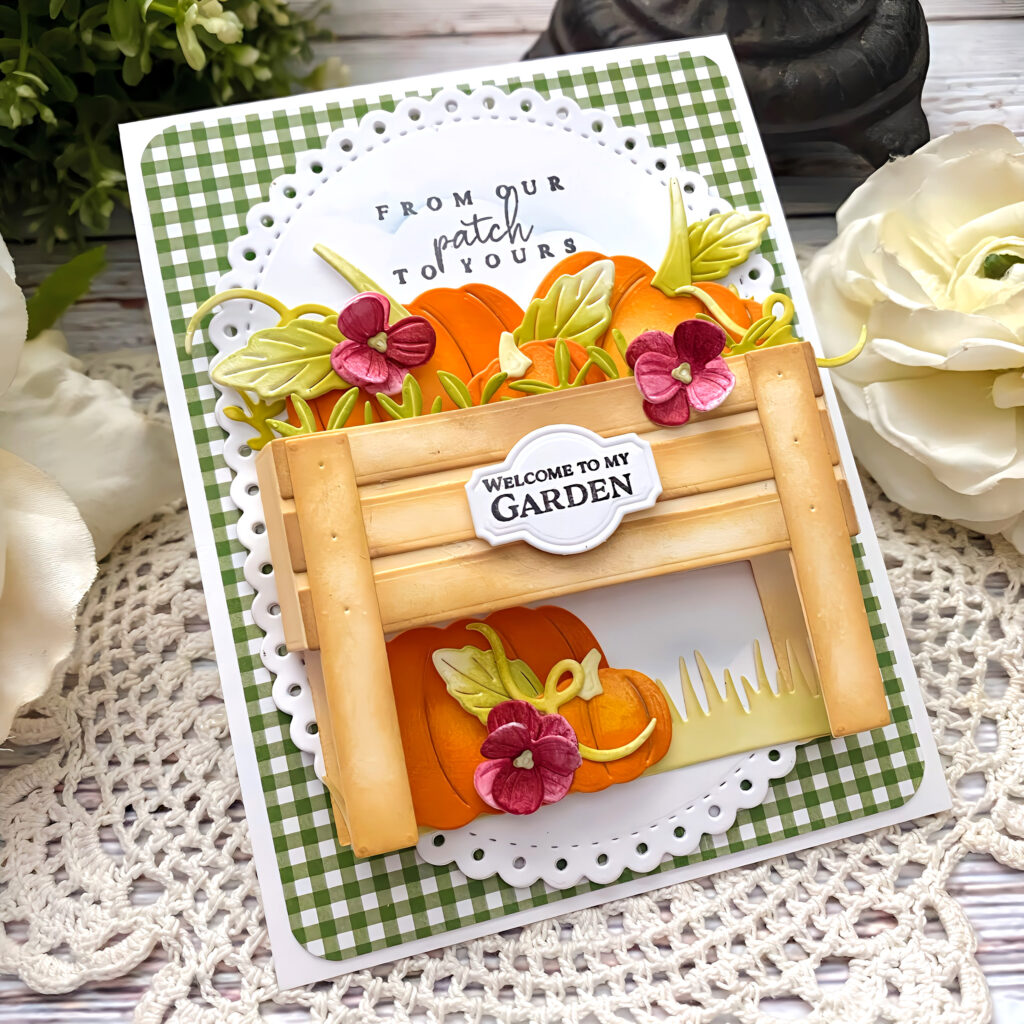
Step 3: Cut all of the pieces you will need for the garden box and foliage using the Above Ground Die. Color them with ink and then attach everything to the oval, using both liquid glue and foam squares.
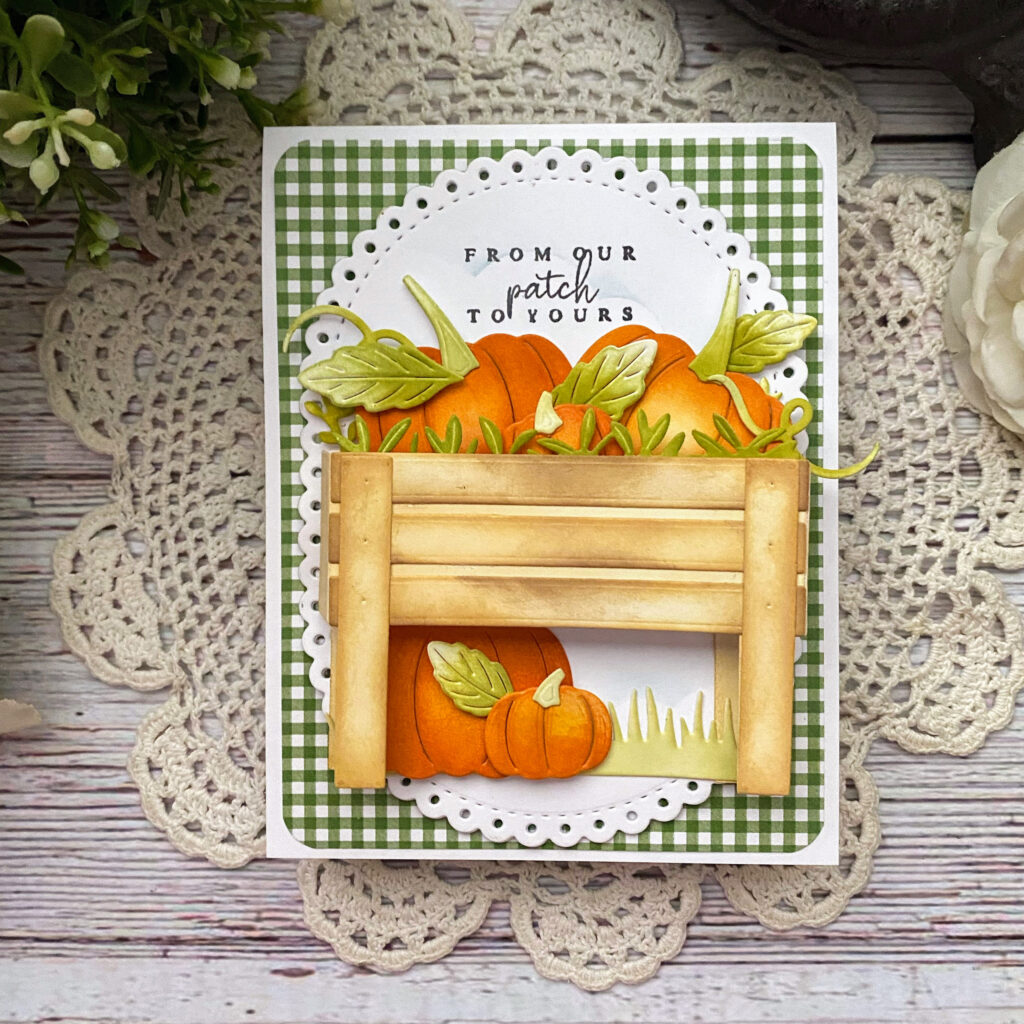
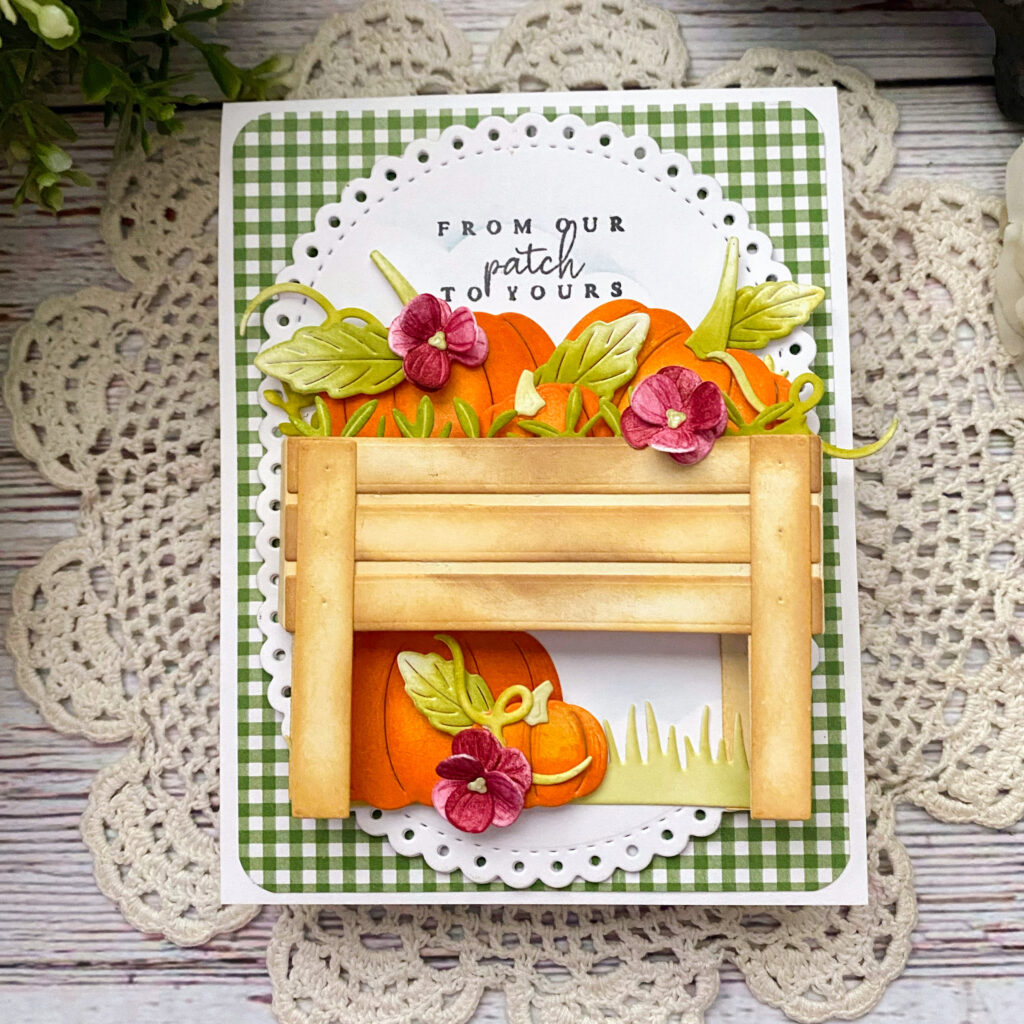
Step 4: Cut the pumpkins and leaves from white card stock and color them with blender, brushes and ink. Add them to the garden box and underneath until you’re satisfied with the arrangement.
Step 5: Cut the flowers and color them the same way as the pumpkins. Arrange them here and there and attach them using liquid glue.
Step 6: Stamp the additional sentiment, which is included in the Above Ground Stamp Set onto the tiny sign for the front of the raised garden bed. Attach it using foam squares.
We’d love to see your take on Kelly’s pumpkin patch! 🍂 Don’t forget to tag us on Instagram or share your creations in the comments. However you style it, this autumn scene is sure to bring warmth and charm to anyone who receives it.
Reader Interactions
Comments
Susan Robinsonsays
I can just smell those crisp autumn days with these colors. The “country” vibe is so cheerful.


Susan Robinson says
I can just smell those crisp autumn days with these colors. The “country” vibe is so cheerful.
Alice B Samuel says
Lovely card with nice color choices
Carol says
The garden pumpkins are my favorite!