


Hello, fellow crafters and happy Sunday!! Brenda back with you today!! If you’re familiar with my work, you know that I LOVE combining new release products with older goodies!! The Sunflower Garden Stencil Set is one of my ALL-TIME favorite stencil sets!! I HAVE to use it at least once every autumn!! I thought it paired perfectly with some of the sets from the latest August release!! Let’s get to my card, shall we?
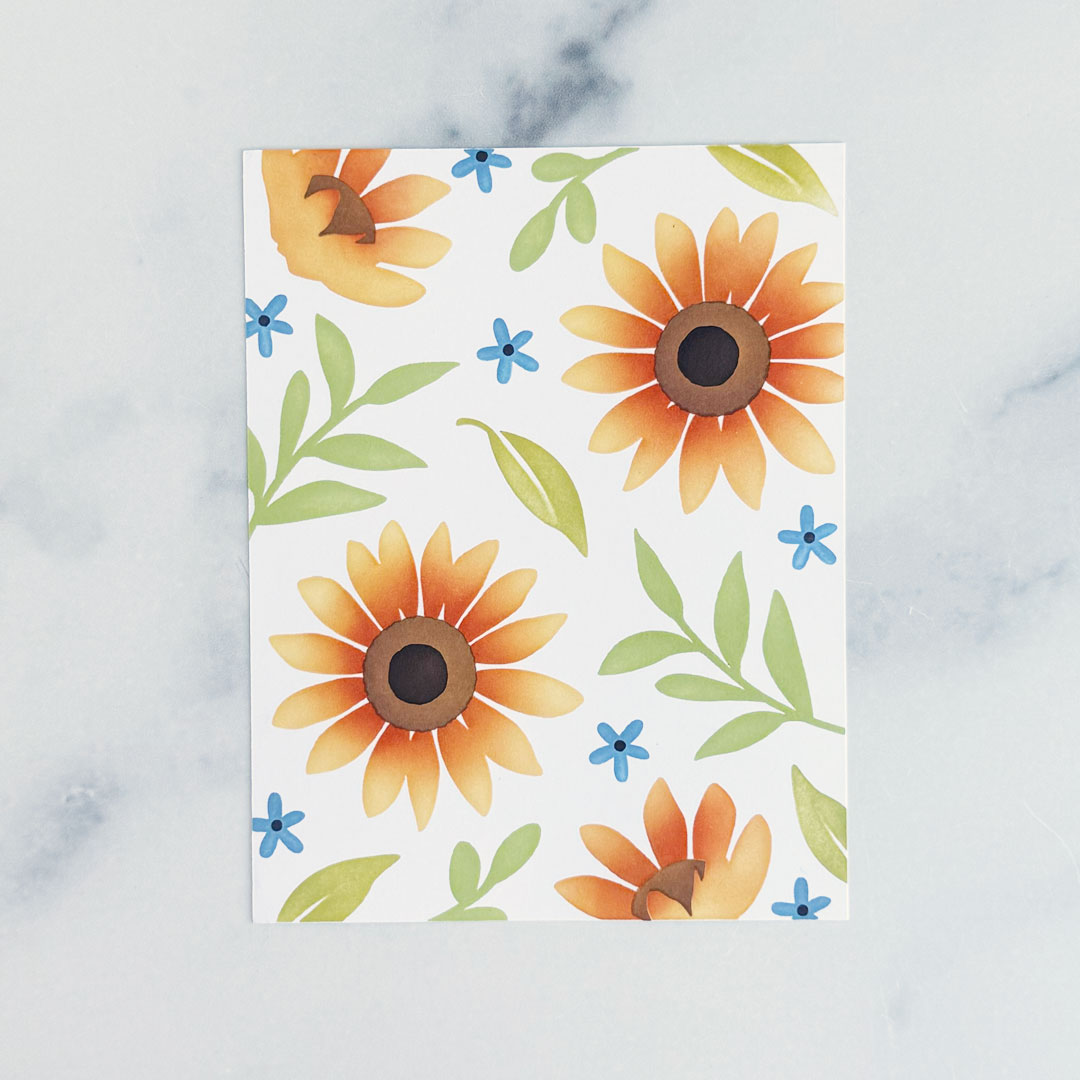
Step 1: Ink-blend the Sunflower Garden Stencils onto an A2 panel of Stamper’s Select White cardstock using Harvest Gold, Summer Sunrise, Canyon Clay, Terracotta Tile, Classic Kraft, True Black and brown inks for the sunflowers; Green Parakeet and Simply Chartreuse for the leaves; and Blueberry Sky and True Black for the tiny flowers.
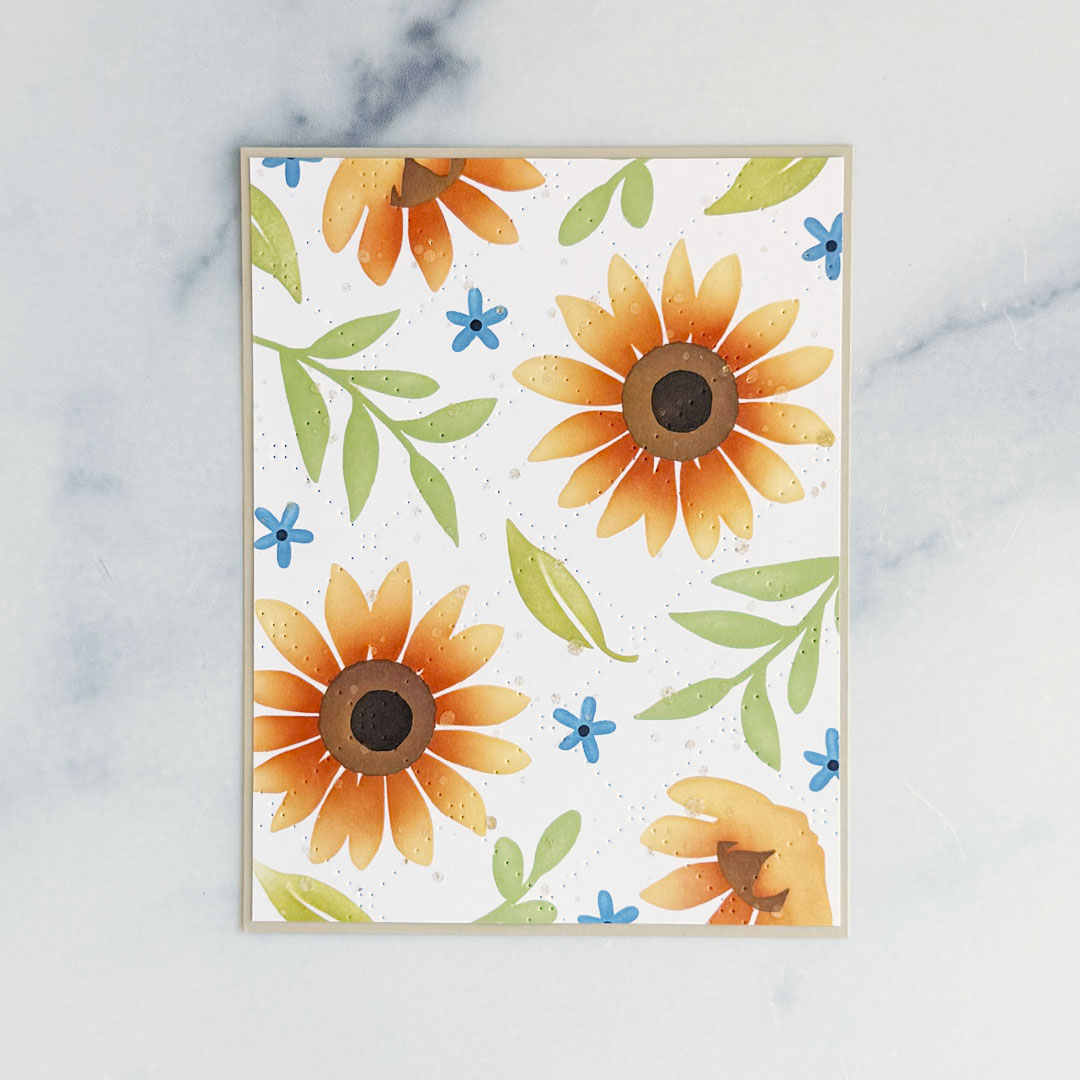
Step 3: Trim the panel slightly and adhere it to an A2 panel of Fine Linen cardstock with liquid glue.
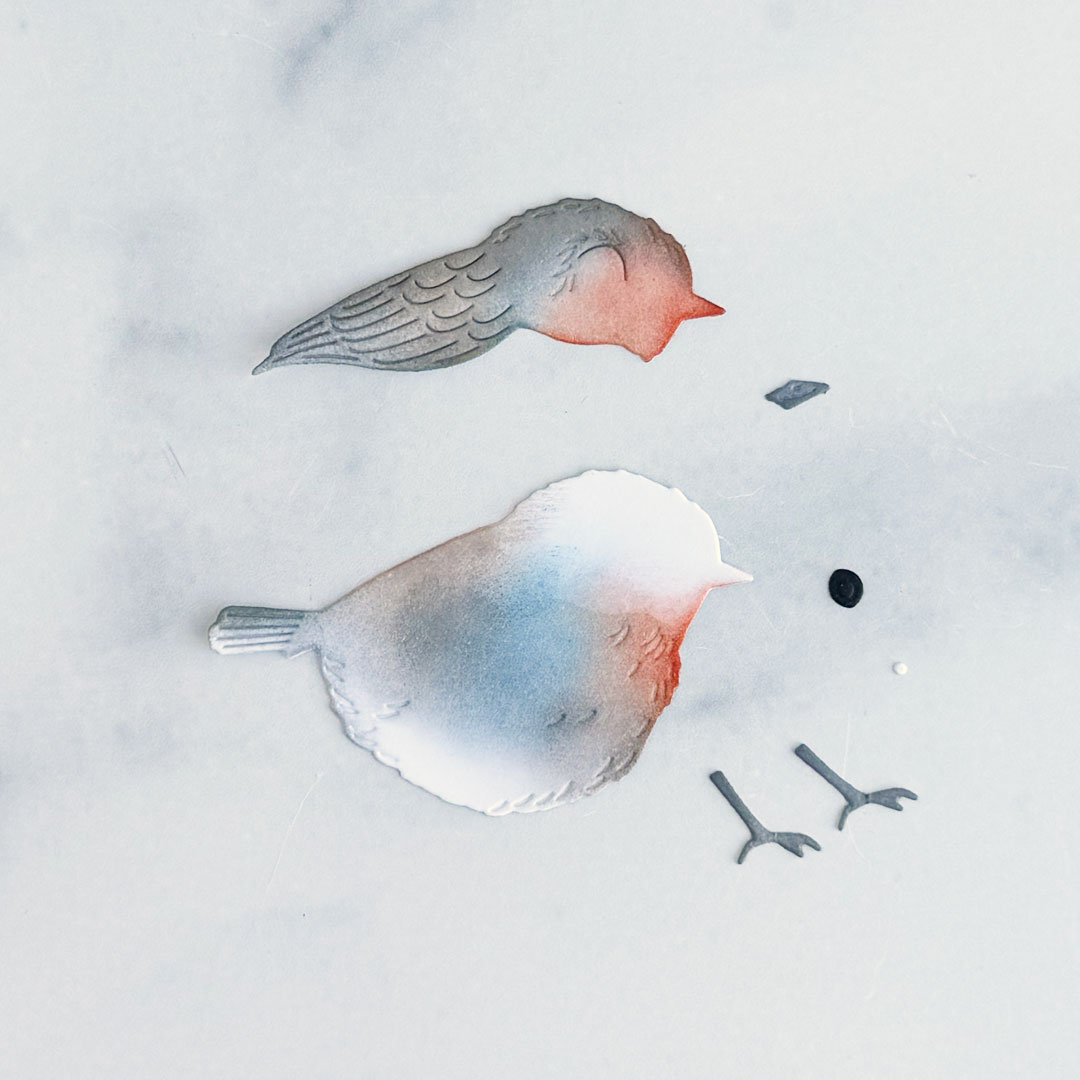
Step: 4: Die-cut the bird in the So Tweet Die Set from Stamper’s Select White and True Black cardstock. Blend Blueberry Sky, Terracotta Tile, Weathervane and Classic Kraft ink onto the die-cuts with blending brushes.
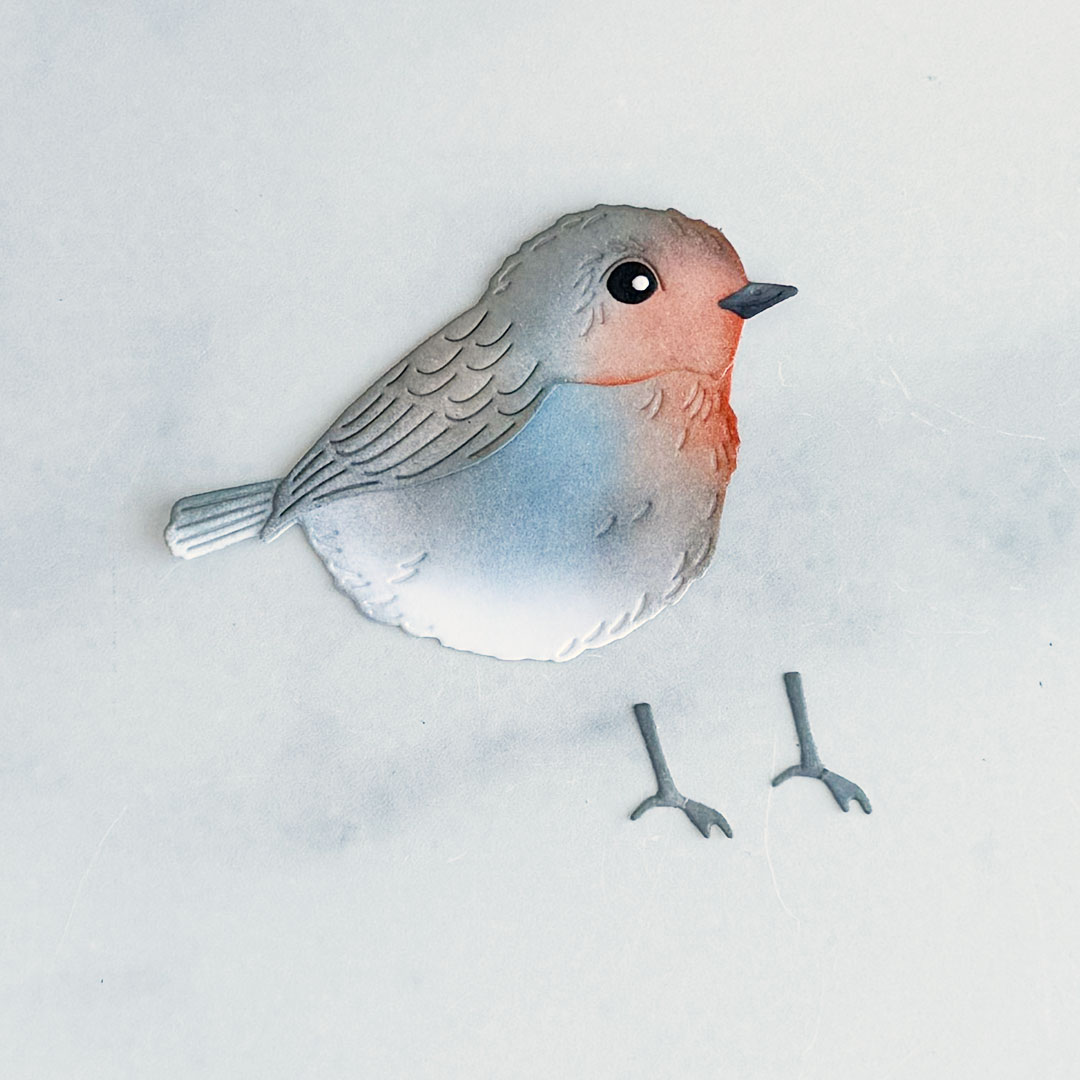
Step 5: Adhere all the die-cuts together using liquid glue. (I didn’t adhere the feet so I could position them to sit on the sentiment.)
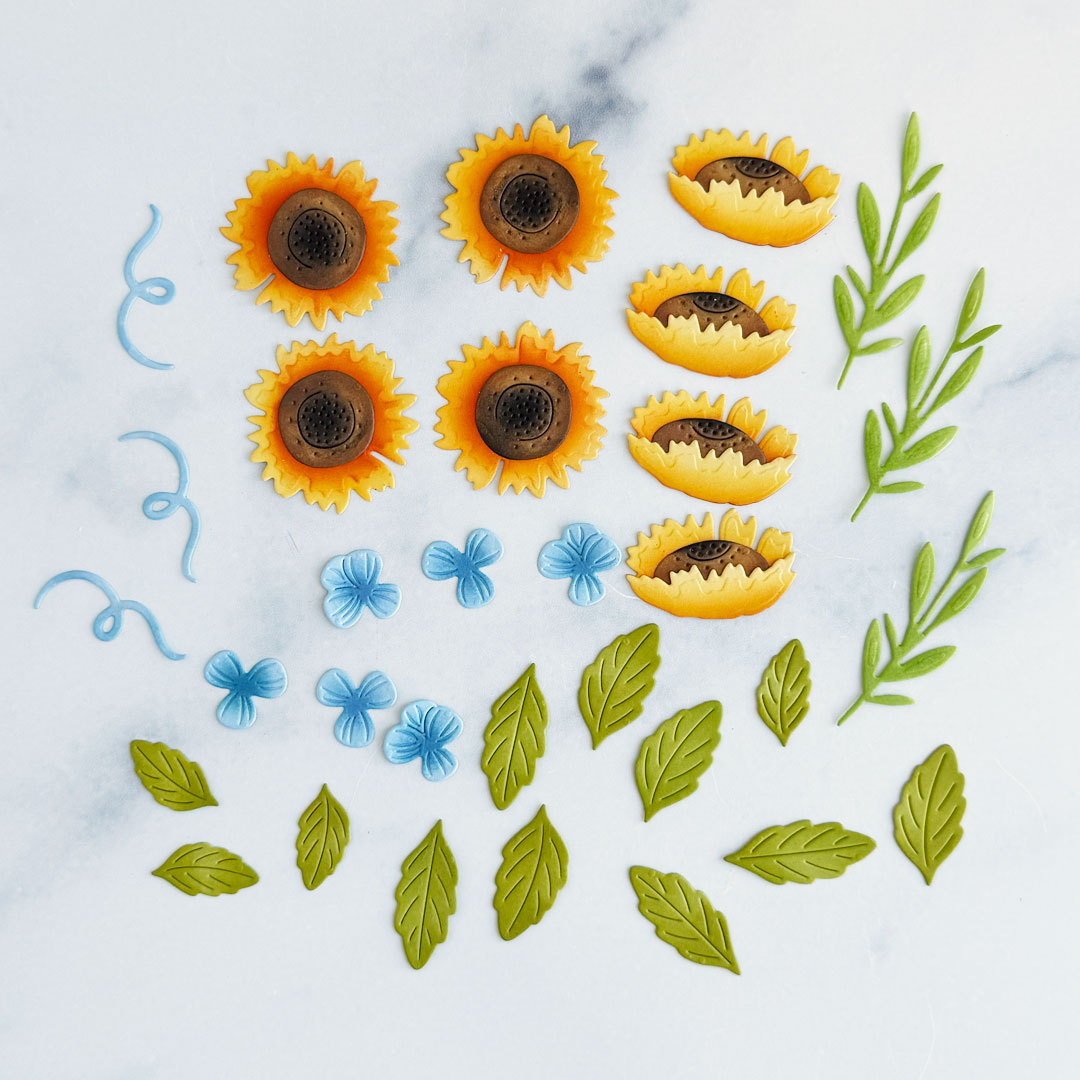
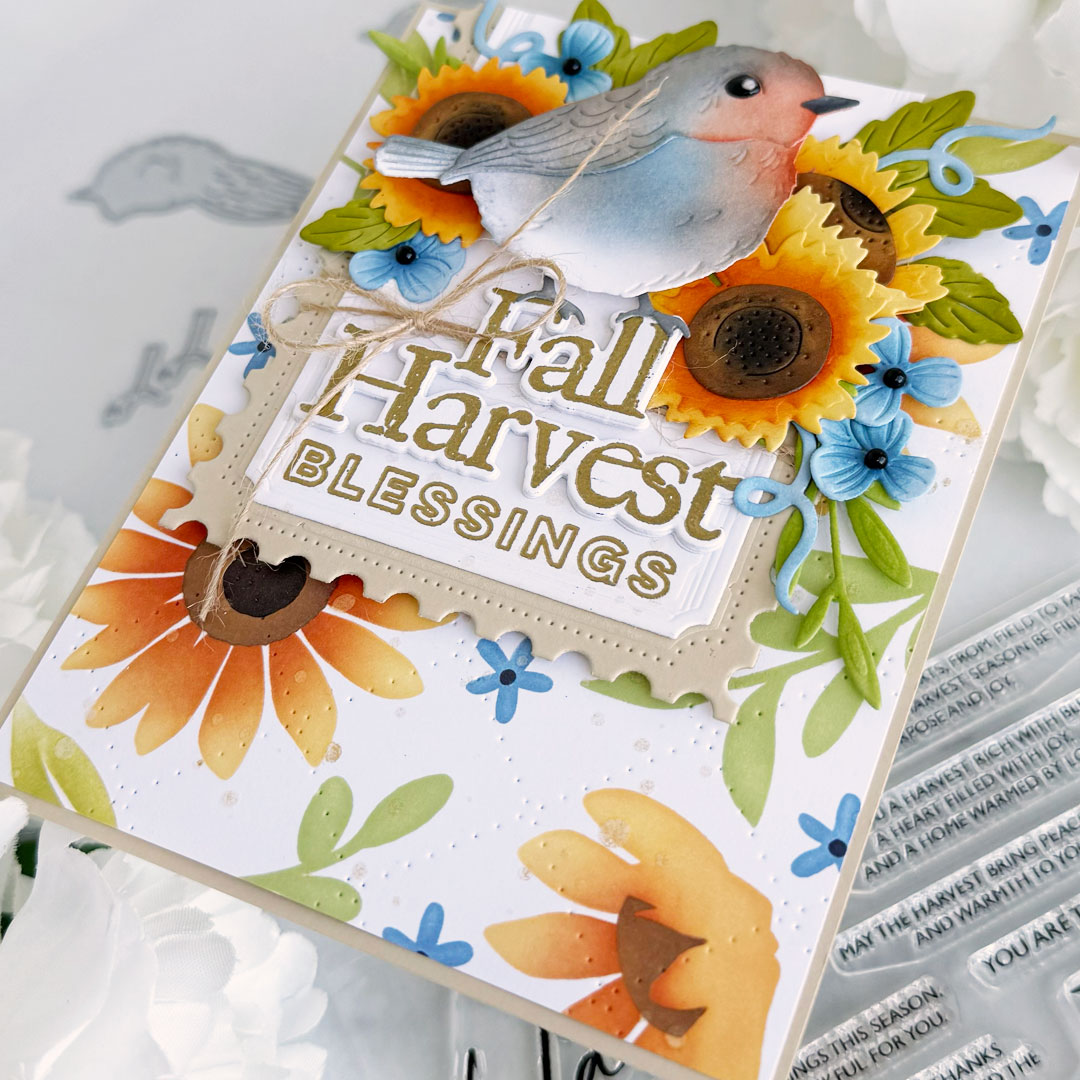
Step 6: Die-cut the sunflowers in the Into the Blooms: Fall Boots Die Set from Harvest Gold and Honey Nut cardstock; the leaves from Simply Chartreuse and Green Parakeet; and the small flowers and tendrils from Spring Rain cardstock. Add shading to the sunflowers with Harvest Gold, Summer Sunrise, Canyon Clay, Terracotta Tile, True Black and brown ink; Green Parakeet and Simply Chartreuse inks on the leaves; and Spring Rain and Blueberry Sky inks on the small flowers and tendrils. Adhere the sunflowers together with liquid glue.
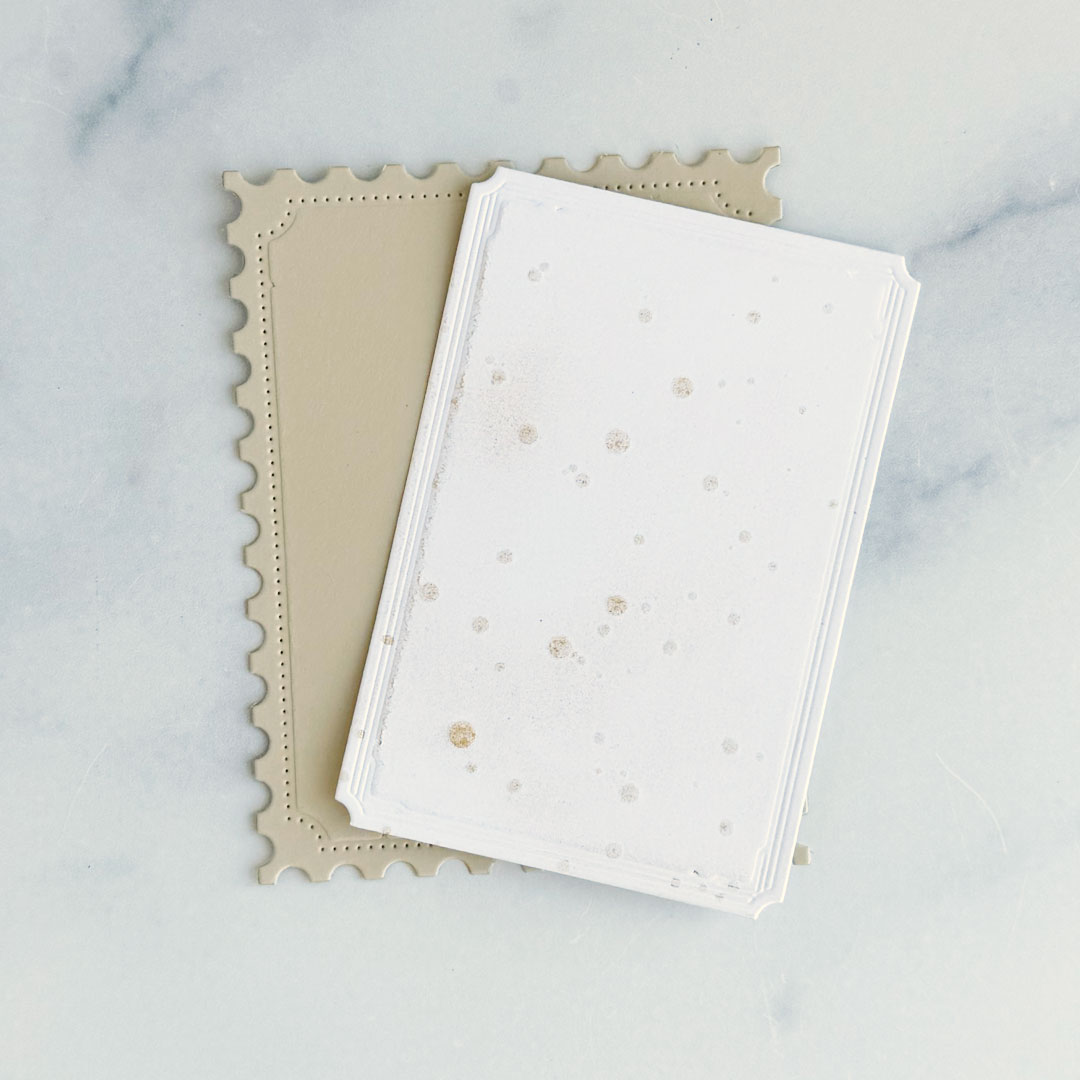
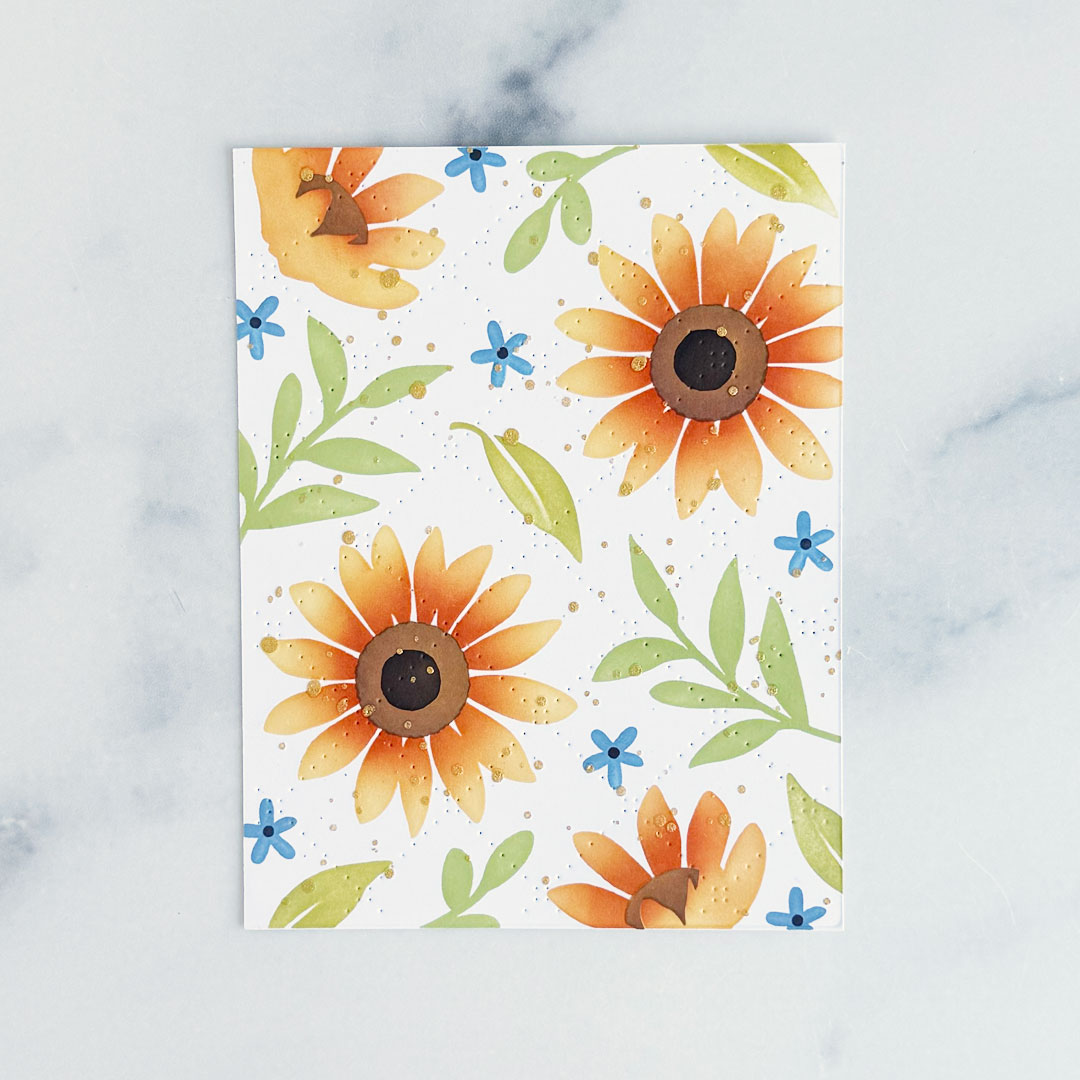
Step 7: Die-cut the middle die in the Love to Layer: Rectangles Die Set from Stamper’s Select White cardstock and the middle die in the North Pole Mail Postage Stamp Frame Card Dies from Fine Linen cardstock. Splatter the white die-cut with Fossilized Amber Distress Spritz.
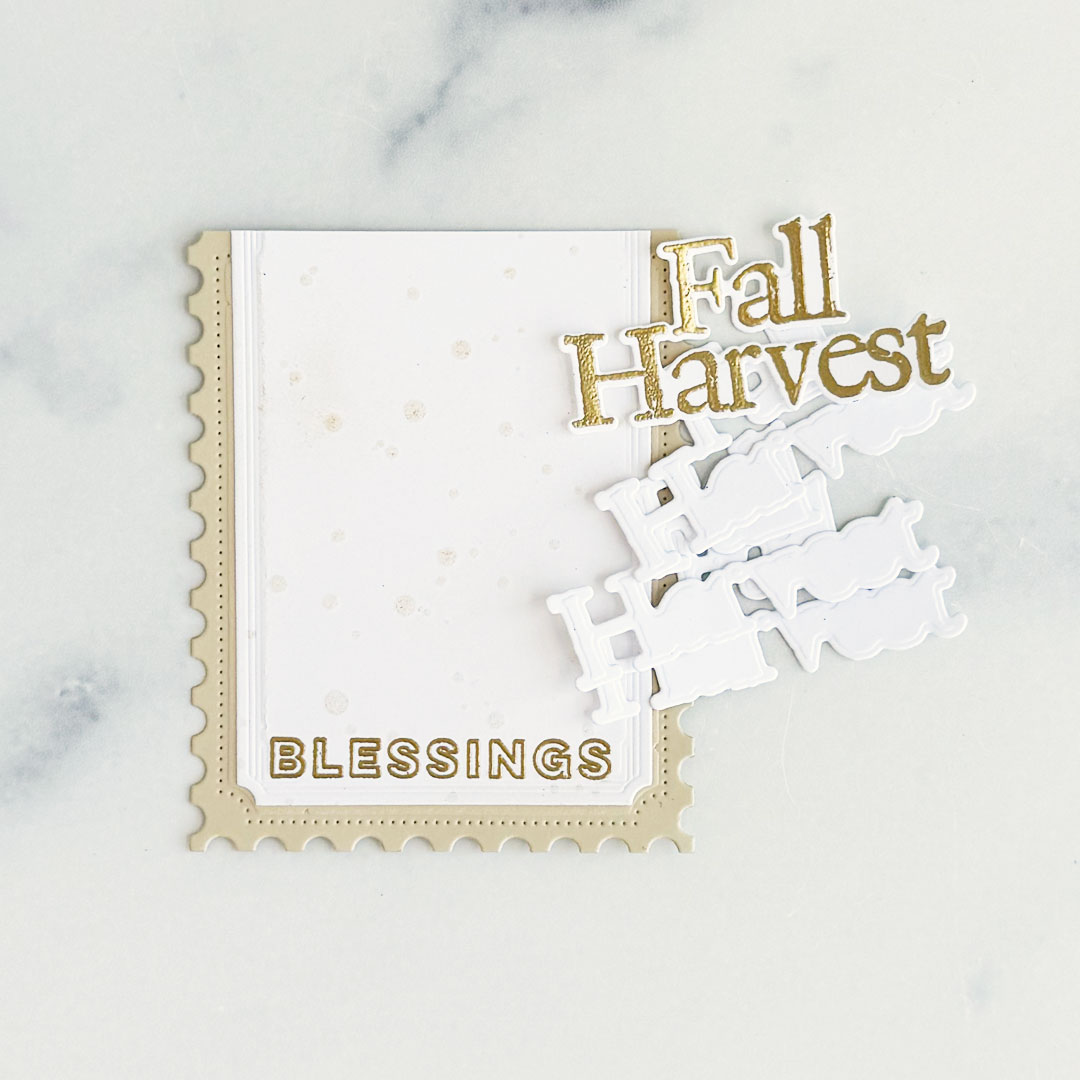
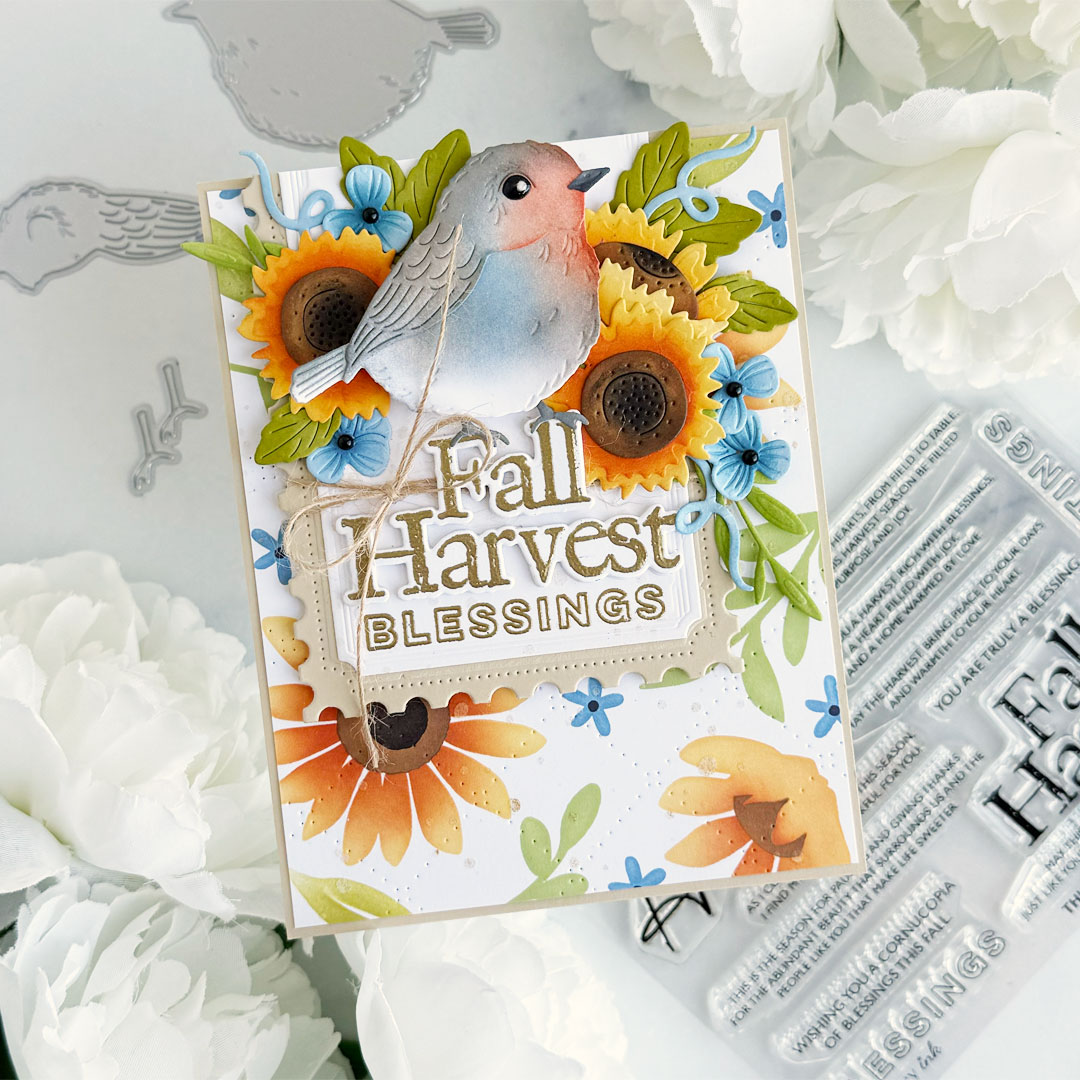
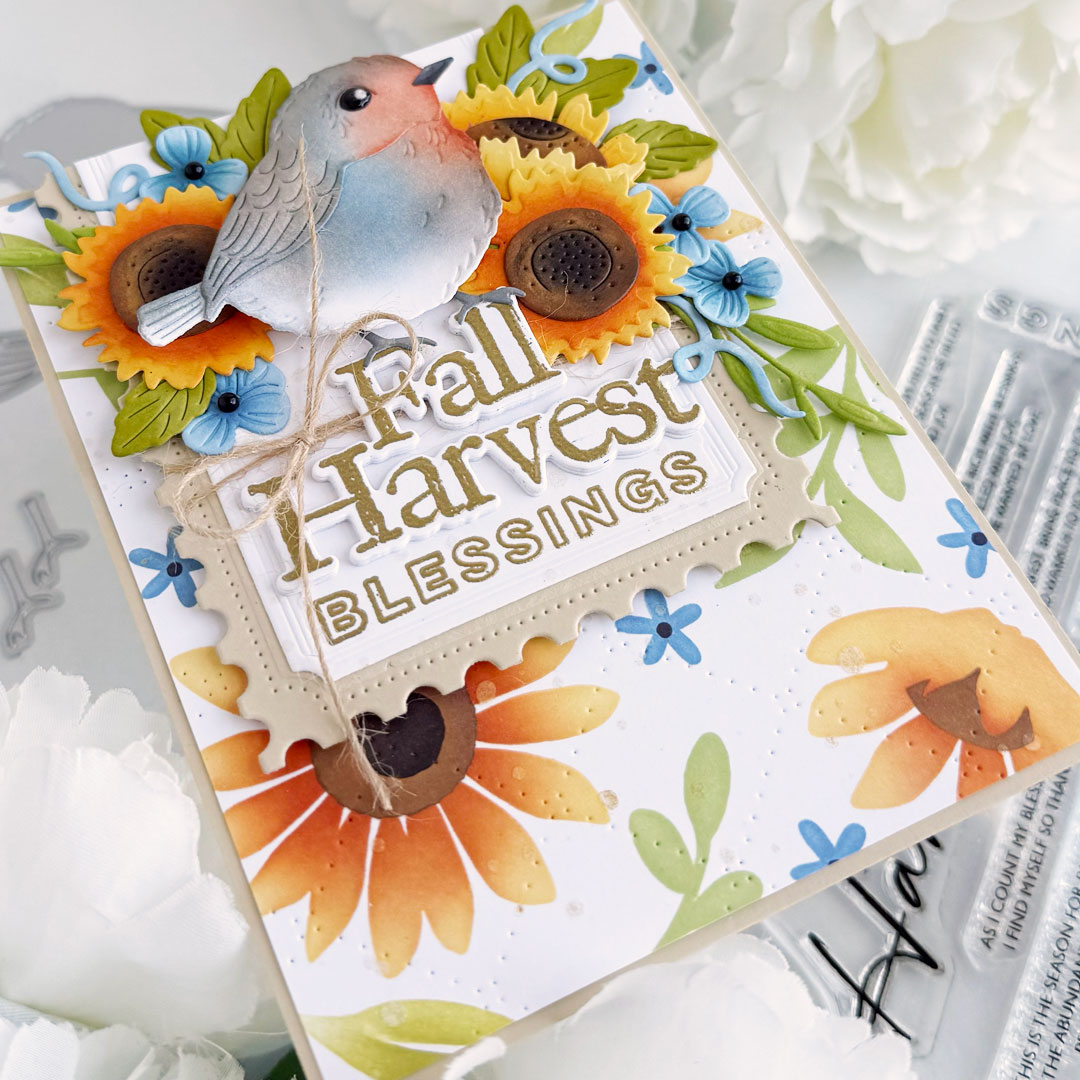
Step 8: Adhere the rectangle dies together with liquid glue and trim off the top. Stamp the “Blessings” sentiment, from the This Is Big Sentiments: Fall Harvest Stamp Set, onto the bottom of the white panel with Versamark Ink and heat emboss with gold embossing powder. Stamp “Fall Harvest” onto another piece of white cardstock, die-cut it with the Coordinating Die, along with three more layers from white cardstock. Stack and adhere the die-cuts together with liquid glue.
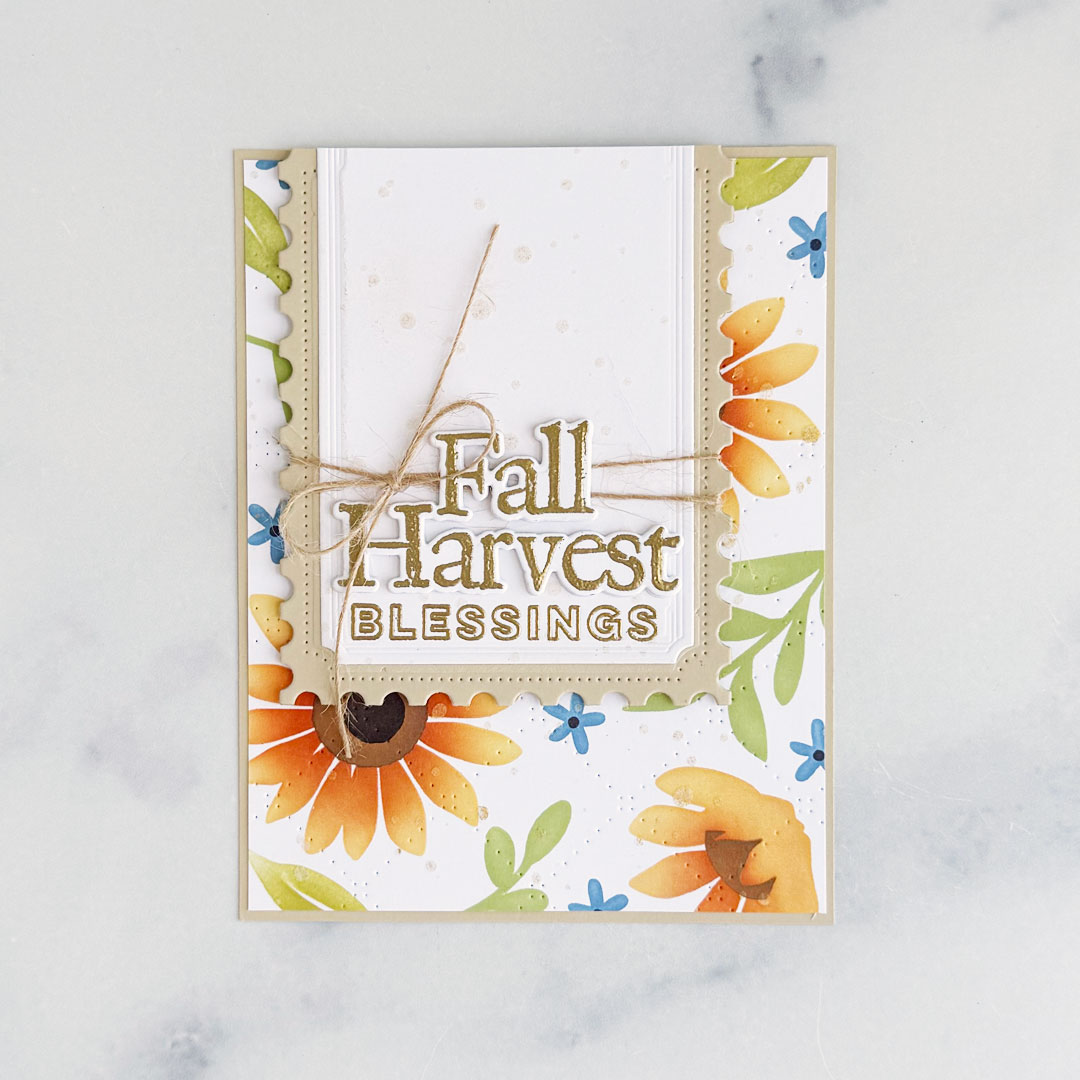
Step 9: Wrap Rustic Jute Button Twine around the postage die-cut and tie into a bow. Adhere the die-cut sentiment with liquid glue and pop up the panel onto the background with foam tape.
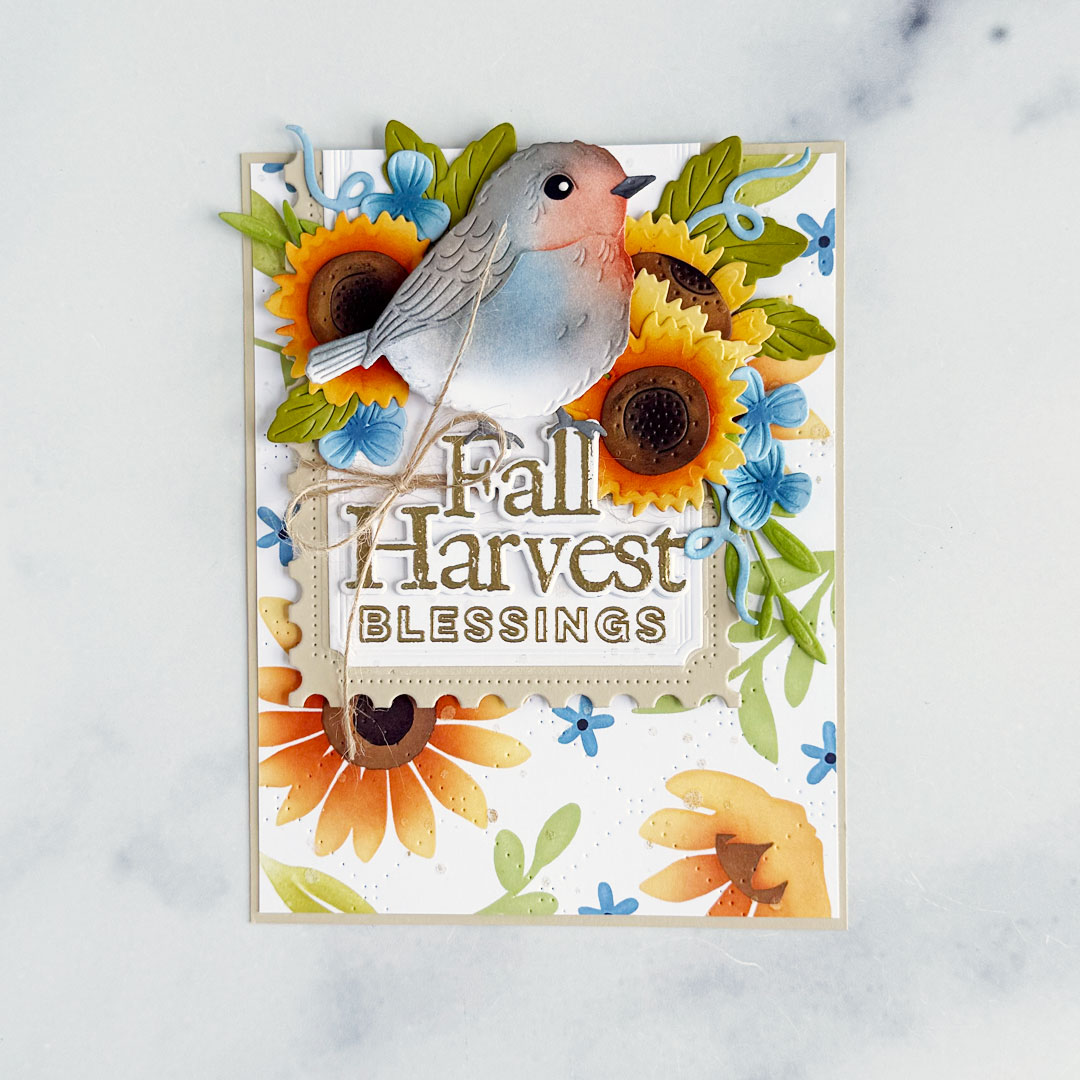
Step 10: Arrange and adhere the bird, flowers and leaves with a combination of foam tape and liquid glue.
Step 11: Add Glossy Accents to the bird’s eye and black pearl stickers to the small flowers to finish off the card.
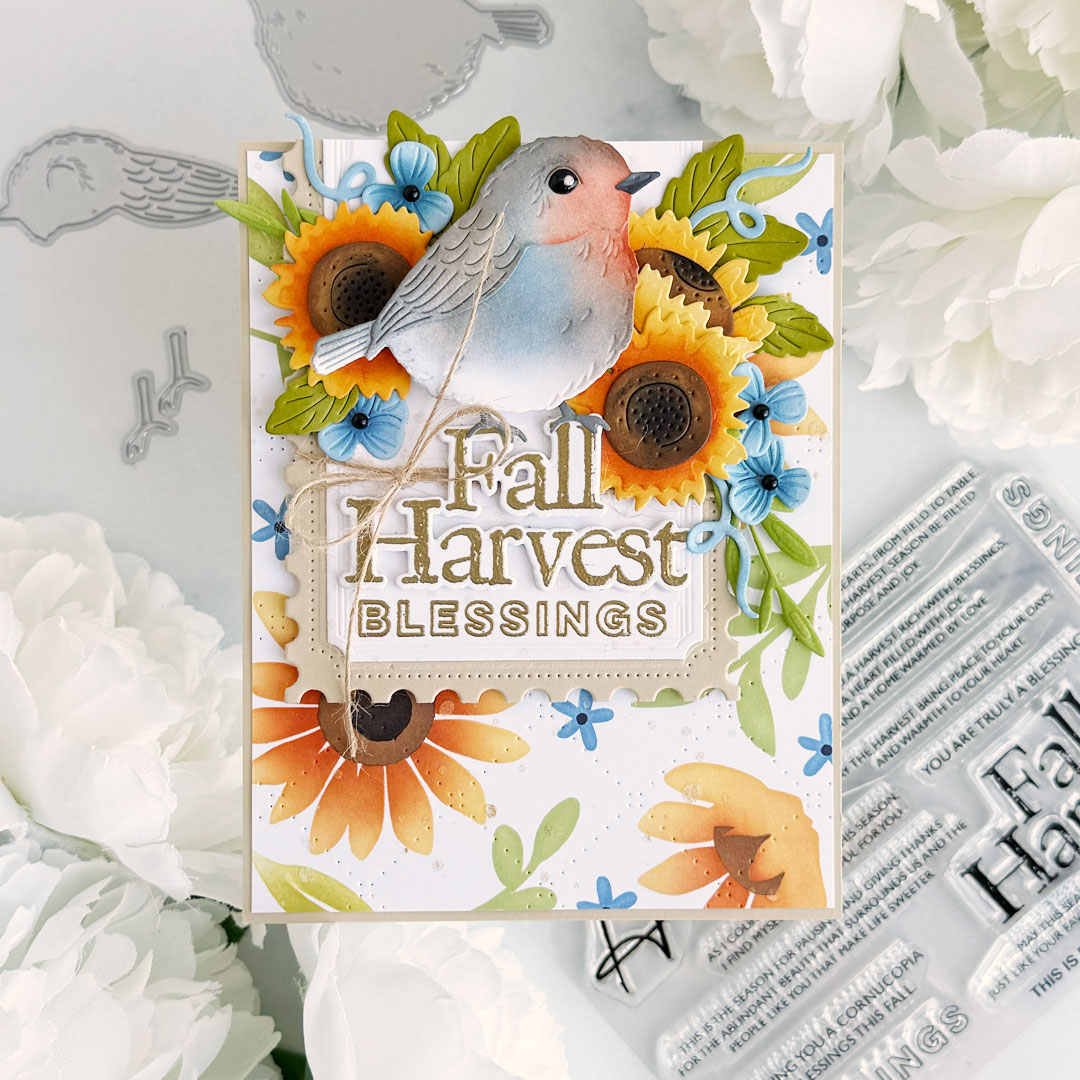
The Glossy Accents really adds so much to the bird!!
Don’t you agree that these products work together beautifully?
That does it for me today!! If you’d like to see more or my work, you can find me on my blog at mypapercutcreations.com or over on Instagram @mypapercutcreations!!
Thanks so much for stopping by!! Enjoy the rest of your weekend!!
Barbara says
I love the fall colors and all the textures, different techniques and layering that make this card very special! To make it would be a labor of love for sure!
Carol says
Stunning sunflowers!🌻