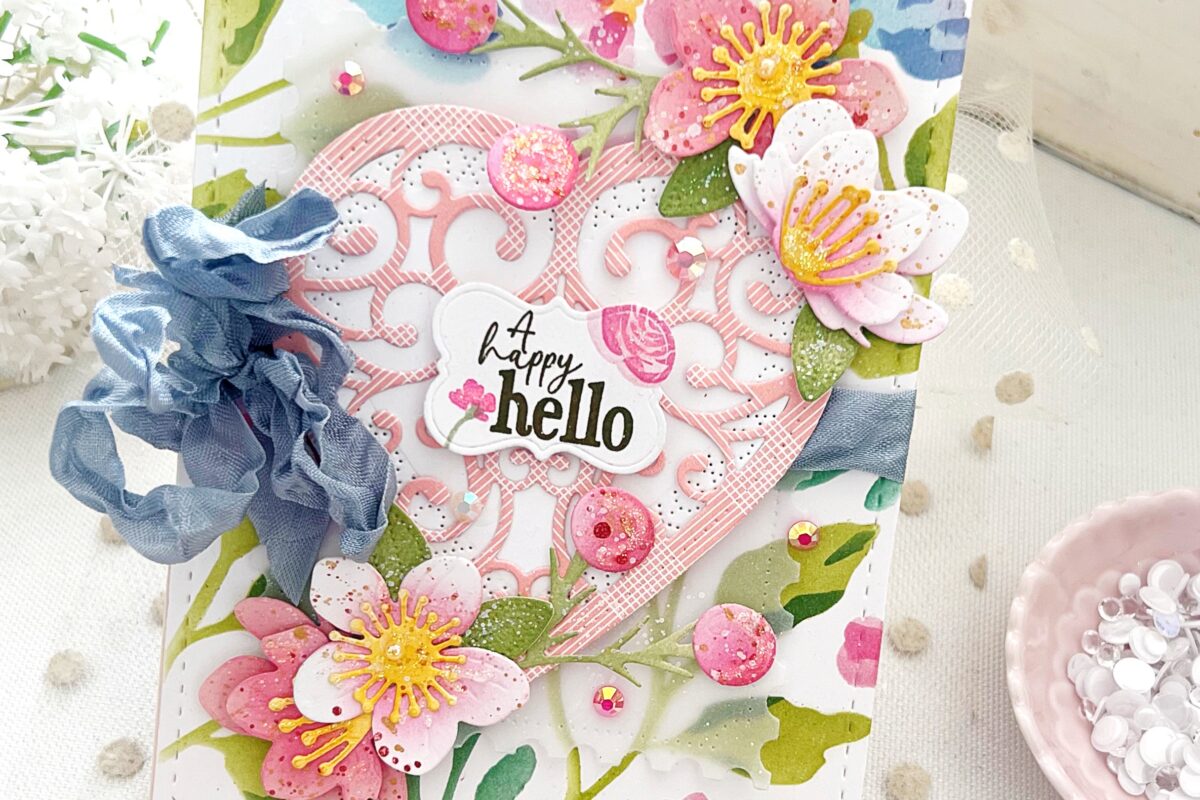
Hello friends. Bobbi Lemanski here with a wrapped bouquet of flowers for you! This card just makes me happy with all the beautiful foliage and blooms. I’m using the following products from Papertrey Ink :
The Sweetest Bunch stamps and coordinating dies
Mat Stack: Thank You So Much Collection
My card is 5″ X 7″ and uses a white card base made from the Stamper’s Select white cardstock. For my black ink stamping, I use True Black Ink.
Here are the step-by-step details for creating this card:

Stamp the bouquet wrapper with the solid stamp using Perfect Match Vintage Cream ink on white cardstock. Use the the sentiment from the set, “Thanks a bunch” to add print to the wrapper using True Black Ink. Die cut the wrapper.

Stamp leaves and florals from the The Sweetest Bunch stamps on white cardstock and cut them out using the coordinating dies. Use ink pads: Winter Wisteria, Summer Sunrise, Prairie Grass and Ripe Avocado for the stamping.

Enhance the florals and leaves using Copic Markers or other branded markers. Add more intense color gold to the blossoms at the base of the petals (Y19), an aqua blue to the fuller leaf branches (B00), deeper center colors to the Winter Wisteria buds (V09 and Y19) and more “aging” colors to the wrapper for shadows around the edge (E53). Add some random black dots using a fine-tip black marker to the wrapper for added interest.

For the background, use a stencil design from the Mat Stack: Thank You So Much Collection and apply ink using a blender brush and Mermaid Lagoon Distress Oxide Ink. Die cut the design using the coordinating die.

Attach 1″ Stripes of Soft Stone cardstock to the white card base. Shadow the bottom of each one using a marker or Copic color in a warm gray such as W2. This adds dimension to the soft stone “planks.” (Classic Kraft cardstock would also work for this application.) Attach four strips horizontally, down the white card base, allowing a 1/8-1/4″ distance between each strip to allow the white card base to show through. You could cover the entire front or stop after four strips as shown. This allows some white space for a sentiment at the bottom.
Assemble the bouquet and glue it together. Attach a foam tab to the back.

Attach the assembled bouquet to the card front. The foam tab allows it to stand out from the background. This card could also be adapted for a common A2-sized card, too.
Stamp in True Black Ink on white cardstock the other sentiment from the set. Attach the phrase to the lower right corner to complete the card. Optional: Add some Pearl Pen bronze “nail heads” to the stenciled background for contrast.

You can shop the entire collection here at Papertrey Ink! If you decide to place an order, please use the links in this post so that Papertrey Ink team knows what inspired you. I appreciate it very much. It helps me to continue to bring more ideas to you!
Thanks for stopping by today. If you want to see more ideas and inspiration from me, subscribe to my blog, BobbiHartDesign.com. I’ll send you updates on new posts! You can also find me on Instagram as @BobbiHartDesign and on Facebook as BobbiHartDesign.
Bobbi Hartmann Lemanski, Bobbi Hart♥ Design, Adding h♥art into every design


Leave a Reply