


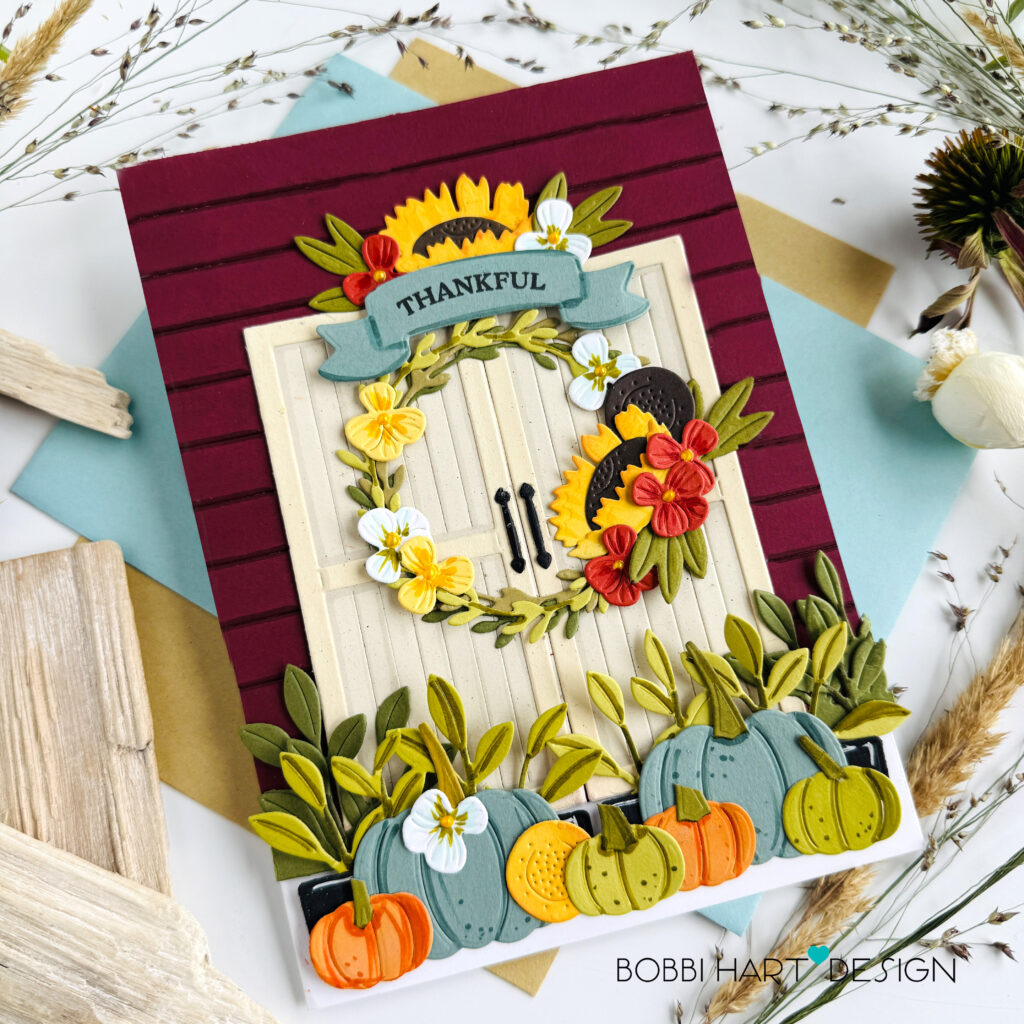
Hello Papertrey Ink friends! I’m sharing some project inspiration today featuring a number of the August Release products for fall. This card has all the autumn vibes in one 5″ X 7″ card. Do you feel the cooler fall air when you see the colorful pumpkins, fall wreaths, bright sunflowers, sweet berries, a red barn with plank doors and more? I’m using the following new Papertrey Ink products:
Spooky Delights Dies (for the barn doors)
Into the Blooms: Fall Boot Dies
Now for the steps to creating this one…
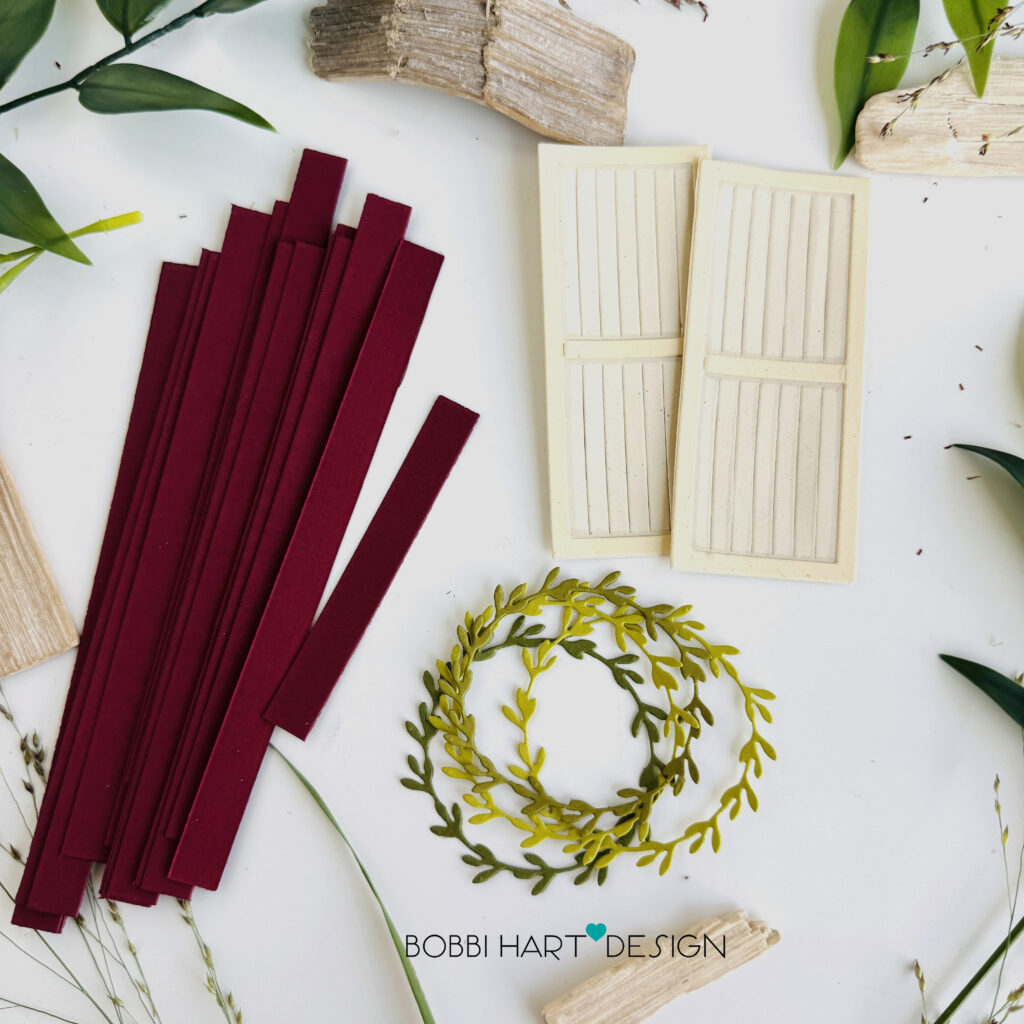
STEP 1: To make this 5″ X 7″ card, start by building the barn background. Cut 12 – 1/2″ wide X 5″ long strips of Scarlet Jewel cardstock.
Cut multiple wreaths using the wreath die in the Fall Blessings Dies in various green colors including Simply Chartreuse, Ripe Avocado and Olive Twist cardstock.
Cut the barn doors using the Spooky Delights Dies and Vintage Cream cardstock. Assemble the pieces.
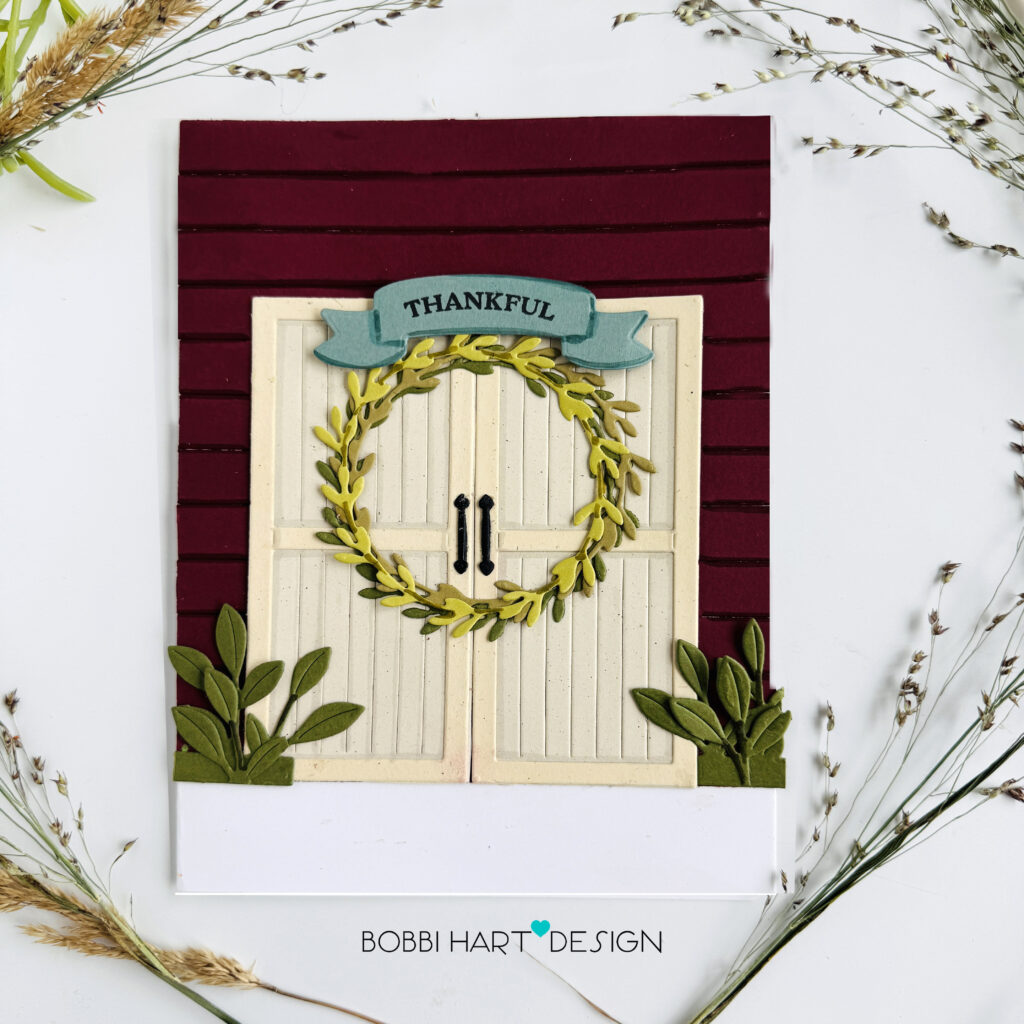
STEP 2: Attach 12 deep red strips to the front panel of the card base, laying each one, side-by-side for six inches. Leave 1″ of white space below on the card front. Use a dark maroon marker such as a Copic Sketch Marker R89 to add additional shadowing to the bottom of each strip. This will make the faux “siding” appear overlapping and dimensional.
Attach the wreath layers together, offsetting each layer to make the wreath thicker. Glue together.
Assemble and glue the barn doors. Add the black handles. Use a shadow color such as a Copic W2 marker to enhance the dimension of the doors. Run the marker down each groove in the vertical panel inlays and around the inside of the doors’ frames. Attach the doors to the deep red siding.
The green leaves will be die cut and added in Step 3.
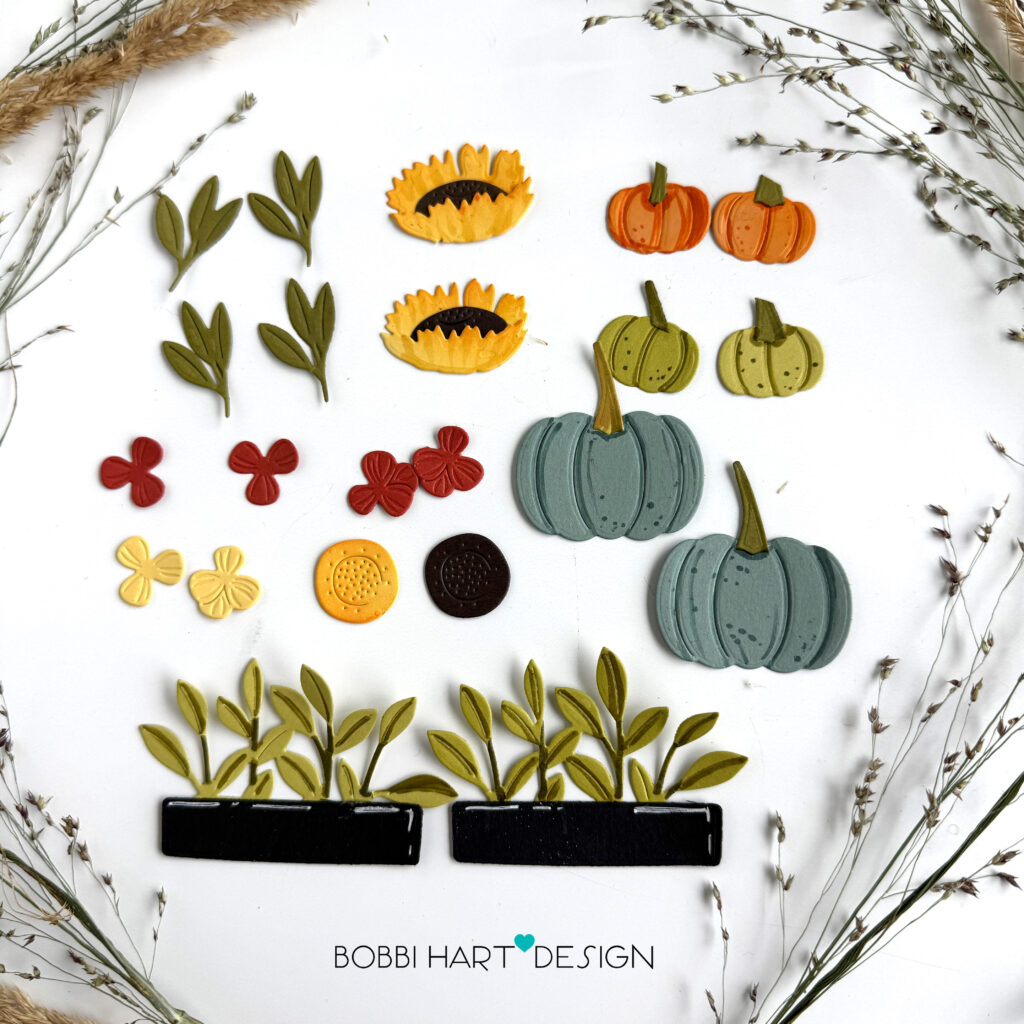
STEP 3: Using the Perfectly Potted Dies, cut greenery from the green colors to glue next to the doors on the barn. Use the pot’s top banding to make the black planters for more greenery. Assemble the planters and greens and add white highlights using a white Gelly Roll pen.
Using the Into the Blooms: Fall Boot dies, die cut pumpkins from Ocean Tides, Simply Chartreuse, Ripe Avocado, and Orange Zest cardstock. Cut the sunflowers and small flowers from Harvest Gold (2), Canyon Clay (4), Stamper’s Select White (Cut 4 from white. These are not shown above, but are added to the design later) and Dark Chocolate cardstock.
Add some dots, centers and shadowing to the pumpkins, leaves and flowers for imperfections and shadowing using markers or inks.
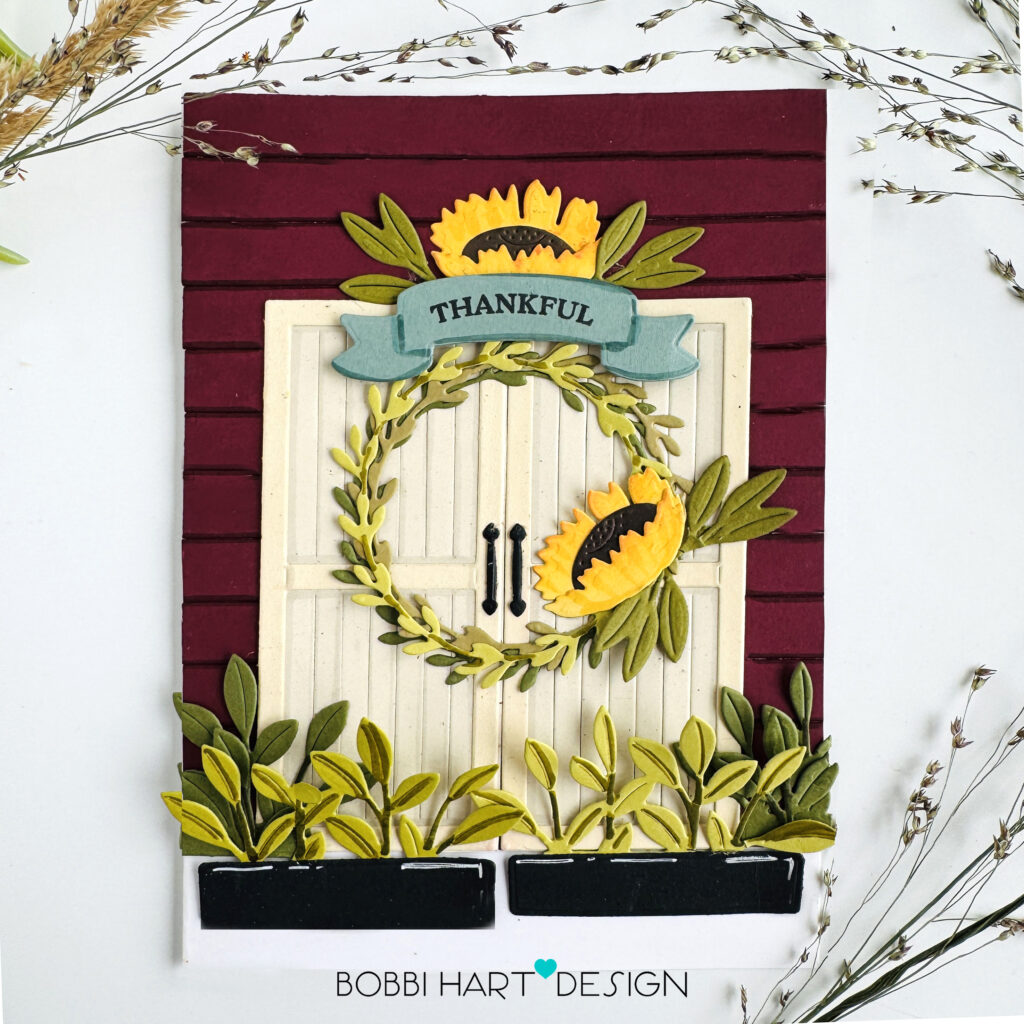
STEP 4: Attach the planters to the barn front. Add the large sunflowers to the wreath along with additional leafy stems.
Die cut a “thankful” banner using the Fall Blessings Dies and Aqua Mist cardstock. Blend Ocean Tides ink on the aqua to shadow the edges to match the pumpkins. Detail shadow the banner with a Copic BG72 or similar darker aqua marker. Attach the banner right above the wreath. Add flowers above it.
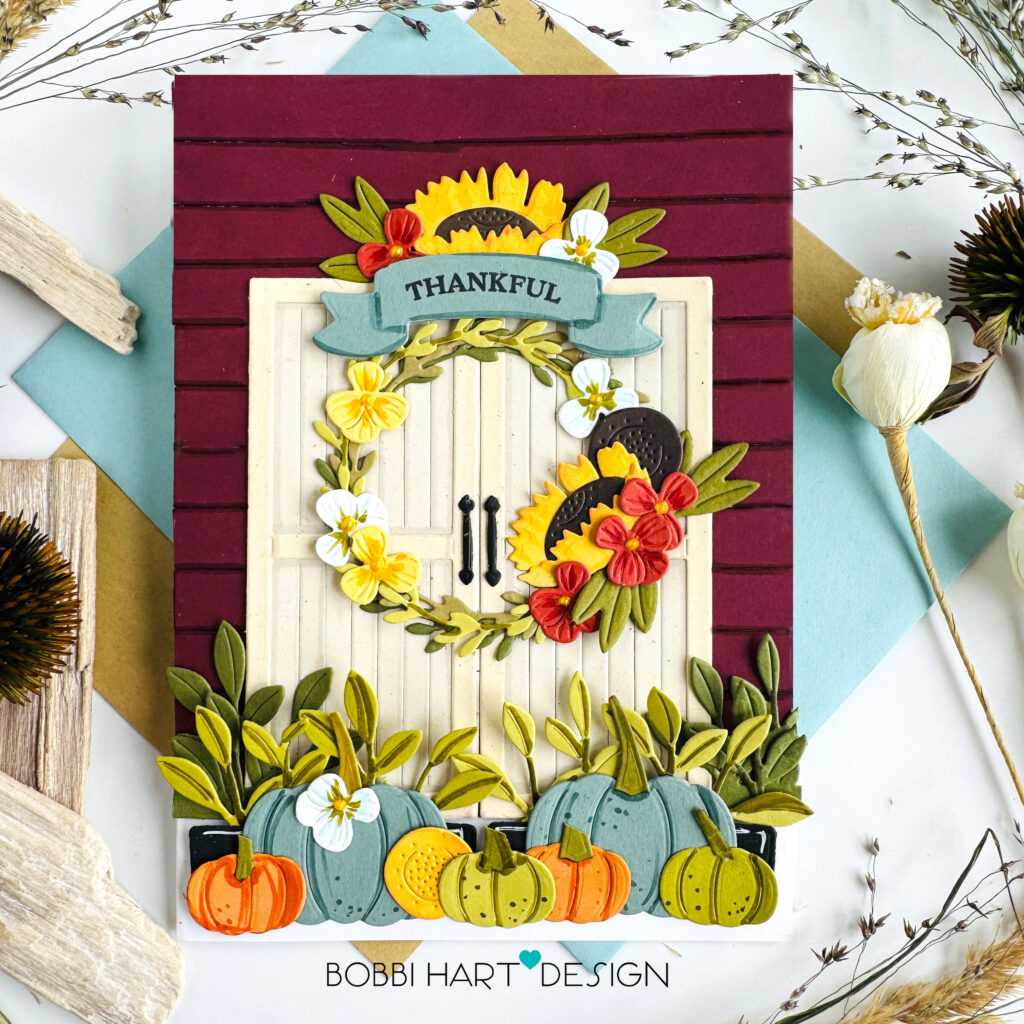
STEP 5: Assemble the card, layering the pumpkins in front of the leafy black planters and adding the smaller flowers around the sunflower on the wreath. Add additional flowers above the banner, on both sides of the sunflower. How pretty is this card with all the fall vibes you can fit on a 5″ X 7″ card?! The abundance of colorful and layered pumpkins with fresh flowers and greenery just pops off the red barn background.
You can shop the entire collection here at Papertrey Ink! If you decide to place an order, please use the links in this post so that Papertrey Ink team knows what inspired you. I appreciate it very much. It helps me to continue to bring more ideas to you!
You can shop the entire collection here at Papertrey Ink! If you decide to place an order, please use the links in this post so that Papertrey Ink team knows what inspired you. I appreciate it very much. It helps me to continue to bring more ideas to you!
Thanks for stopping by today. If you want to see more ideas and inspiration from me, subscribe to my blog, BobbiHartDesign.com. I’ll send you updates on new posts! You can also find me on Instagram as @BobbiHartDesign and on Facebook as BobbiHartDesign.
Bobbi Hartmann Lemanski, Bobbi Hart♥ Design, Adding h♥art into every design
Leave a Reply