


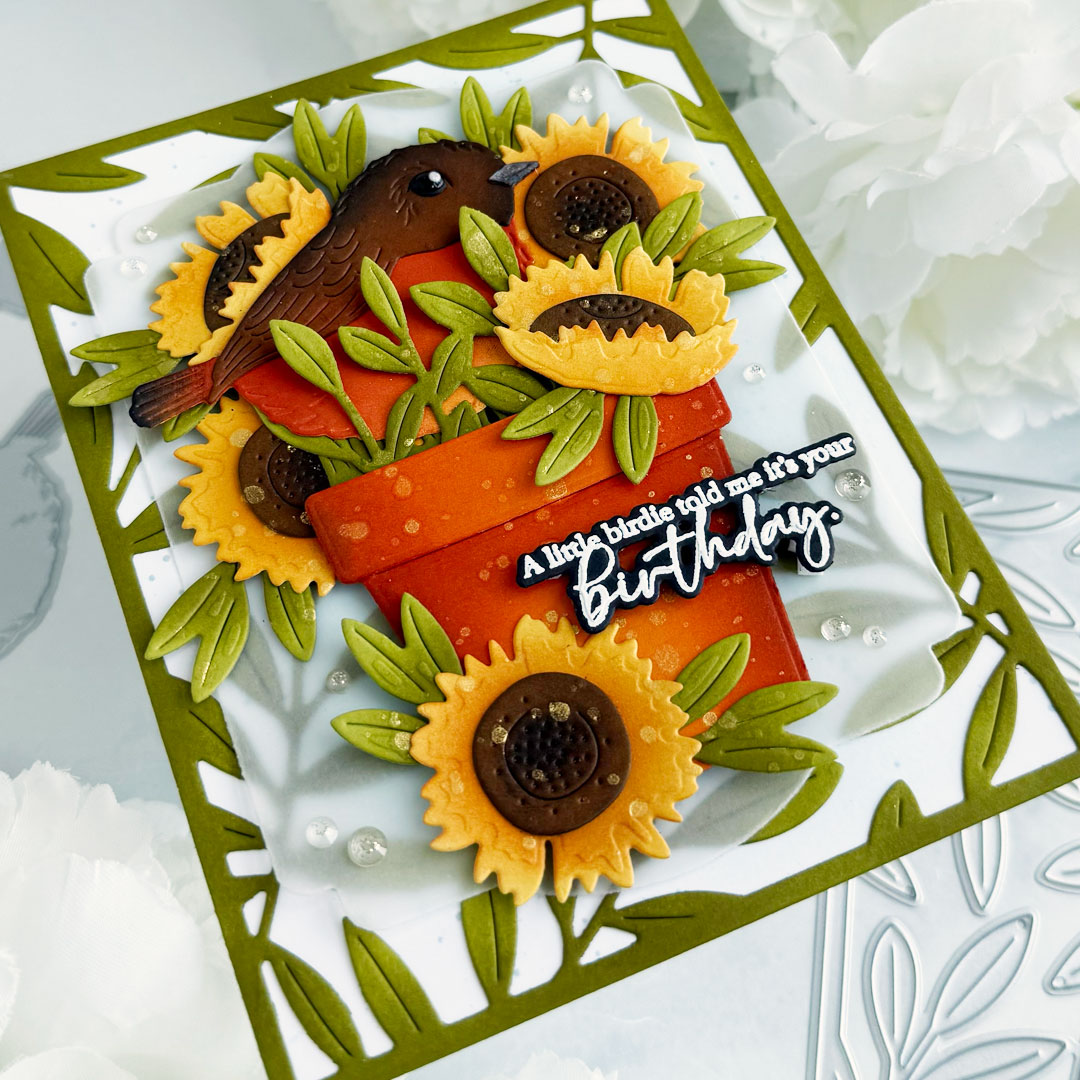
Hello, crafters!! Brenda back with you today!! Sunflowers are one of my favorite flowers!! The sunflowers and blooms from the Into the Blooms: Fall Boot Die Set from the August Release are certainly getting a work-out from me!! They are the perfect size to accent all of your autumn cards!!
Here’s a detailed break-down of how I created my card…
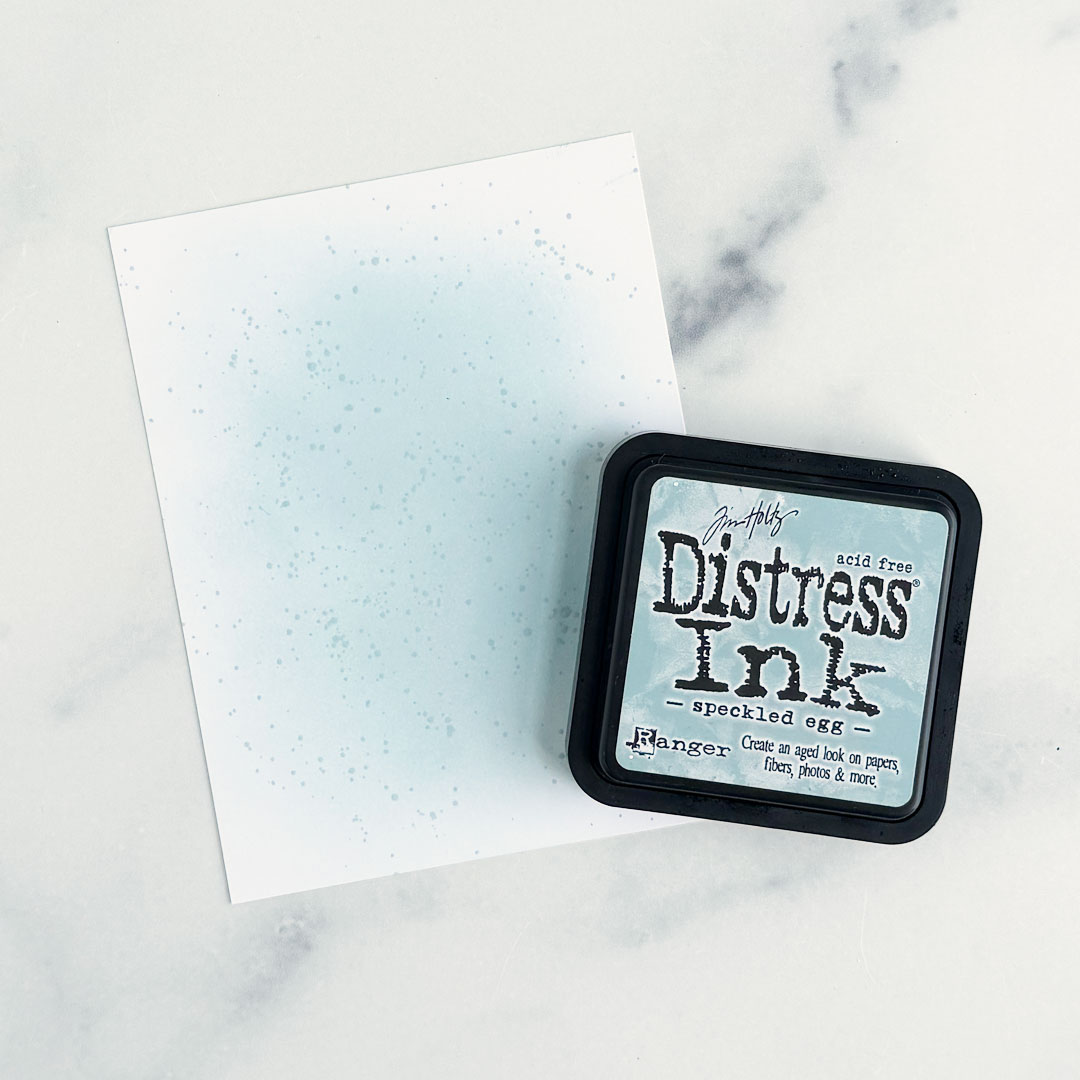
Step 1: Blend Speckled Egg Distress Ink onto an A2 panel of Stamper’s Select White cardstock. Splatter it with the same diluted ink.
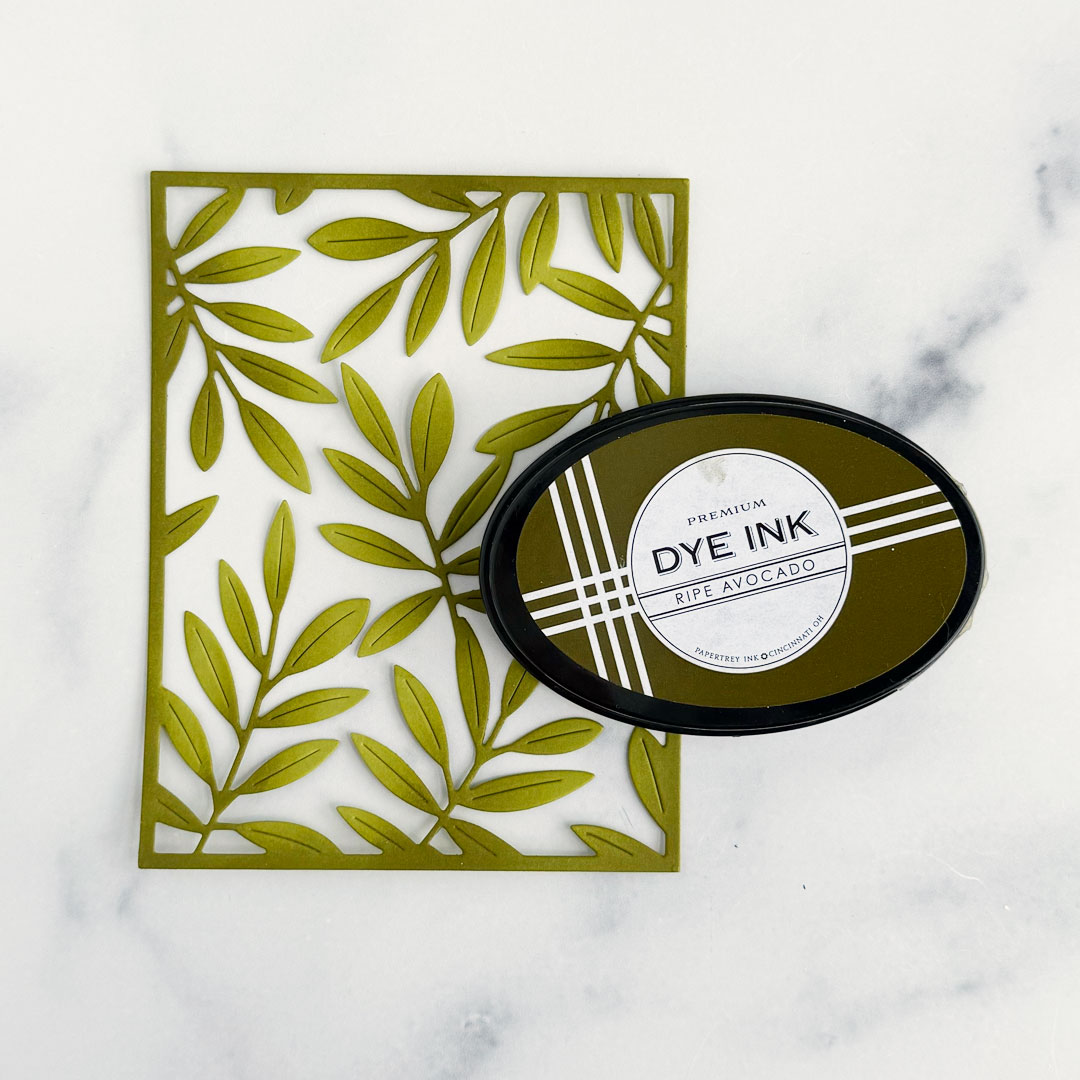
Step 2: Die-cut the Cover Plate: Lush Foliage Die from Simply Chartreuse cardstock and blend Ripe Avocado ink onto the outside of the die-cut and onto the leaves.
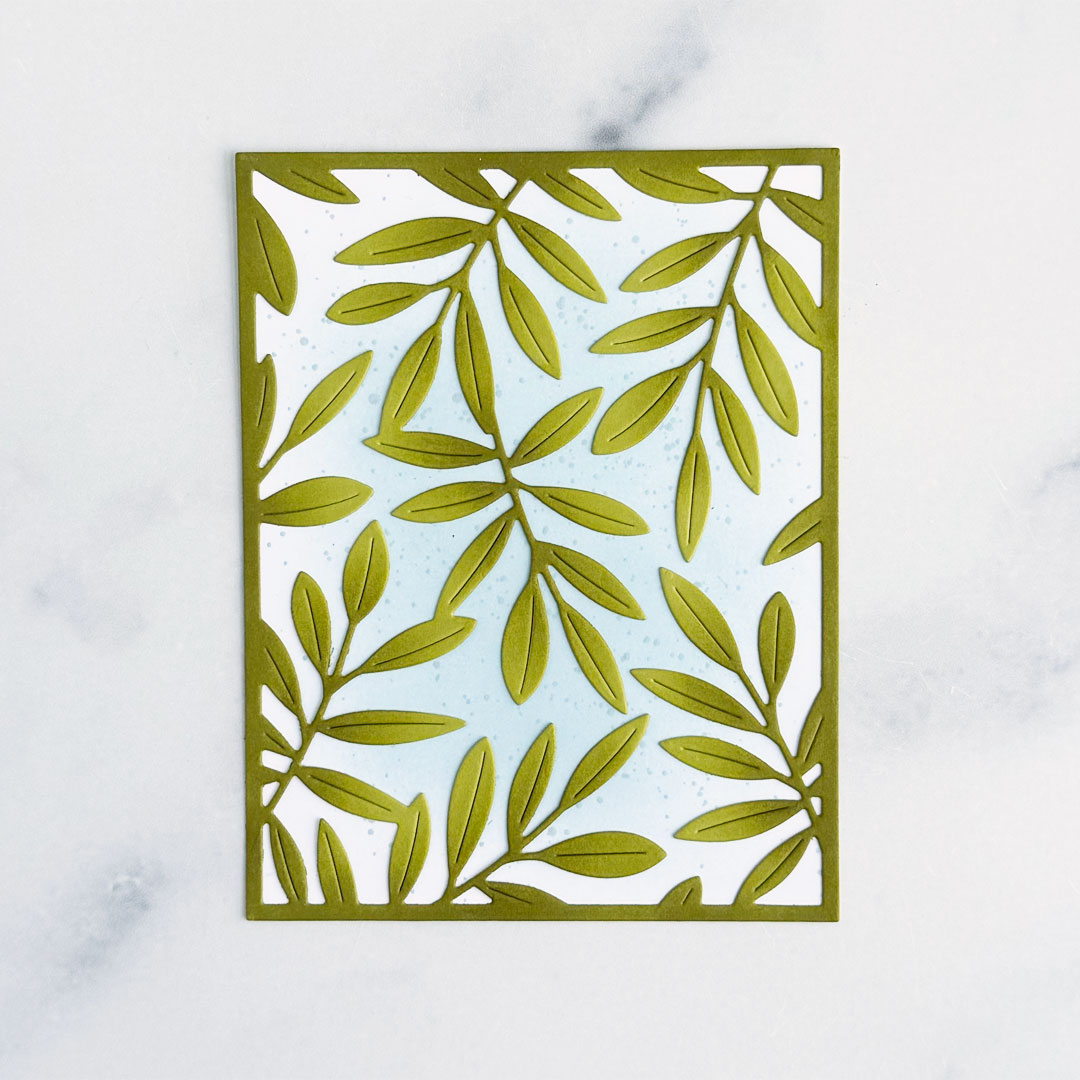
Step 3: Adhere the Lush Foliage Die-cut to the white, ink-blended panel with liquid glue.
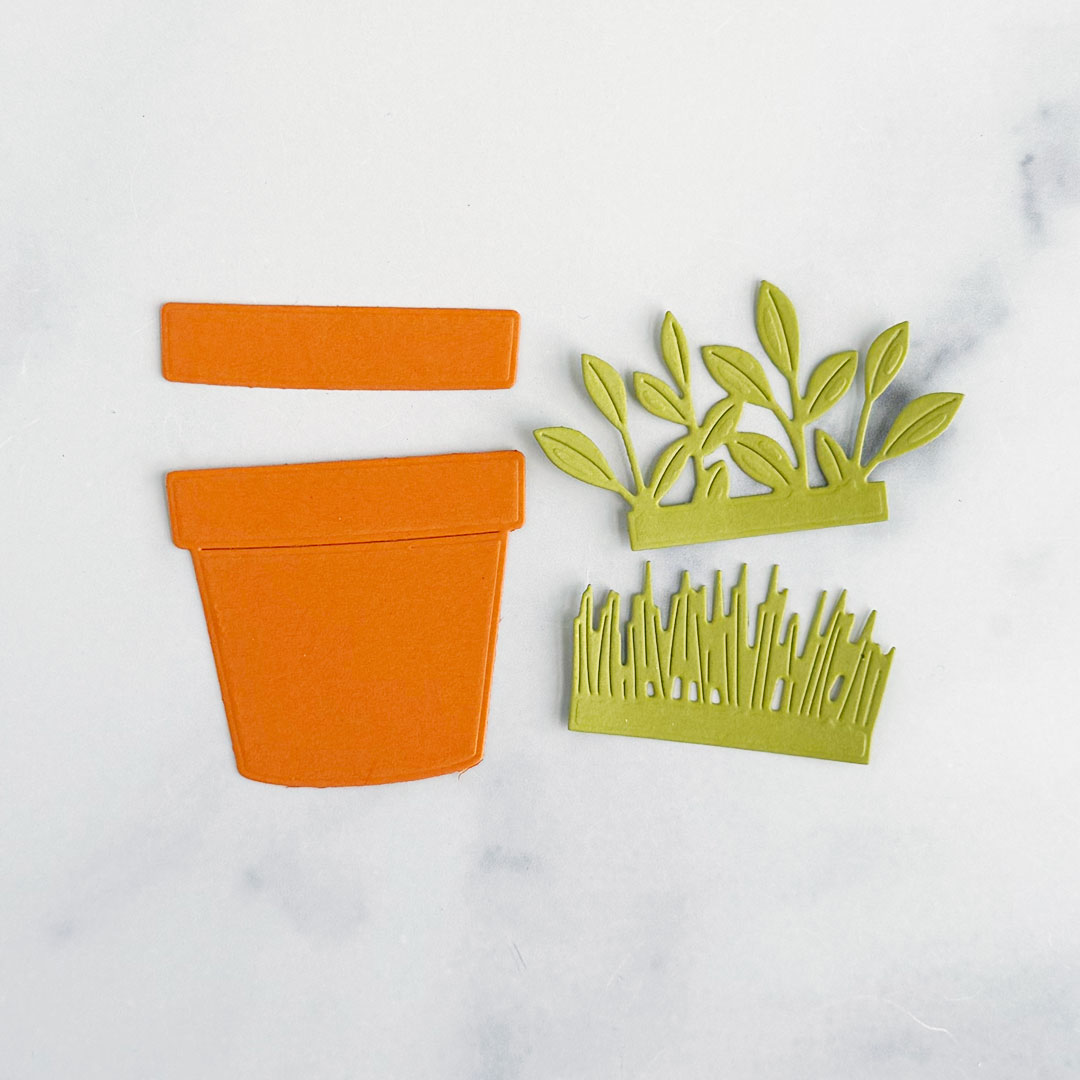
Step: 4: Die-cut the planter, grass and foliage in the Perfectly Potted Die Set from Canyon Clay and Simply Chartreuse cardstock.
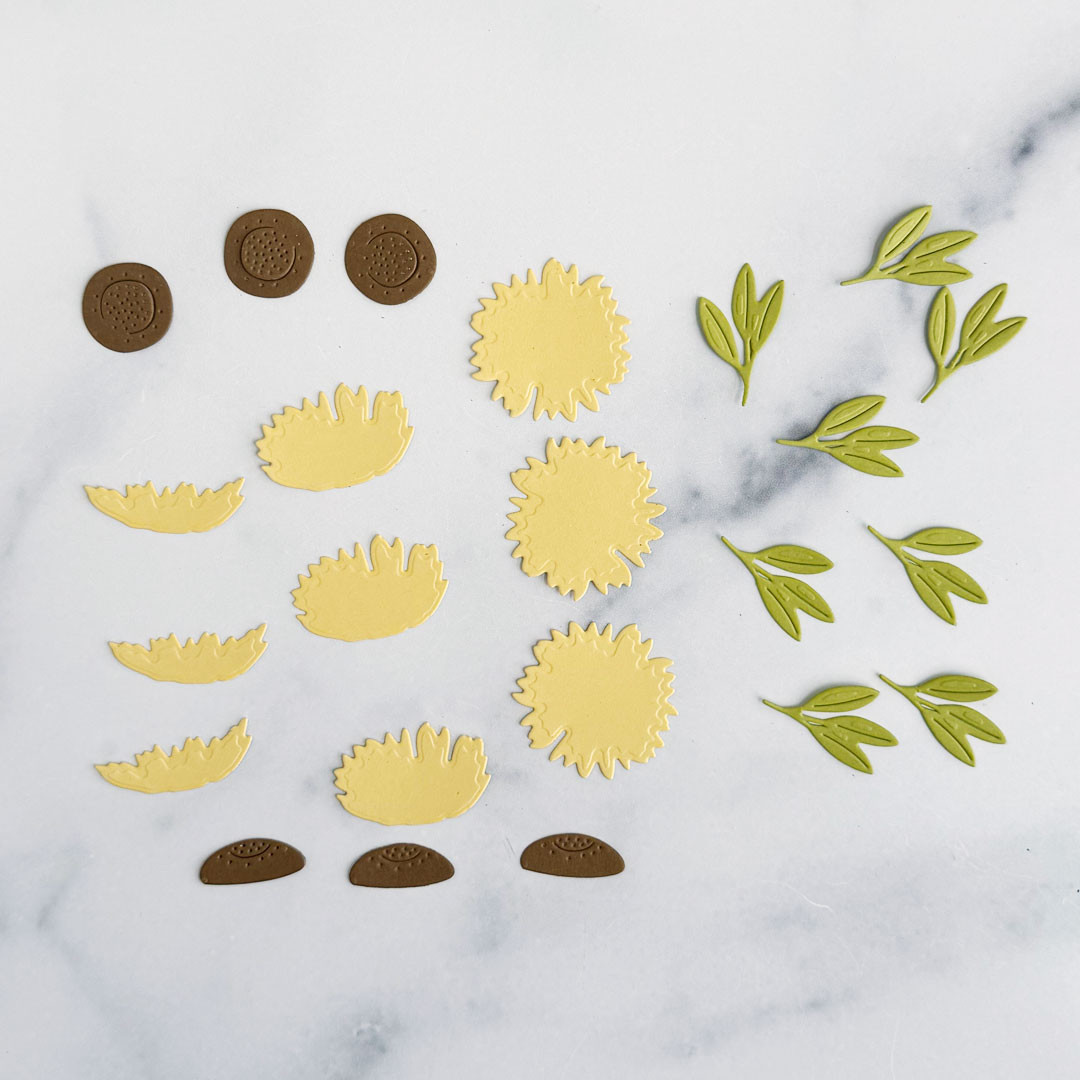
Step 5: Die-cut the sunflowers and leaves in the Into the Blooms: Fall Boot Die Set from Harvest Gold, Cocoa Bean and Simply Chartreuse cardstock.
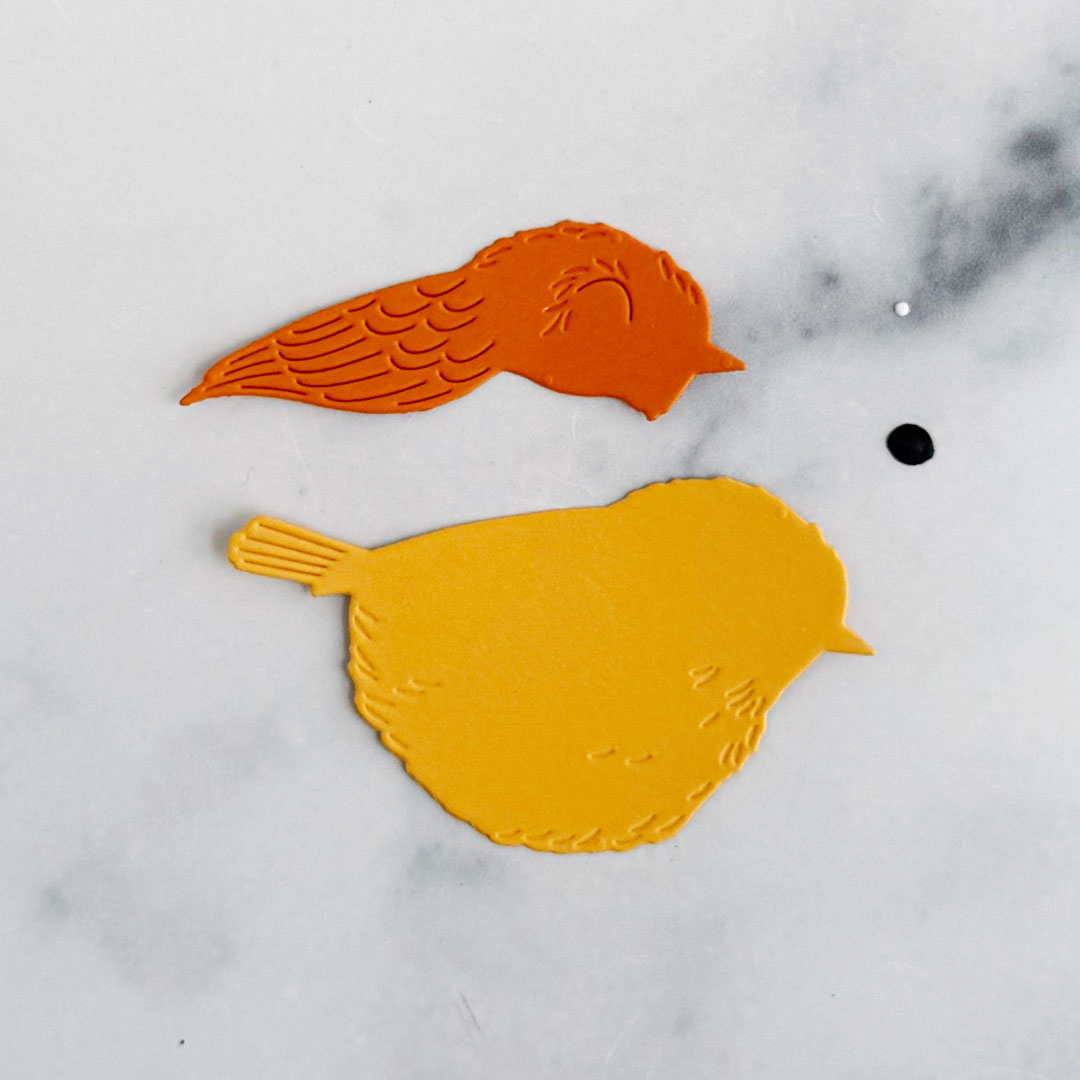
Step 6: Die-cut the bird from the So Tweet Die Set from Summer Sunrise, Canyon Clay, True Black and Stamper’s Select White cardstock.
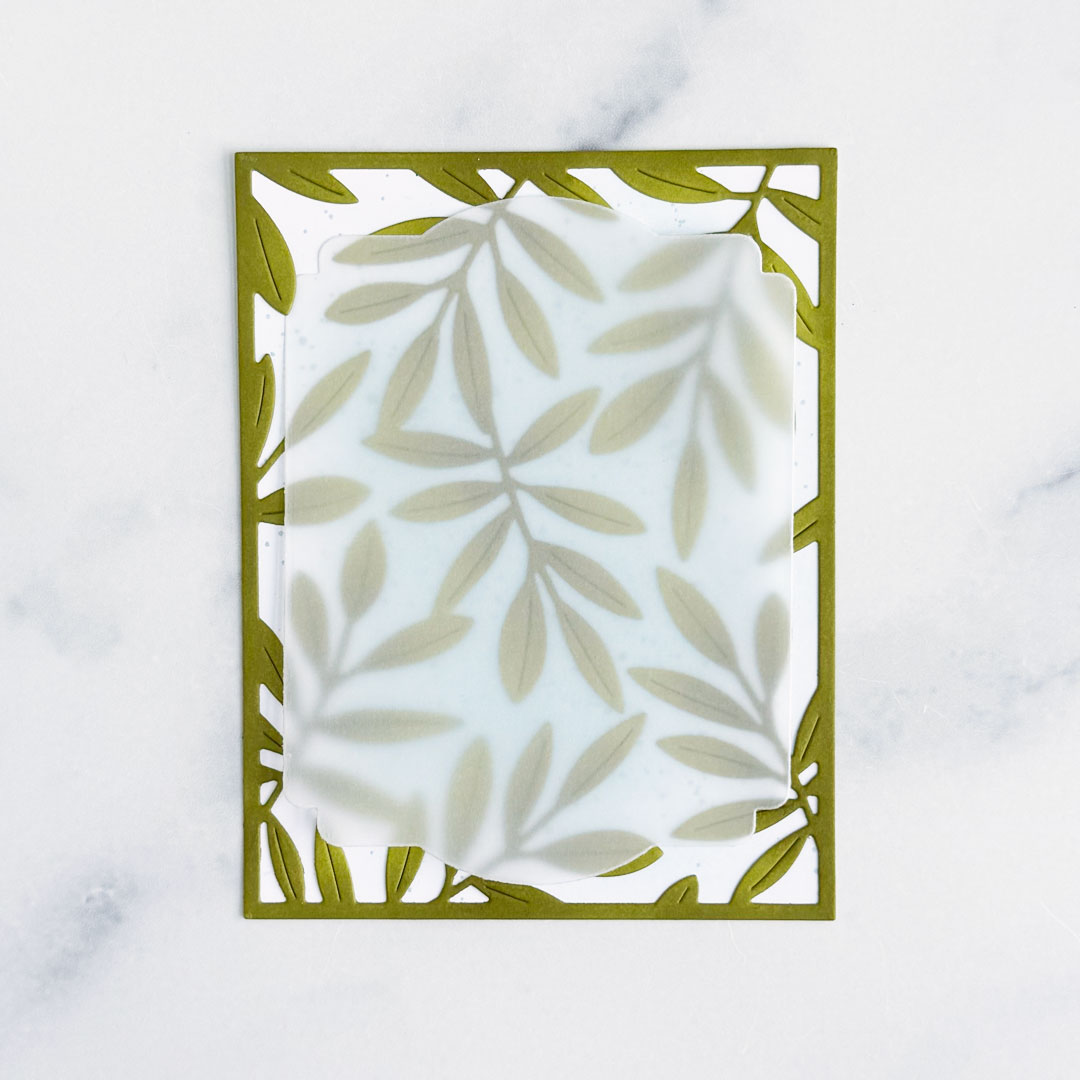
Step 7: Die-cut the largest die in the Mat Stack: Happy Halloween Die Set from vellum and adhere to the background, adding liquid glue only in the center so it will be hidden with the die-cuts.

Step 8: Ink blend the die-cuts with dye inks: Summer Sunrise, Honey Nut, Canyon Clay, Terracotta Tile, Ripe Avocado, True Black and dark brown.
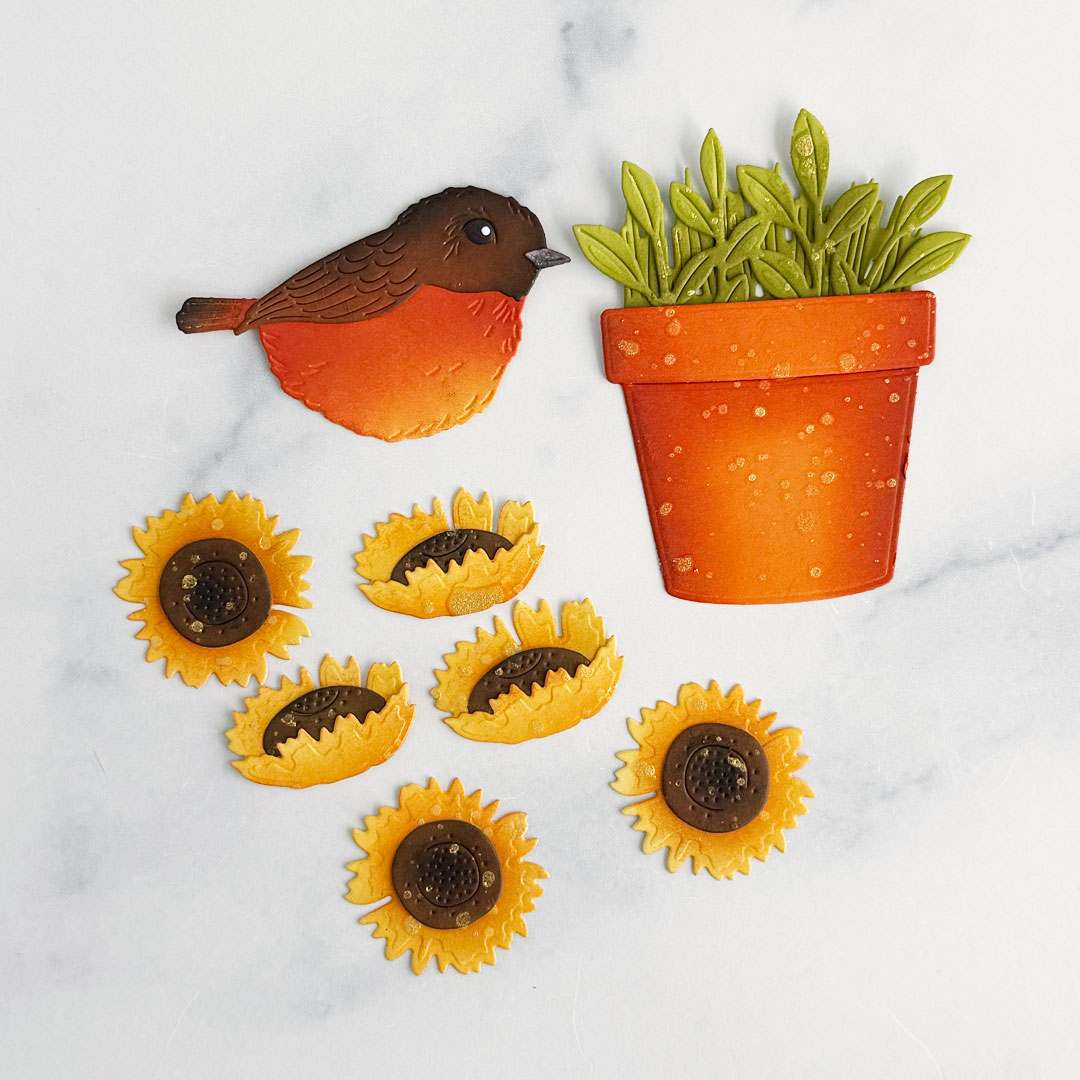
Step 9: Adhere die-cuts together with liquid glue and splatter with Fossilized Amber Distress Spritz.
Step 10: Arrange and adhere die-cuts to the background with foam tape.

Step 11: Stamp the sentiment from the So Tweet Stamp Set onto True Black cardstock with Versamark ink and emboss with detail white embossing powder. Die-cut with the Coordinating Die and adhere with foam tape, adding a double layer where needed.
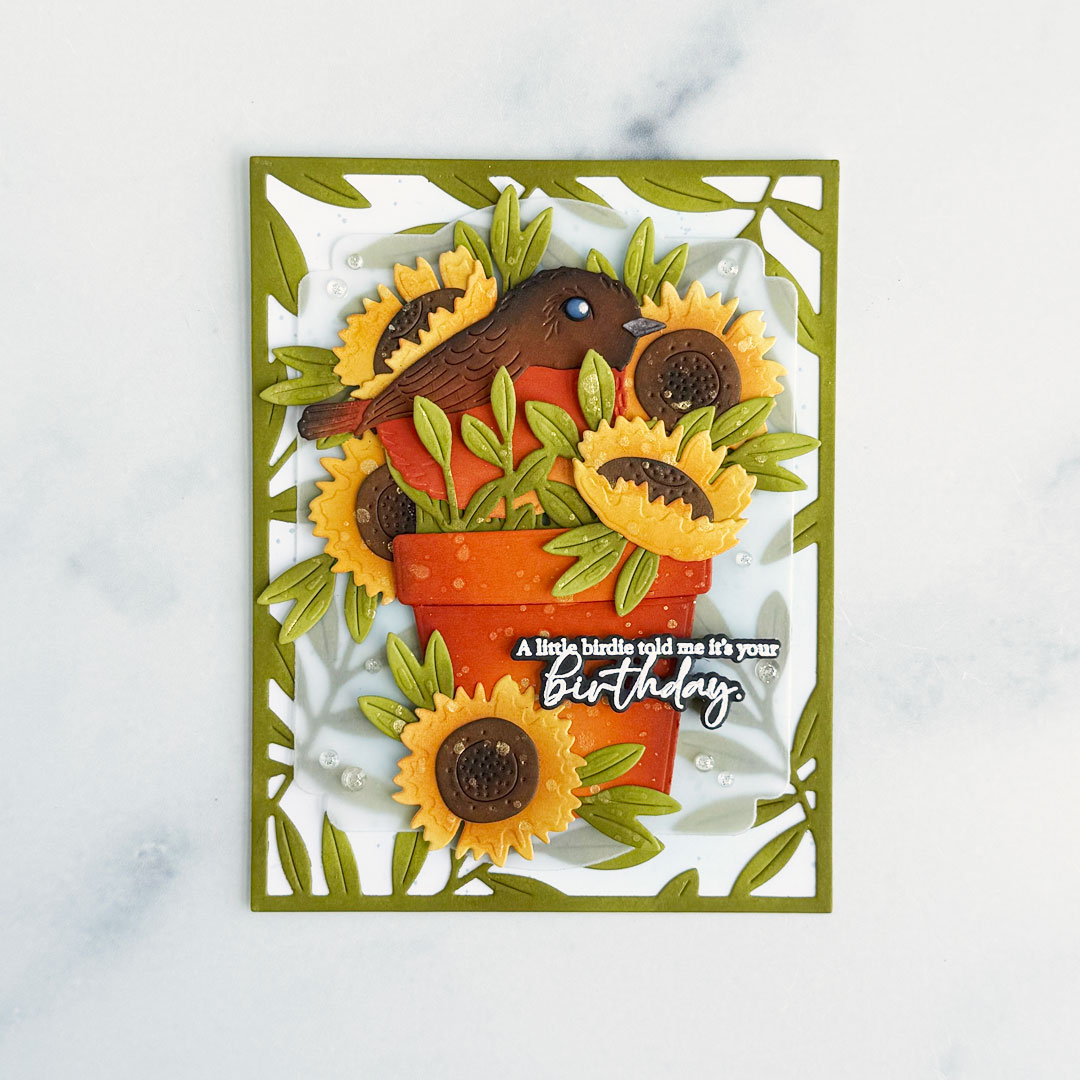
Step 12: Add Glossy Accents to the bird’s eye (it looks cloudy here because it’s still wet, but it will dry perfectly clear) and lots of gold glitter gems to finish off the card and add a bit of shine.
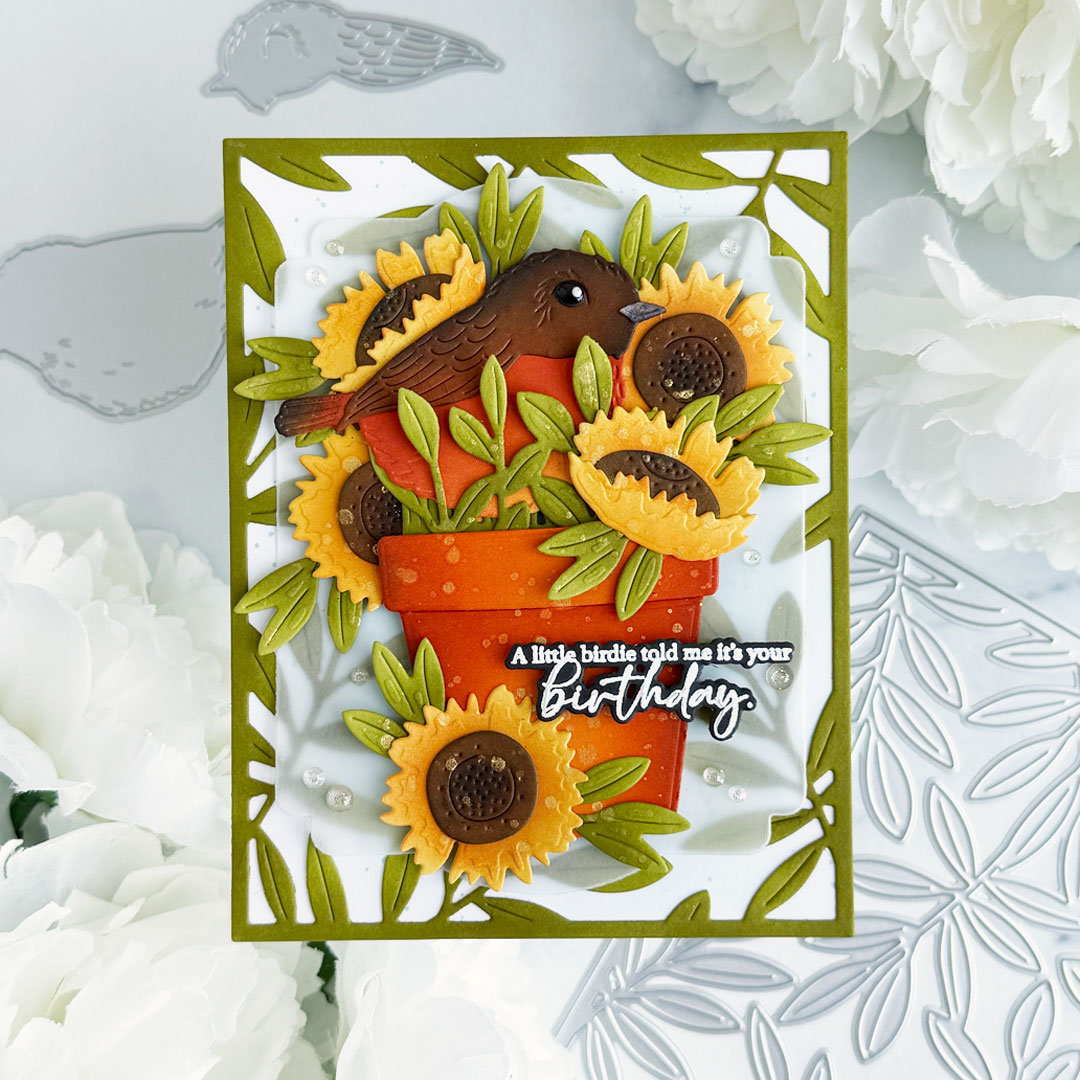
So perfect for an autumn birthday, don’t you think?
The entire August Release is now available in the Papertrey Ink Shop!!
Thanks for stopping by today!! Enjoy your Thursday and wishing those of you in the US a safe and happy holiday weekend!!
Leave a Reply