Hello, fellow cardmakers and crafters!!
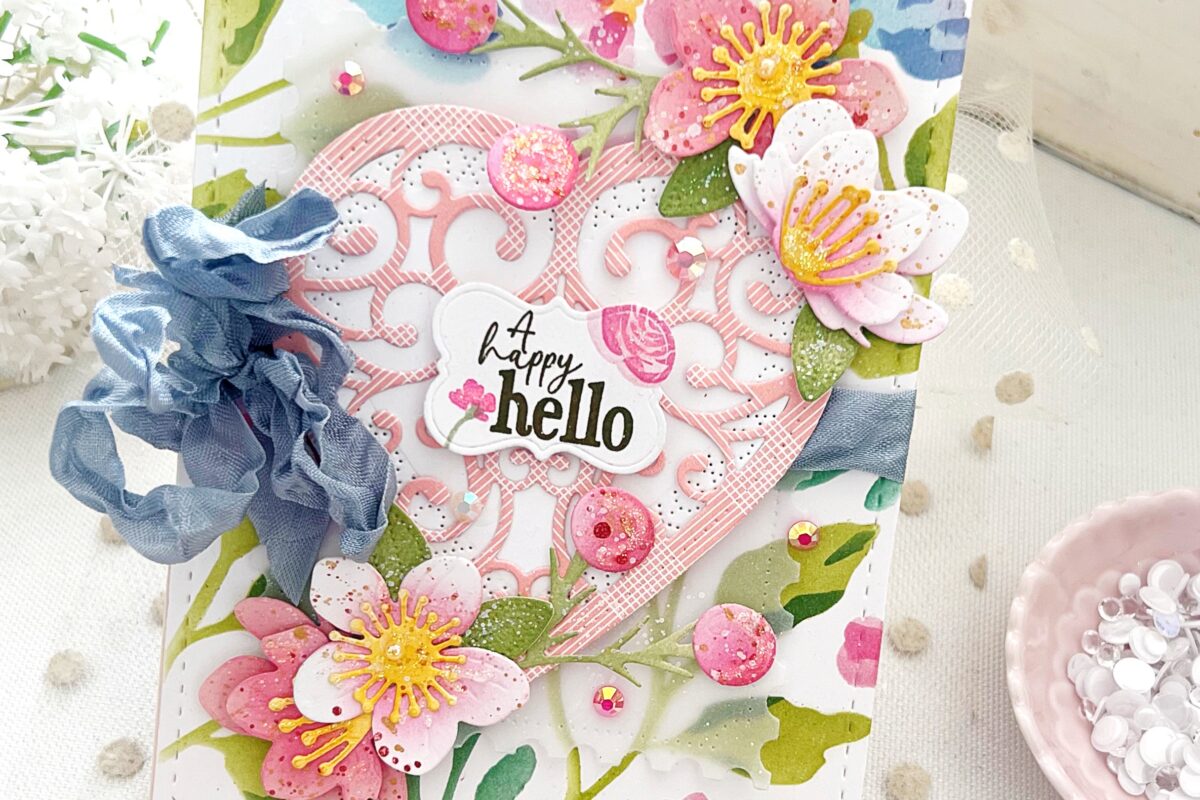
This week’s Project Inspiration is designed by Brenda Noelke (mypapercutcreations). Inspired by the painterly feel of the In the Meadow stencil set, Brenda created a vibrant birthday card filled with dimension, texture, and charming details. Featuring the Always in Bloom stamp set as the focal point and accented with delicate die-cut bees, this design showcases just how beautifully the latest release products work together. Let’s dive into the steps so you can create this stunning design!

Step 1: Stencil the In the Meadow Stencil Set onto an A2 panel of white cardstock using Hibiscus Burst, Raspberry Fizz, Summer Sunrise, Aqua Mist, Pinefeather, Simply Chartreuse, and Ripe Avocado inks.

Step 2: Trim the stenciled panel slightly and adhere it to an A2 panel of Tropical Teal cardstock.

Step 3: Cut a strip of Bitty Big: Aqua Mist cardstock and adhere it horizontally across the background panel.

Step 4: Die-cut the largest shape from the Mat Stack: Thank You So Much Die Set from shimmer vellum. Then, using the Into the Blooms: Wild Wood Die Set, die-cut the bee elements from Lemon Tart, True Black cardstock, and shimmer vellum. Ink blend Summer Sunrise around the edges of the Lemon Tart pieces and Aqua Mist on the vellum wings. Assemble the bees. (Brenda created two additional bees for the final design.)

Step 5: Stamp the flowers and foliage from the Always in Bloom Stamp Set onto white cardstock using the same inks from the stenciled background, plus True Black for the flower centers. Use small blending brushes to softly apply ink to the solid layers, creating a beautiful variation in color.

Step 6: Arrange your floral bouquet and adhere it to the vellum die-cut using liquid glue.

Step 7: Adhere the vellum focal panel to the card background by adding glue only behind the die-cut elements to hide the adhesive.

Step 8: Stamp a sentiment from This Is Big Sentiments in Versamark ink onto True Black cardstock, heat emboss with white embossing powder, and trim into a rectangle. Pop it up with foam tape and adhere. Finish the card by adding the bees with foam tape for extra dimension and charm.

Tips:
– Use ink blending on your stamped layers (especially the solid ones) to achieve soft gradients and color depth without needing extra supplies.
– Shimmer vellum adds elegance and softness—adhere it strategically by hiding the glue behind die-cuts.
– Don’t be afraid to mix product lines—pairing In the Meadow with Always in Bloom creates a gorgeous contrast of texture and technique!
We’d love to see your take on this design! Don’t forget to tag us on Instagram or share your creations in the comments. Whether you’re celebrating a birthday or just sending a heartfelt hello, this layered card is sure to bring joy to any recipient.
Supply List:
Stamps:
Dies:
Stencil:
Ink: CLICK HERE
Hibiscus Burst, Raspberry Fizz, Summer Sunrise, Simply Chartreuse, Ripe Avocado, Aqua Mist, Pinefeather, True Black, Versamark
Cardstock: CLICK HERE
Tropical Teal, Lemon Tart, True Black, Bitty Big: Aqua Mist, Stamper’s Select White
Other Supplies:
Shimmer vellum, white embossing powder, liquid glue, foam tape


Leave a Reply