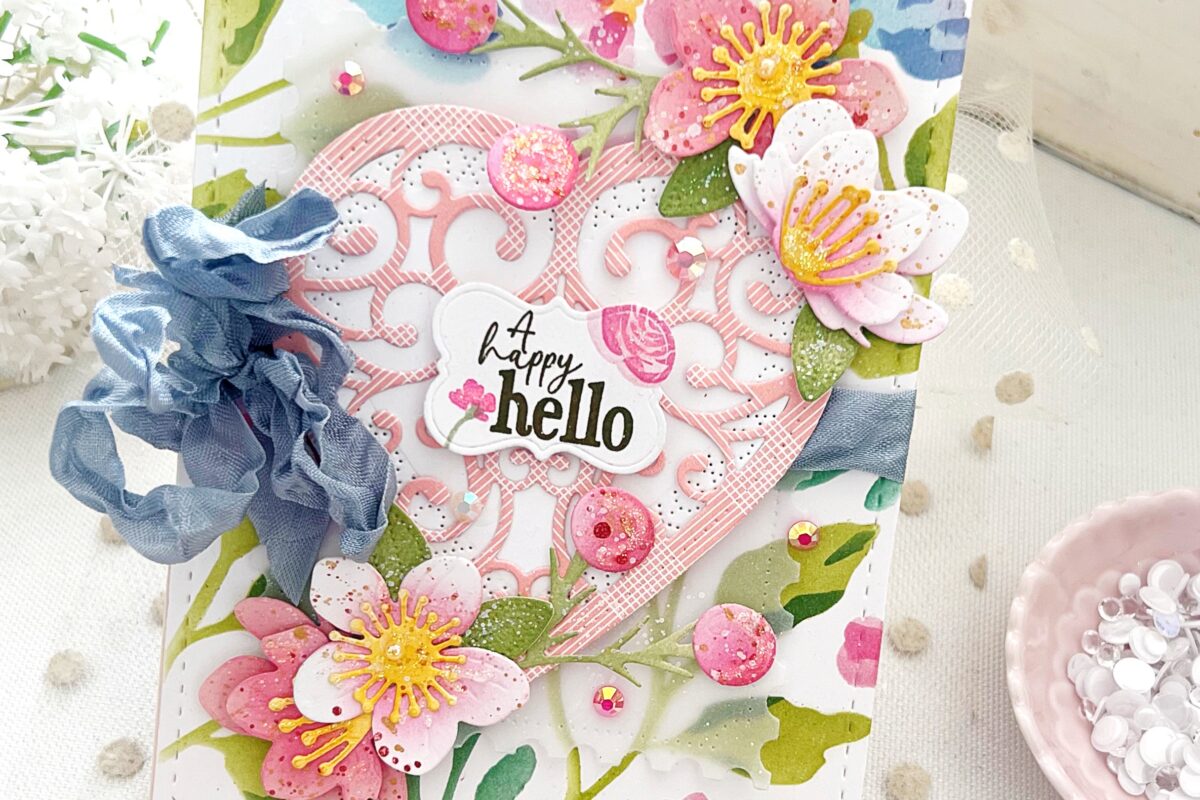
This week’s Project Inspiration is designed by Kelly Lunceford. There’s something magical about creating with the beauty of nature in mind — and these elegant iris birthday cards do just that. Inspired by the seasonal blooms outside her window, Kelly brought the garden indoors with rich purples, dimensional petals, and a sweet postal motif. Even more special? A tiny postmark detail that quietly honors her late father’s birthday — a tender reminder of how crafting lets us celebrate life’s little moments in meaningful ways.
Before we get started, let’s hear from Kelly..
“I often find myself being inspired by nature and what’s blooming around me! This week, the irises have all decided to put on a show, and I couldn’t resist using the Iris dies to make some birthday cards fitting for the season! I chose a postal theme and I am always happy to use the tiny postmark date because it happens to be my late father‘s birthday! It’s just a small little reminder of him that makes my heart happy!”

STEP 1:
Cut an A2 sized panel of Lilac Grace card stock and attach the trellis piece using liquid glue. I used the Cover Plate: Trellis die and Amethyst Allure card stock. Add a little bit of Royal Velvet ink around the edges for added dimension and detail.

STEP 2:
Cut a rectangle of white card stock slightly larger than the opening of the postal frame. Add some ink around the edges and some ink splatter. Stamp the postage images and then add the frame using liquid glue.

STEP 3:
Die cut all of the pieces you will need for the flowers and leaves. Use blender, brushes, and ink pads to add the color. Use liquid glue to adhere them together.

STEP 4:
Add the flowers to the postal frame and the birthday sentiment at the bottom and attach it to the base panel using foam squares.

STEP 5:
Tuck leaves in here and there using liquid glue and foam squares until you are satisfied with the arrangement.

STEP 6:
Add the main panel to a top folding card base. Add glitter to the flowers and sequins around the frame.

We’d love to see your take on this design! Don’t forget to tag us on Instagram @PapertreyInk or share your creations in the comments.
SUPPLIES:
STAMPS:
Vintage Postage, Penciled Outlines, Just Sentiments: Belated Birthday
DIES:
Into the Blooms: Iris, Cover Plate: Trellis, Border Bling: Skinny Postage Frames
INK:
Amethyst Allure, Royal Velvet, Summer Sunrise, Green Parakeet, New Leaf, Hawaiian Shores, True Black, Weathervane
CARDSTOCK:
Stamper’s Select White, Amethyst Allure, Lilac Grace
OTHER SUPPLIES:
Sequins, Glitter


Leave a Reply