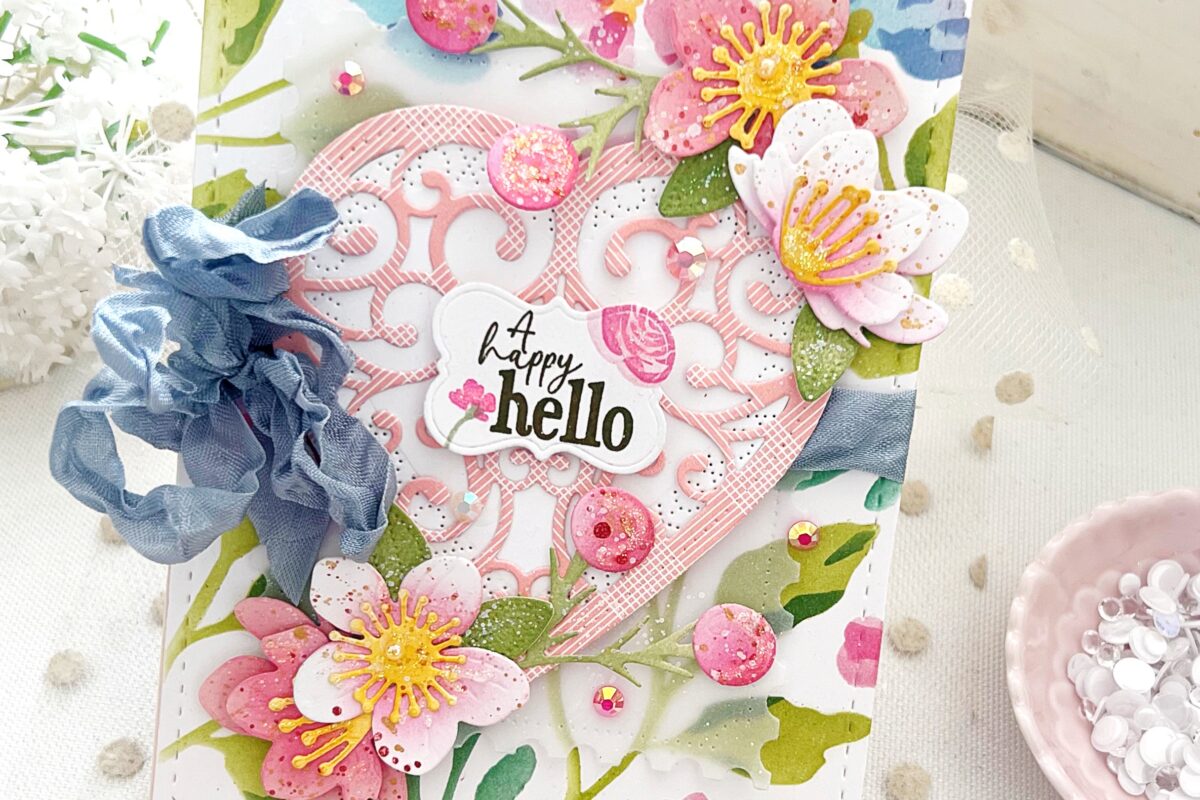
Hi everyone! Penny here, and I’m thrilled to bring you this week’s Project Inspiration by Bobbi Lemanskifeaturing the Into the Blooms: Cute as a Button Dies.
With Valentine’s Day around the corner, We’ve got love and hearts on my brain! Pinks and reds make me happy, and we always love to throw in a little aqua!
This card features a few of the new products from the December 2024 release and a couple from prior releases.

STEP 1:
To create this A7-sized card, cut one piece of Stamper’s Select White cardstock, 10” wide X 7” tall, and fold in half to make a 5” X 7” card.
Using the Into the Blooms: Cute as a Button Dies, cut button layers from Stamper’s Select White, Aqua Mist, and Raspberry Fizz cardstock. Combine layers to make cute and unique buttons from the three colors. Die cut two sets of leafy stems from Simply Chartreuse cardstock.
Using the Elegant Heart Die, die cut a heart from Hibiscus Burst cardstock.
Using the All You Need is Love Die, cut the mini envelope from Pure Poppy cardstock. Glue button outline designs on the envelope outer section for a fun and whimsical design.

STEP 2:
Using the elongated heart stamp from the Wings of Love Stamp Set, stamp hearts on a 5” X 7” white card front panel using Aqua Mist ink. The hearts don’t have to be perfect—it’s part of the charm of this card!

STEP 3:
Attach the red mini envelope to the card front panel using foam tabs to make the base of the envelope stand out. Allow enough room for the Elegant Heart to “burst” from the inside of the envelope. Glue heart in place over the envelope’s red flap.

STEP 4:
Assemble the card, arranging the button flowers and leaves to burst from the envelope and in front of the heart. Glue in place.
Die cut the “Love” word from the Larger Than Life: Love Die set using Hibiscus Burst and Raspberry Fizz. Attach the raspberry heart’s interior heart-shaped piece to the Hibiscus Love die cut for a two-toned effect. Attach the “Love” word right below the envelope using glue at the top and foam tabs at the bottom to complete the card.

Supplies Used:
•Stamps: Wings of Love Stamp Set
•Dies: Into the Blooms: Cute as a Button Dies, Elegant Heart Die, Larger Than Life: Love Die, All You Need is Love Die
•Paper: Stamper’s Select White, Aqua Mist, Raspberry Fizz, Hibiscus Burst, Pure Poppy
•Other: Double Adhesive Tape Runner, Bee Creative Precision Tip Glue, Foam Tabs


Leave a Reply