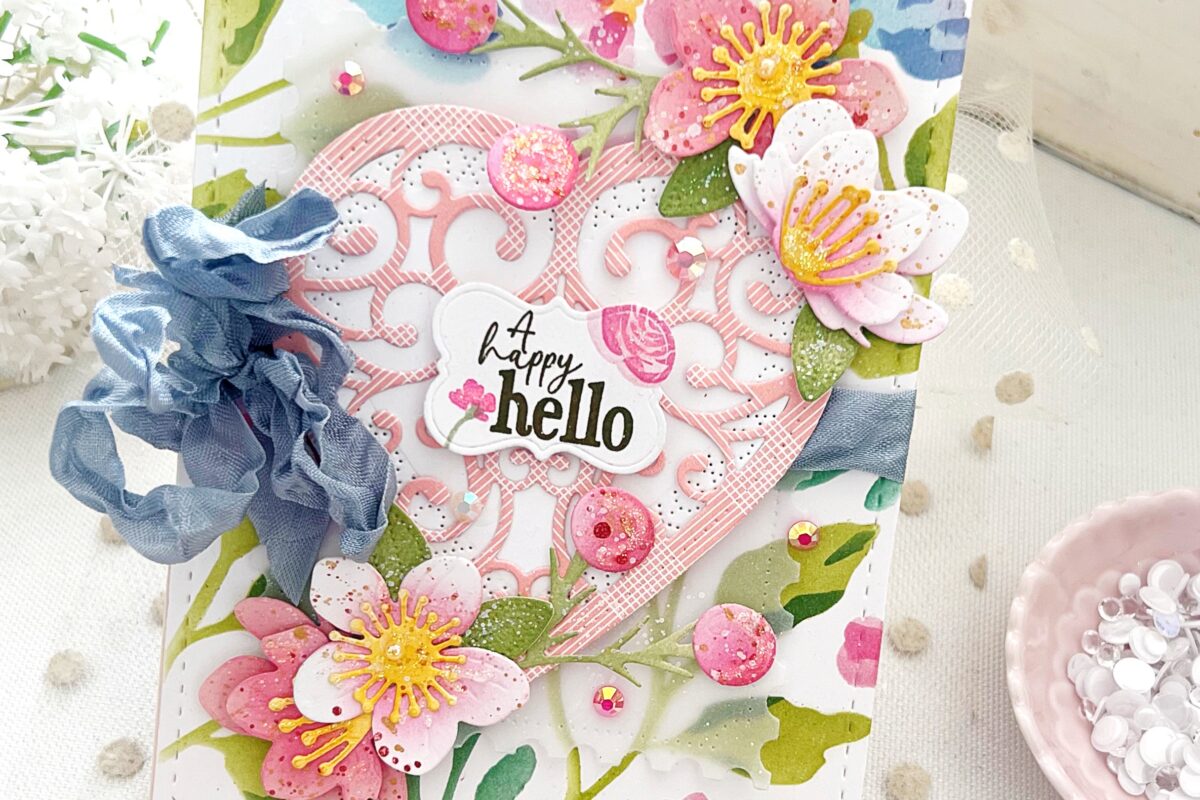
Birthday cards are one of my favorite ways to celebrate the people I love, and this project brings all the charm and sweetness to your cardmaking!
Using the Perfect Presents Dies and Beautiful Bows Stencils, this card is a delightful mix of shimmer, dimension, and vibrant colors.
Follow along to create your own one-of-a-kind birthday card that’s sure to bring joy to anyone receiving it.

Step 1: Create the Perfect Present
•Die cut the box and topper from the Perfect Presents Die Set using Lilac Grace Cardstock.

Step 2: Add Pattern to the Box
•Stencil a pattern on the box using the Perfect Presents Stencils and Hibiscus Burst Ink.

Step 3: Add Shimmer and Dimension
•Stencil Nuvo Glimmer Paste in Moonstone over the Hibiscus Burst ink to add a touch of shimmer and texture to your package.

Step 4: Prepare the Background
•Die cut a rectangle using the Love to Layer: Rectangle Die Set and stencil a bow near the top using the Beautiful Bows Stencils, Hibiscus Burst Ink, and Glimmer Paste.

Step 5: Assemble the Gift
•Adhere the present and ribbon to the front of the stenciled rectangle, just below the bow.

Step 6: Add Floral and Tag Details
•Die cut flowers and leaves from the Into the Blooms: Daisies Die Set, and adhere them to the present.
•Stamp and die cut a coordinating tag using the Sweet Celebrations Stamp Set.
•Add distress ink splatters and sponge ink over the top of the rectangle for extra texture.

Step 7: Build Your Card Base
•Adhere the stenciled and assembled rectangle to a card base topped with the Border Bling: Tin Stitch Die.

Step 8: Add the Sentiment
•Die cut and stamp a sentiment using the Birthday Your Way II Stamp Set and the coordinating die.
•Adhere the sentiment below the present, and finish the card with adhesive gems for a little extra sparkle.

This project is the perfect way to make someone’s birthday feel extra special. With its playful patterns, glimmering accents, and heartfelt details, this card is a true celebration in itself! Whether you’re crafting for a loved one or stocking up your card stash, the Perfect Presents Dies and Beautiful Bows Stencils are sure to become fast favorites.
We’d love to see your take on this project—tag us with #PapertreyInk to share your creations!
Supplies Used:
Stamps:
Birthday Your Way II Stamp Set
Ink:
Paper:
Stamper’s Select White Cardstock
Dies:
Into the Blooms: Daisies Die Set
Love to Layer: Rectangle Die Set
Stencils:


Leave a Reply