


Welcome to our Day 2 of the April Countdown. Here at Papertrey Ink we love to bring you tons of variety. If you like more simple designs or something a little more challenging, we have you covered. Each of our newly released products can be used in so many different ways to fit your particular style, we are excited to show you how they come to life!
Hi, it’s Melissa, and I’m so thrilled to share our new products with you. We absolutely love bringing you the most amazing images made from the highest quality materials for you to add to your creative toolkit. I’m going to show you what I created with these wonderful products and then we’ll show you what the other designers made. I’ve used the lovely, new Pro Stamper’s Box : April and our delightful Into the Blooms: Mushrooms and Elegant Edges: Decor dies, and Sapling Frame stamps and dies. You’ll adore everything we have to share today, so let’s get started.

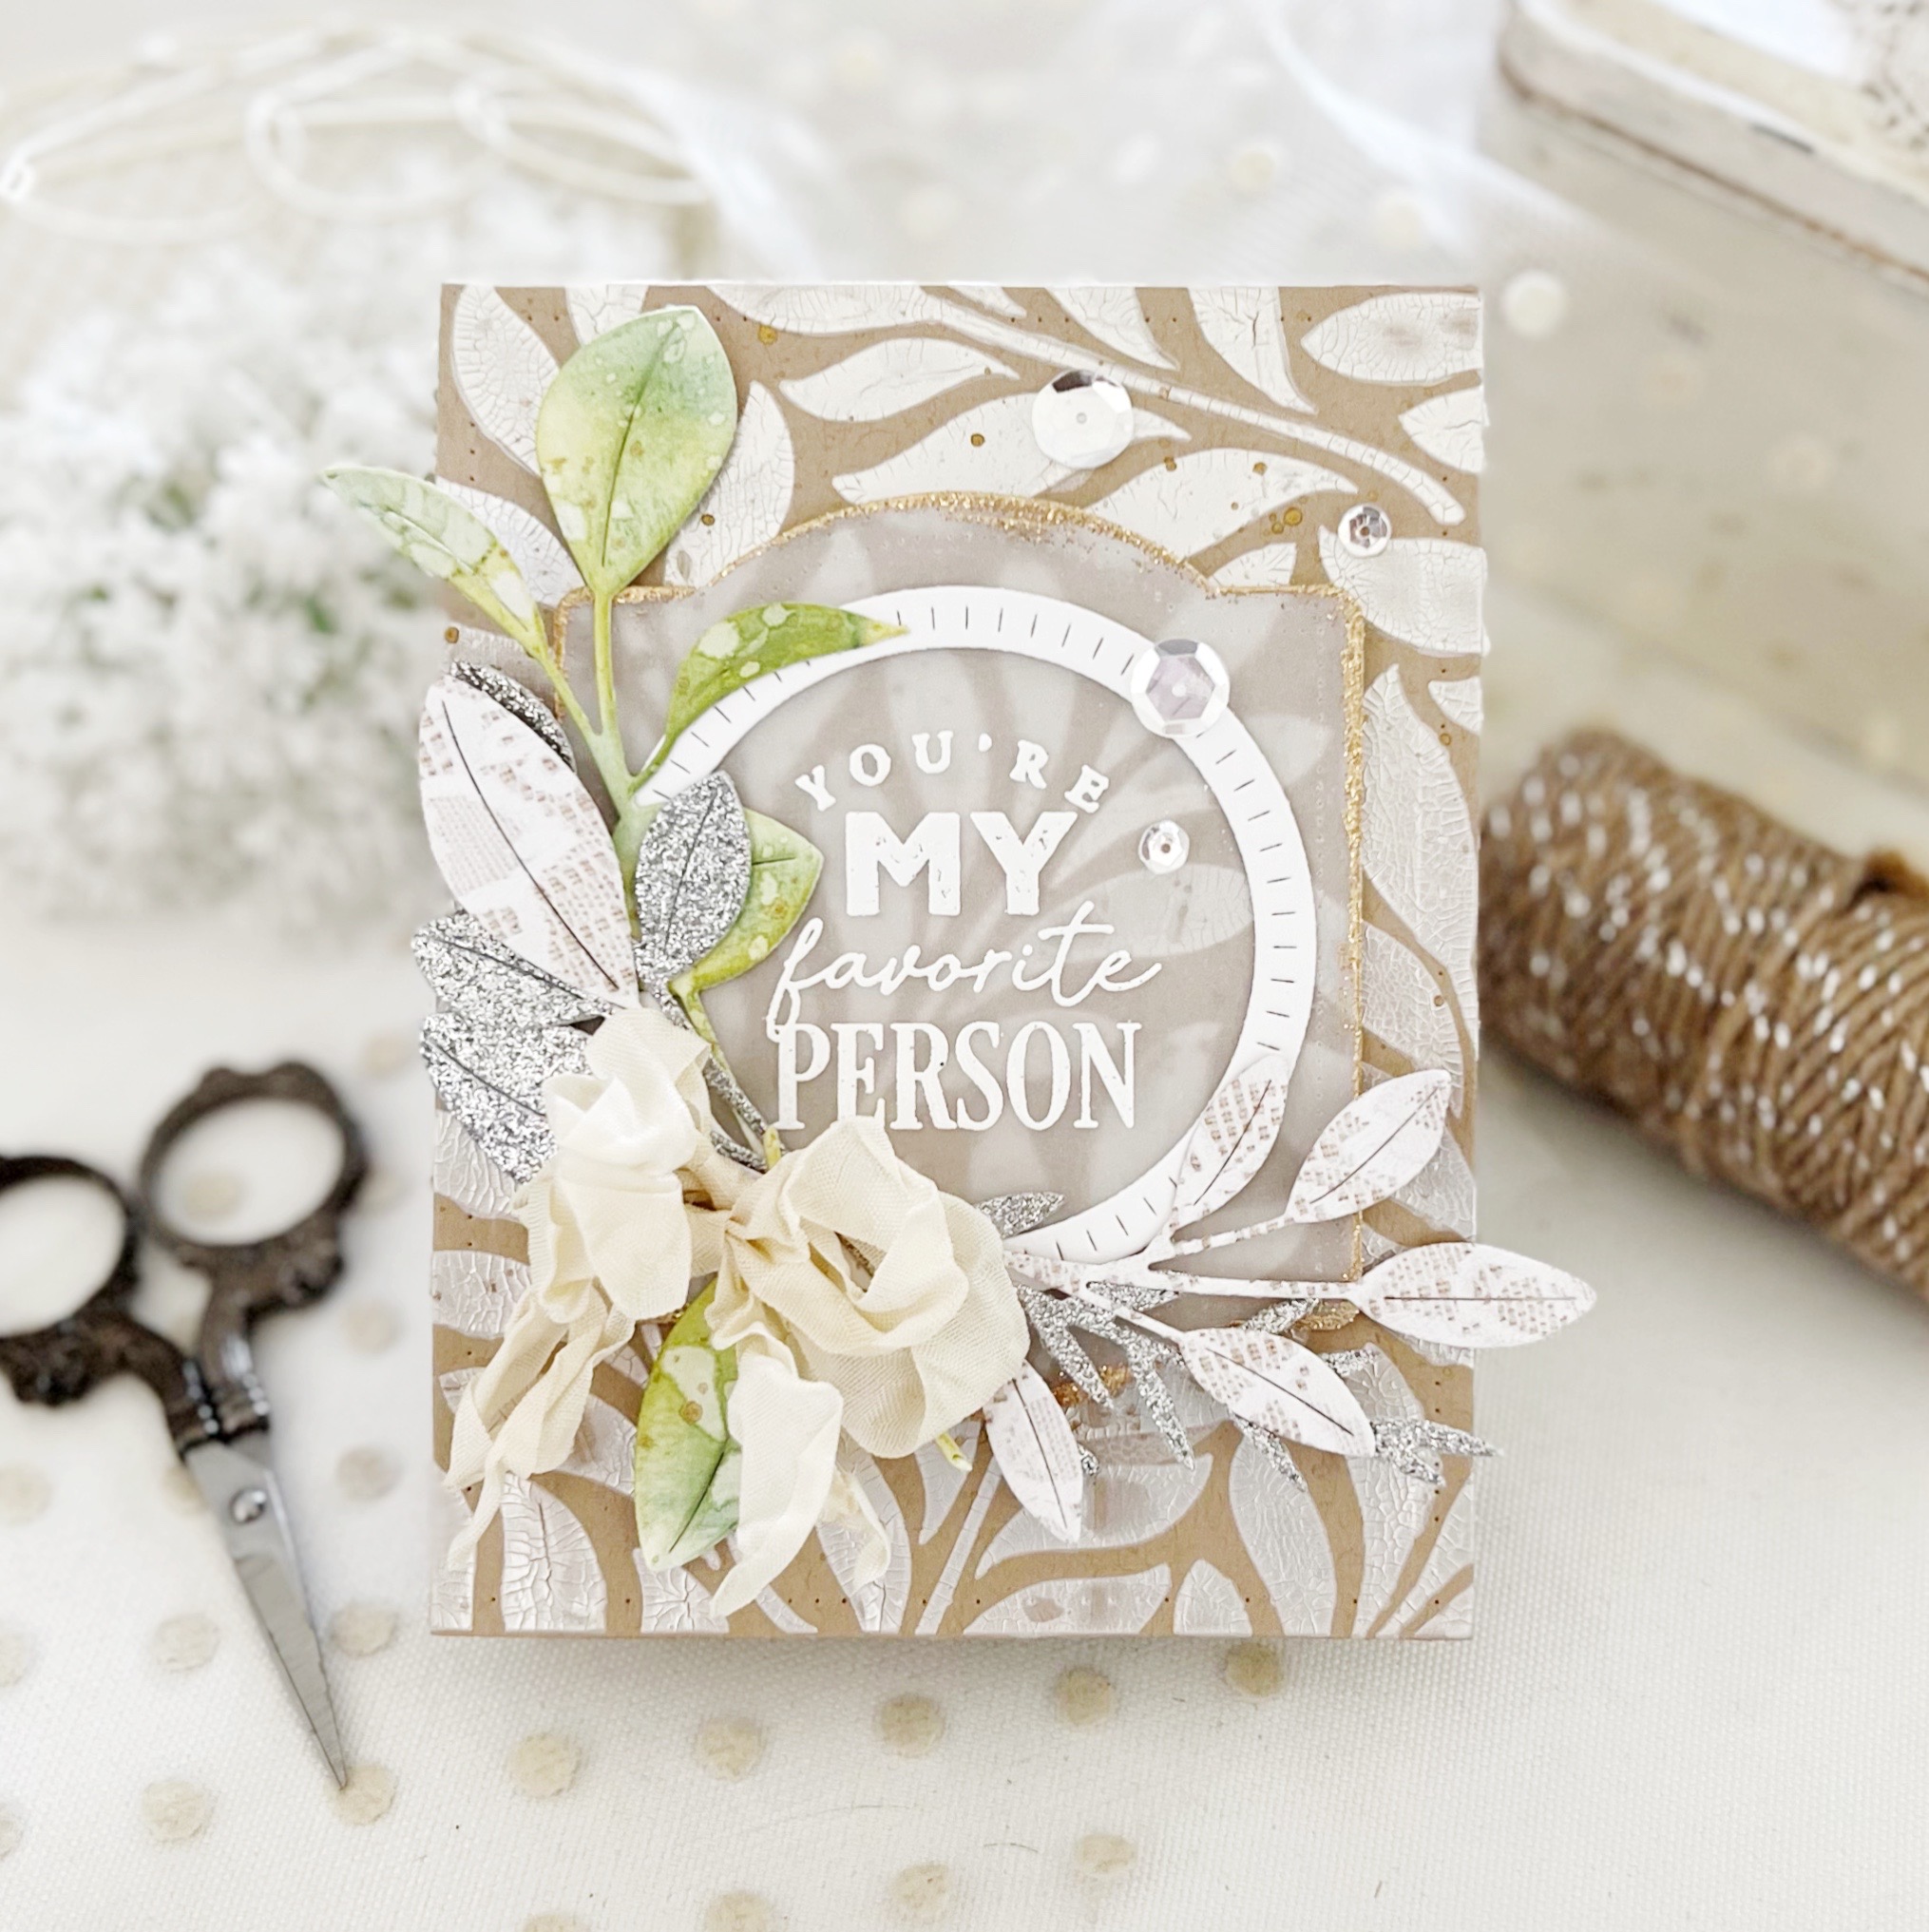
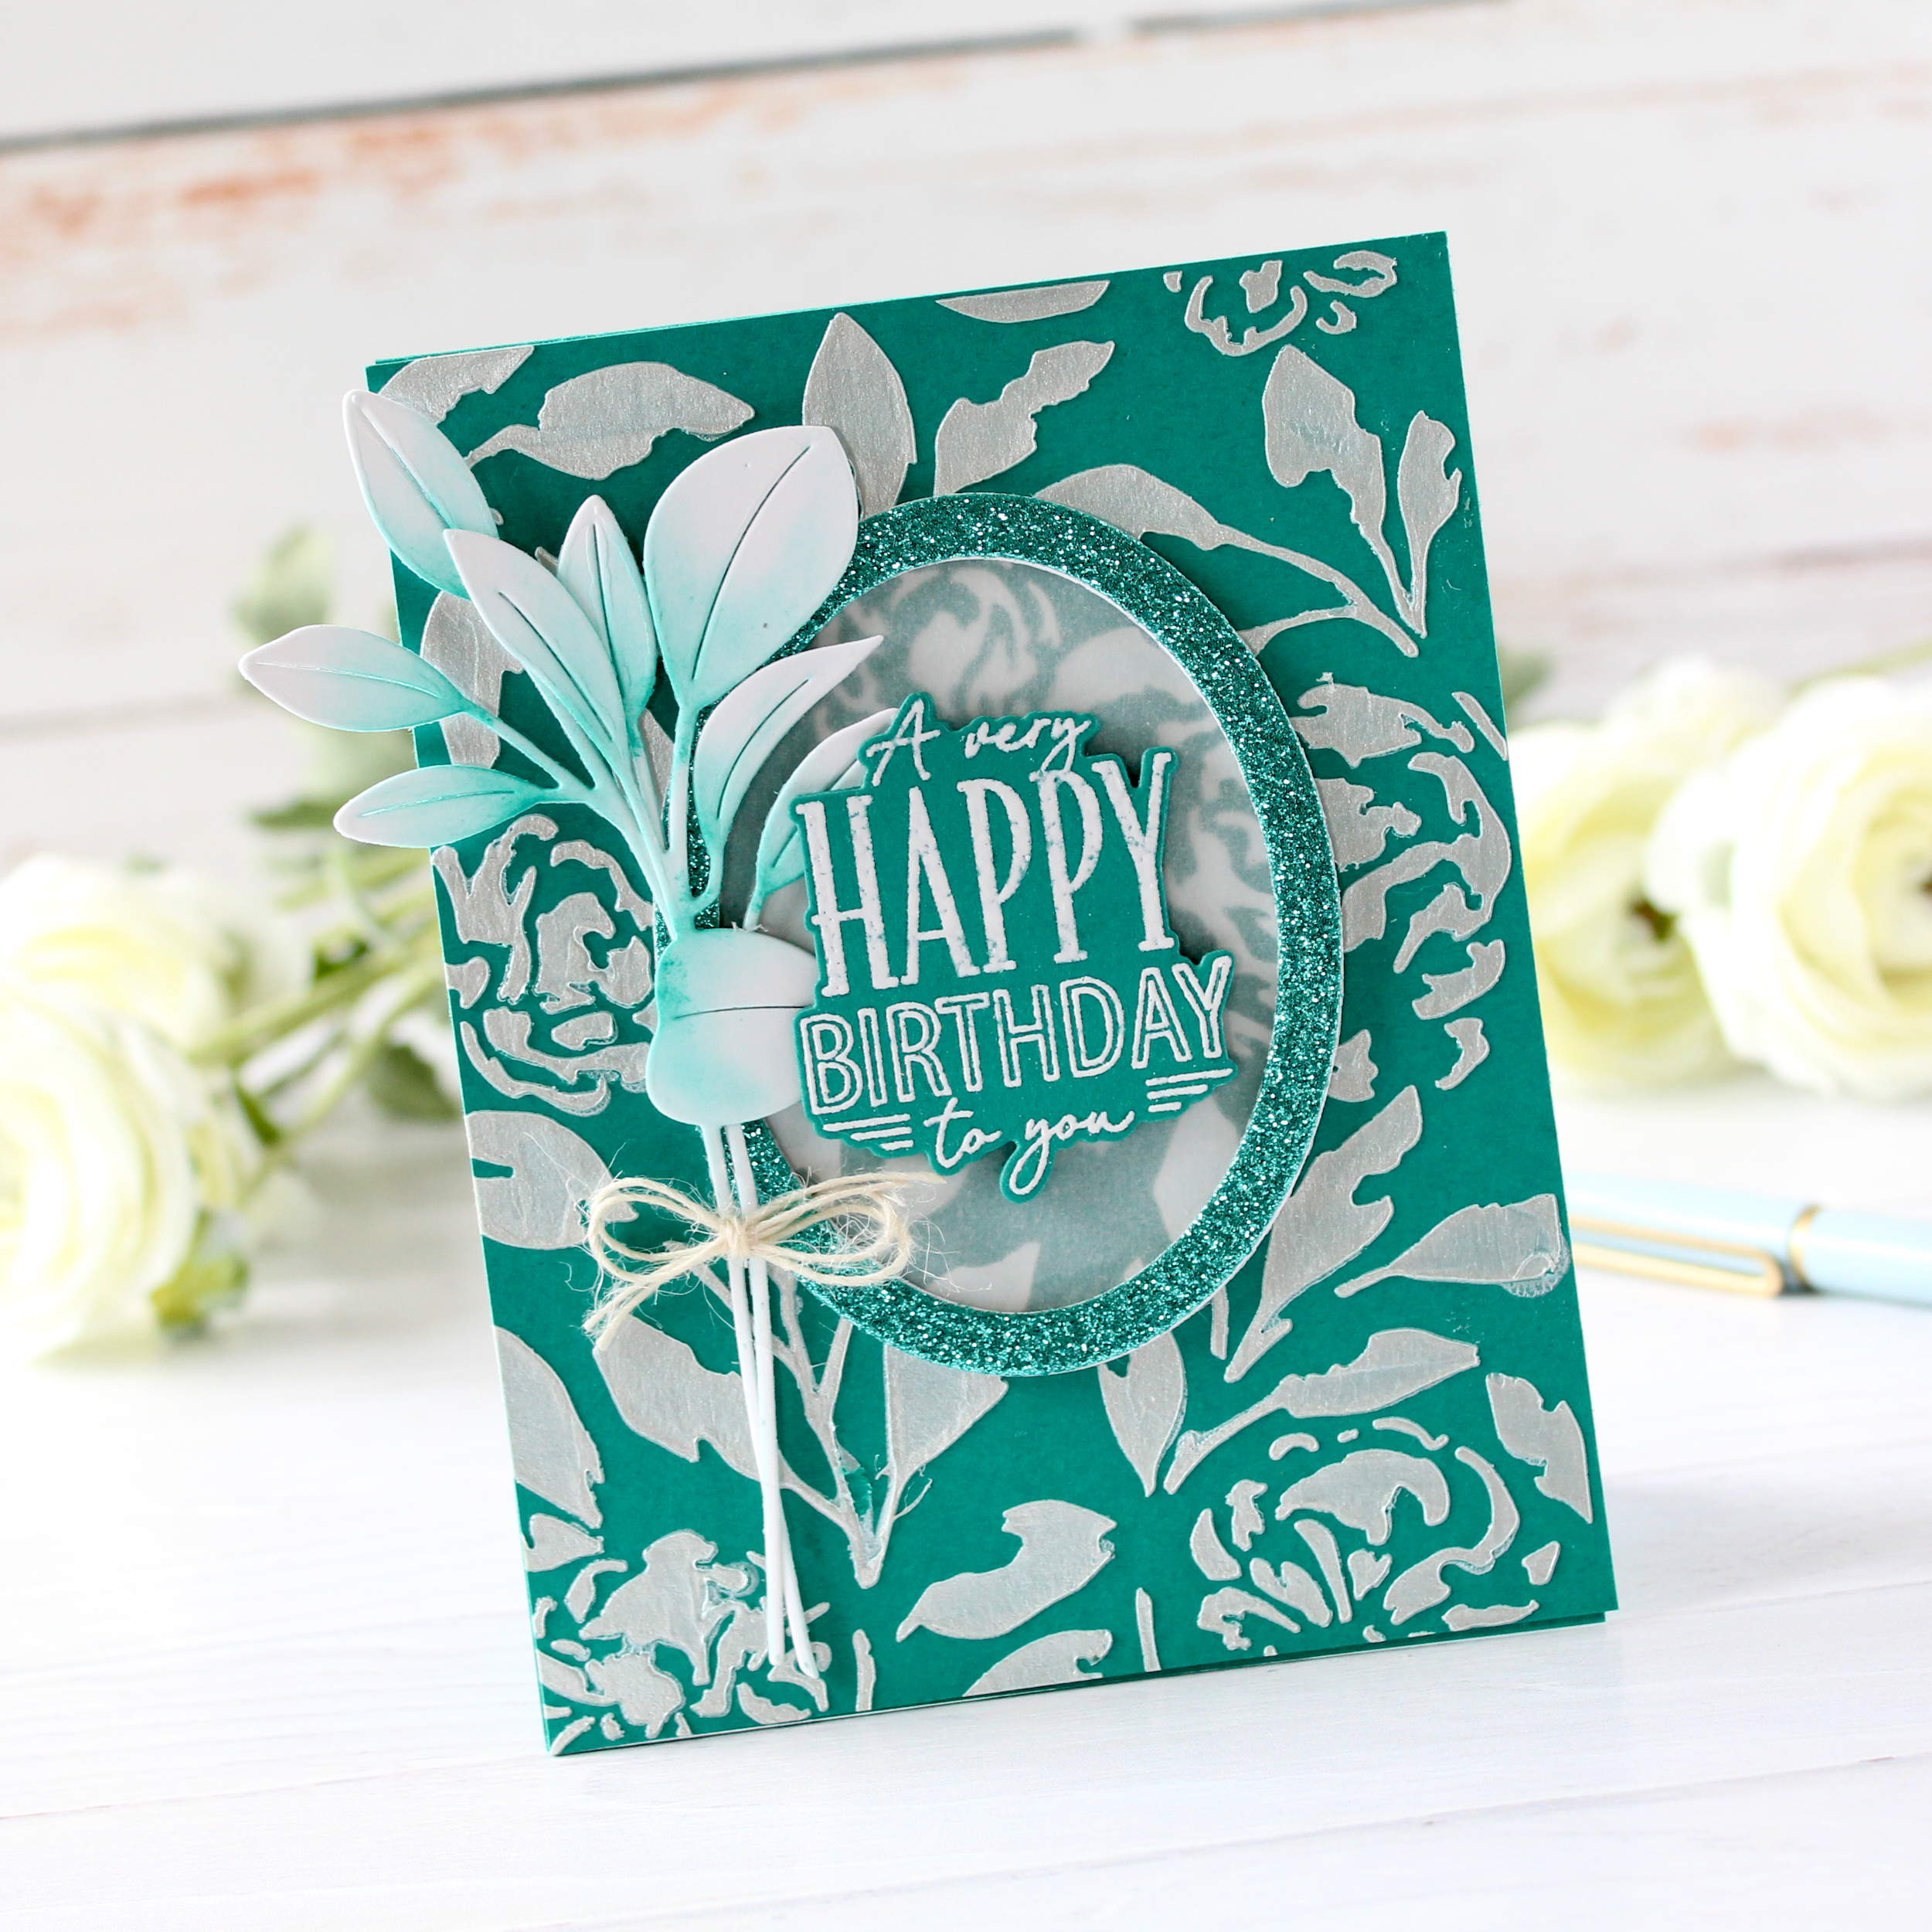
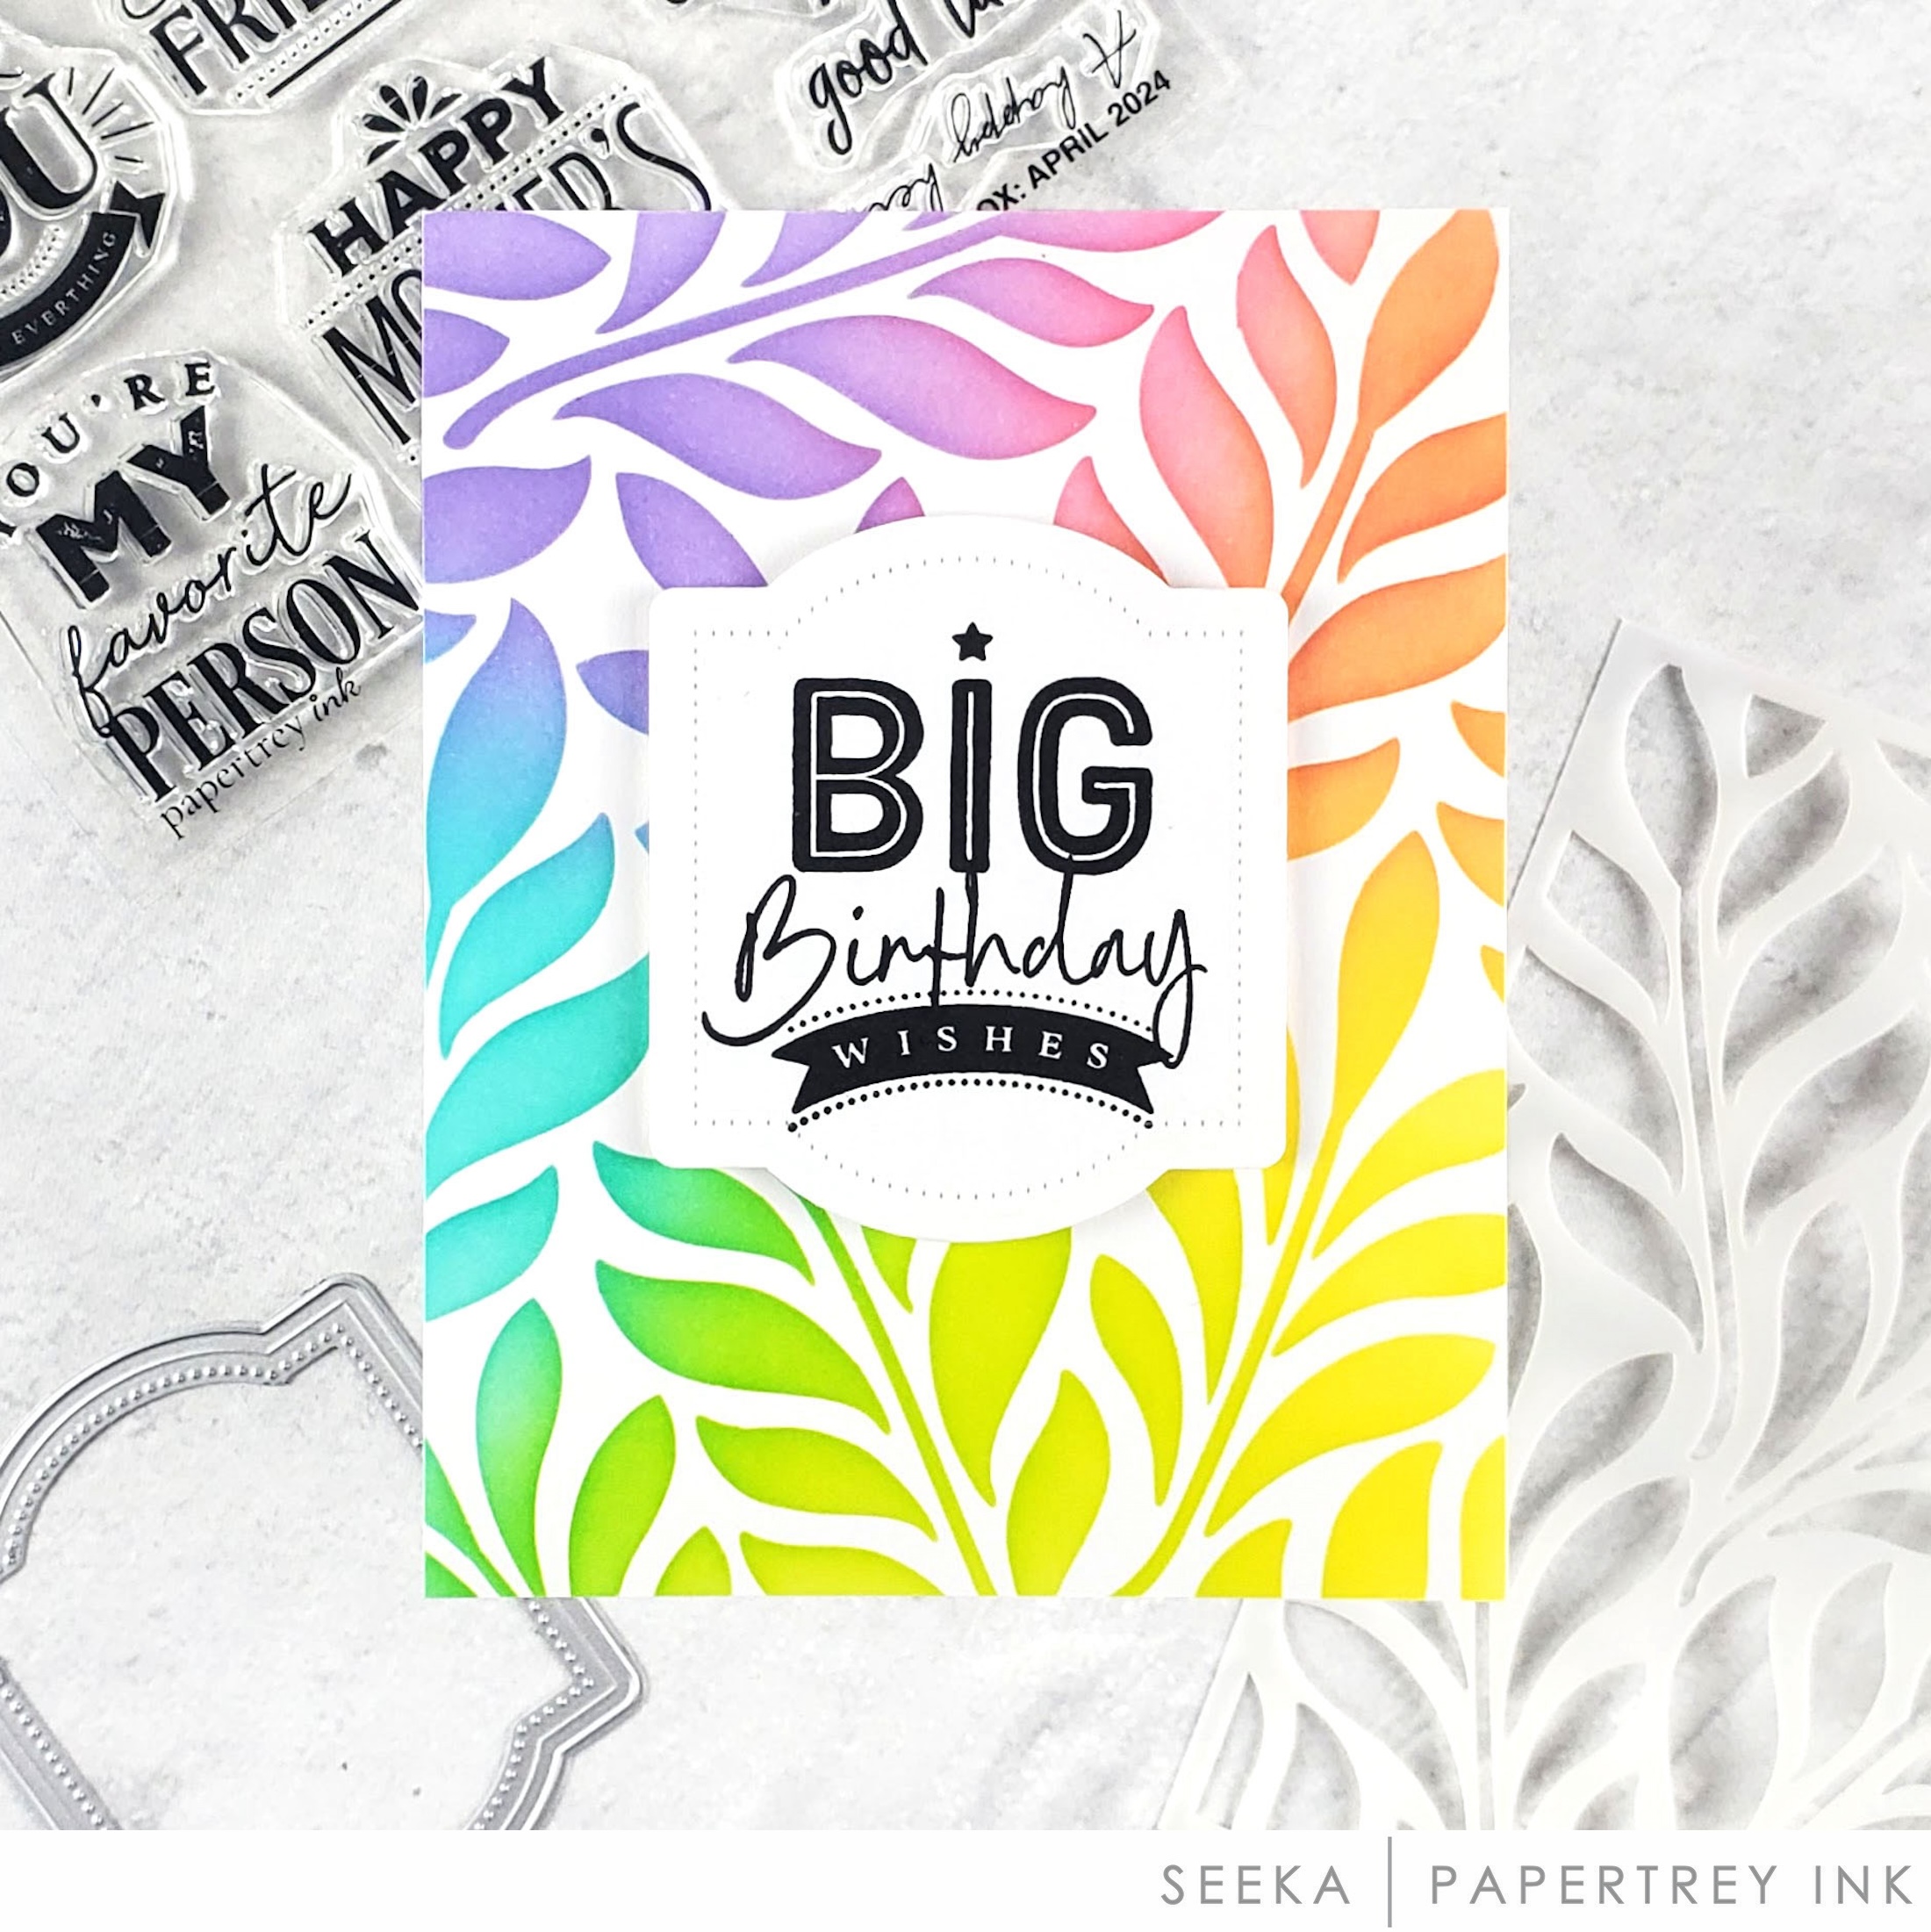
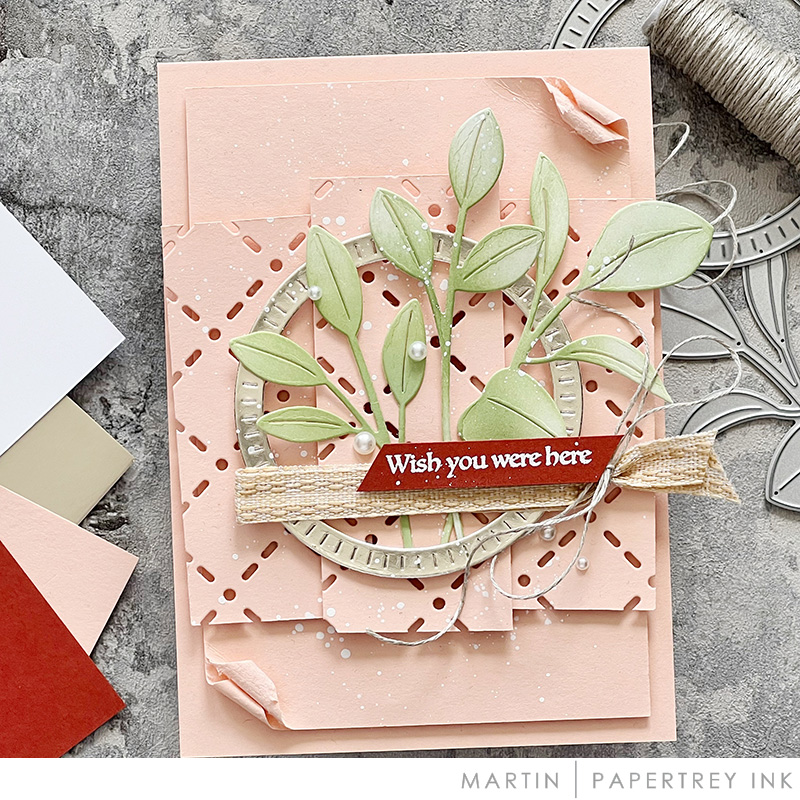
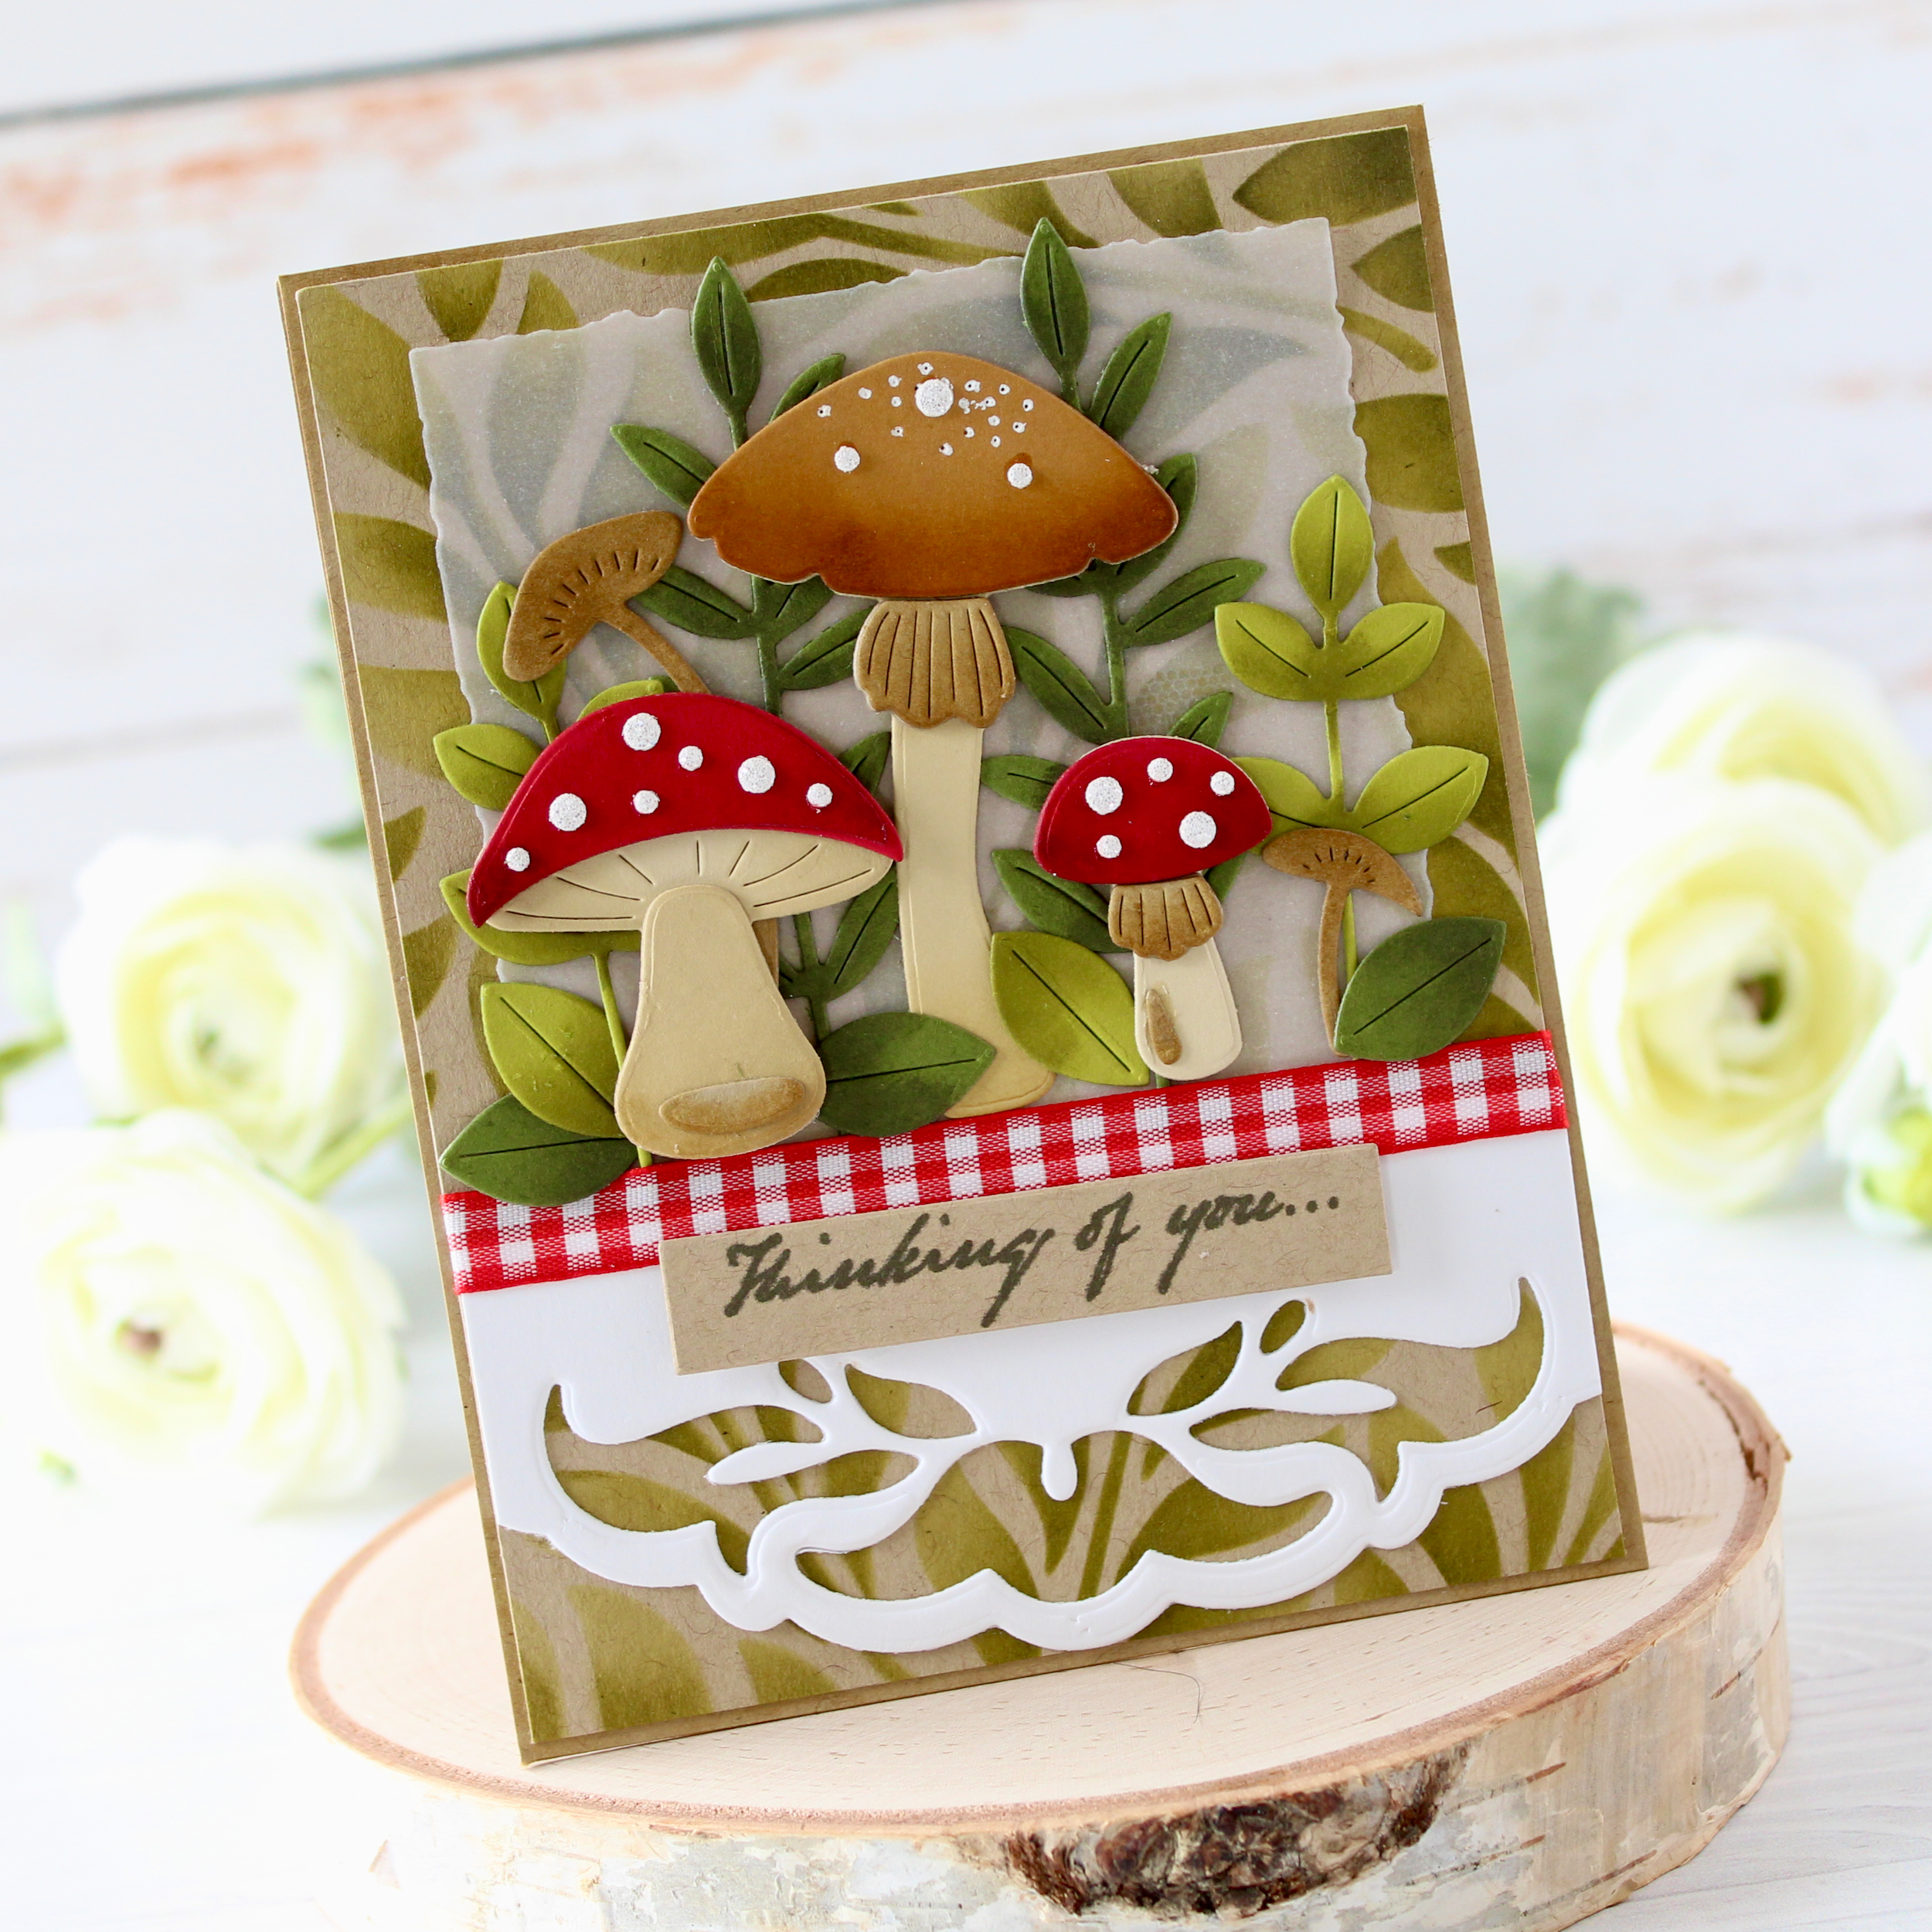
Our Pro Stamper’s Box: April was built around gorgeous, textural stencils that are fabulous to us with your favorite mediums, such a texture medium, crackle paste, ink blending, embossing powder, glitter, and so much more! I created two cards using this kit to share with you and love how differently they both turned out. I used a Kraft cardstock base on my first card and used the leafy stencil found in the kit with some Platinum Crackle Paste from Tim Holtz. It created the most gorgeous, shabby chic shimmer!

I then used the new Reflections: April die, cutting it from vellum, and heat embossing with gold around the edges, just so it would stand out a bit. I framed in my white heat embossed sentiment from the kit, using a die cut frame you’ll find in the kit. You’ll receive one circle and one oval, as well as two sheets of amazing sentiments and coordinating dies, large sentiment dies, and gorgeous leafy dies such as I used to frame around my sentiment.
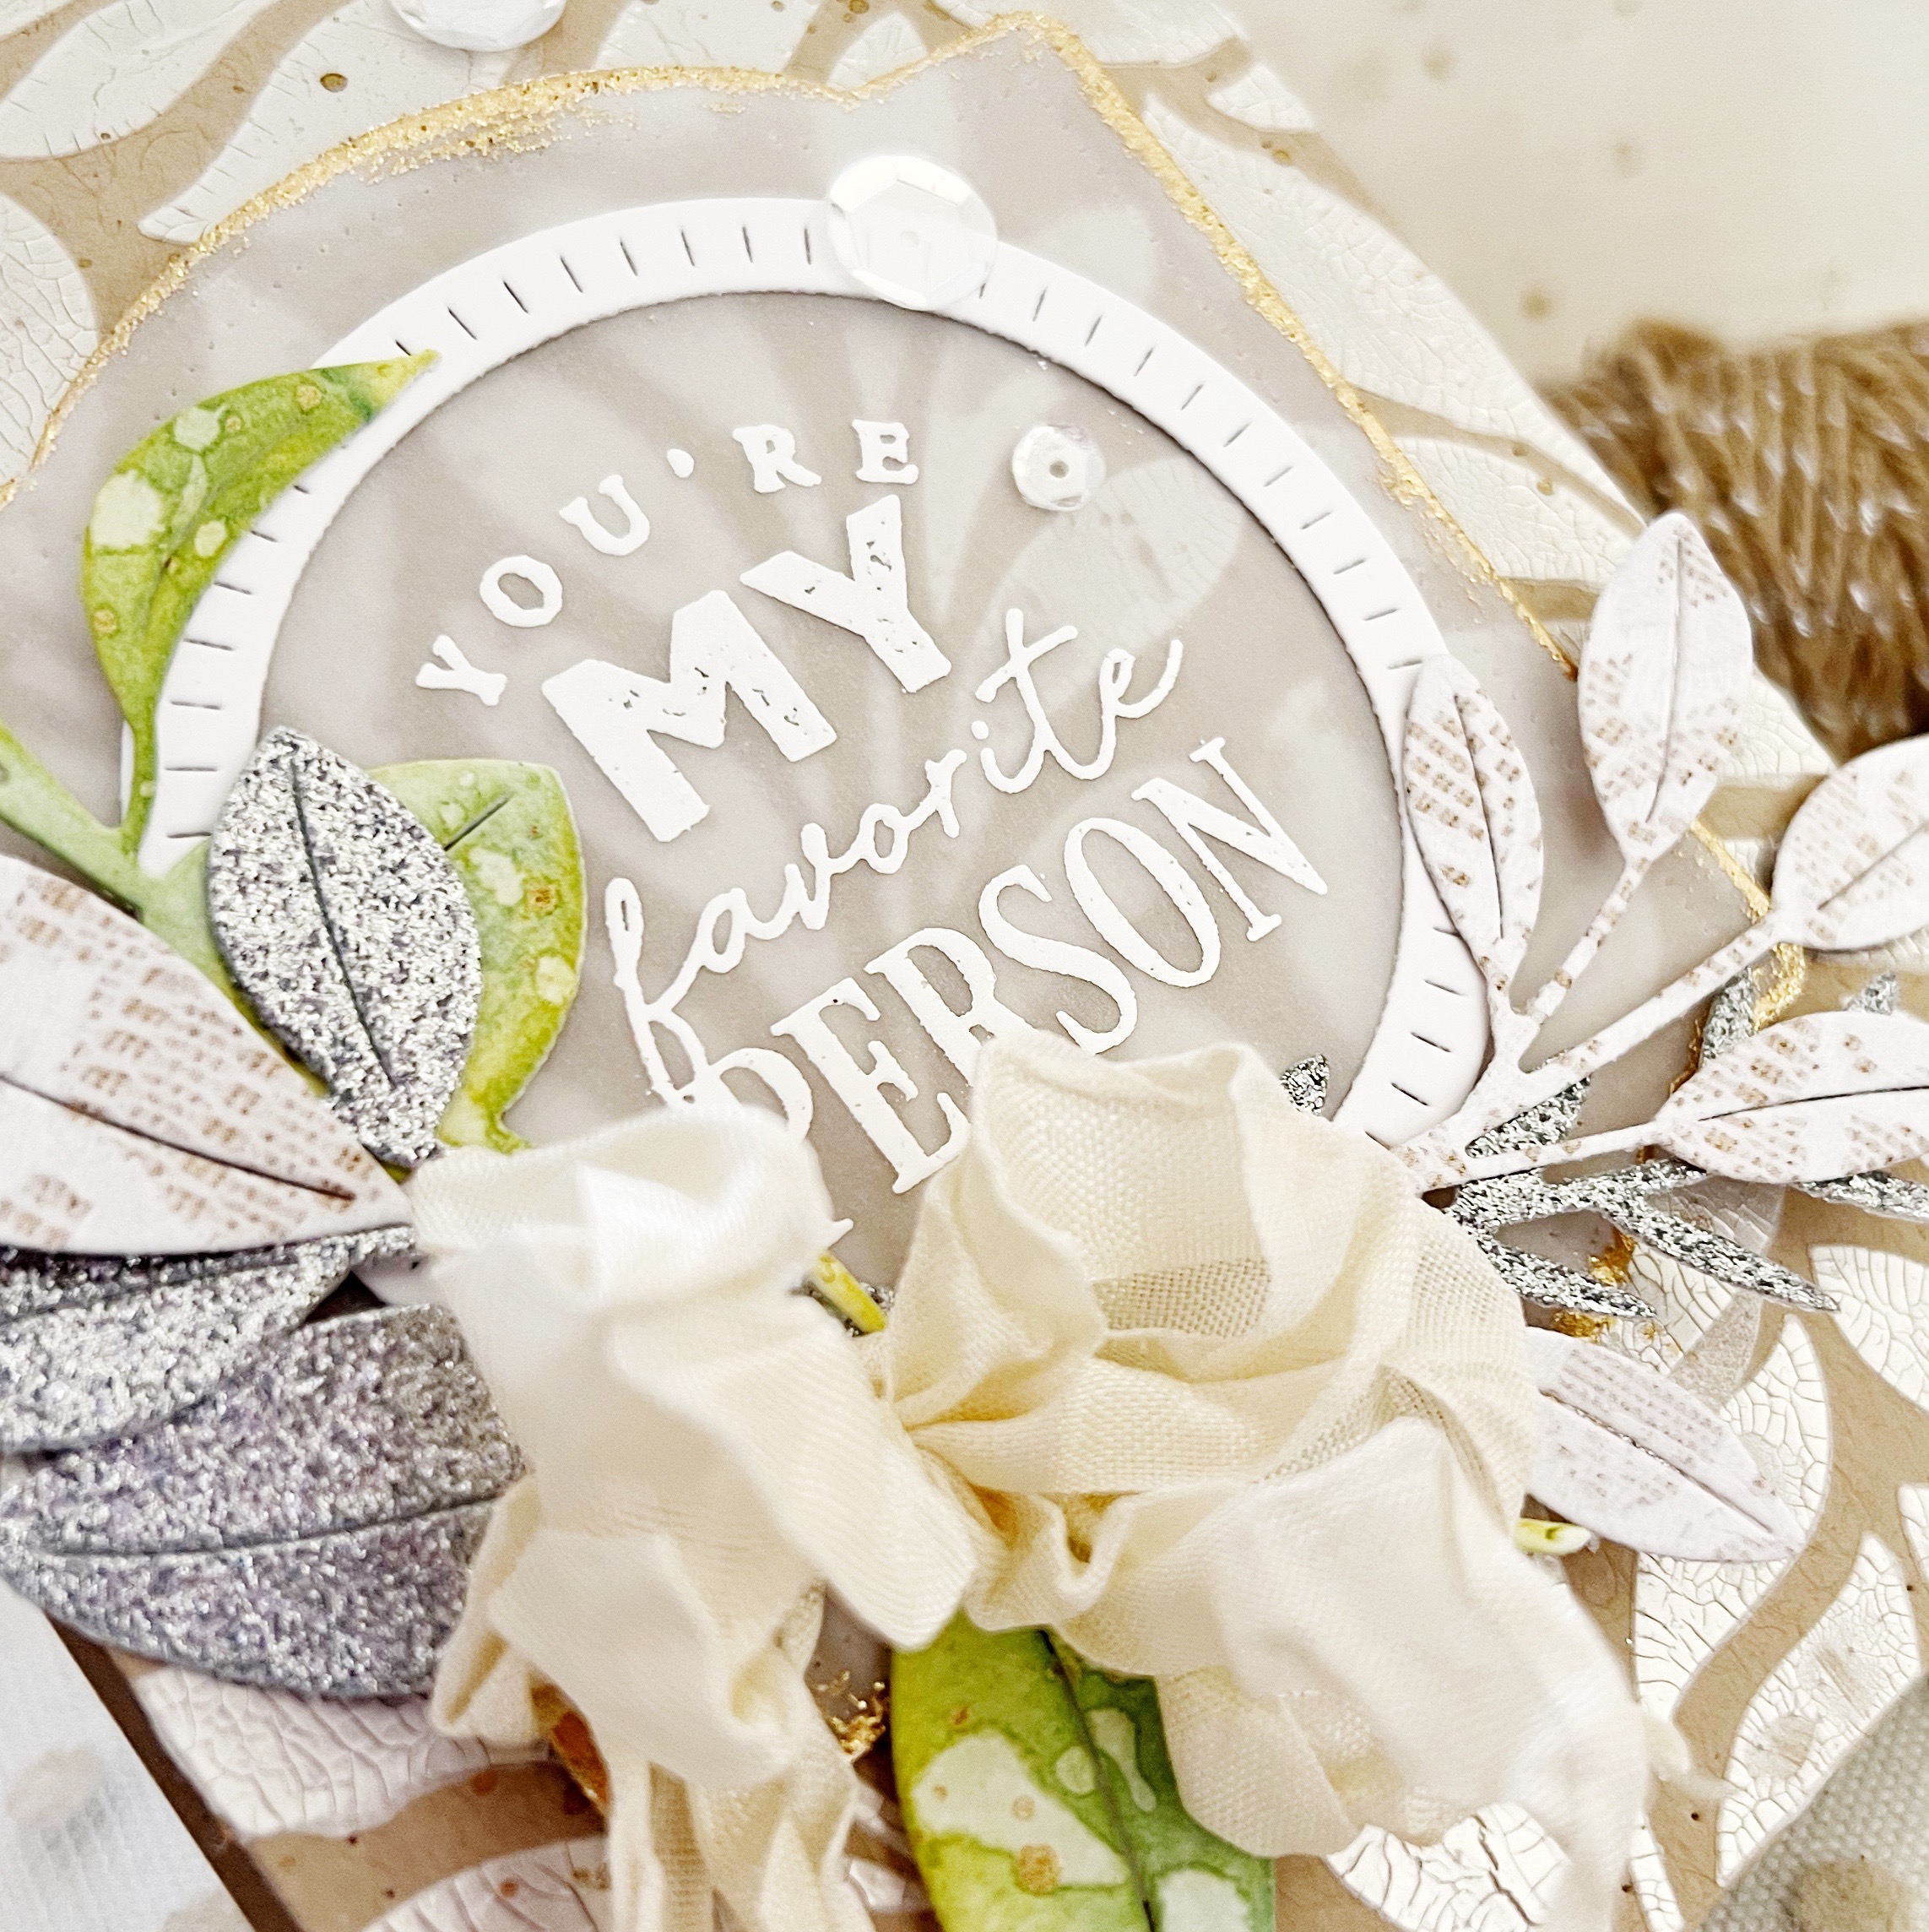
I die cut my leafy greens from silver glitter cardstock, patterned paper, and sponged ink over some, adding water droplets and Distress Spray. I adore this sentiment and know exactly who I’ll be sharing it with!
You’re My Favorite Person Card
SUPPLY LIST:
STAMPS: Pro Stamper’s Box: April
INK: Simply Chartreuse, Ripe Avocado, Pinefeather
PAPER: Stamper’s Select White, Sheer Basics Vellum, Classic Kraft
DIES: Pro Stamper’s Box: April, Reflections: April
OTHER: Sequins, white embossing powder, gold embossing powder, Distress Spray, scrunched seam binding, patterned paper
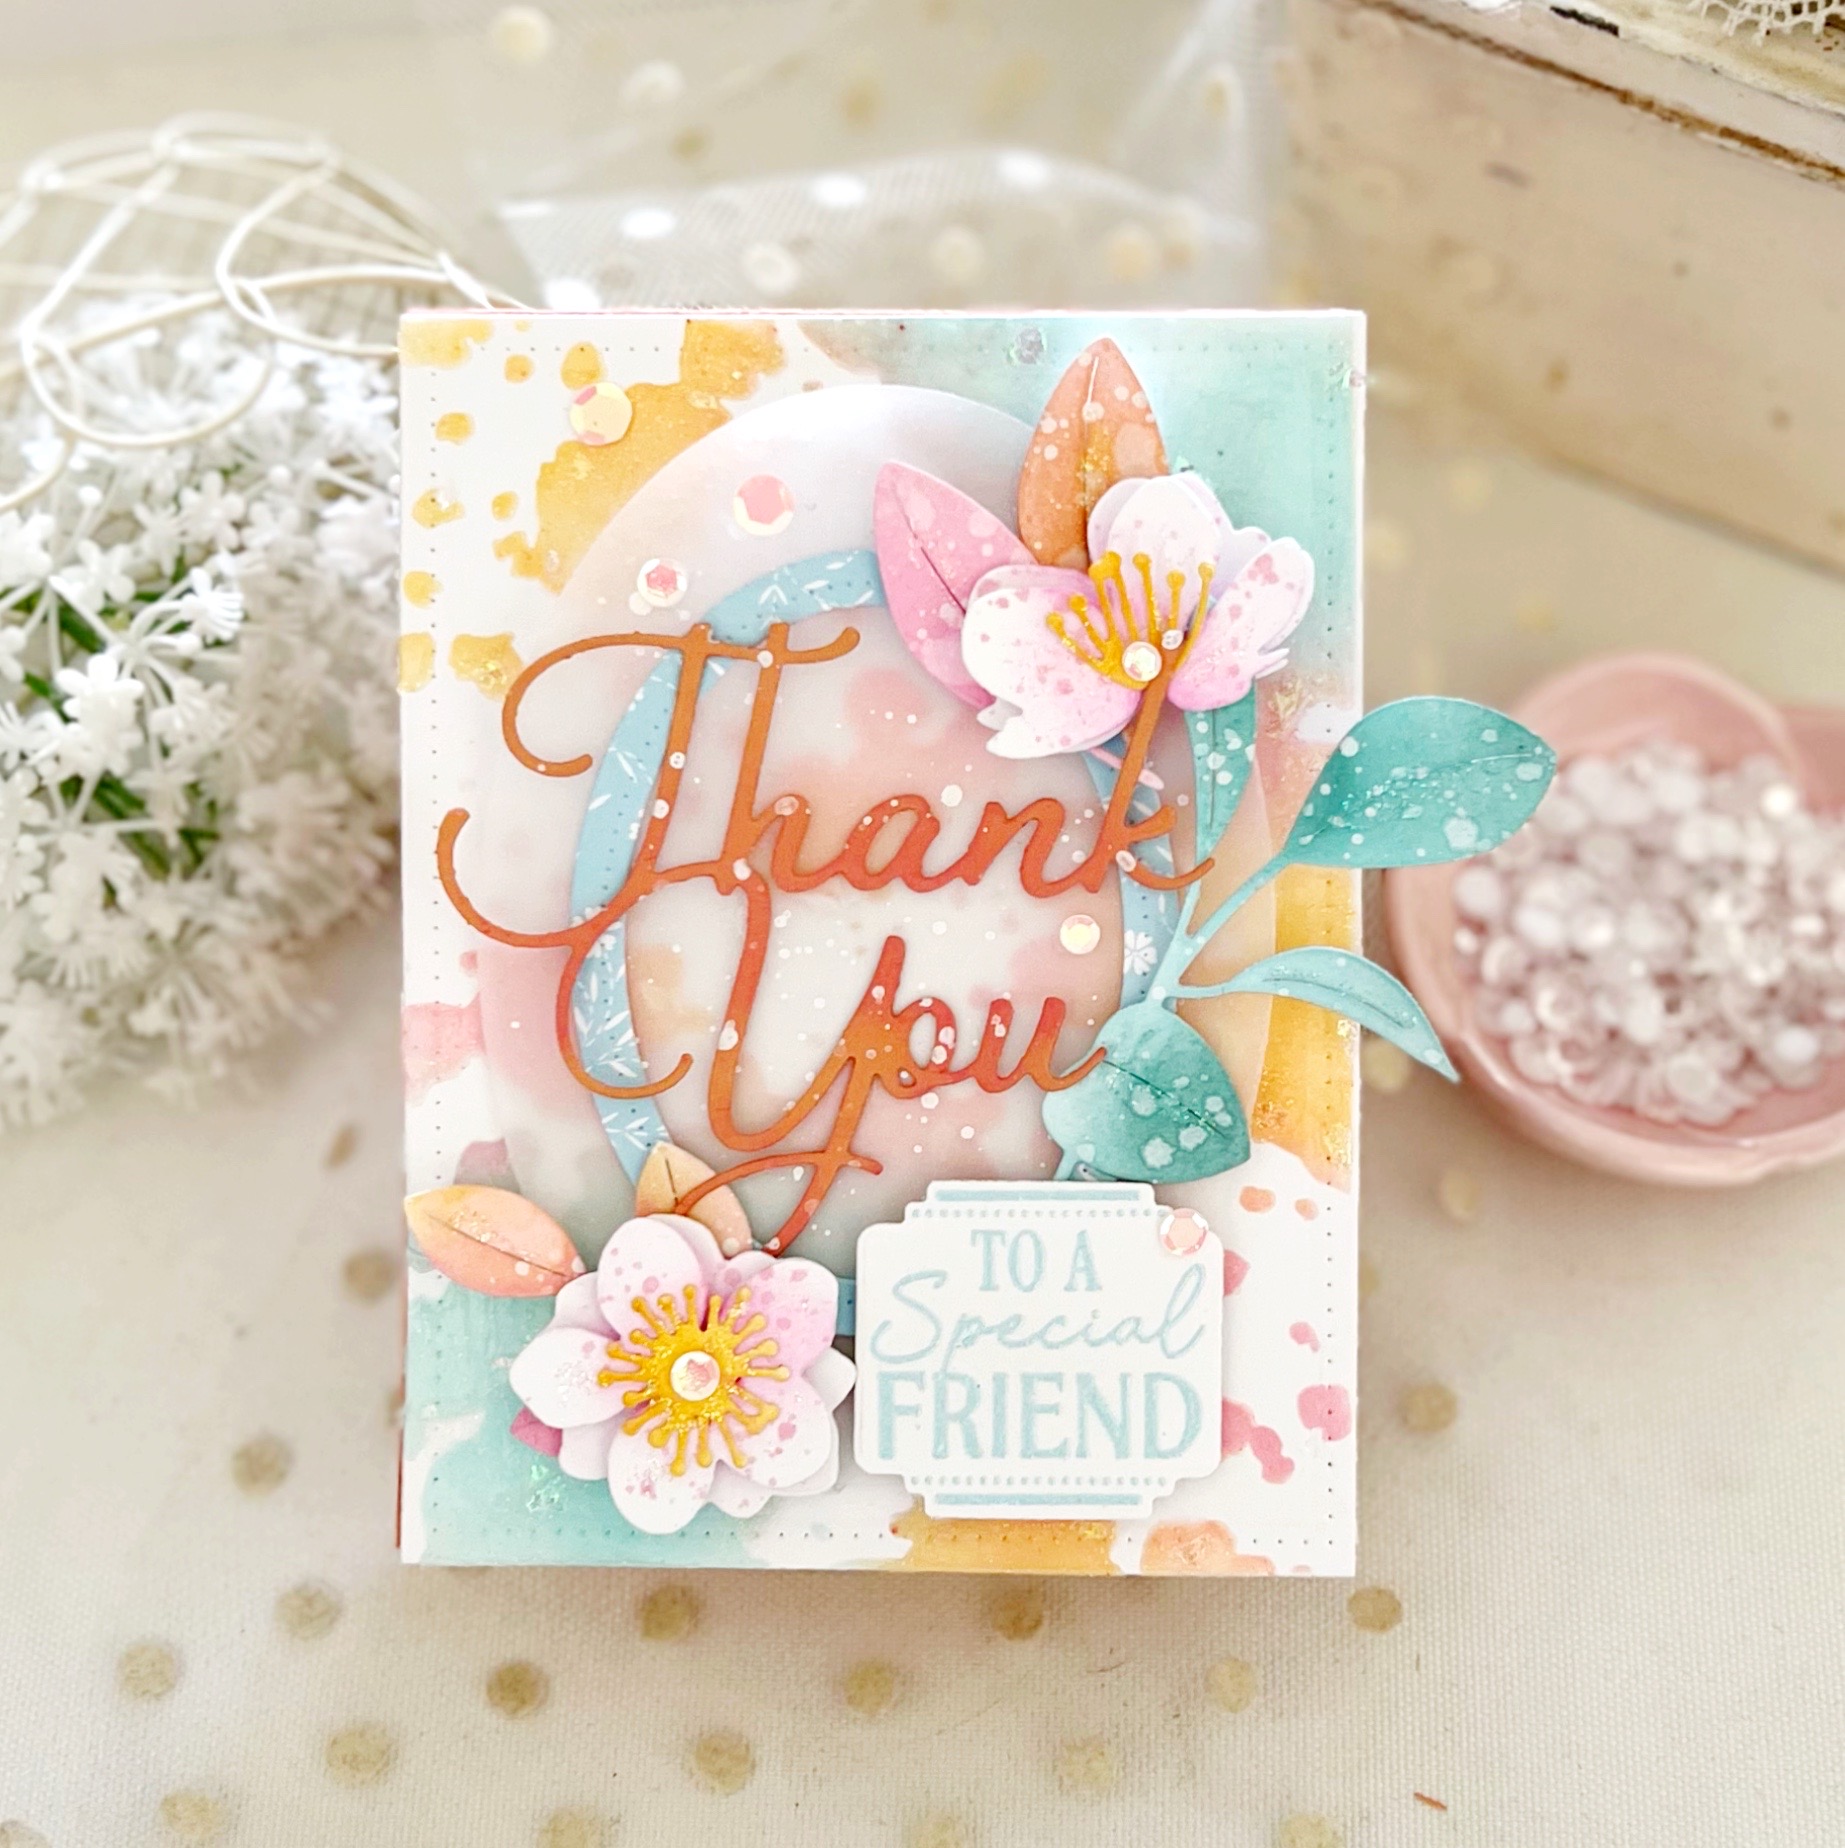
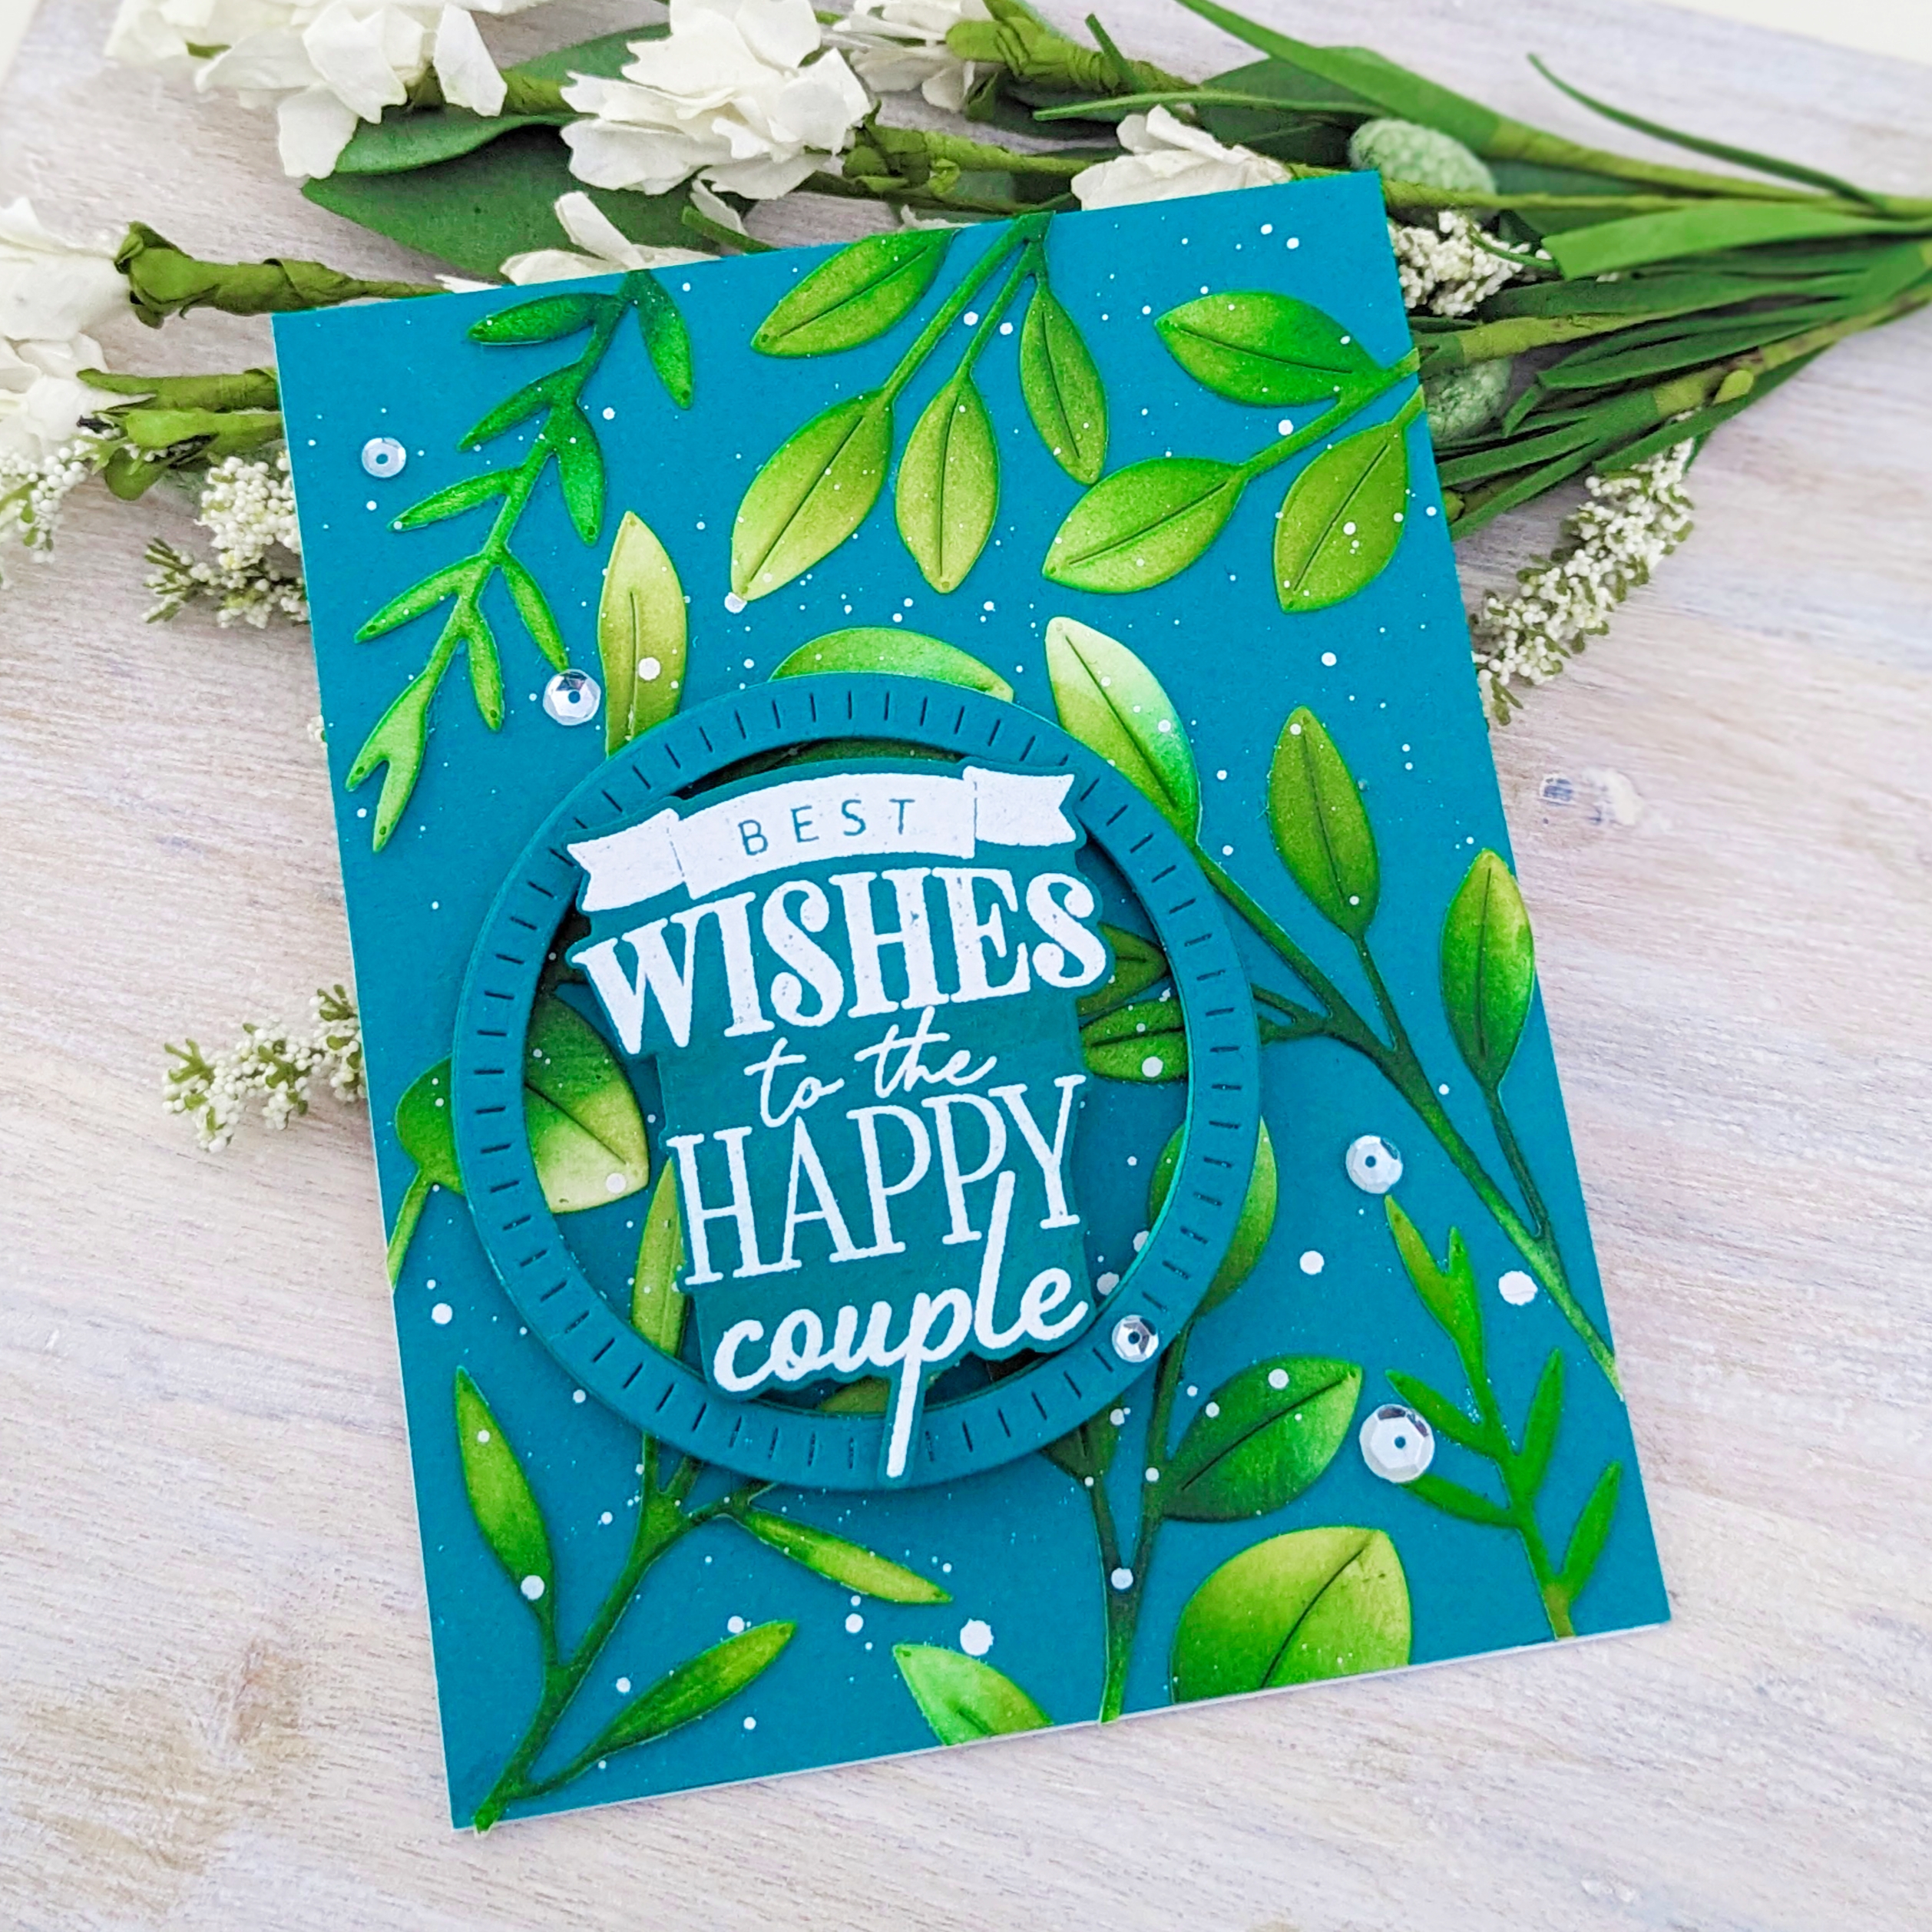
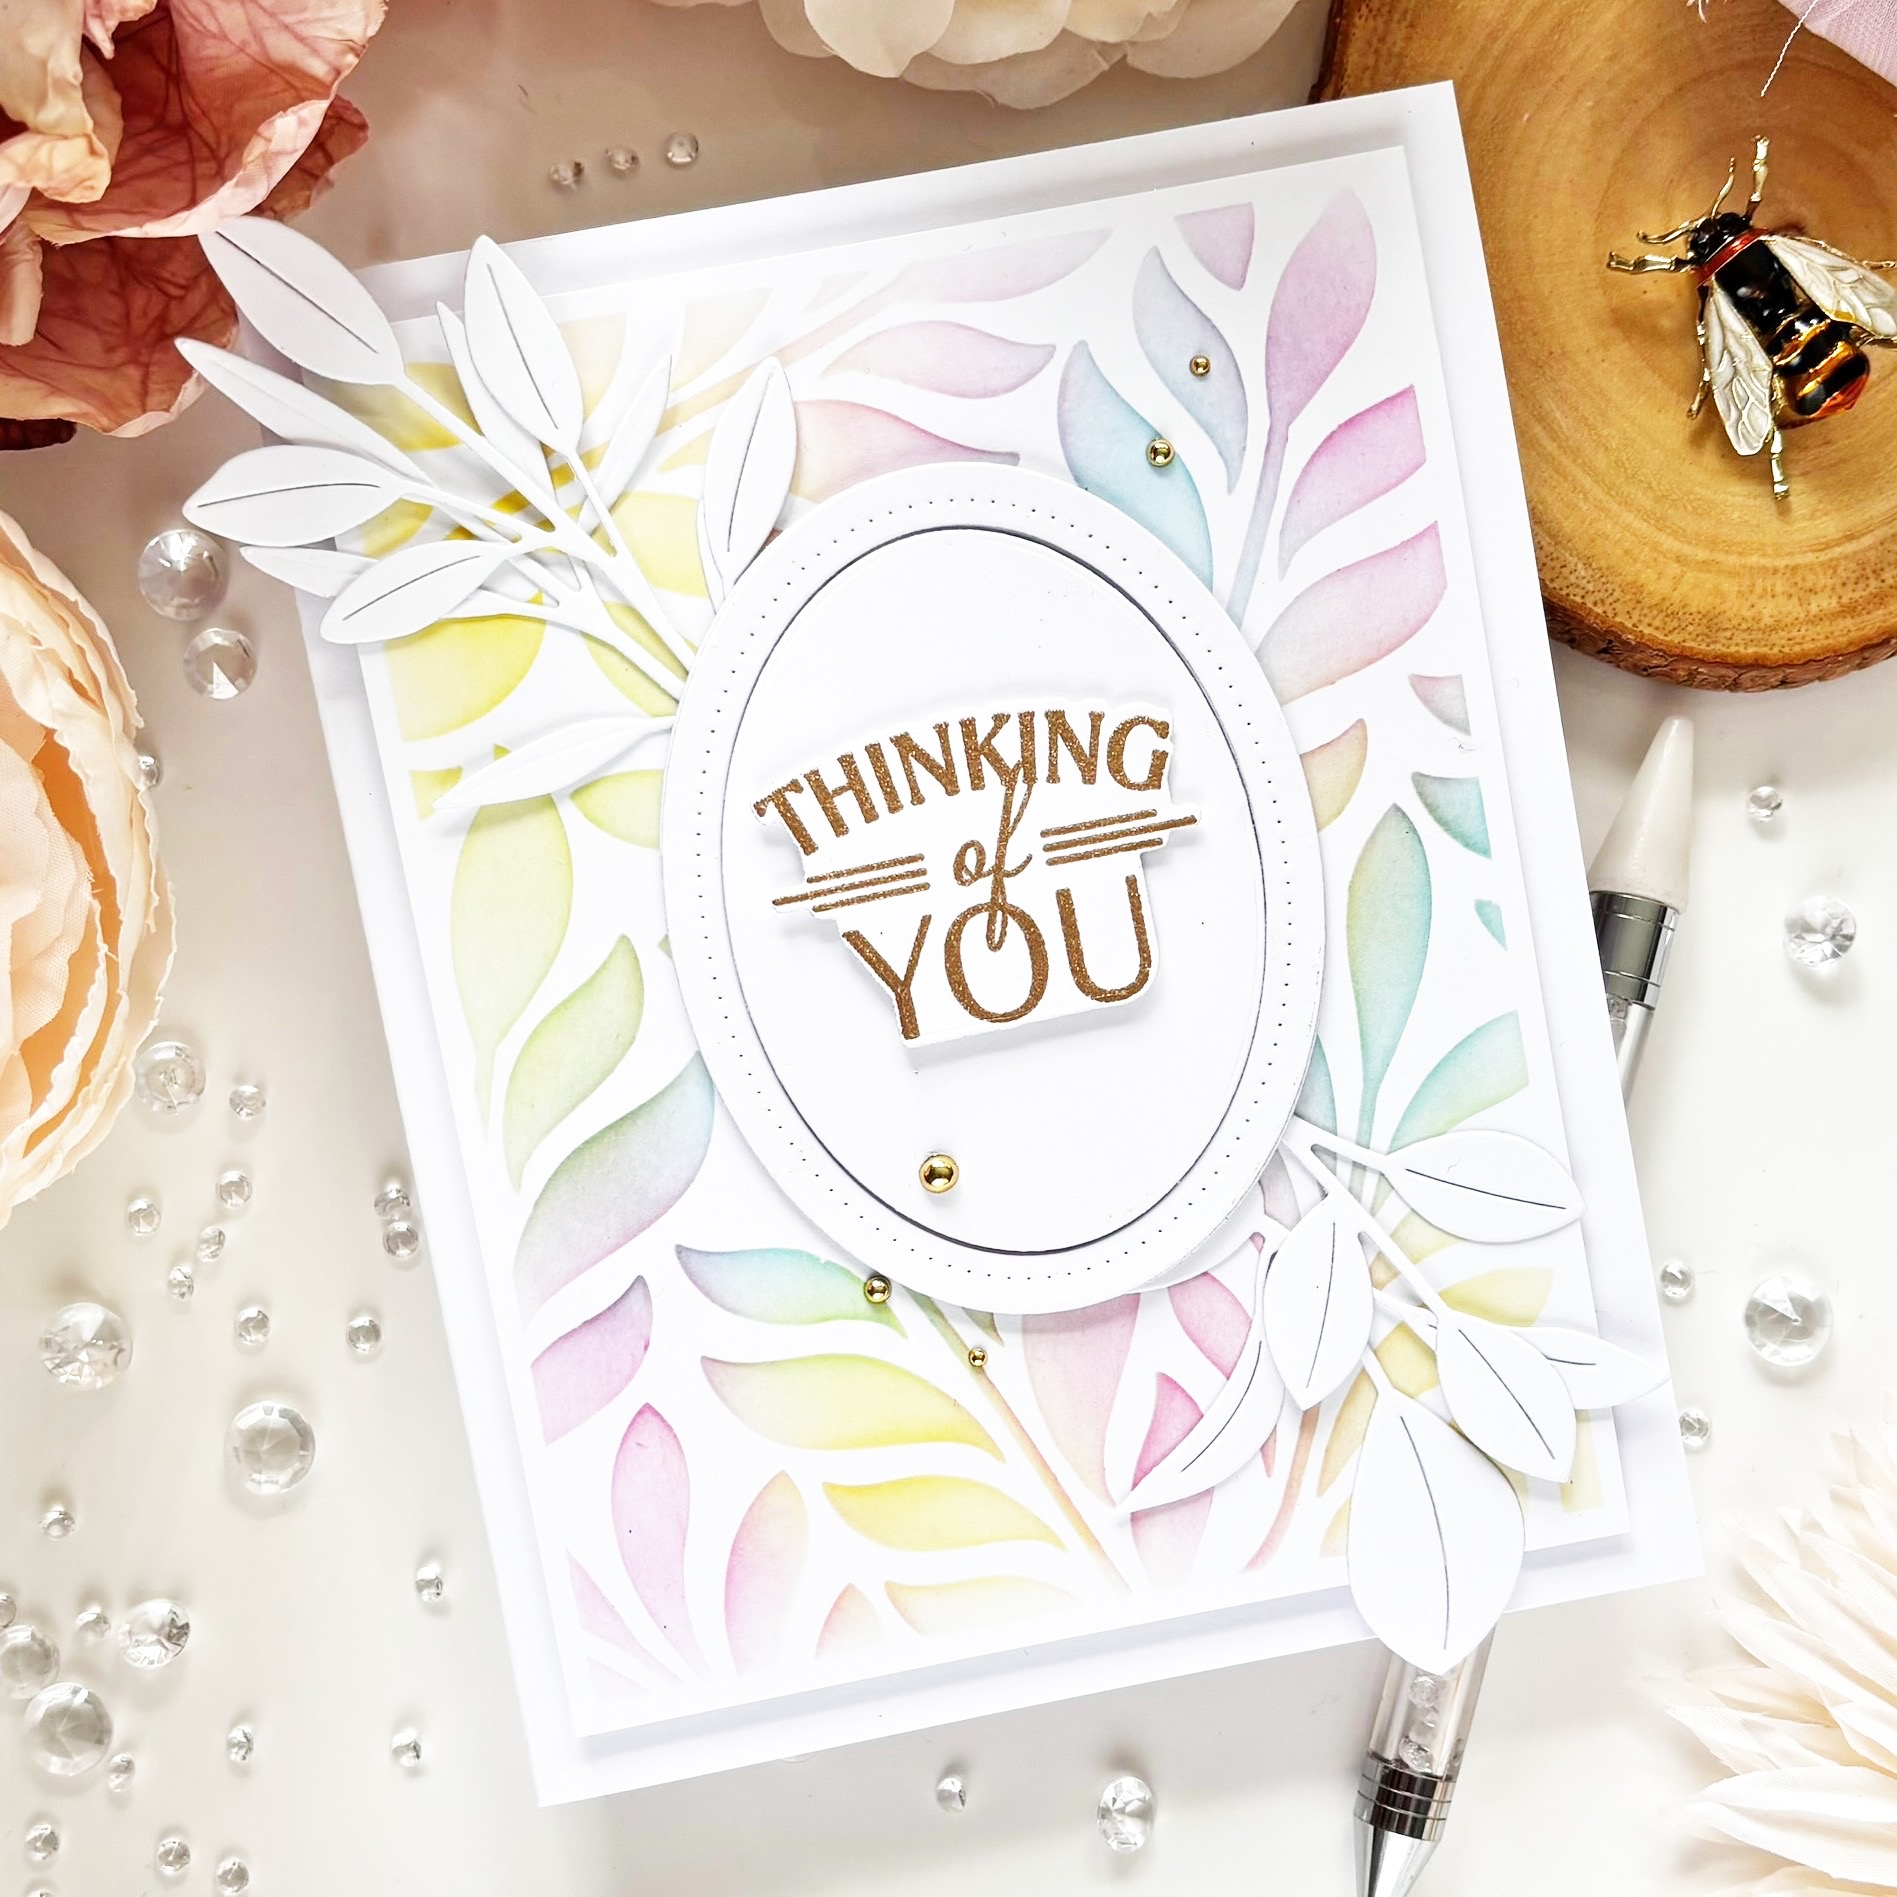
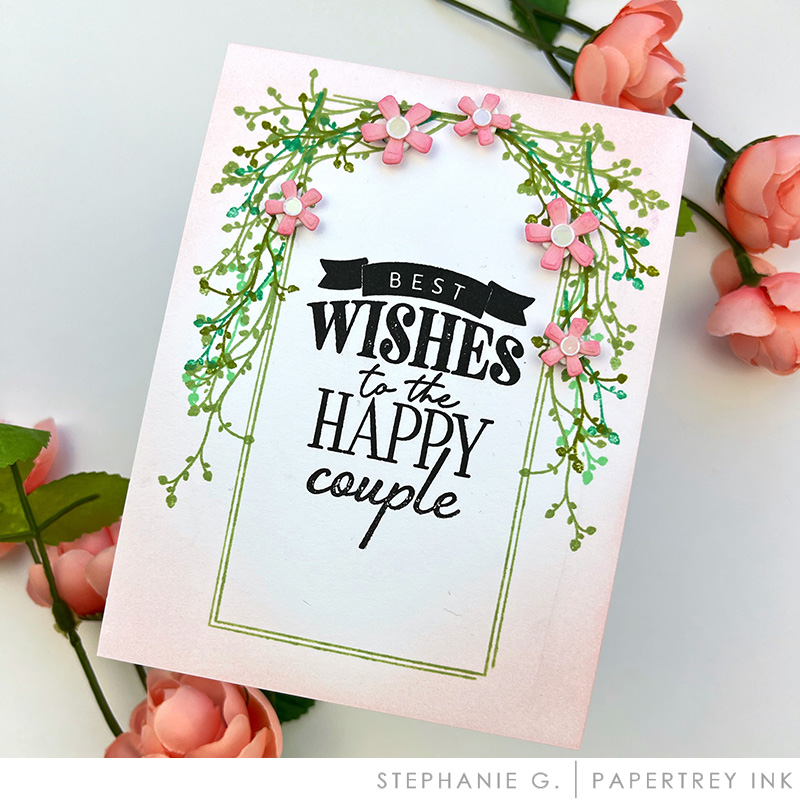
My next card uses a gorgeous, splotchy, textural, watercolor stencil from the Pro Stamper’s Box. After ink blending over the top of my stencil using Melon Berry, Hawaiian Shores, and Hibiscus Burst, I added a layer of textural glitter, with big chunks of flakes. So much fun to try on these gorgeous stencils in this box.

I then added a vellum die cut Love to Layer: Oval and a smaller frame from the Pro Stamper’s Kit: April, die cut from patterned paper. My beautiful, large sentiment die was cut from Melon Berry cardstock and was adhered to the center of my ovals.
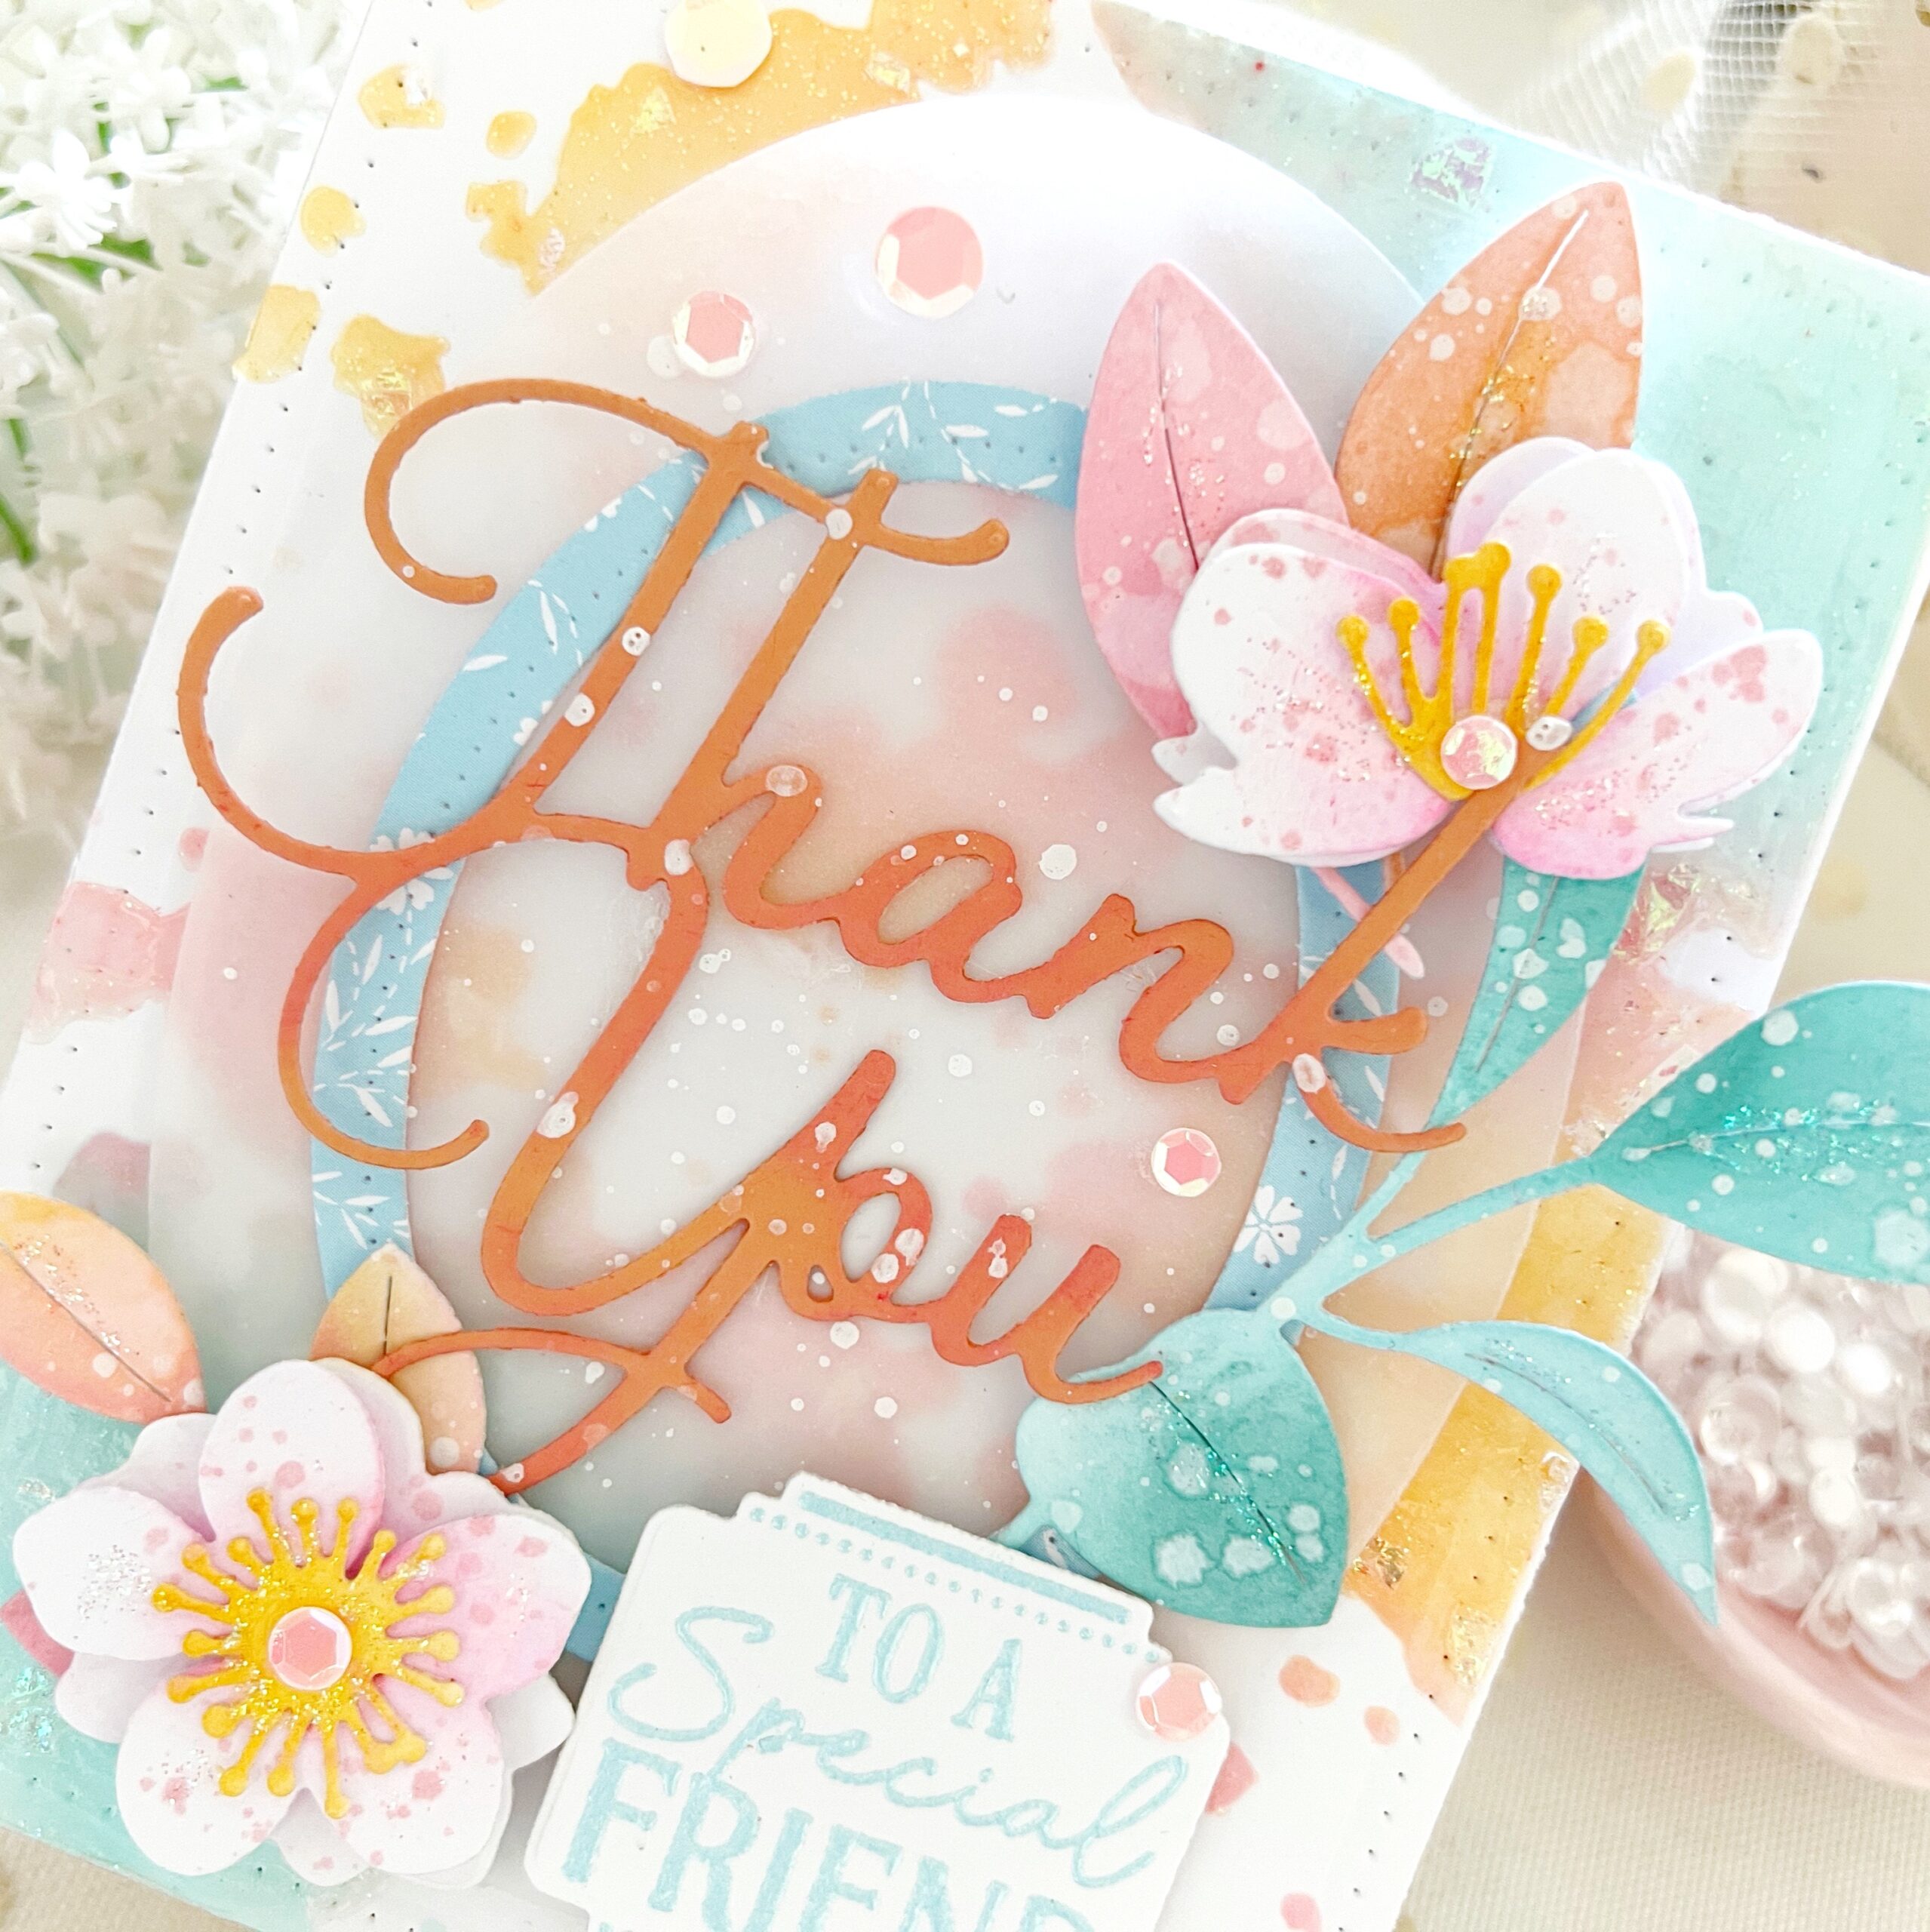
Next came the fun stuff! I added leafy greens using the dies from the kit, a die cut and heat embossed sentiment from the kids, and die cut blossoms, cut using the Into the Blooms: Cherry Blossom dies.
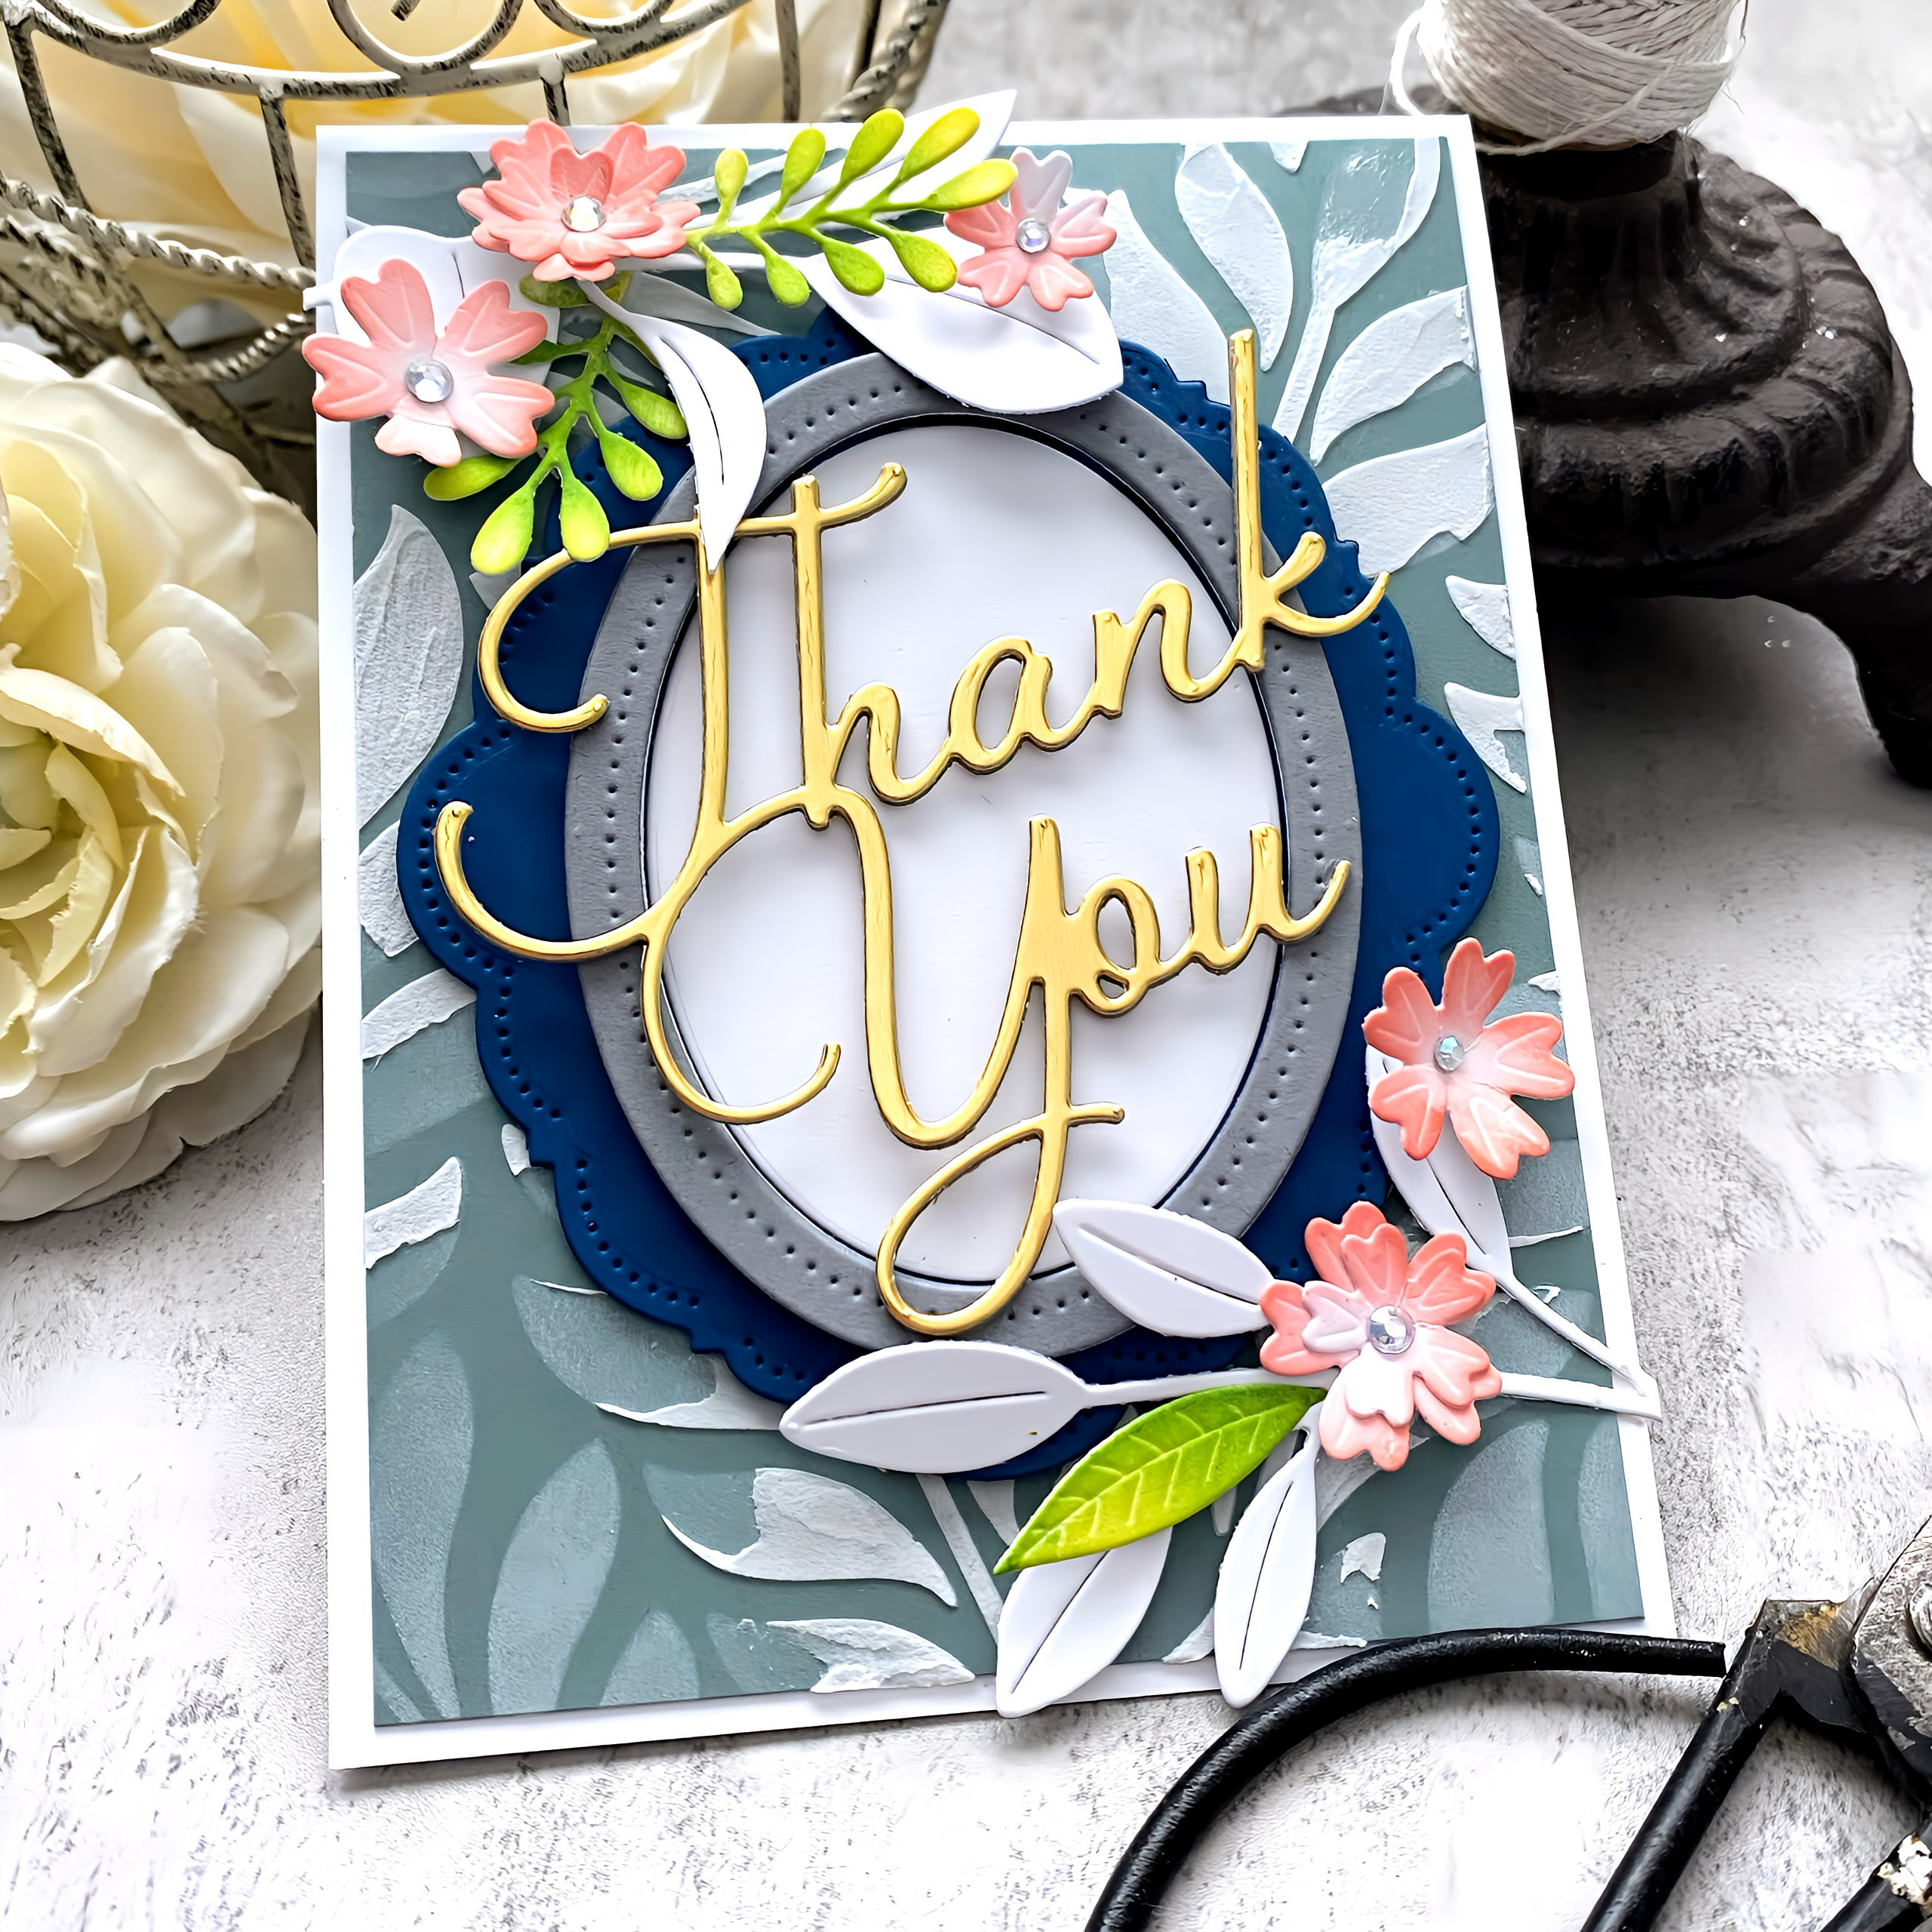
Thank You Card
SUPPLY LIST:
STAMPS: Pro Stamper’s Box: April
INK: Melon Berry, Hibiscus Burst, Hawaiian Shore, Simply Chartreuse, Pinefeather
PAPER: Stamper’s Select White, Sheer Basics Vellum, Melon Berry
DIES: Pro Stamper’s Box: April Love to Layer: Ovals, Into the Blooms: Cherry Blossom
OTHER: Pro Stamper’s Box: April Stencils, embossing paste, sequins, Stickles glitter, white paint, Distress Spray, blue embossing powder

TIPS:
-
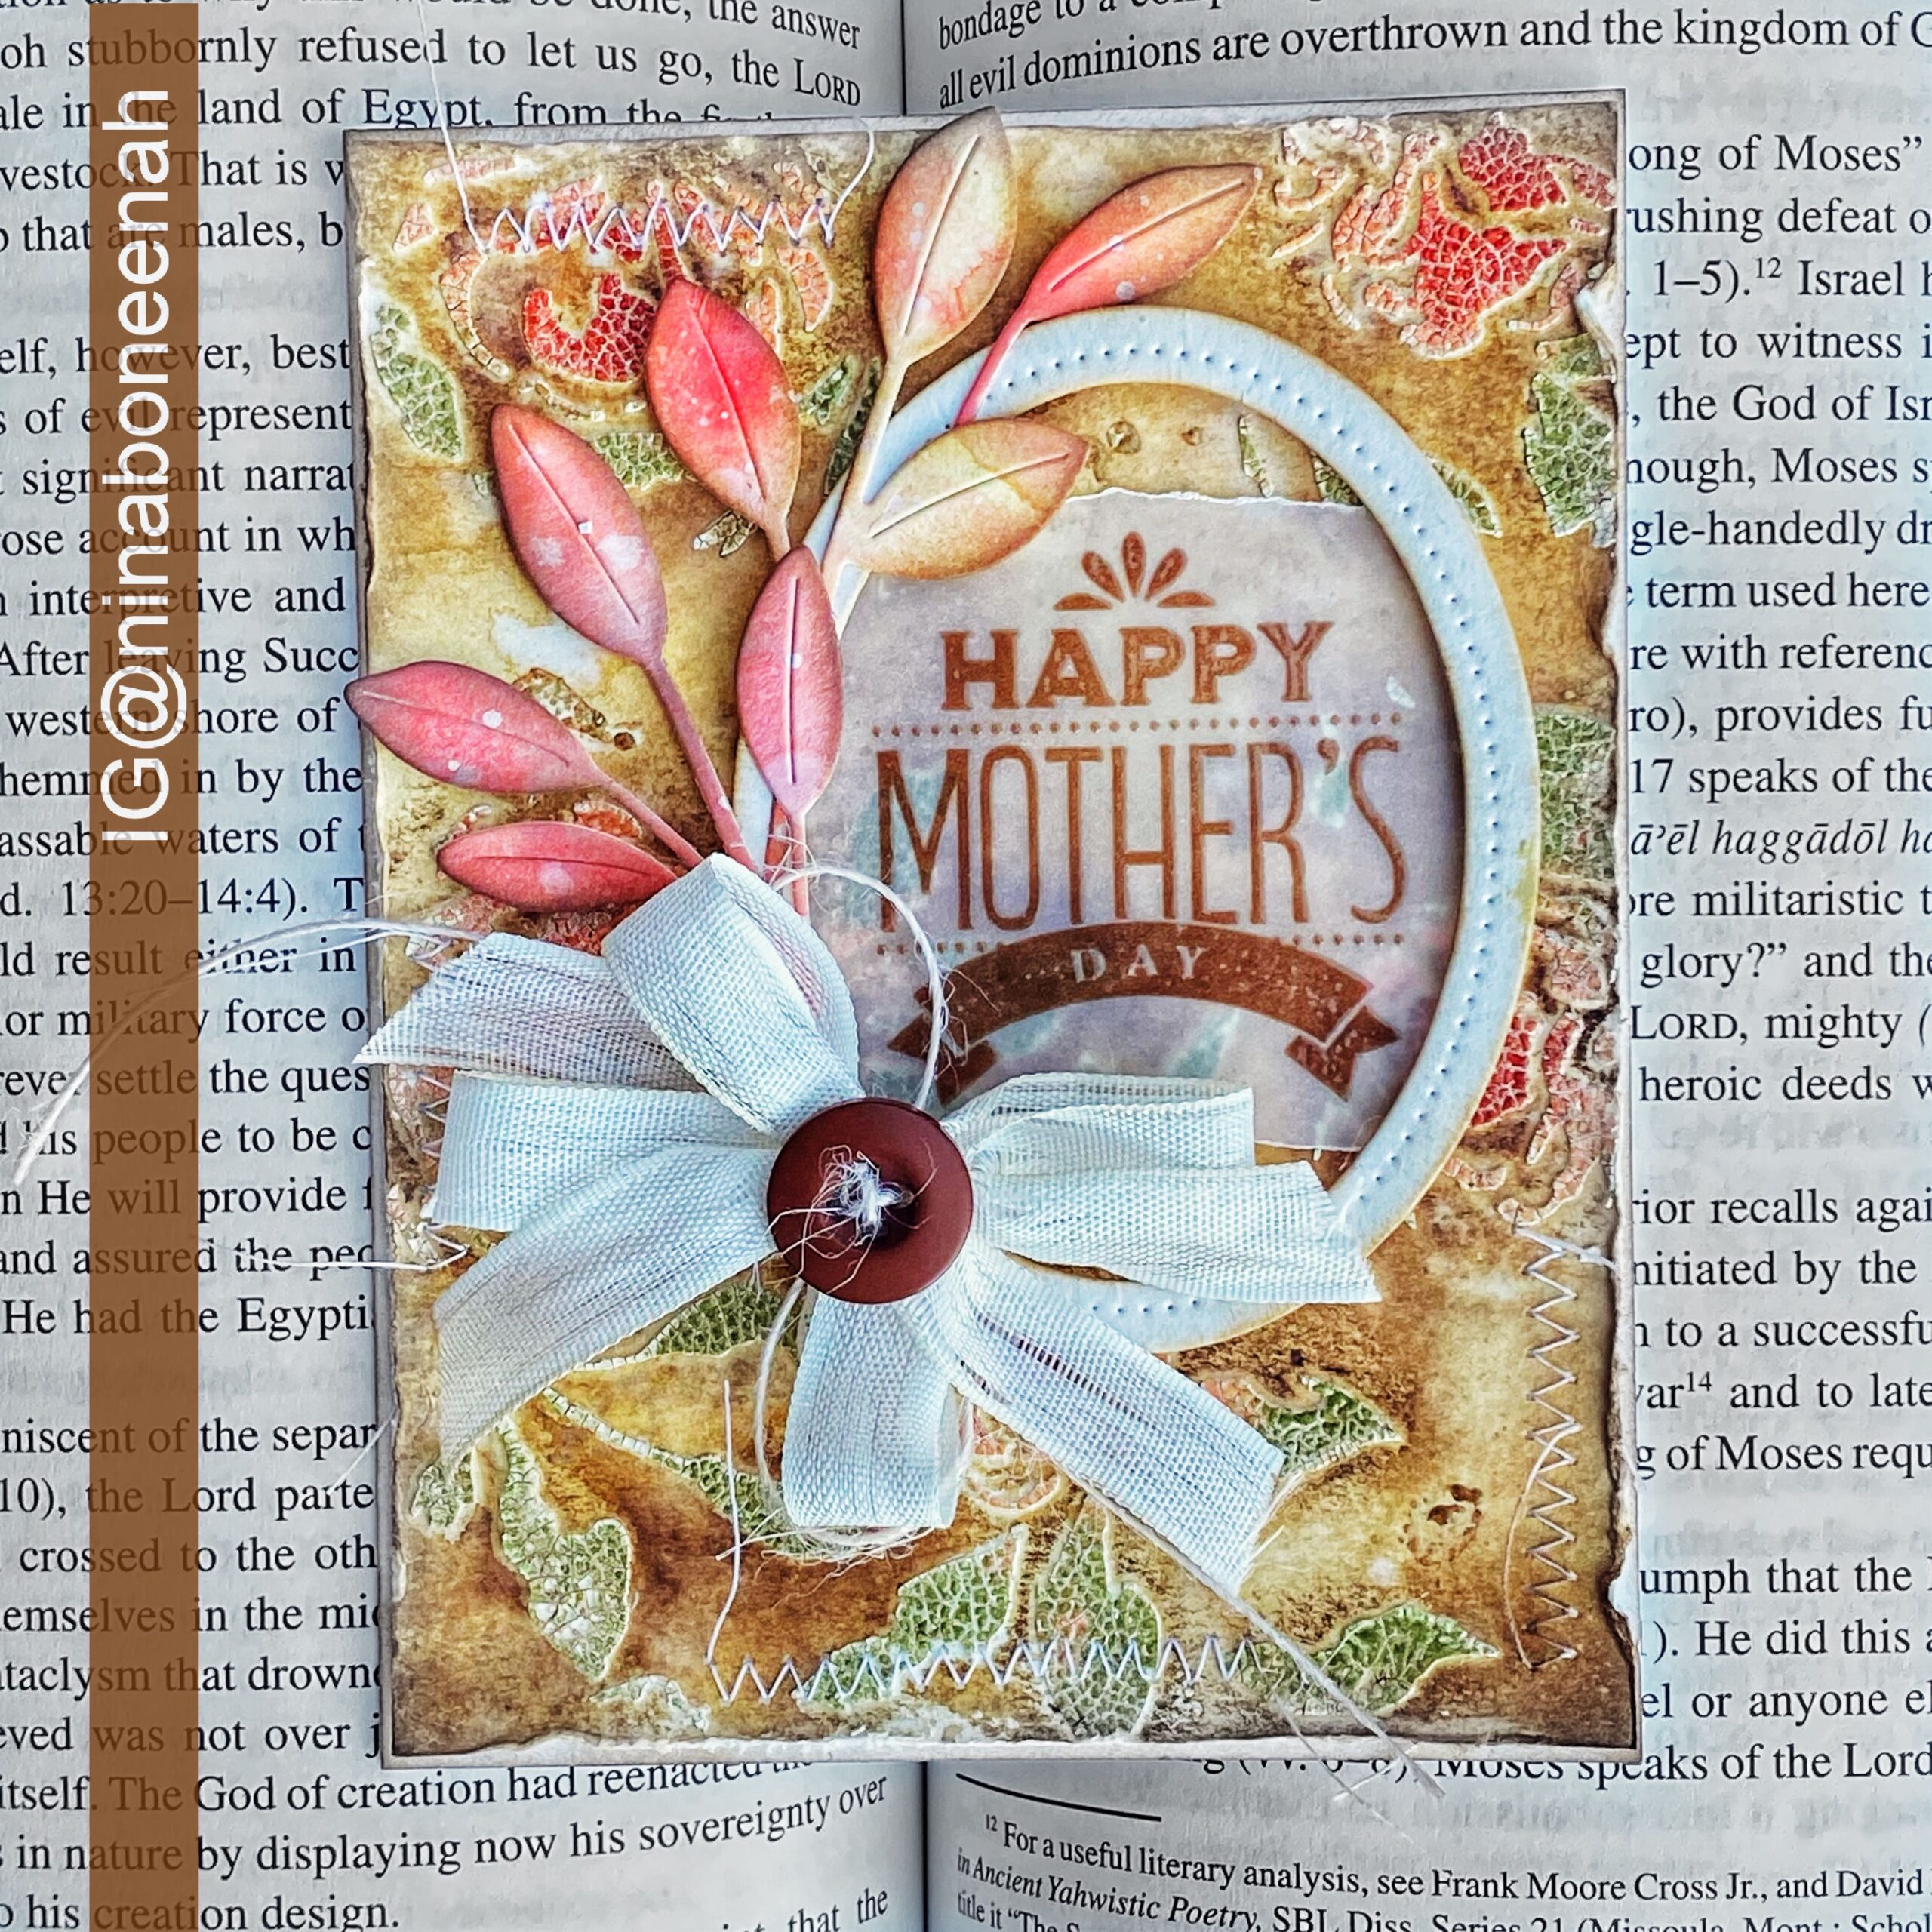
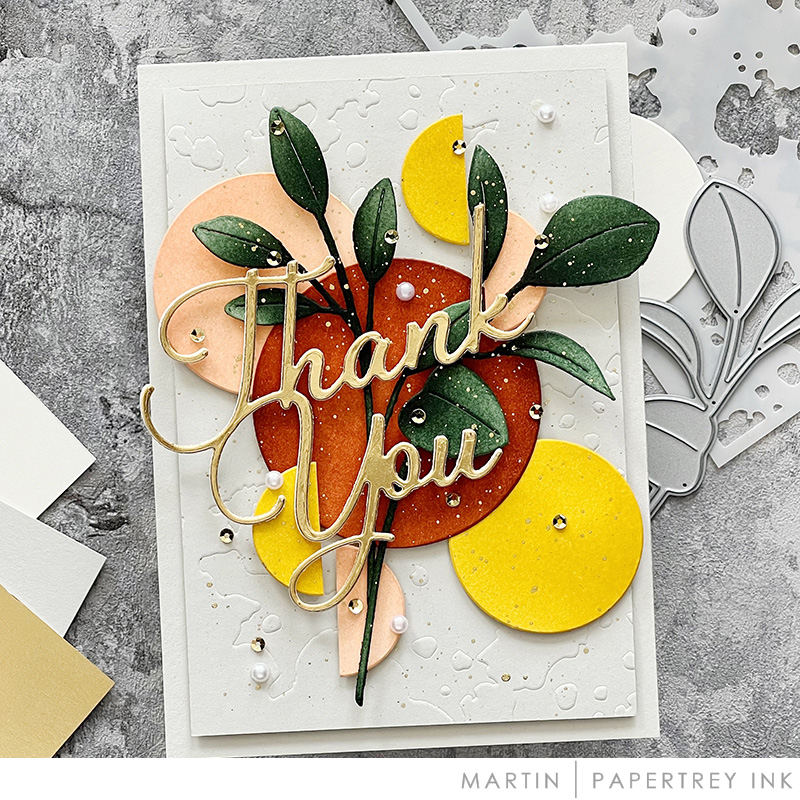
To create the colored crackle background, sprinkle embossing glaze quickly after stenciling with the paste. Allow the paste to dry before heat embossing.
-
Stitch at random places on your background and leave some of the thread loose for a more vintage, tattered look.


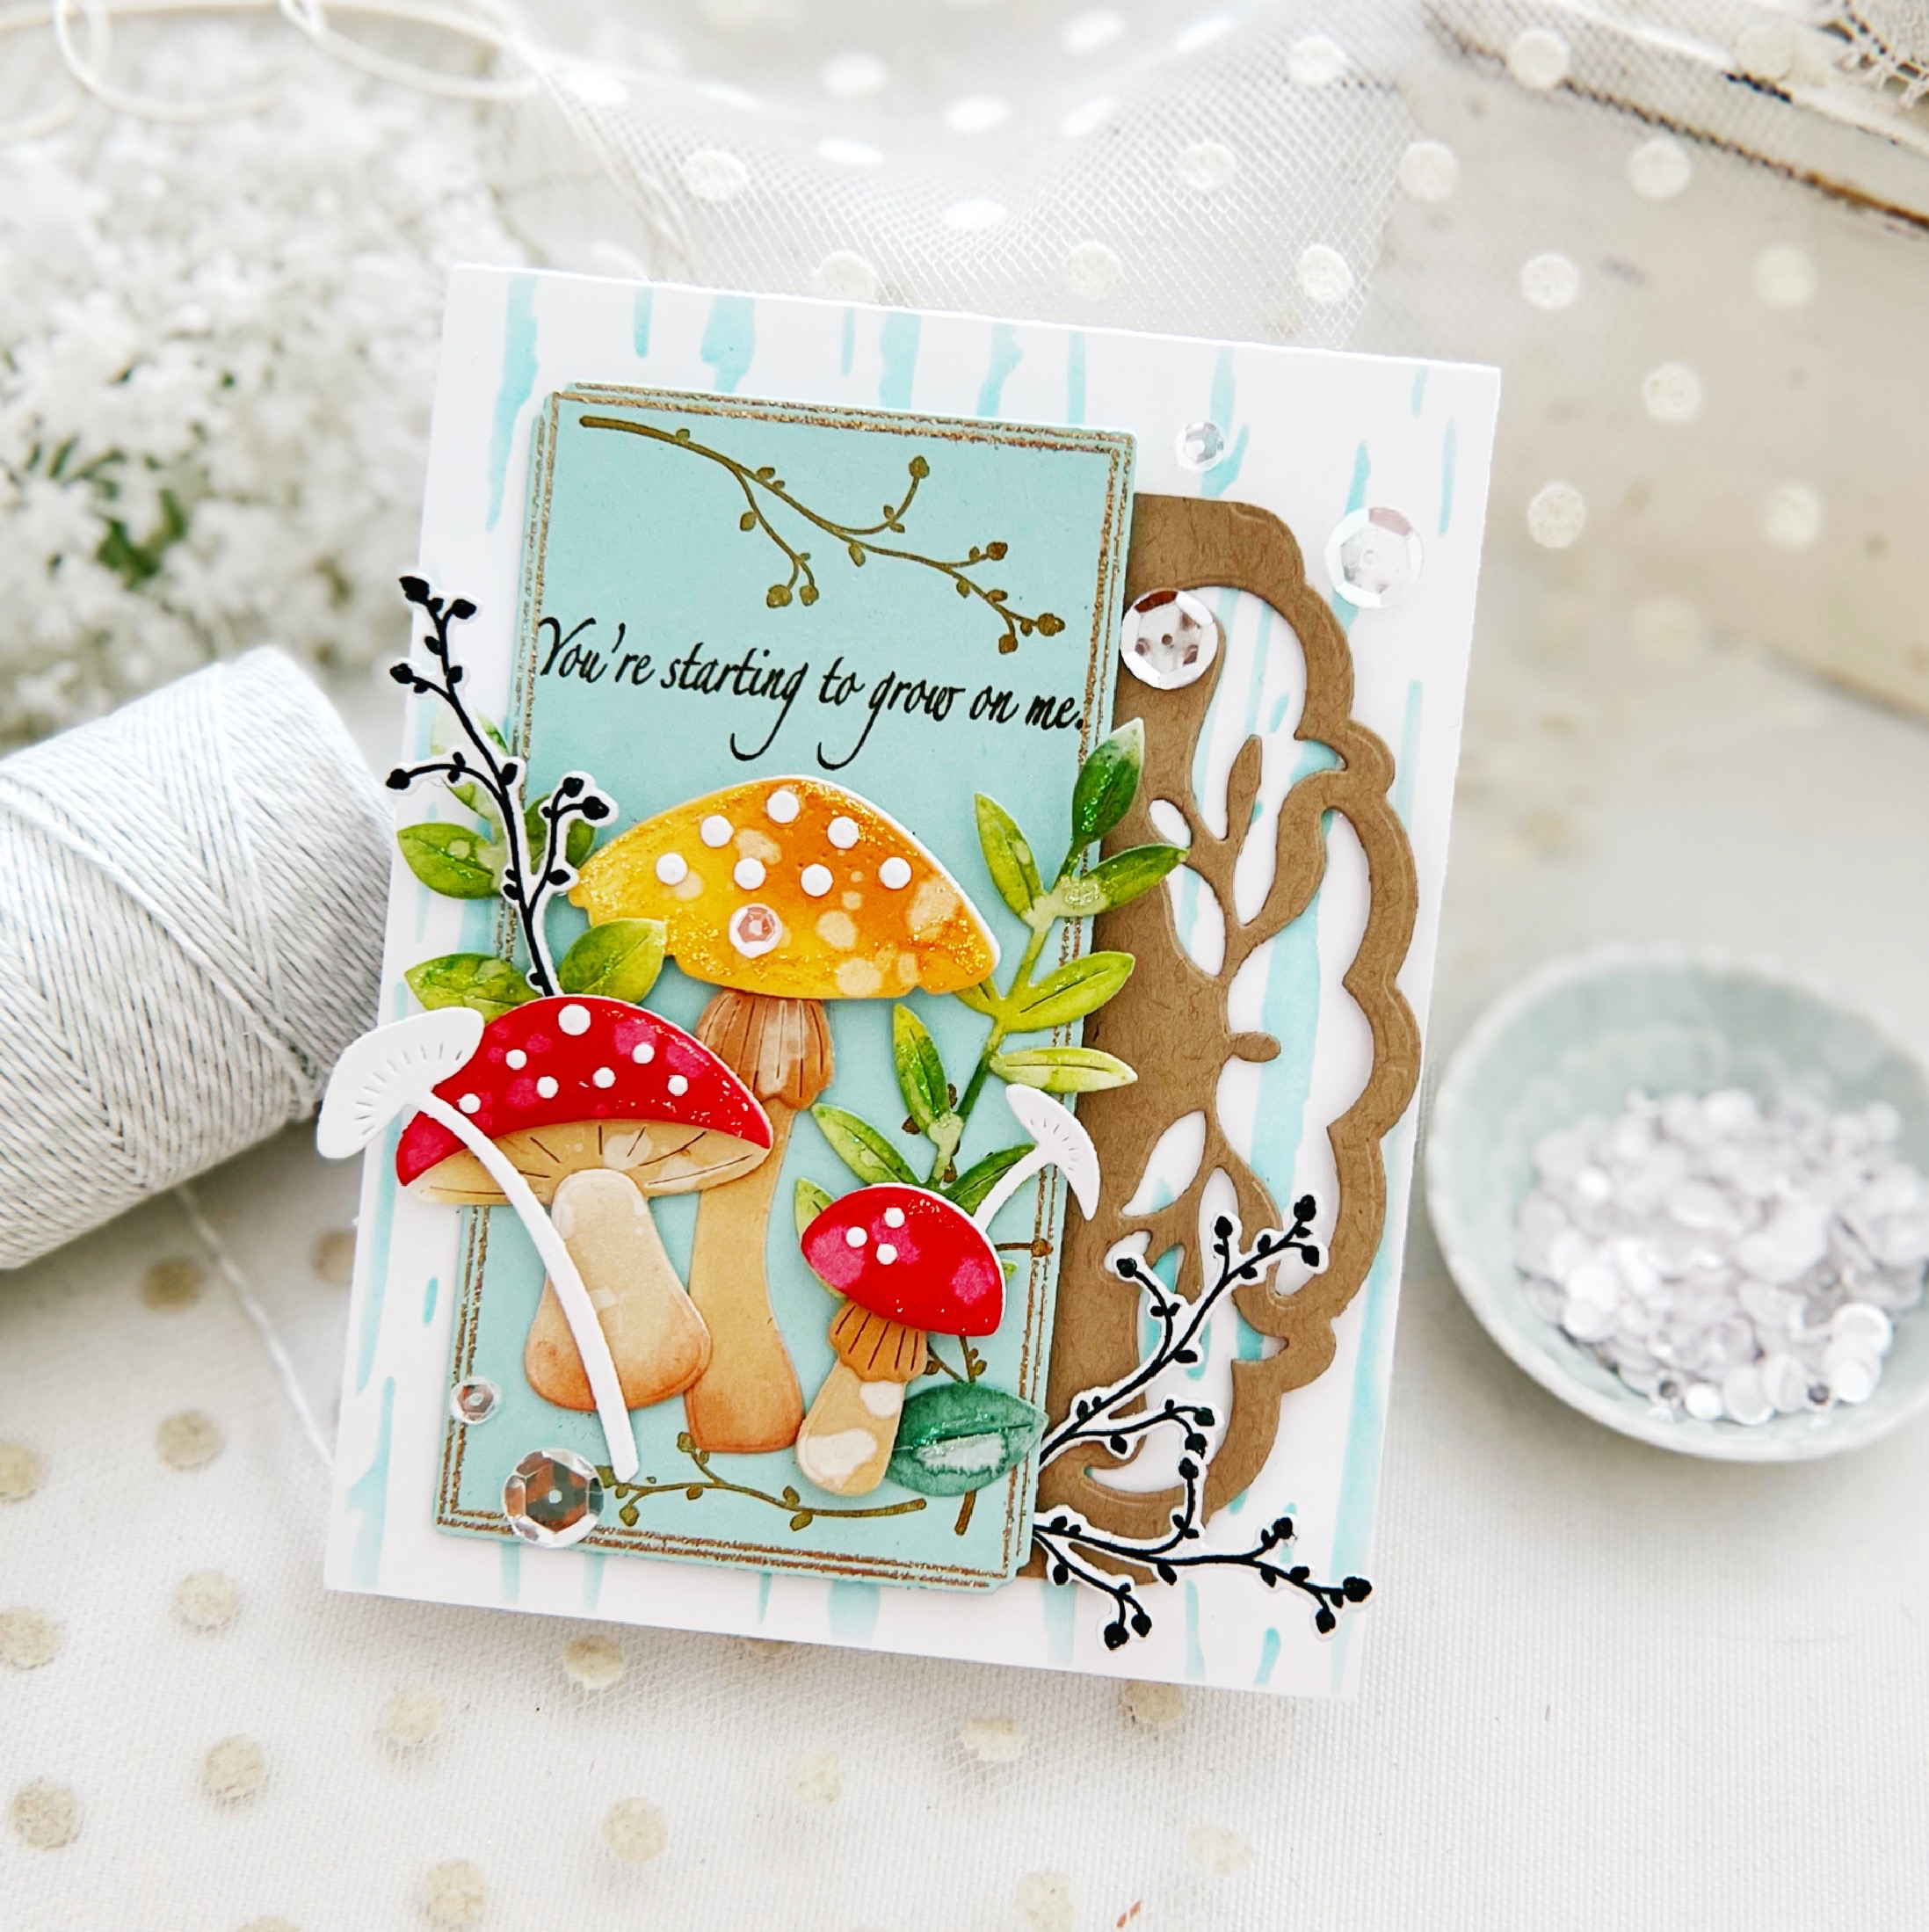
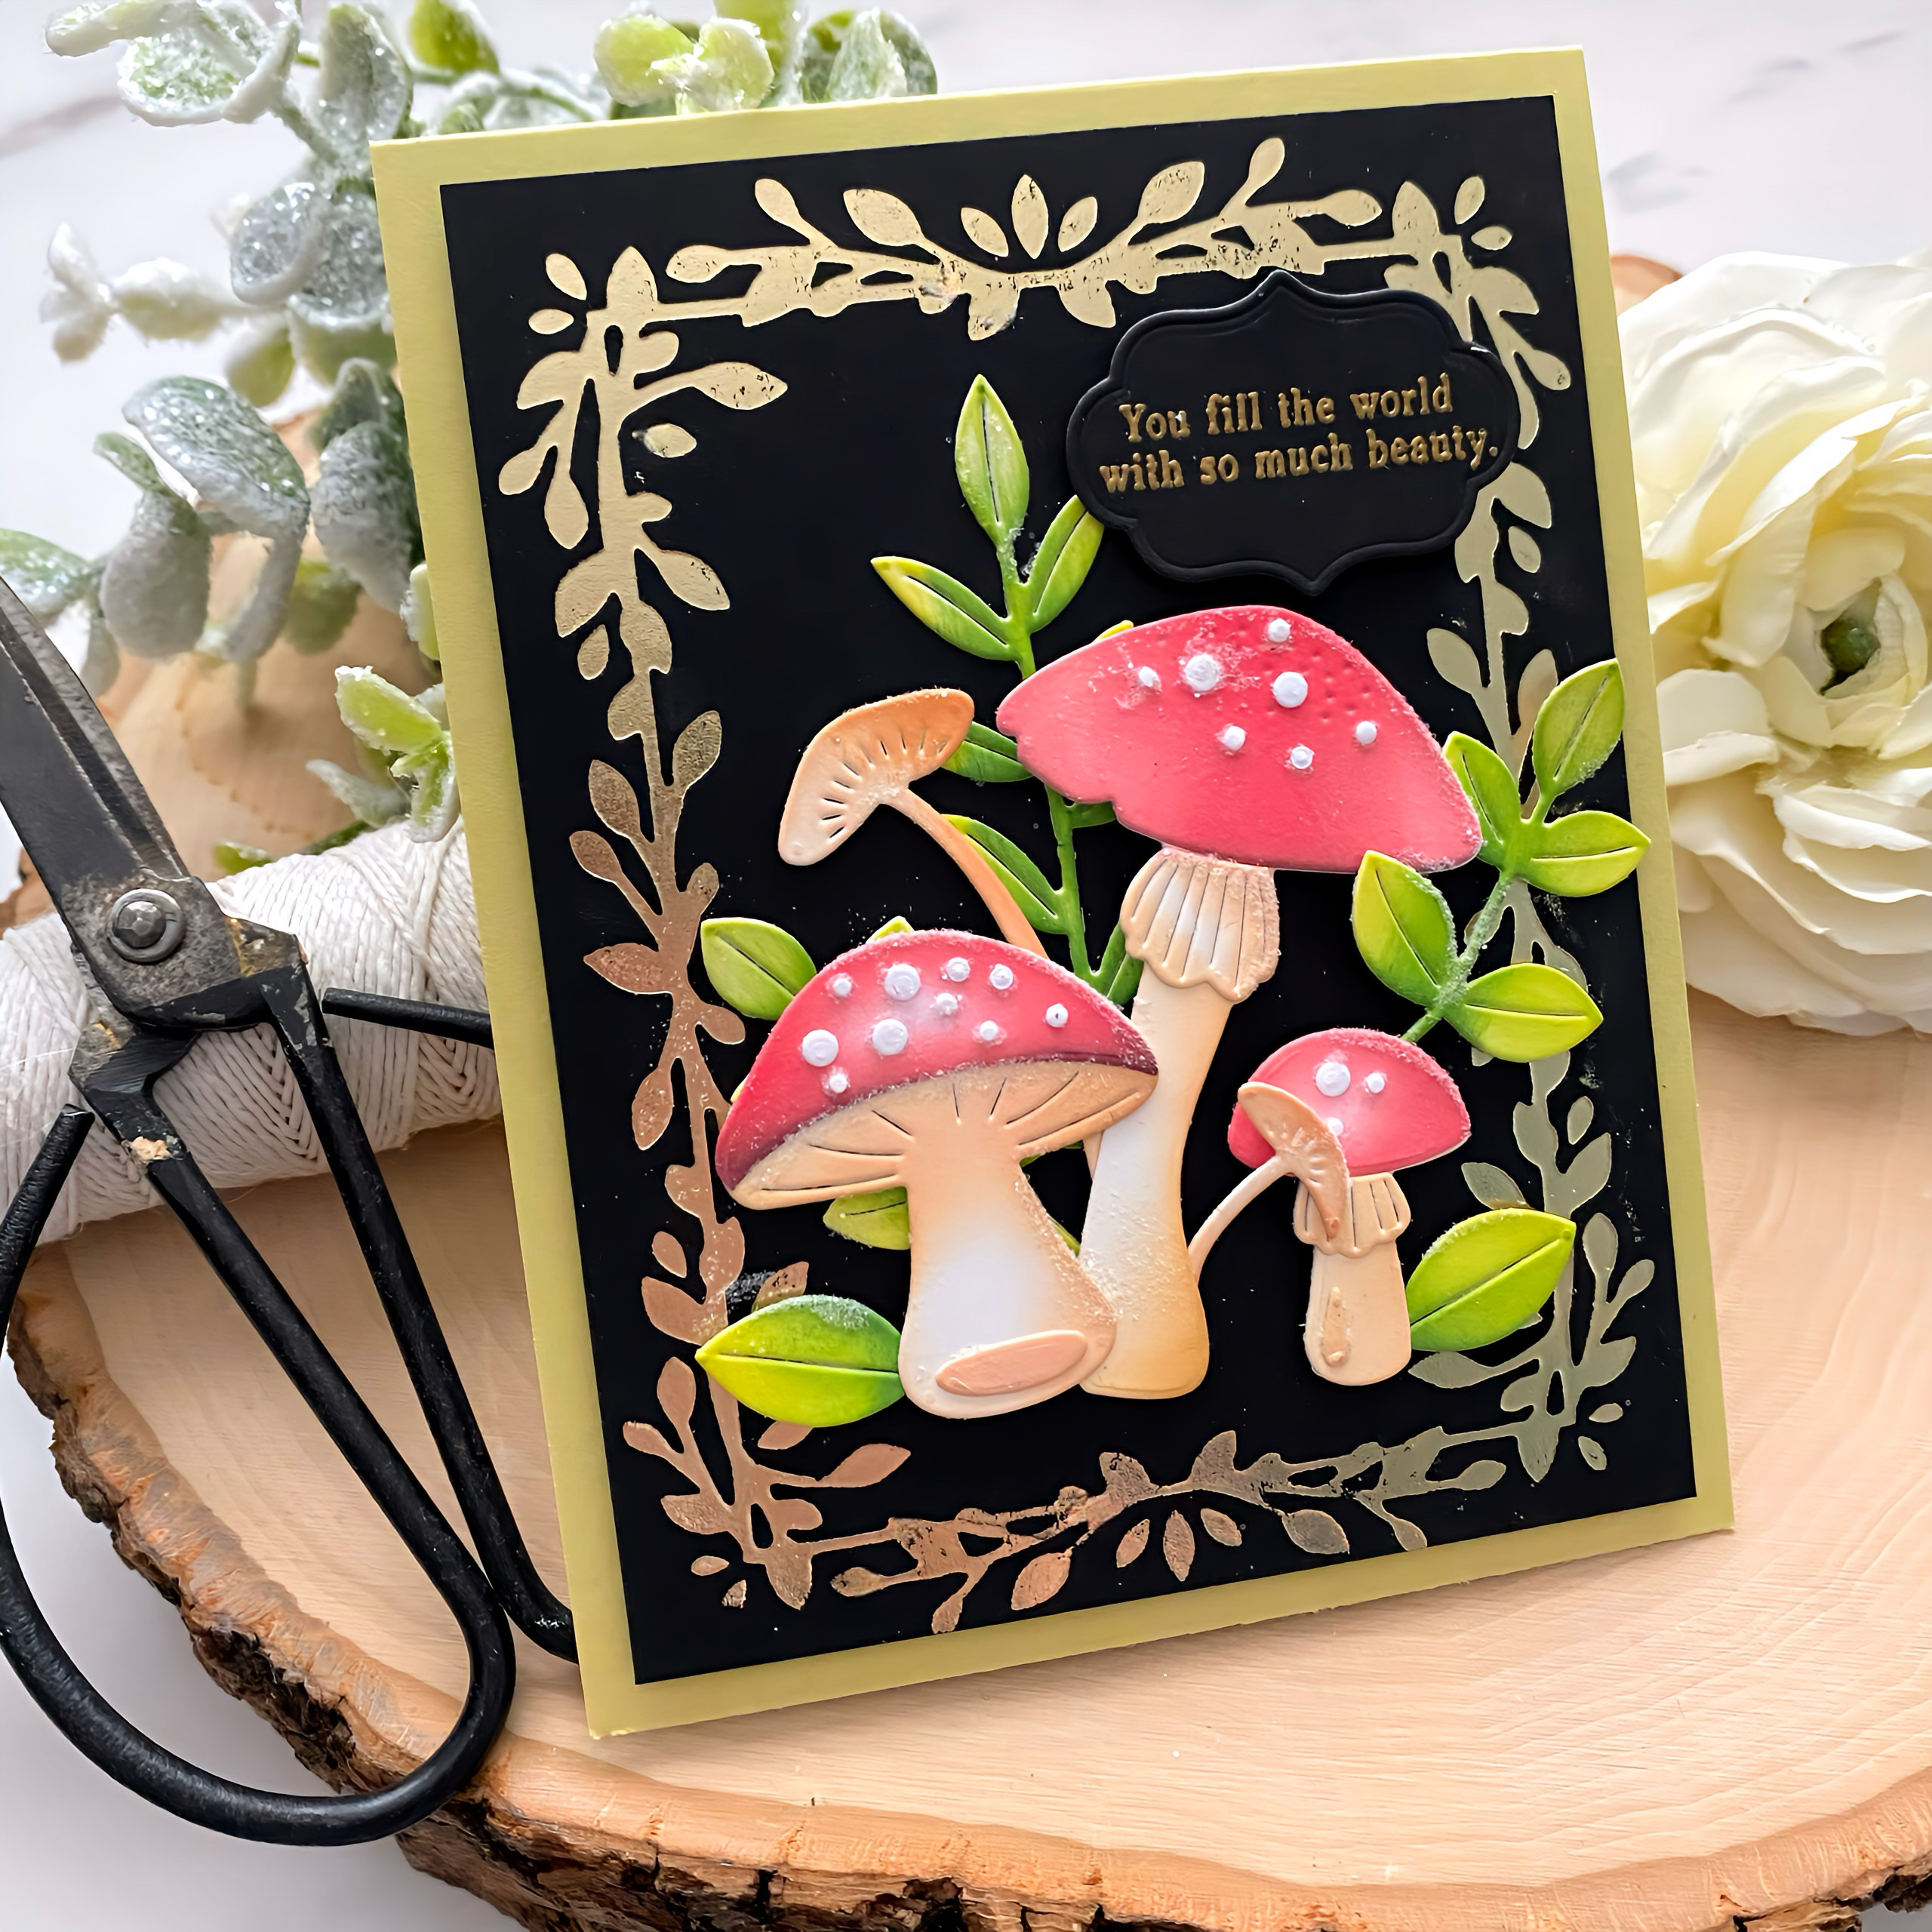
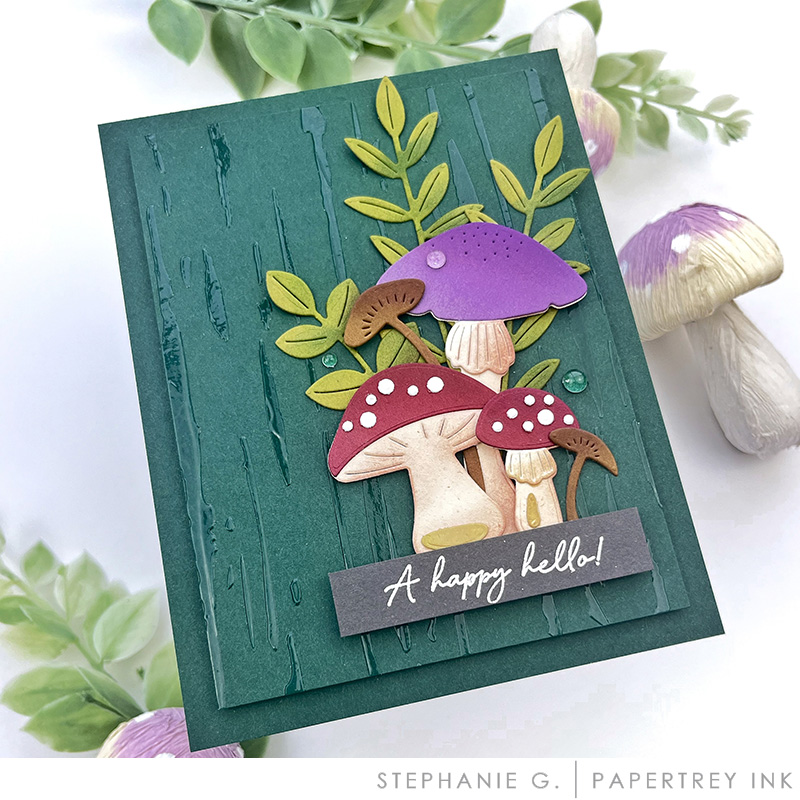
Are you a mushroom lover, just as we are here at Papertrey Ink? Mushrooms are so on-trend right now and we have designed the most adorable, new Into the Blooms: Mushroom set, just for you to enjoy. They truly make me happy!
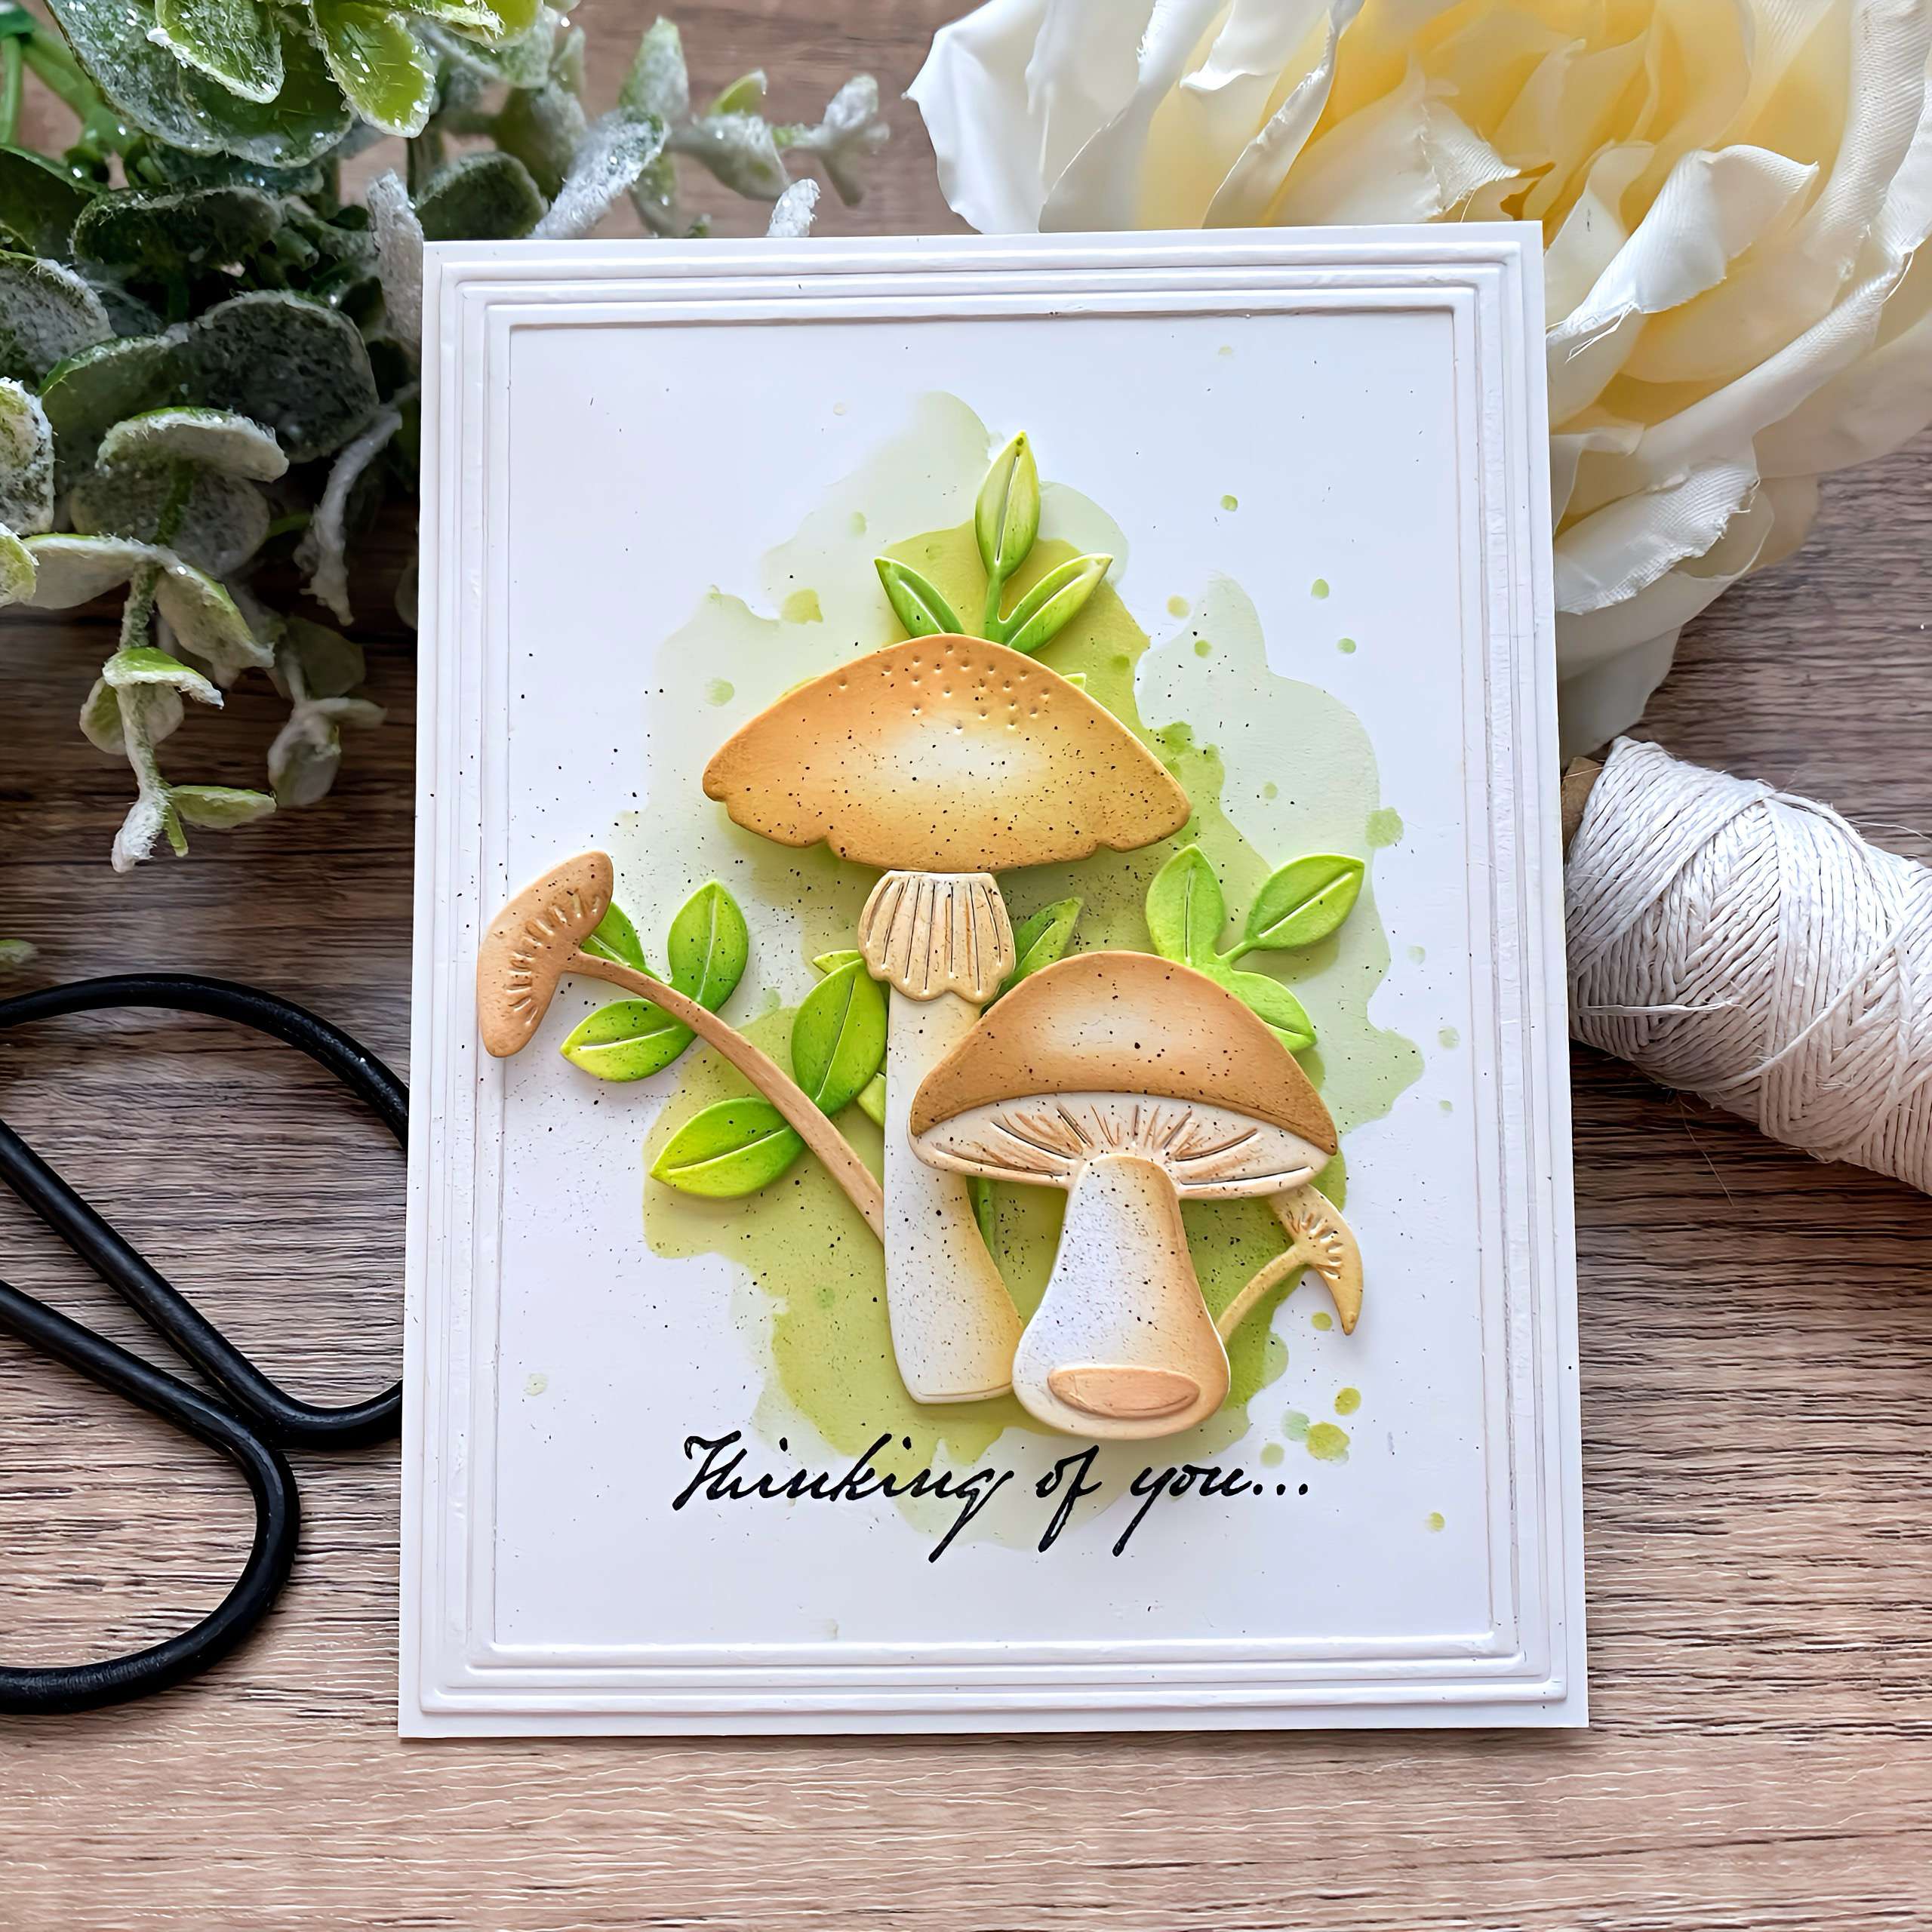
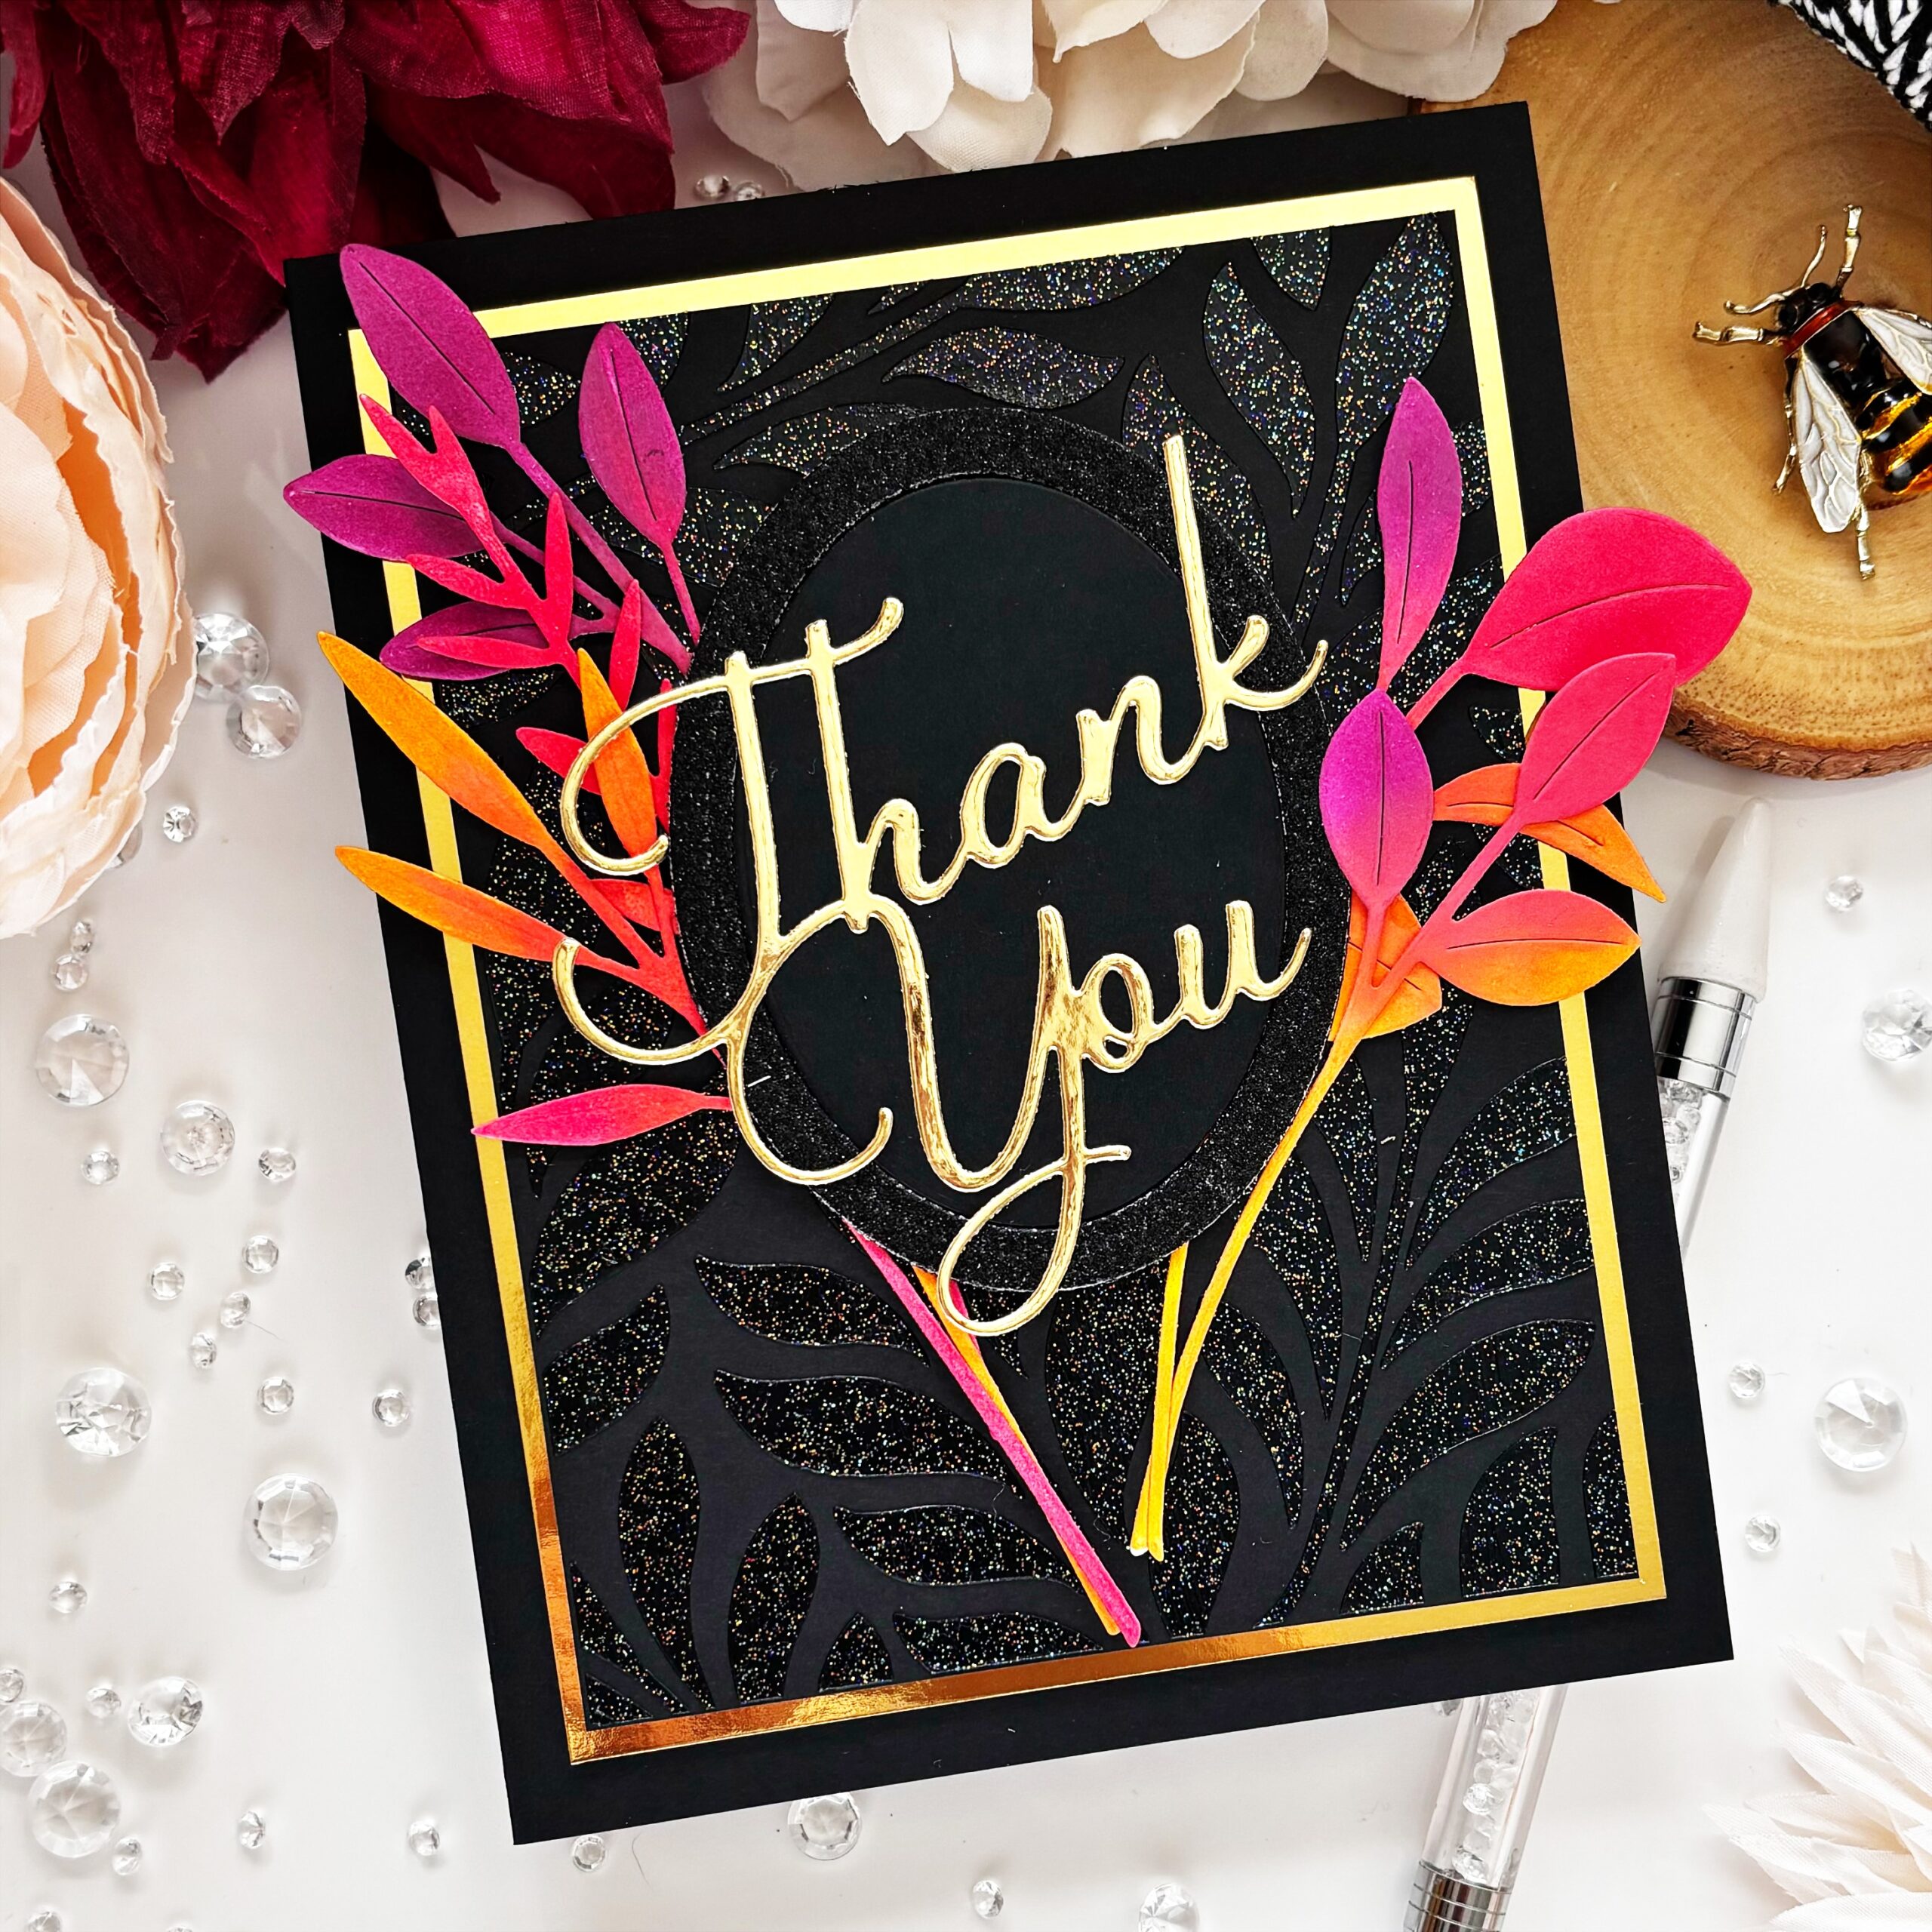
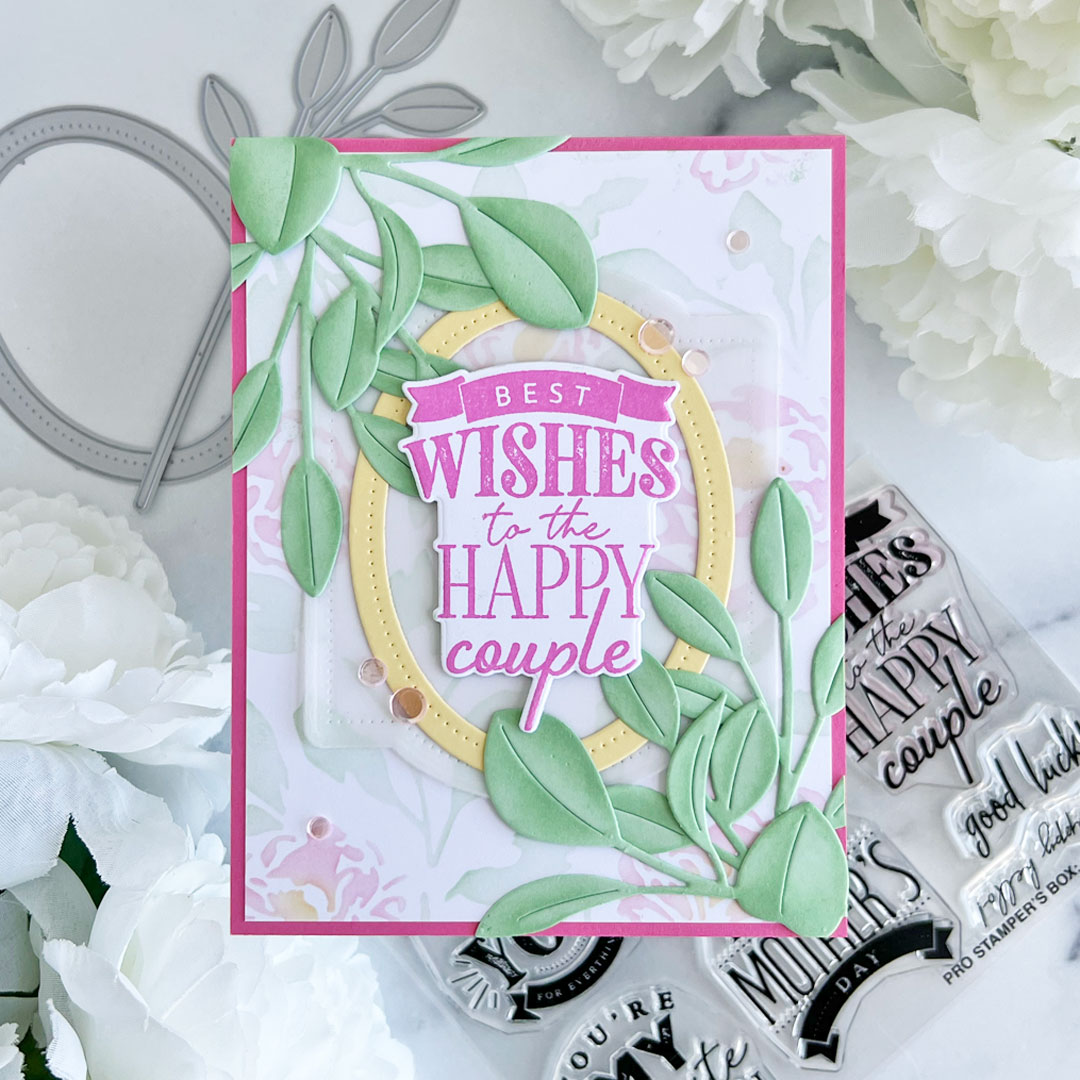
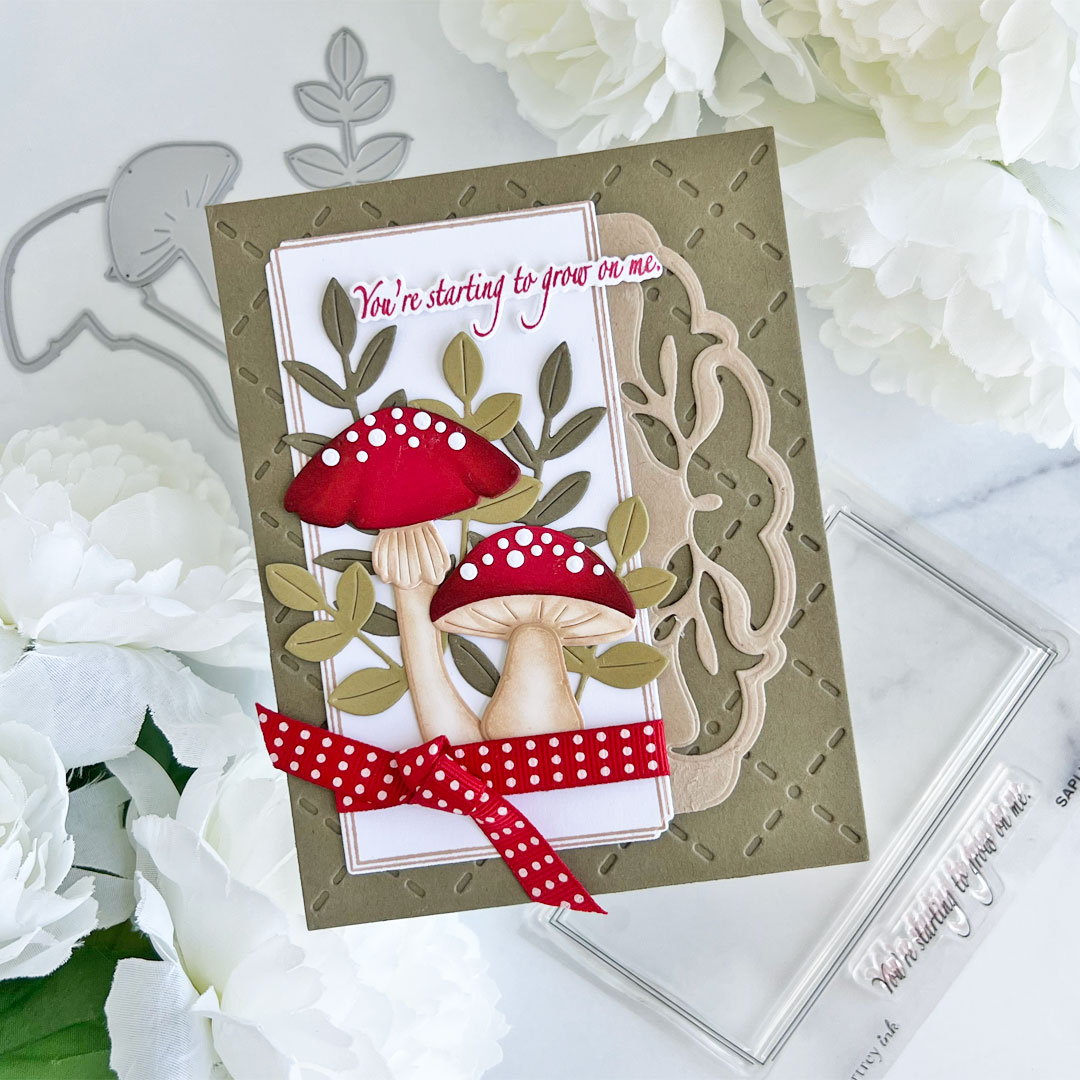
My card begins by using a stencil from the Pro Stamper’s Box: April, stenciled over a white cardstock base. I then die cut my beautiful Elegant Edges: Decor from Kraft cardstock and layered it down the right side of my card, just so it would peek out from behind my Sapling Frame.
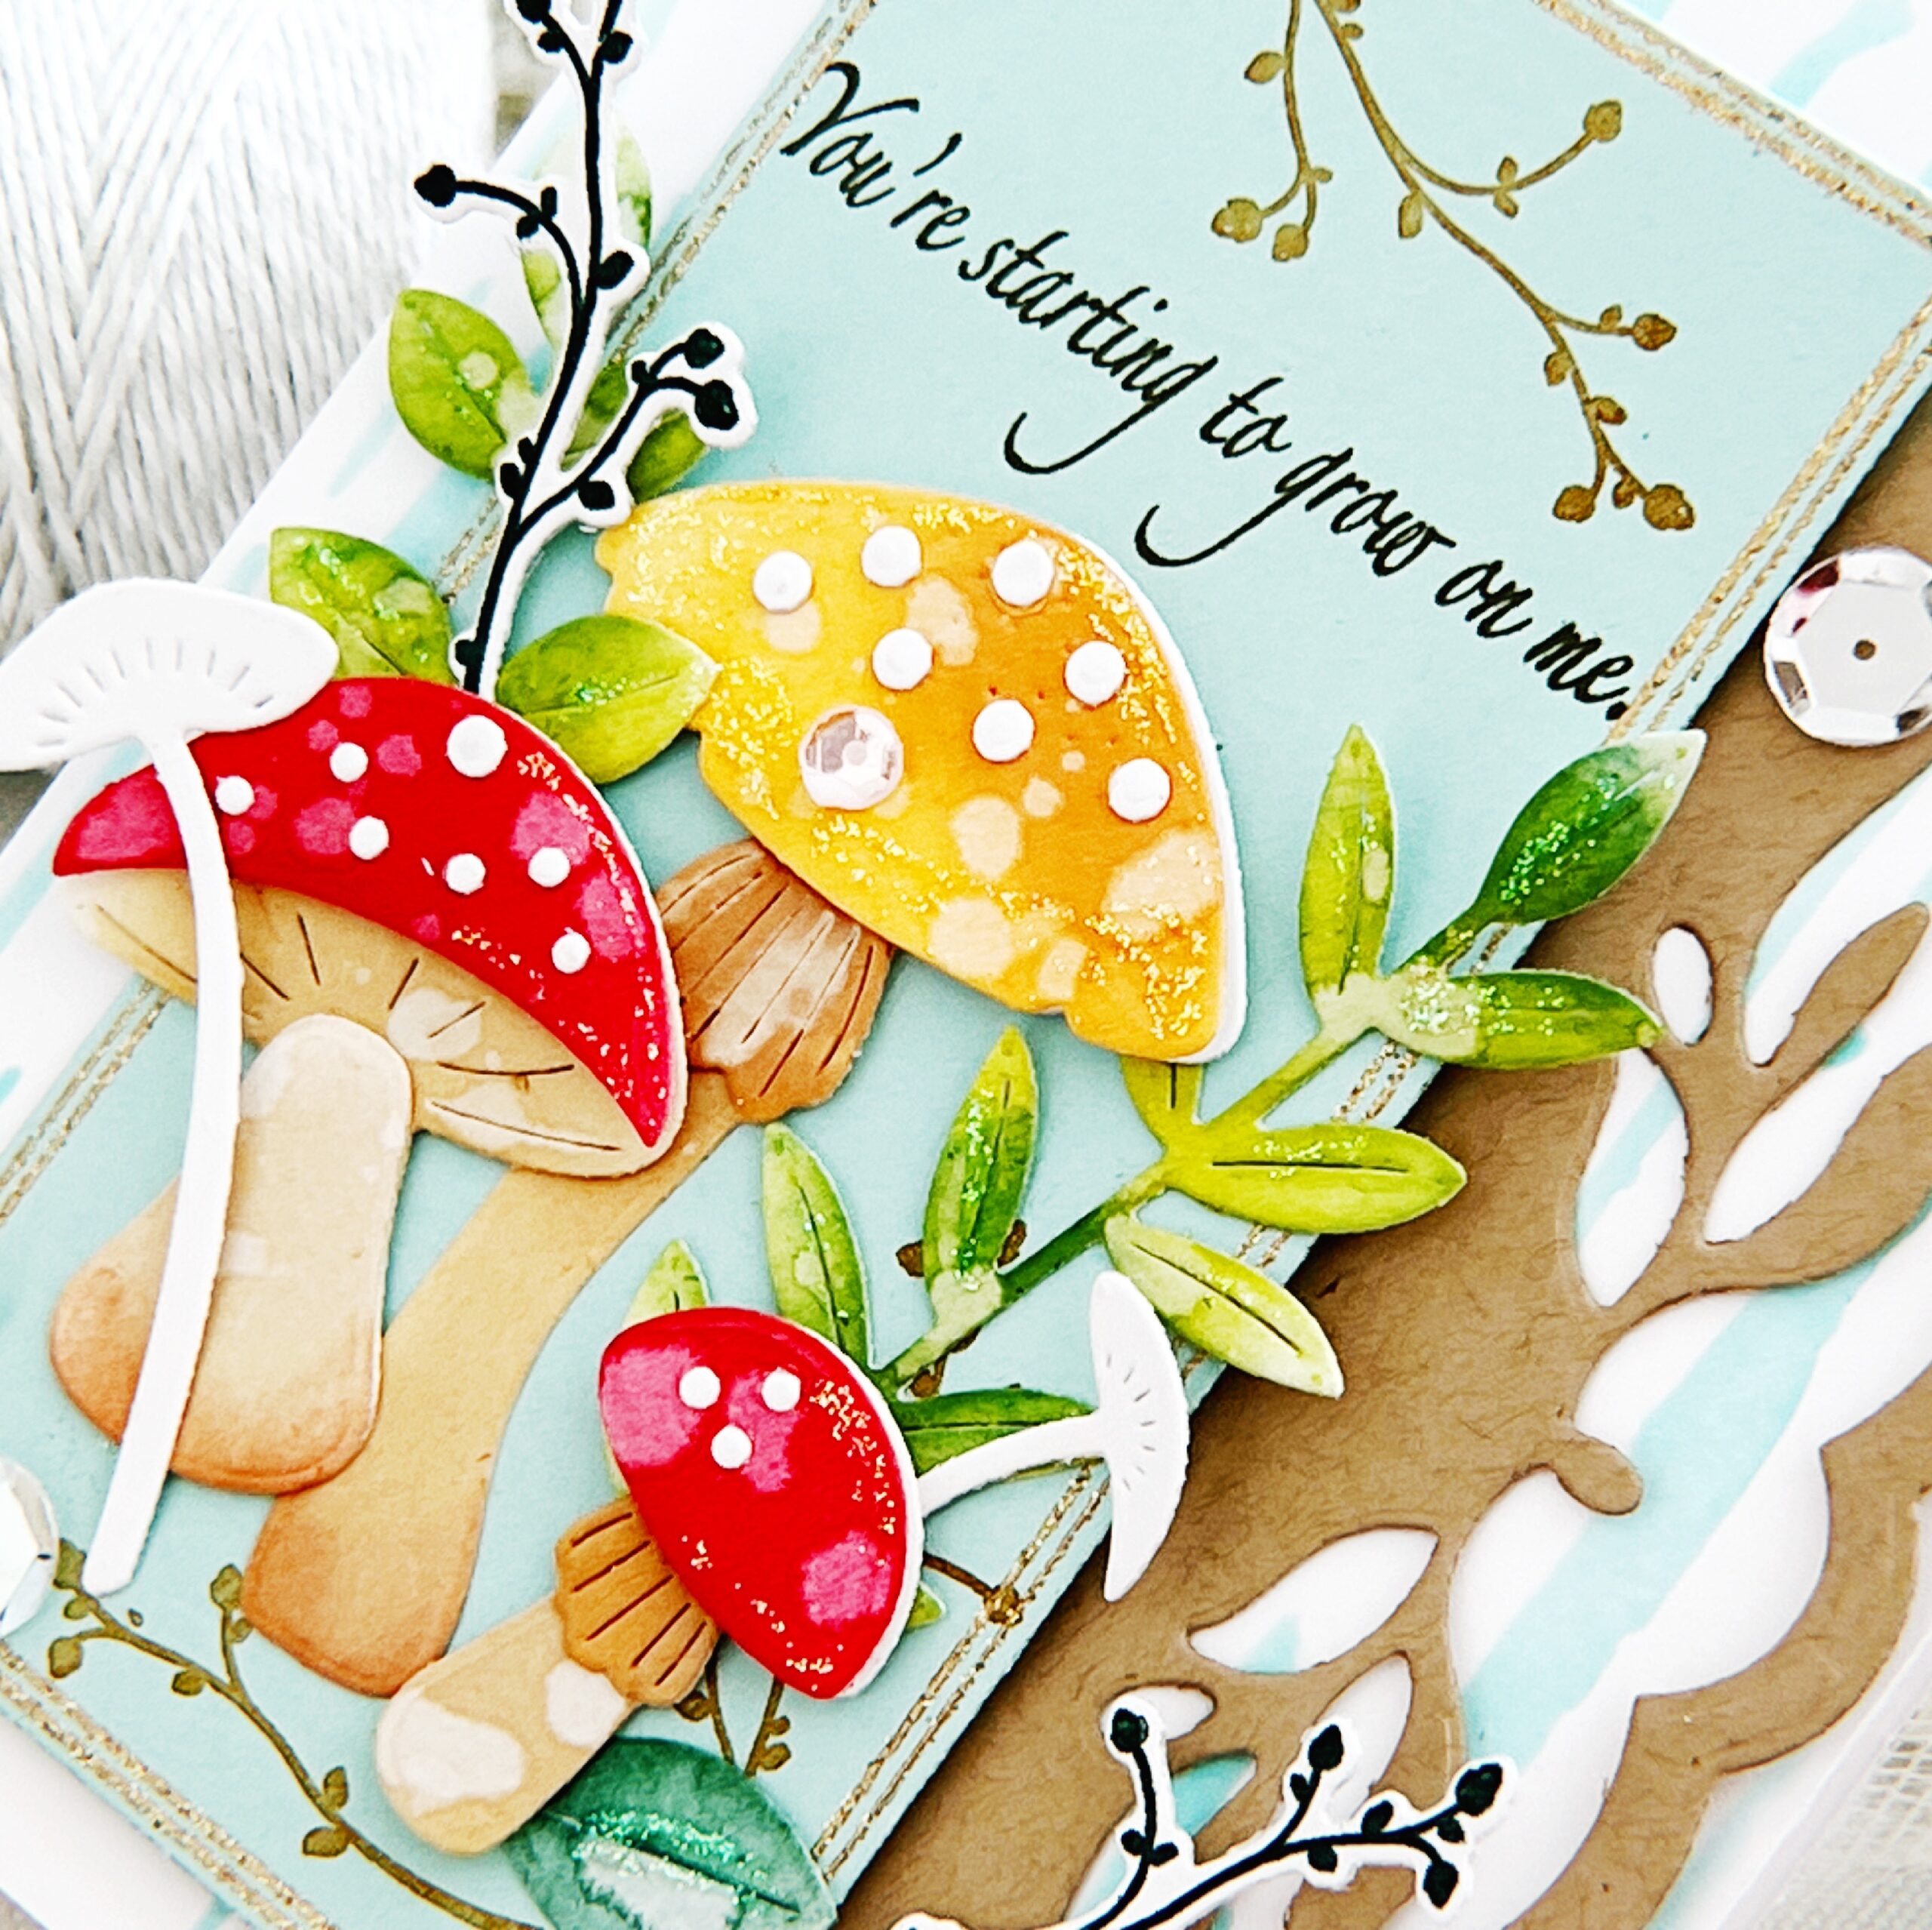
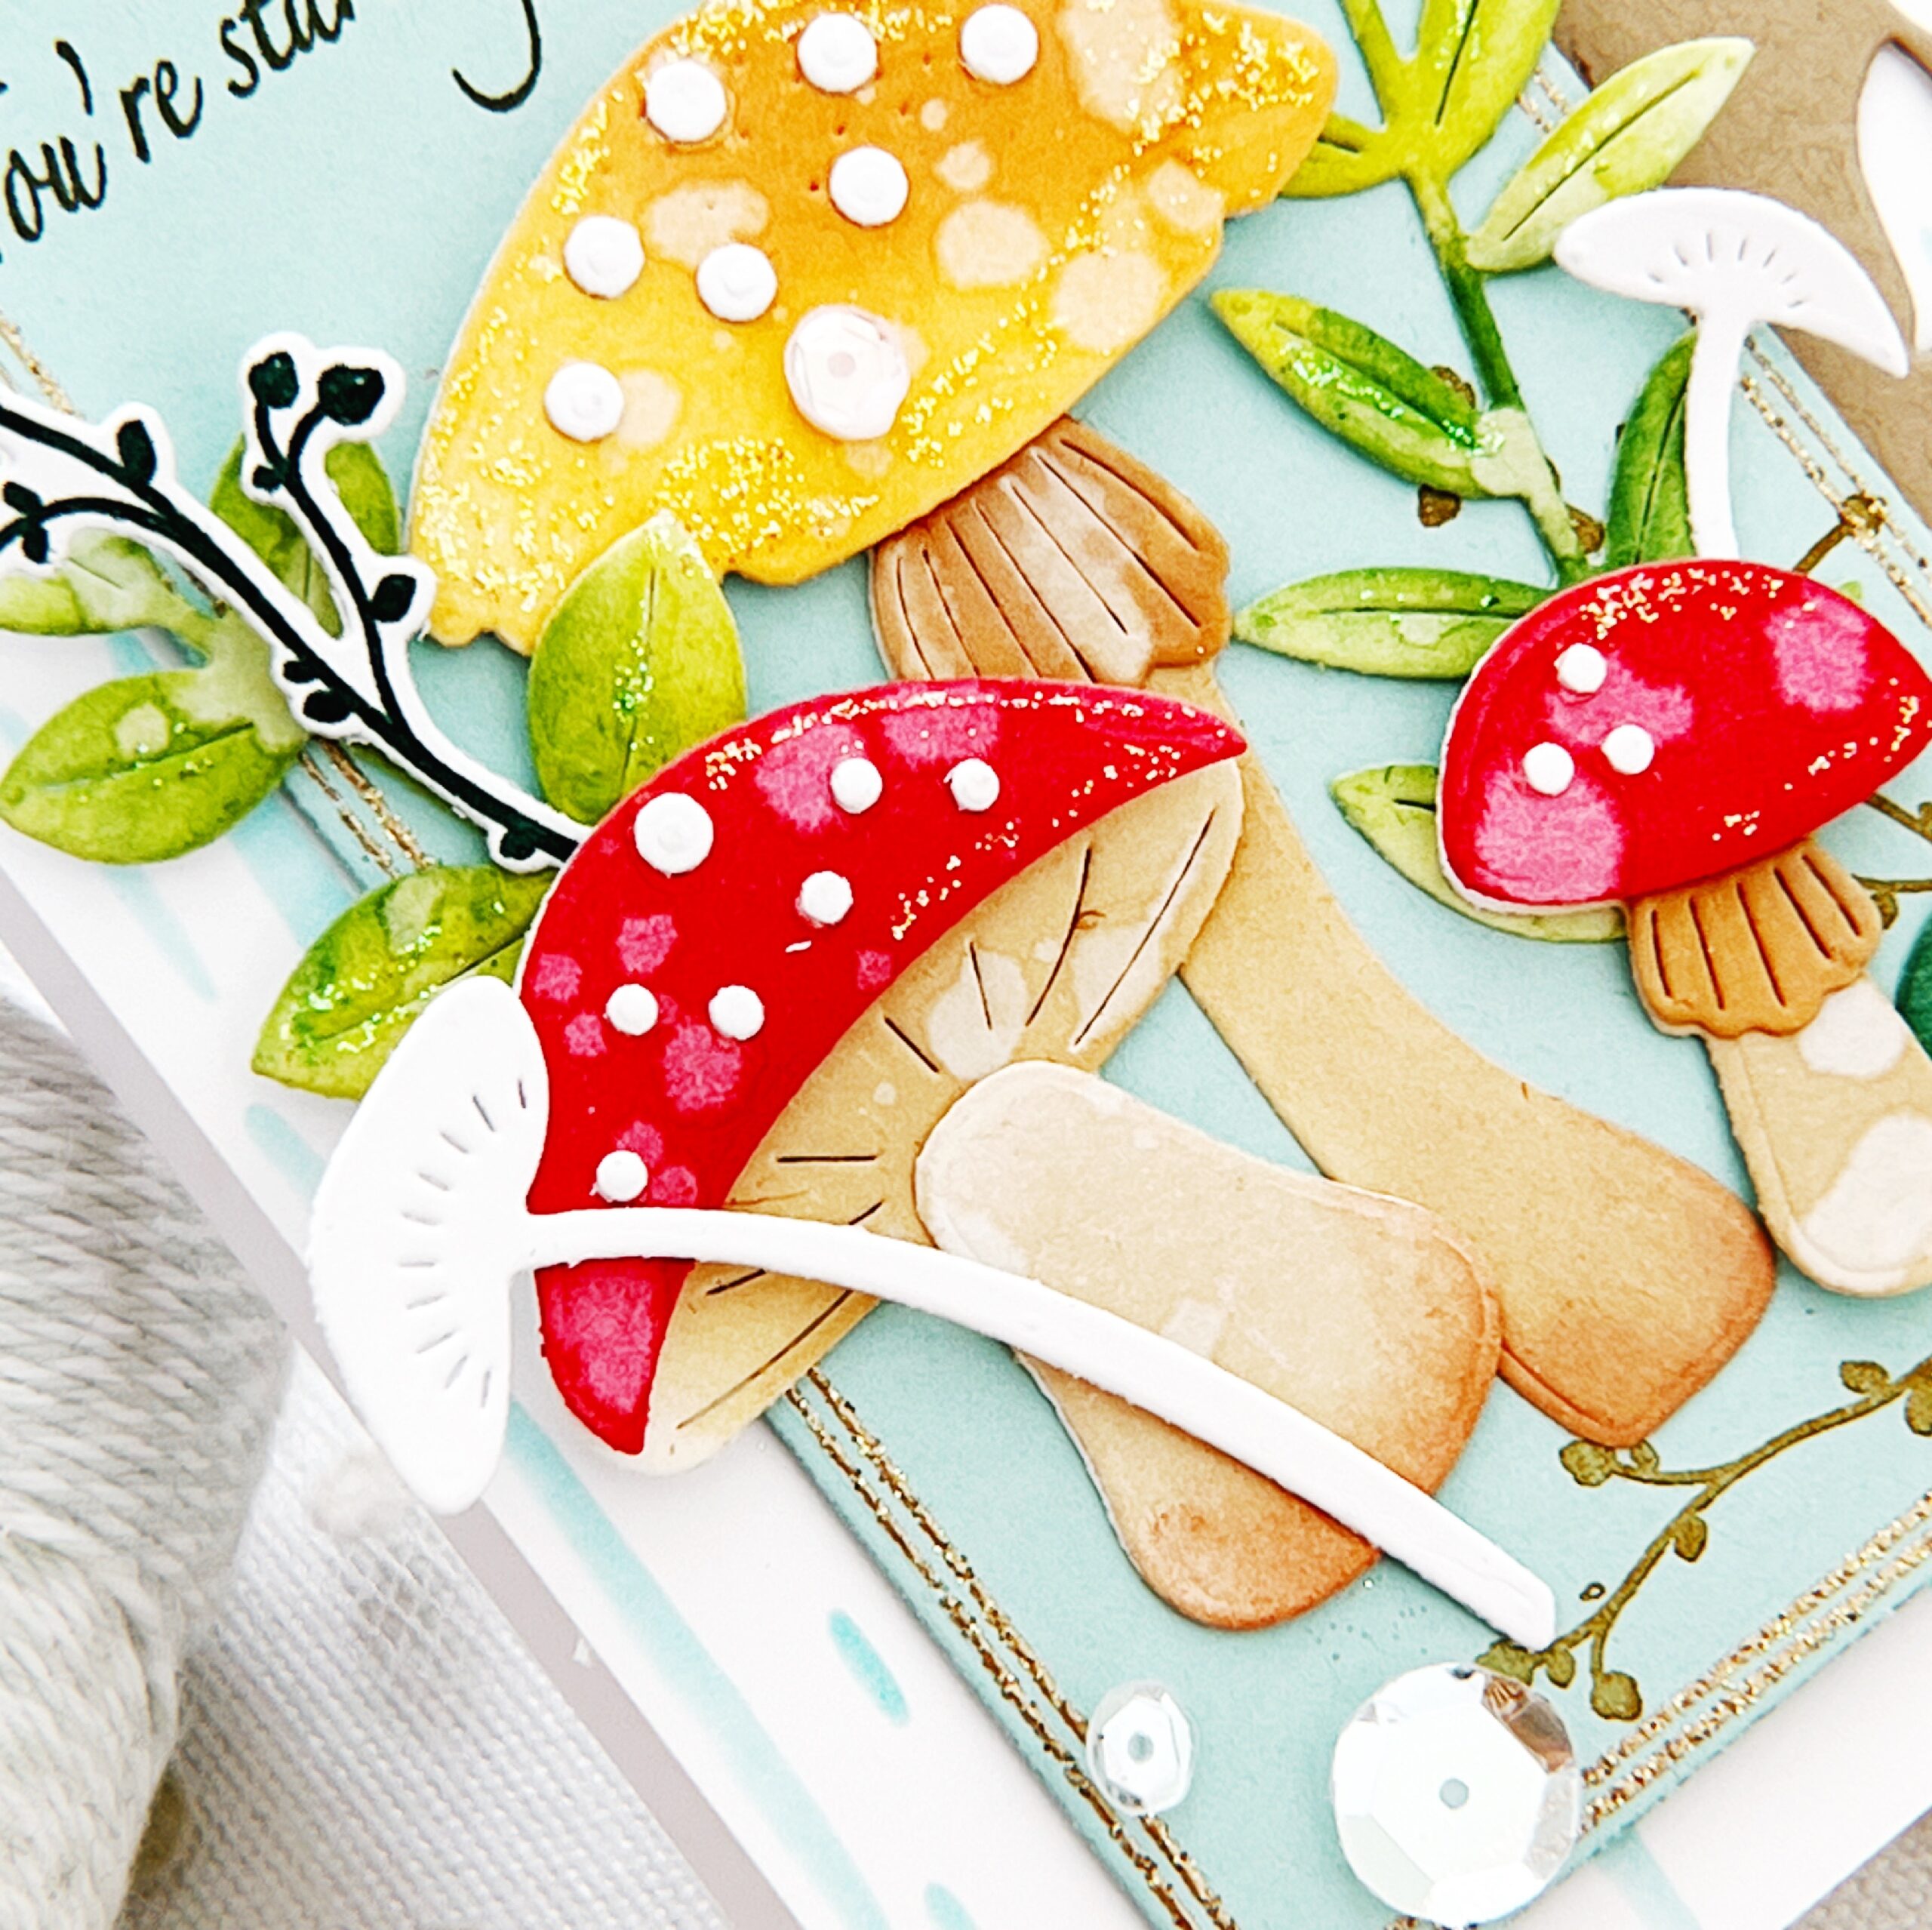
I die cut my Sapling Frame from Aqua Mist cardstock and heat embossed it in gold embossing powder. I then added a stamped sentiment and lovely, little branches to embellish the corners. Lastly, I die cut and ink blended darling mushrooms, complete with tiny dots across the top. I tucked them in under my sentiment and then added some stamped and die cut branches from the Sapling Frame. This is such a gorgeous stamp set….with the most unique and thoughtful sentiments and images. I LOVE it!
Grow On Me Card
SUPPLY LIST:
STAMPS: Sapling Frame
INK: Pure Poppy, Scarlet Jewel, Americana, Terracotta Tile, Summer Sunrise, Fine Linen, Classic Kraft, Honey Nut, Pinefeather, Simply Chartreuse, Ripe Avocado, Hawaiian Shores, Olive Twist
PAPER: Stamper’s Select White, Aqua Mist, Kraft
DIES: Sapling Frame, Elegant Edges: Decor, Into the Blooms: Mushrooms
OTHER: Pro Stamper’s Box: April Stencils, gold glitter embossing powder, sequins, Stickles glitter


TIPS:
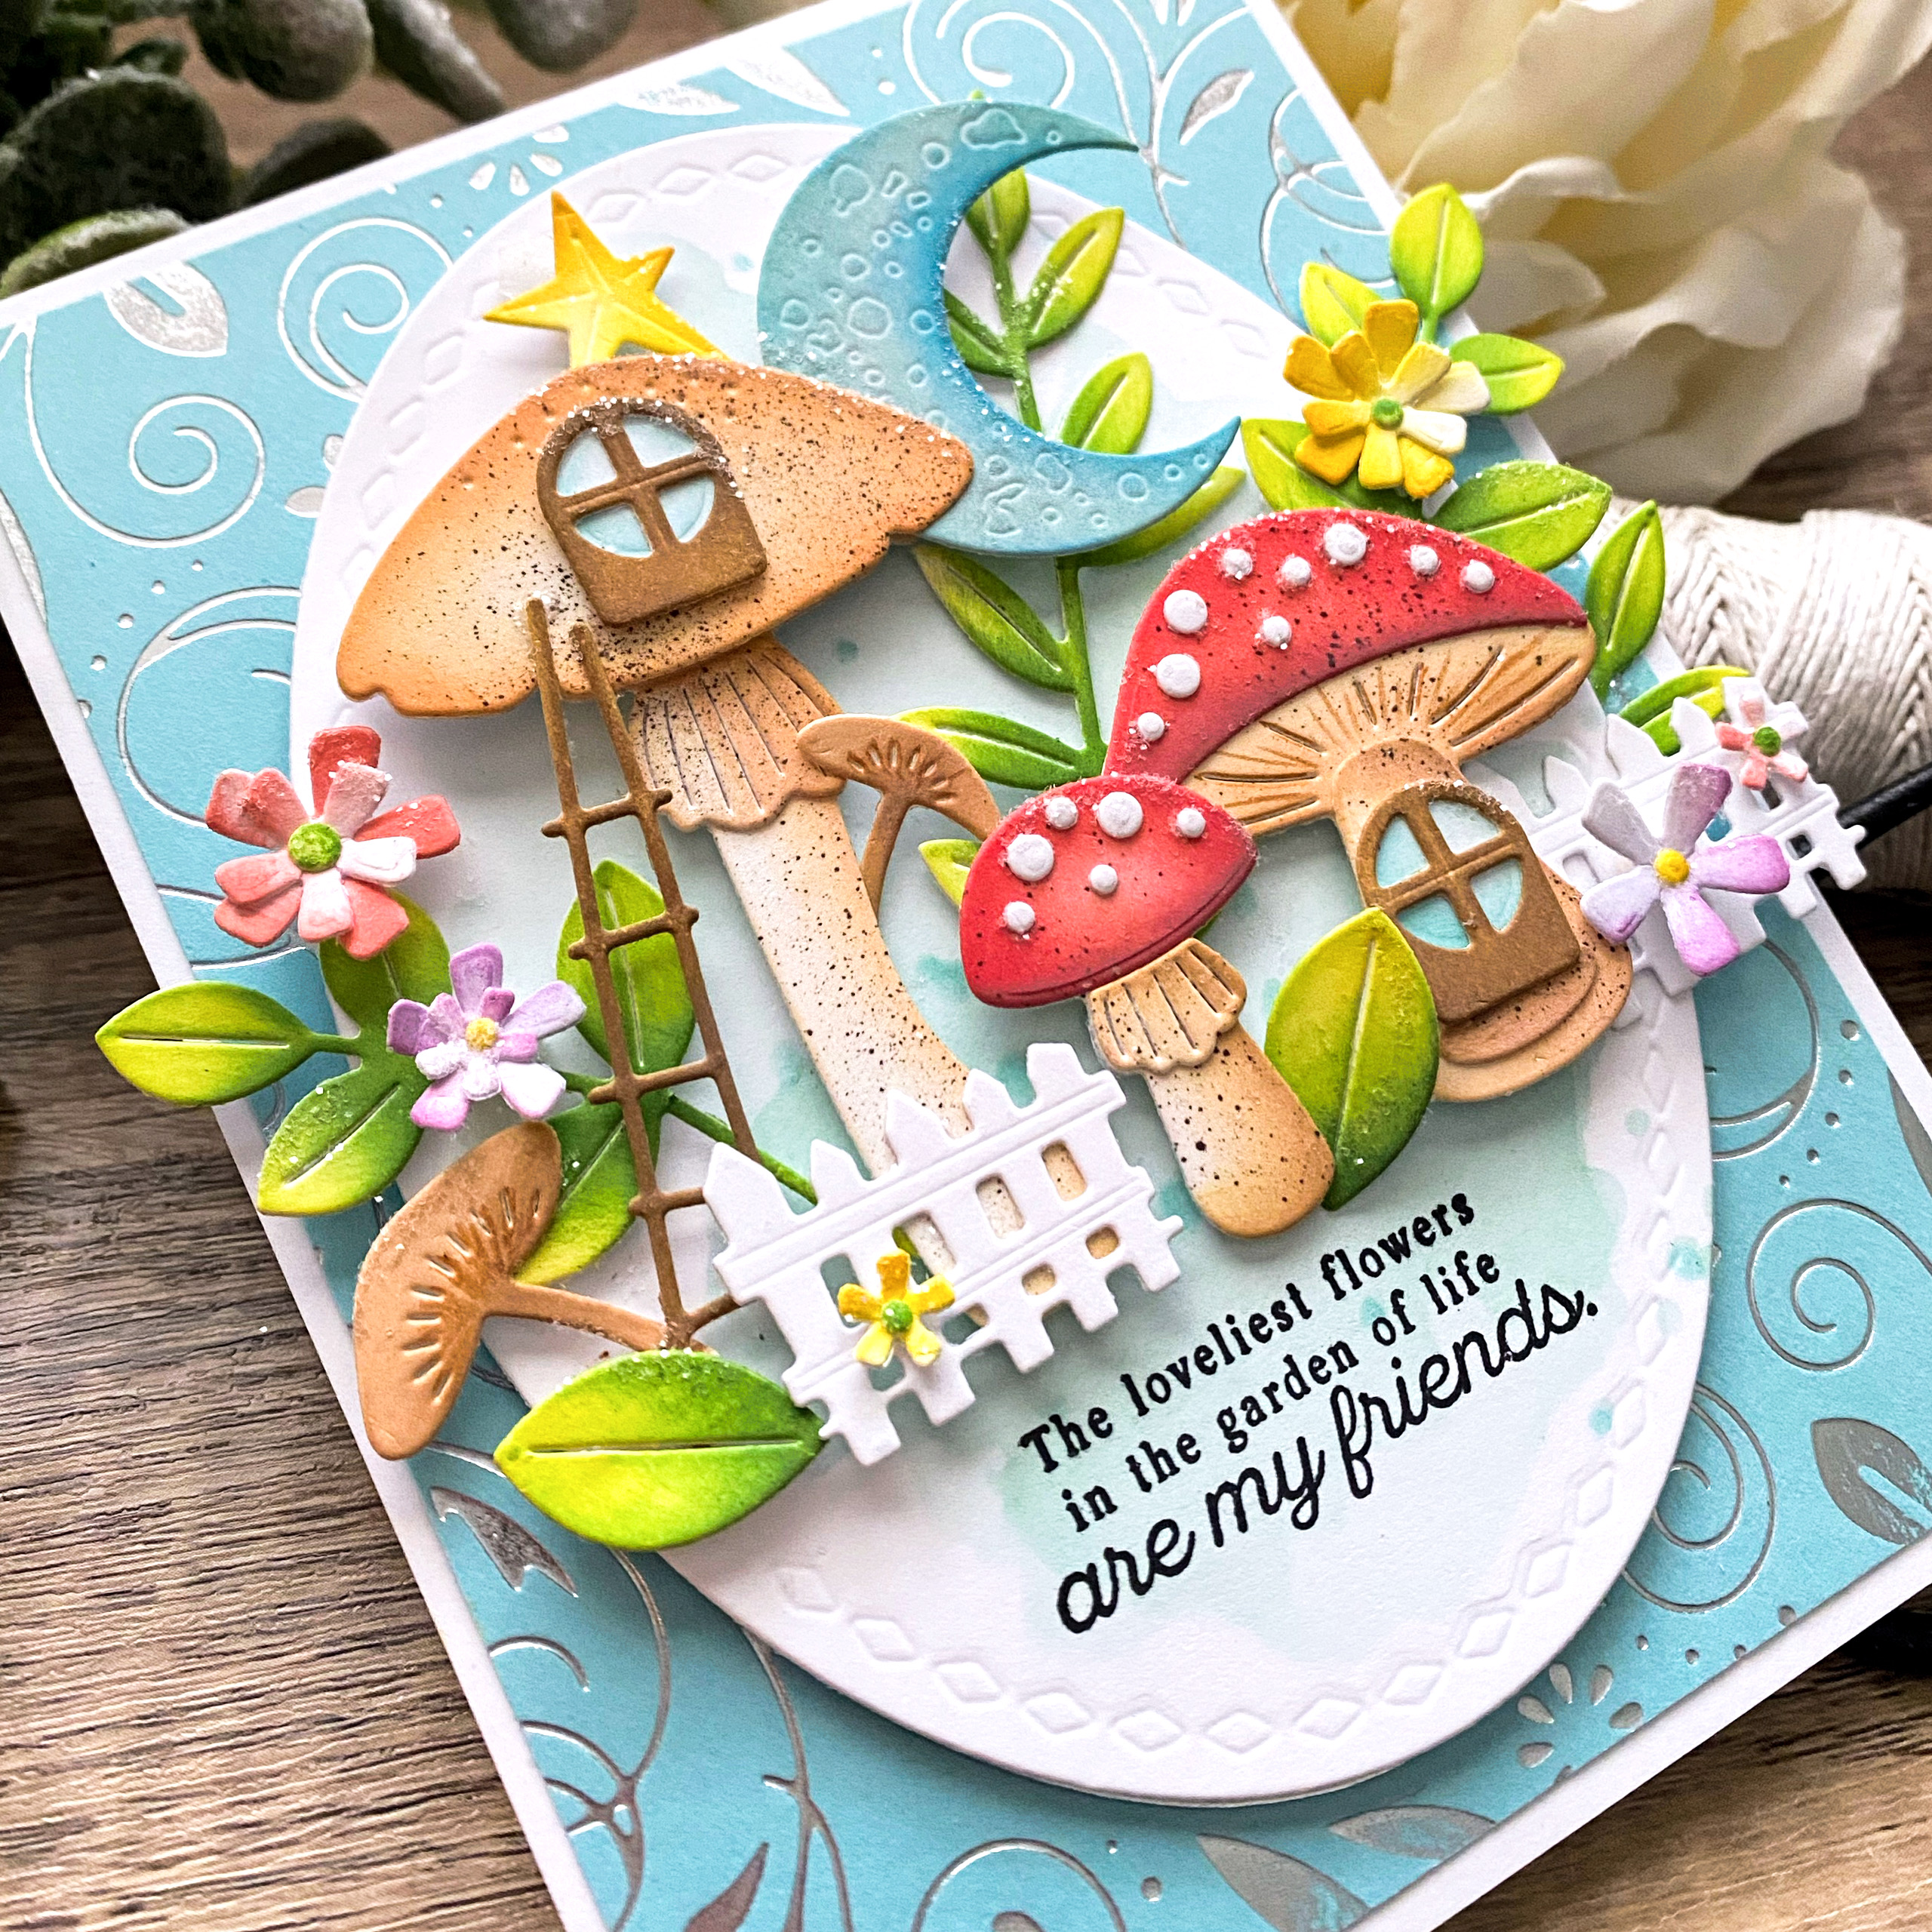
- Use colored pencils to add additional detail to the mushrooms
- Create visual depth by using stencils on the background
- Add a tone on tone frame around your design for a fresh look

TIPS:
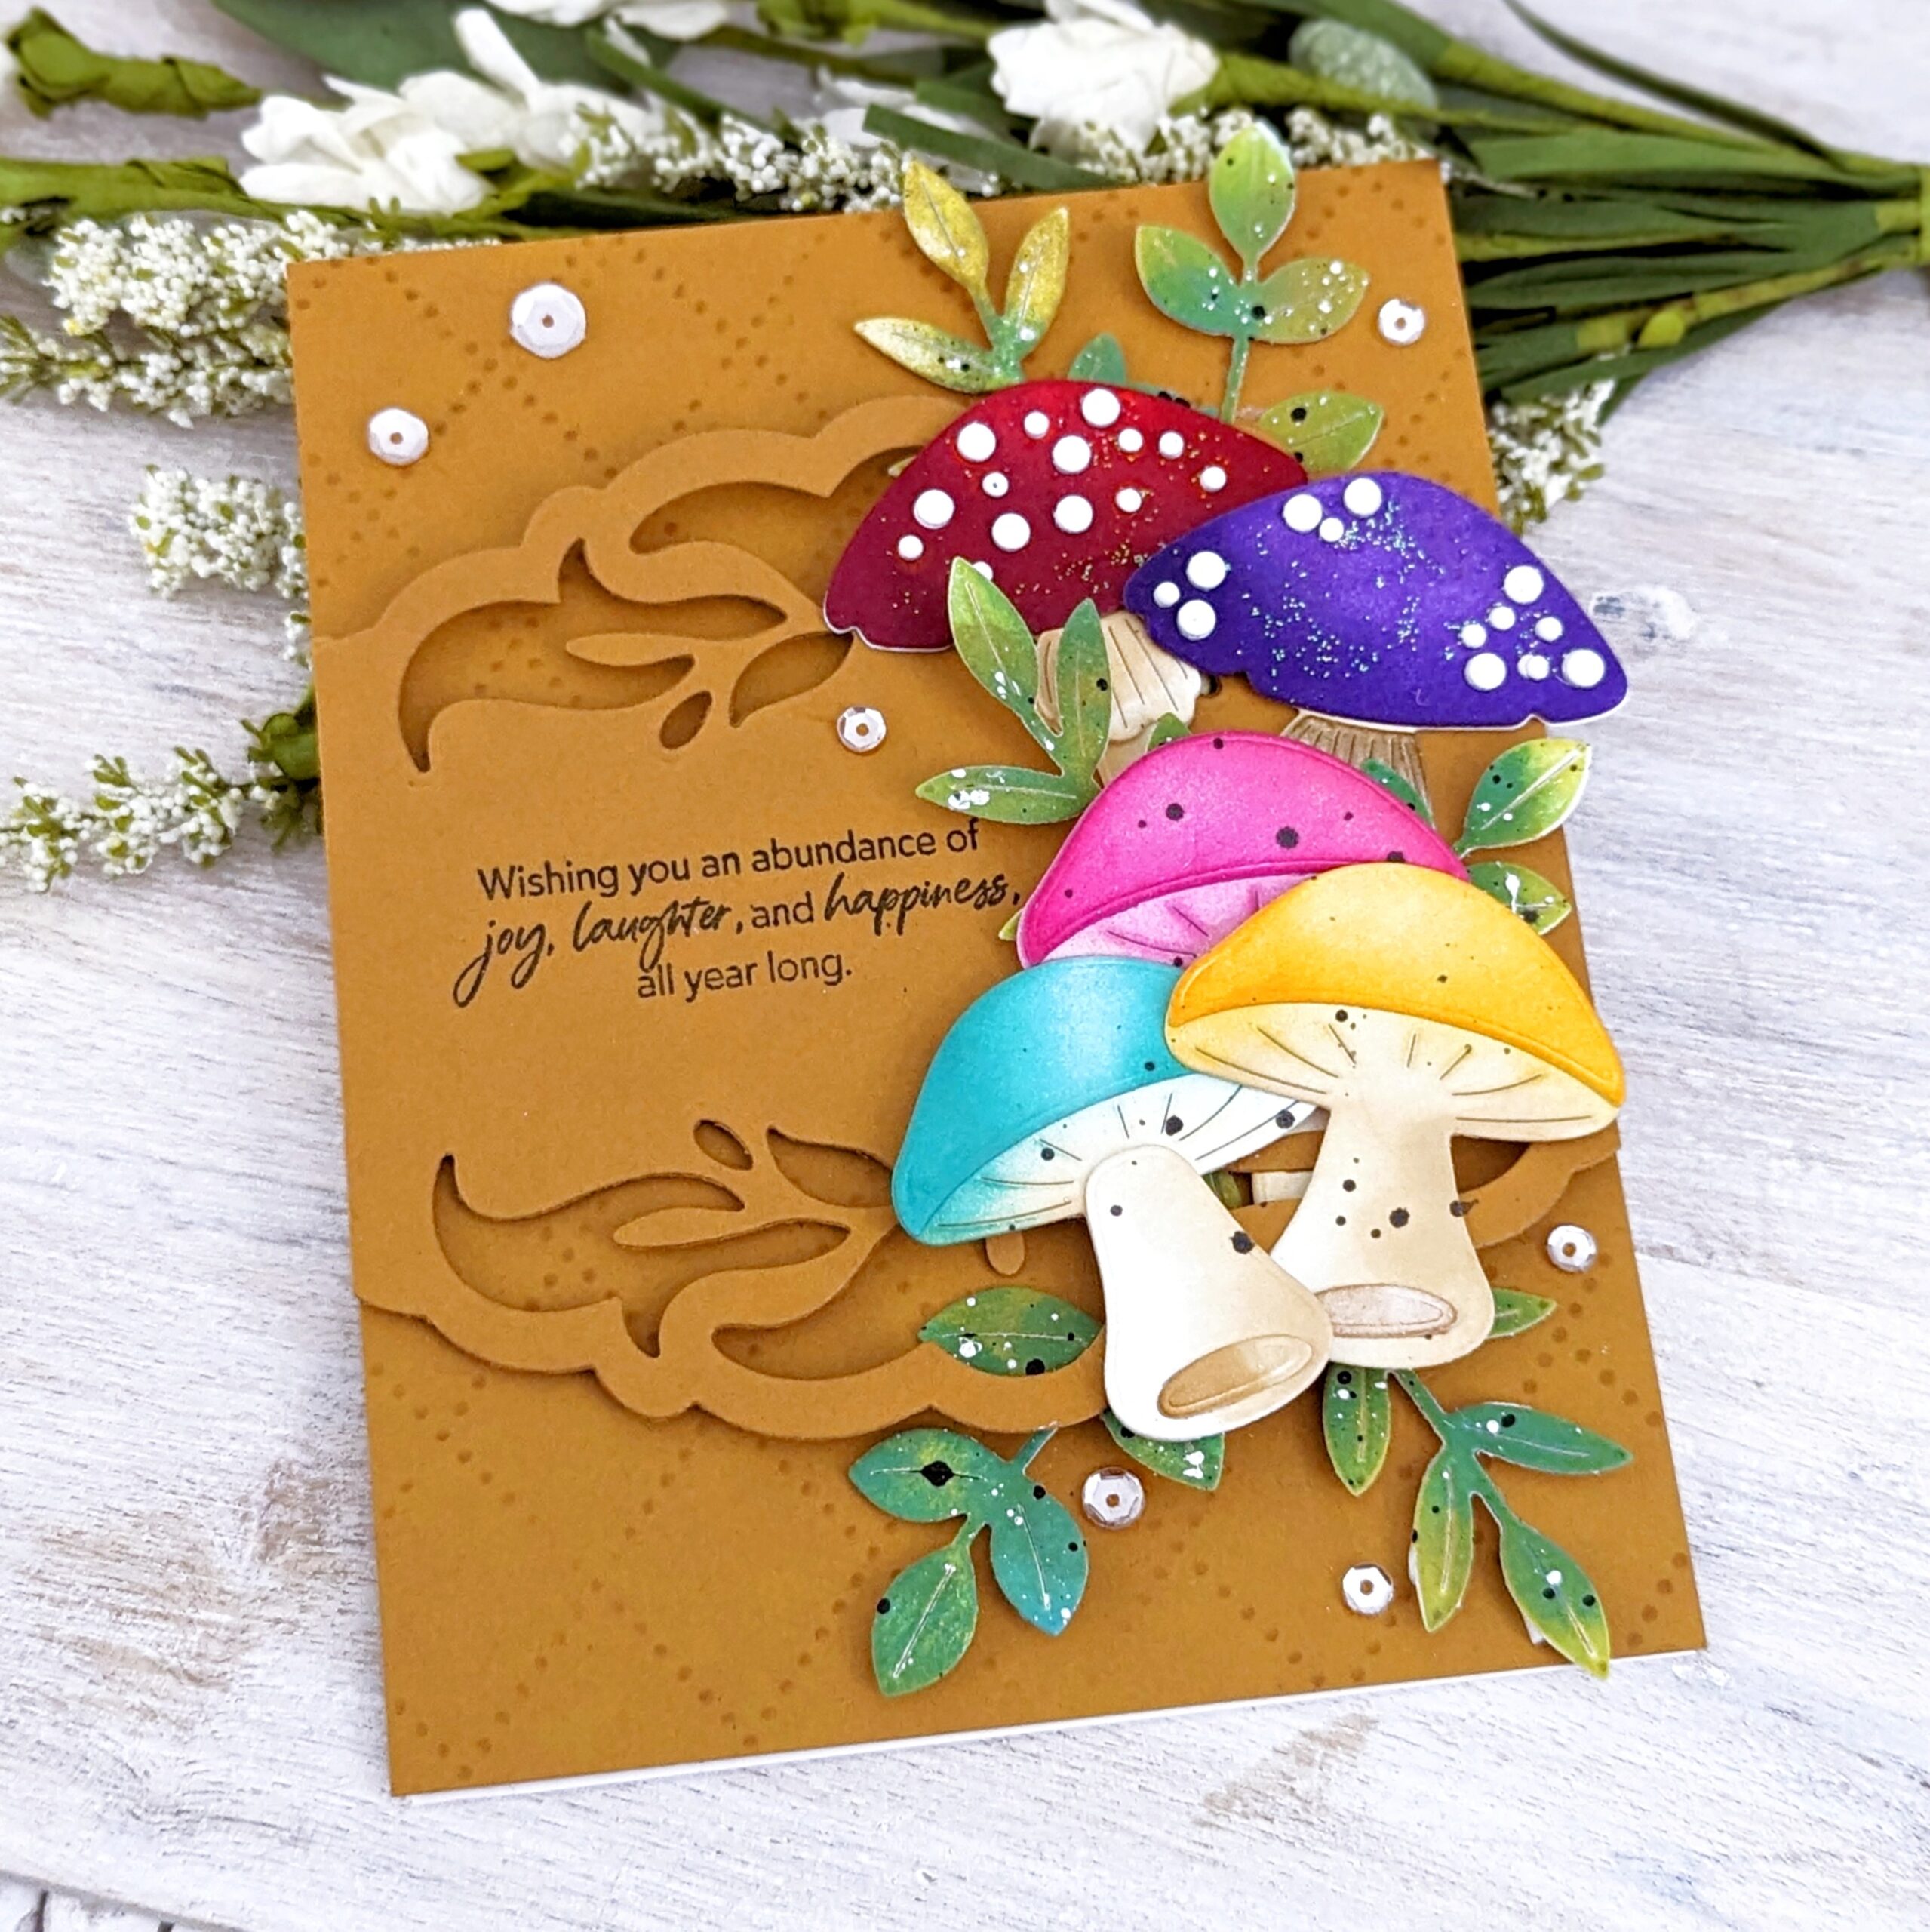
- Use gold embossing for the sentiment to coordinate with the foiling
- Use assorted inks on the mushroom die cuts to give depth and realism
- Arrange the small dots on the top of the mushrooms in an organic way rather than uniformly for a natural look
- Don’t hesitate mixing and matching die sets to create the scene you’ve envisioned
- If you have a problem with large shaped dies warping or curling your cardstock in your die cut machine, don’t hesitate to remove any additional shims.
- Try using a higher heat and longer timing if you are not getting complete coverage with your hot foil plates.
We hope you have enjoyed all the beautiful projects that we have shared with you today! We would love to hear what you think of everything we have introduced! Please leave a comment on this post to tell us what you like the most and why, and you will be eligible to win big!

Leave a comment today and you will be automatically entered to win a $50 Papertrey Ink gift certificate! You have until 10am ET, April 28th to leave your comment and be eligible to win. Only one comment per person please. One randomly selected winner will be posted on the April Release Winners Page by 11 PM ET on April 30th.


Sweta says
What a beautiful curated collection!! Love all the wonderful inspiration !!