


Welcome to Day 3 of the November Countdown. Here at Papertrey Ink we love to bring you tons of variety. If you like more simple designs or something a little more challenging, we have you covered. Each of our newly released products can be used in so many different ways to fit your particular style, we are excited to show you how they come to life!
Hi, it’s Melissa, and I’m so thrilled to share our new products with you. We absolutely love bringing you the most amazing images made from the highest quality materials for you to add to your creative toolkit. I’m going to show you what I created with these wonderful products and then we’ll show you what the other designers made. I’ve used the gorgeous new Hear the Bells stamps and dies, Cheery Trees Stencils, and Winter Greetings stamps and dies on my cards today.

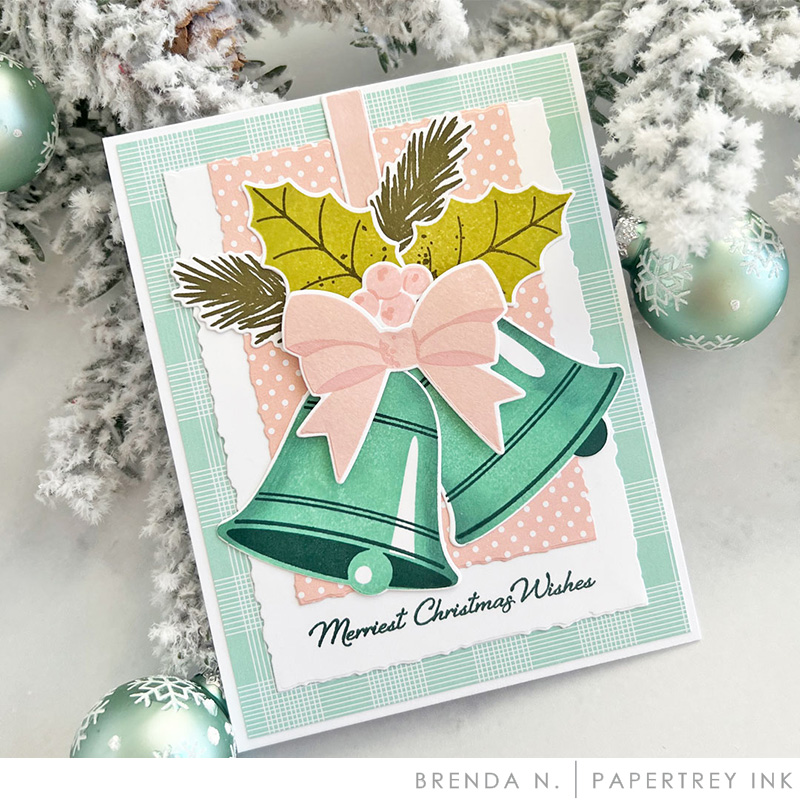
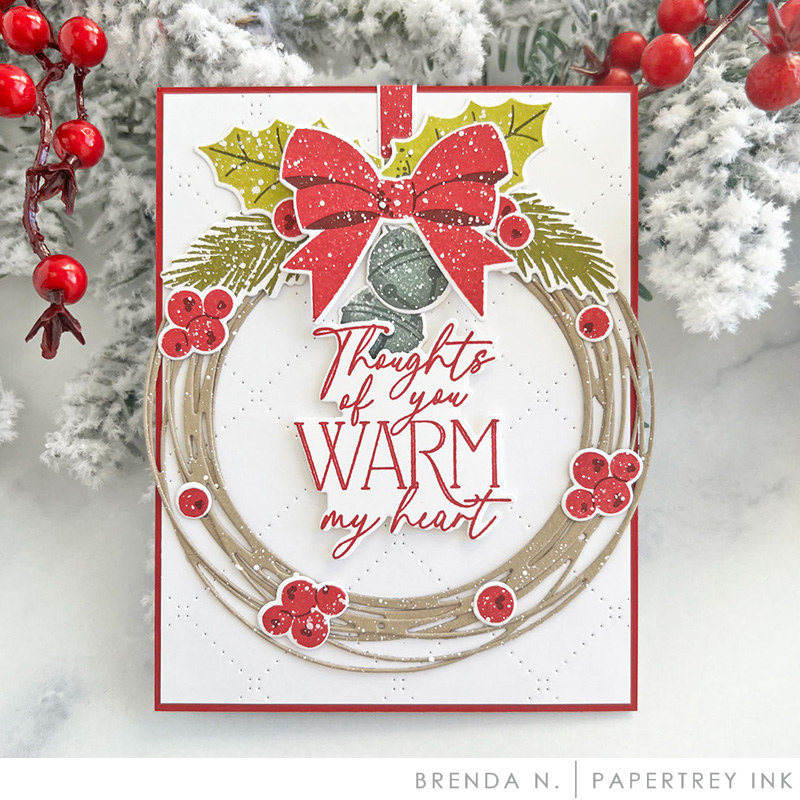
We decided it was time to have a timeless, classic Christmas bell stamp set available to you at Papertrey Ink and the new Hear the Bells stamp set fits the bill! The coordinating dies make this set pop, give dimension, and bring the set to life.
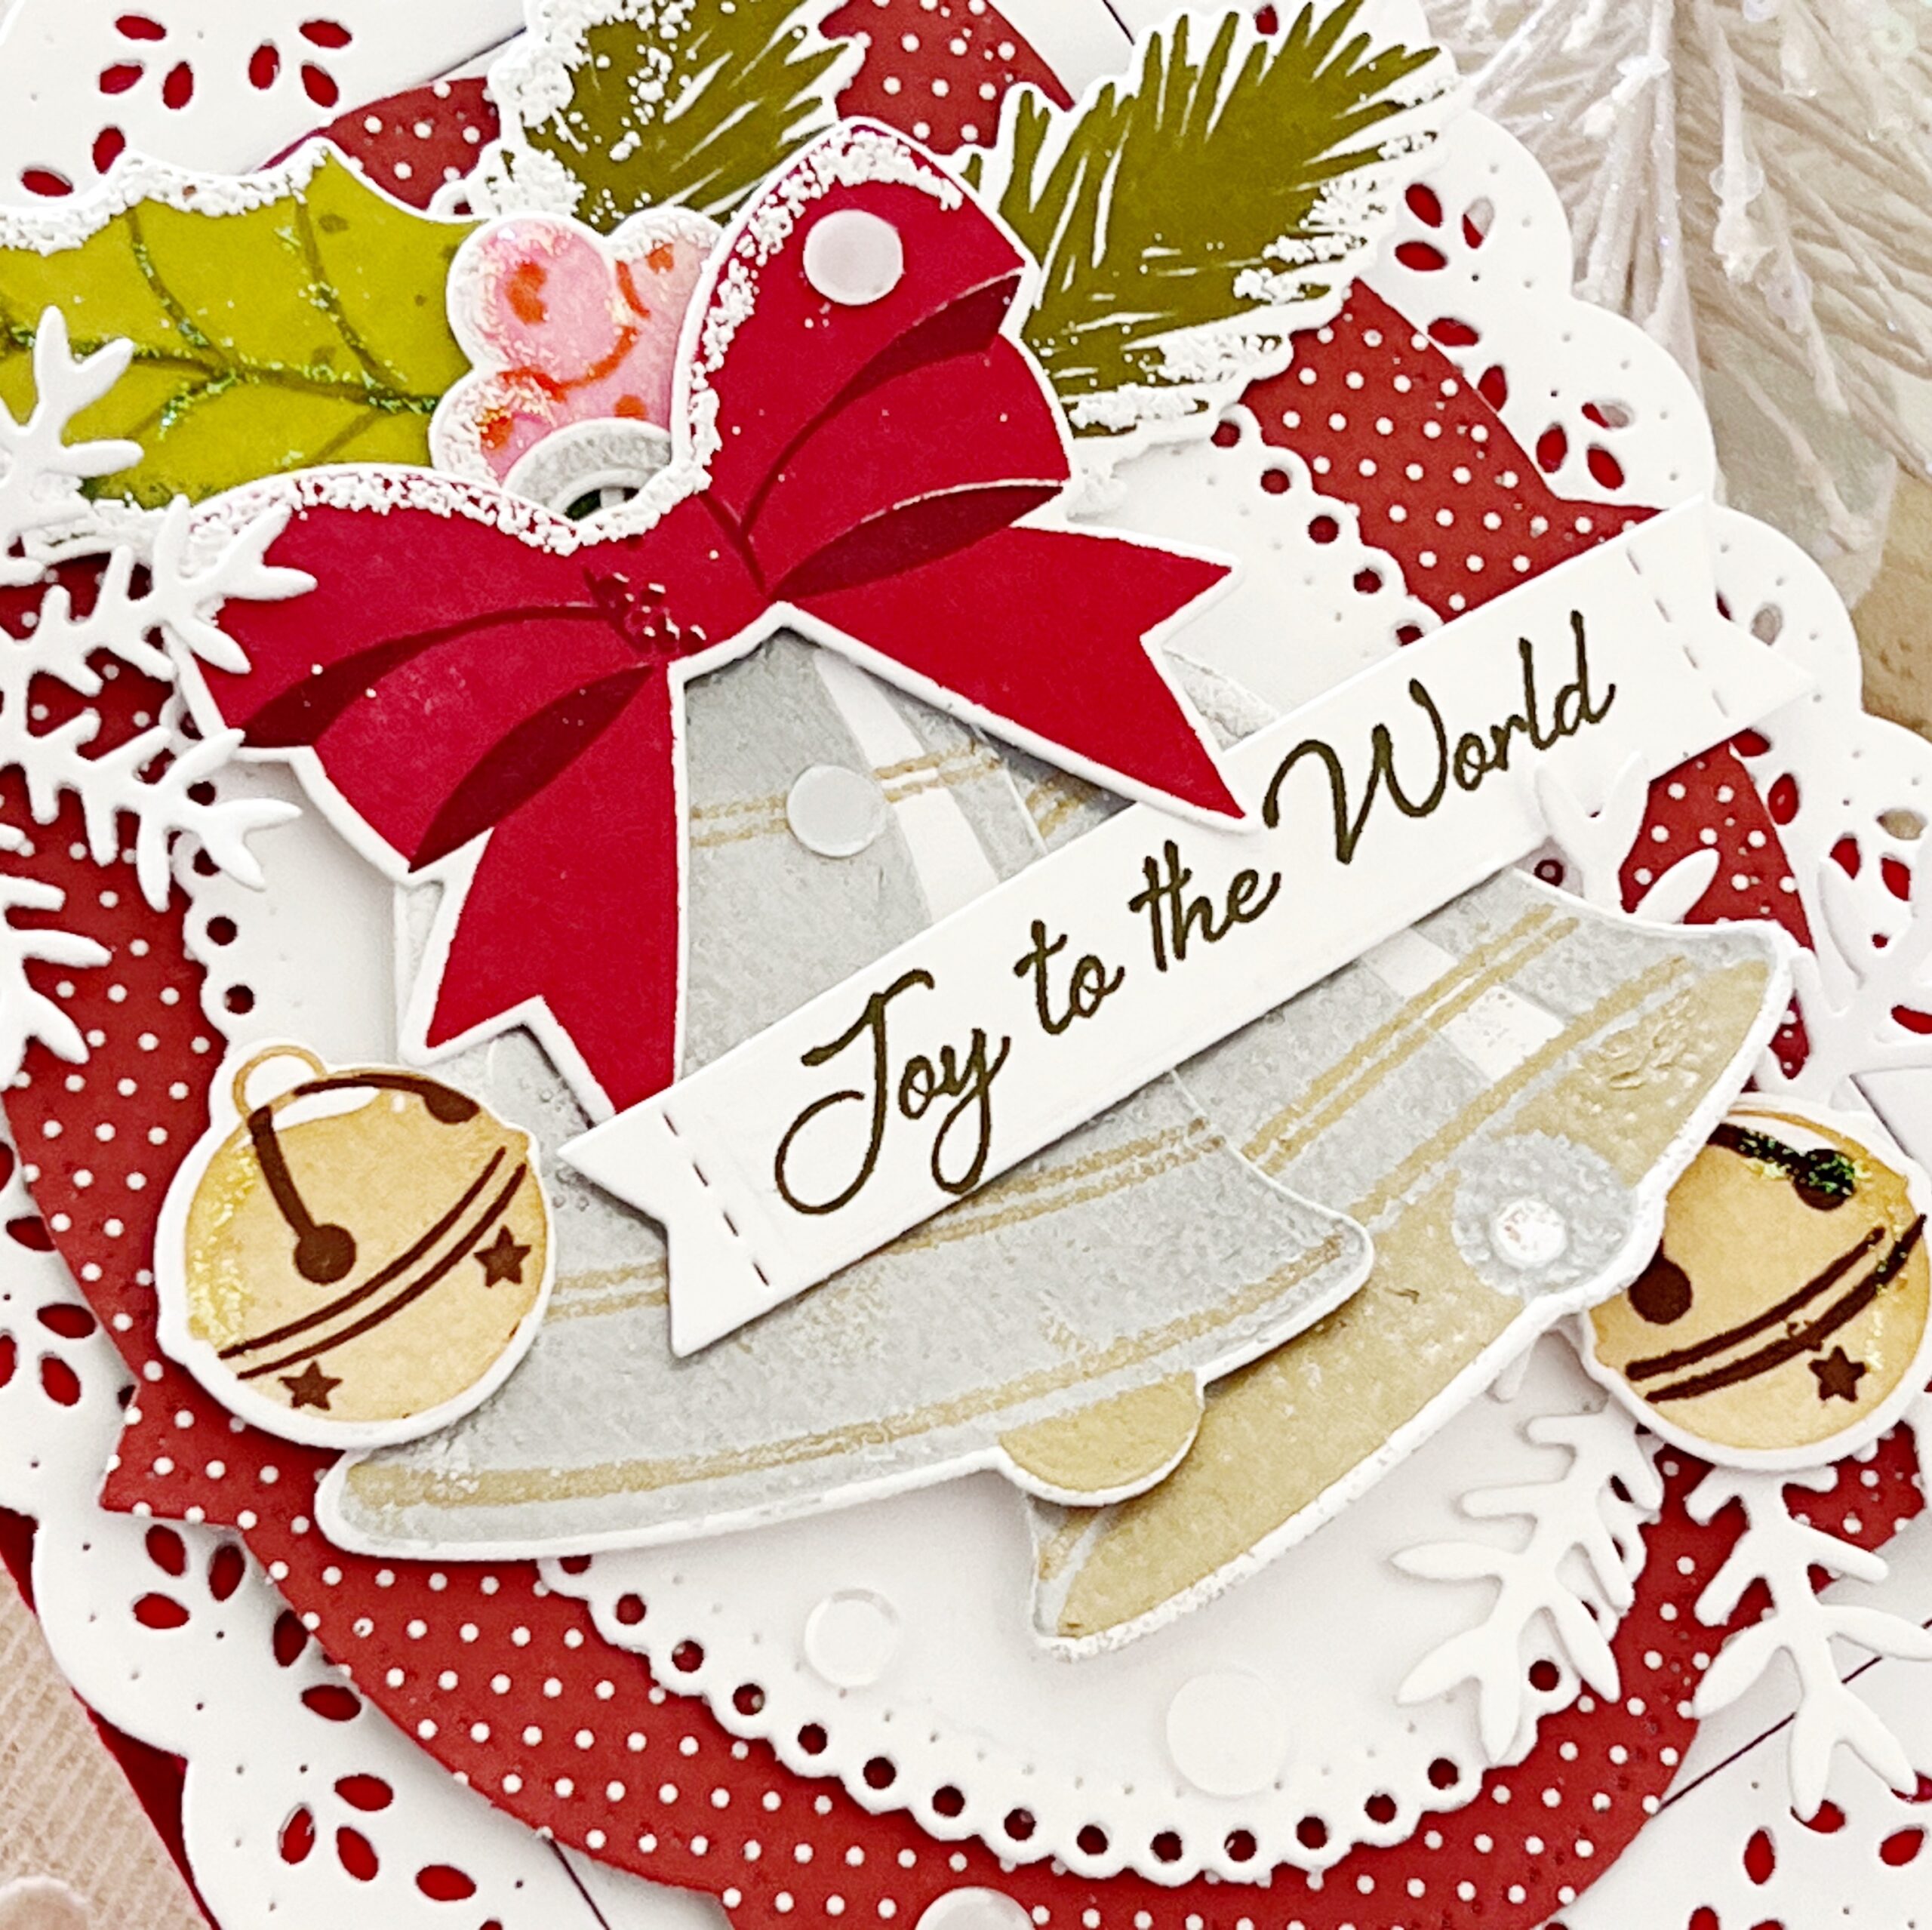
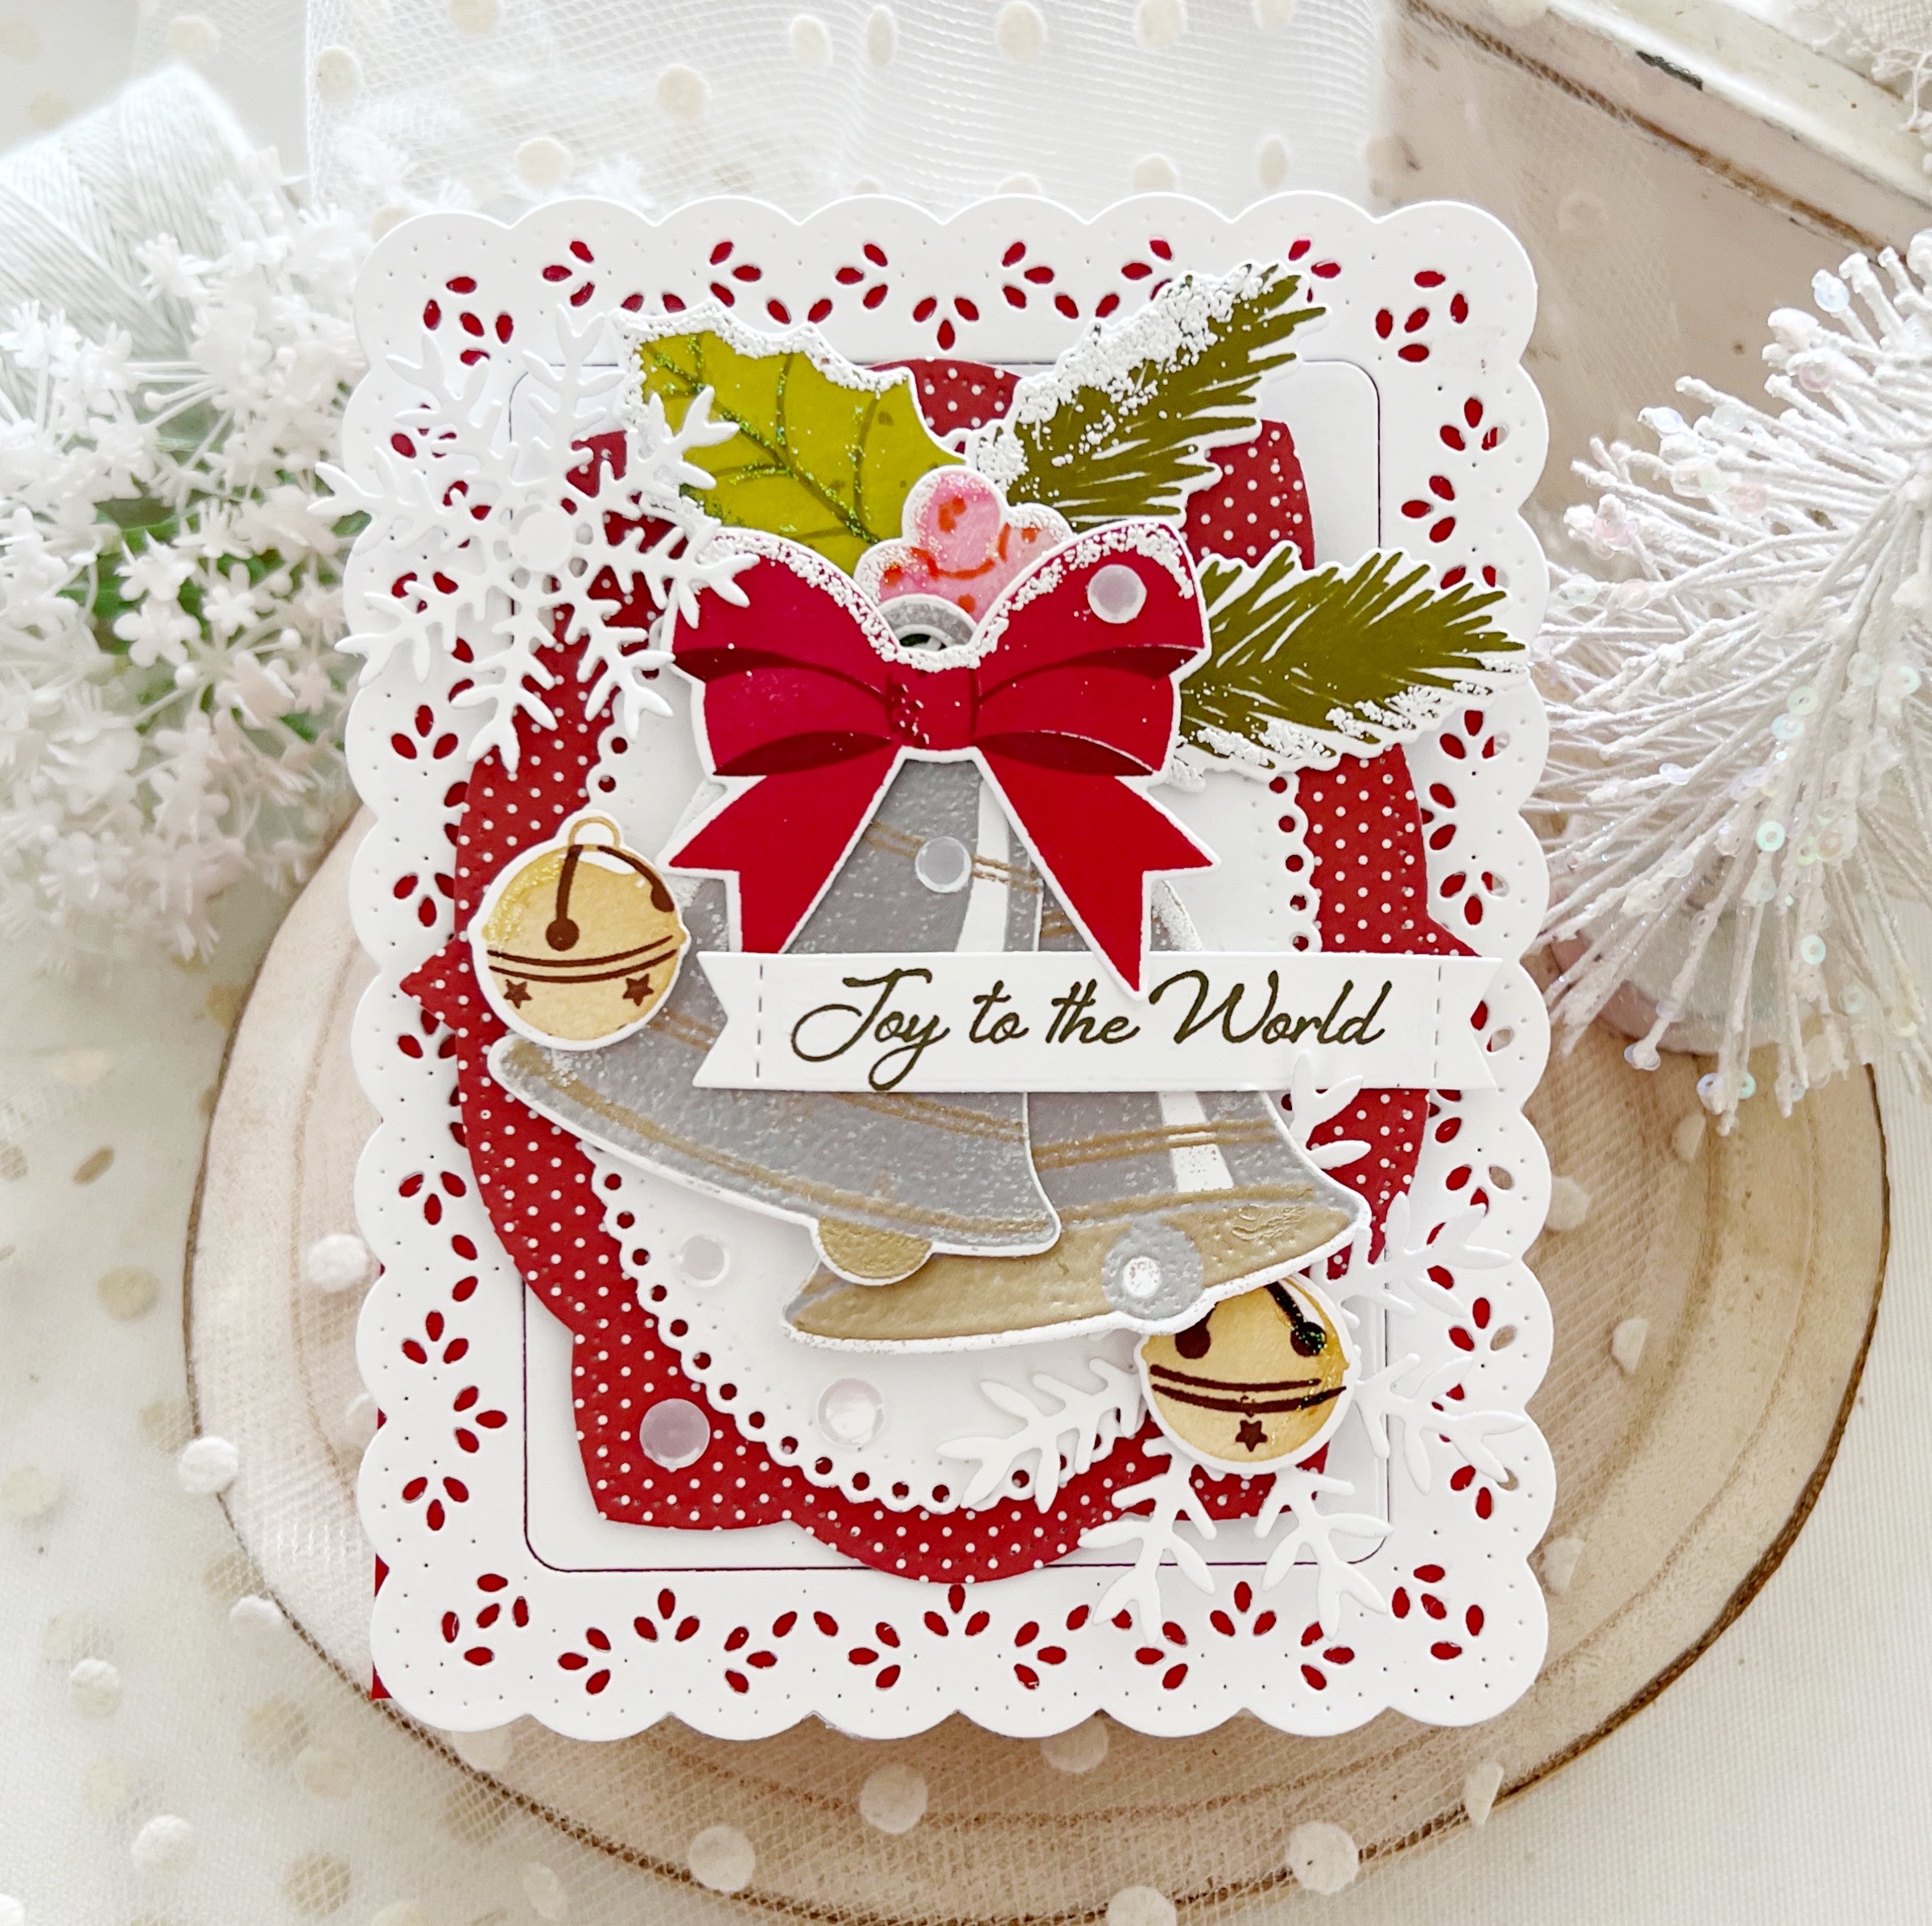
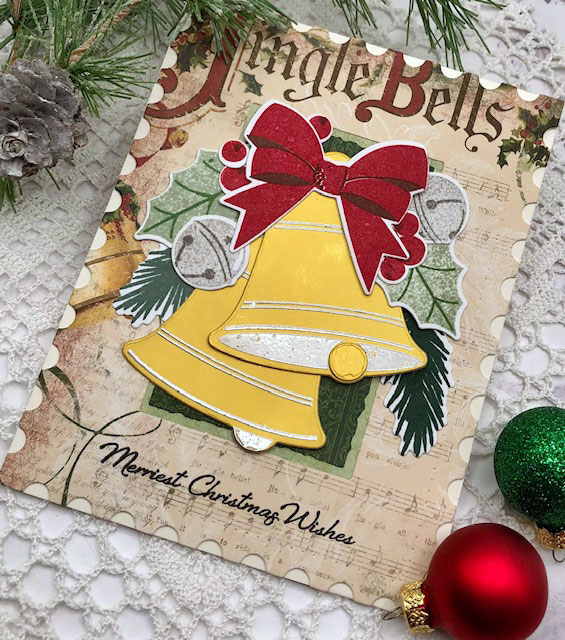
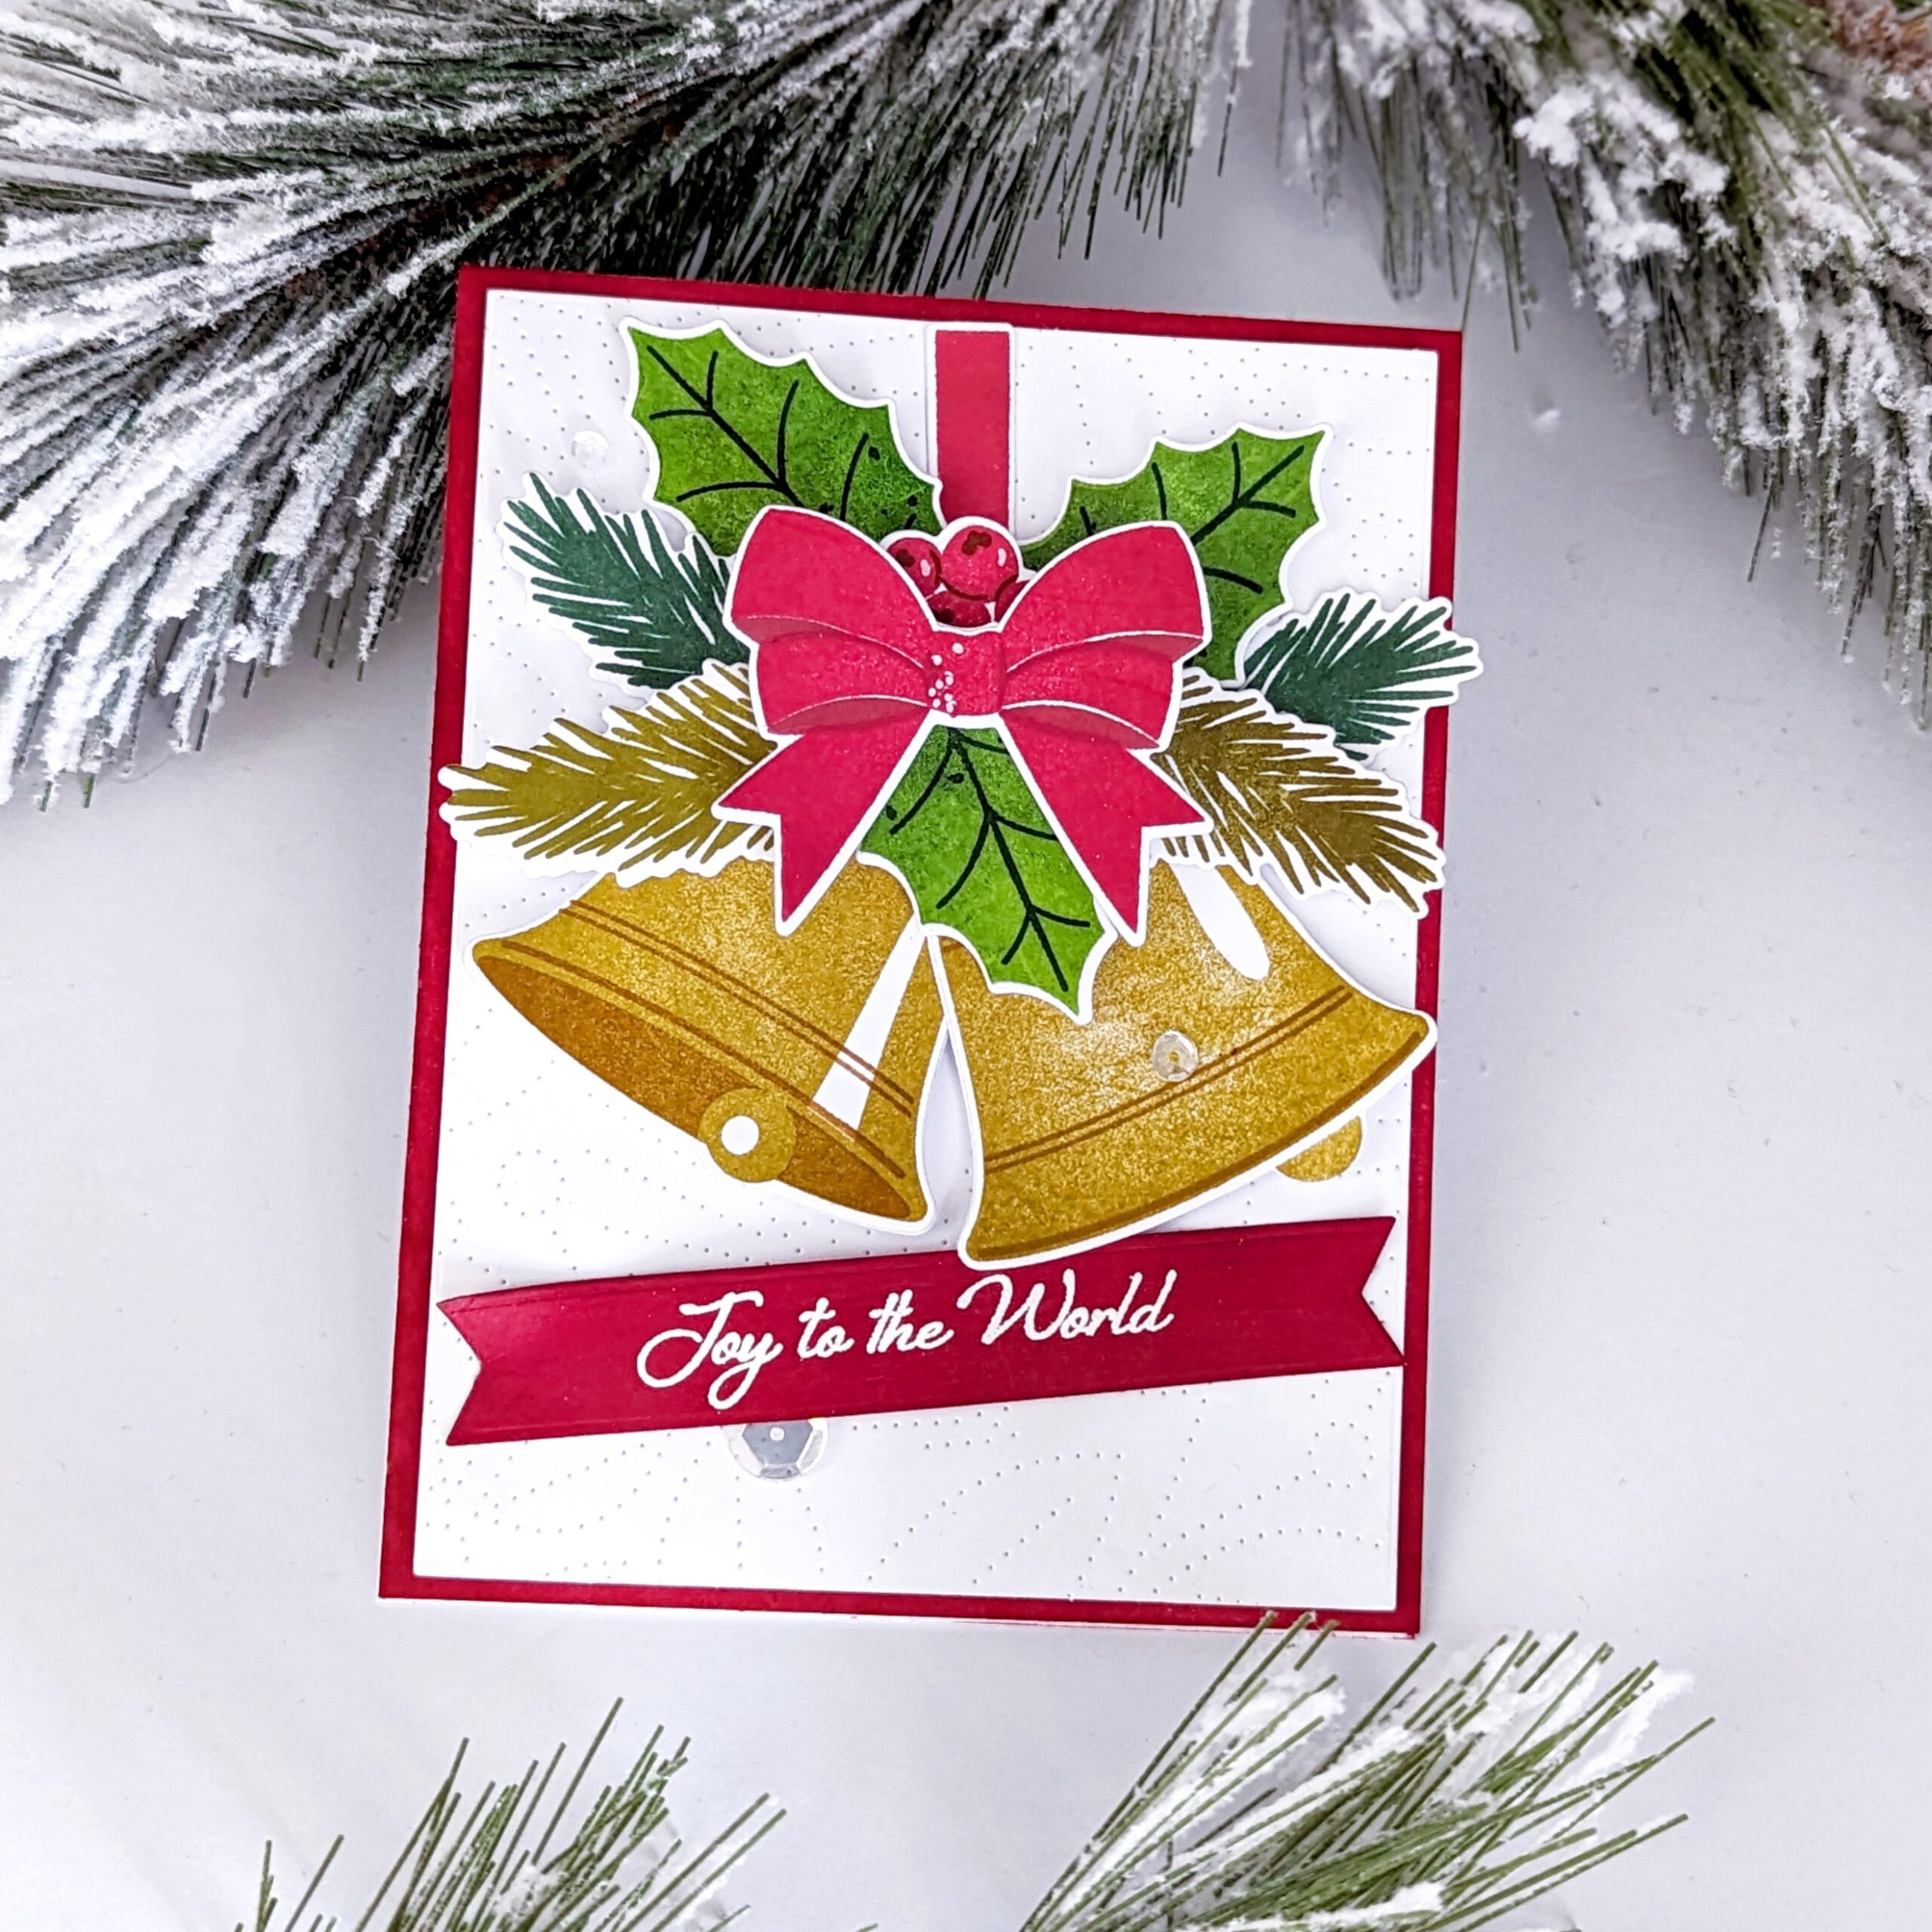
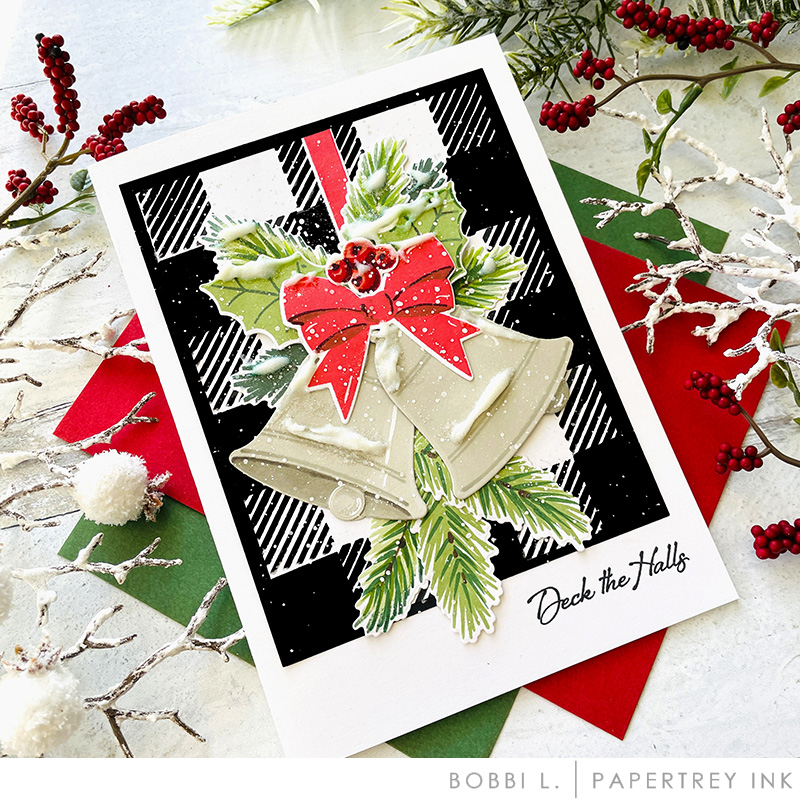
Hear the Bells comes with two larger bells and two smaller bells. For my first card, I used all of the bells, stamping and heat embossing the two larger bells in silver and gold embossing powder. I scattered the smaller bells around the card, adding in greenery, berries, and a bow at the top of my bells. Such a fun way to dress them up, don’t you think?
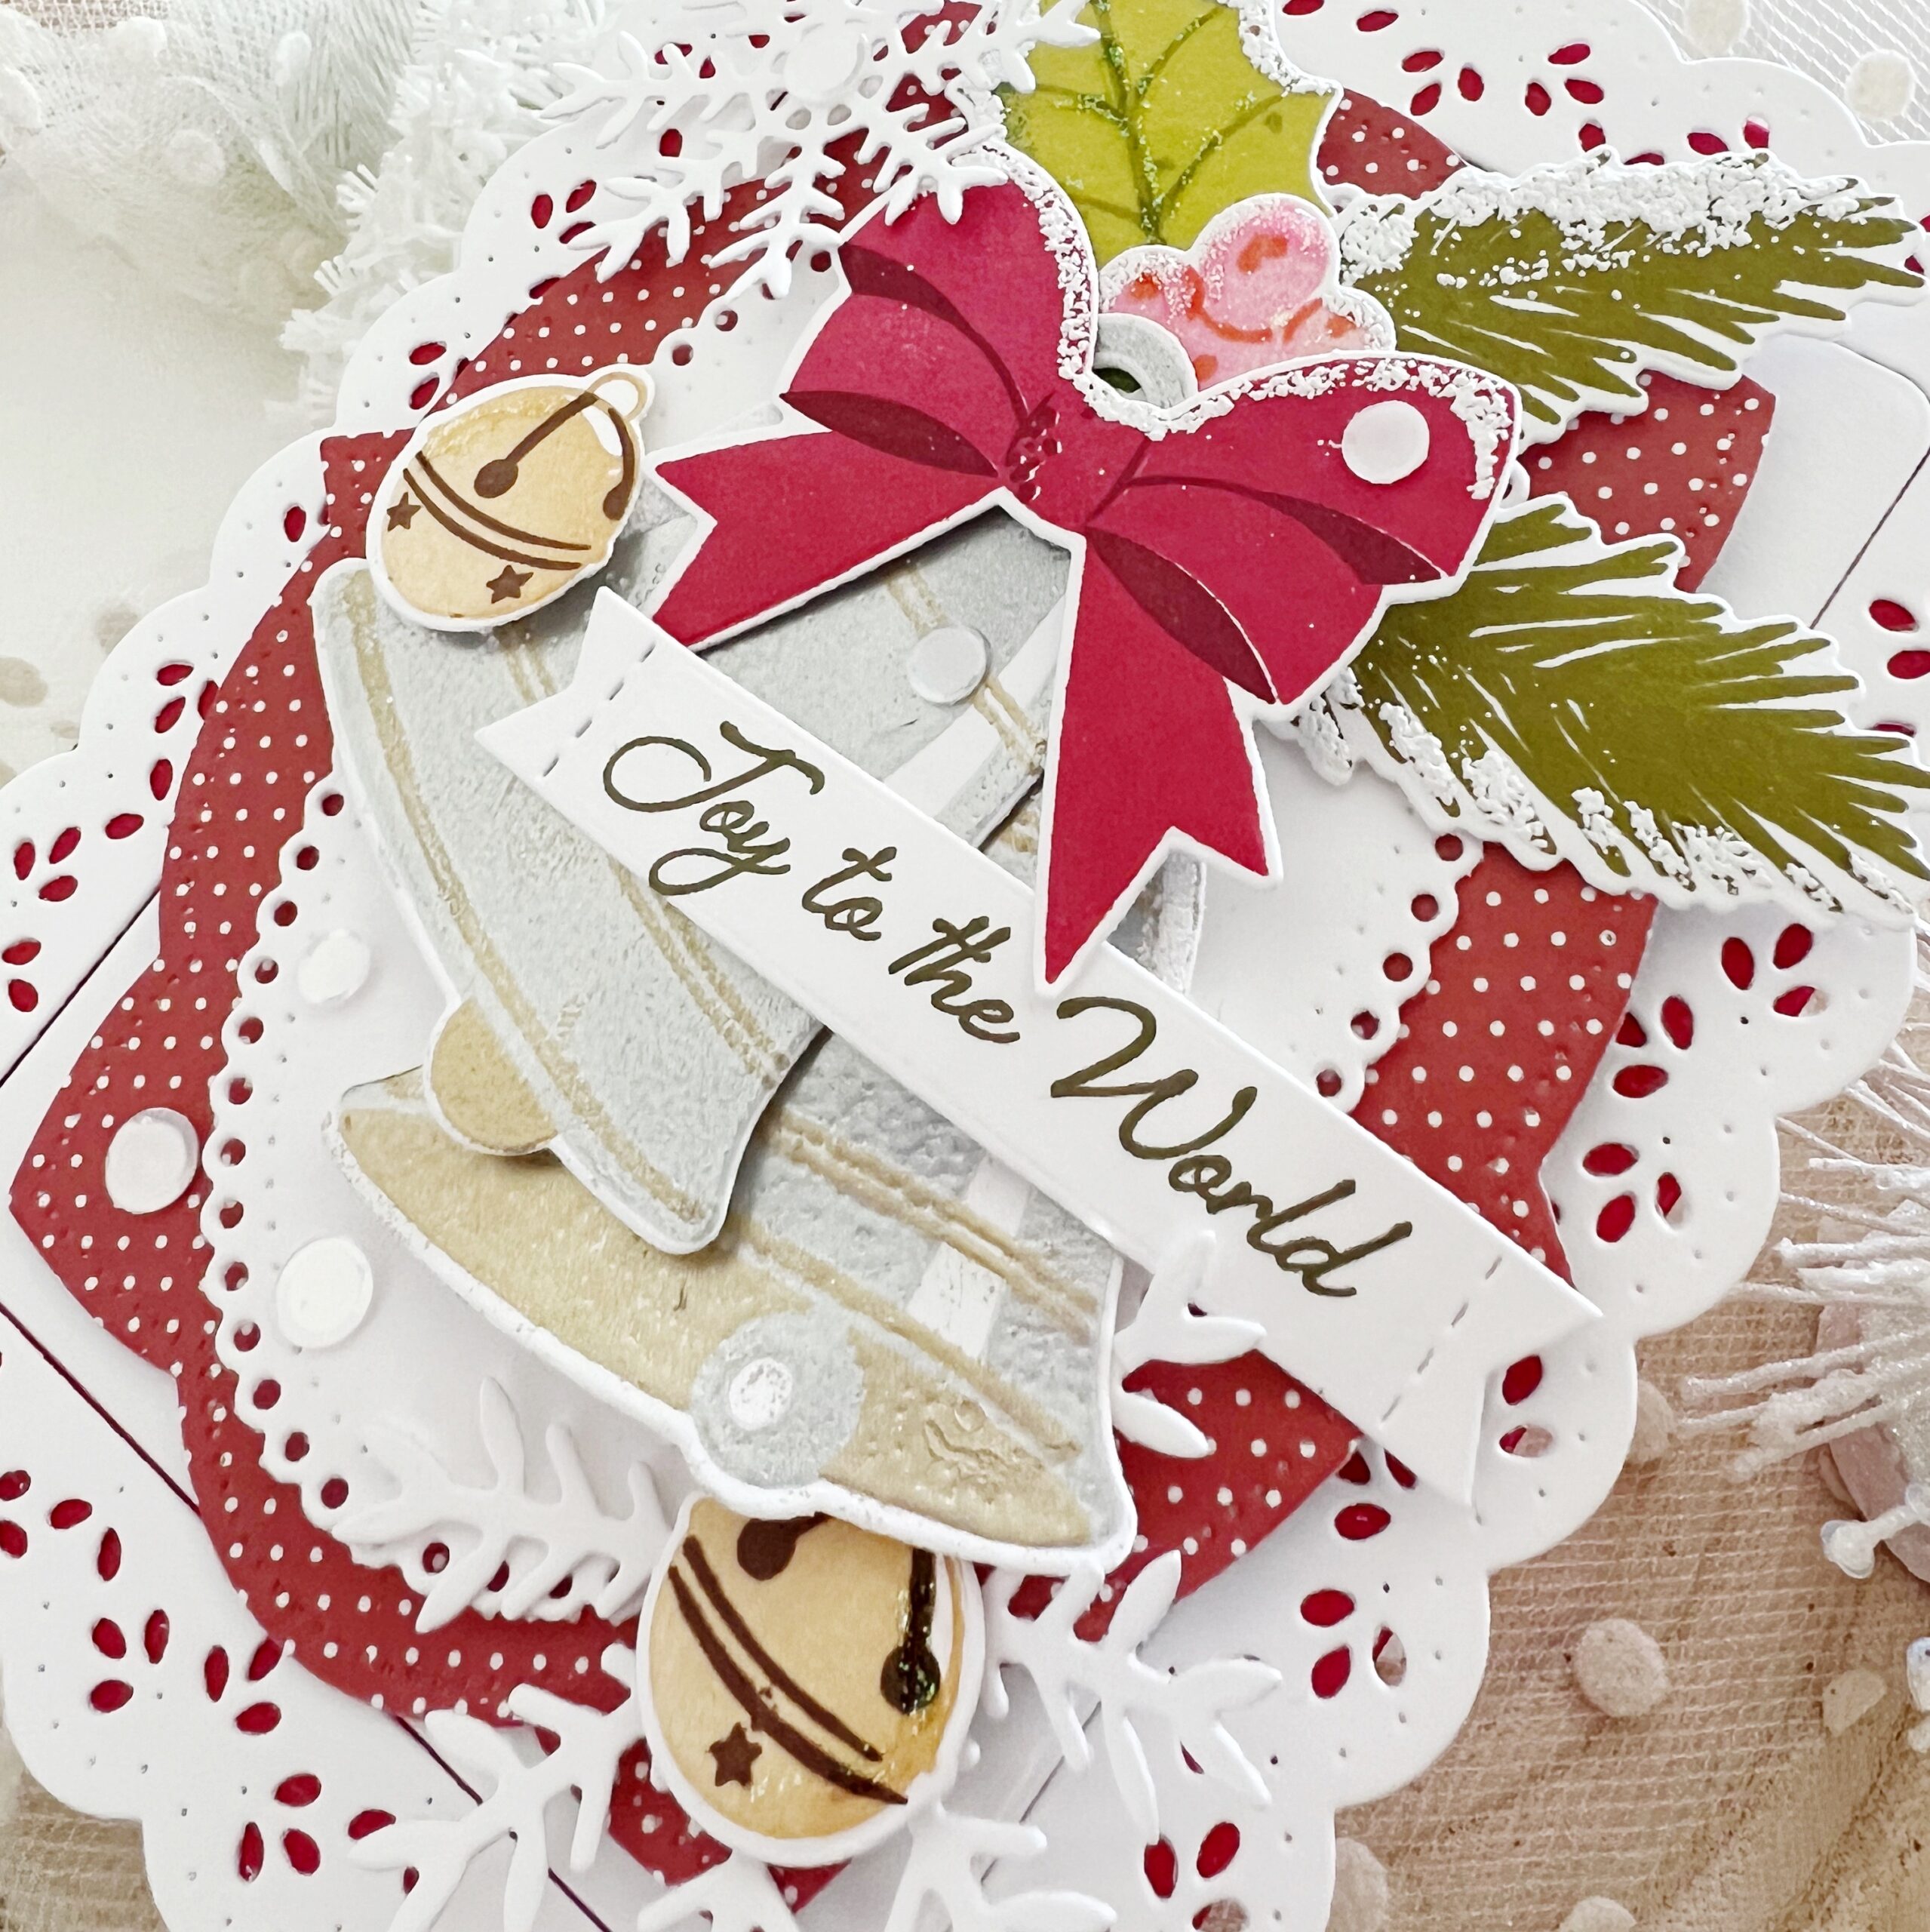
There are a variety of sentiments to choose from included in this set and designed in the most beautiful font. I dressed up the borders of my card using the Border Bling: Scalloped Frame die and added in snowflakes using the Layered Snowflakes: Flurries dies.
SUPPLY LIST:
STAMPS: Hear the Bells
INK: Simply Chartreuse, Ripe Avocado, Pinefeather, Scarlet Jewel, Dark Chocolate, Sweet Blush, Classic Kraft, Olive Twist, Pure Poppy
PAPER: Stamper’s Select White
DIES: Hear the Bells, Love to Layer: Ovals, Psalm Reflections: November, Layered: Snowflakes: Flurries, Border Bling: Scalloped Frame
OTHER: Moonshine sequins, Stickles glitter, patterned paper, puff embossing powder
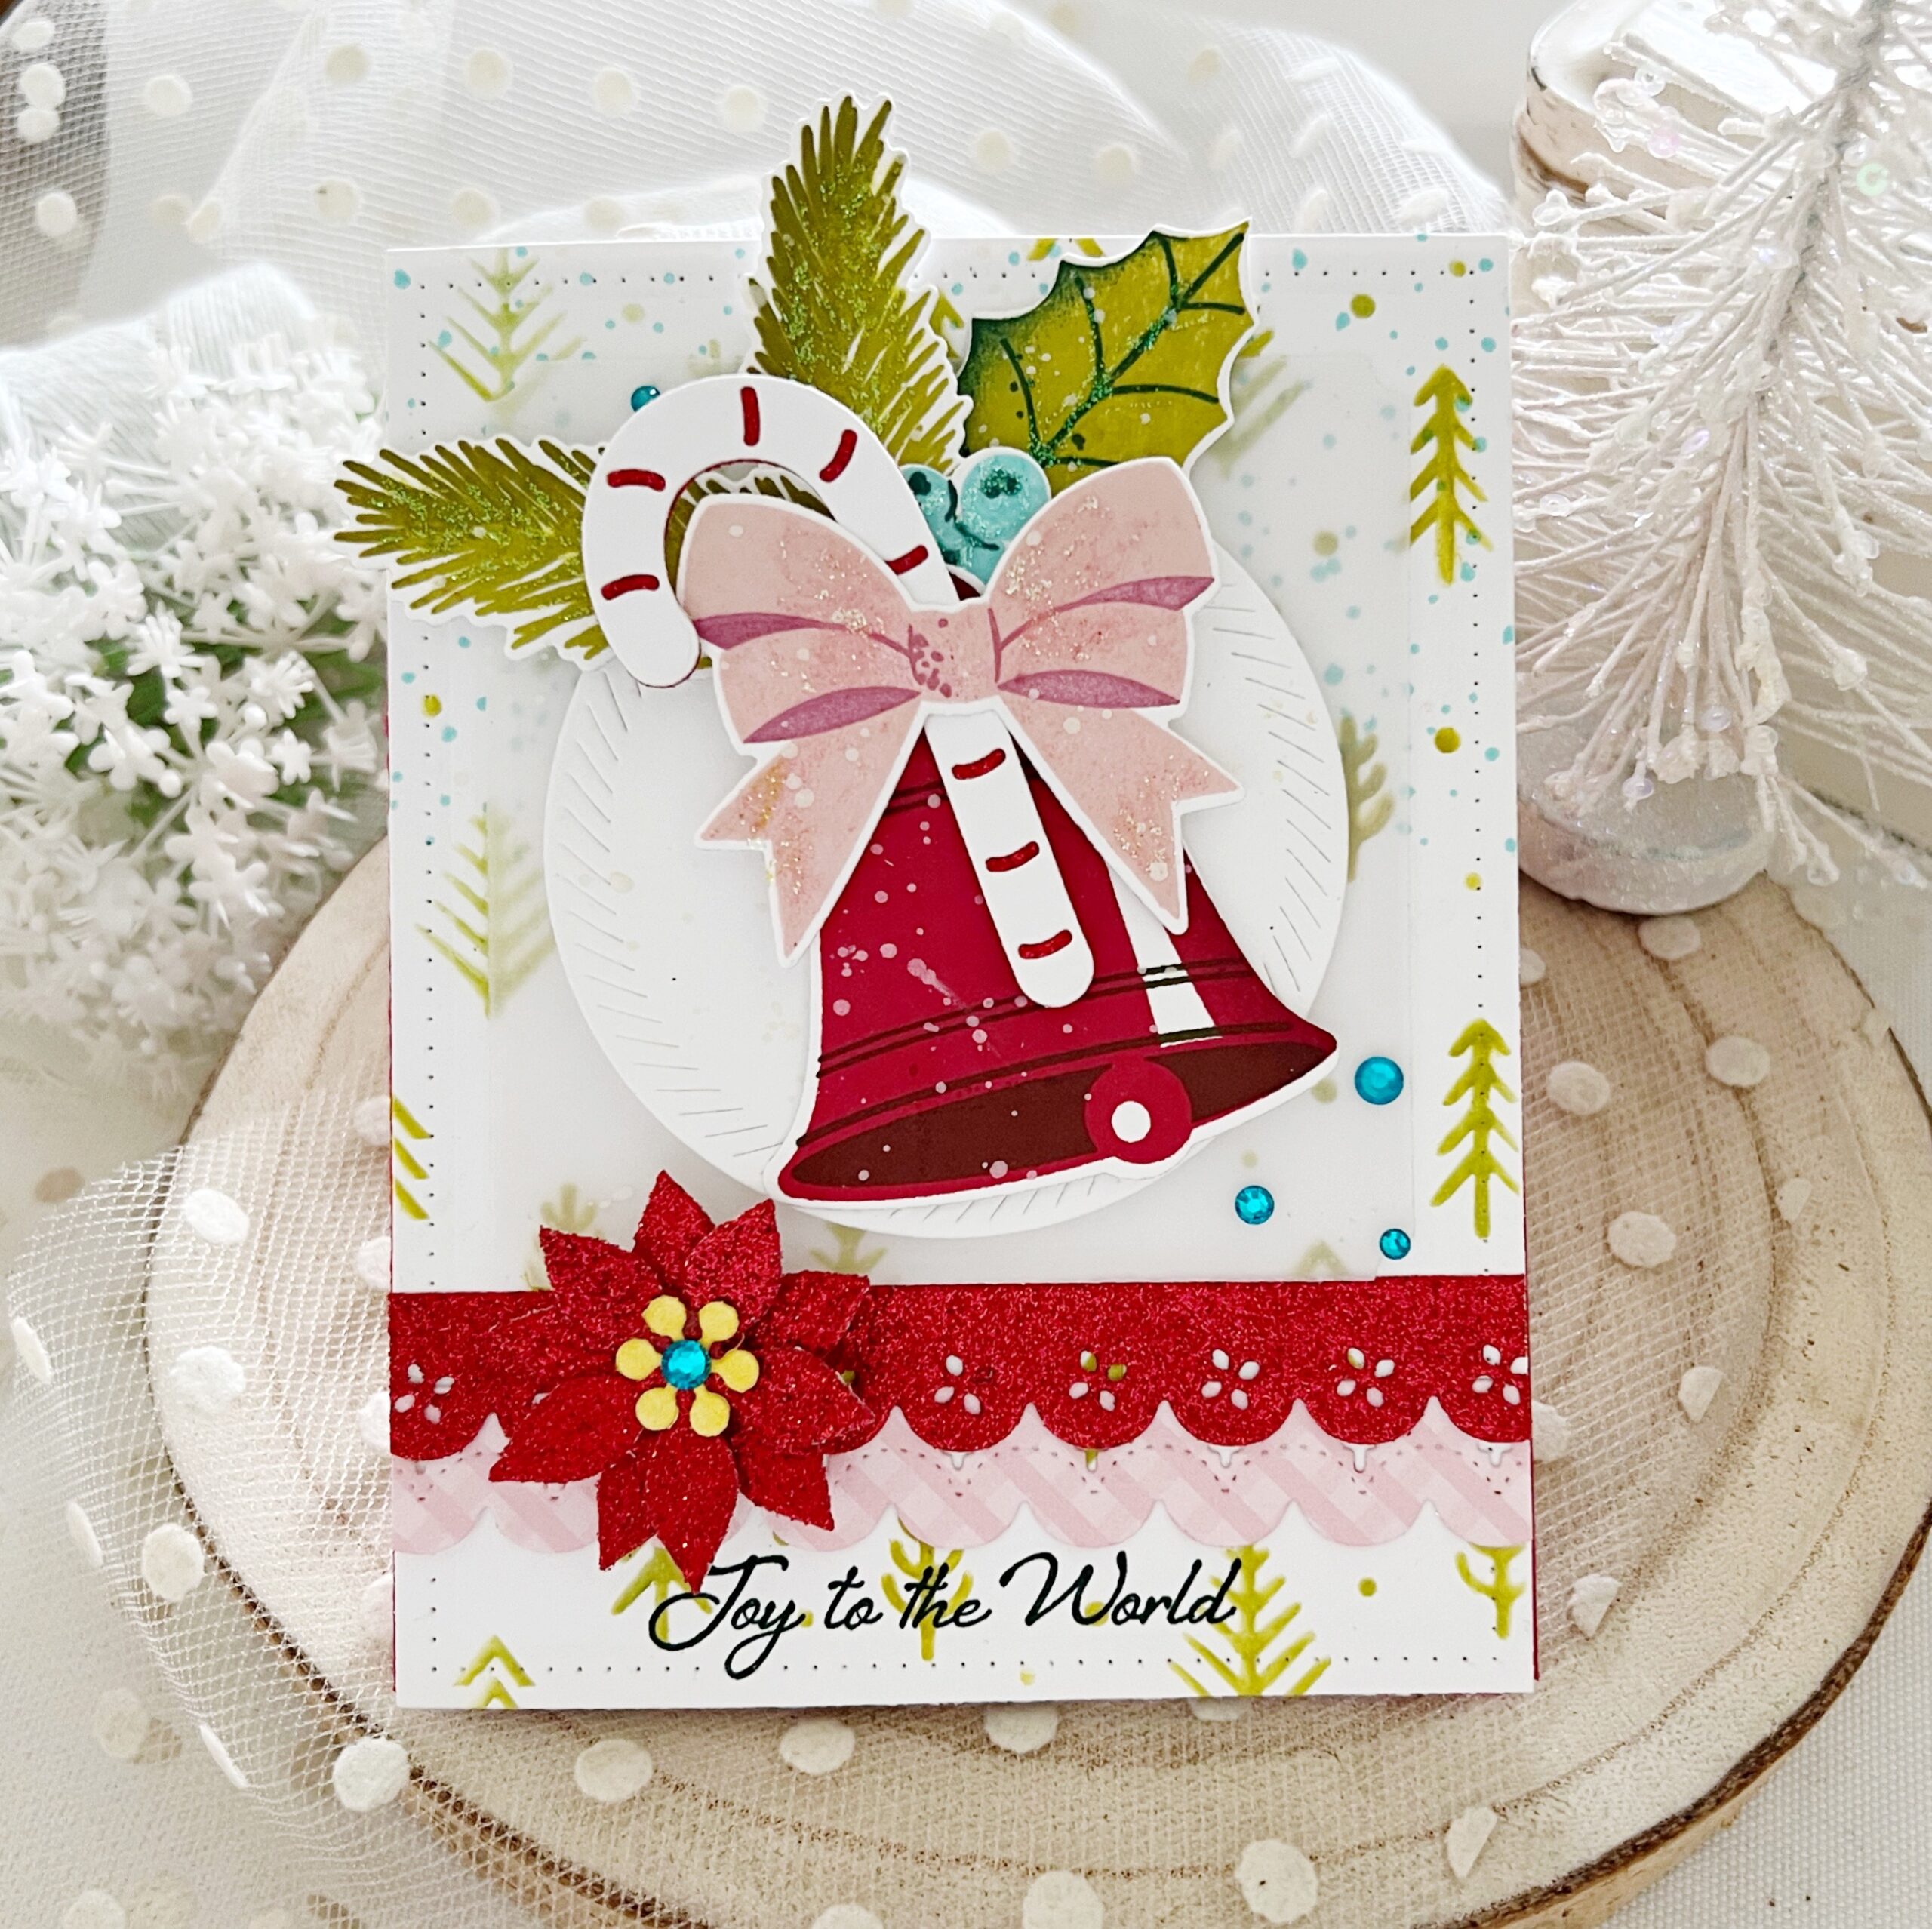
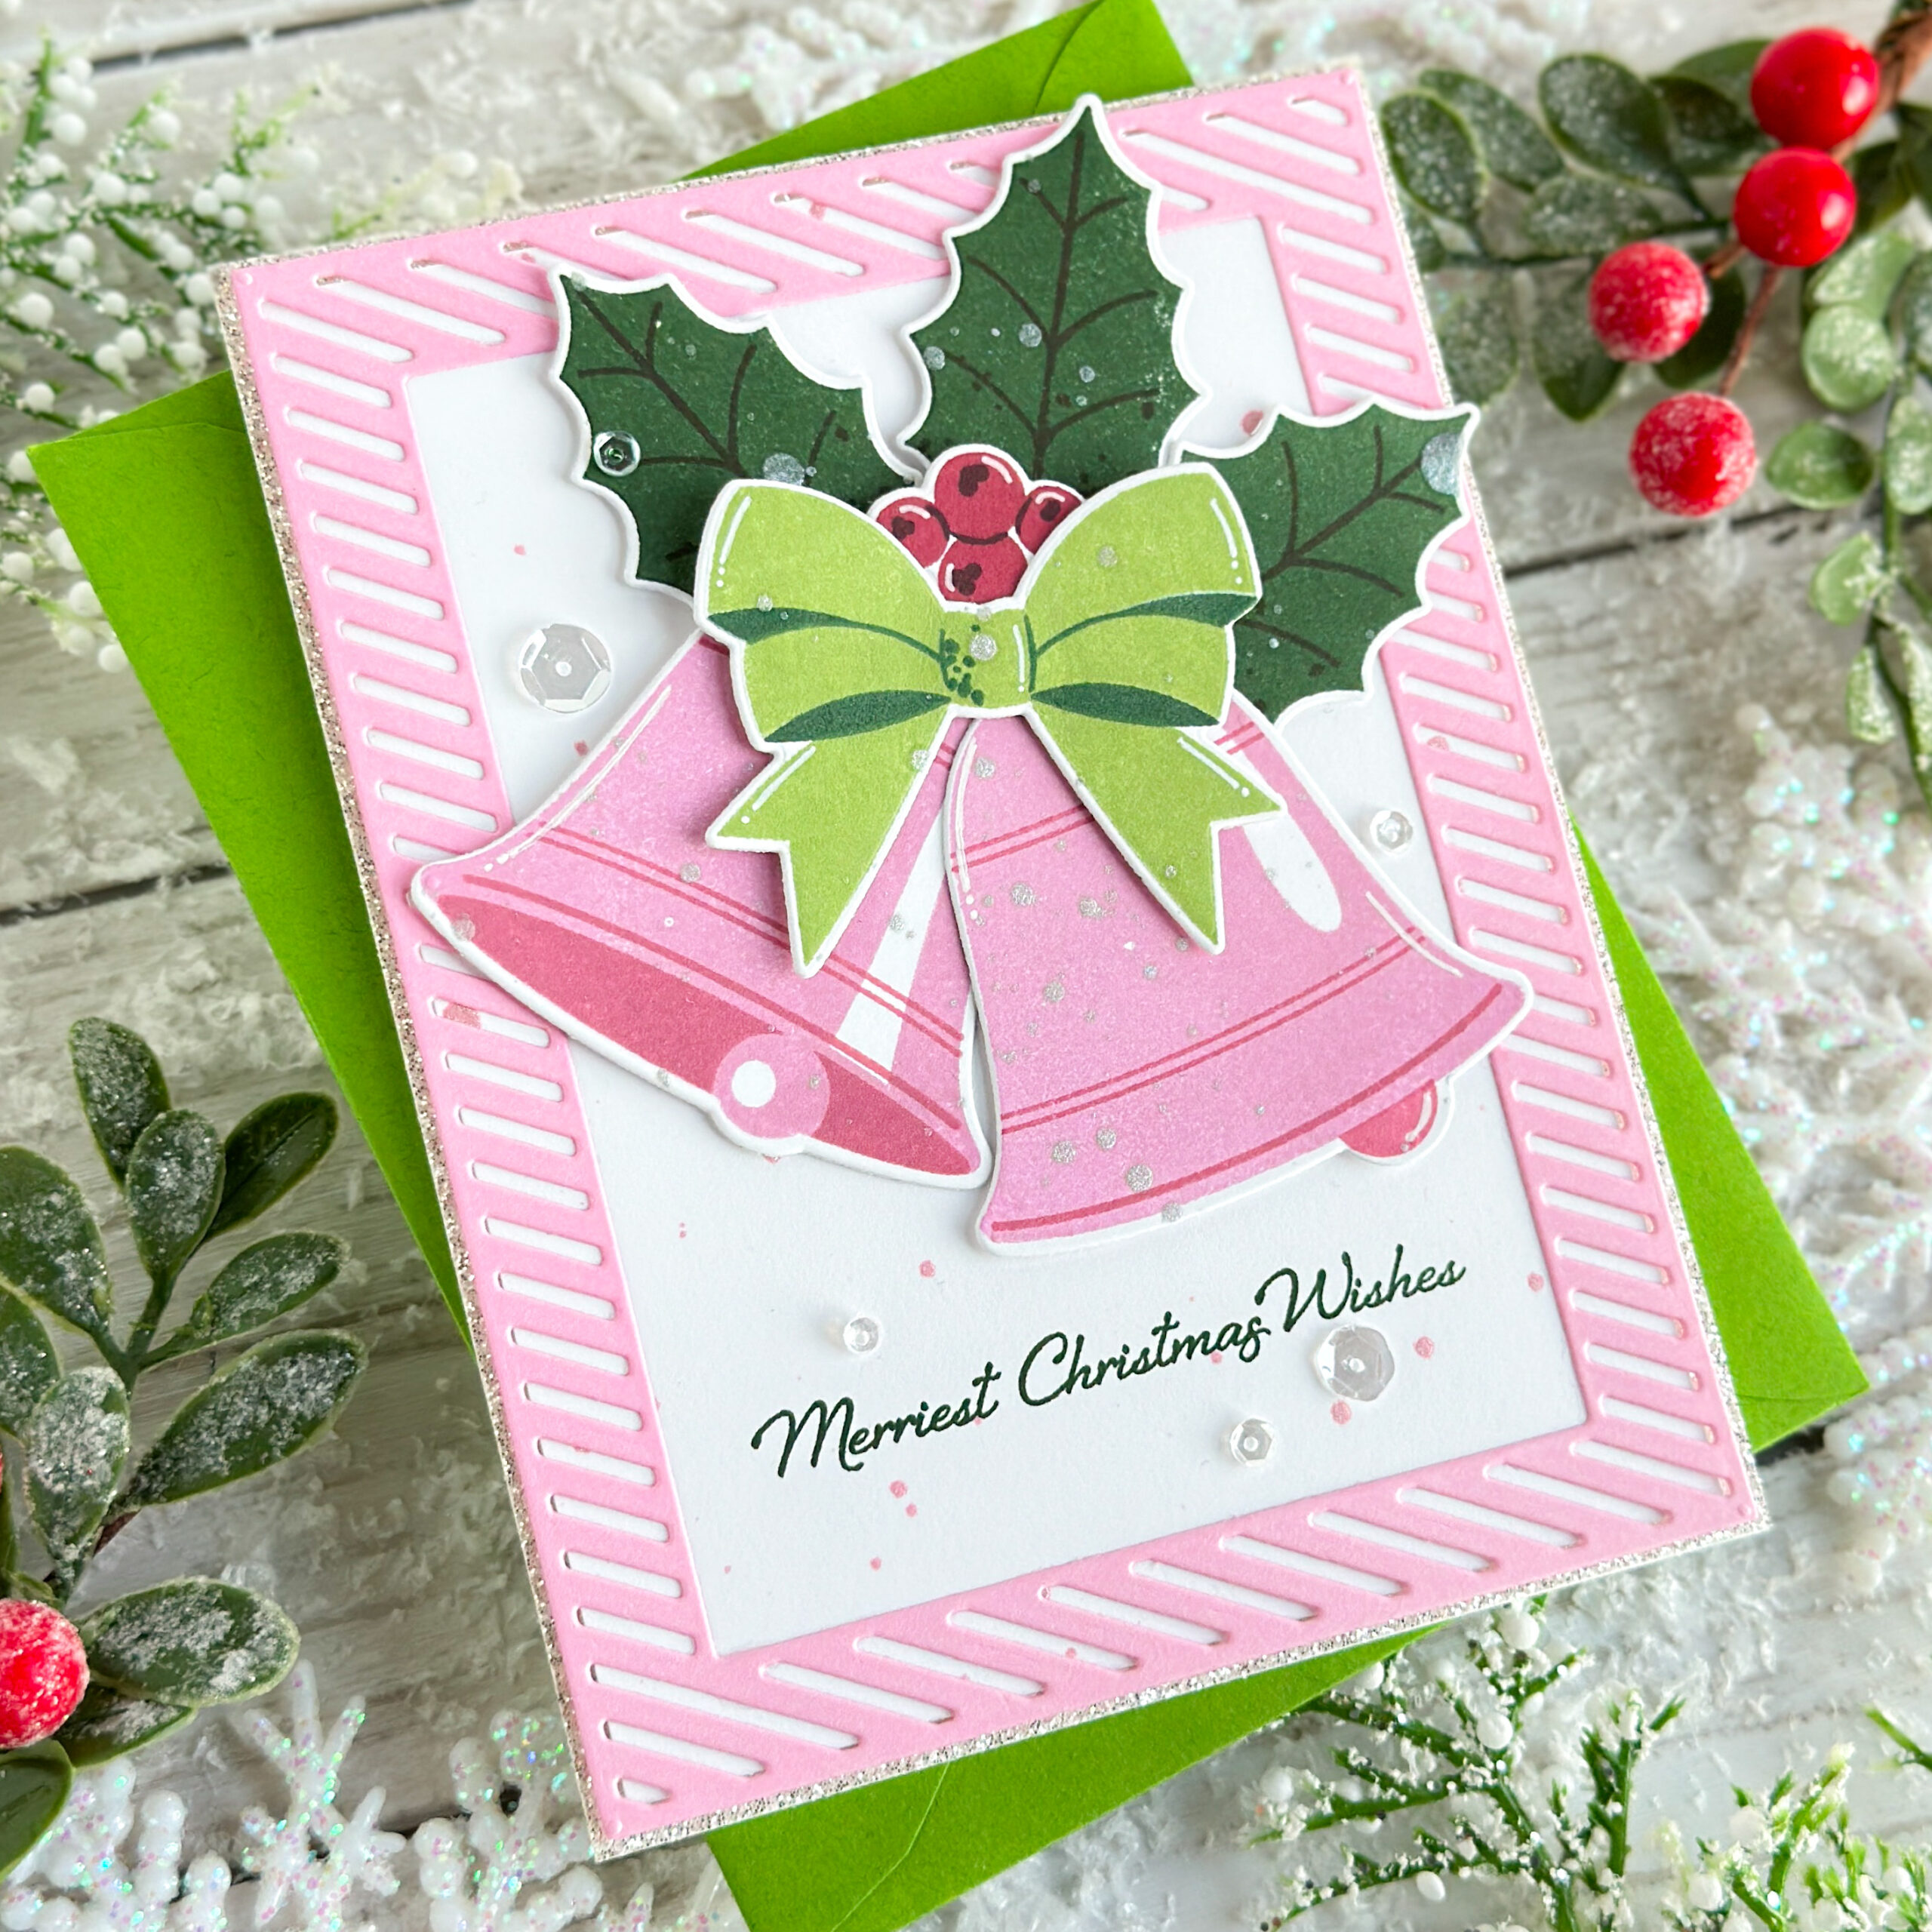
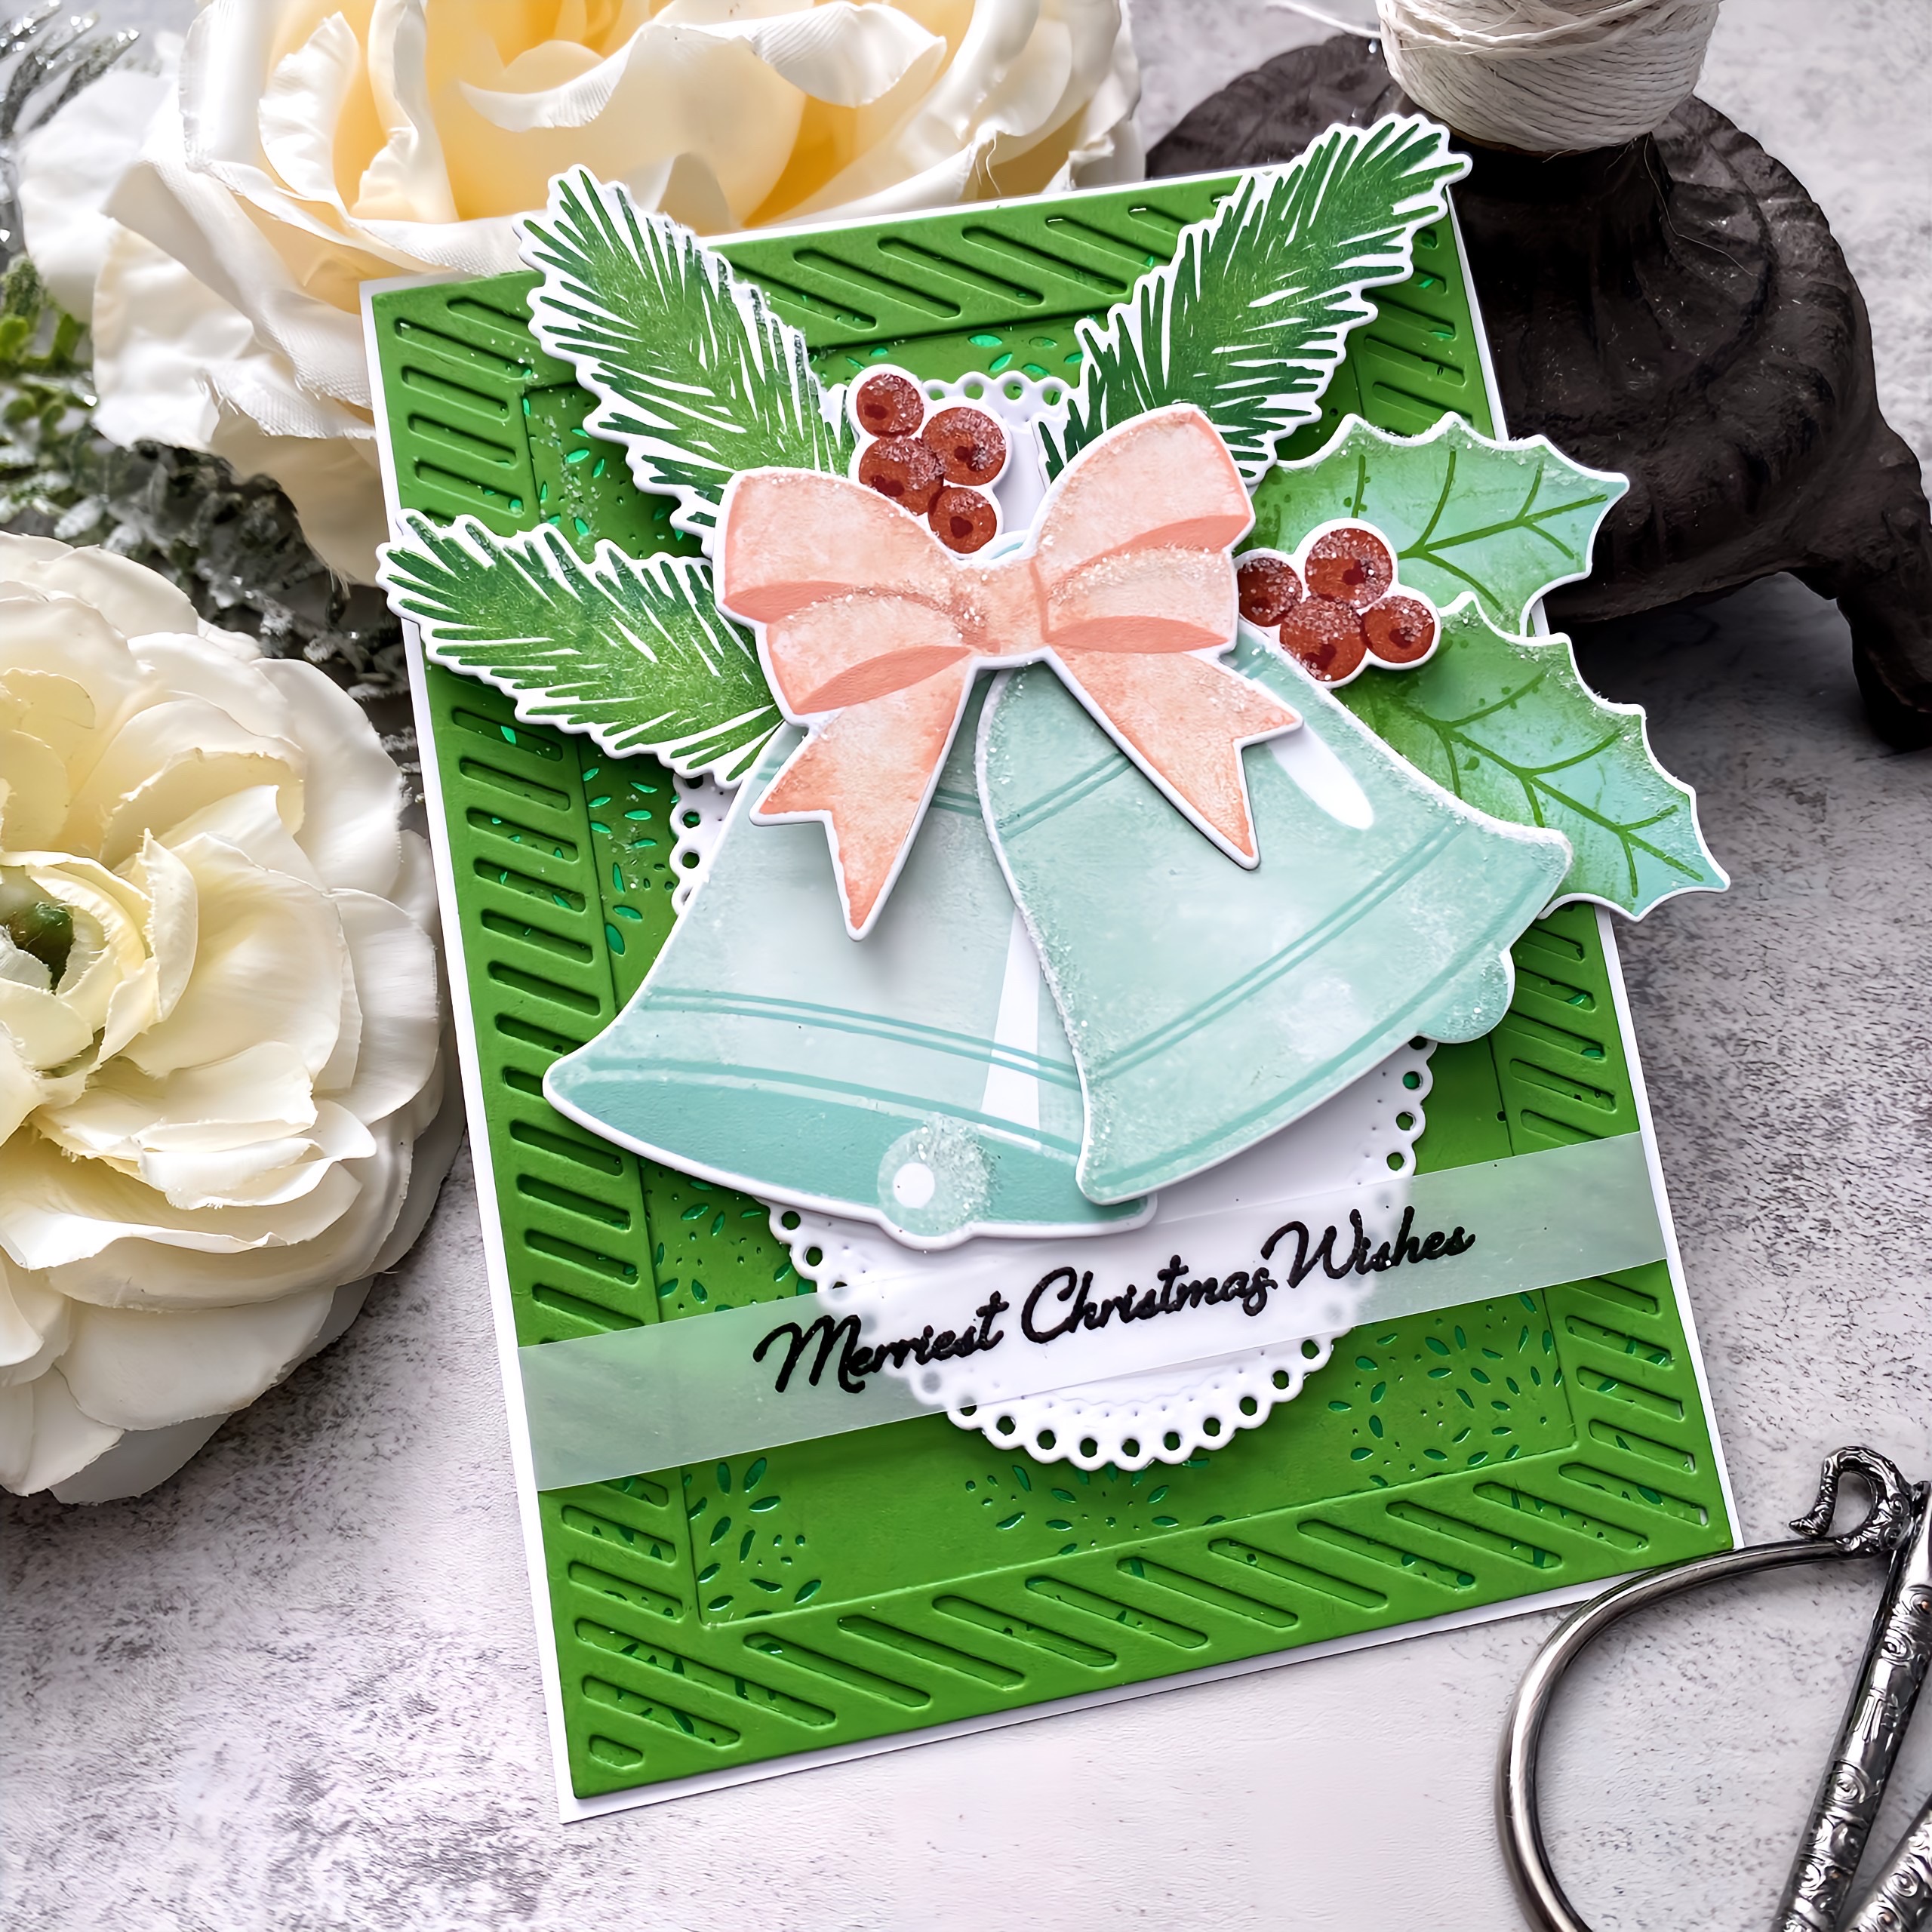
My second card uses Hear the Bells once again, with the new Cheery Trees Stencils used in the background. I adore this set of two stencils, both with a variety of different trees scattered across the front. They create the cutest card bases filled with personality and interest!
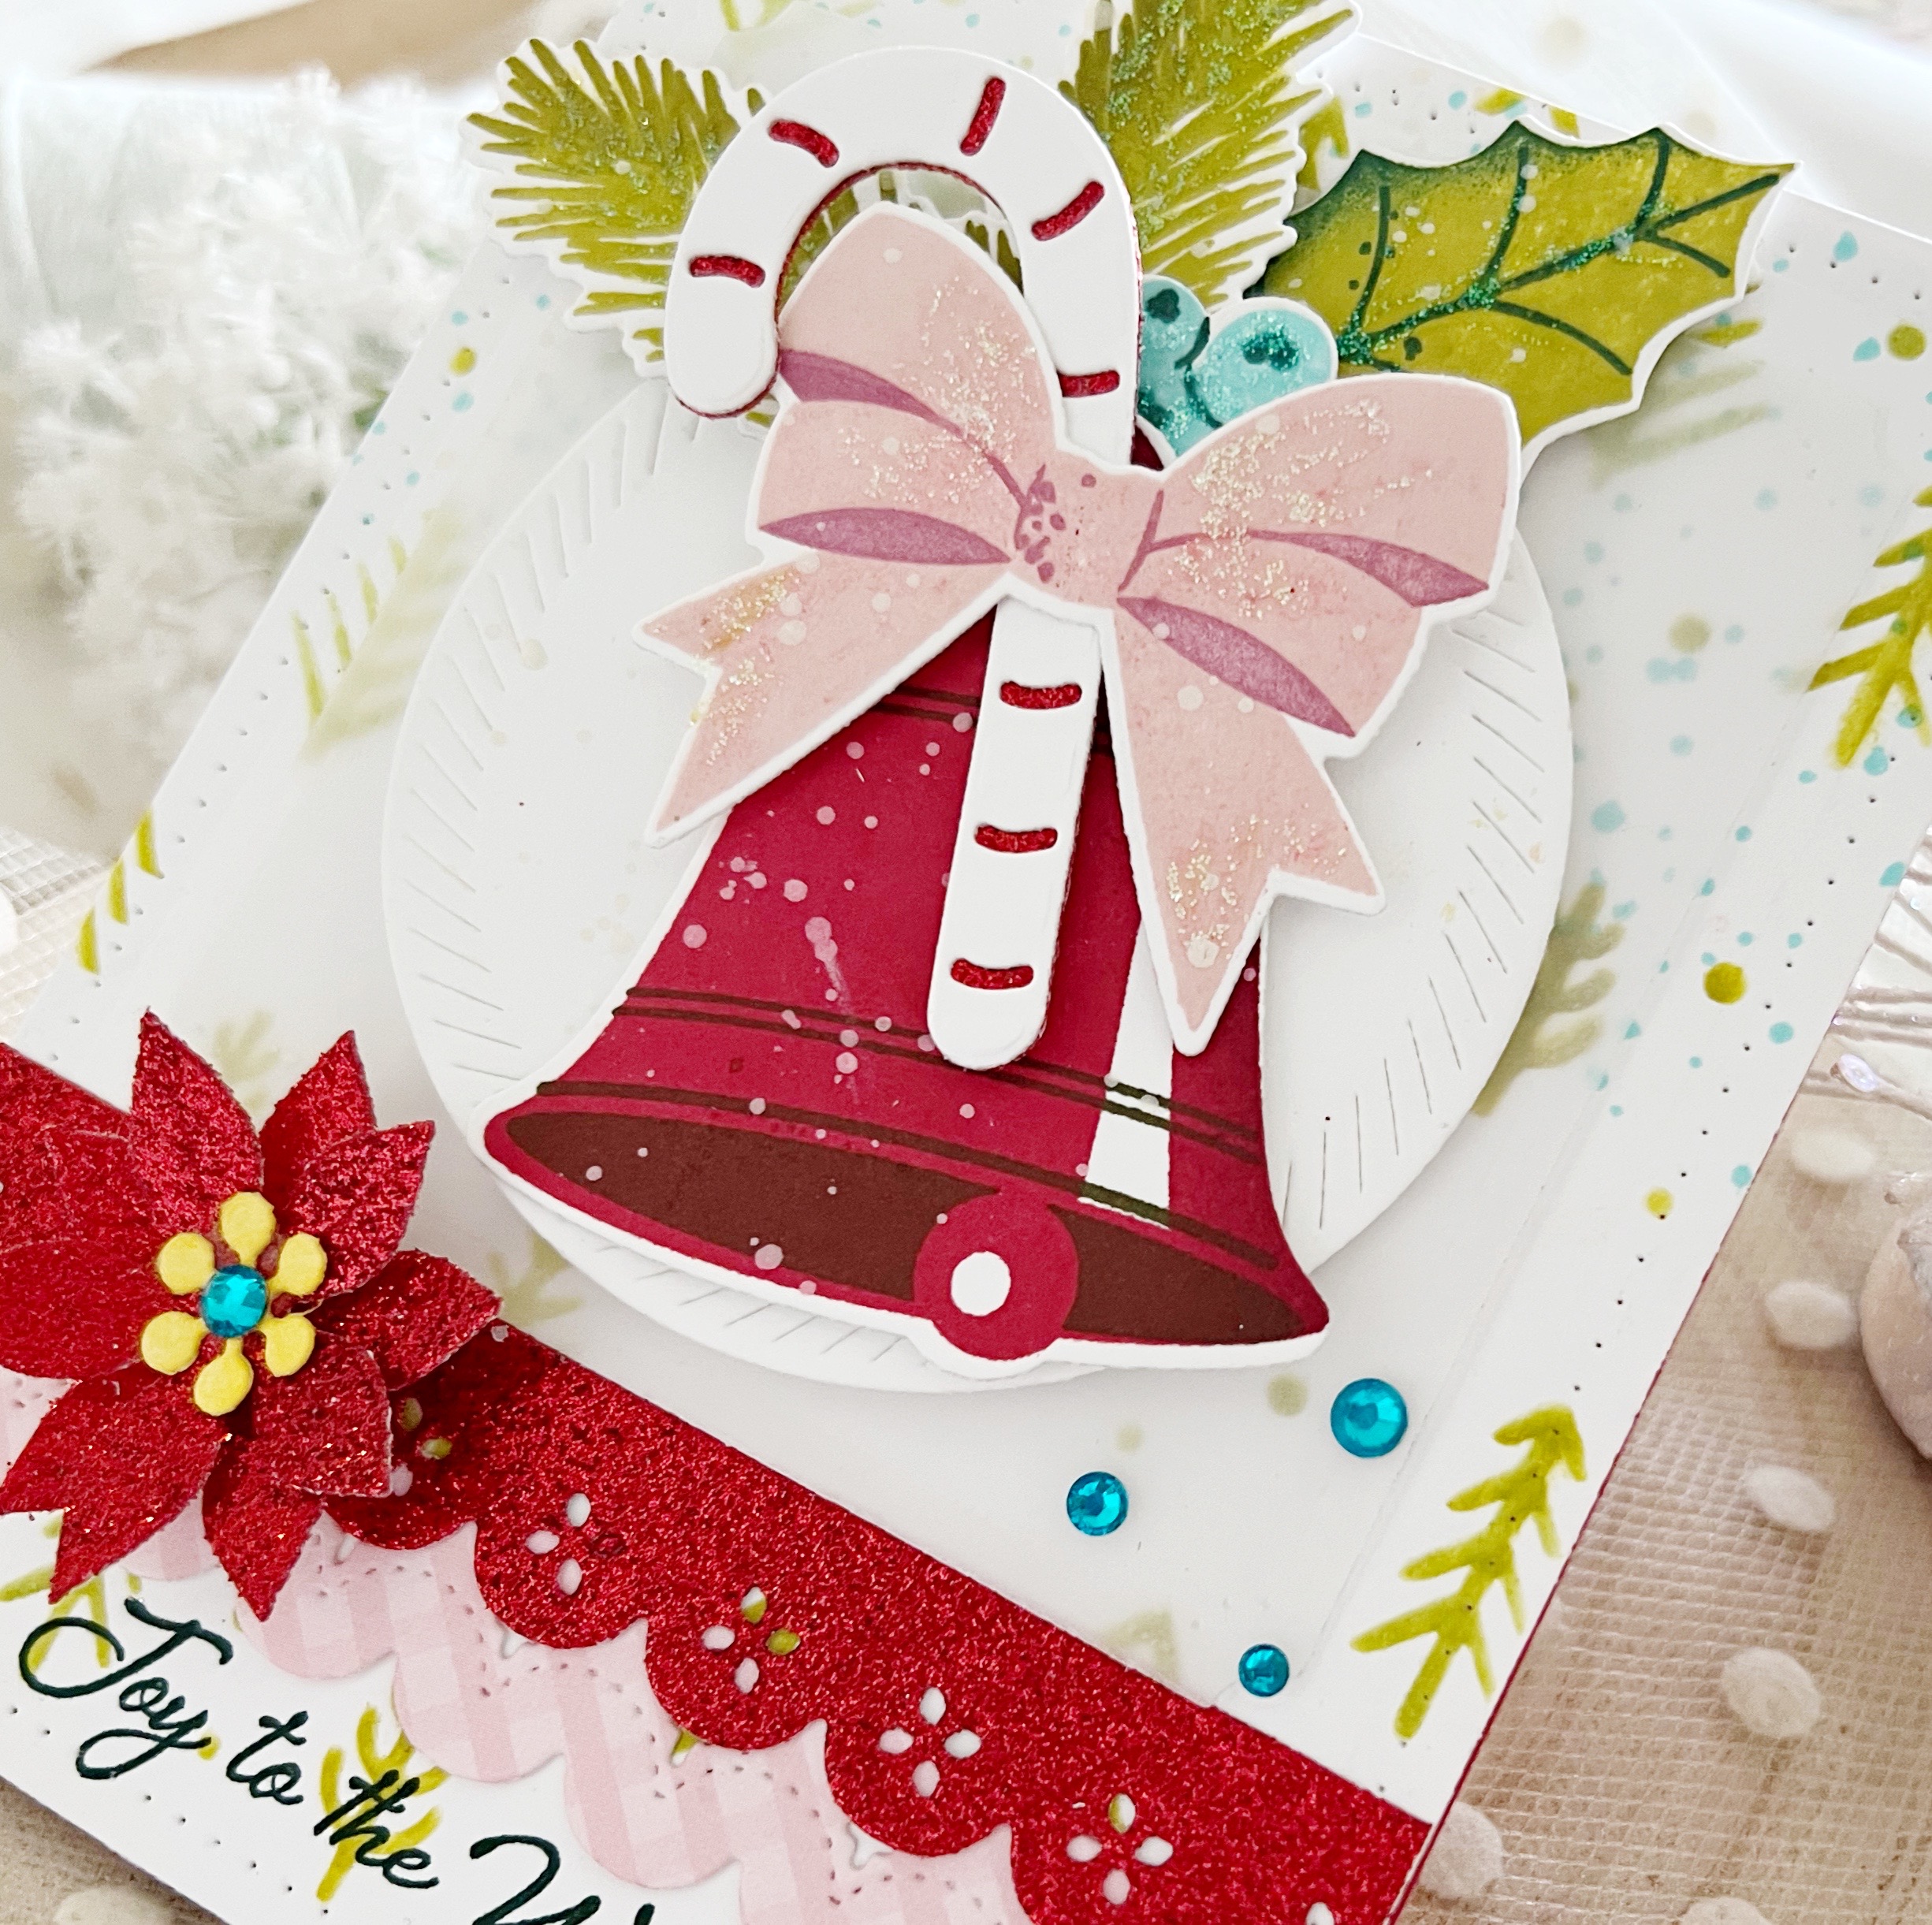
Over my background, I began layering on my Hear the Bells elements, stamping my larger bell in Pure Poppy and embellishing with the darling berries, bow, and greens found in this set. I added in a die cut candy cane, cut using the Candy Cane Classics dies.
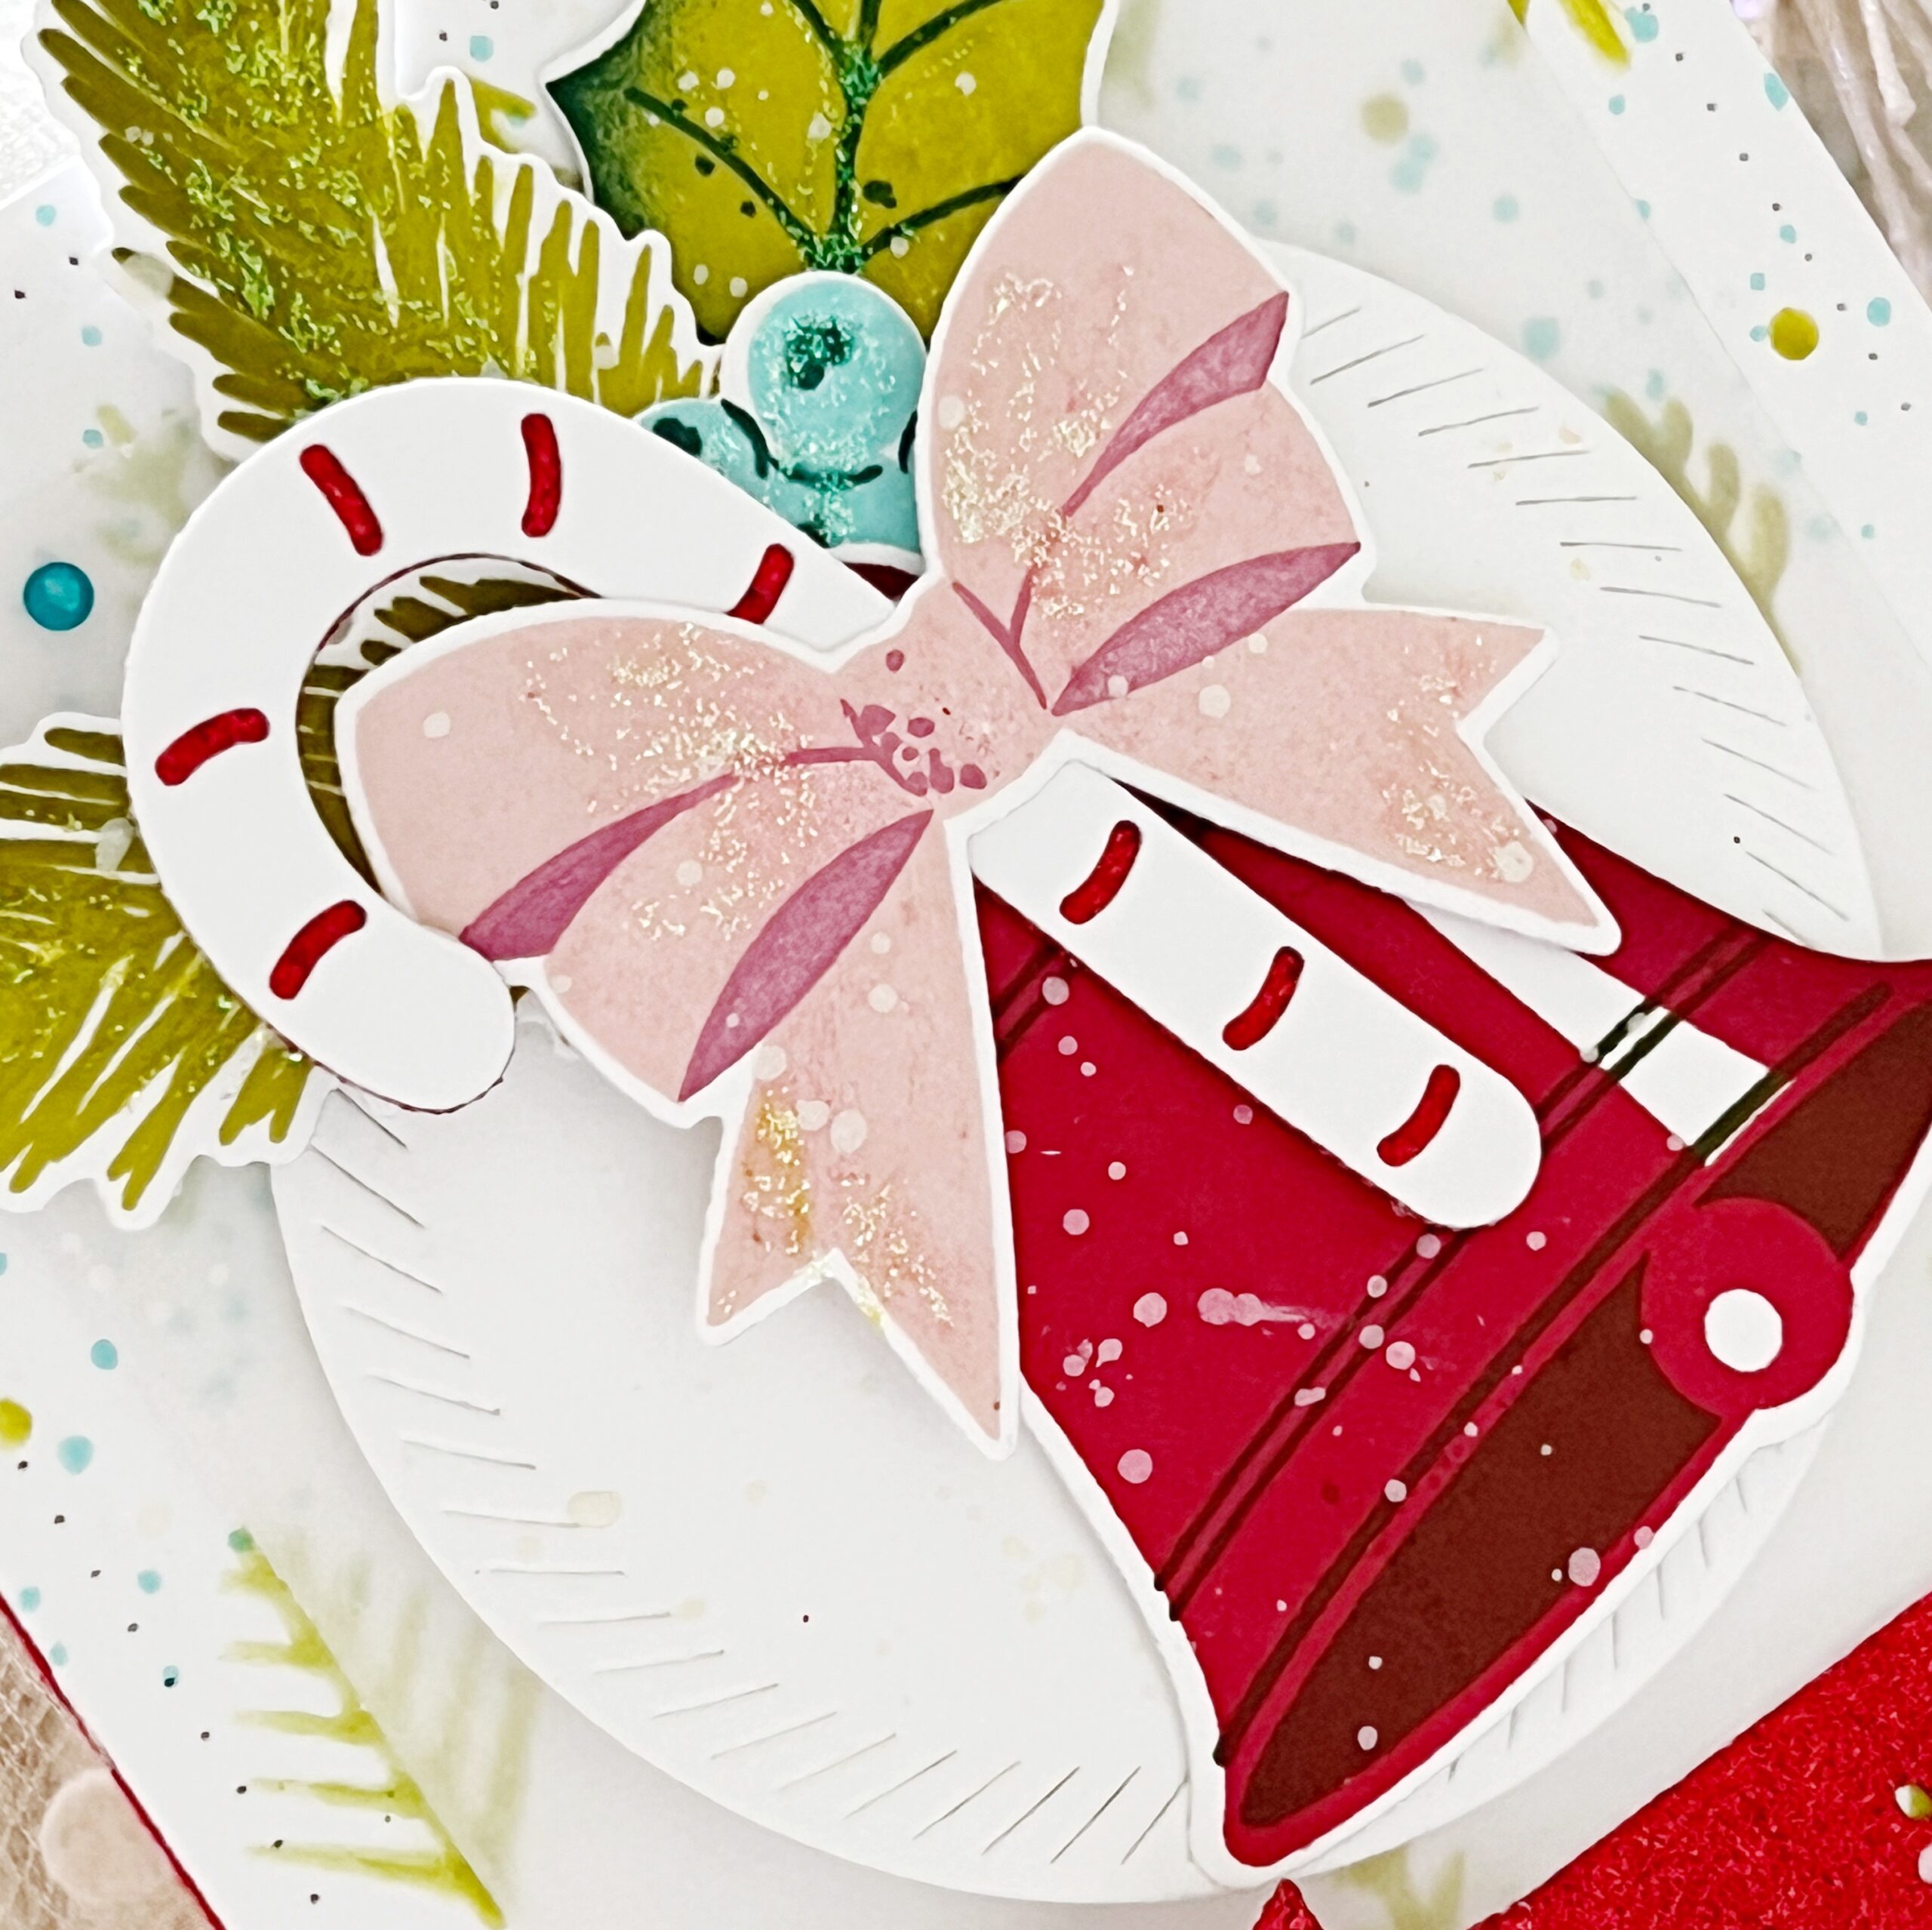
Across the bottom of my card, I stamped my sentiment below two rows of On the Edge: Scallops Collection die cuts, one cut from patterned paper and the other cut from red glitter cardstock. I added in a die cut Into the Blooms: Poinsettia, also cut from red glitter cardstock.
SUPPLY LIST:
STAMPS: Hear the Bells
INK: Aqua Mist, Pinefeather, Sweet Blush, Autumn Rose, Simply Chartreuse, Ripe Avocado, Scarlet Jewel, Pure Poppy, Olive Twist, Hawaiian Shores
PAPER: Stamper’s Select White, Sheer Basics Vellum
DIES: Love to Layer: Squares, Hear the Bells, Love to Layer: Circles, On the Edge: Scalloped Collection, Candy Cane Classics, Into the Blooms: Poinsettia
OTHER: Cheery Trees Stencil, patterned paper, glitter cardstock, adhesive gems, Stickles glitter


TIPS:
- Add dimension to round elements by adding darker ink to the edges of the stamp with a small blending brush, then stamp. Repeat until you get the desired look.
- To die-cut images with solid dies, like the bells in this set, die-cut it first from a piece of scrap cardstock. Line up the negative area over the stamped image and insert your die into the negative area, then die-cut.
- When combining patterns, avoid patterns with the same scale. For example, the polka-dots are small scale, while the plaid is larger. It helps to separate the patterns with a solid color of cardstock.

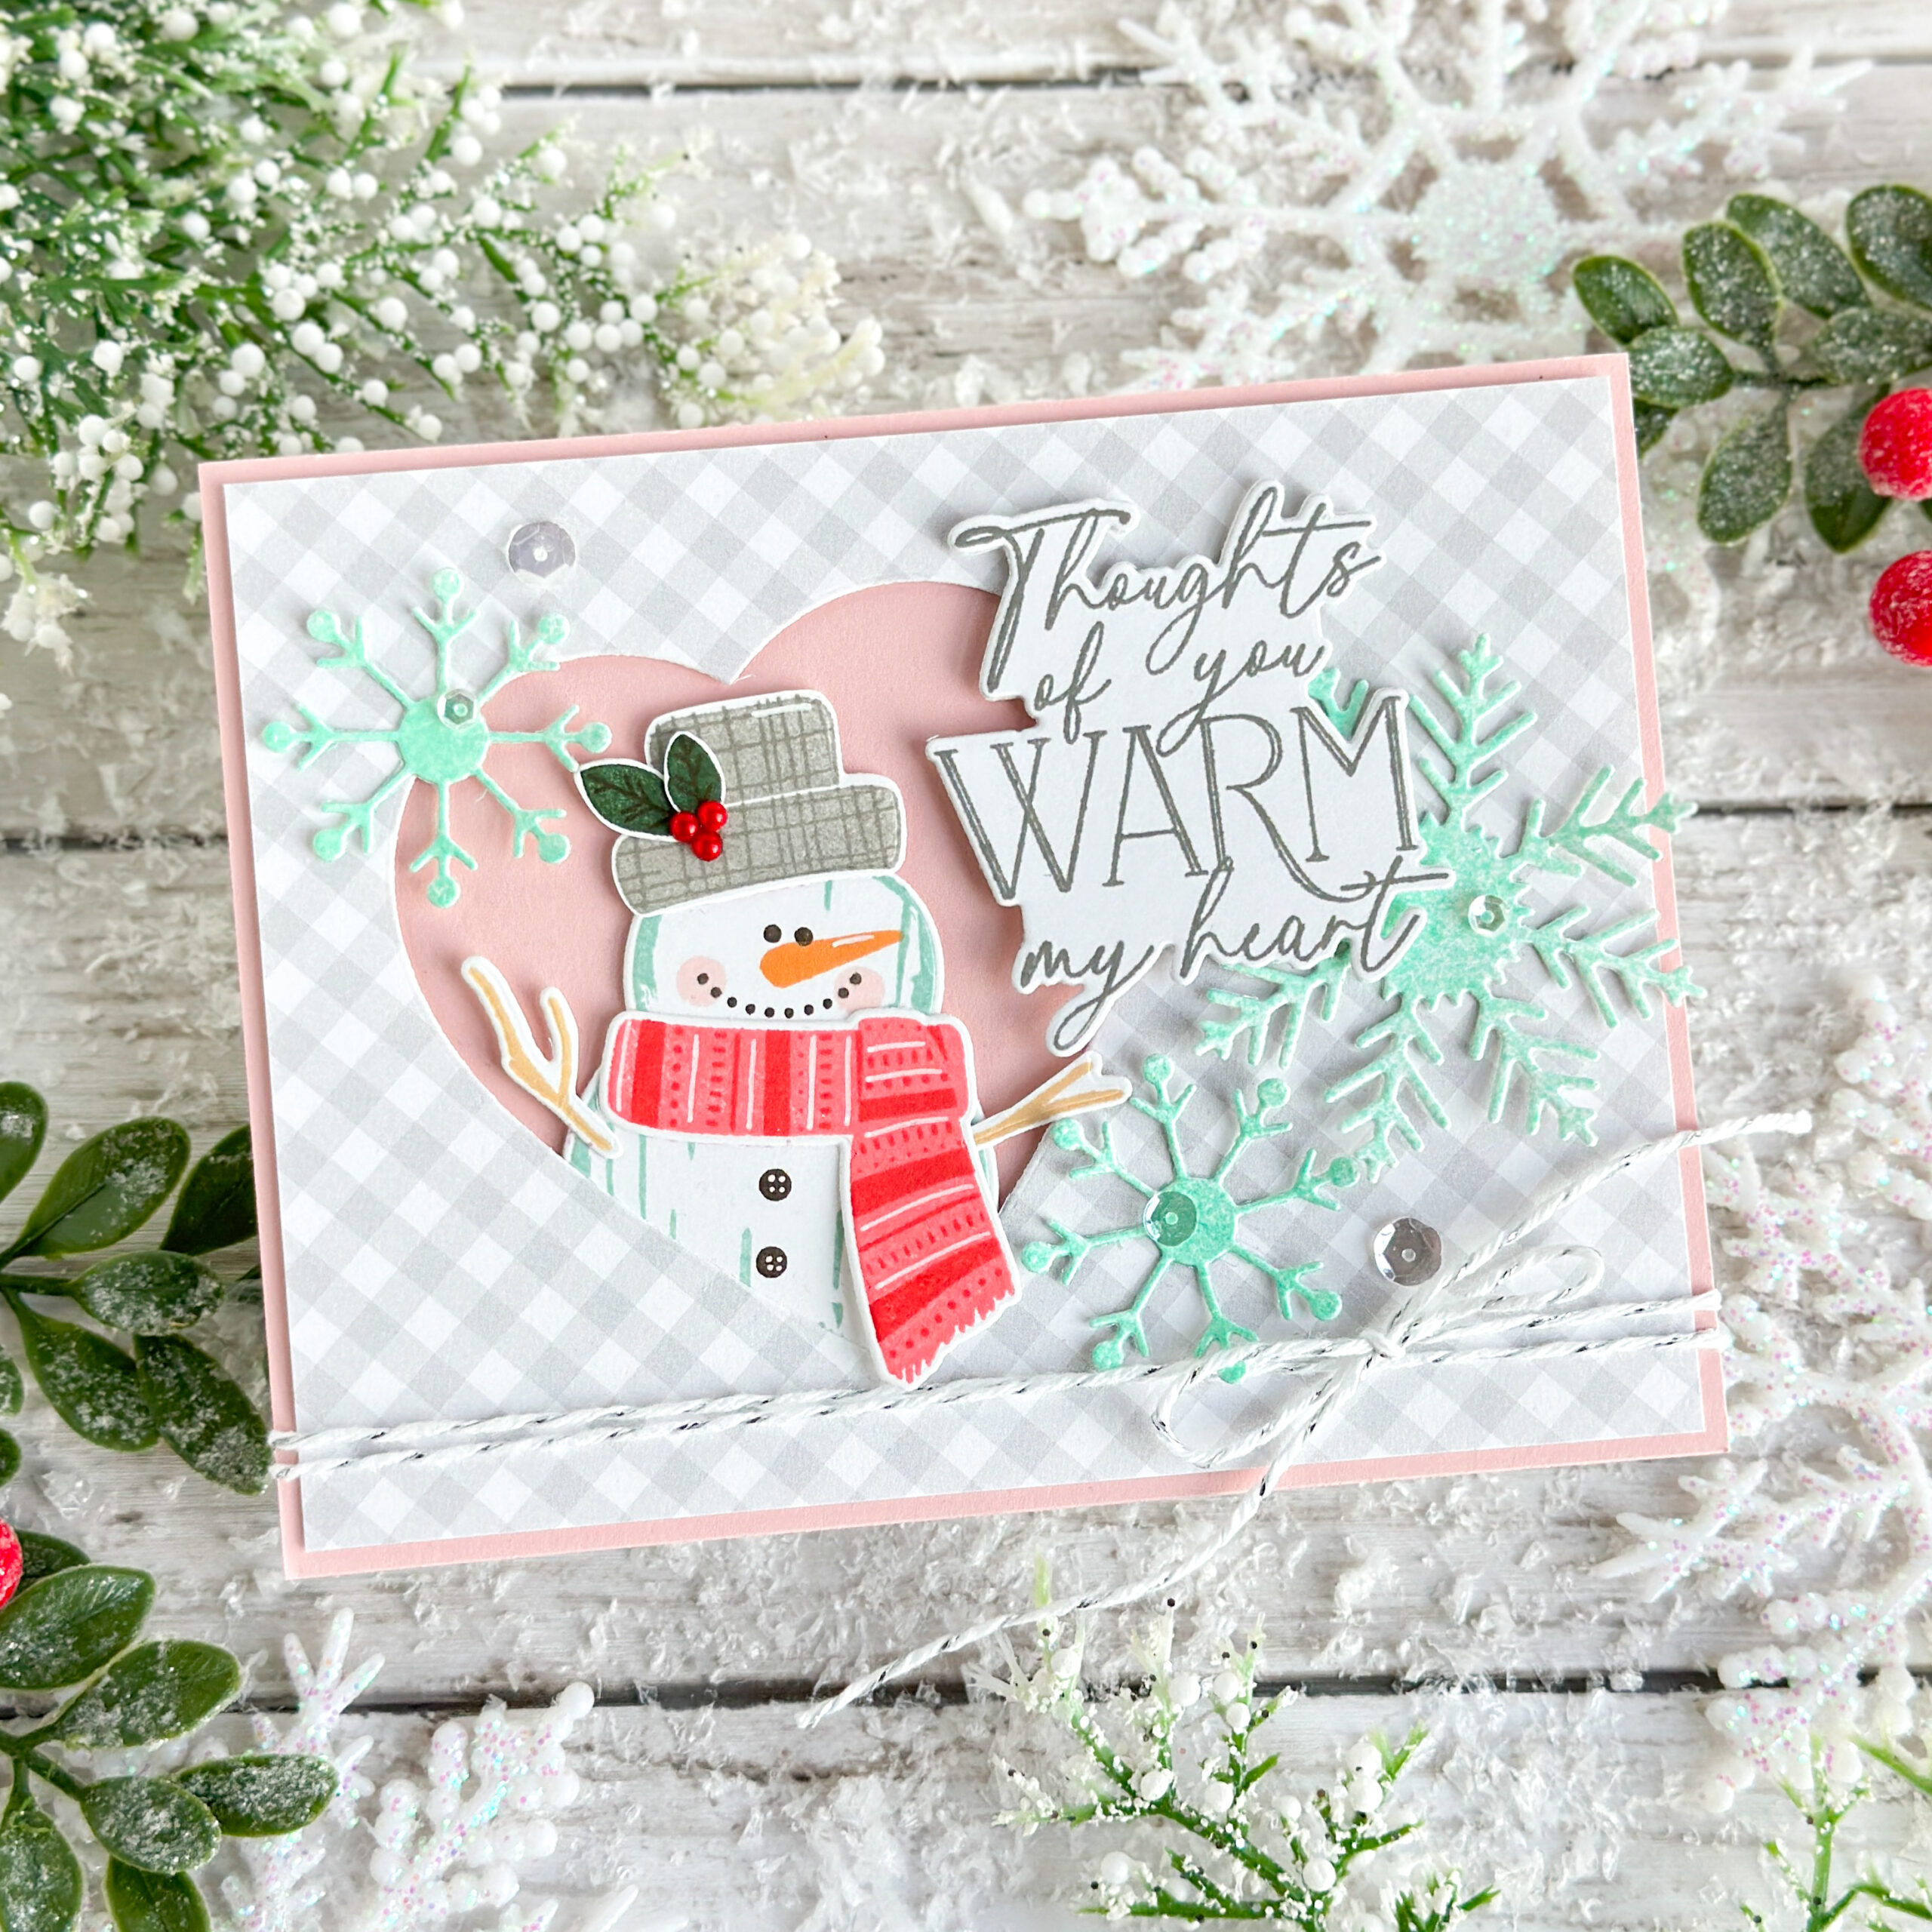
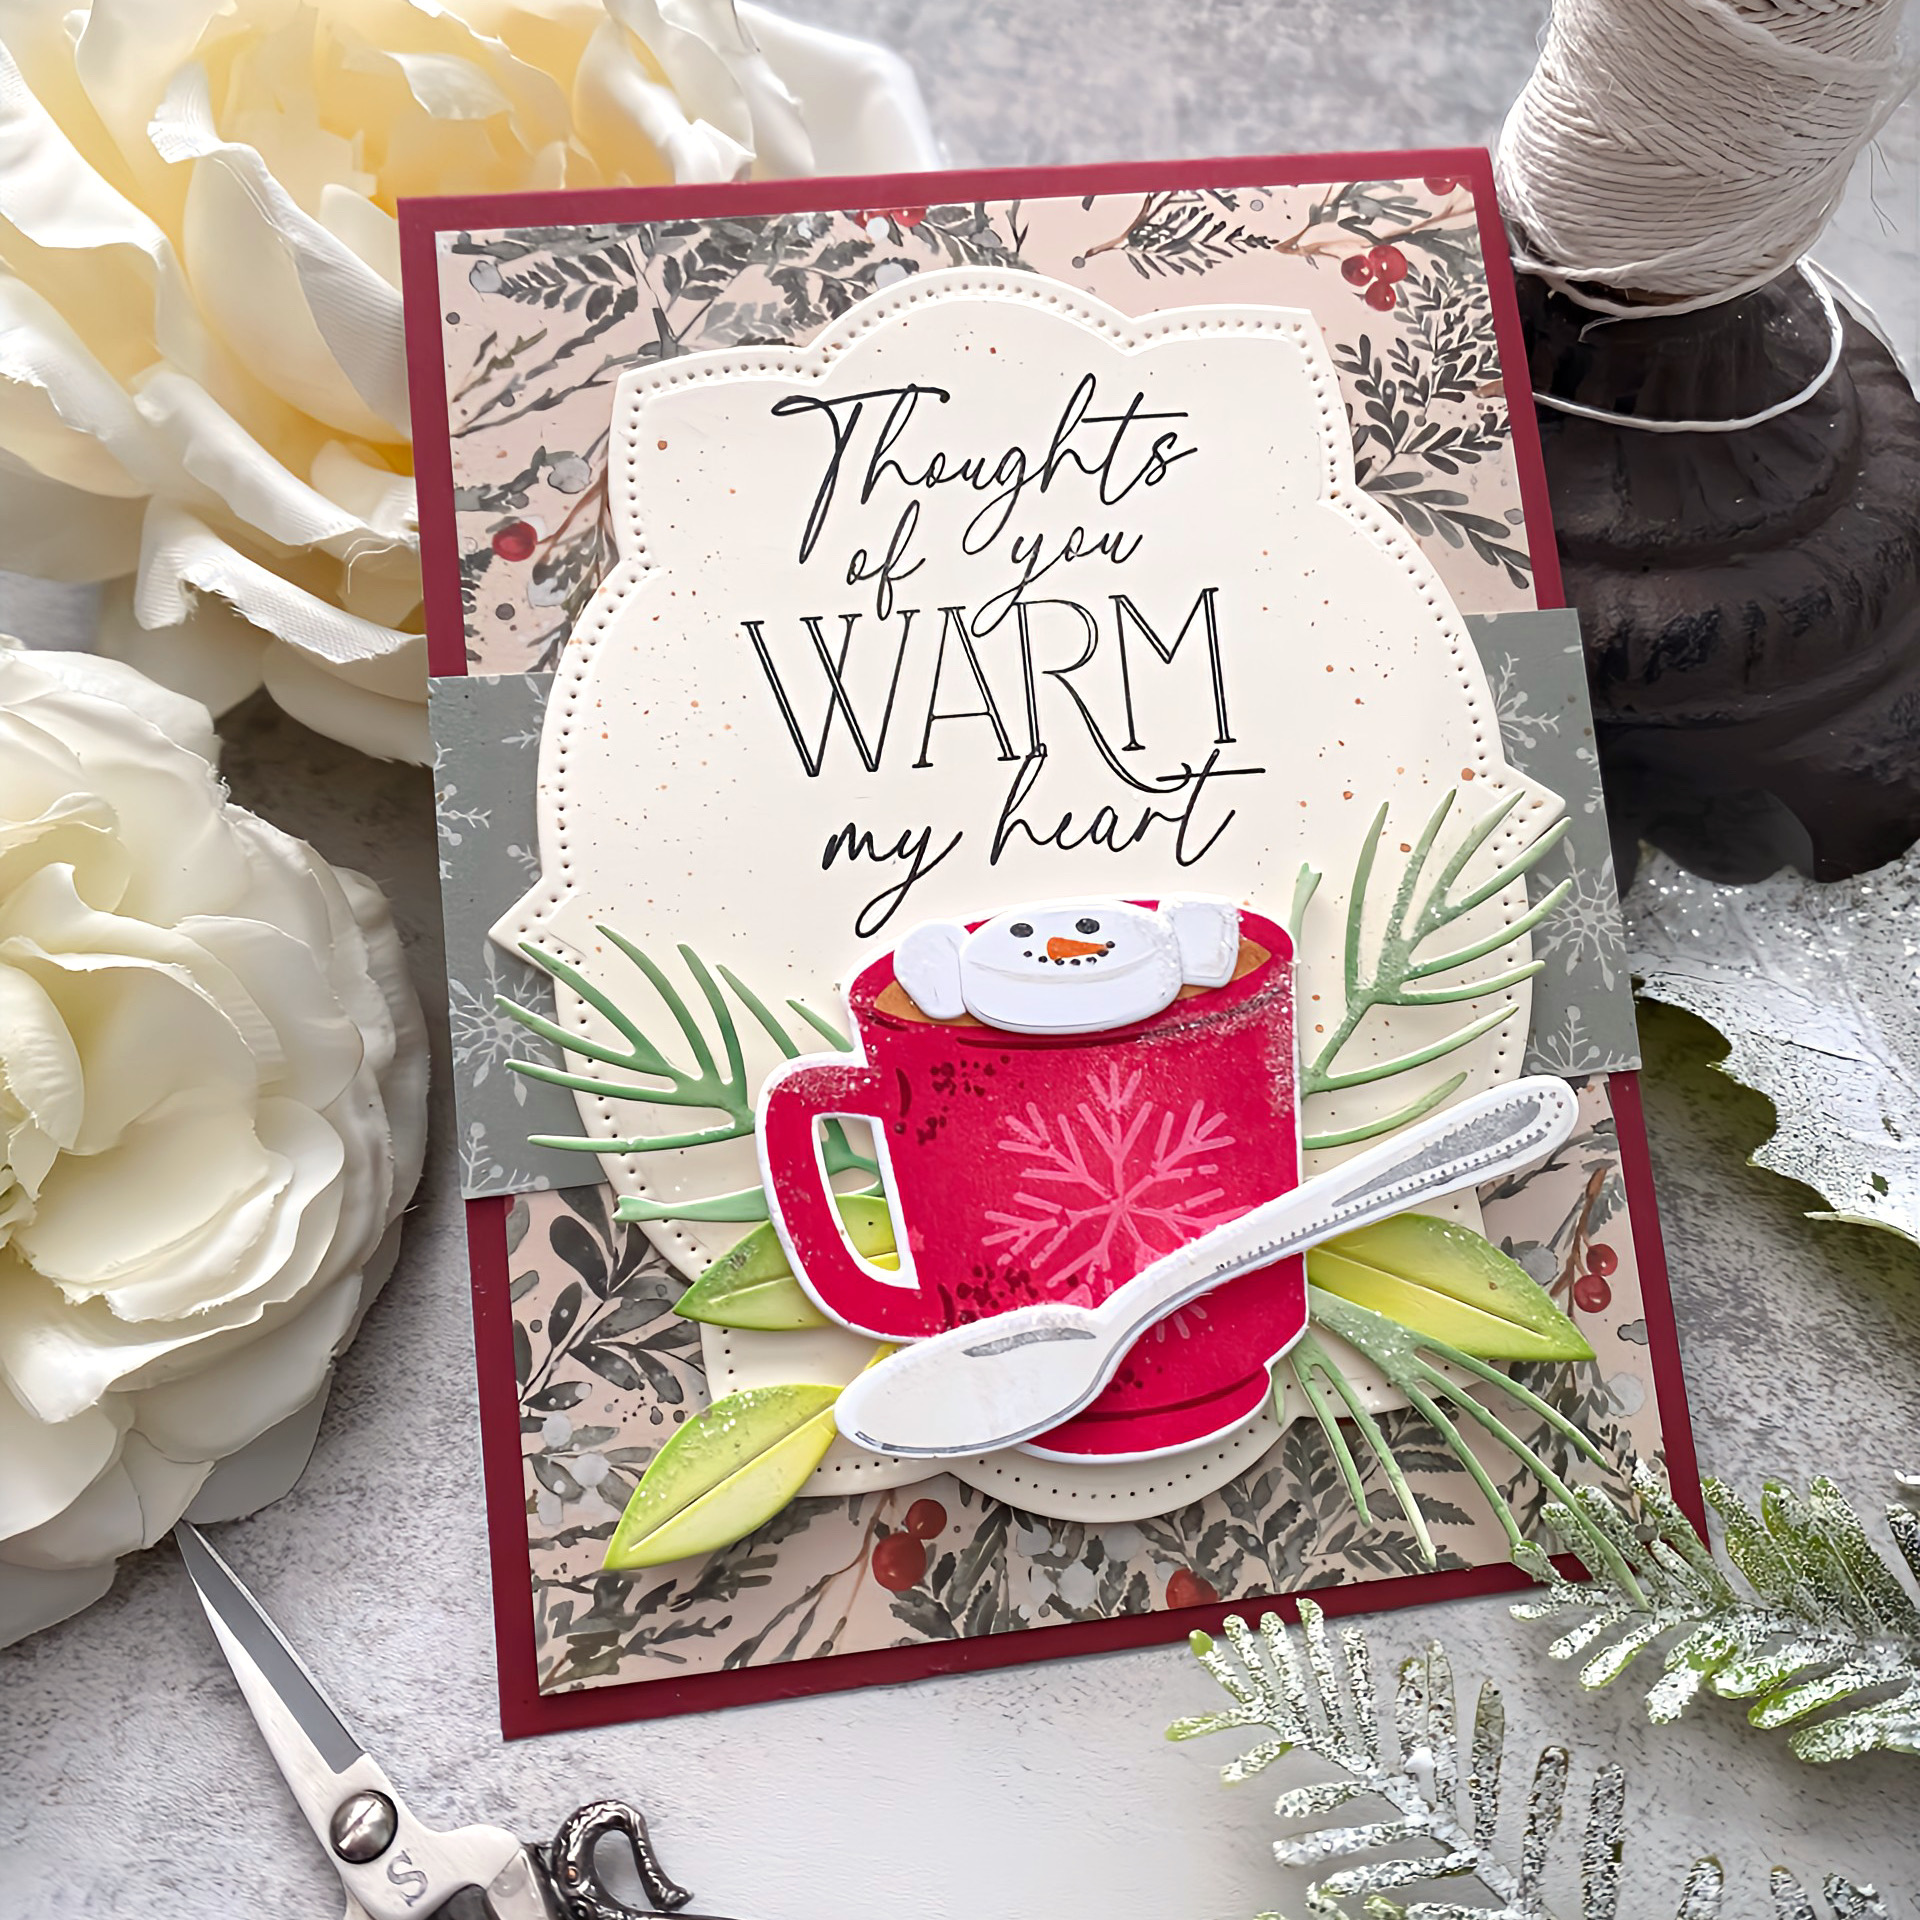
Our new Winter Greetings stamp set and dies is a must-have for the holidays! Choose from a variety of sentiments, large and small to adorn the fronts of your cards. I chose to use one of my most favorite sentiments from the set to use on my cozy, winter village card.
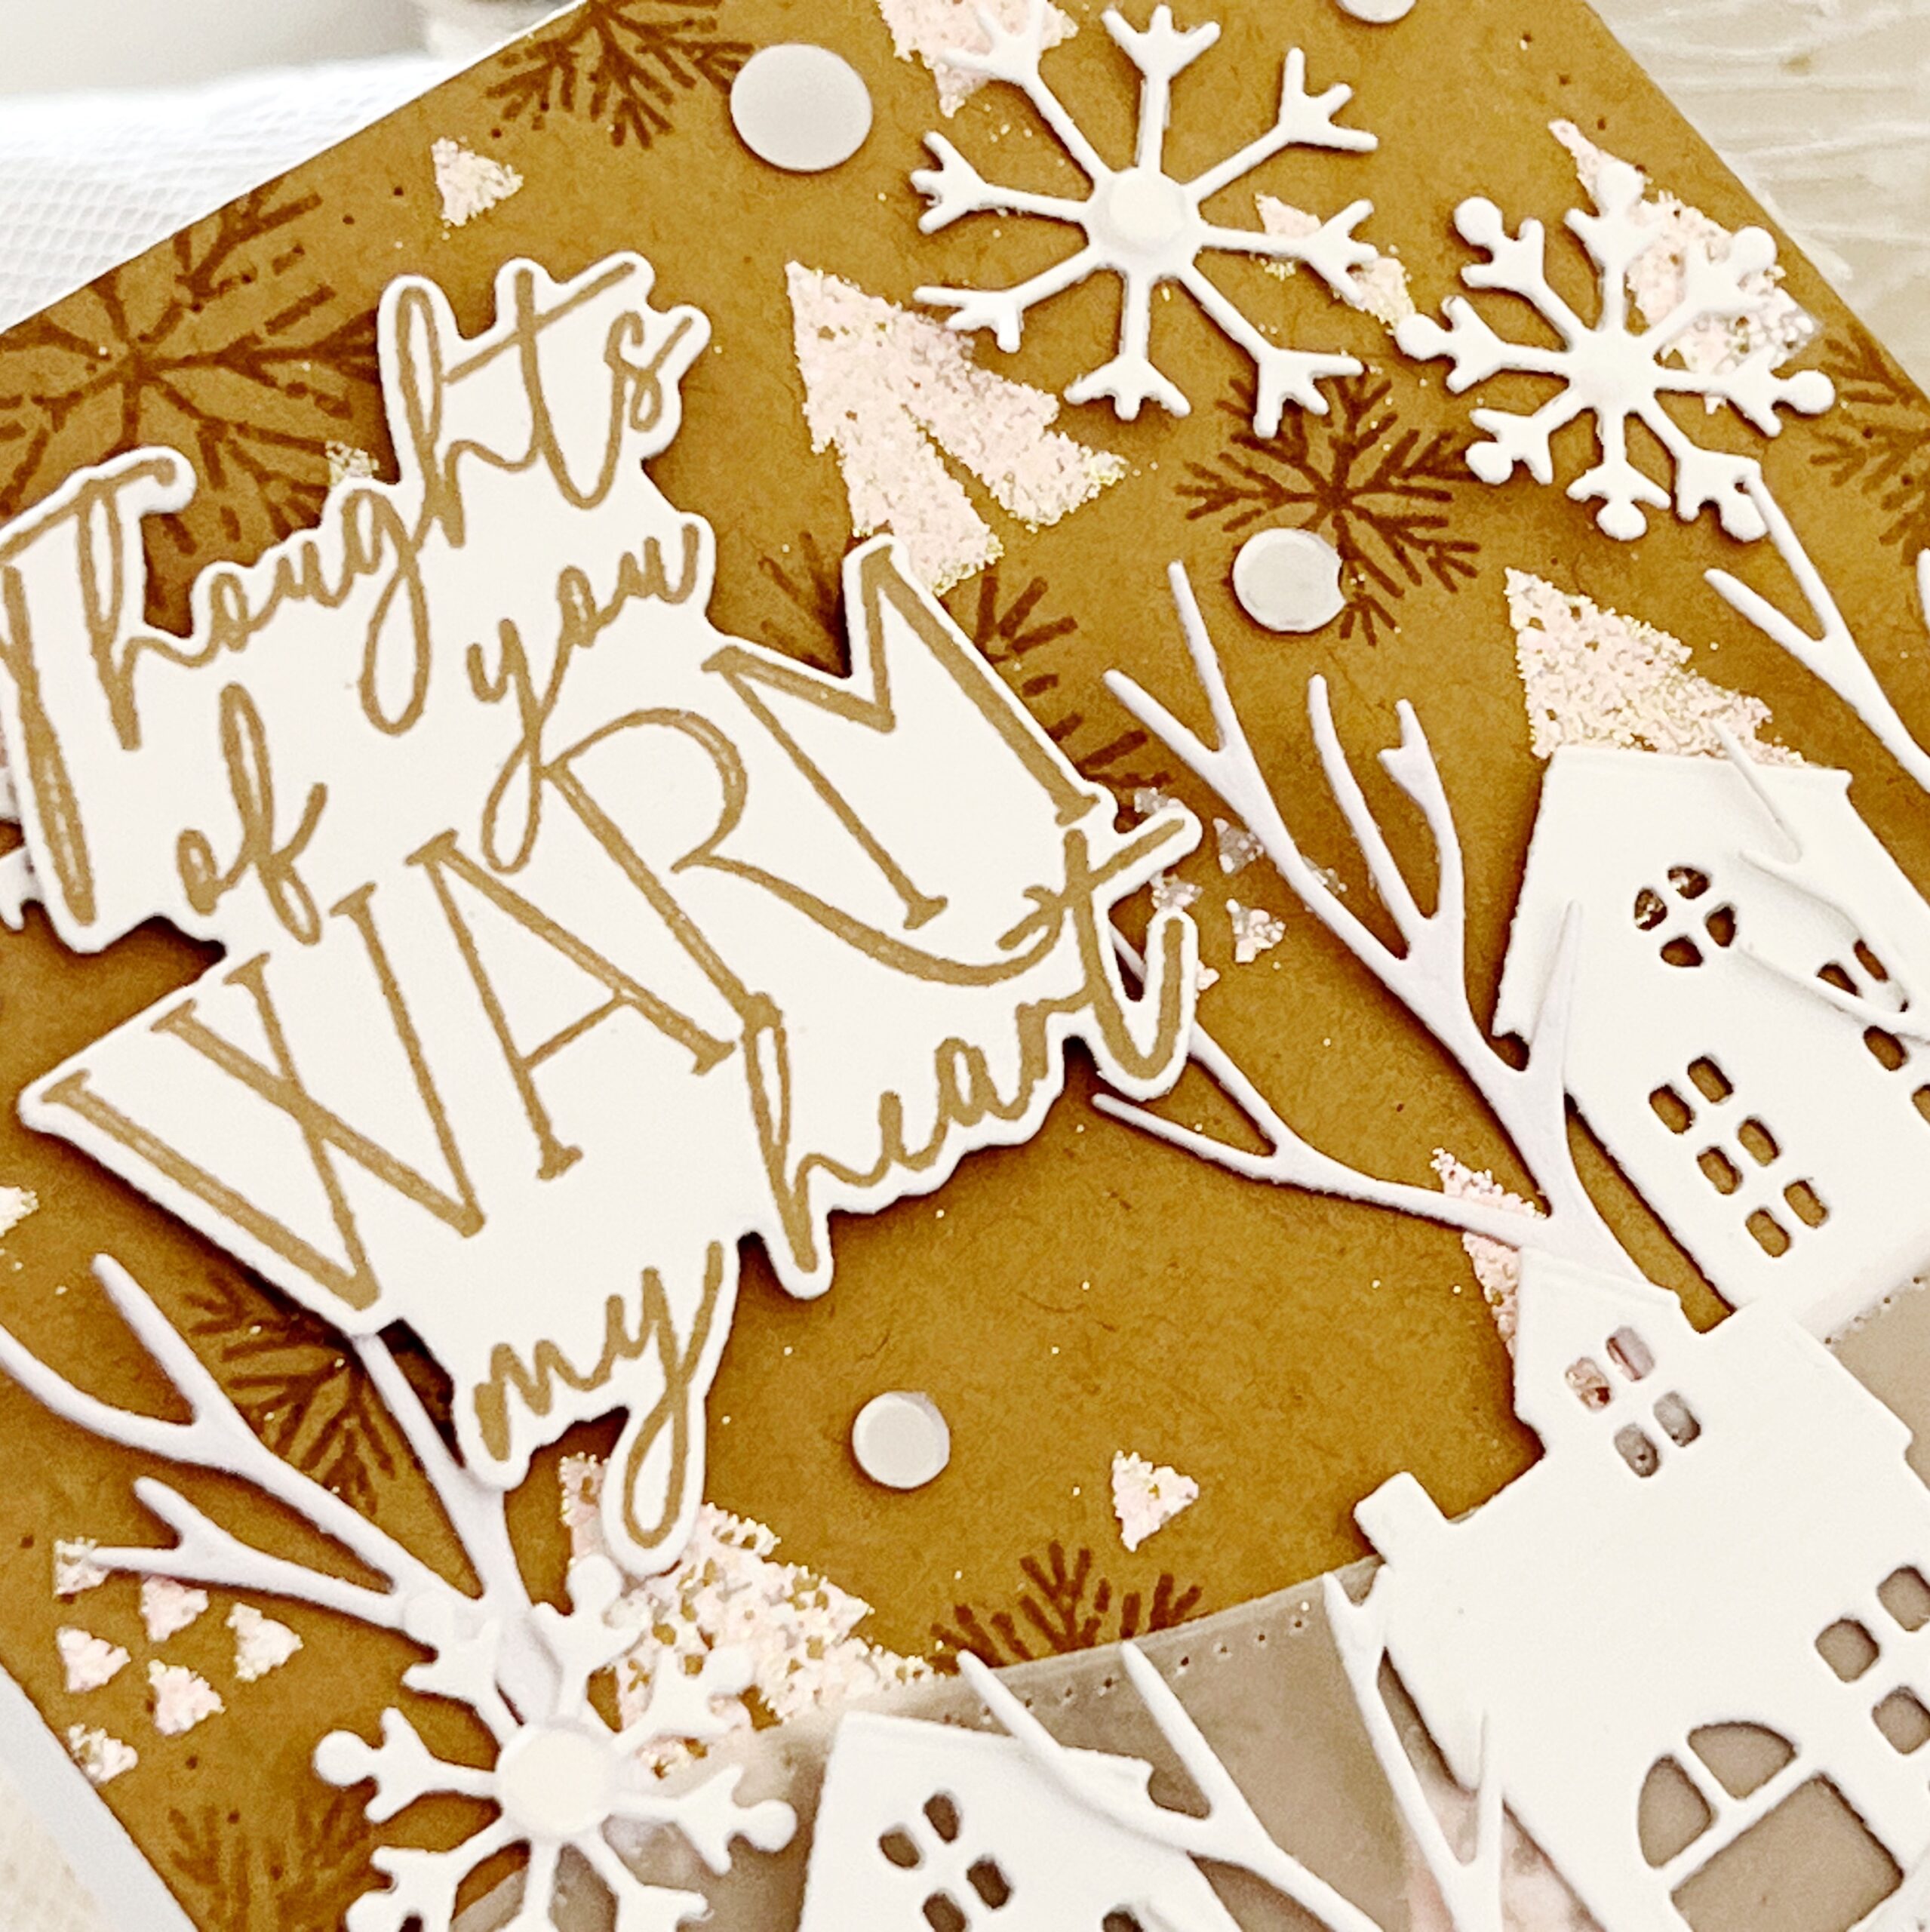
I used the second stencil from the Cherry Trees Stencils, sponging Fresh Snow ink over Kraft cardstock and then coating and heat embossing with Shabby Pink Embossing Enamel. I then used snowflakes from the Sweet Holidays stamp set, scattering them across my card using Kraft ink.
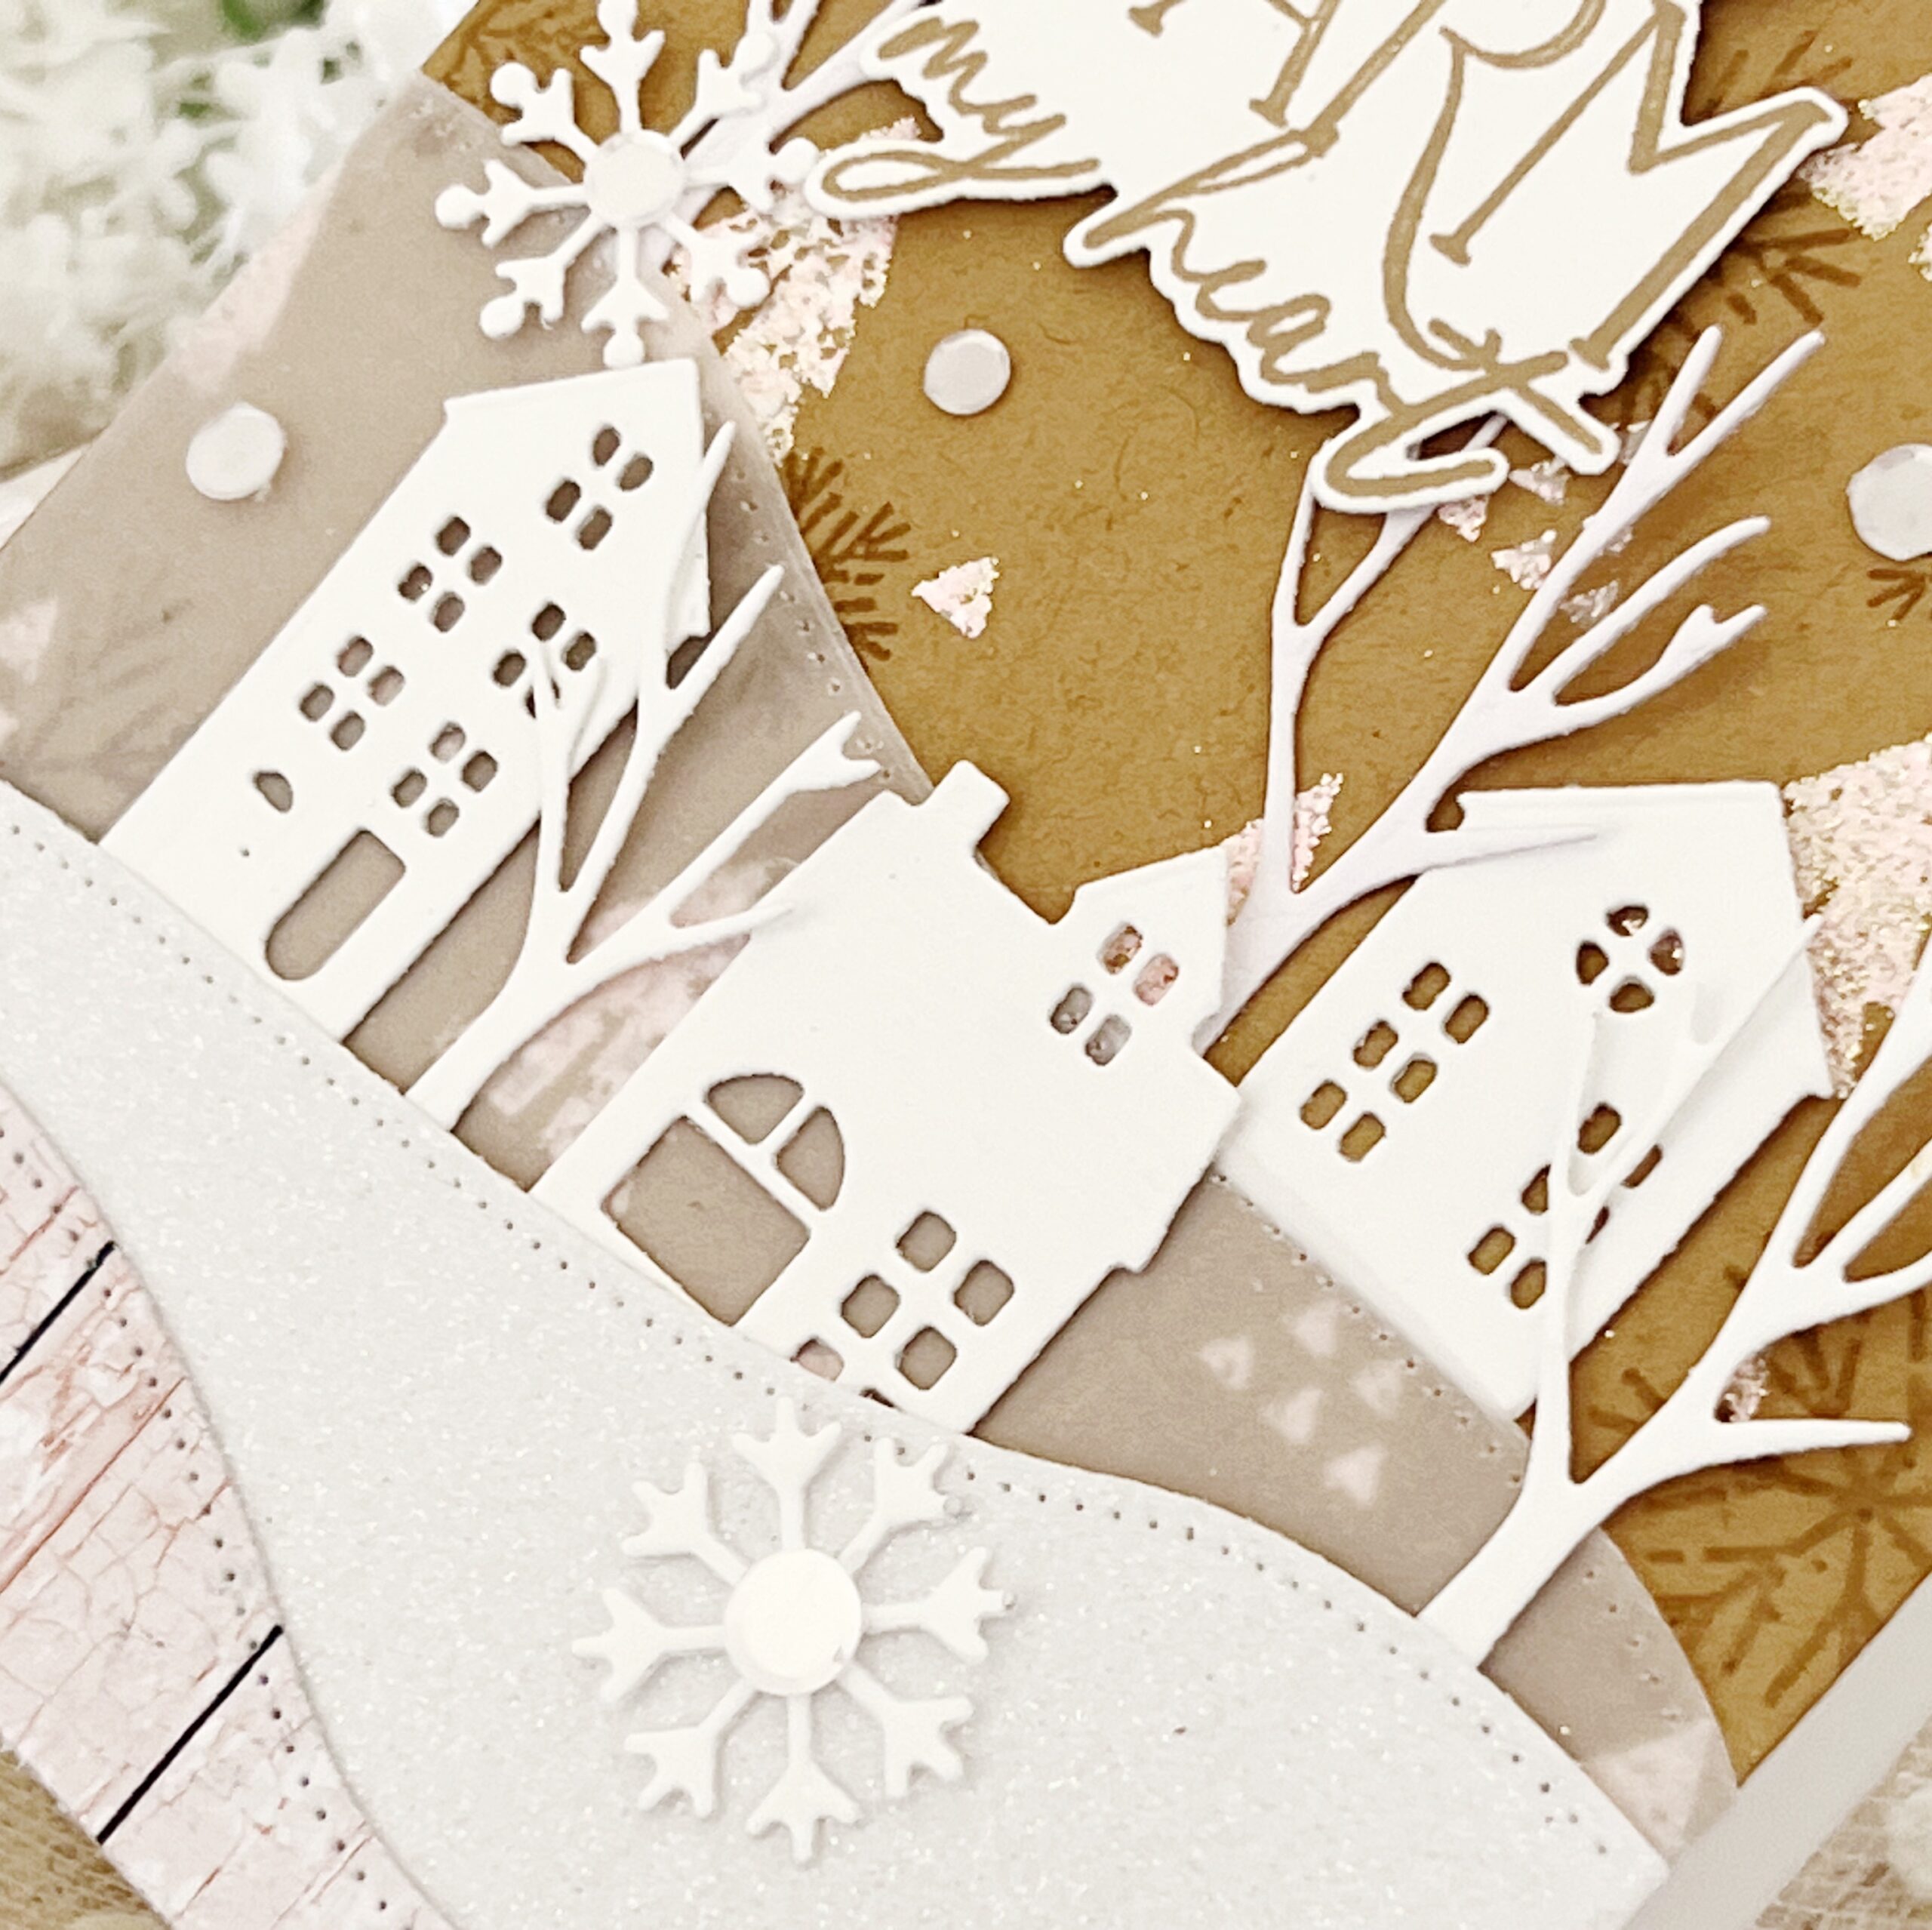
The Bring Home the Holidays dies have always been a favorite of mine. I used them to build snowdrifts and a village across the front of my card. The bare trees use the new Into the Blooms: Evergreens dies, and I used snowflakes from the Border Bling: Snow dies. Such a fun card to create!
SUPPLY LIST:
STAMPS: Winter Greetings, Sweet Holidays
INK: Kraft
PAPER: Classic Kraft, Stamper’s Select White, Sheer Basics Vellum
DIES: Winter Greetings, Bring Home the Holidays, Into the Blooms: Evergreen, Border Bling: Snow
OTHER: Cheery Trees Stencils, shabby pink embossing enamel, moonshine sequins, glitter cardstock, patterned paper


TIPS:
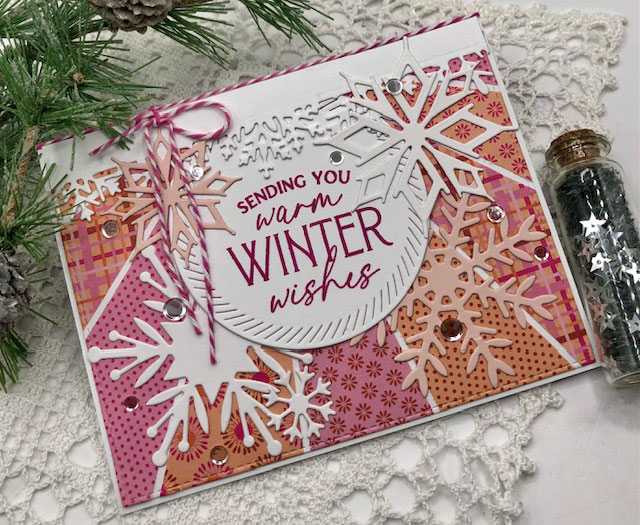
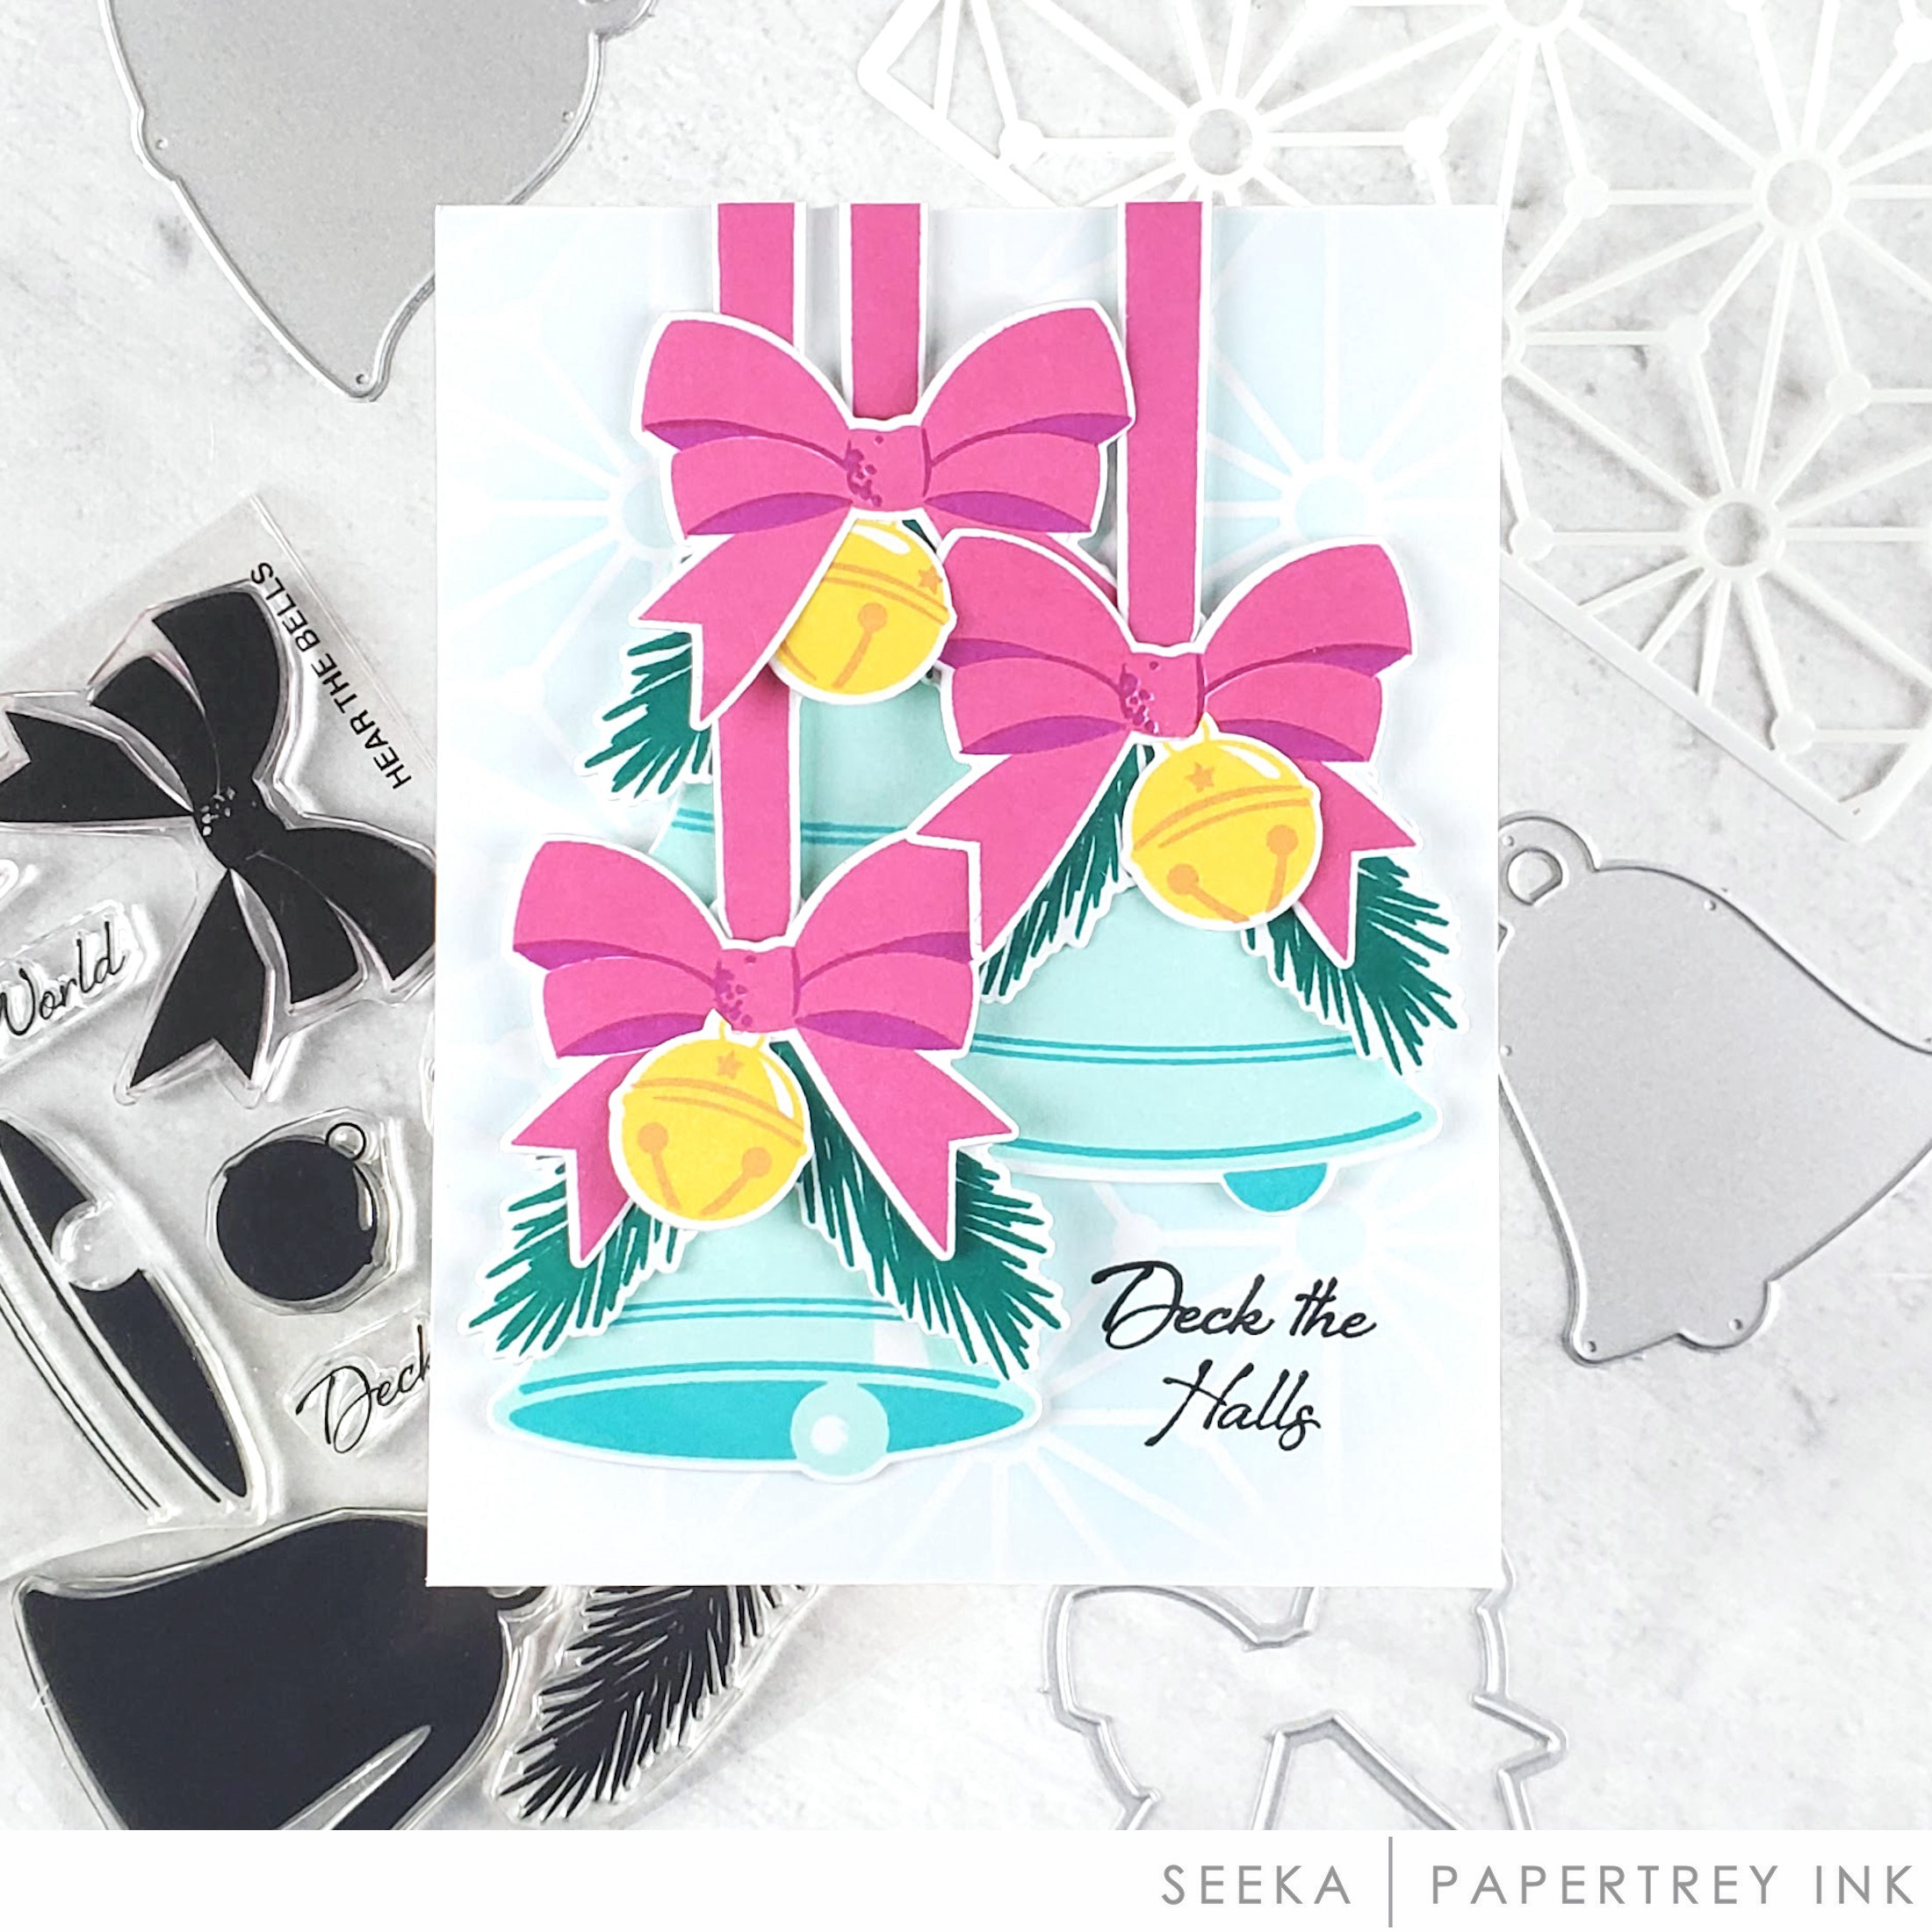
- Create a sunburst pattern in the background using coordinating colors.
- Add texture with twine and moonshine sequins.
- Think outside the box with non-traditional colors such as Raspberry Fizz and Melon Berry.

TIPS:
-
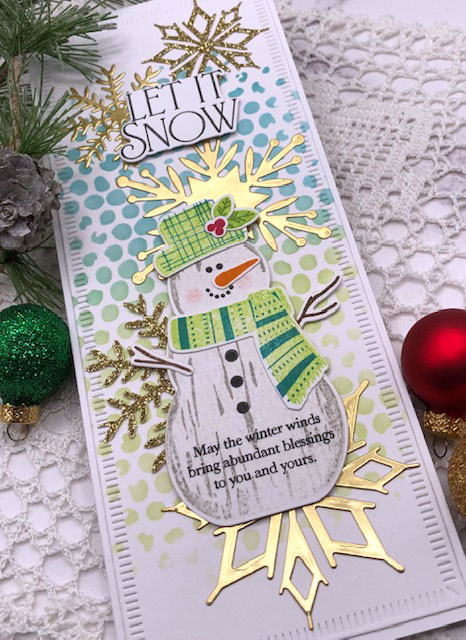
Carry out the snow theme with a variety of sizes and paper textures in the snowflakes.
-
Pop up the snowman and sentiment with foam tape to add dimension.
-
Stencil a dotted background to mimic snowfall.

TIPS:
-
For layered stamps, use the same color multiple times to create a darker shadeCreate the look of an embroidered tablecloth with a scalloped border and stitched cover plate die

TIPS:
-
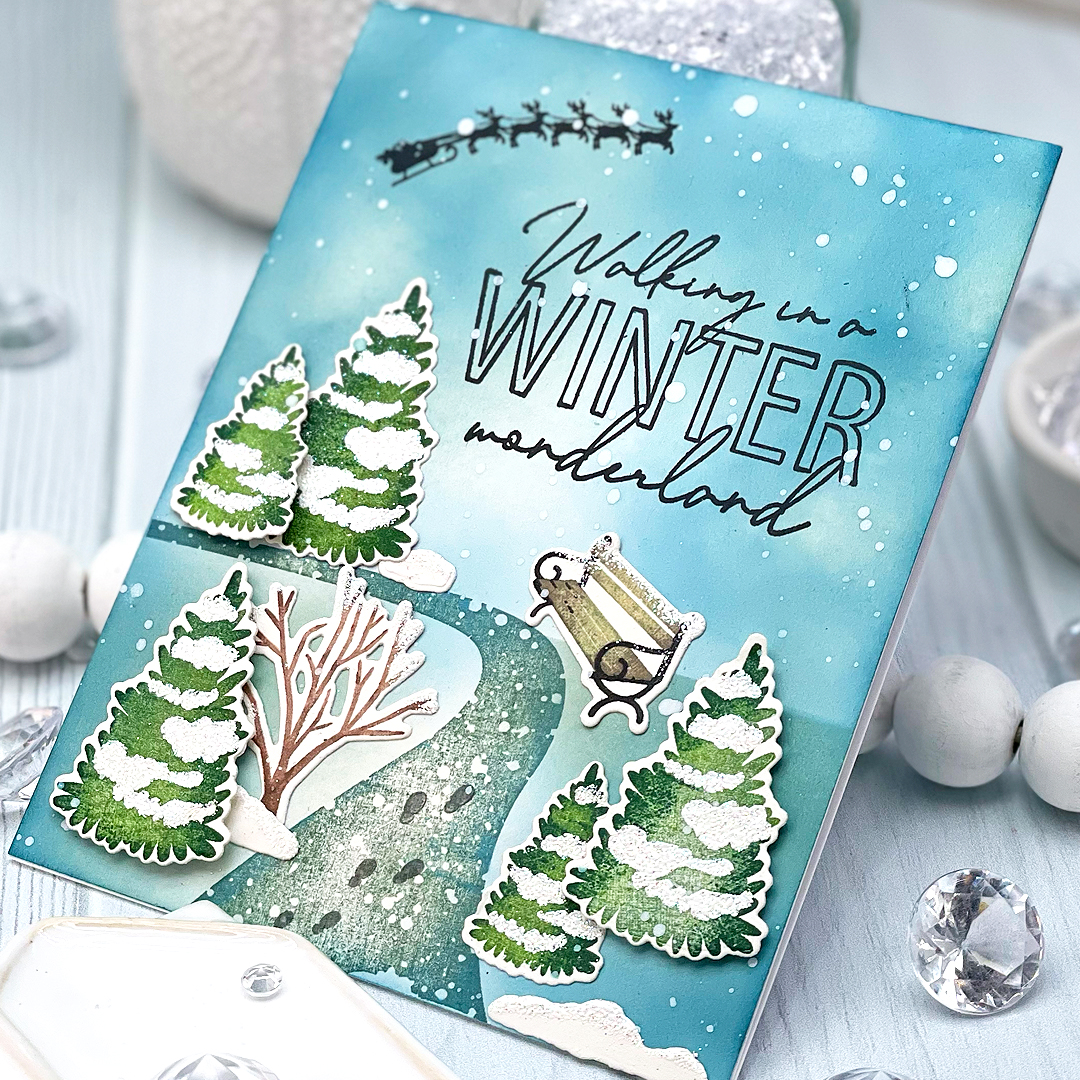
Use glitter embossing powder to add “snow” to scenes.
-
Stamp images with multiple colors to create texture and depth.
-
Add a horizon line to your scene to make sure your images look grounded.
We hope you have enjoyed all the beautiful projects that we have shared with you today! We would love to hear what you think of everything we have introduced! Please leave a comment on this post to tell us what you like the most and why, and you will be eligible to win big!

Leave a comment today and you will be automatically entered to win a $50 Papertrey Ink gift certificate! You have until 10am ET, November 20th to leave your comment and be eligible to win. Only one comment per person please. One randomly selected winner will be posted on the November Release Winners Page by 11 PM ET on November 21st.


Leave a Reply