


Welcome to Day 1 of the October Countdown. Here at Papertrey Ink we love to bring you tons of variety. If you like more simple designs or something a little more challenging, we have you covered. Each of our newly released products can be used in so many ways to fit your particular style, we are excited to show you how they come to life!
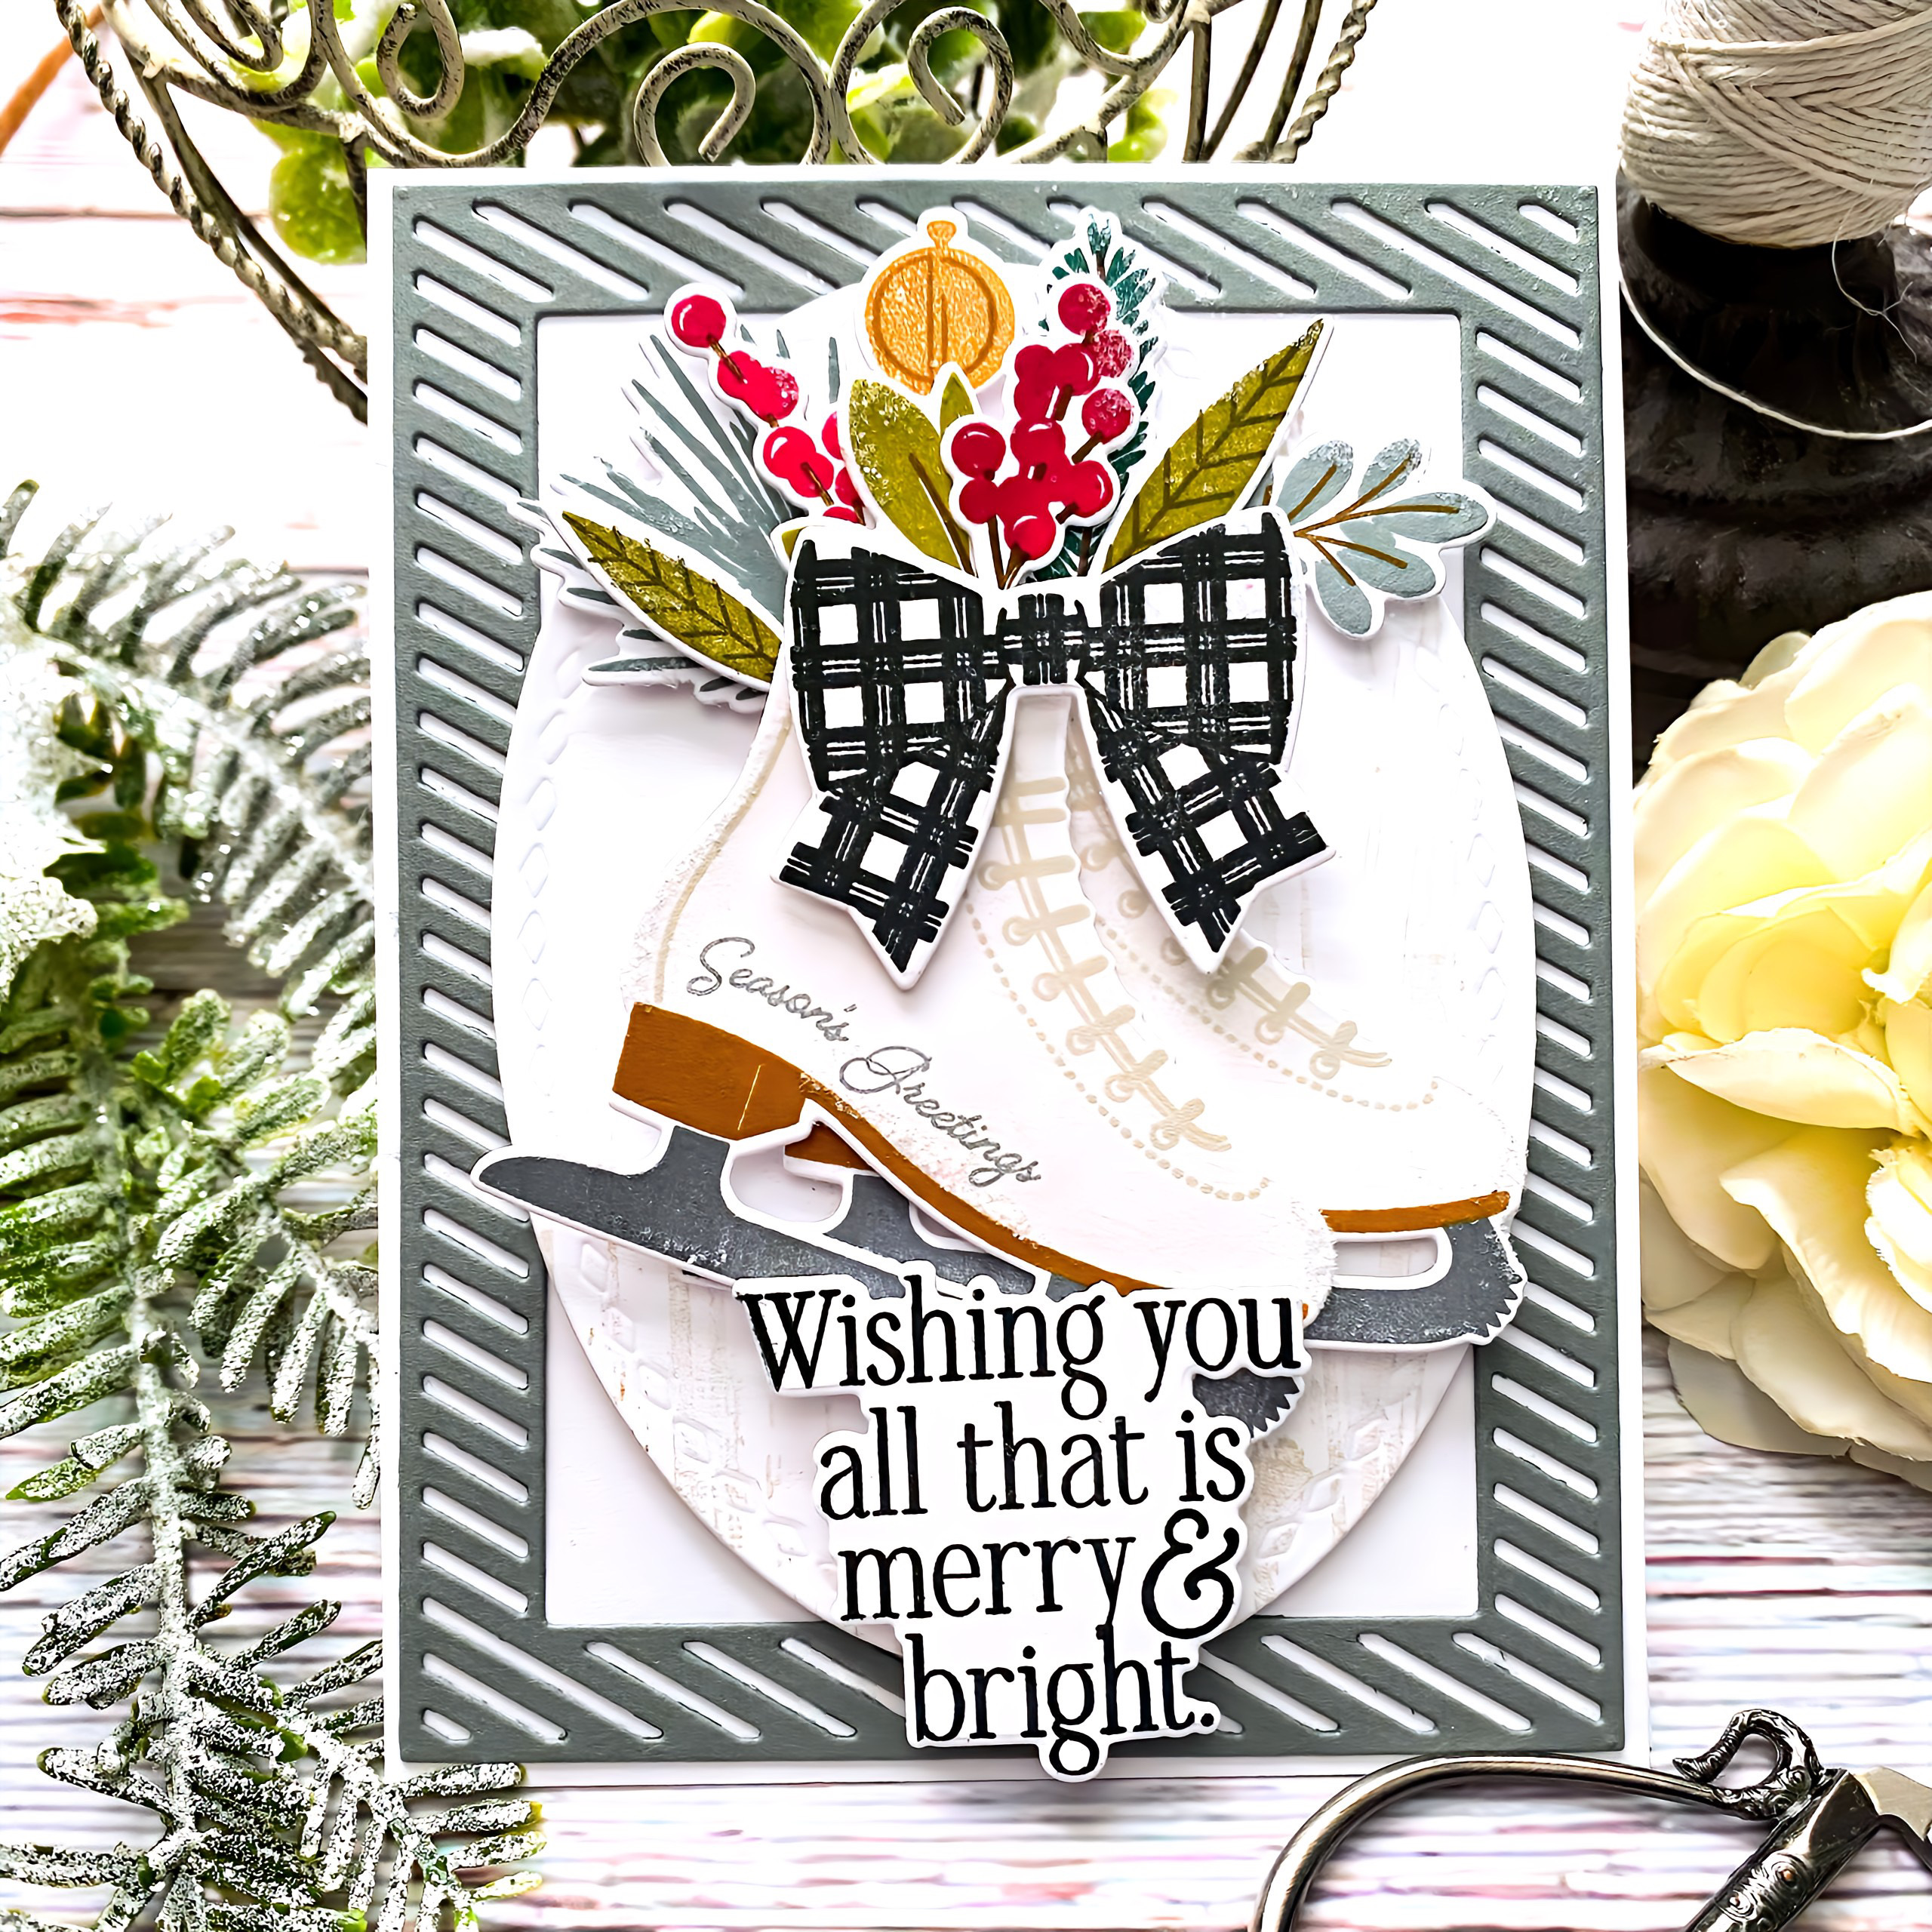
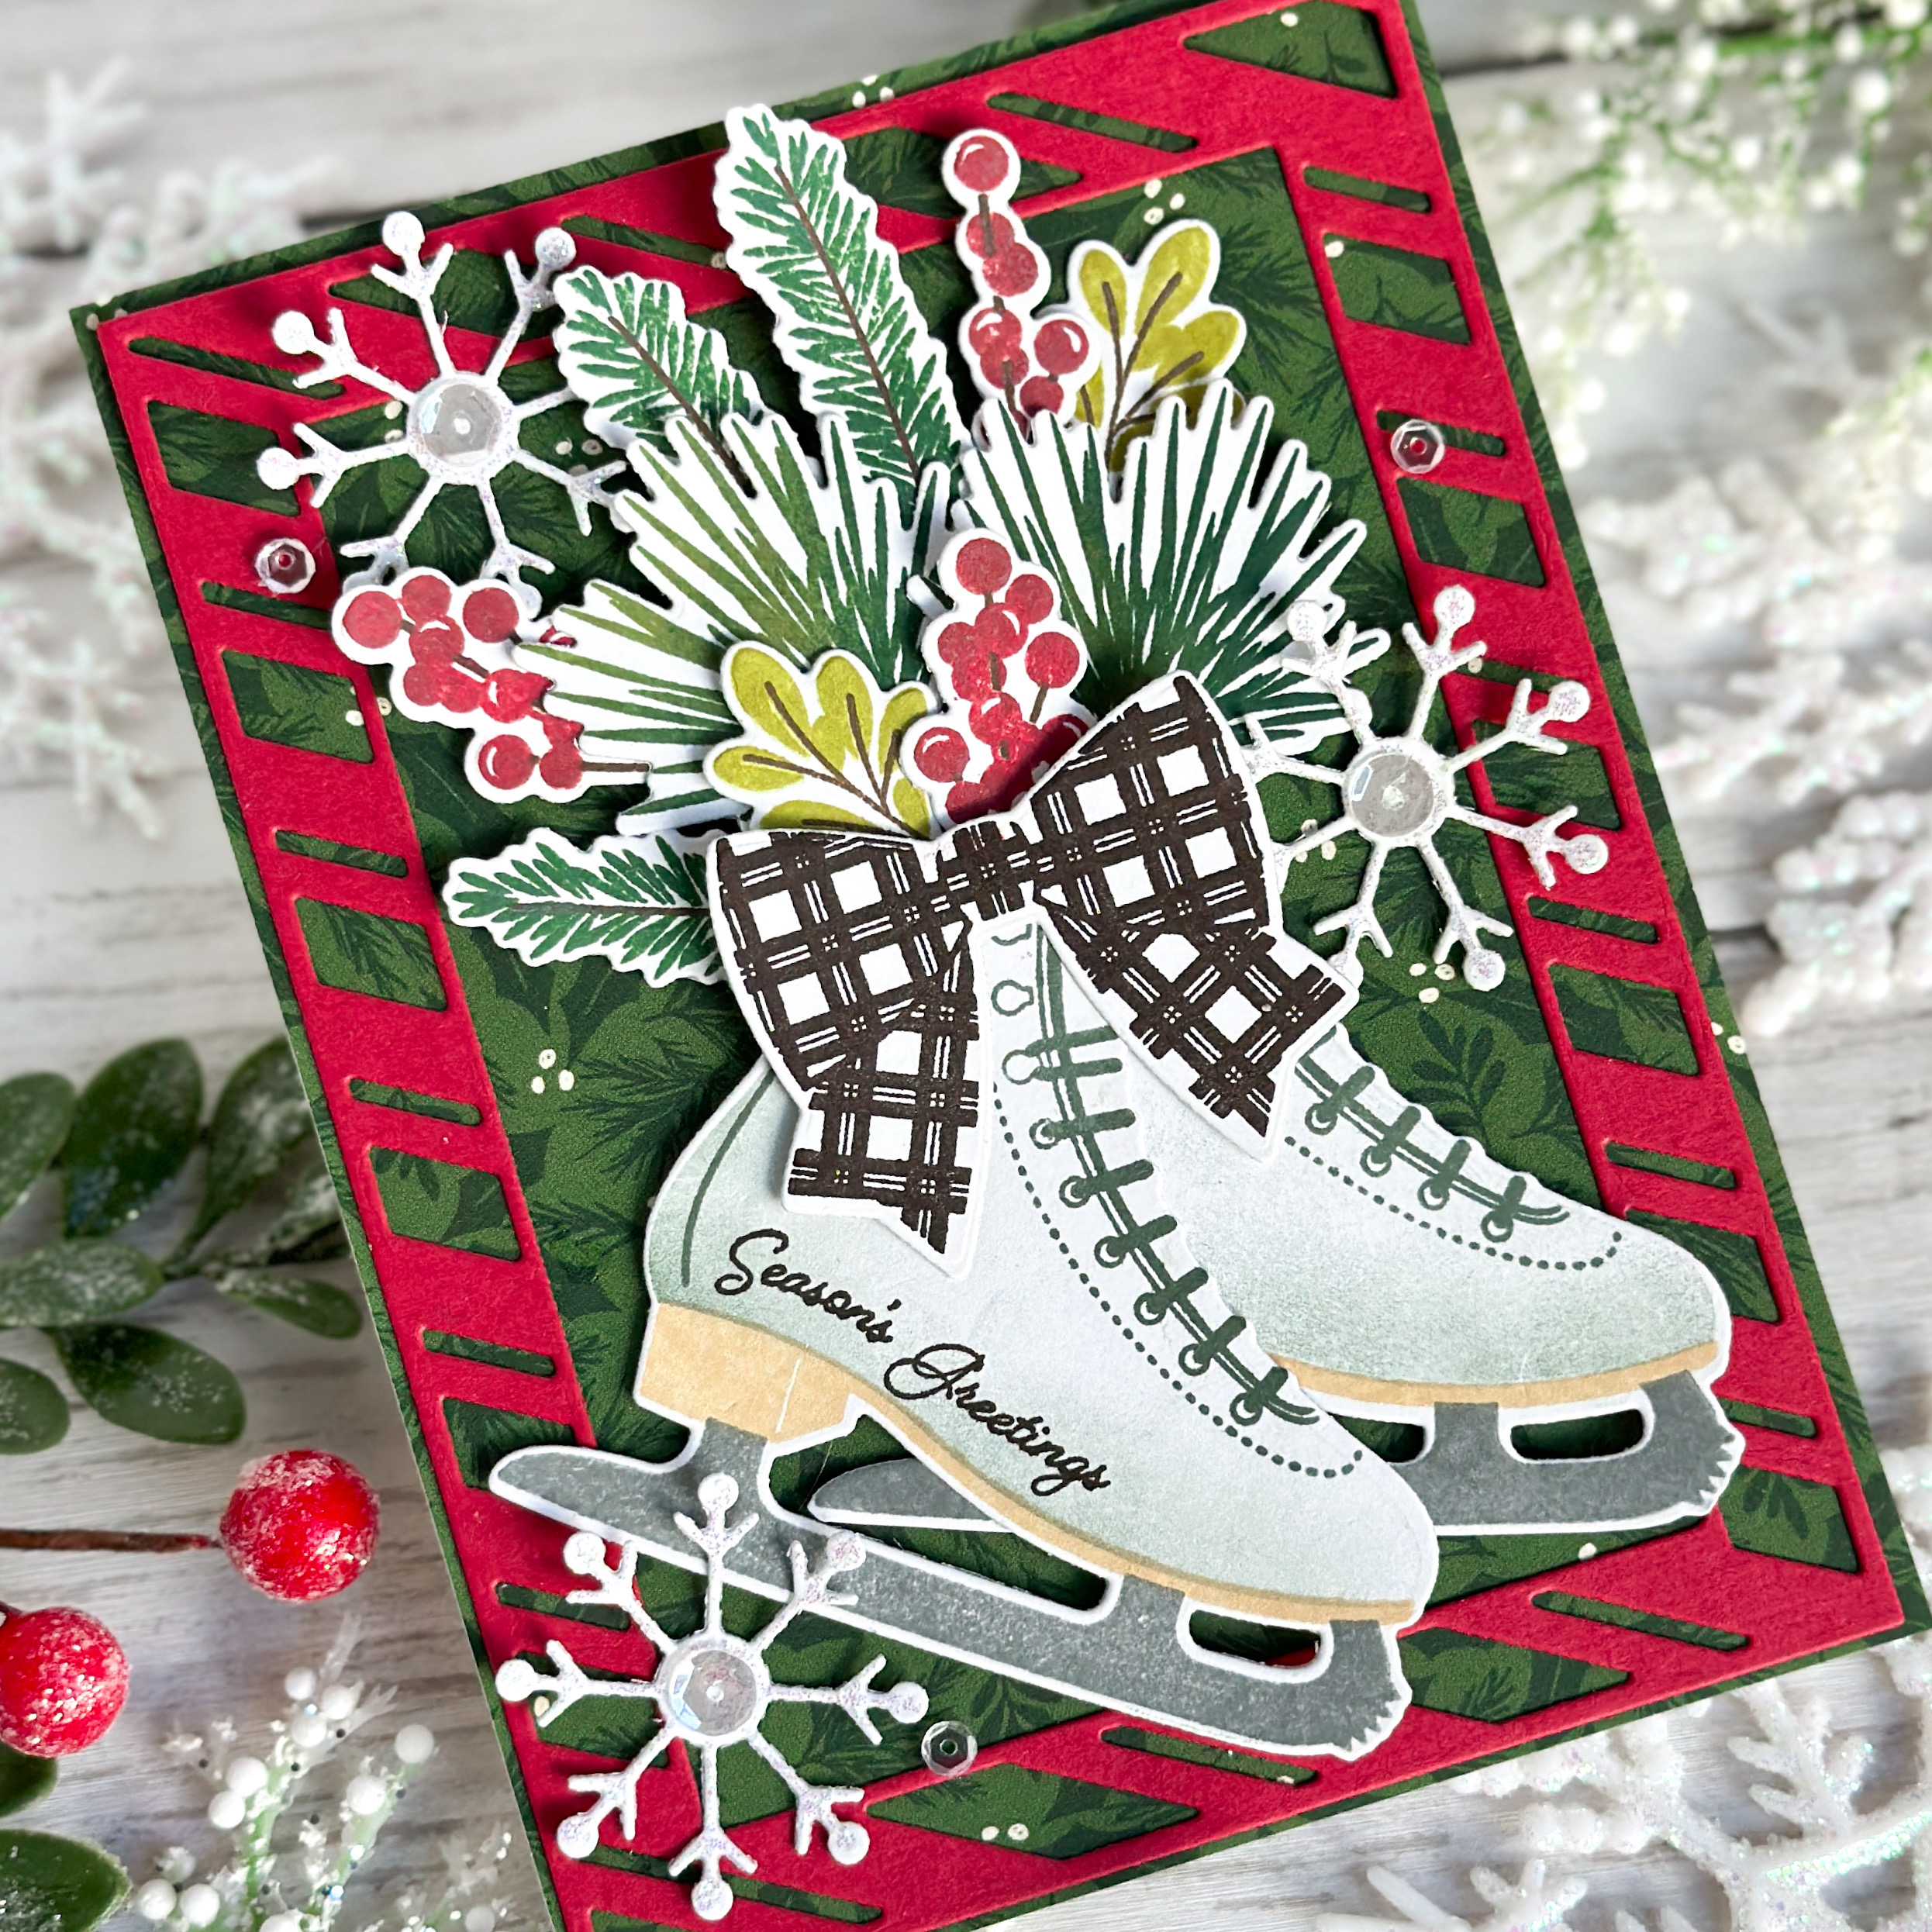
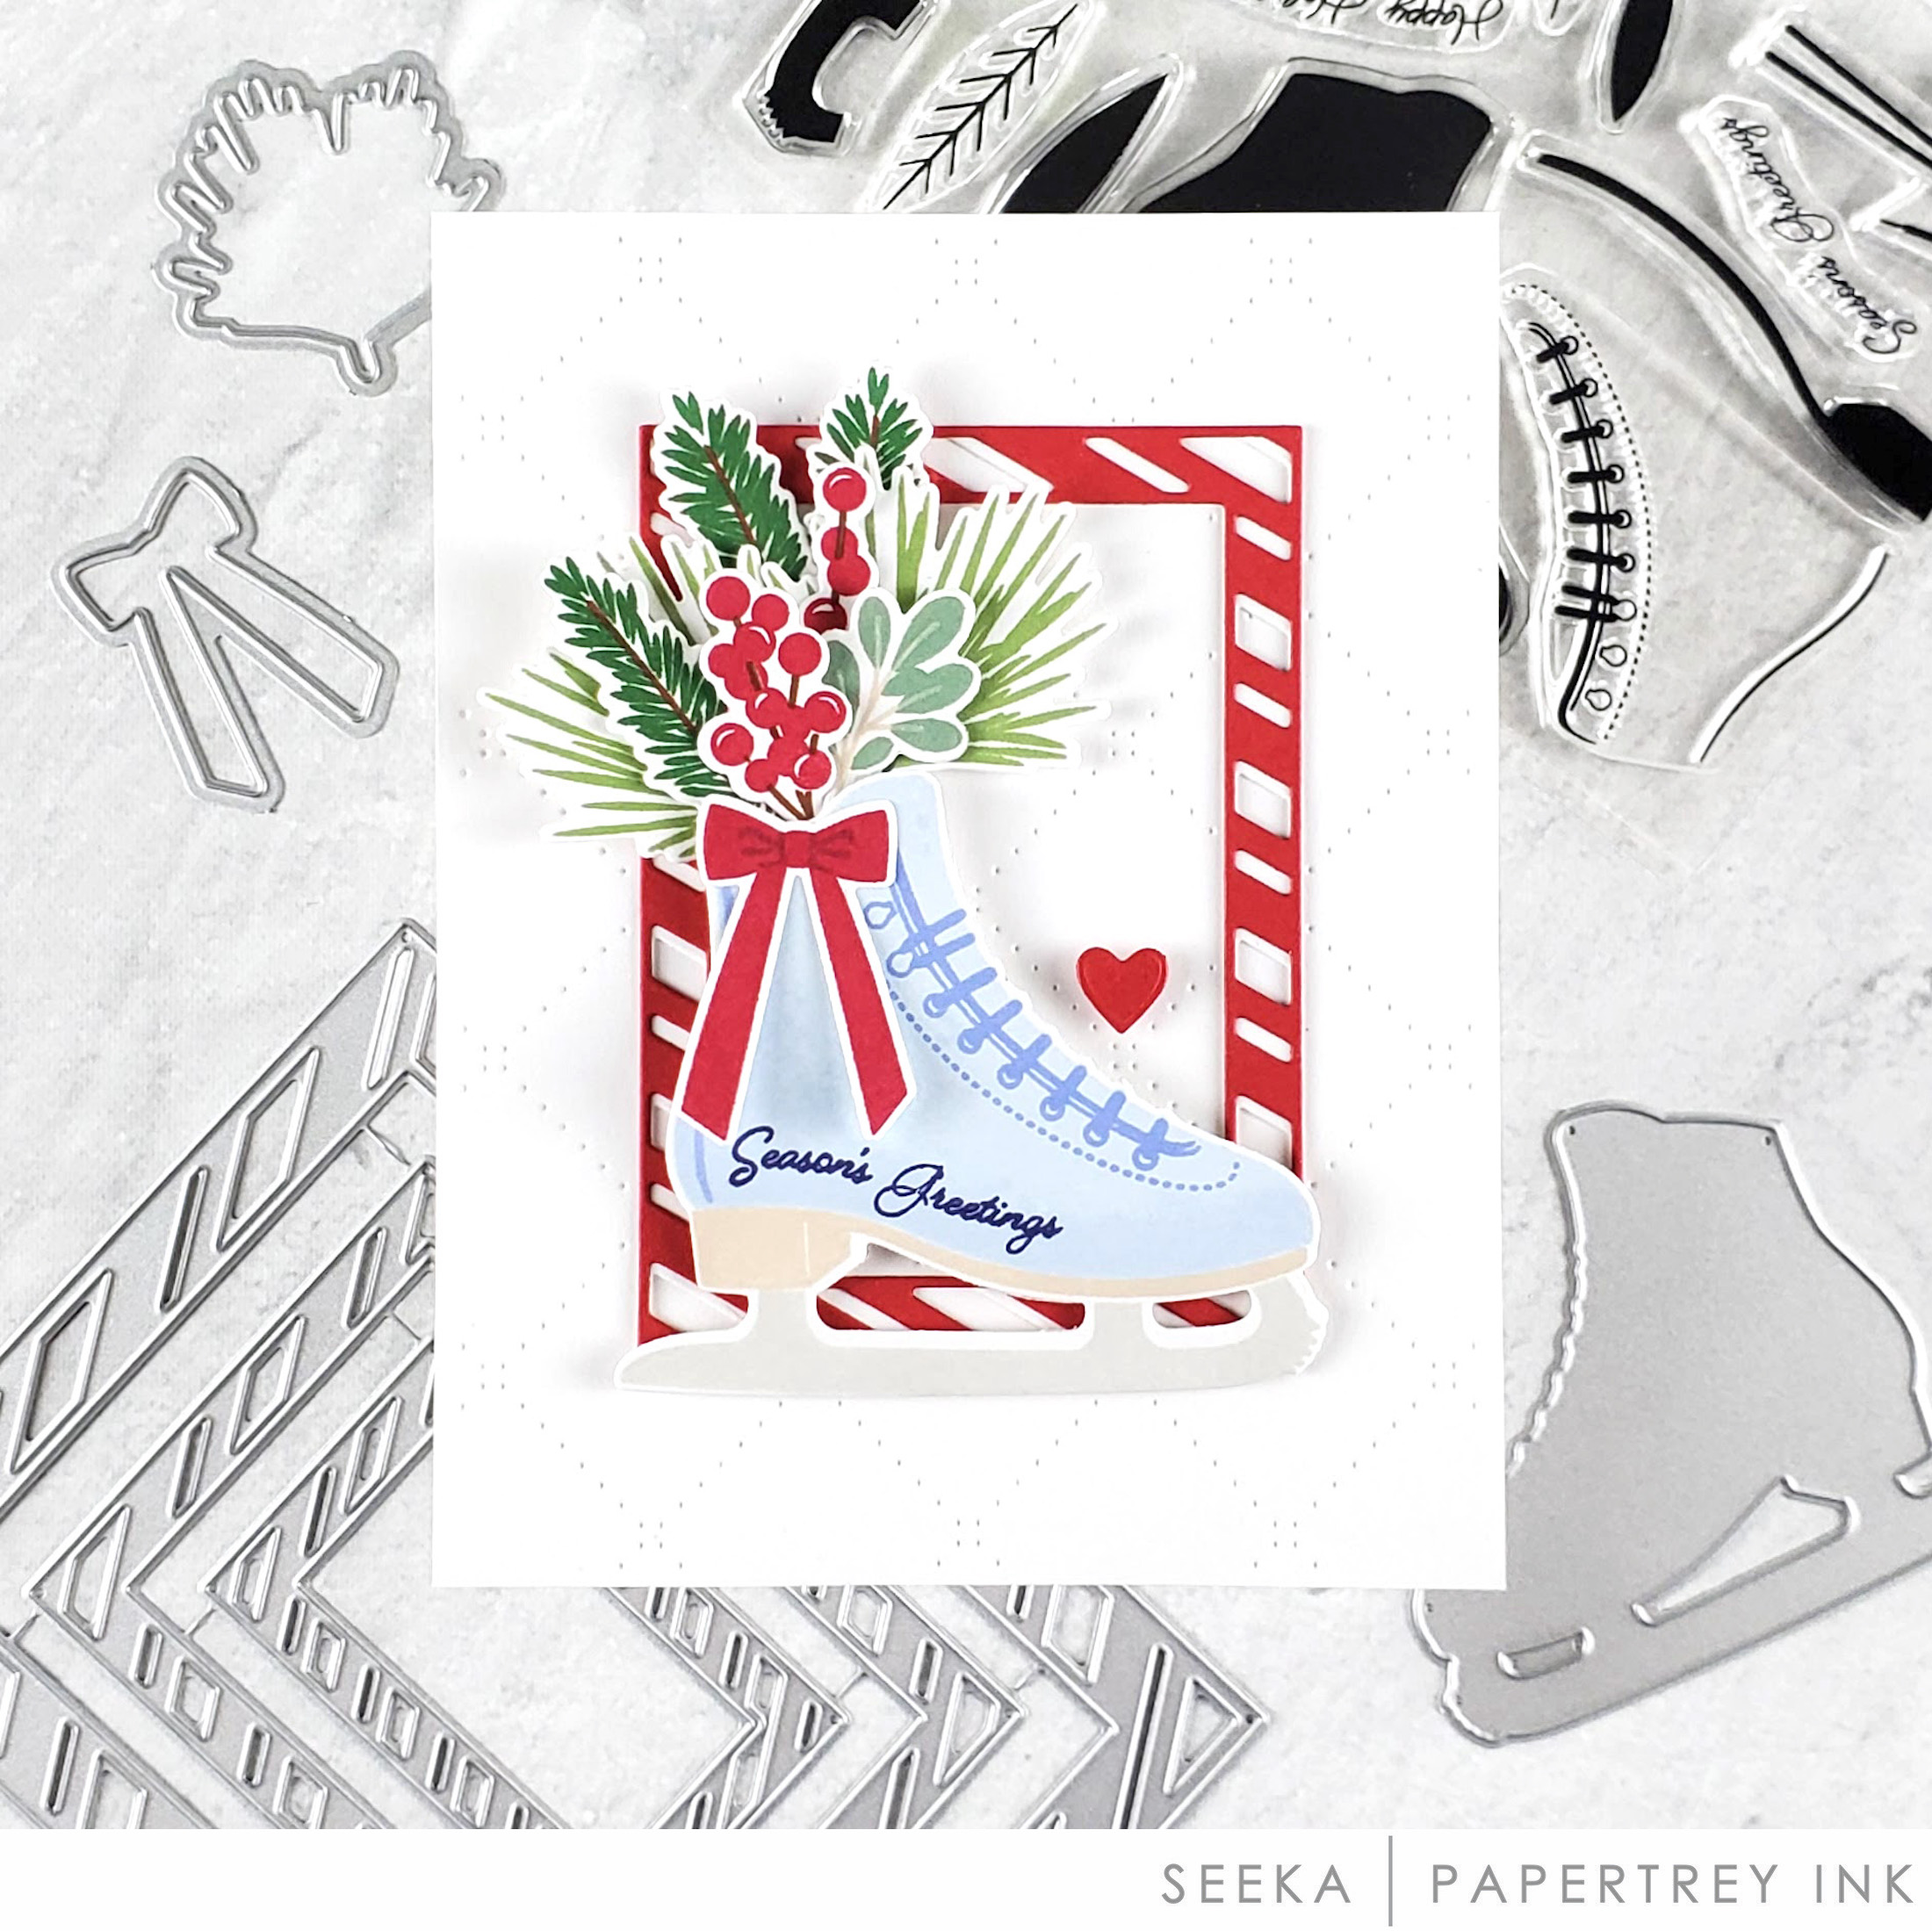
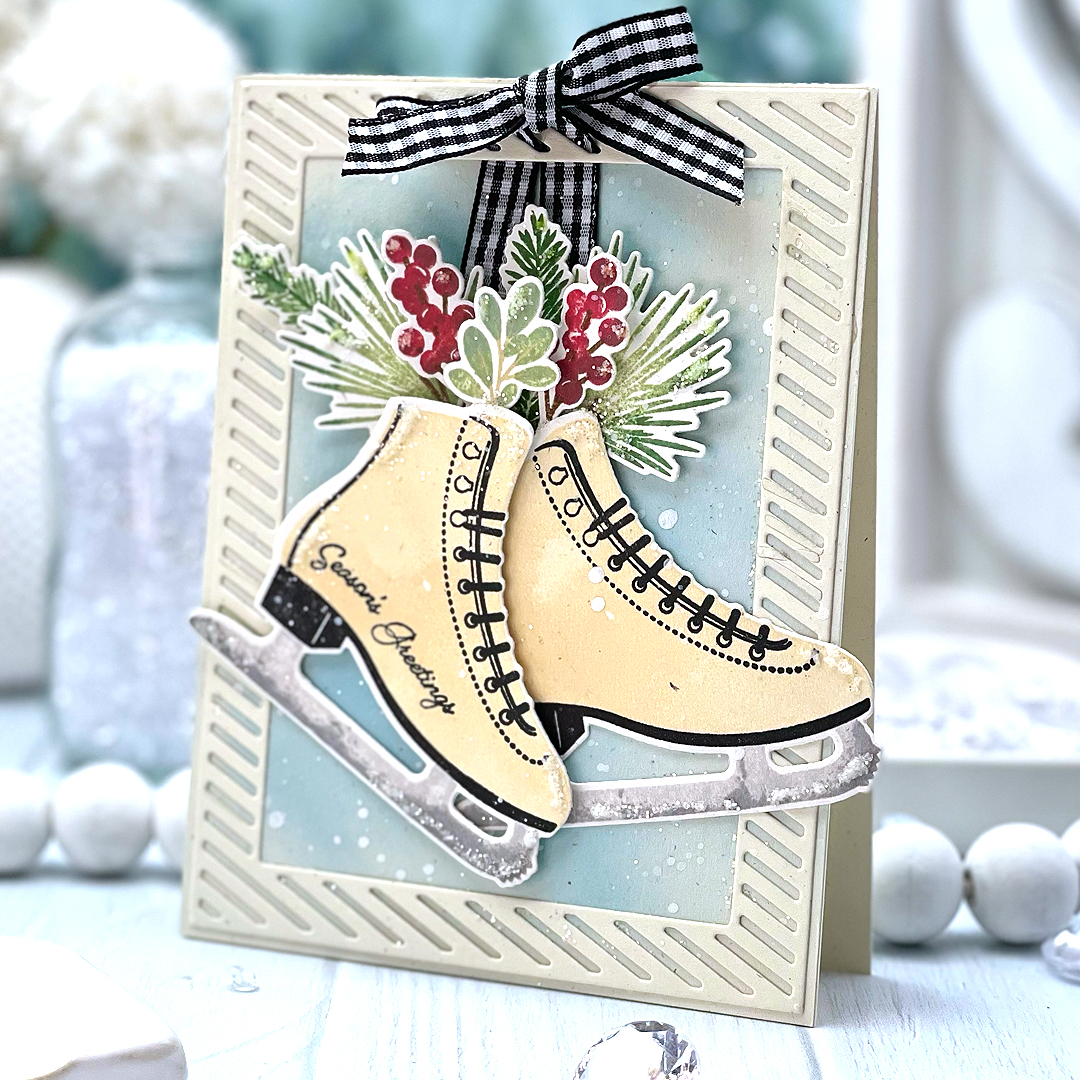
Hi, it’s Melissa, and I’m so excited to share our new products with you. We absolutely love bringing you the most amazing images made from the highest quality materials for you to add to your creative toolkit. I’m going to show you what I created with these wonderful products and then we’ll show you what the other designers made. The card below was created using the new Skate into the Holidays stamps and dies and Border Bling: Candy Cane Frames 1 and 2 dies.
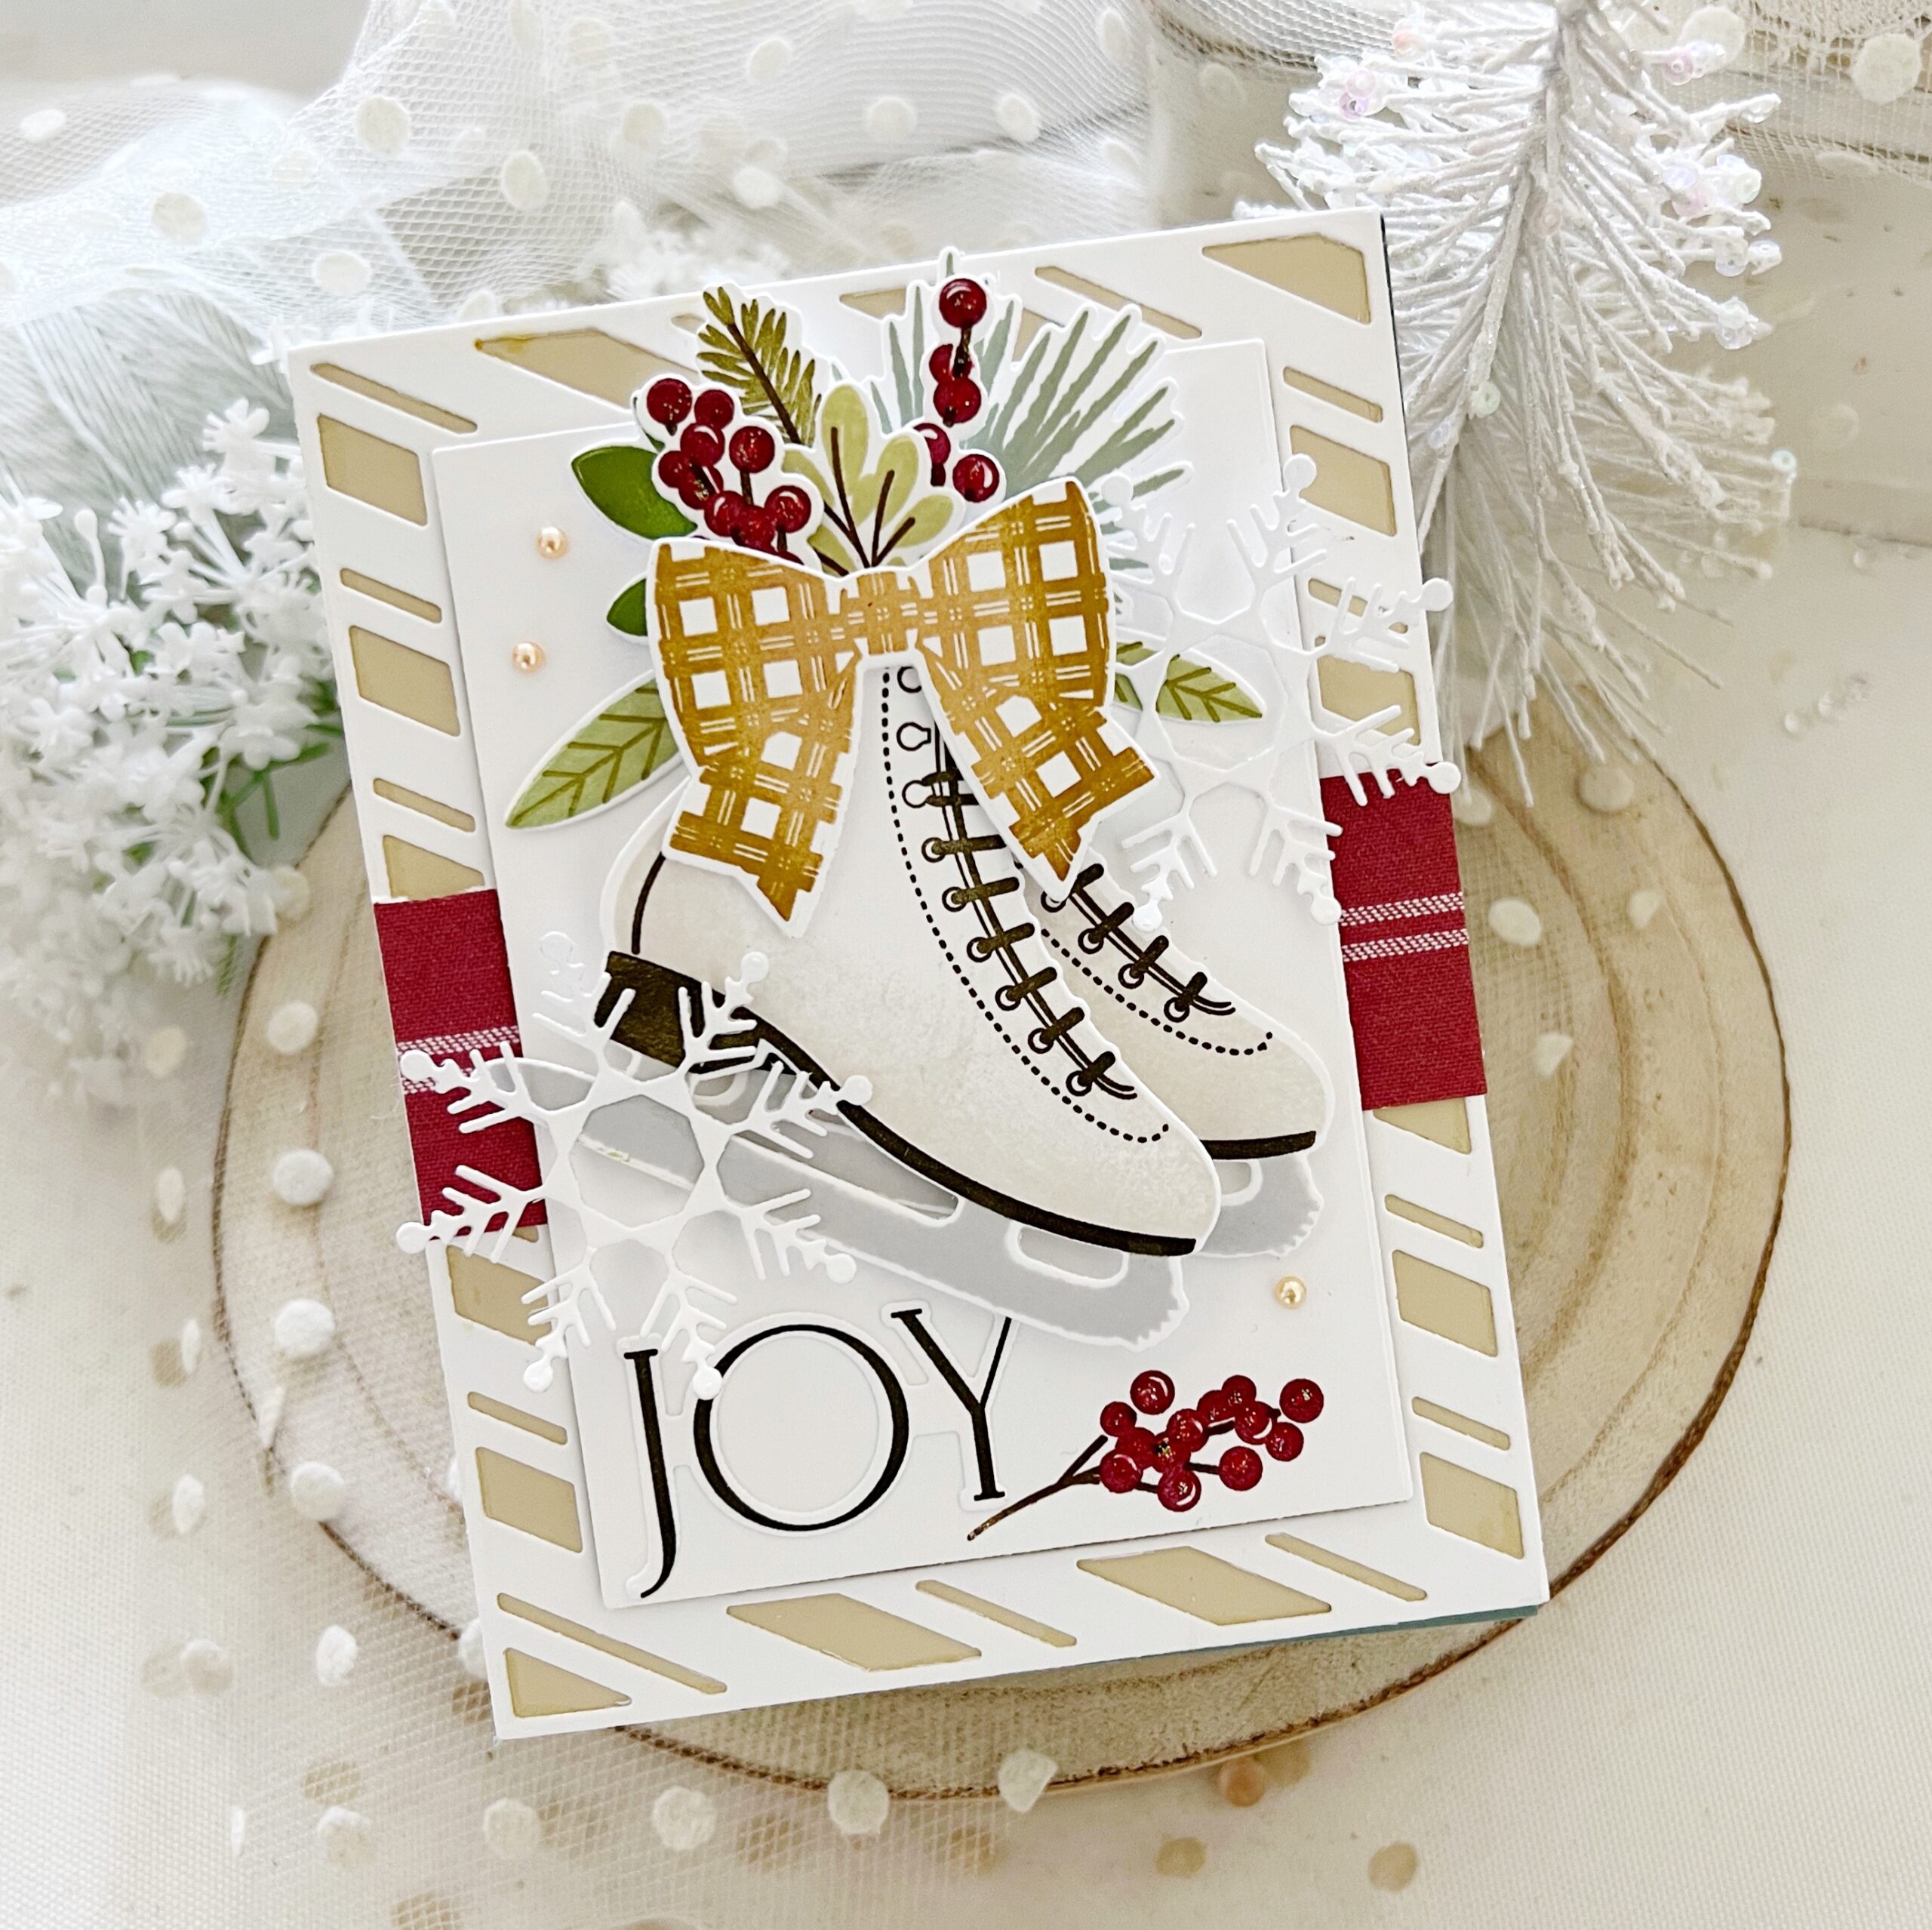
Ice skating and Christmas just seem to go together perfectly! I love the vintage theme and feel of the darling, new Skate into the Holidays stamp set.
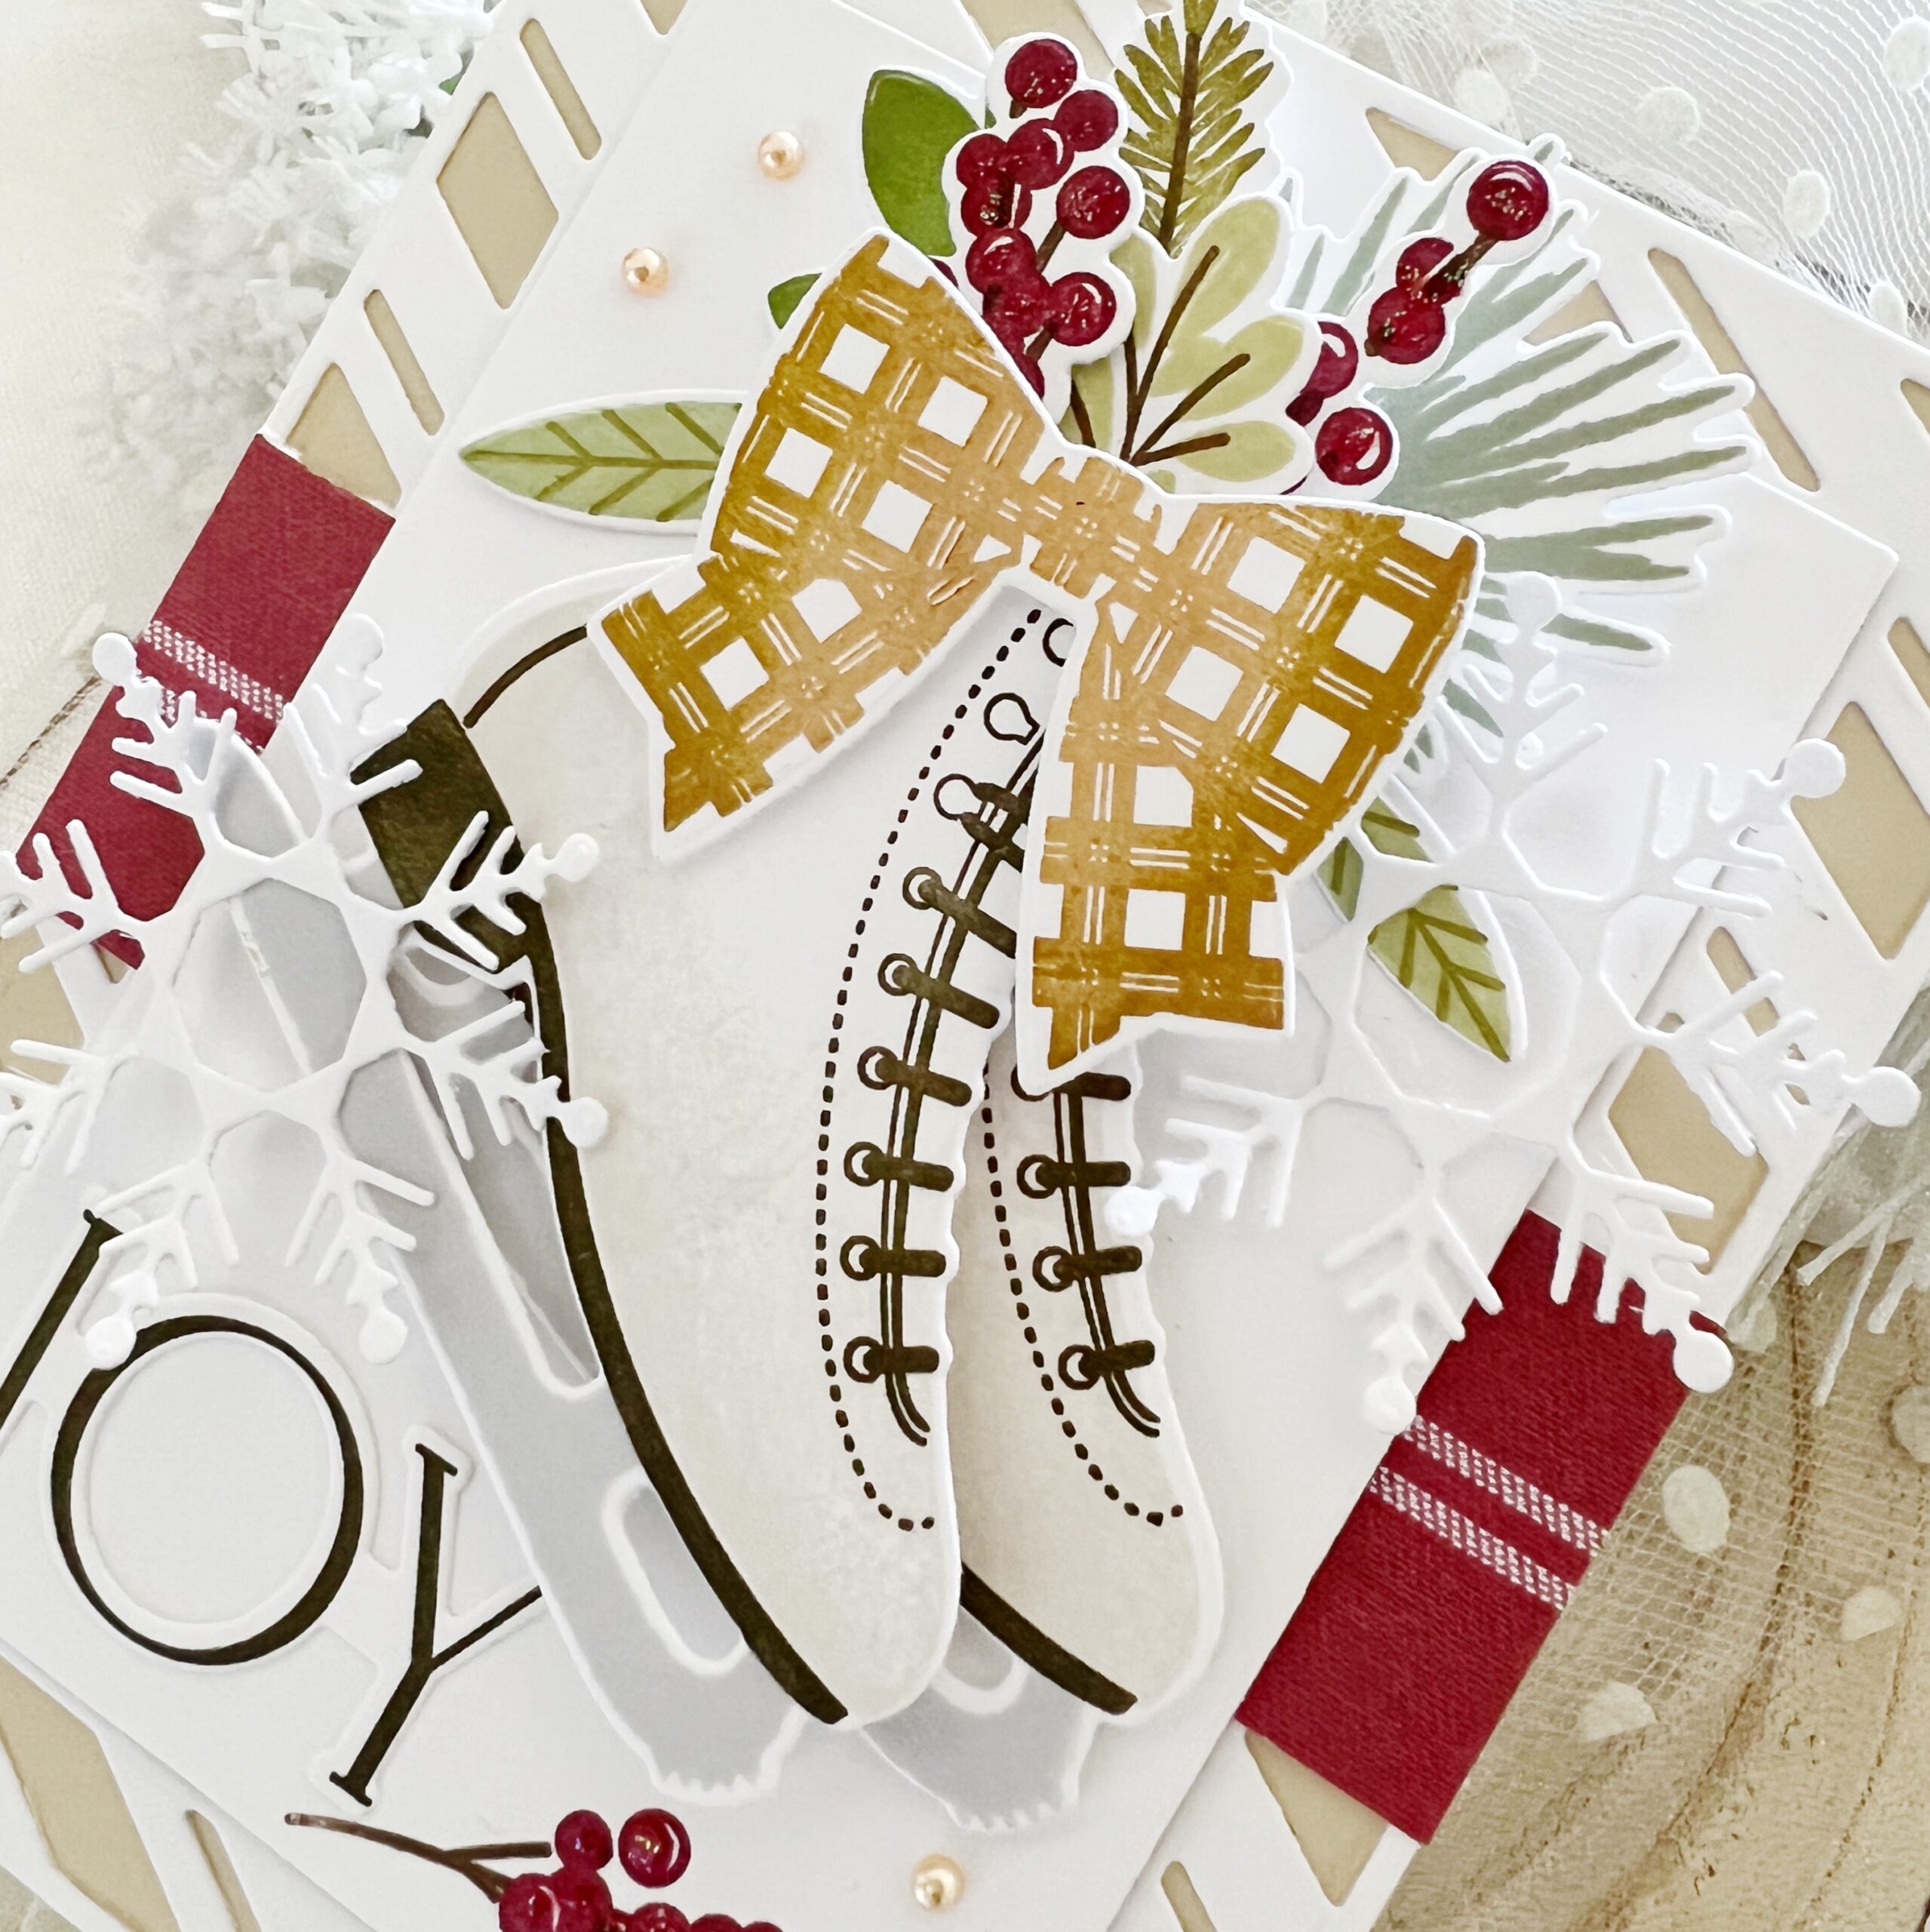
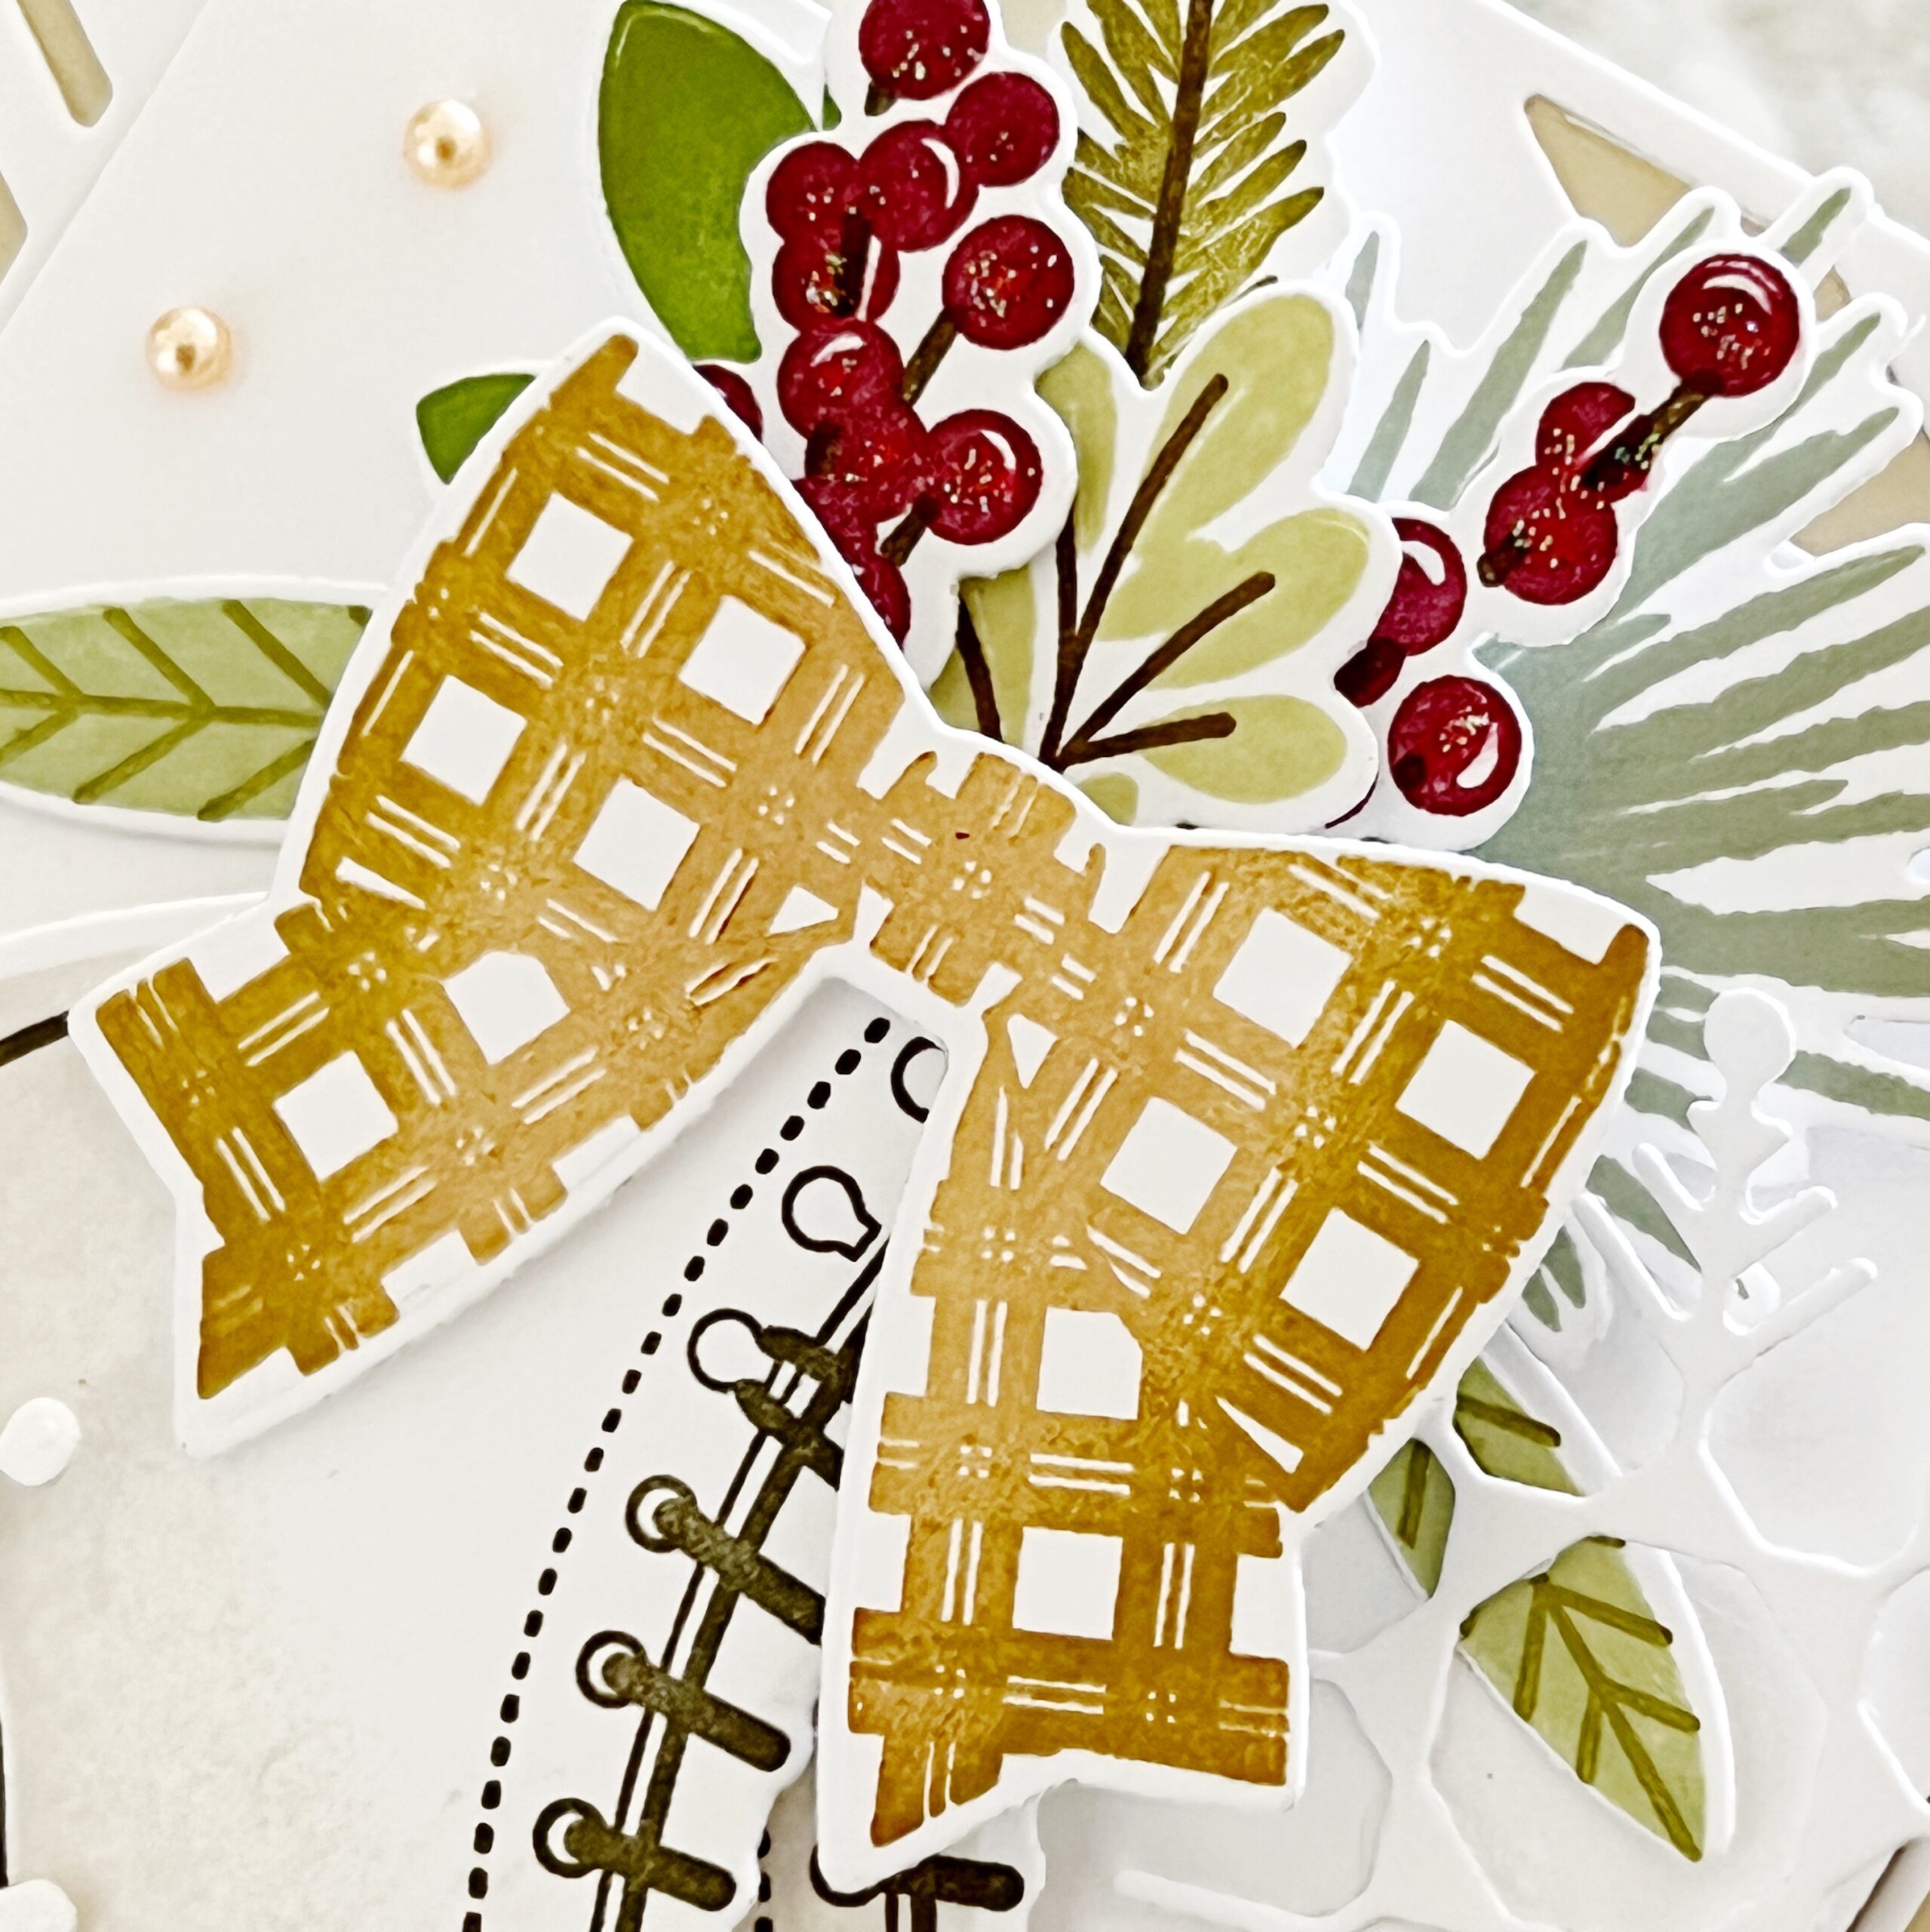
You’ll love dressing up your ice skates and selecting your color combination. I remember my mom having a pair of old white, leather ice skates when I was a girl, so I selected a very neutral, cream color for my skates. They look so beautiful, filled with greenery and berries, included in this stamp set.
Surrounding my ice skates, I used the new Border Bling: Candy Cane Frame, die cutting it from white cardstock and layering it over a kraft background. My sentiment comes from the new Christmas Your Way stamps and dies, which is pure heaven for the holidays!
Supply List:
STAMPS: Skate into the Holidays, Christmas Your Way
INK: Soft Stone, Olive Twist, Scarlet Jewell, Pine Feather, Spring Moss, Ripe Avocado, Fine Linen, Honey Nut
PAPER: Kraft, Stamper’s Select White
DIES: Skate into the Holidays, Border Bling: Candy Cane Frames, Christmas Your Way, Forever Snowflake Frame
OTHER: Patterned paper, Stickles glitter, adhesive pearls


TIPS:
- Use a rubber brayer to apply ink to background stamps for even coverage
- Use white puff embossing powder for a snowy look; add glitter as well to really let it glisten!
- Try something different and make a mini slimline sized card!

TIPS:
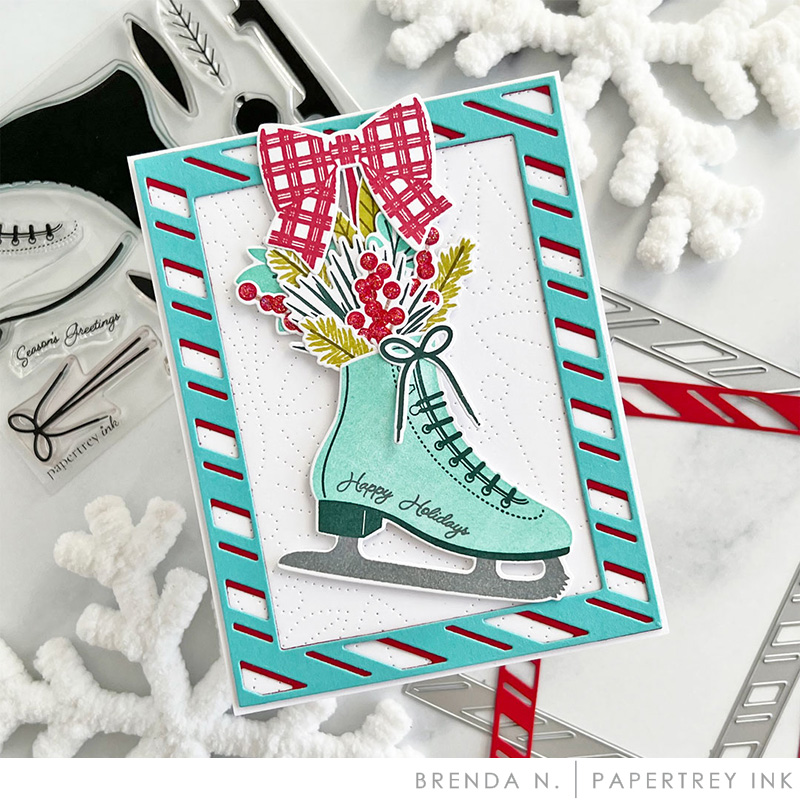
- Stamp your skate from the bottom to the top for ease and perfect placement.
- To achieve a realistic looking “white” skate, use Soft Stone ink for both steps of the boot; stamp it off once for the base layer and full strength for the details.
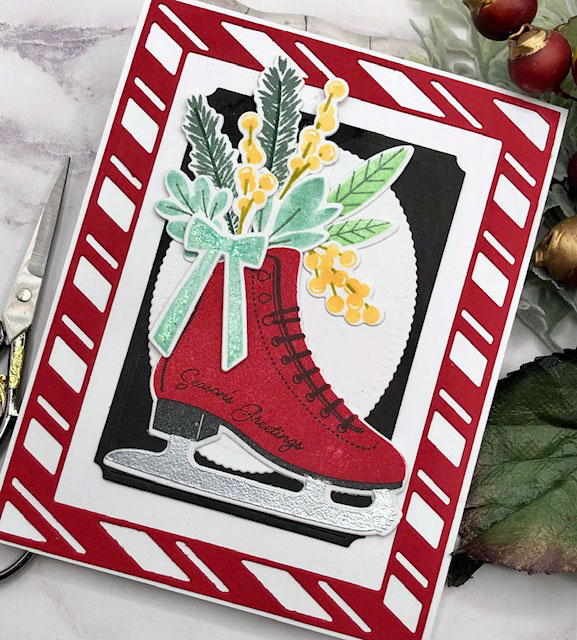
TIPS:
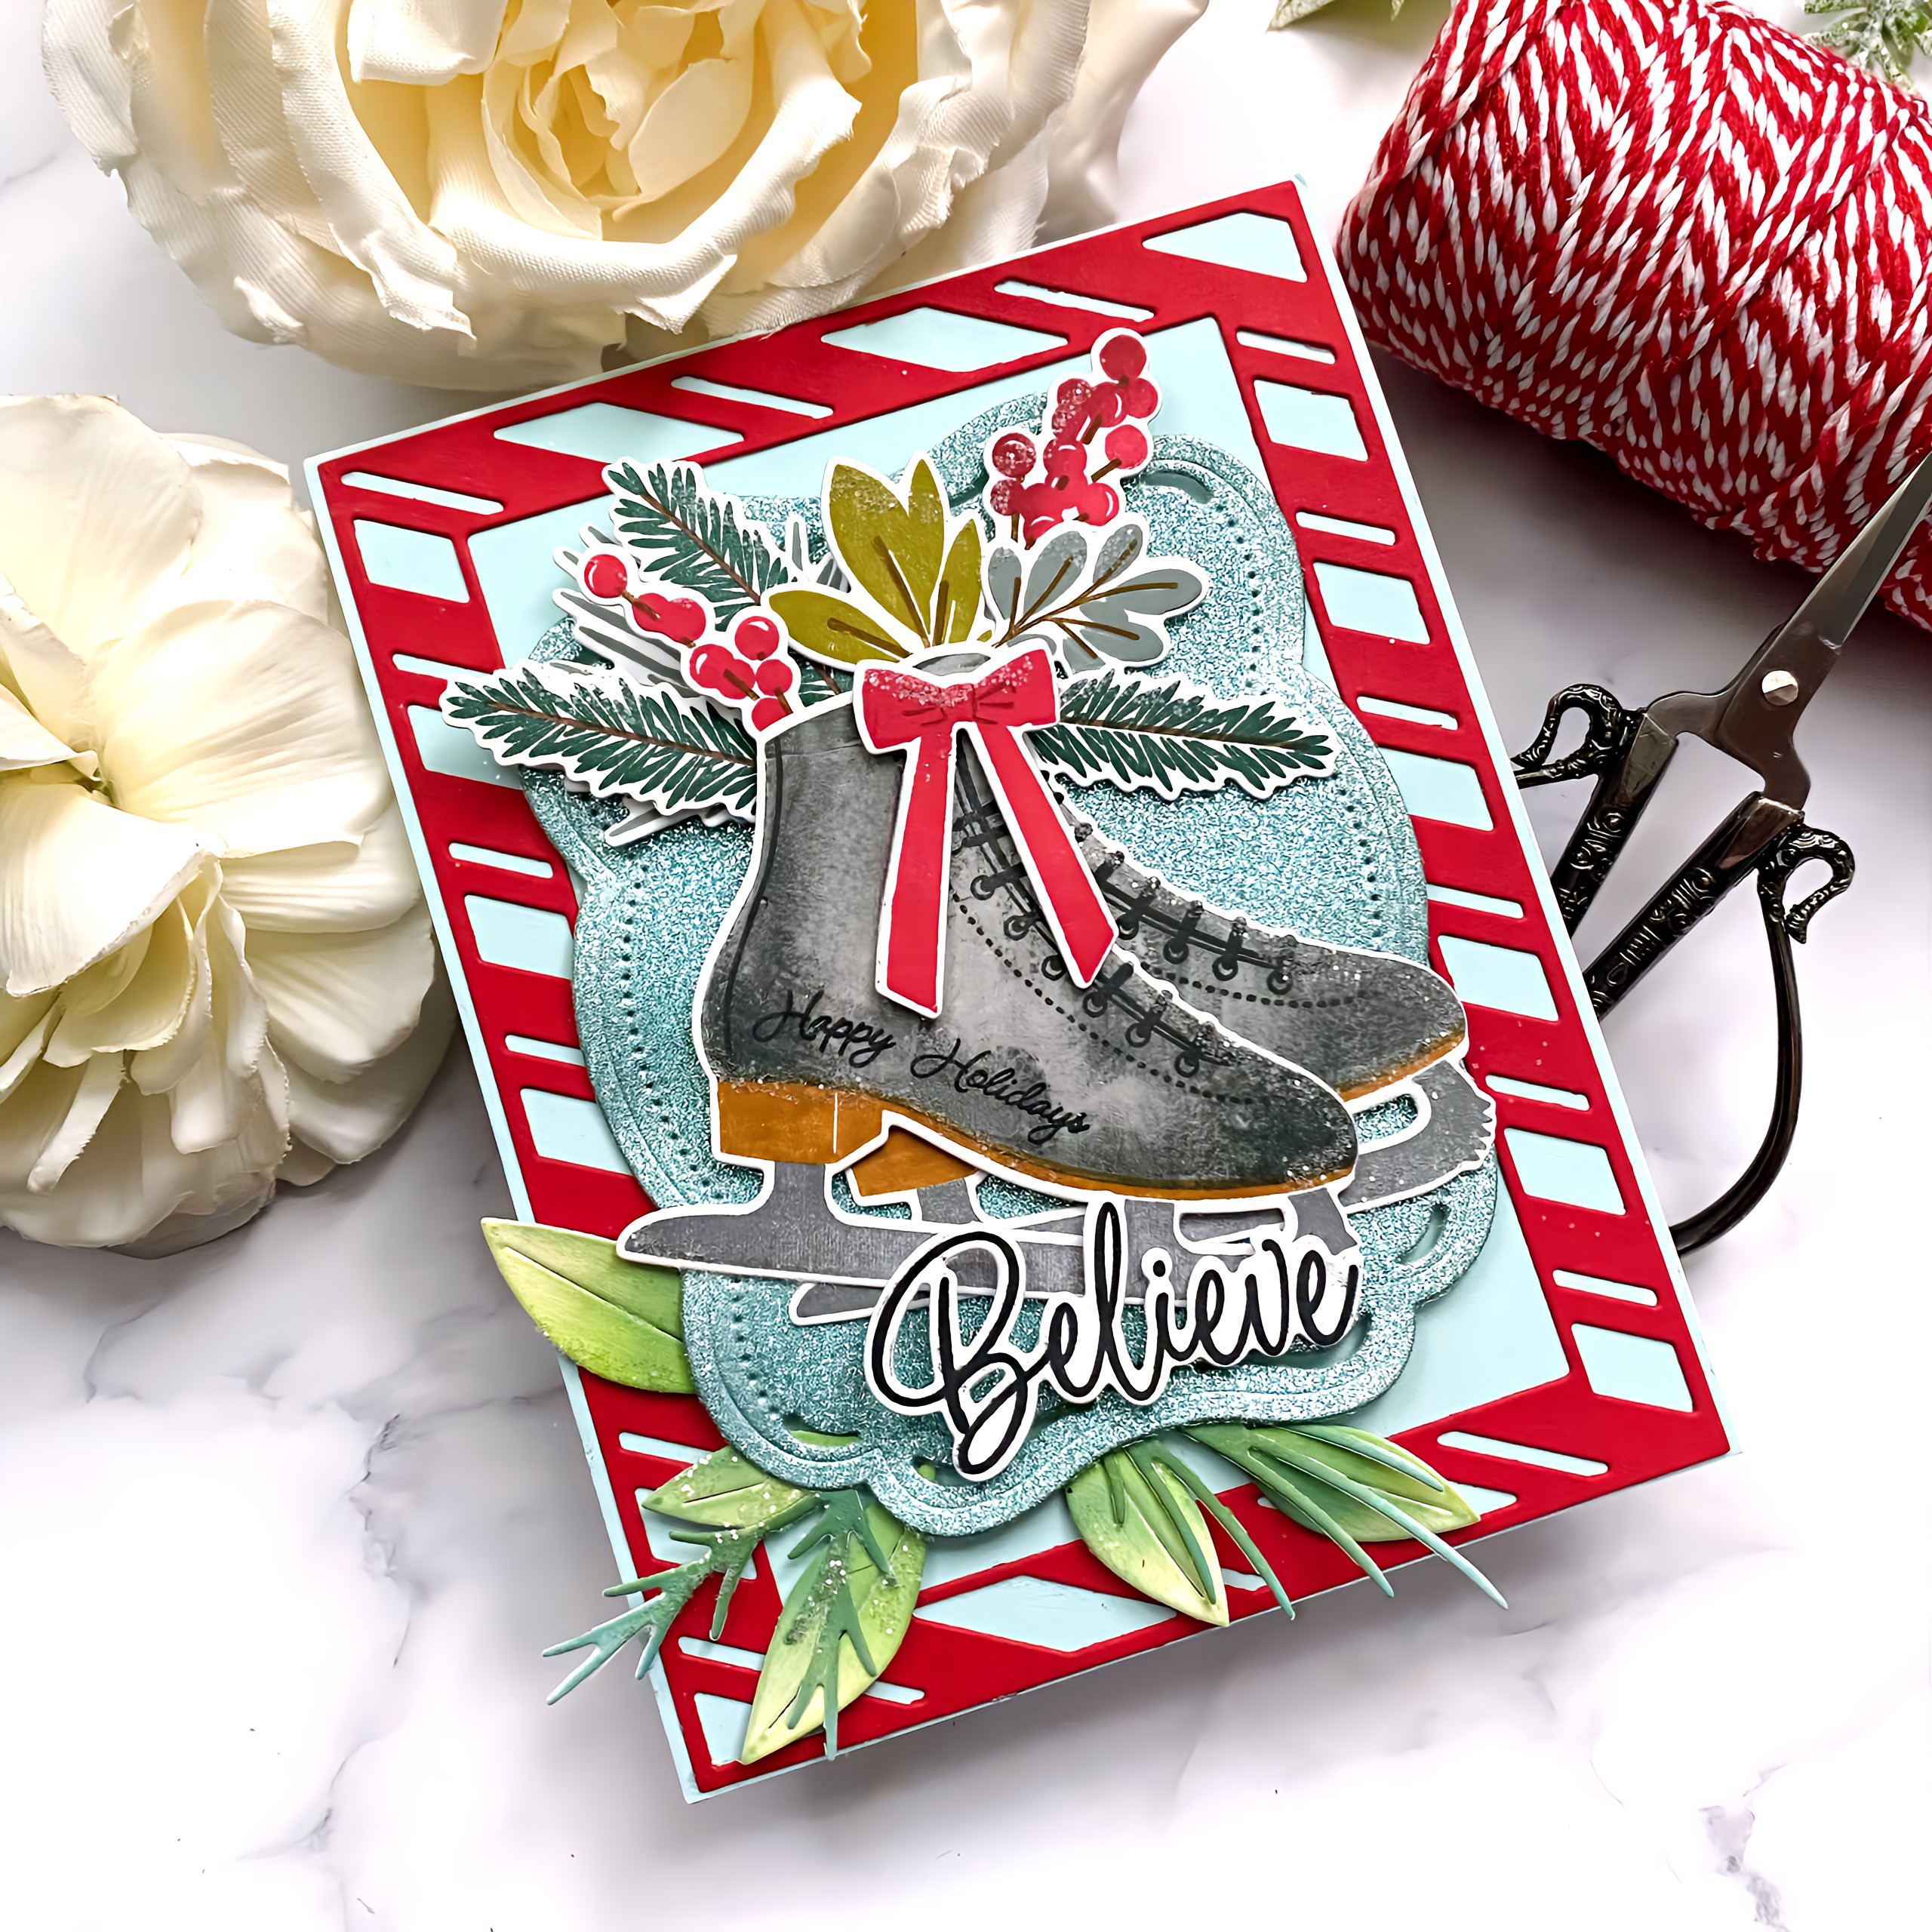
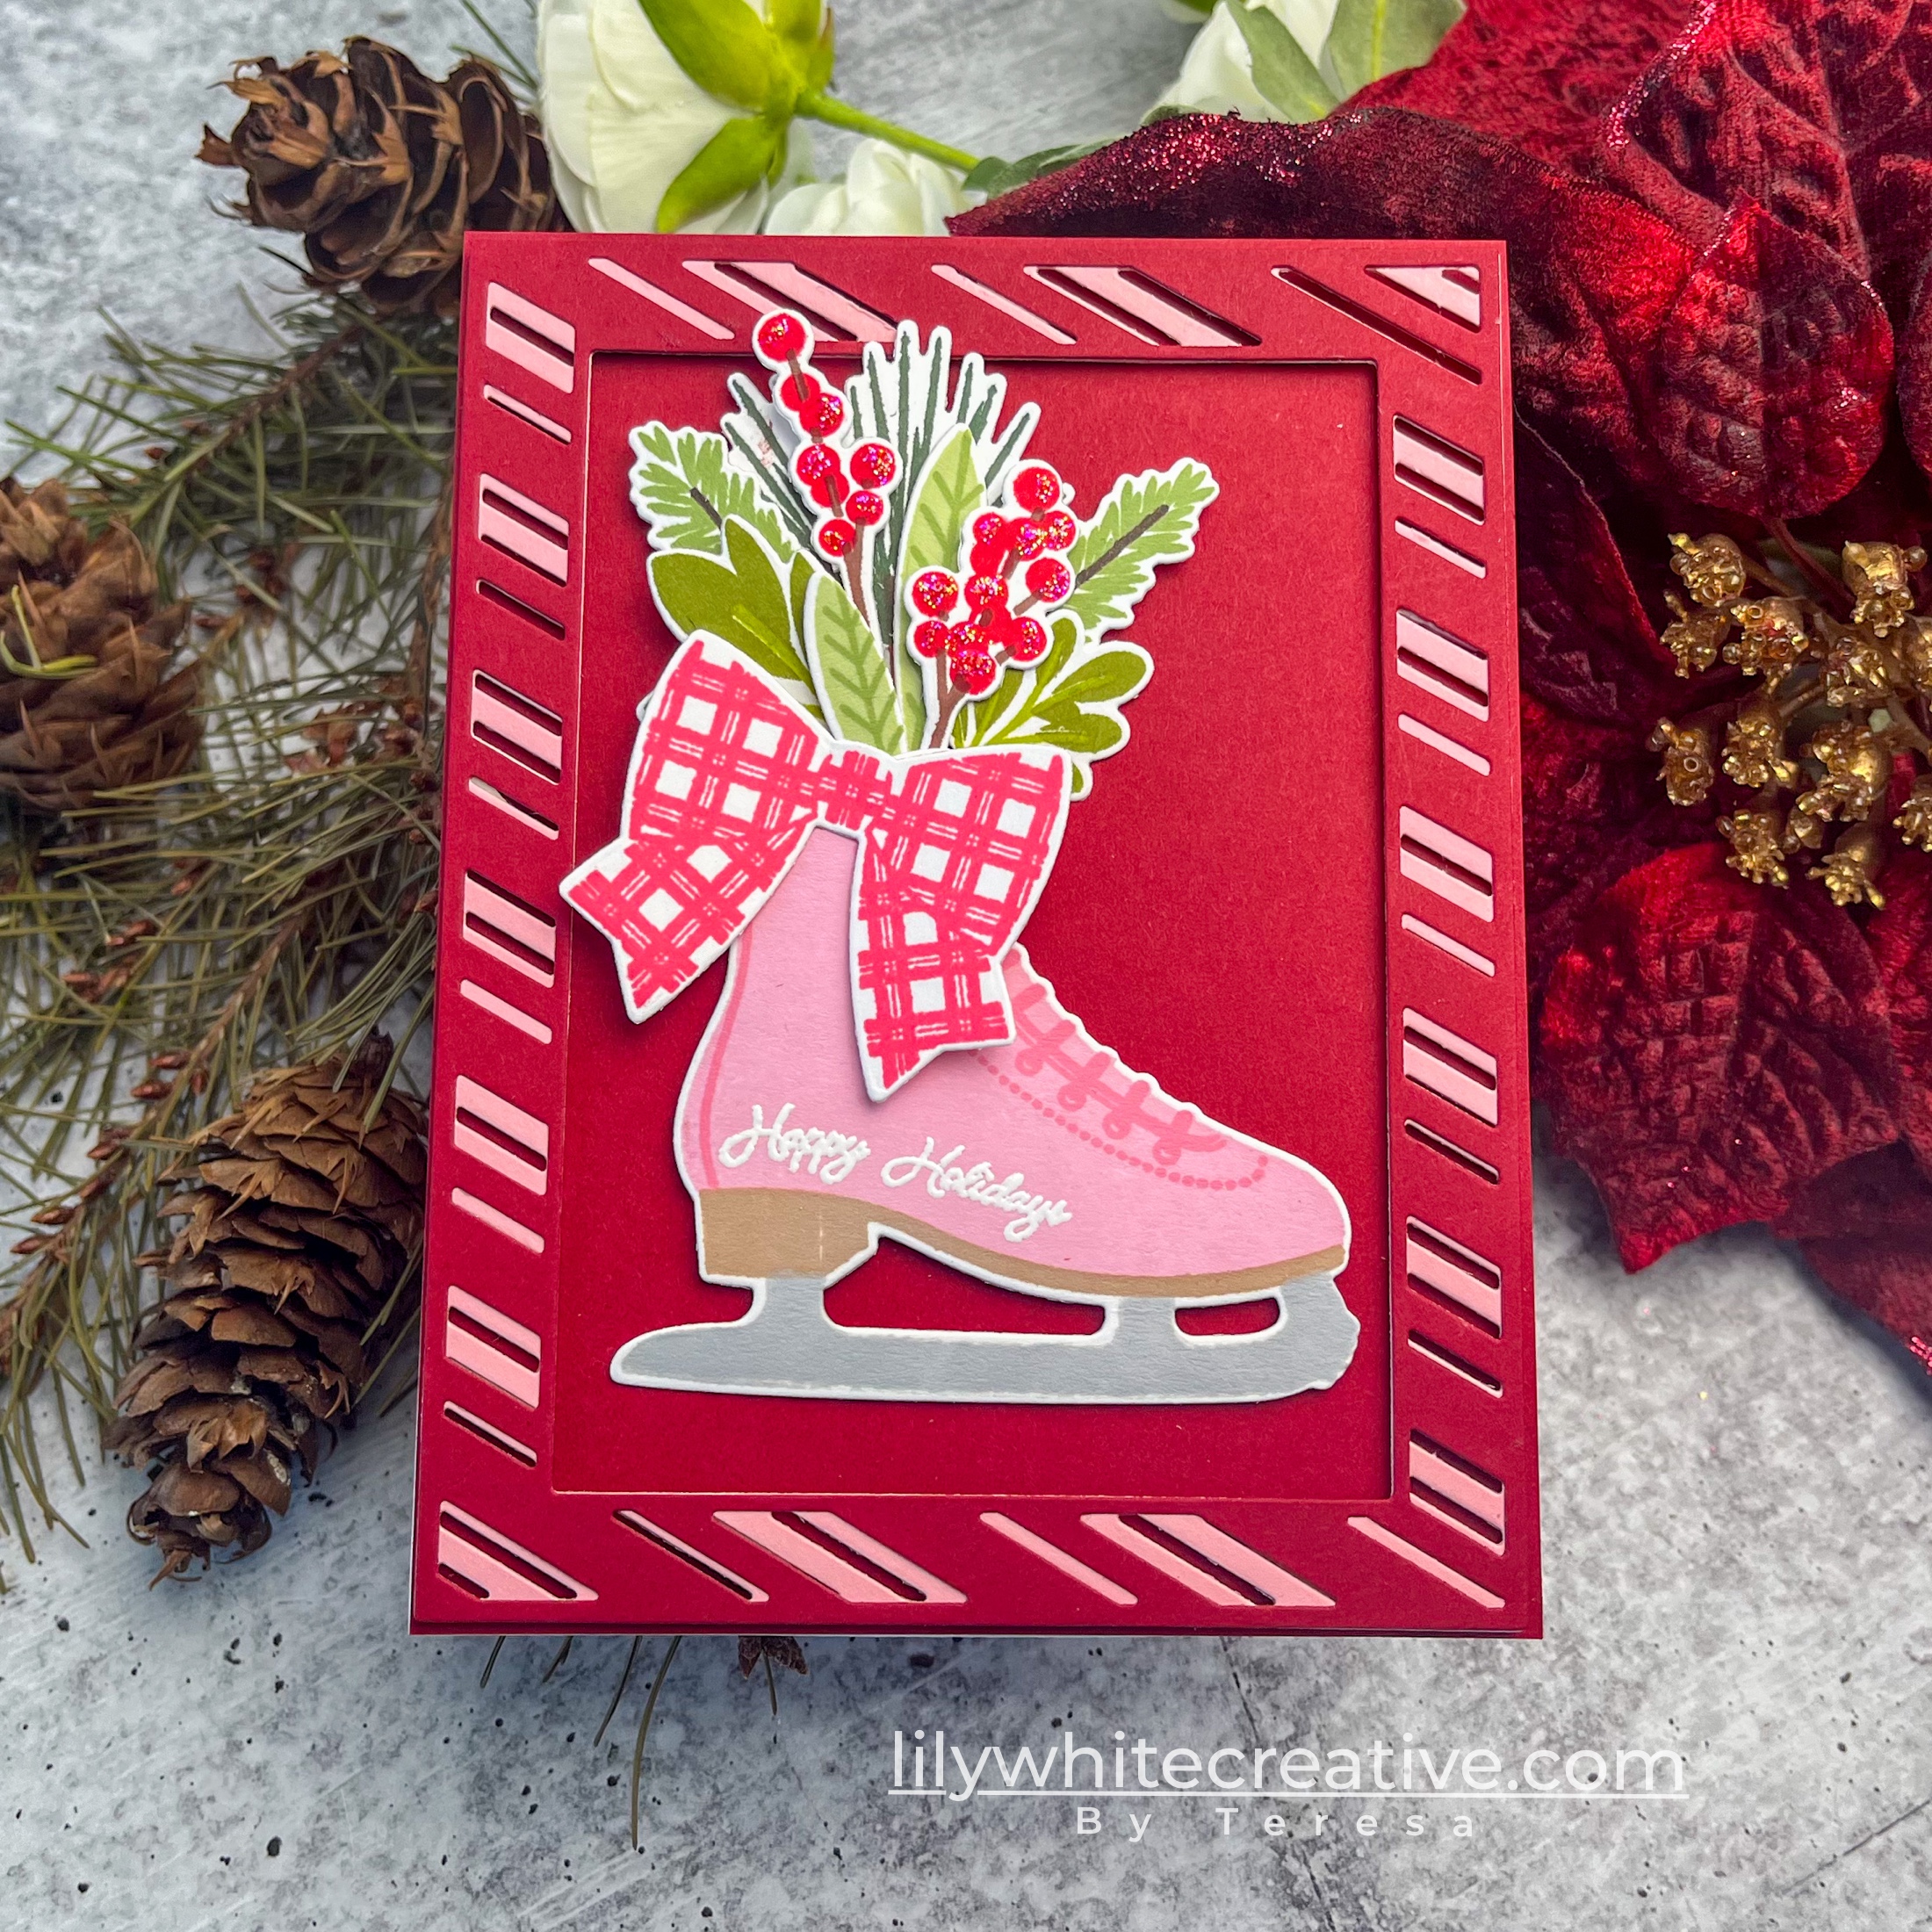
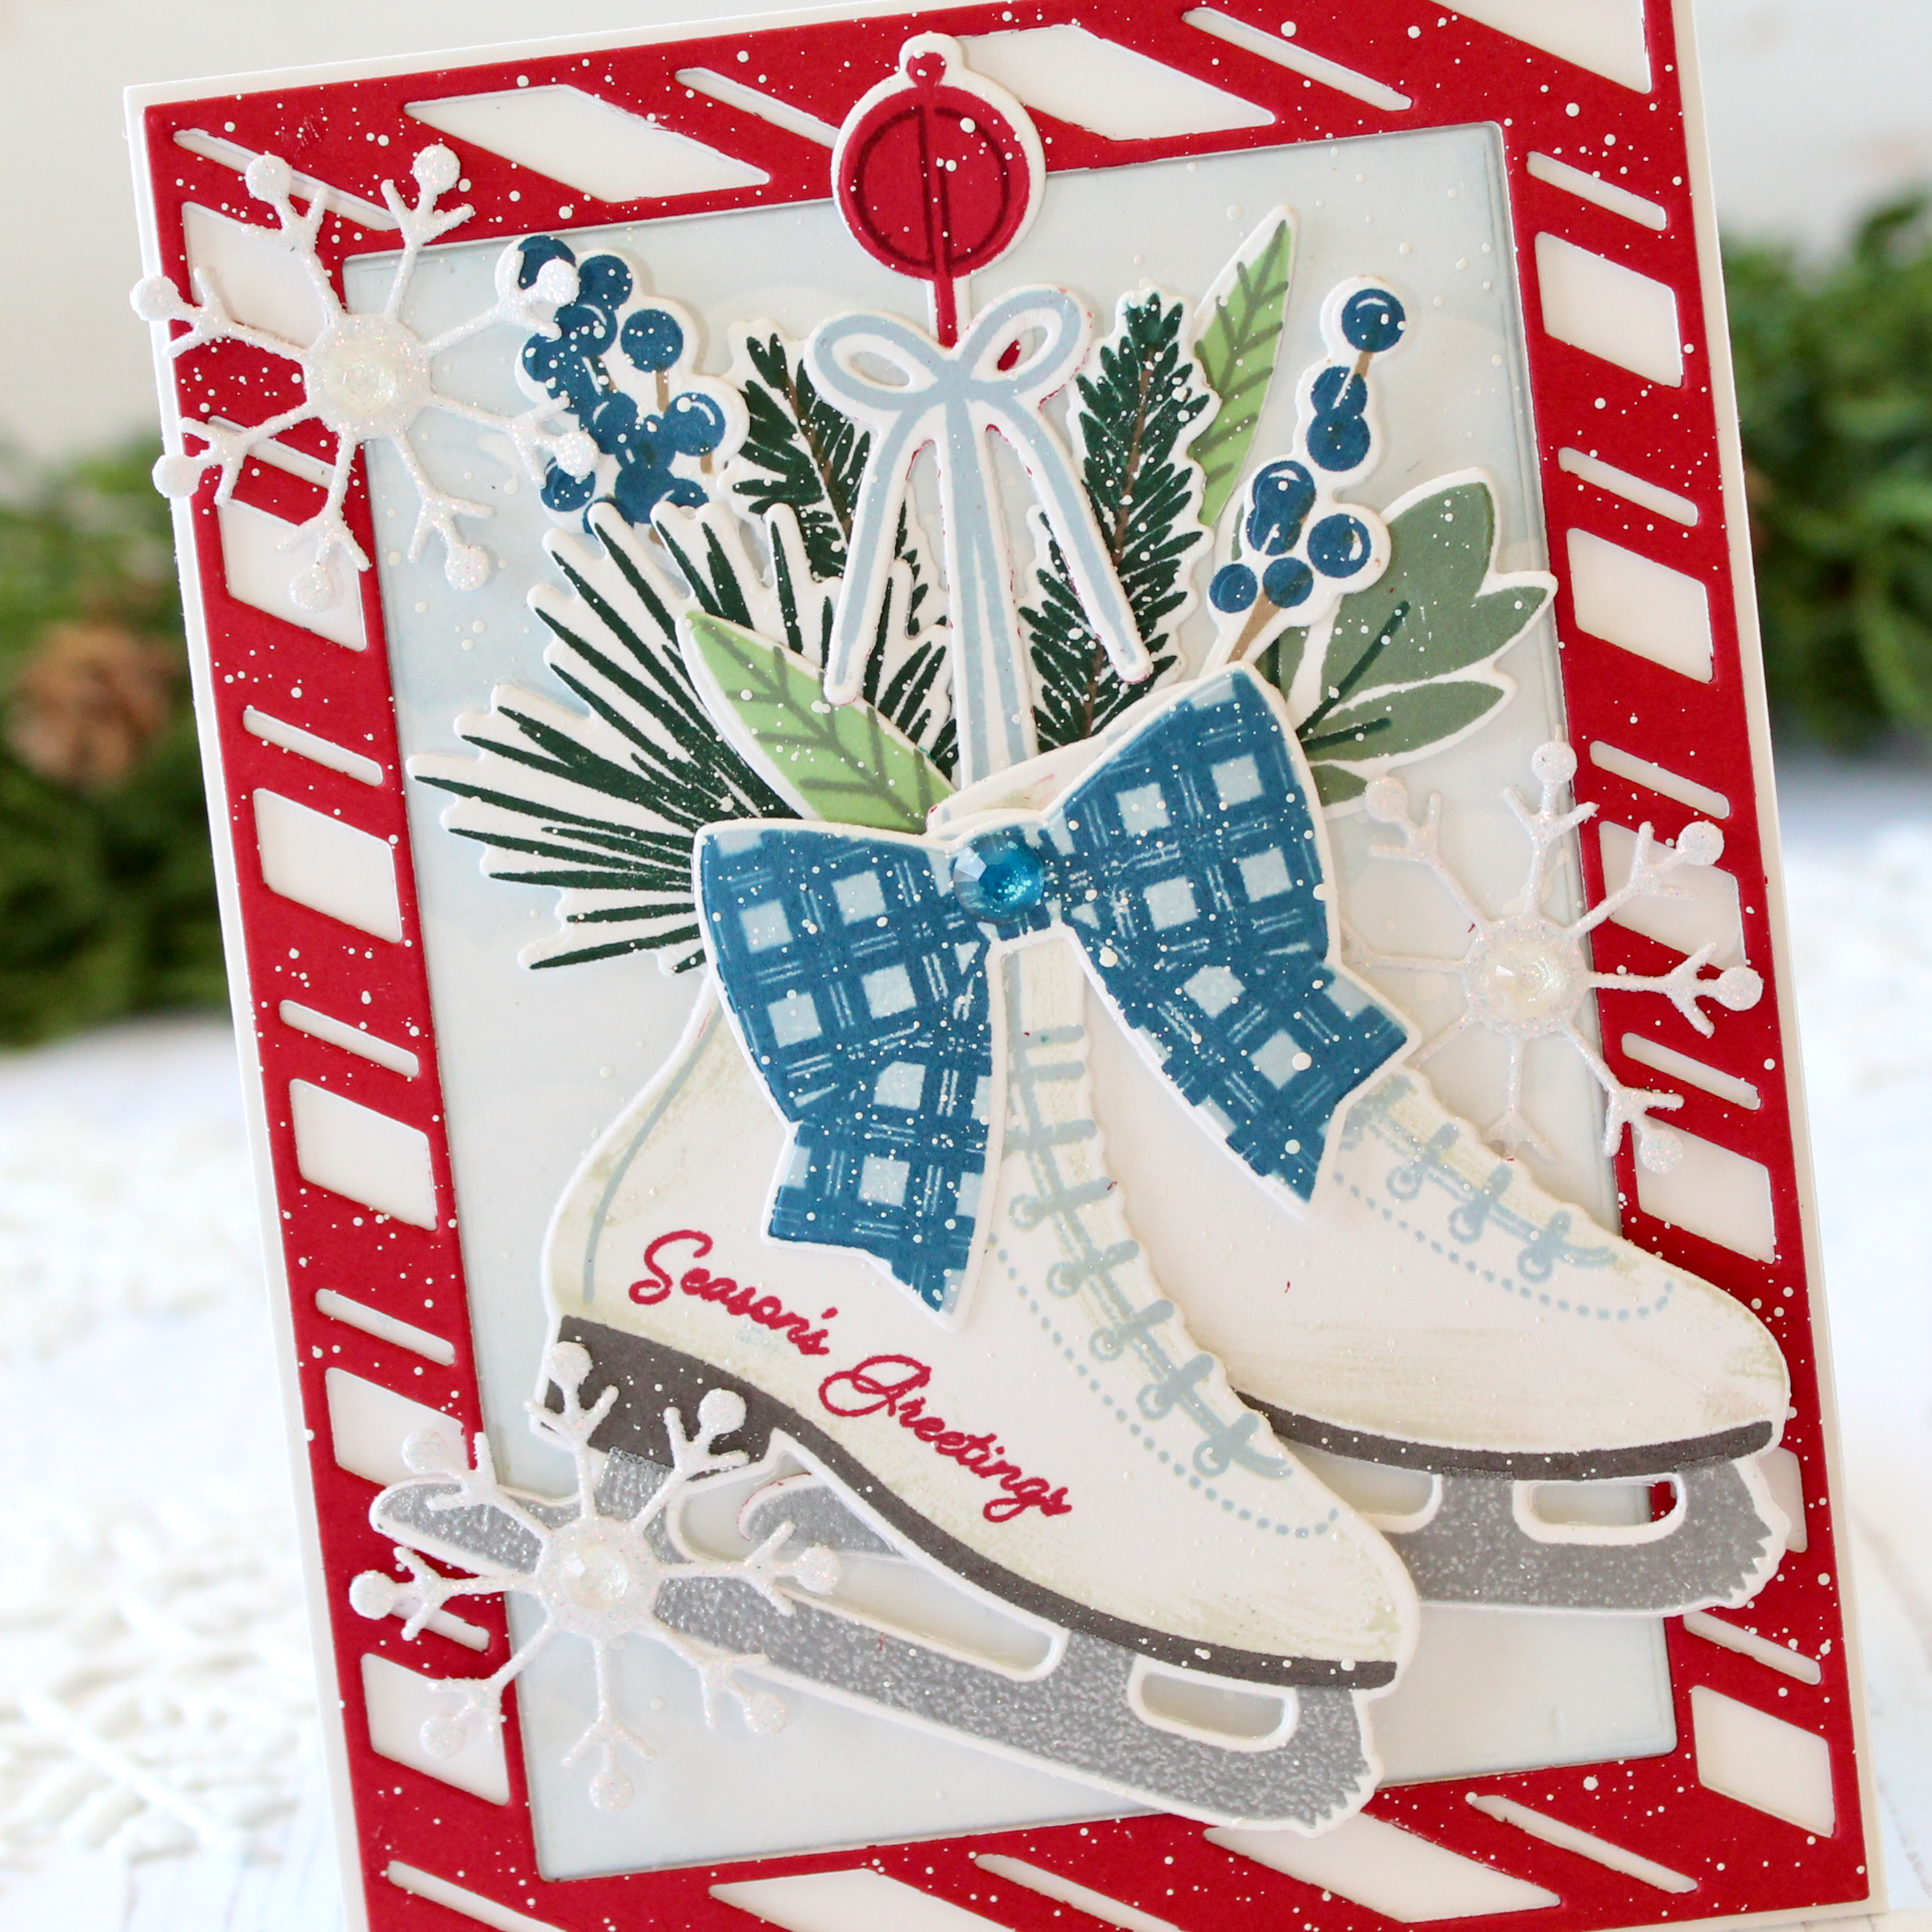
- Use glitter cardstock as an anchor for your focal image for some unexpected sparkle and shine
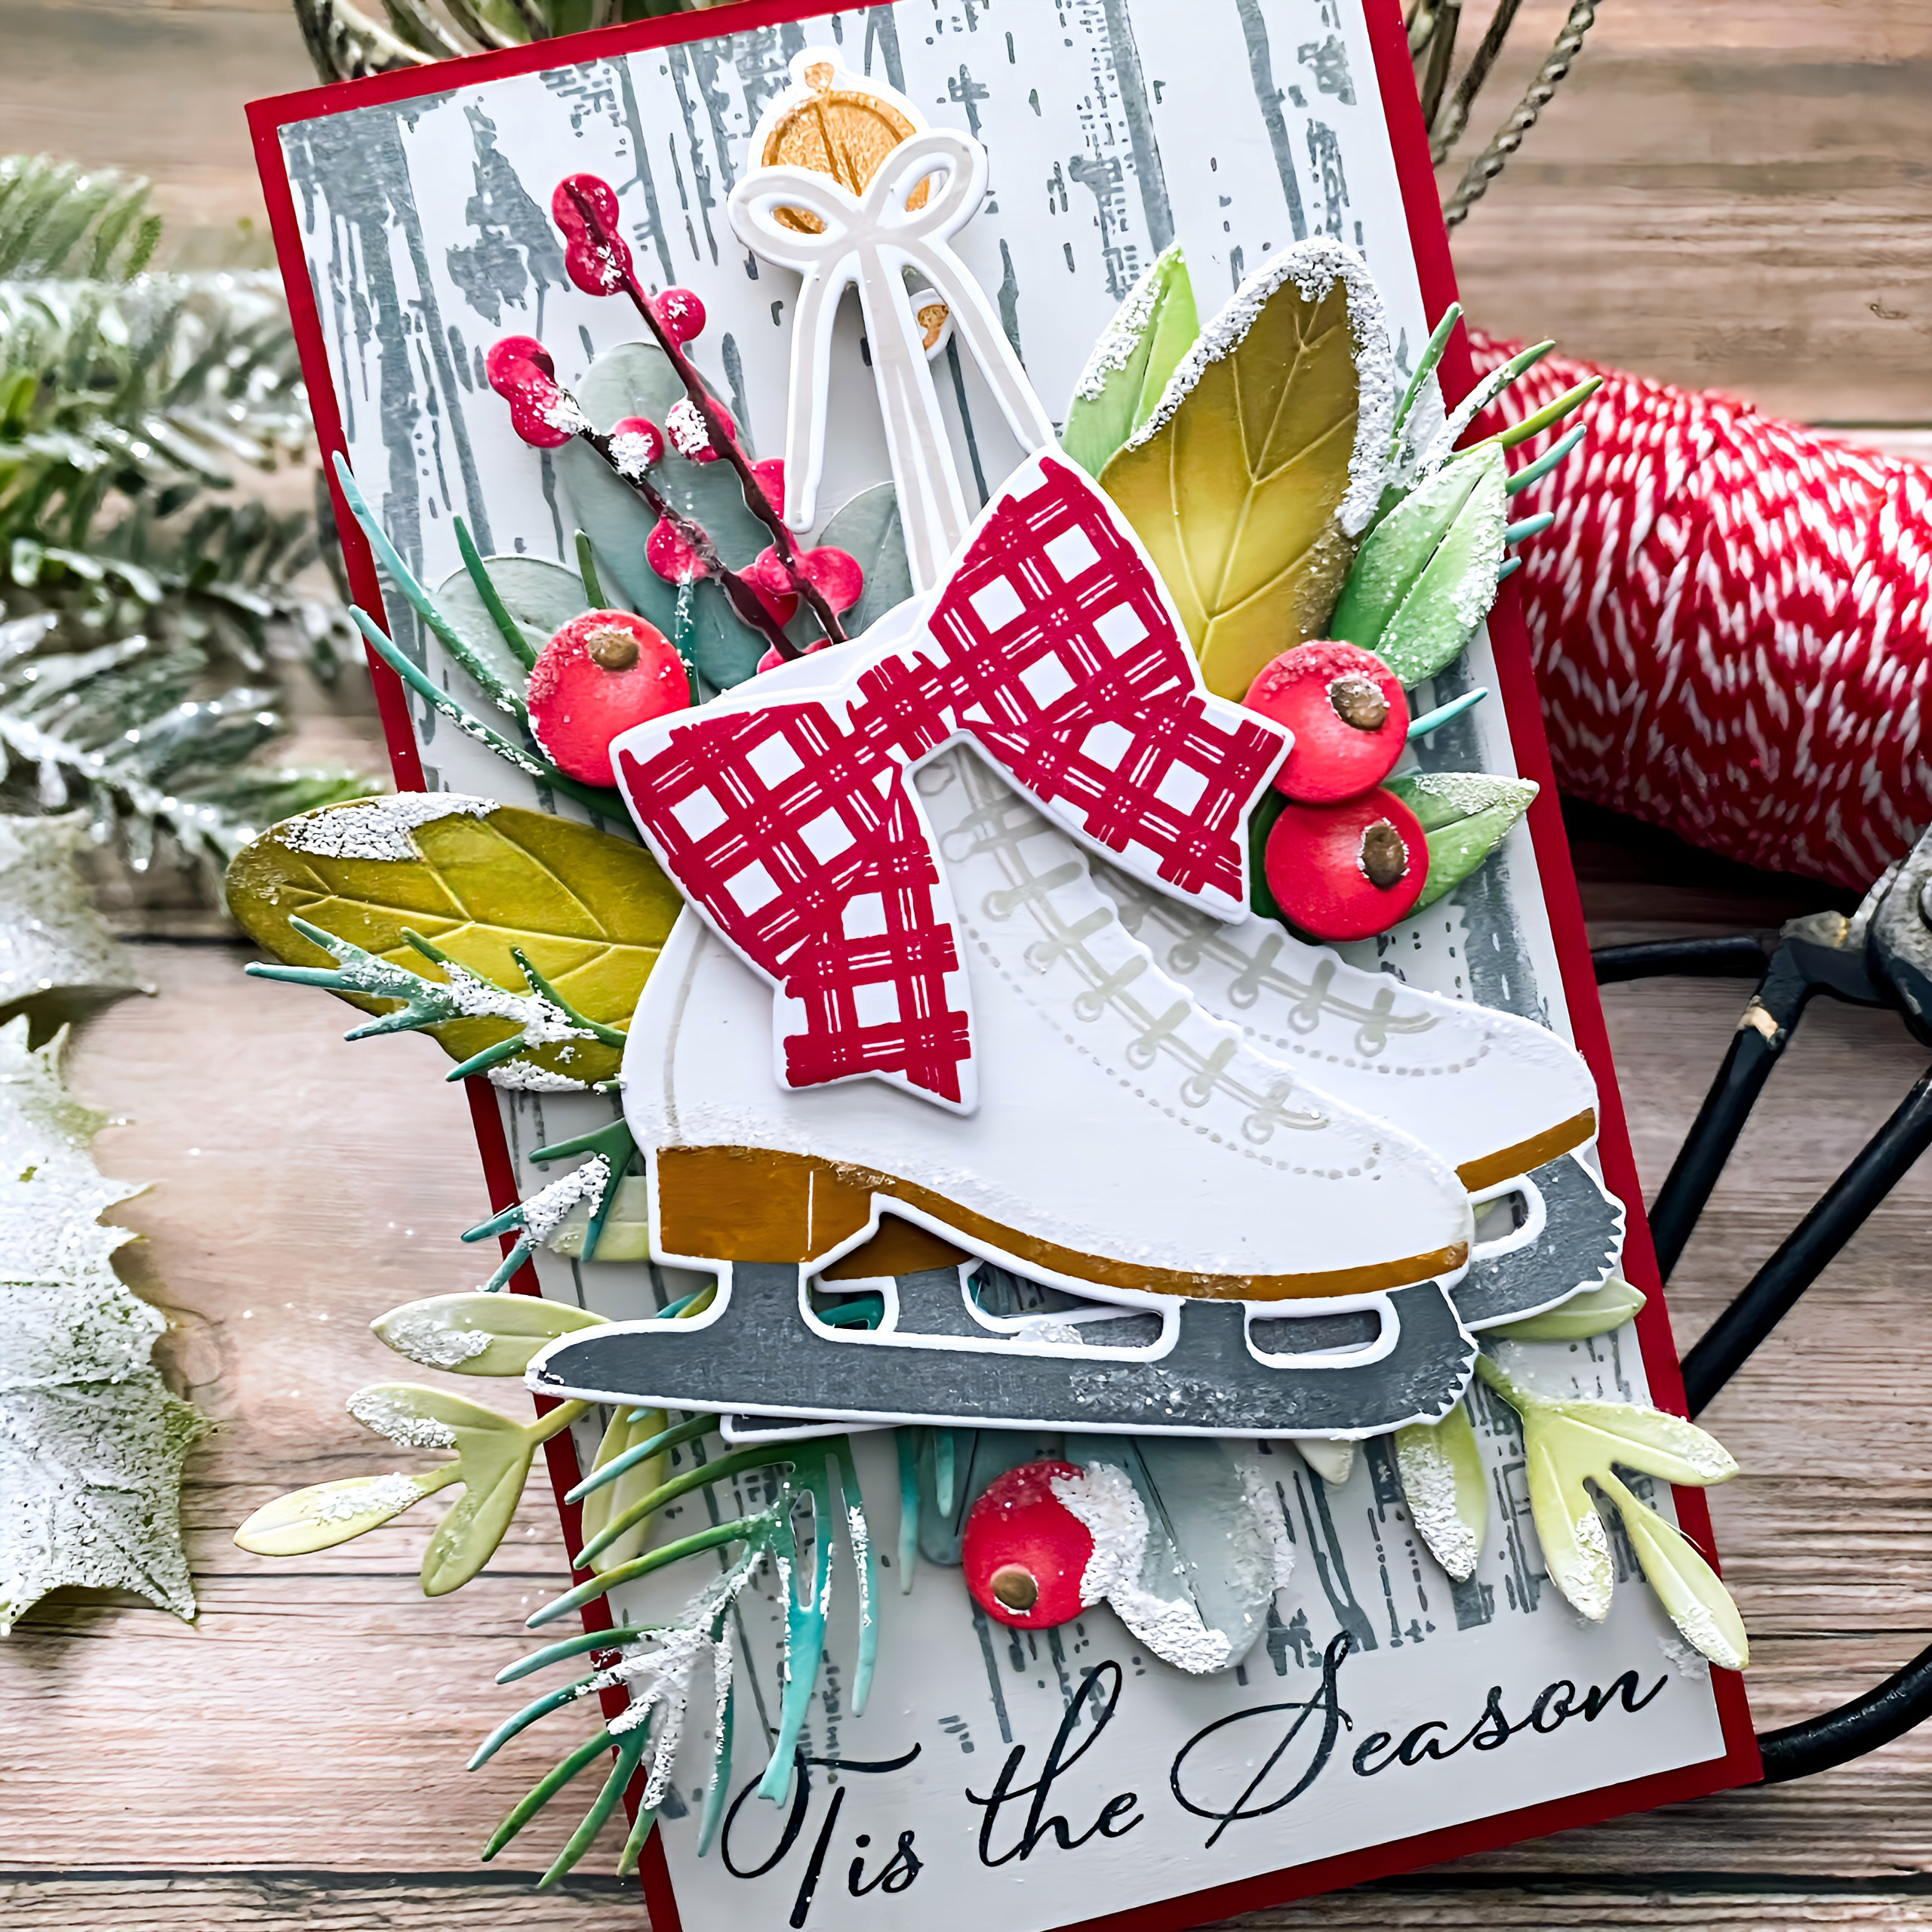
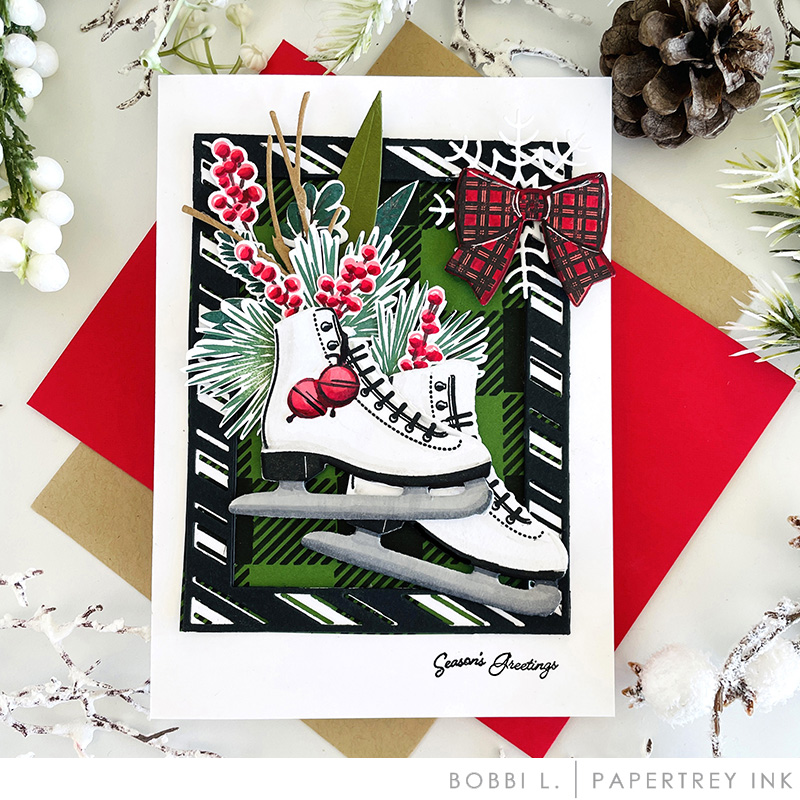
- To create a worn, realistic looking skate, try using two colors of ink. I used Smokey Shadow and True Black for these old-fashioned looking skates!
- Use vintage color combinations to evoke feelings of nostalgia
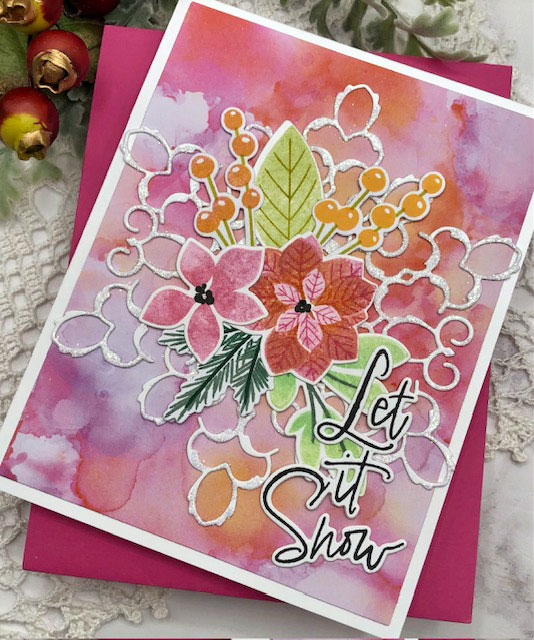
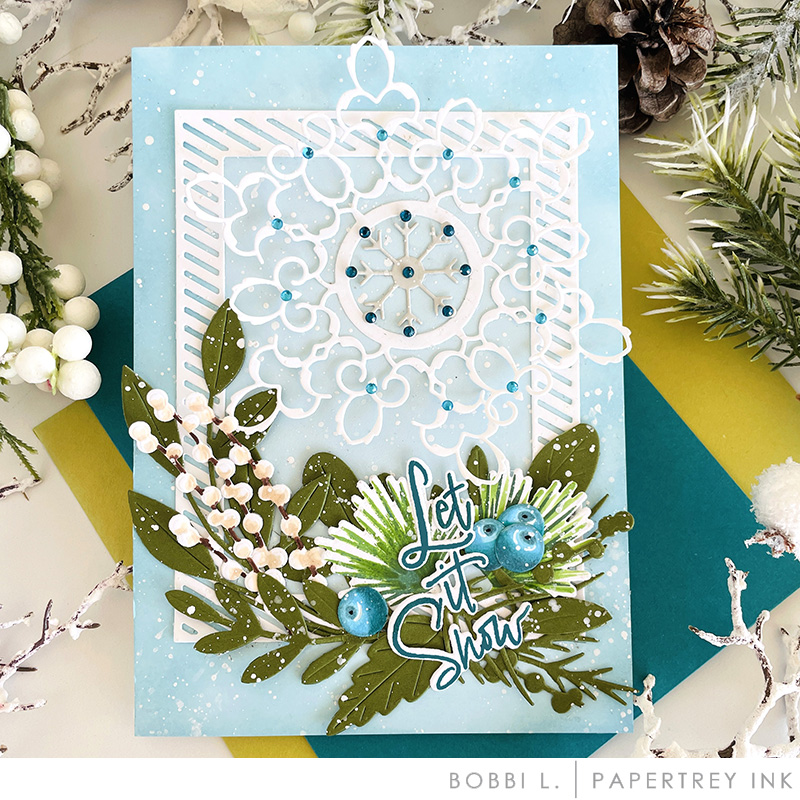
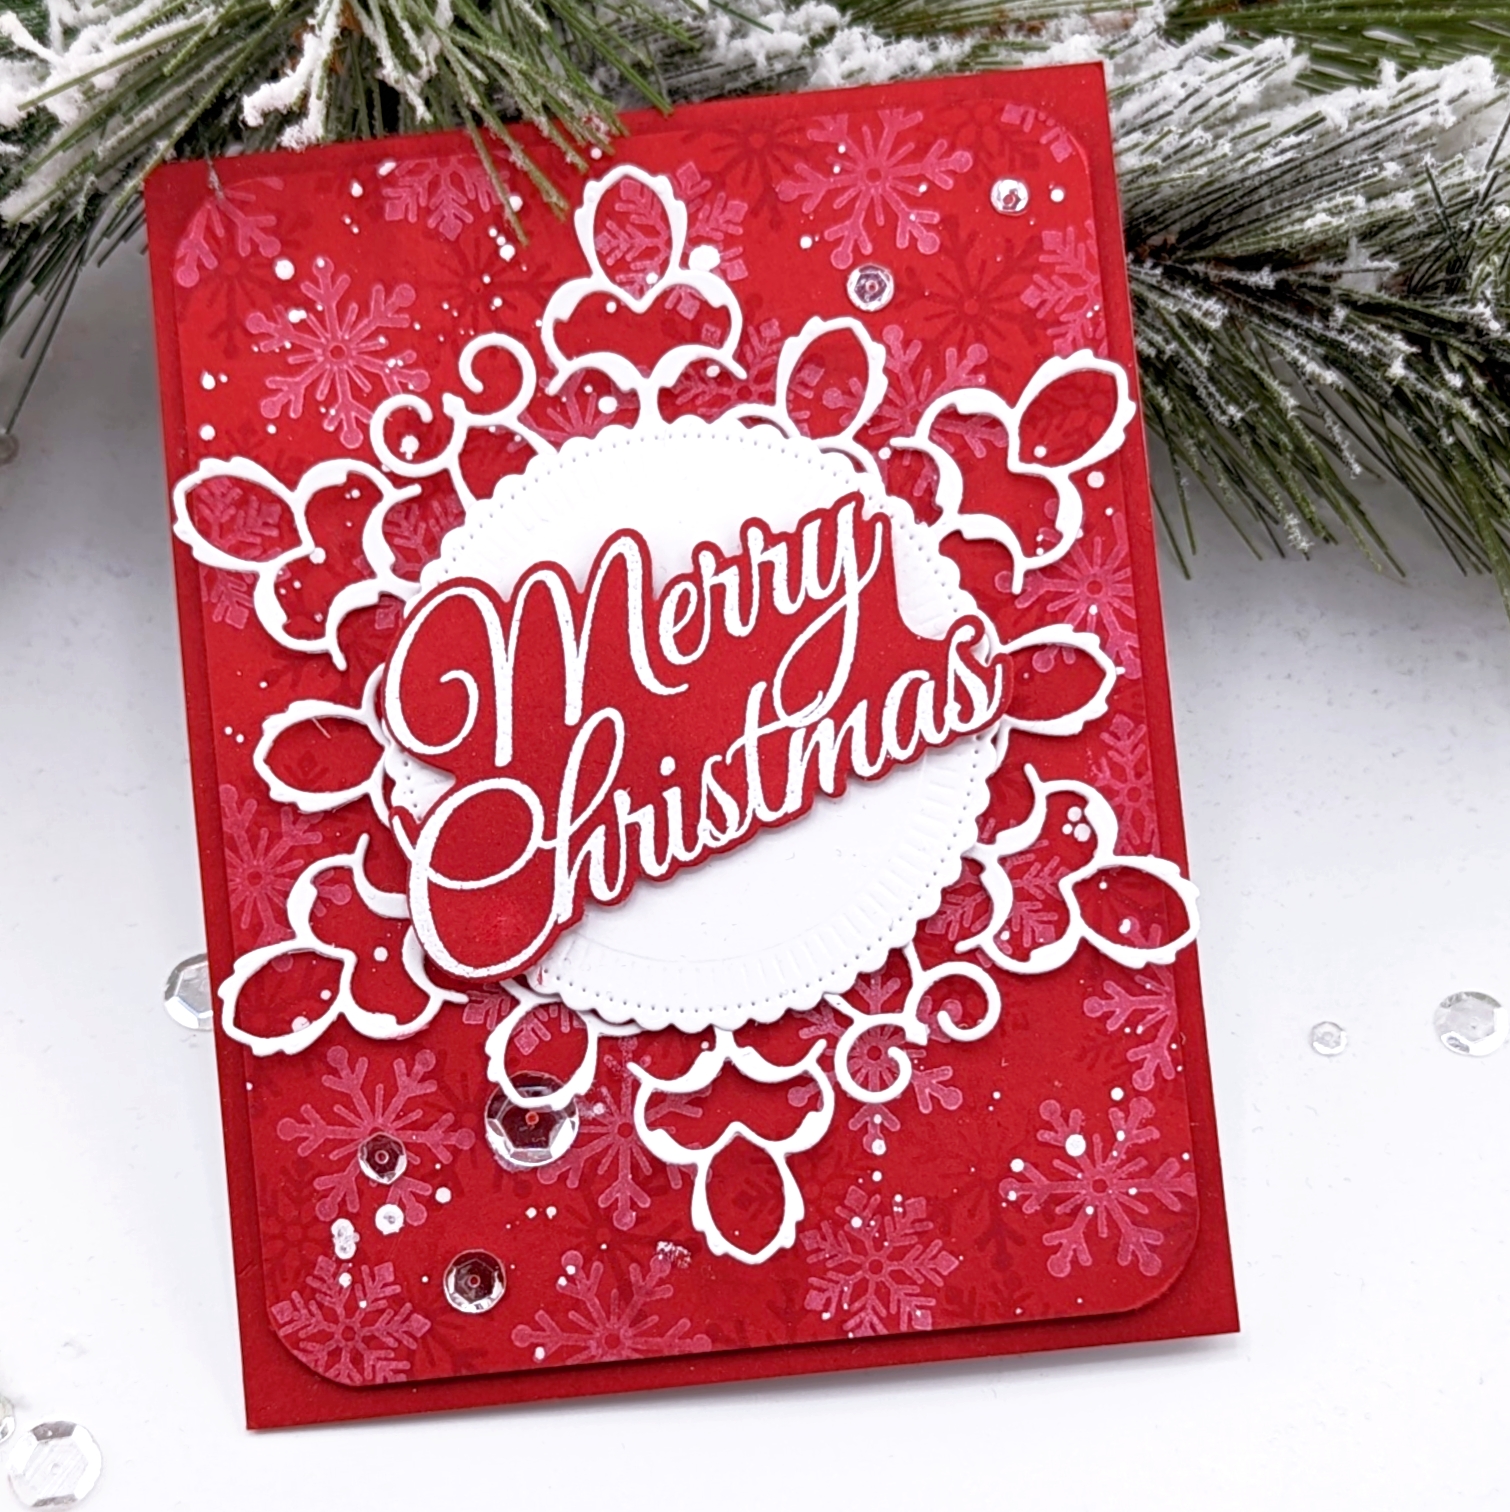
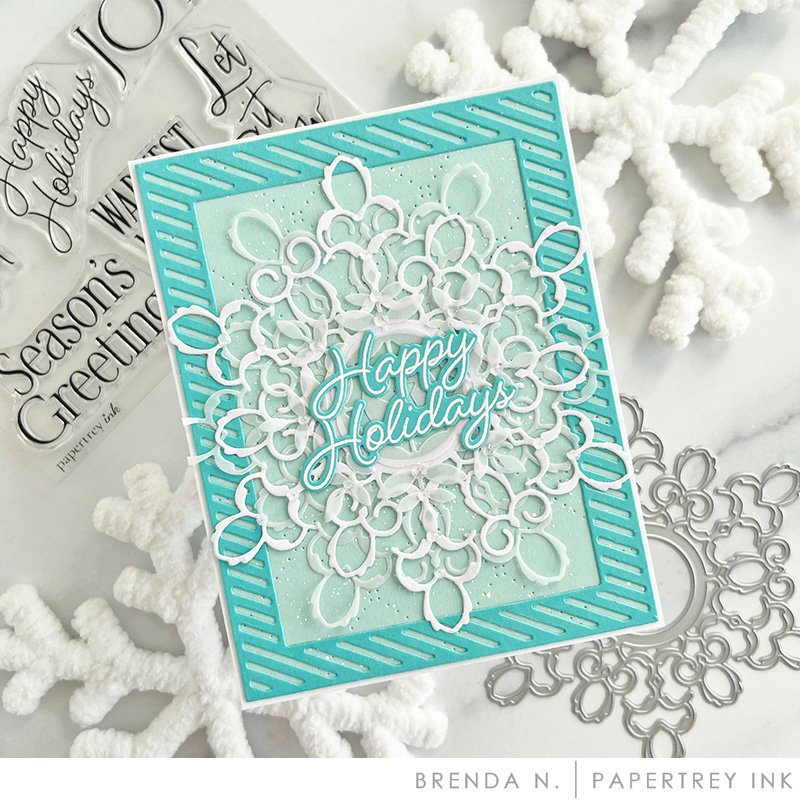
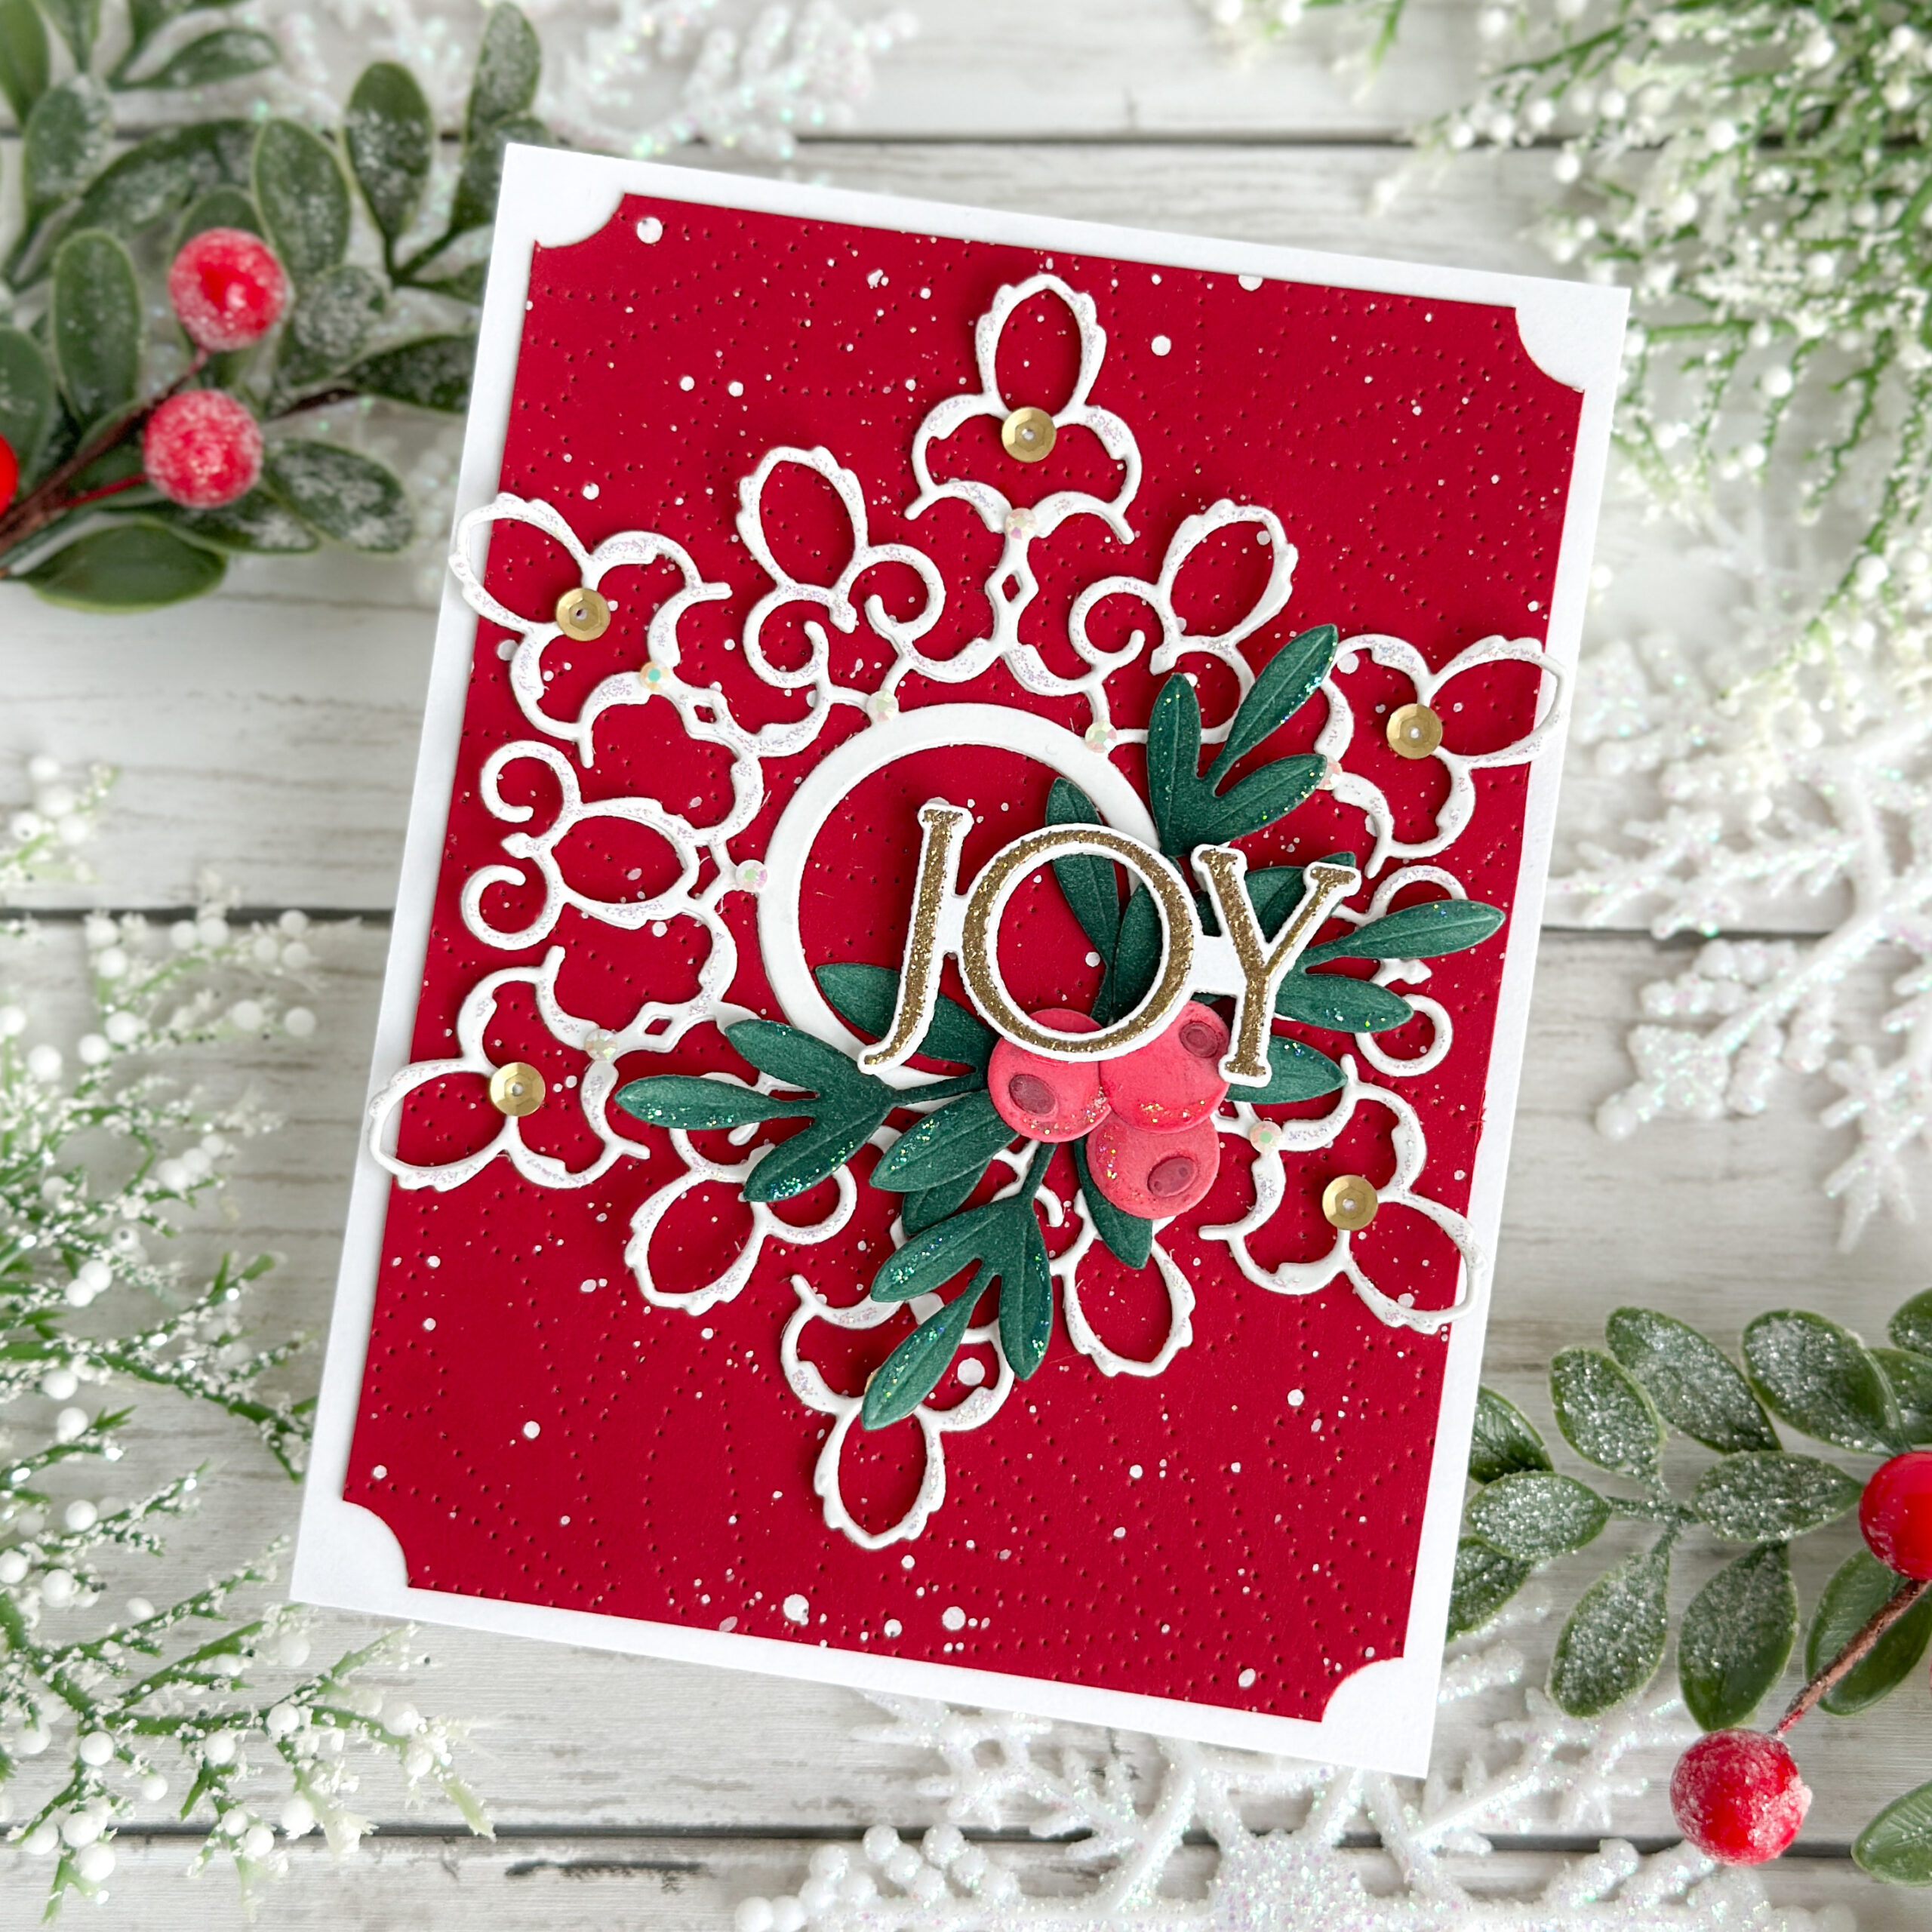
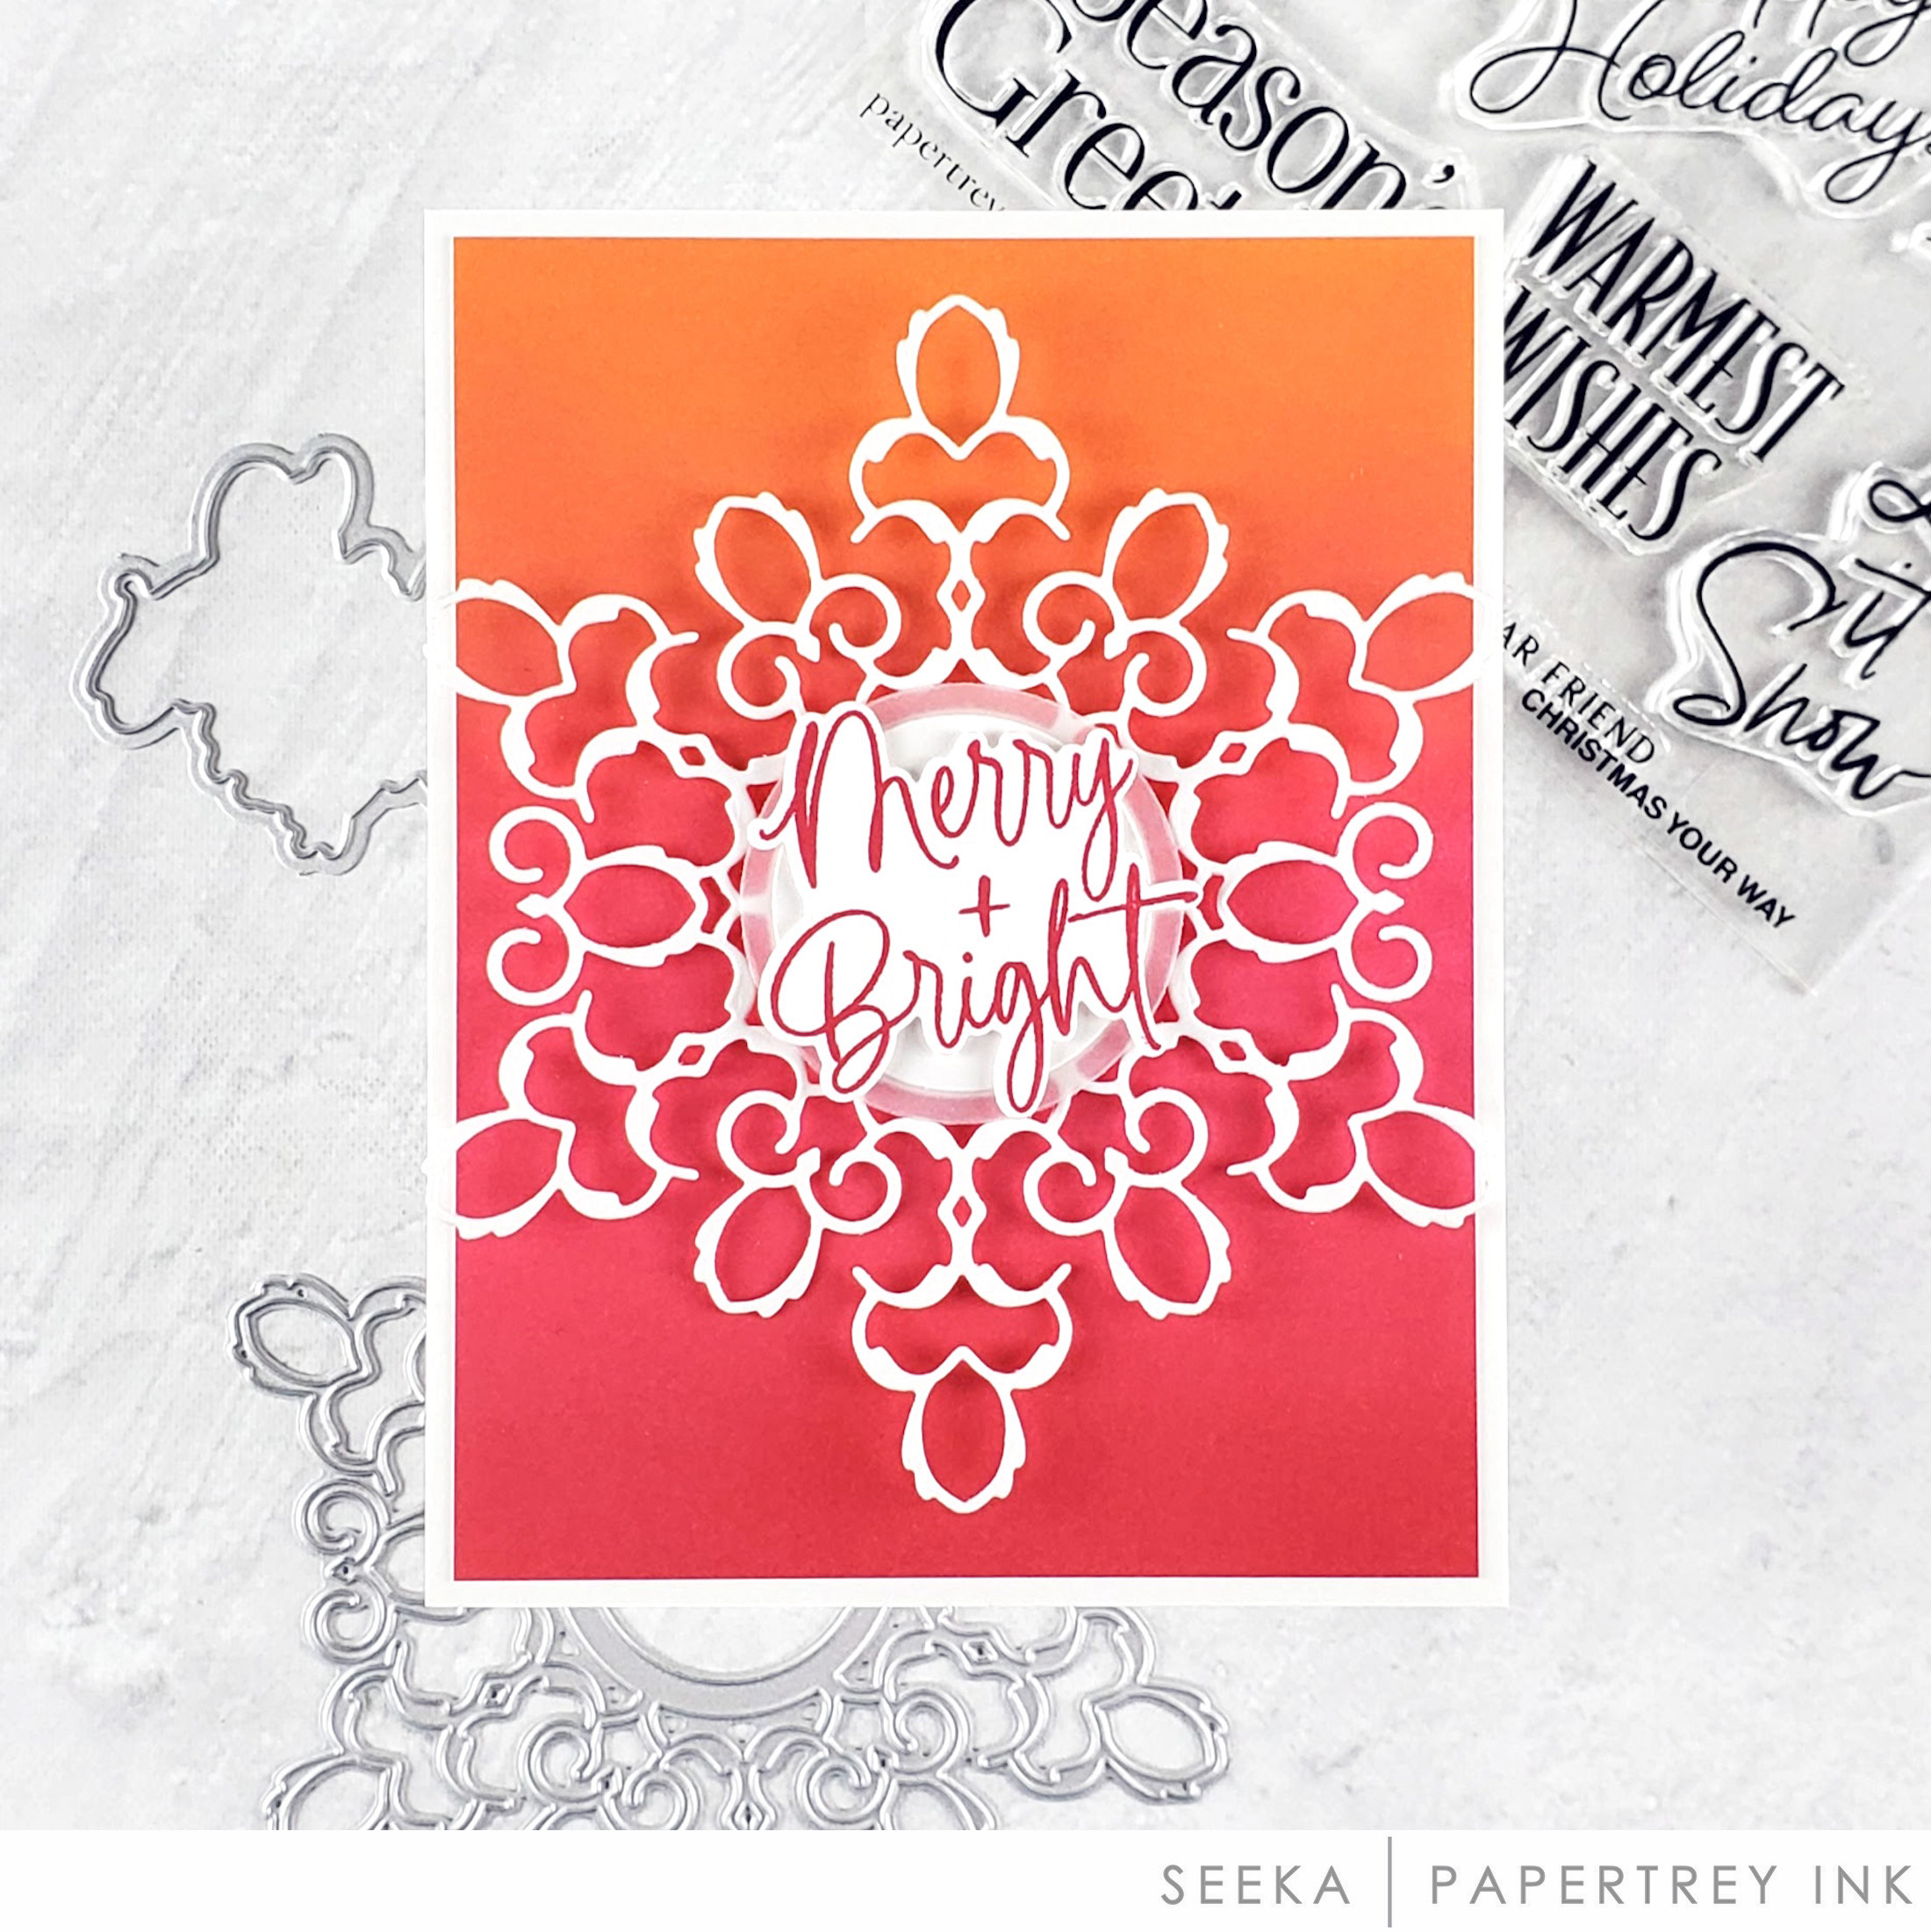
Next up today, we have the gorgeous, new Fancy Snowflake Frame die and Christmas Your Way stamps and dies to share with you.
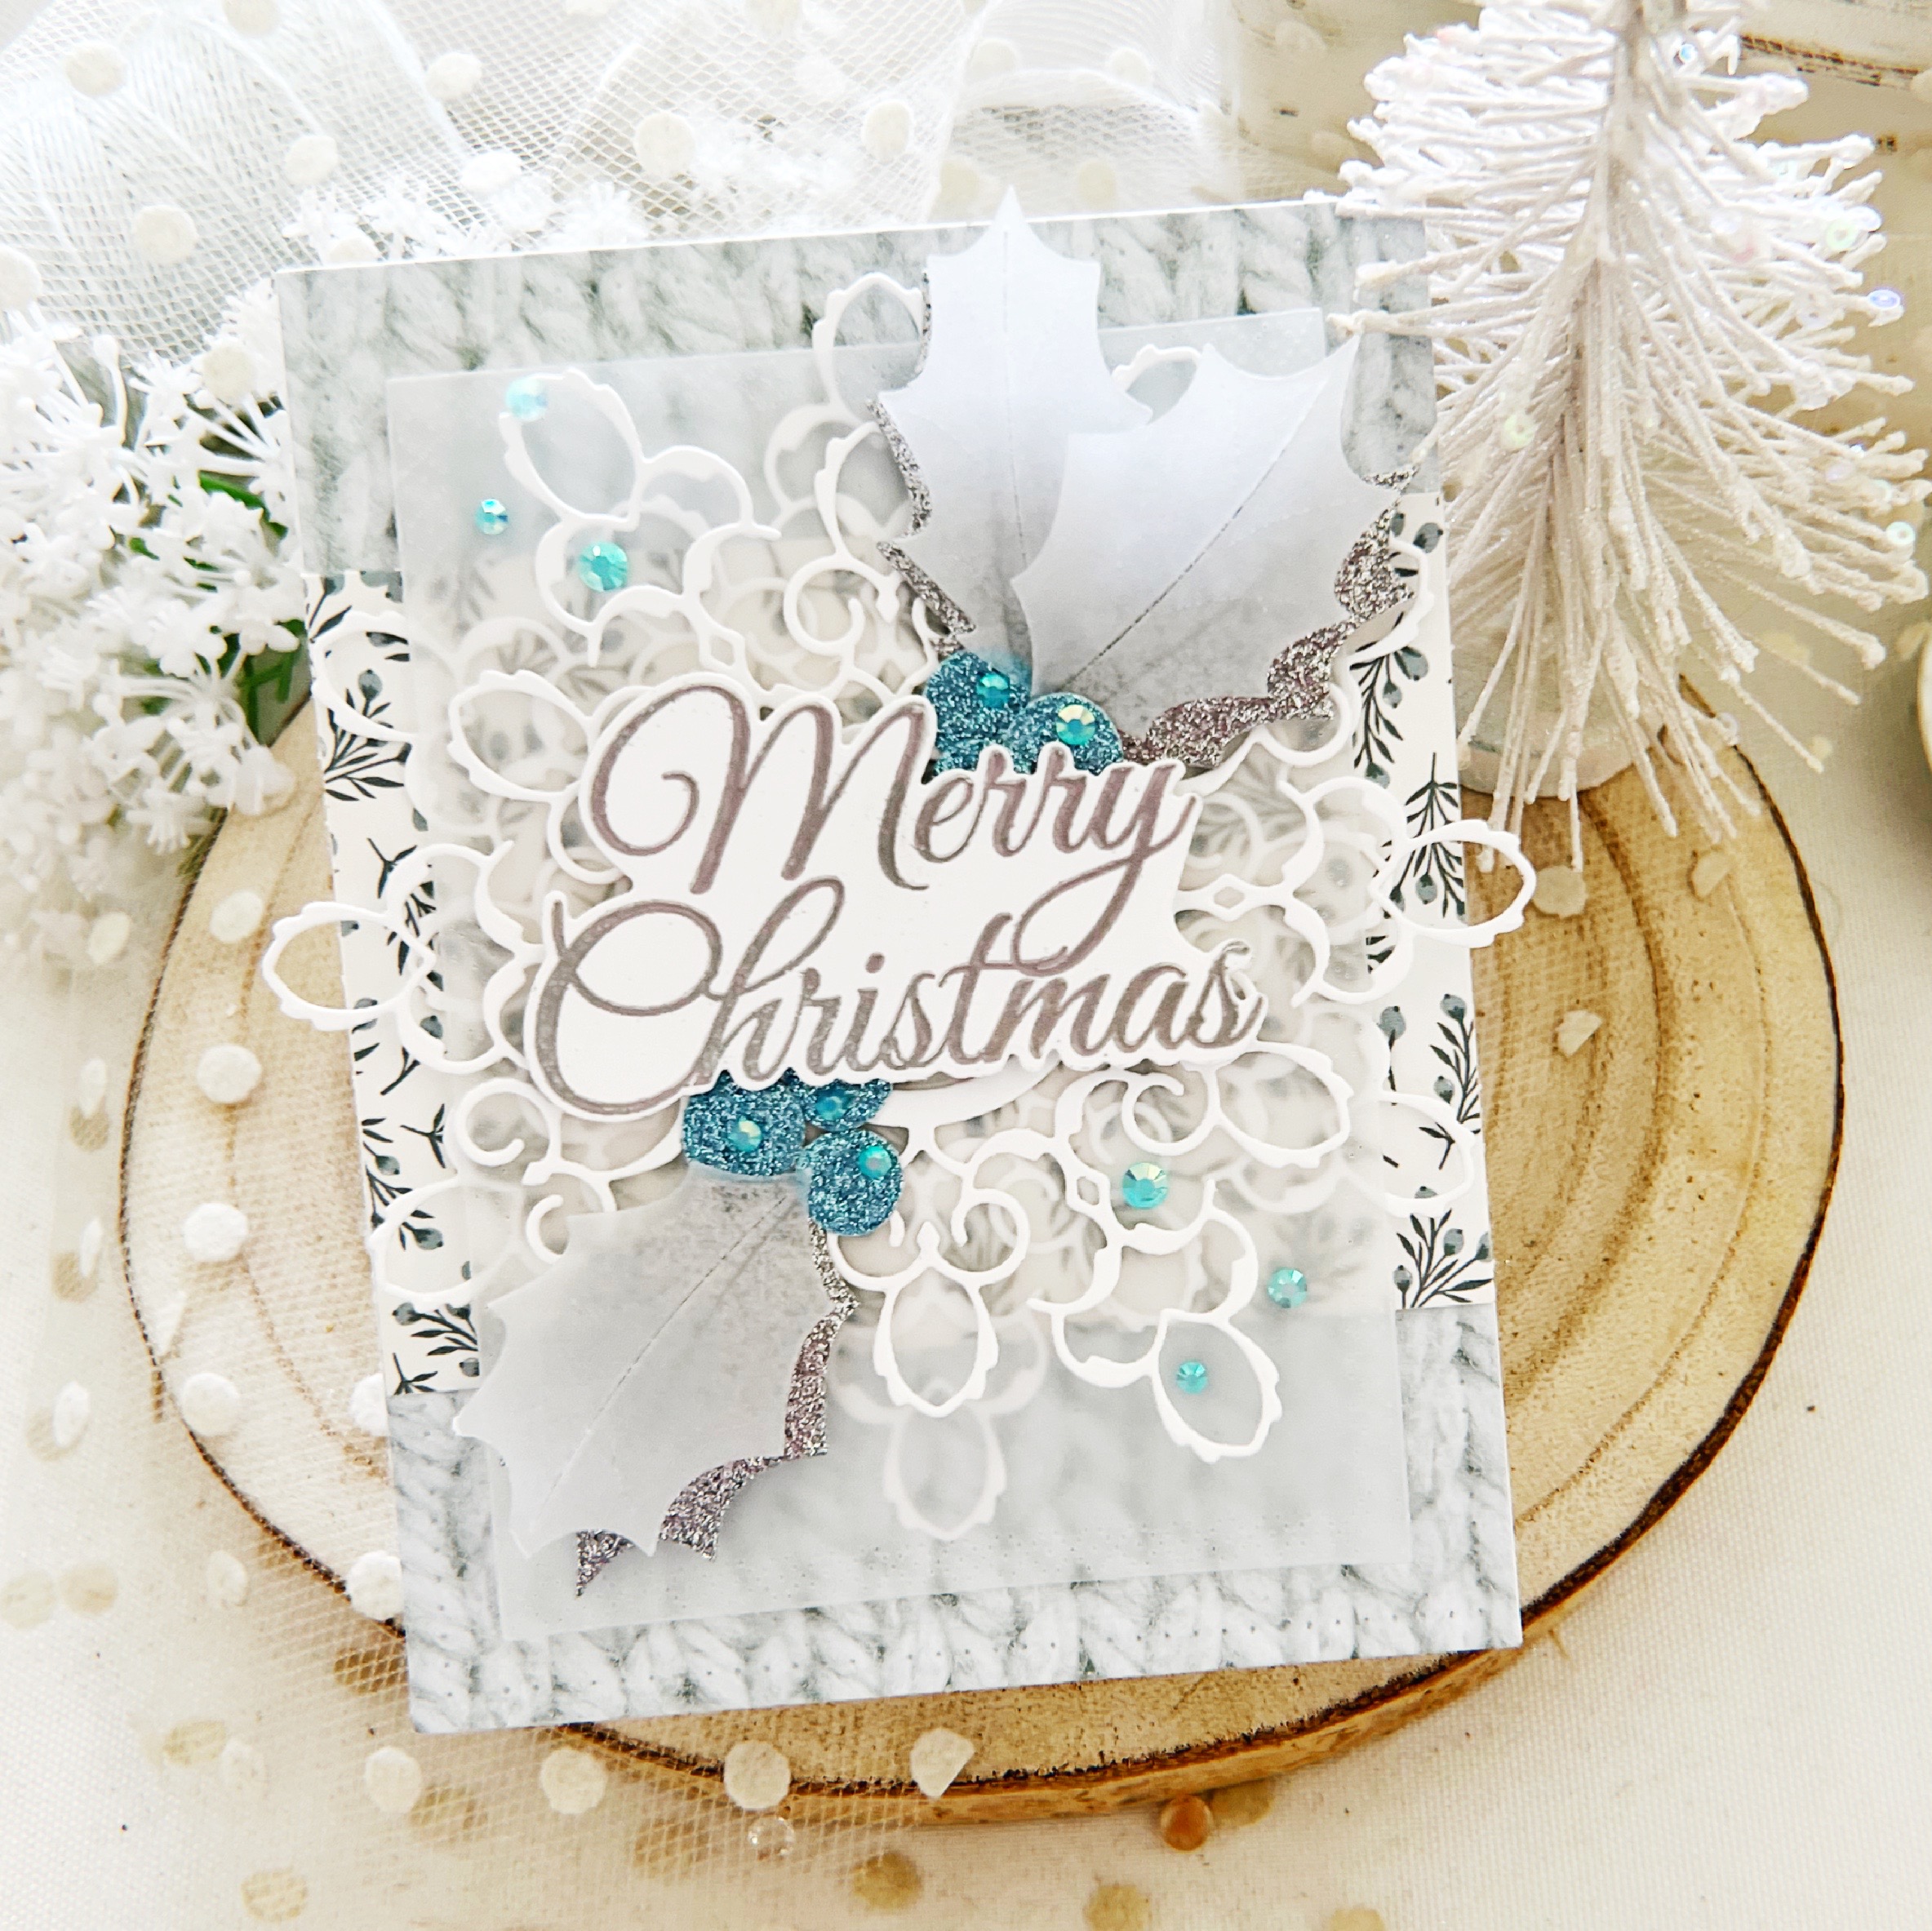
The new Fancy Snowflake Frame die is truly elegant! It is so intricate and delicate that you’ll be amazed by its beauty. If you’re looking for a quick and easy card to create for Christmas, that packs an unforgettable punch, this die will do it for you.
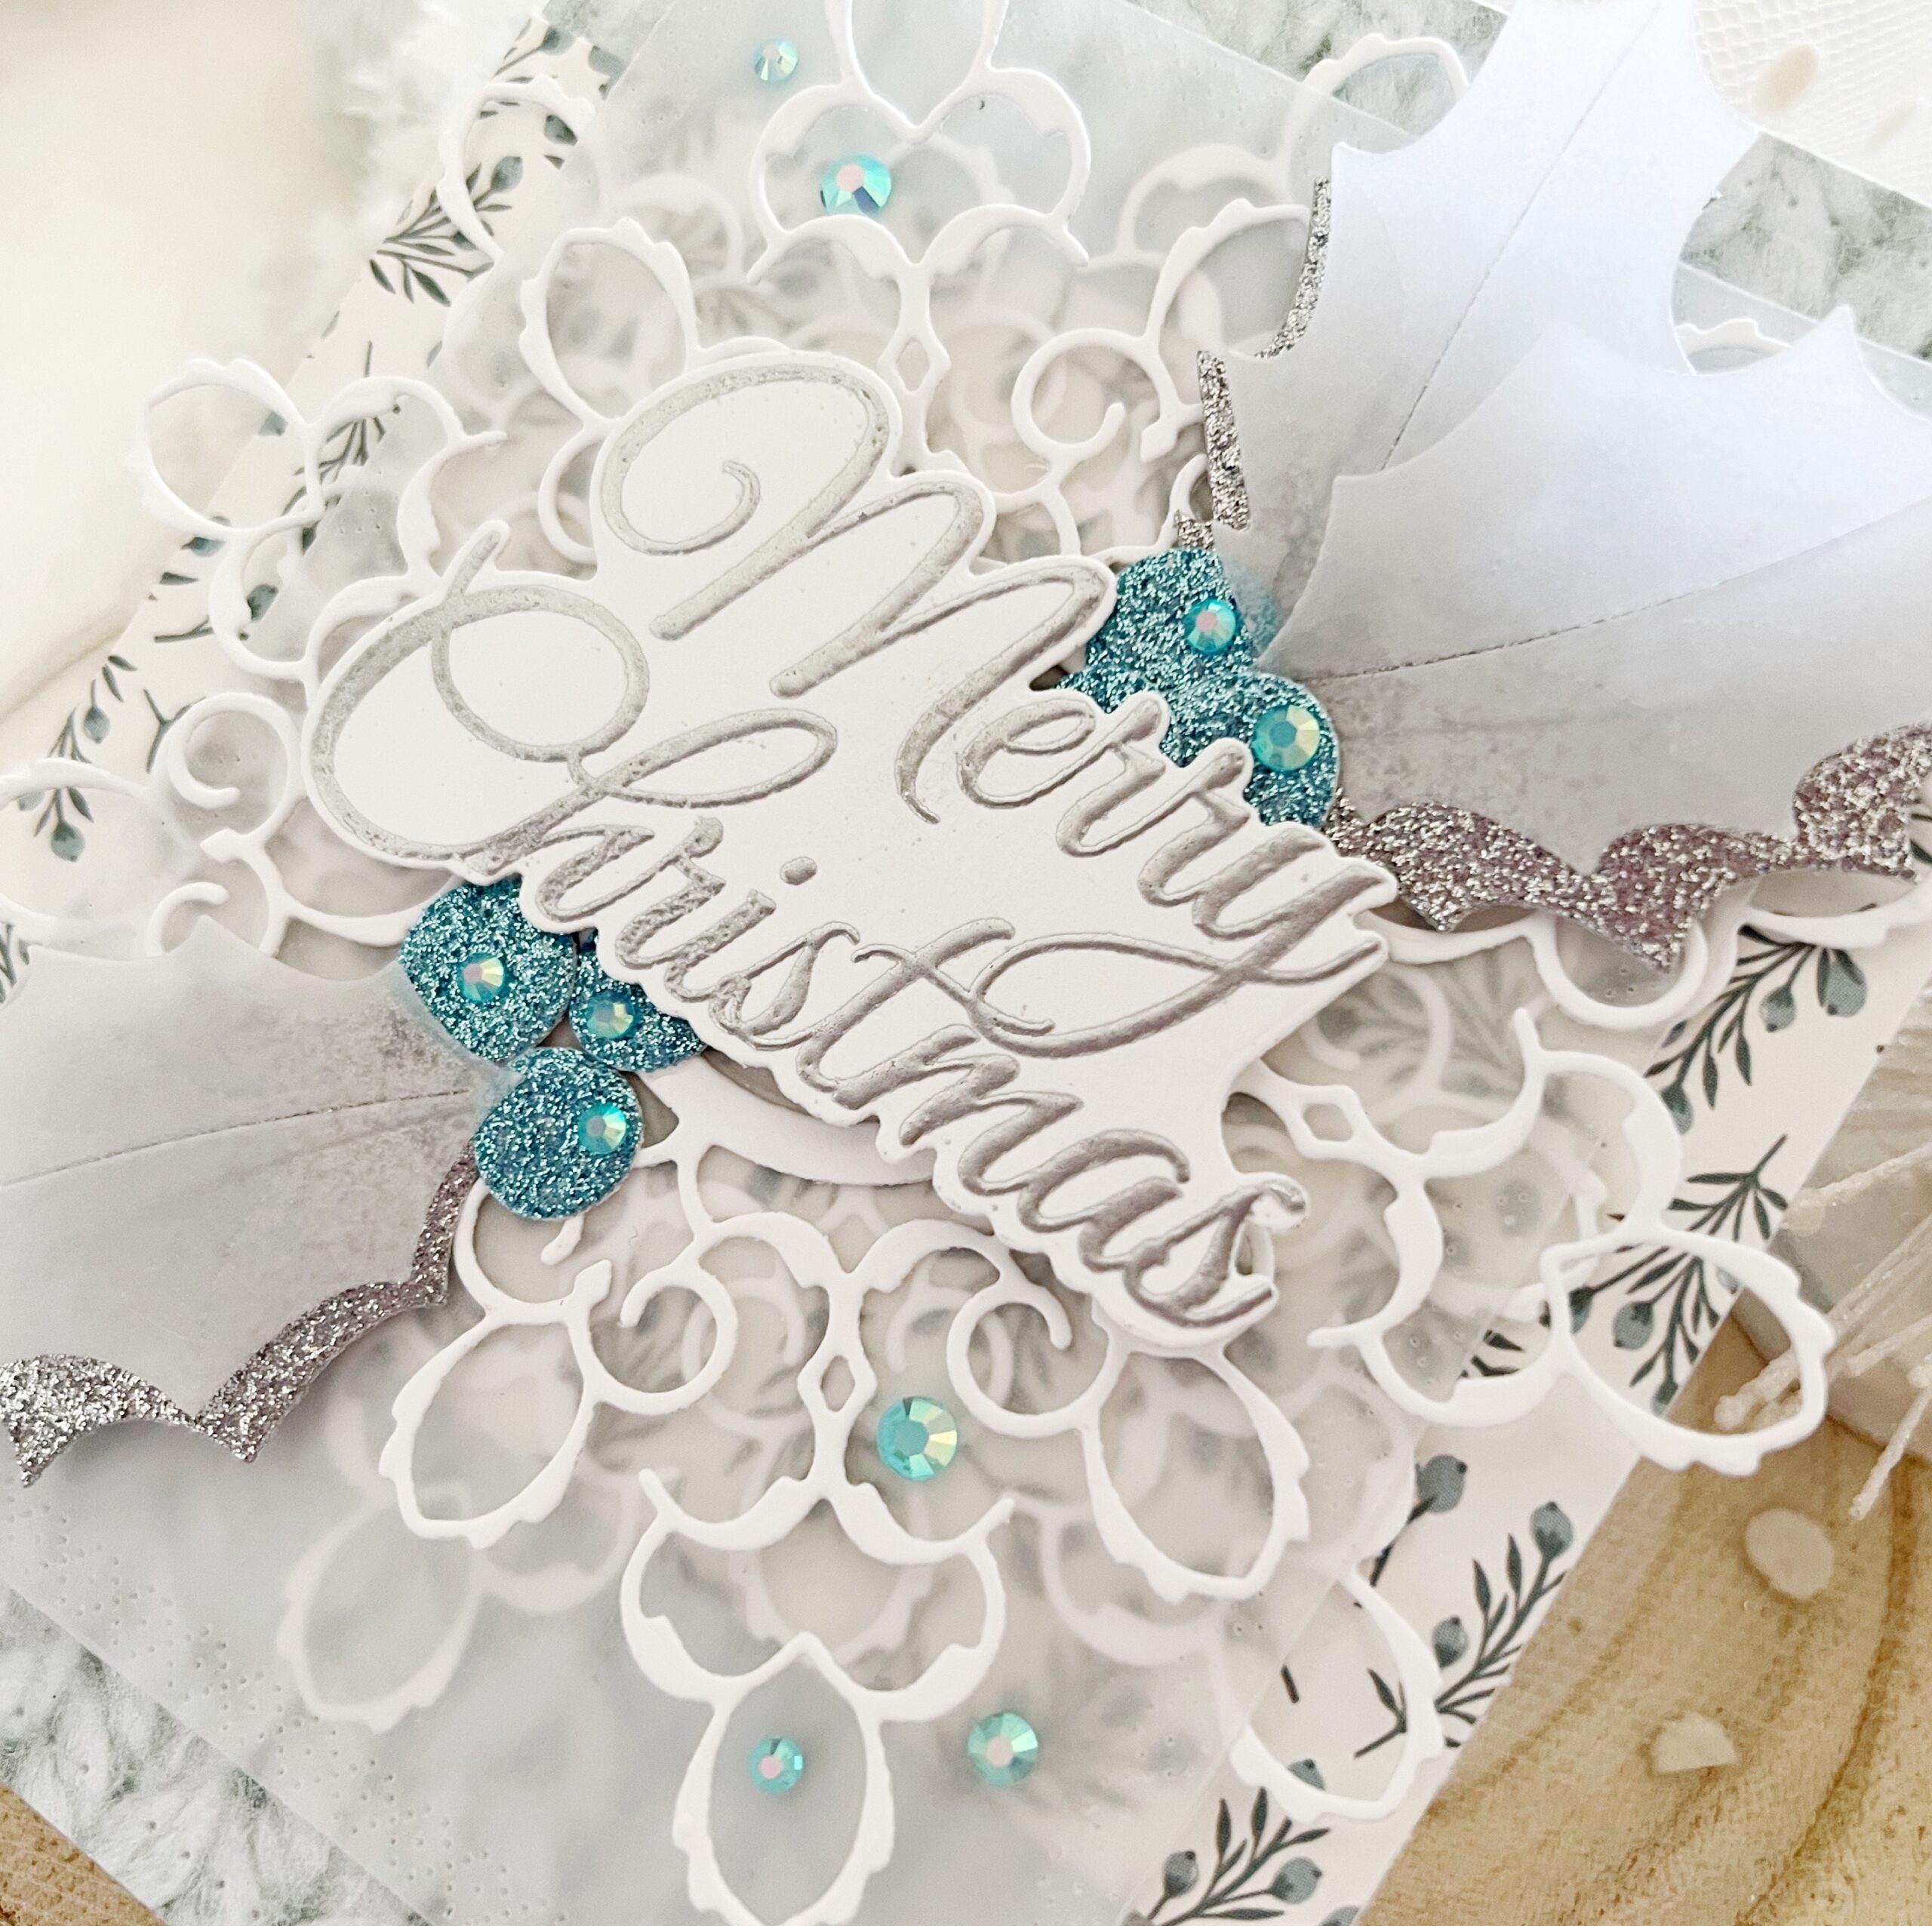
I die cut my snowflake twice, laying my bottom snowflake underneath my Love to Layer: Rectangle layer, followed by my second snowflake, offset over the top of my vellum. I embellished around my snowflake using holly berries and leaves using our new Into the Blooms: Holly dies.
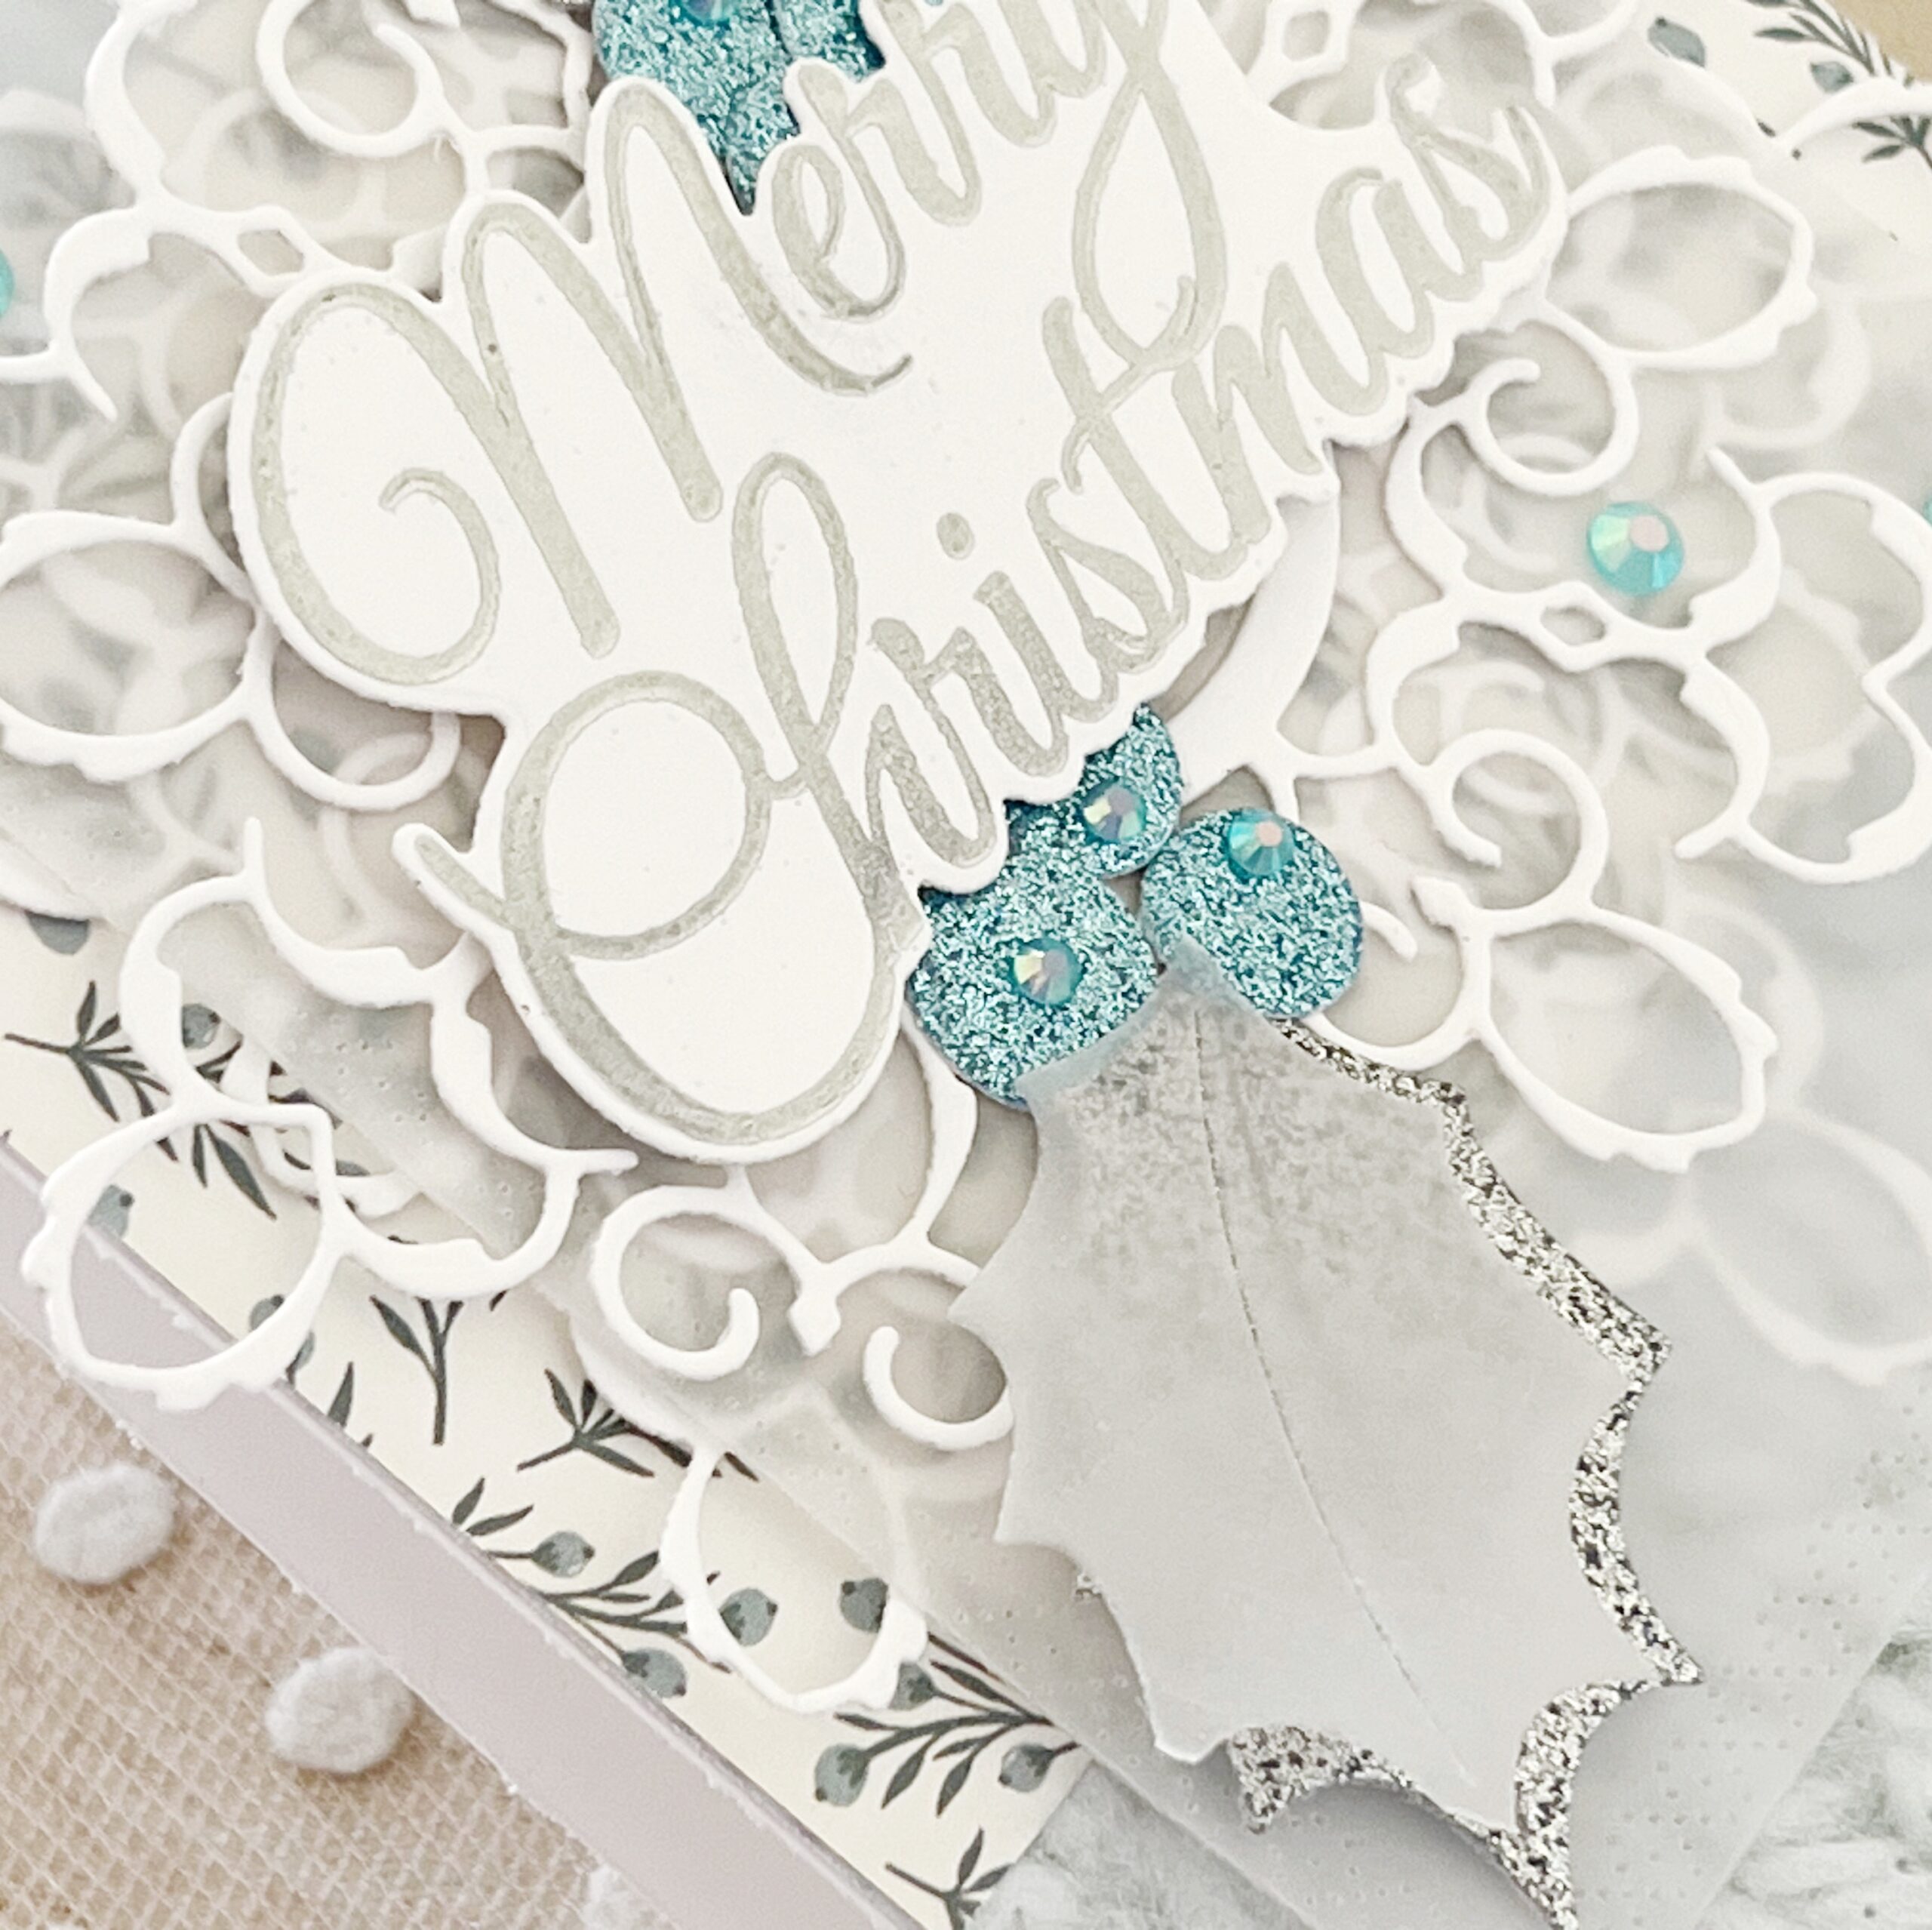
I centered my Christmas Your Way sentiment over the center of my snowflake after heat embossing it in silver. I just love that the Christmas Your Way sentiments come with coordinating die cuts. Creating for the holidays just got even easier and more fun!
Supply List:
STAMPS: Christmas Your Way
PAPER: Stamper’s Select White, Sheery Basics Vellum
DIES: Fancy Snowflake Frame, Christmas Your Way, Into the Blooms: Holly, Love to Layer: Rectangles
OTHER: glitter cardstock, patterned paper, adhesive gems


TIPS:
- Use Stickles to add glitter the snowflake frame.
- A frame adds the finishing touch to a card.
- Use vellum to soften the background.

TIPS:
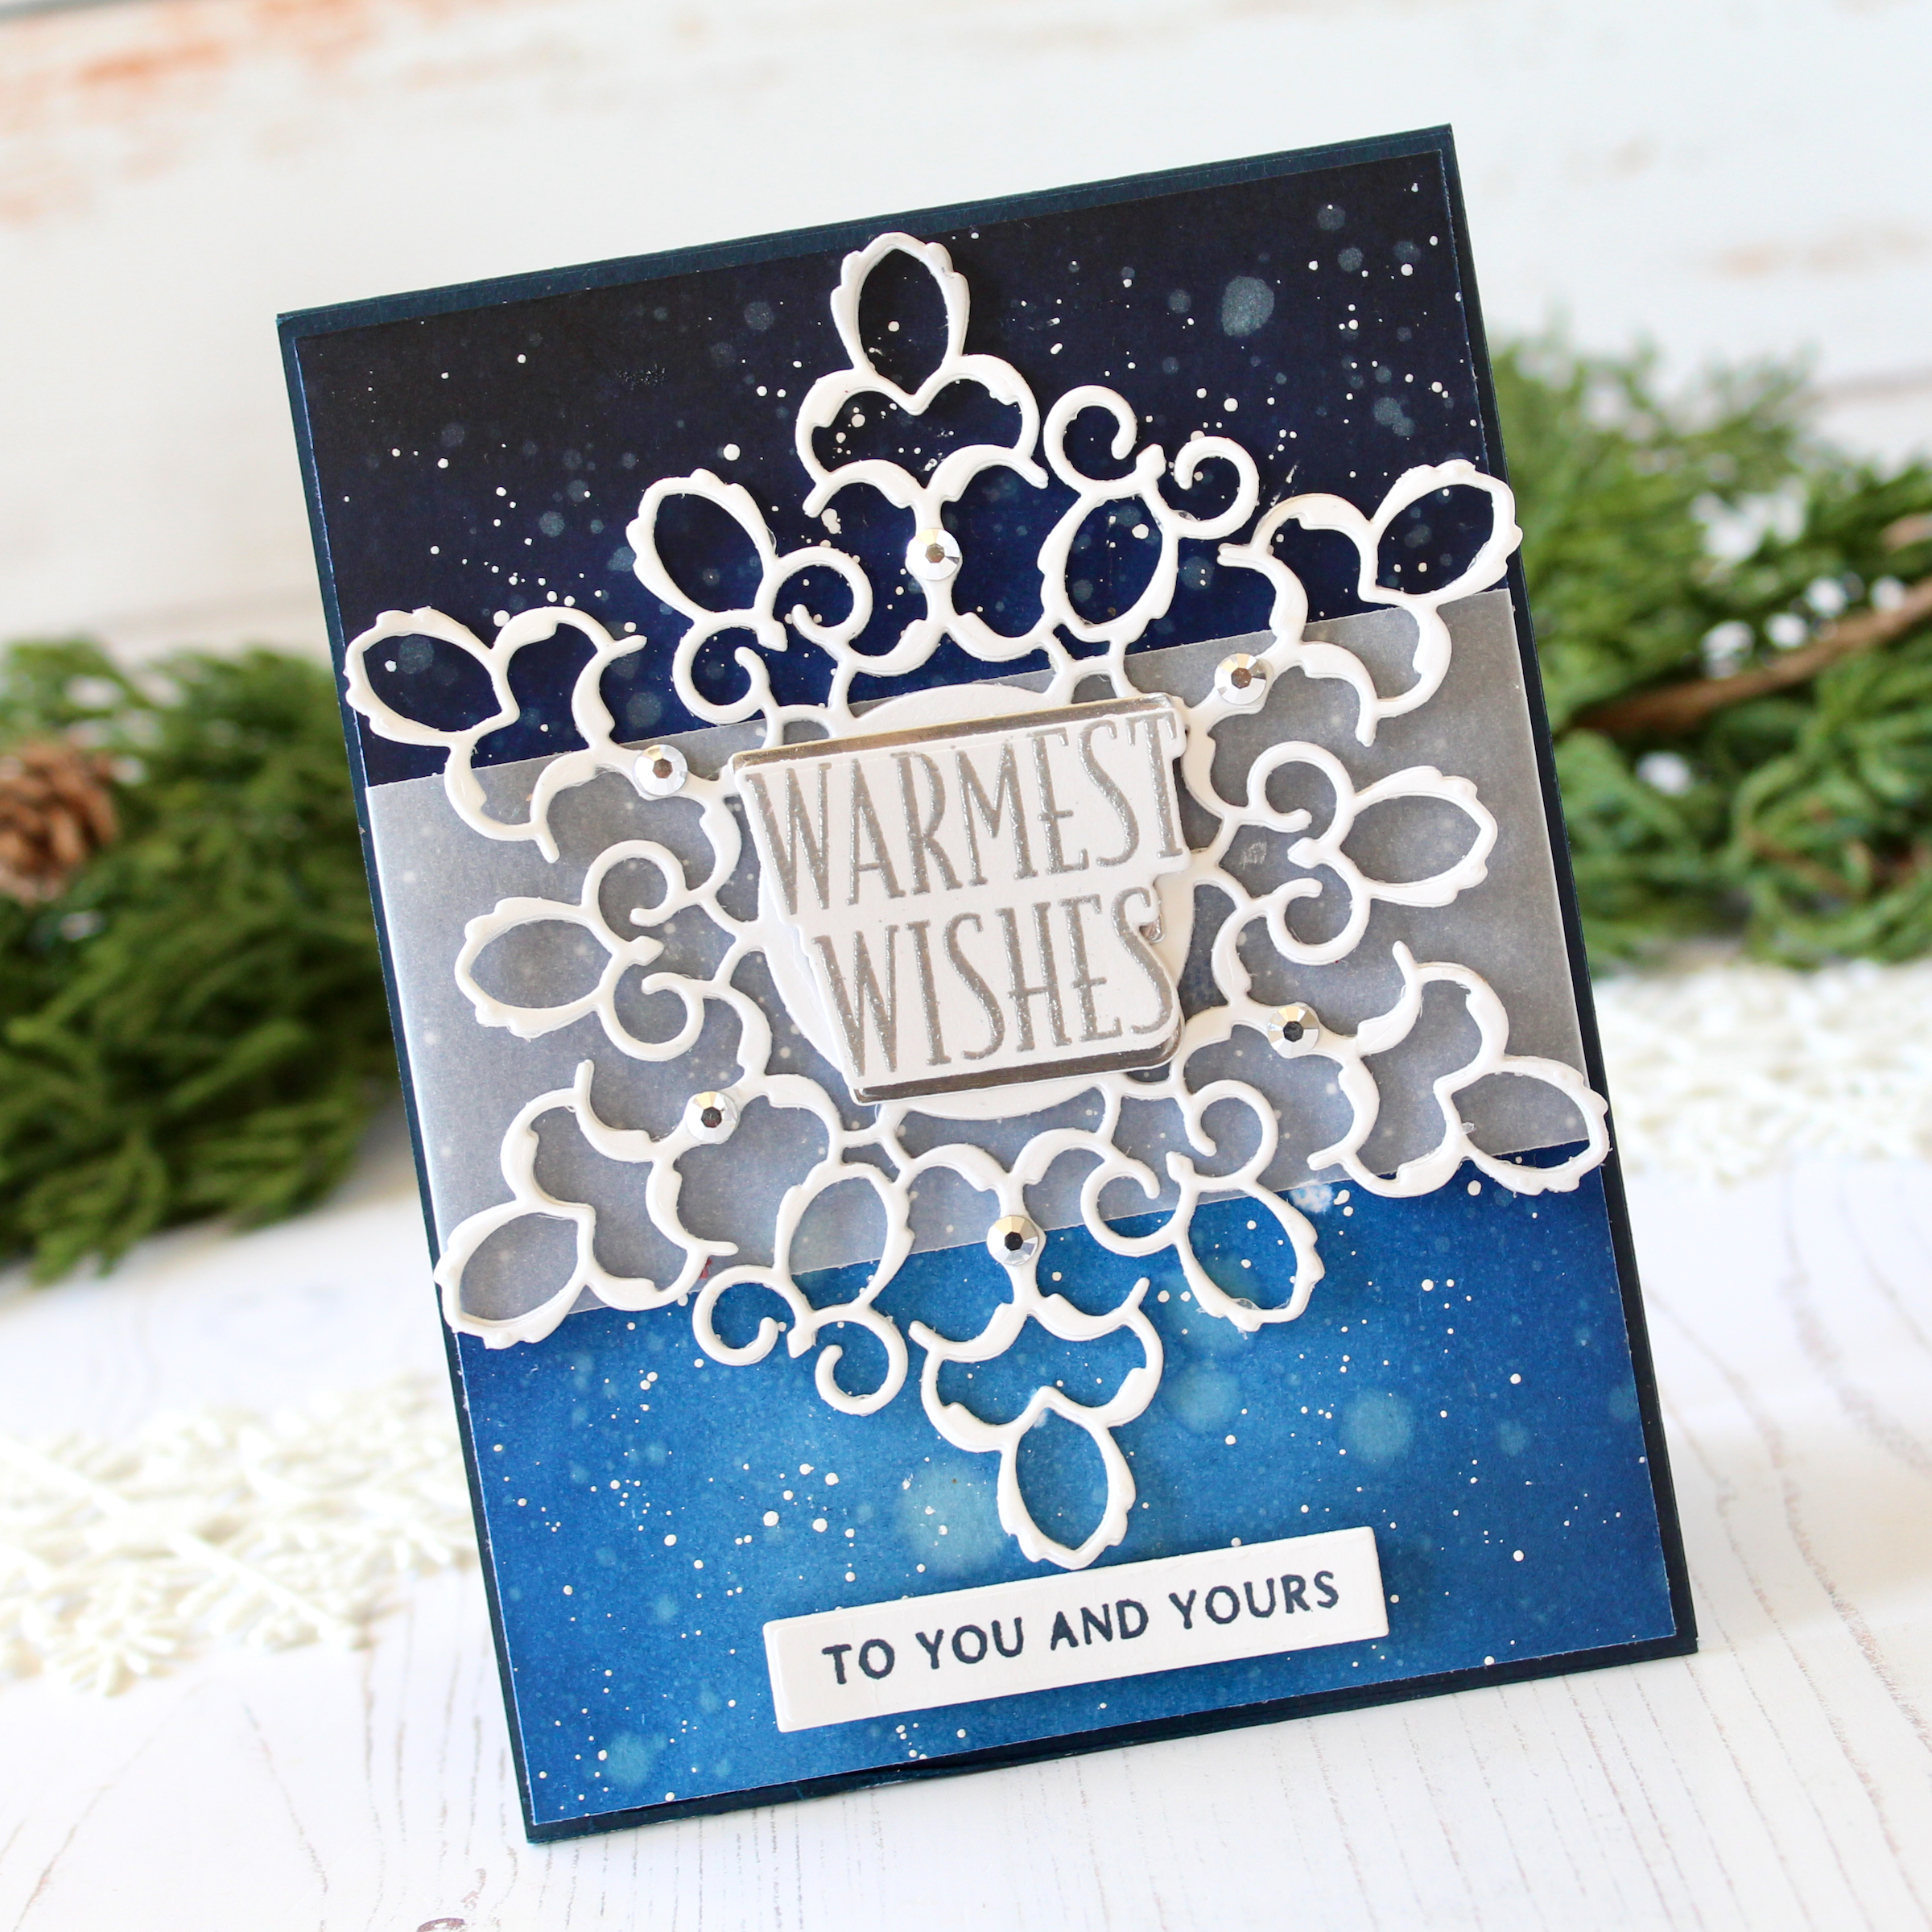
- After blending the ink to create the night sky spritz with water and lightly splatter white paint.
- Stamp the sentiment in Versamark Ink and emboss with silver embossing powder to add the elegance of the snowflake.
- Add a few silver jewels to add some bling
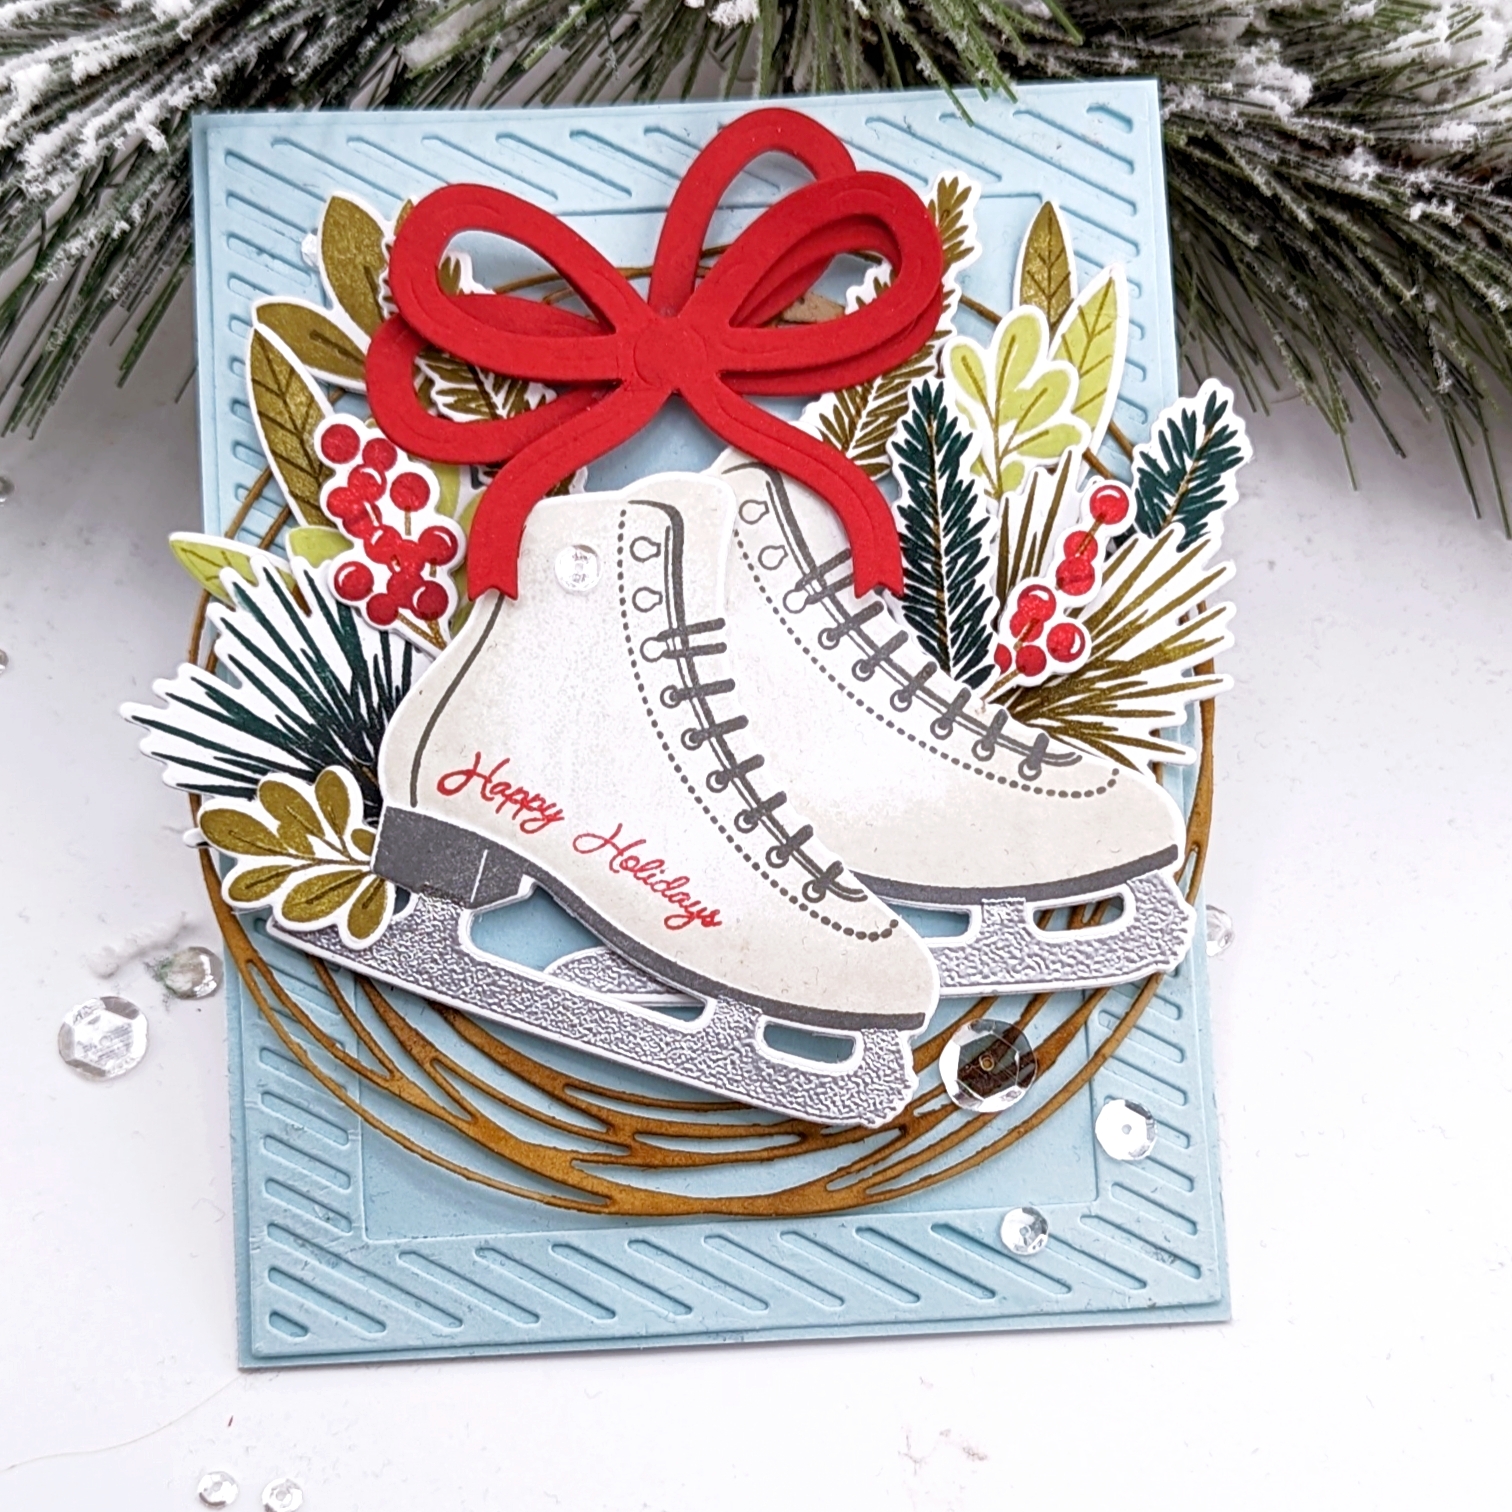
TIPS:
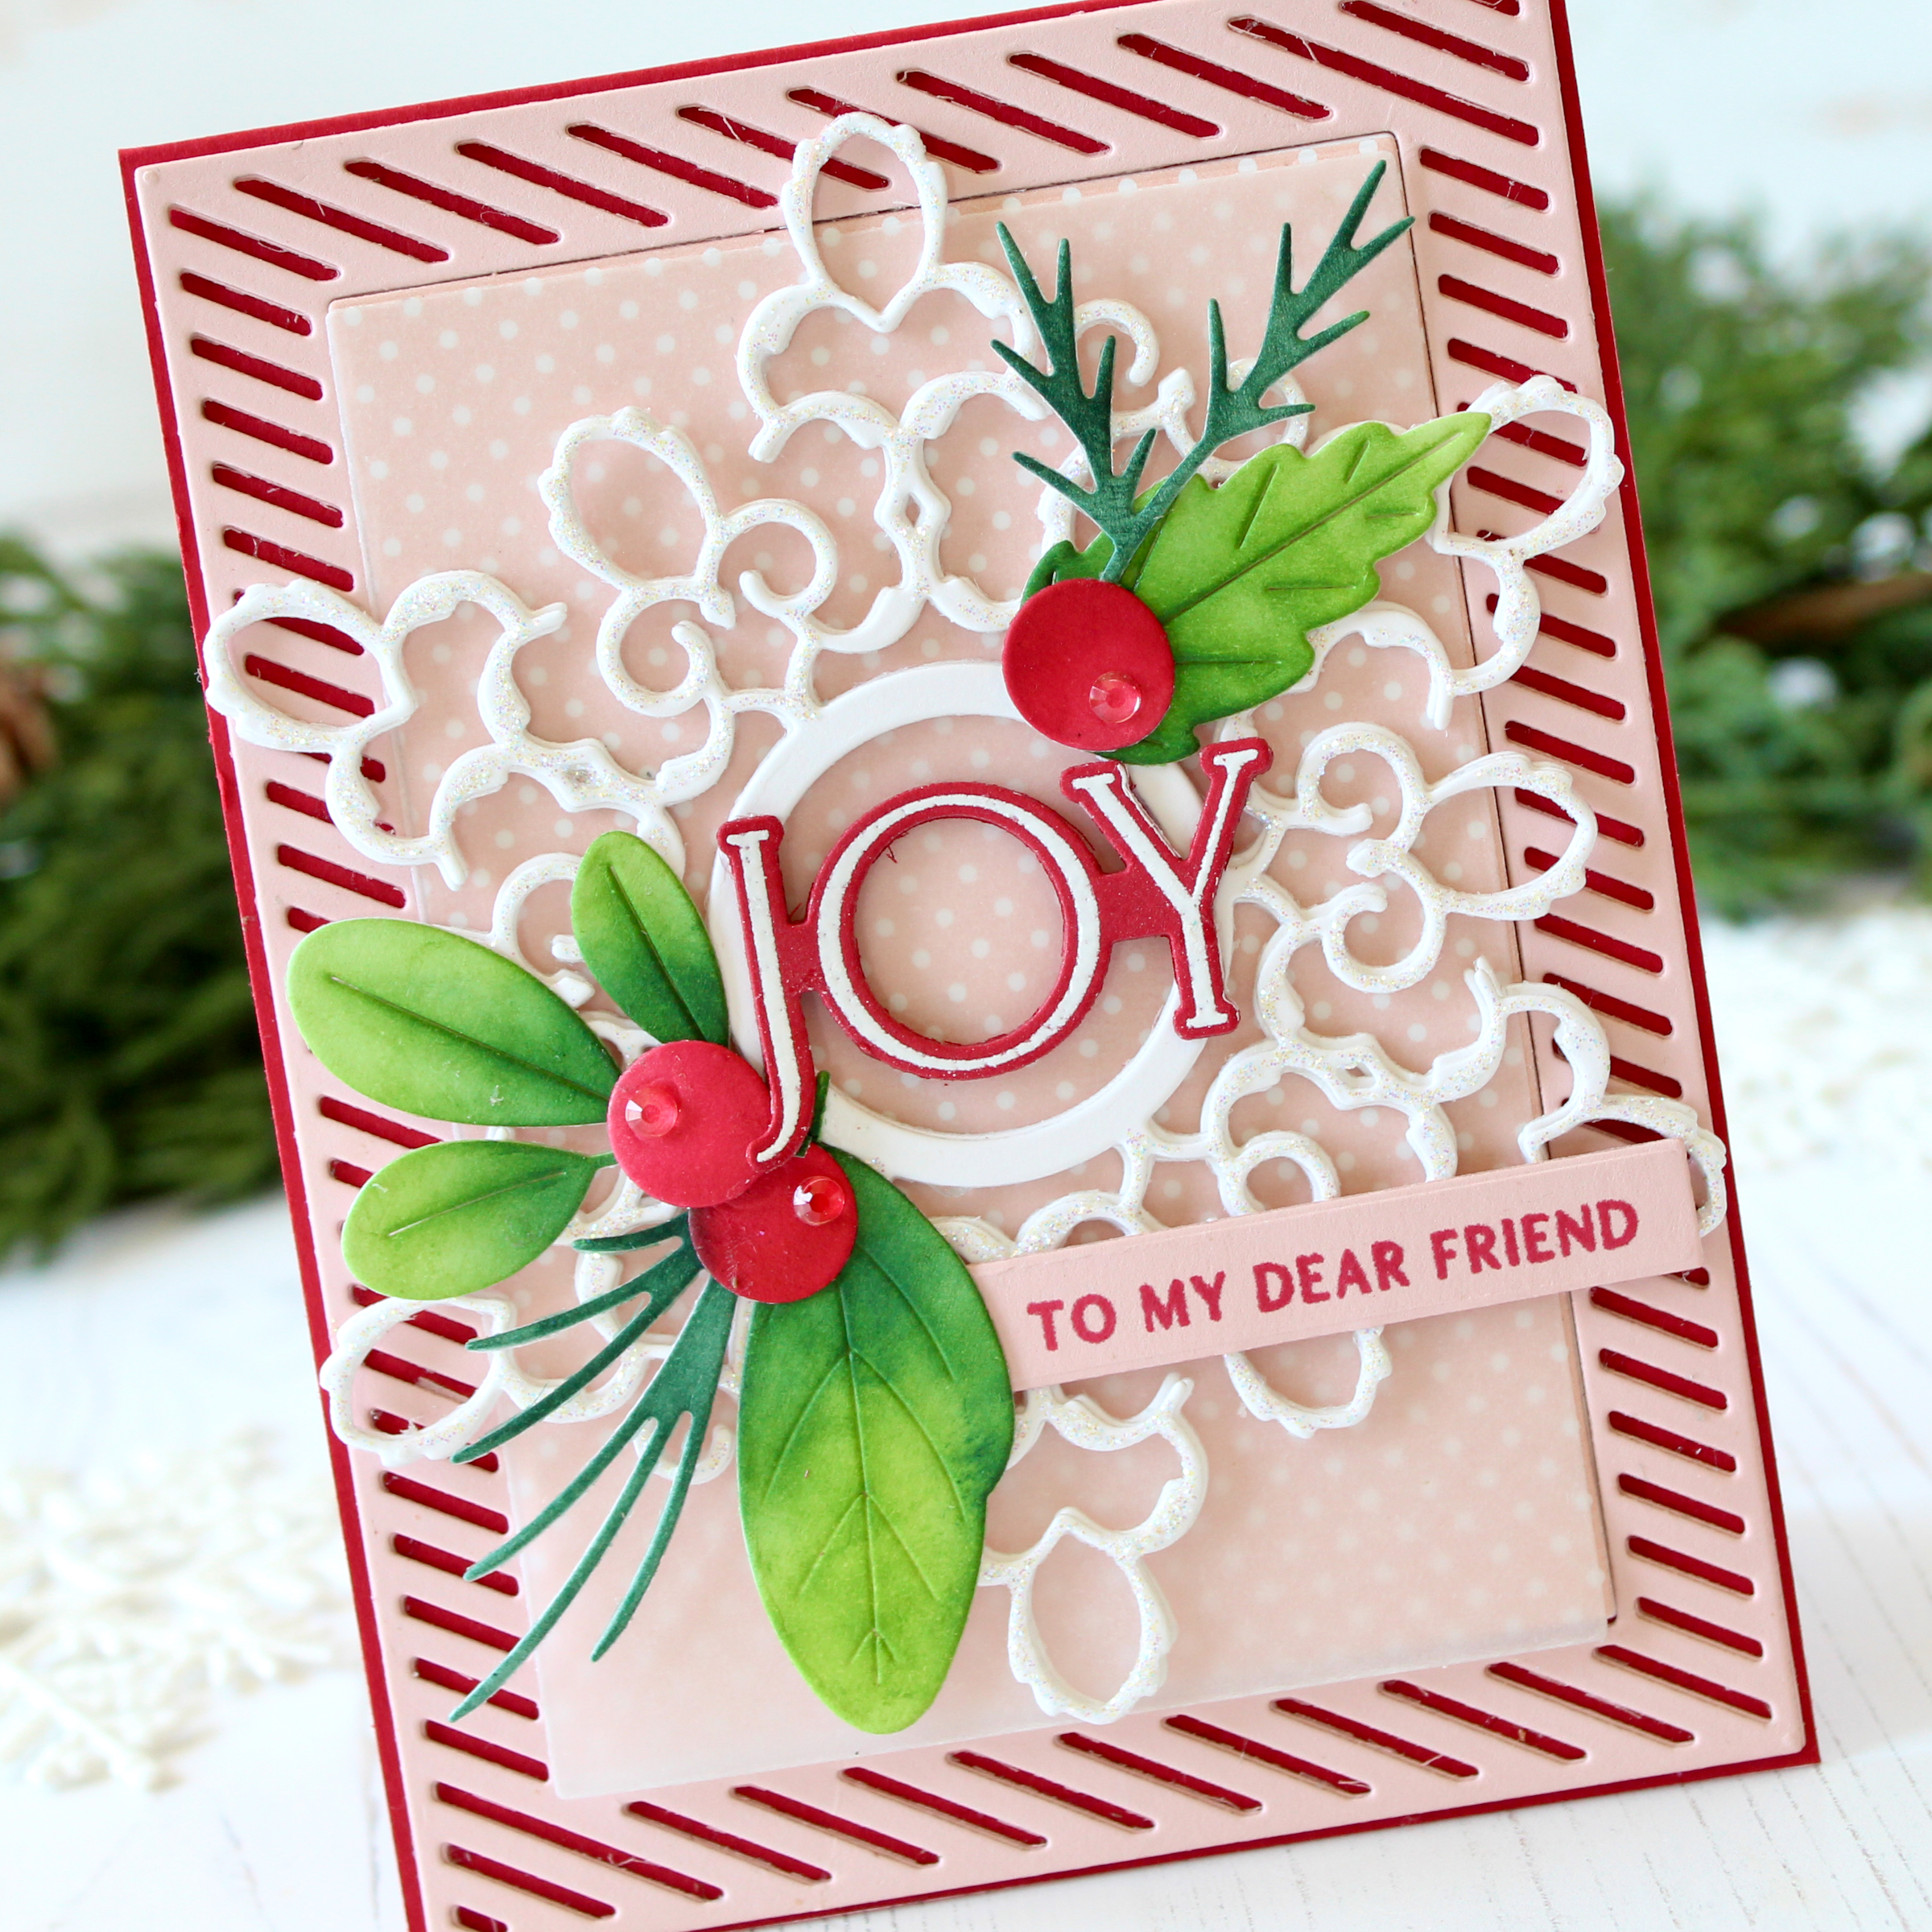
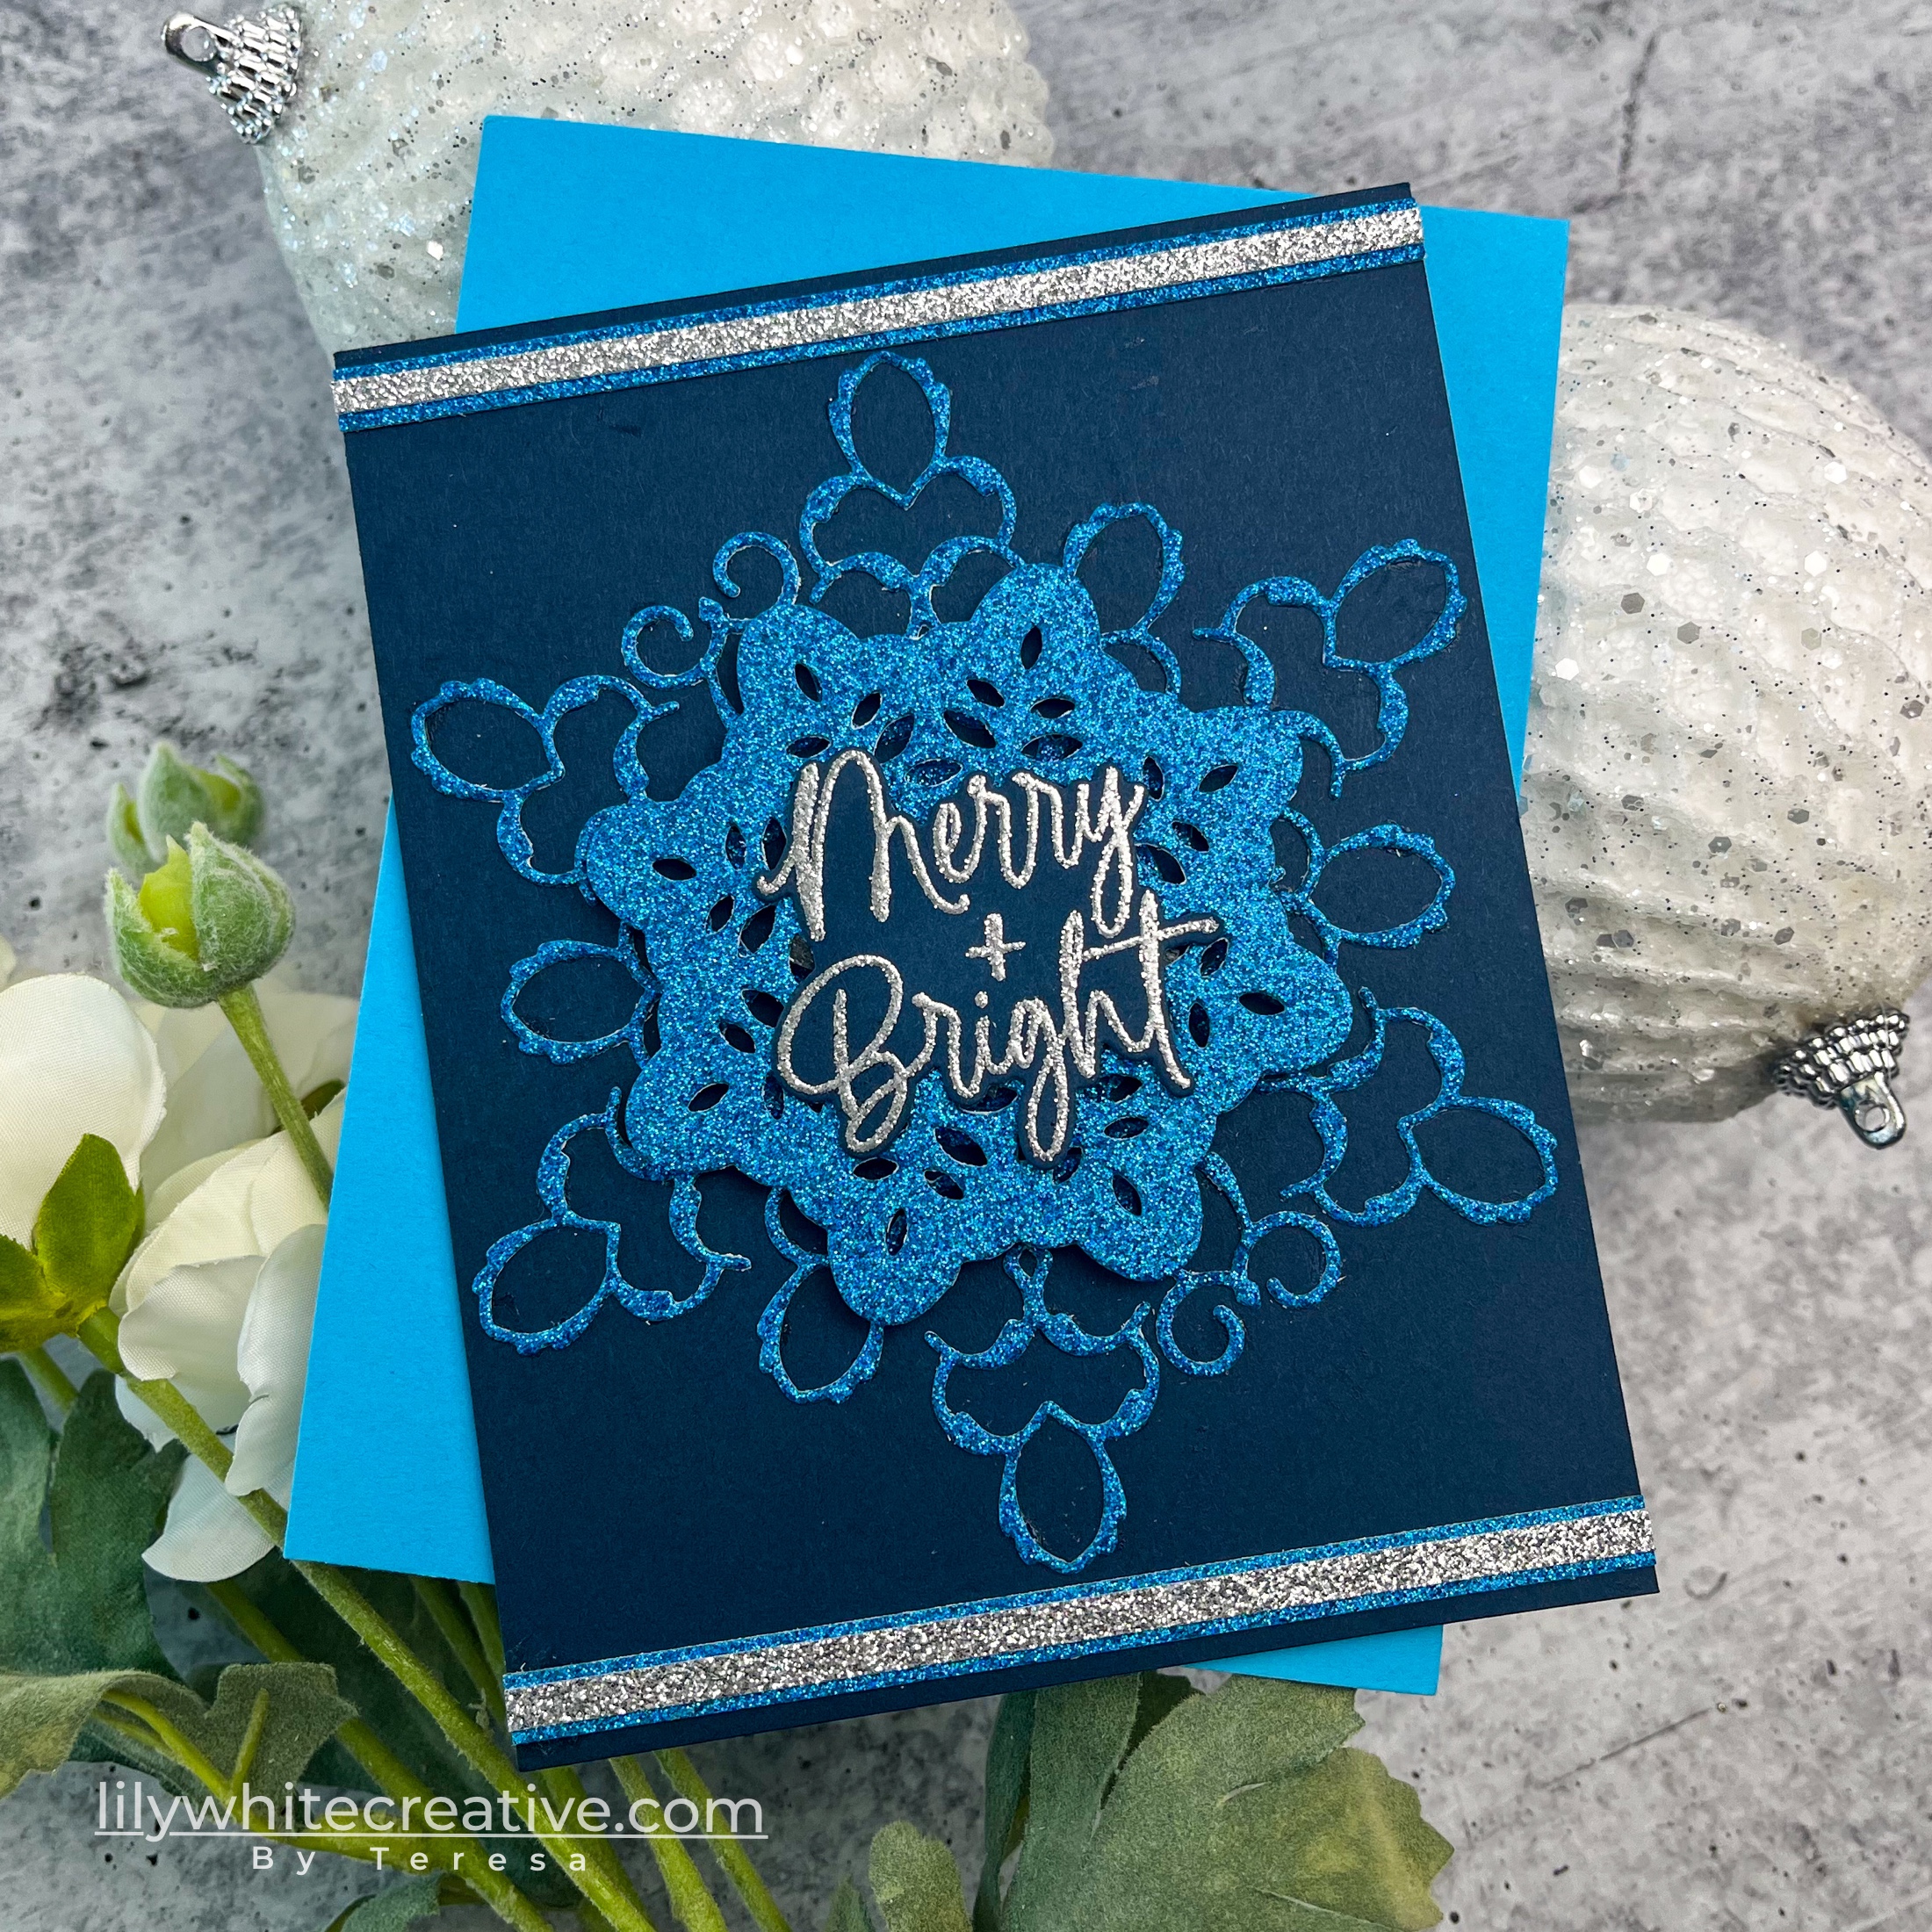
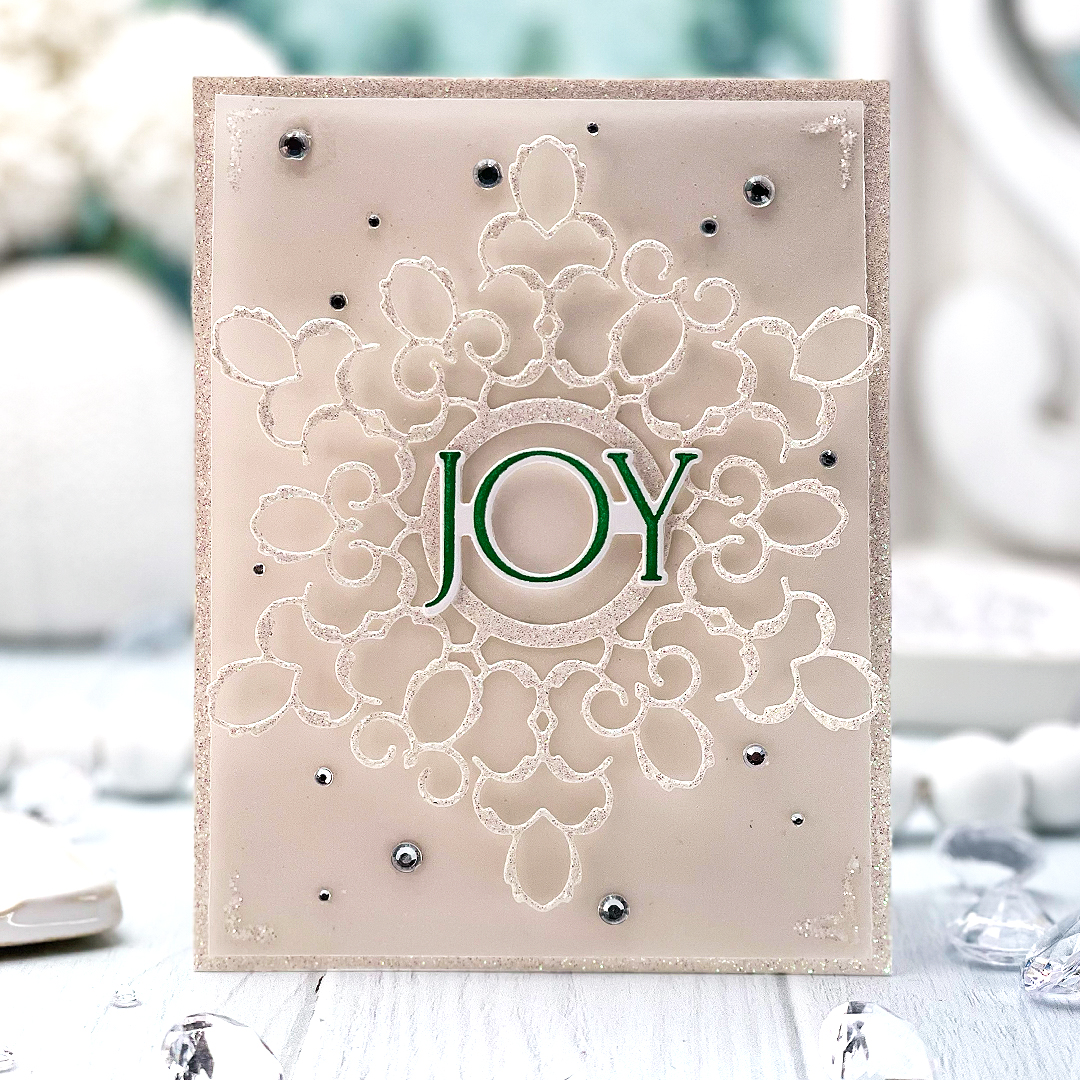
- Let this beautiful snowflake “steal the show” and keep your layers and embellishments to a minimum.
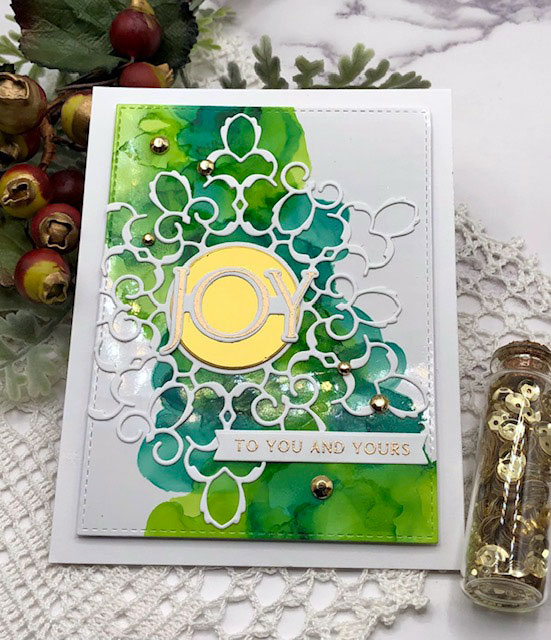
- Echo the gold embossing with gold gems for some extra sparkle.

TIPS:
- You may find that passing an intricate die through your machine at least two times will produce better results.
- Adding sparkle (Crystal Stickles, fine glitter, shimmer spray, etc.) to the snowflake will really make it pop!
We hope you have enjoyed all the beautiful projects that we have shared with you today! We would love to hear what you think of everything we have introduced! Please leave a comment on this post to tell us what you like the most and why, and you will be eligible to win big!

Leave a comment today and you will be automatically entered to win a $50 Papertrey Ink gift certificate! You have until 10am ET, October 21st to leave your comment and be eligible to win. Only one comment per person please. One randomly selected winner will be posted on the October Release Winners Page by 11 PM ET on October 24th.


Leave a Reply