


Welcome to day 3 of the August countdown. Here at Papertrey Ink we love to bring you tons of variety. If you like more simple designs or something a little more challenging, we have you covered. Each of our newly released products can be used in so many different ways to fit your particular style, we are excited to show you how they come to life!
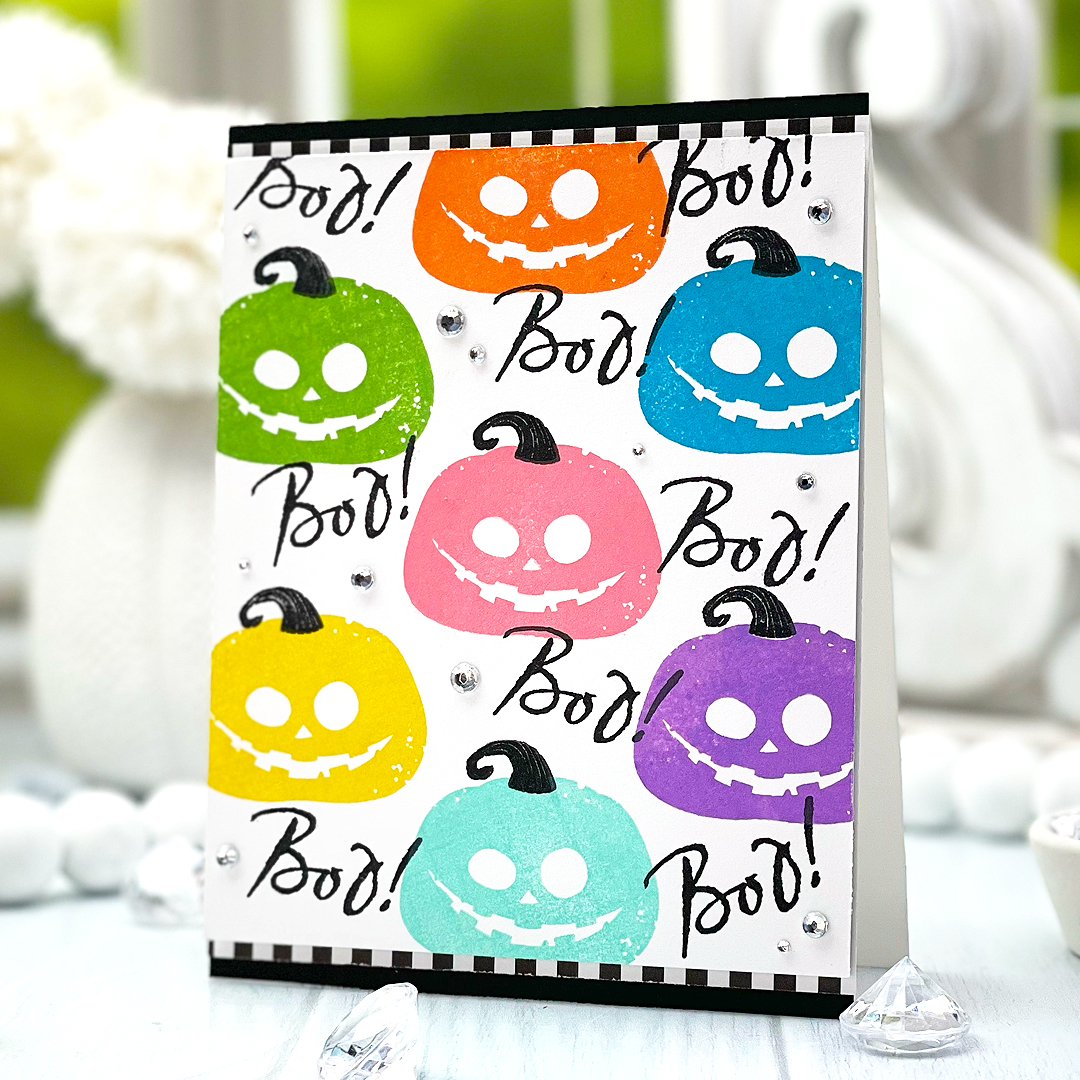
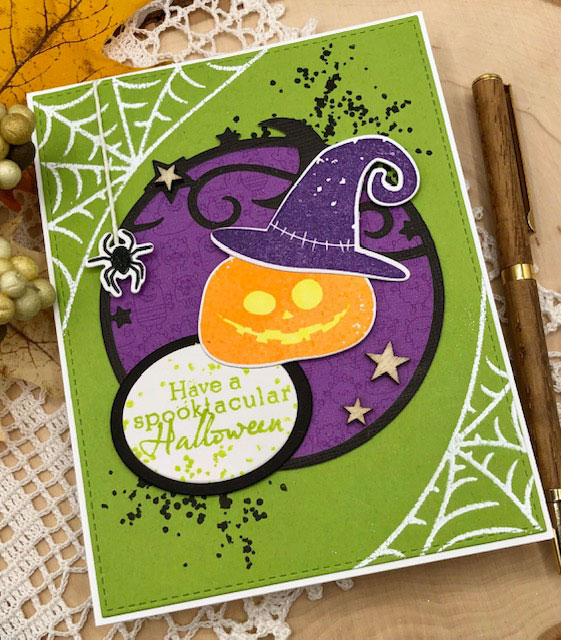
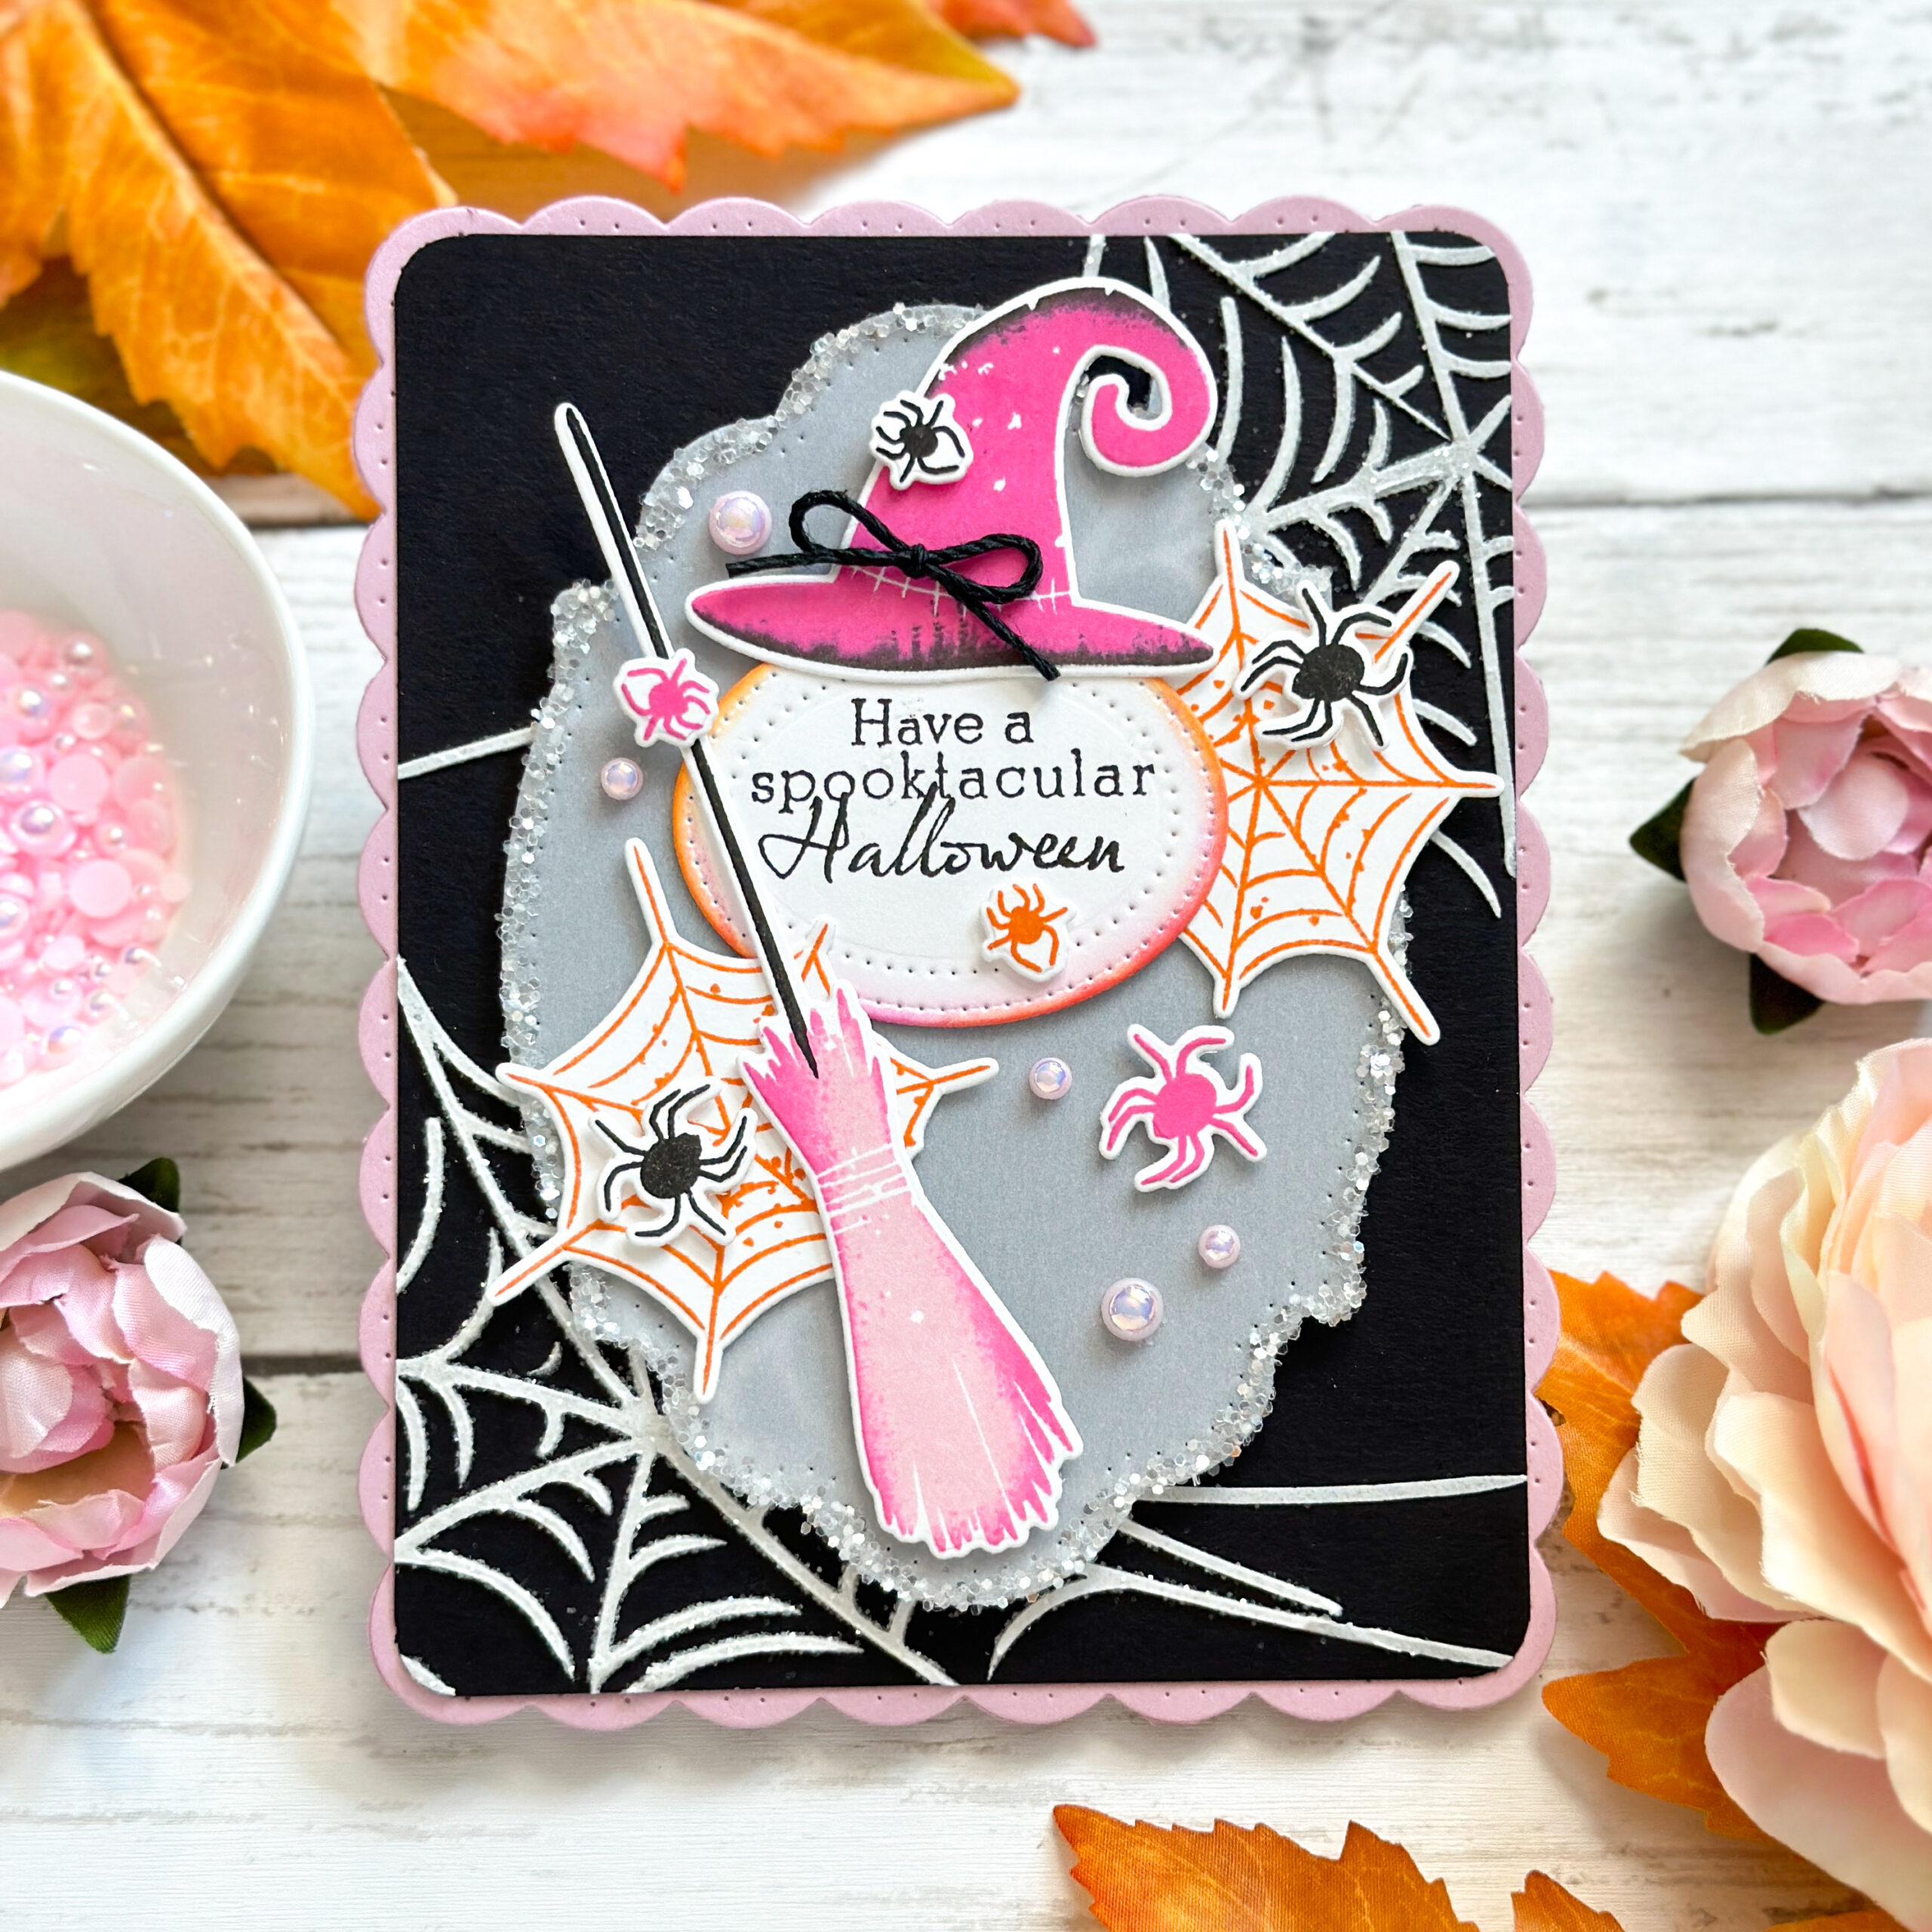
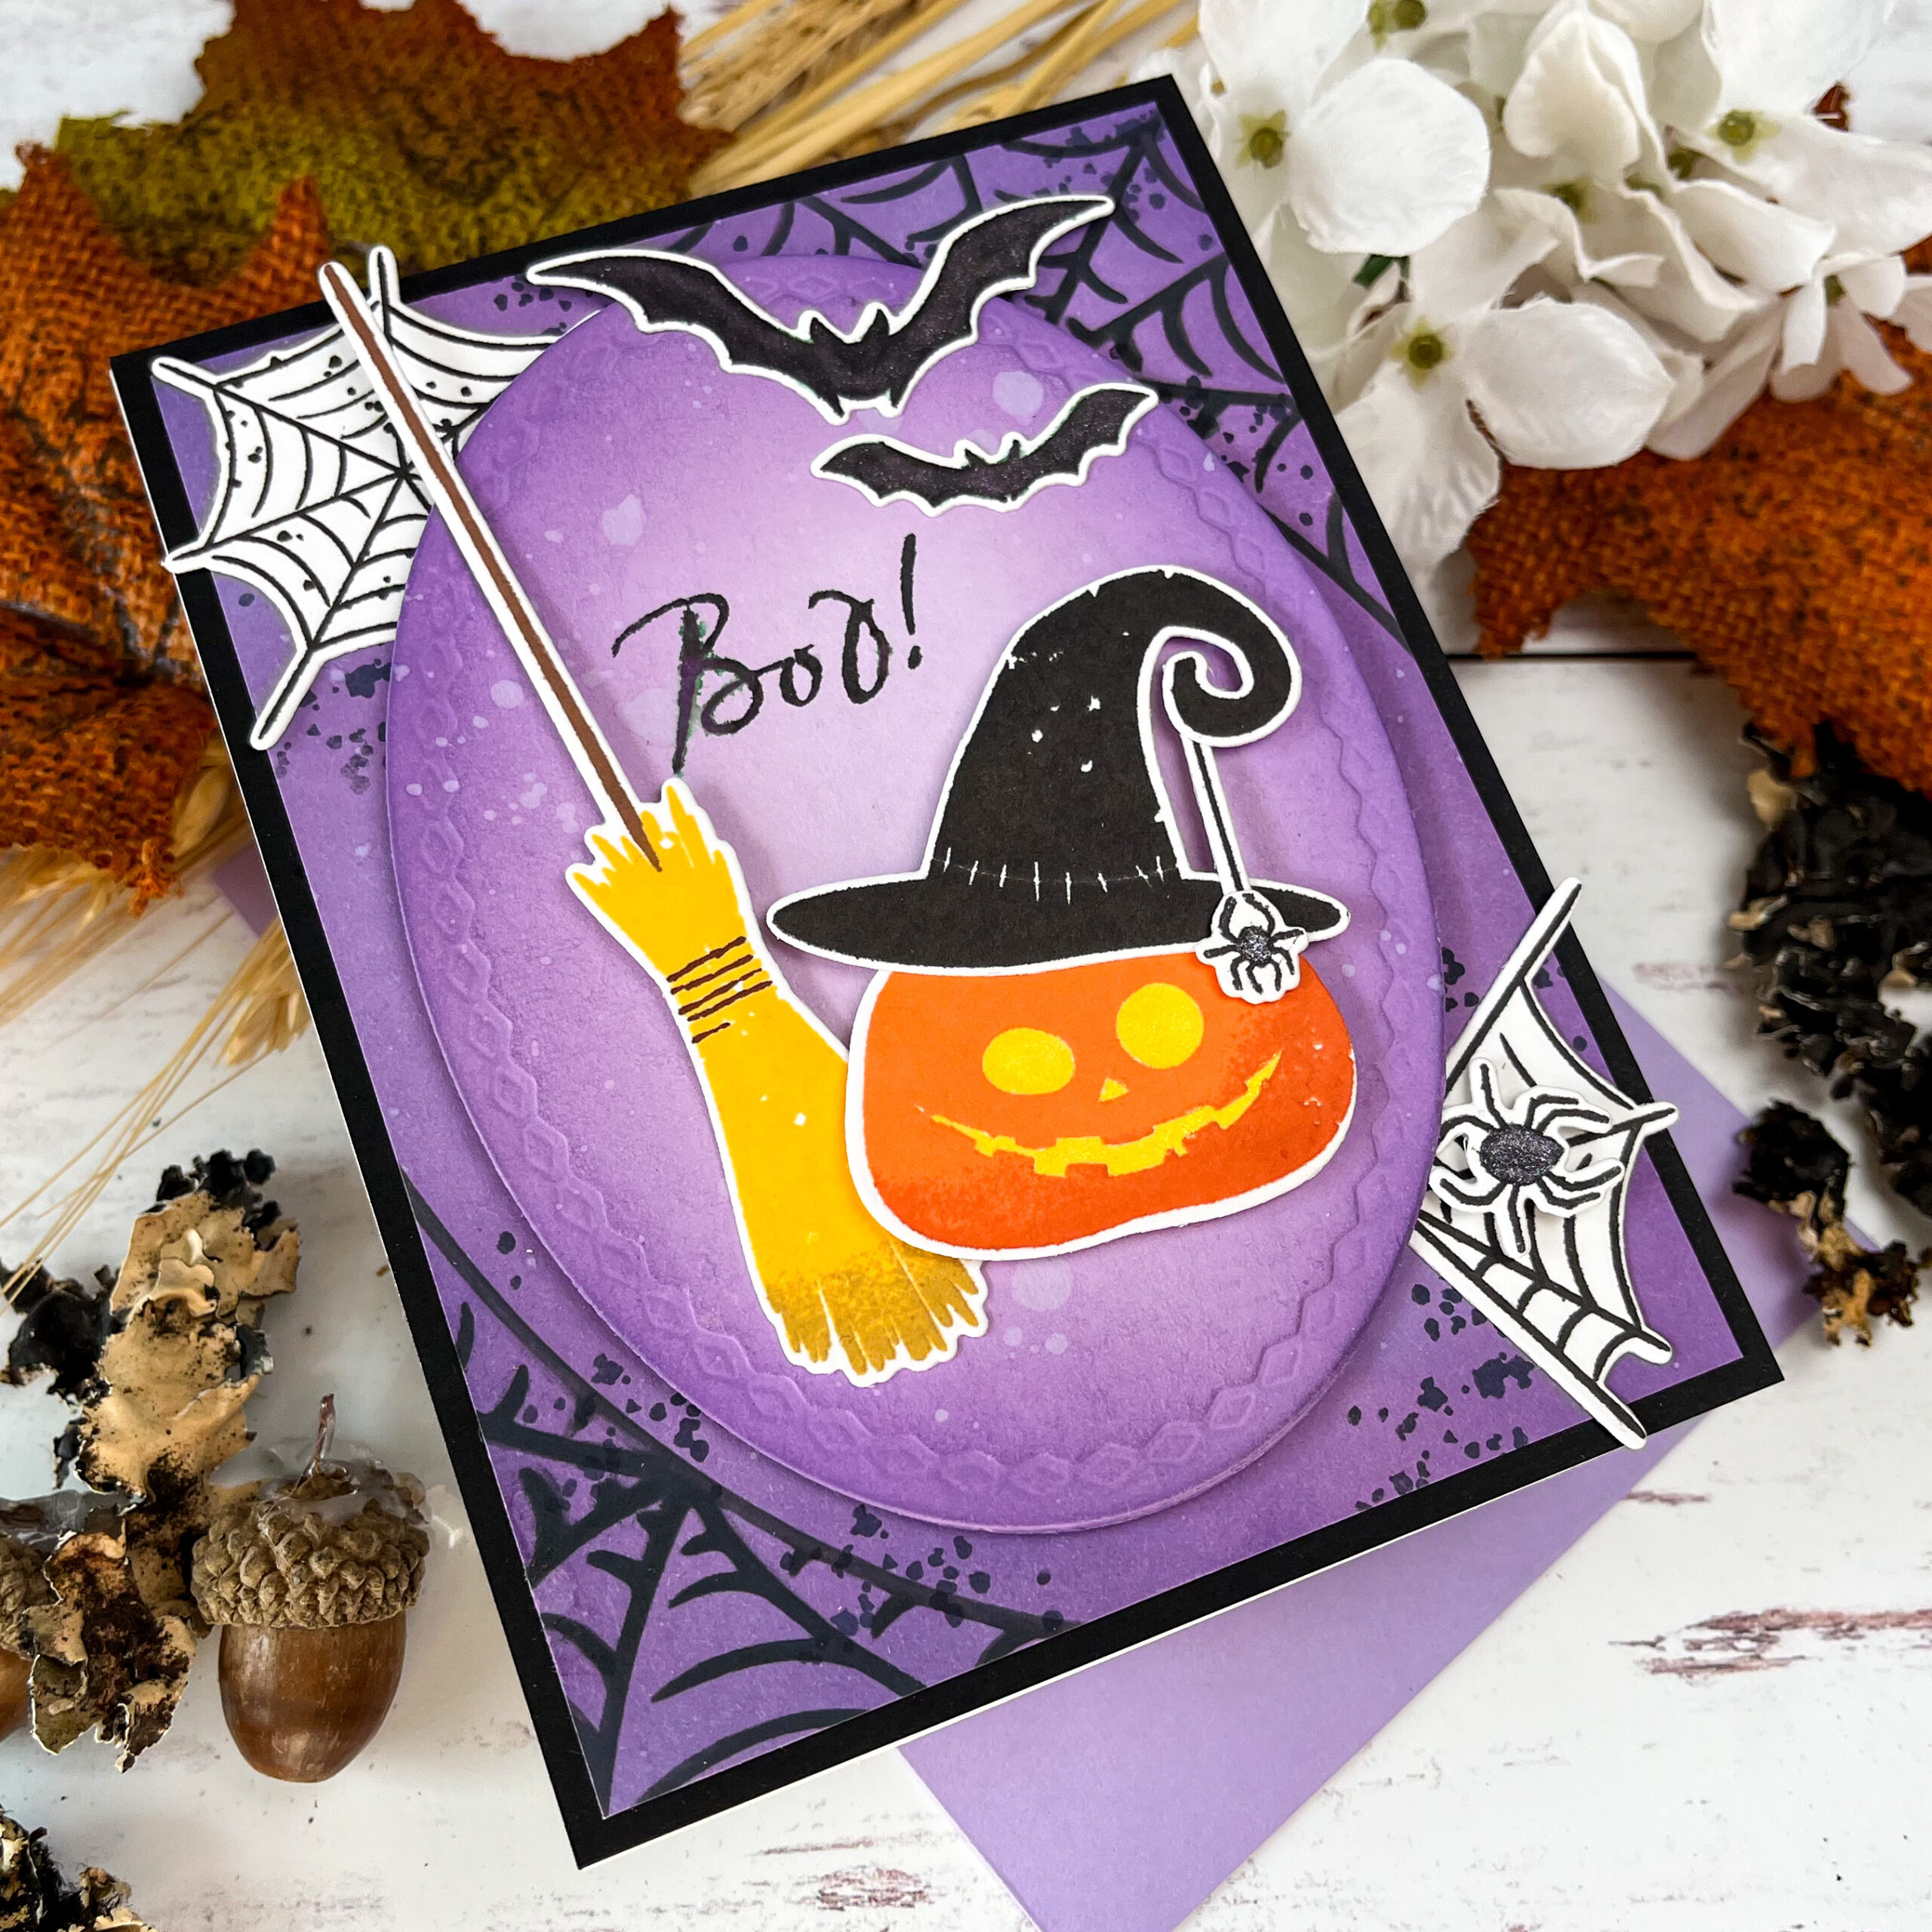
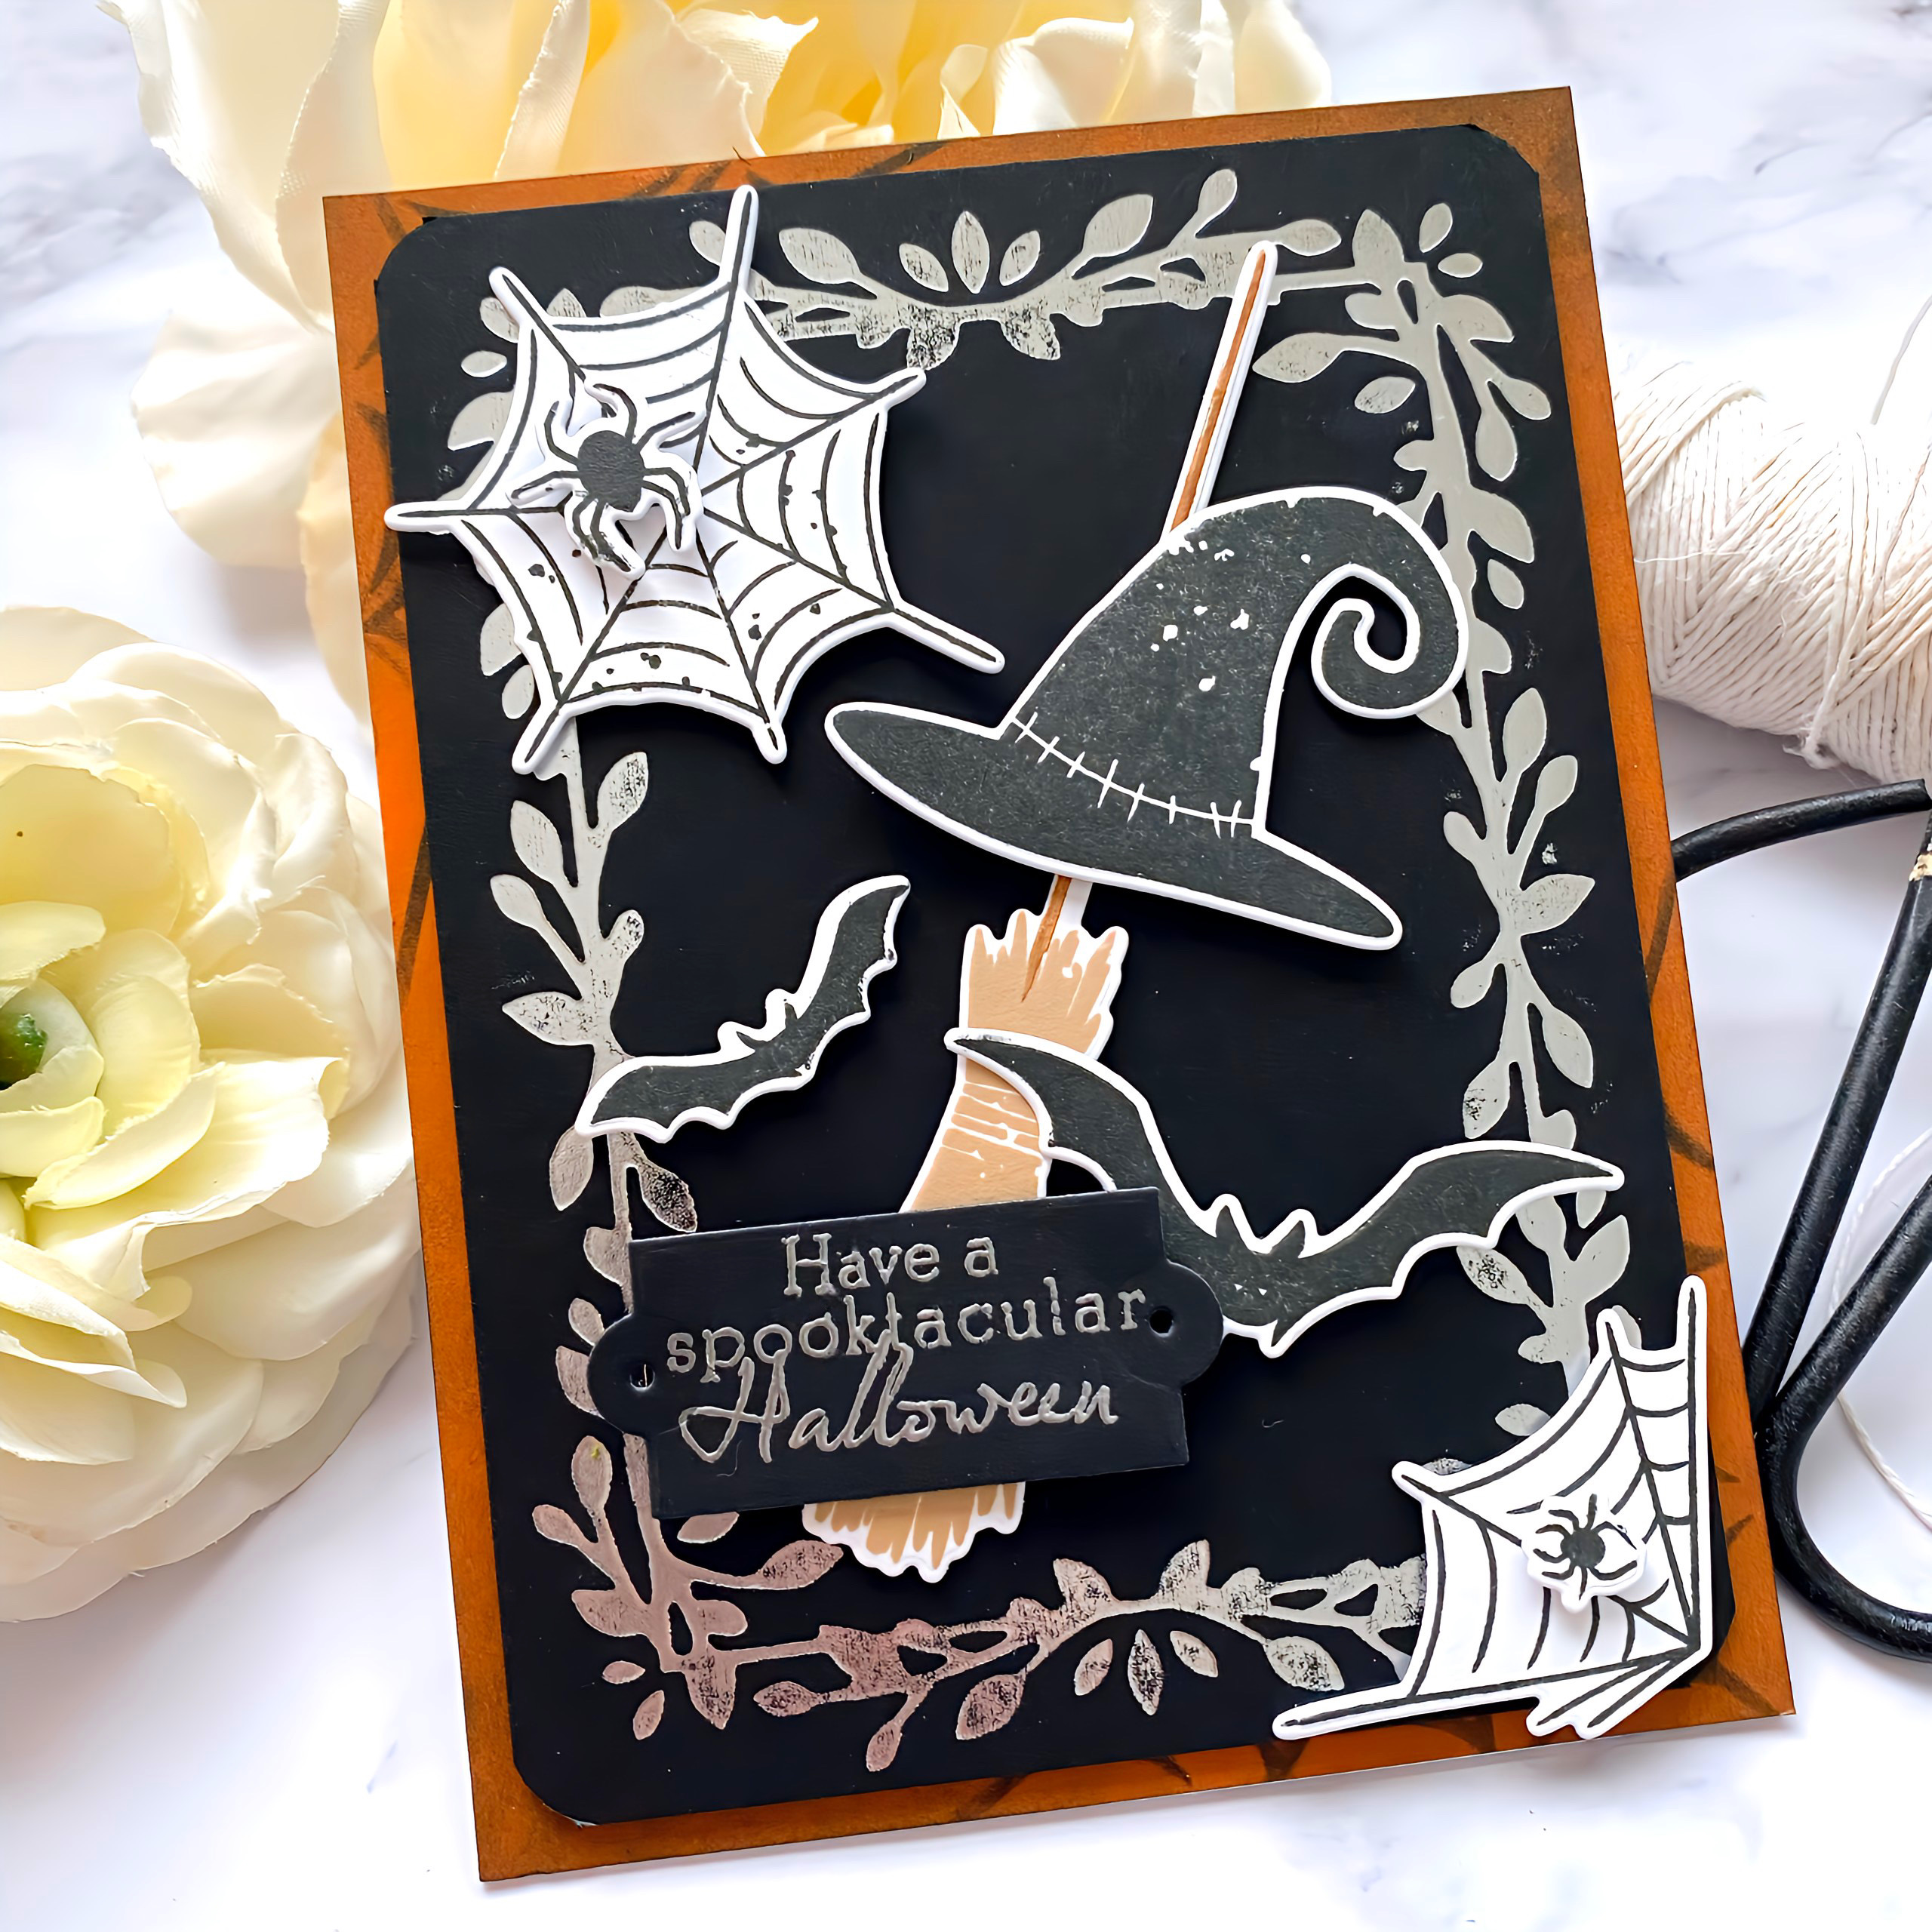
Hi, it’s Melissa, and I’m so excited to share our new products with you. We absolutely love bringing you the most amazing images made from the highest quality materials for you to add to your creative toolkit. I’m going to show you what I created with these wonderful products and then we’ll show you what the other designers made. The card below was created using our new Spider Web Stencils and Spooky Halloween stamp set and dies.
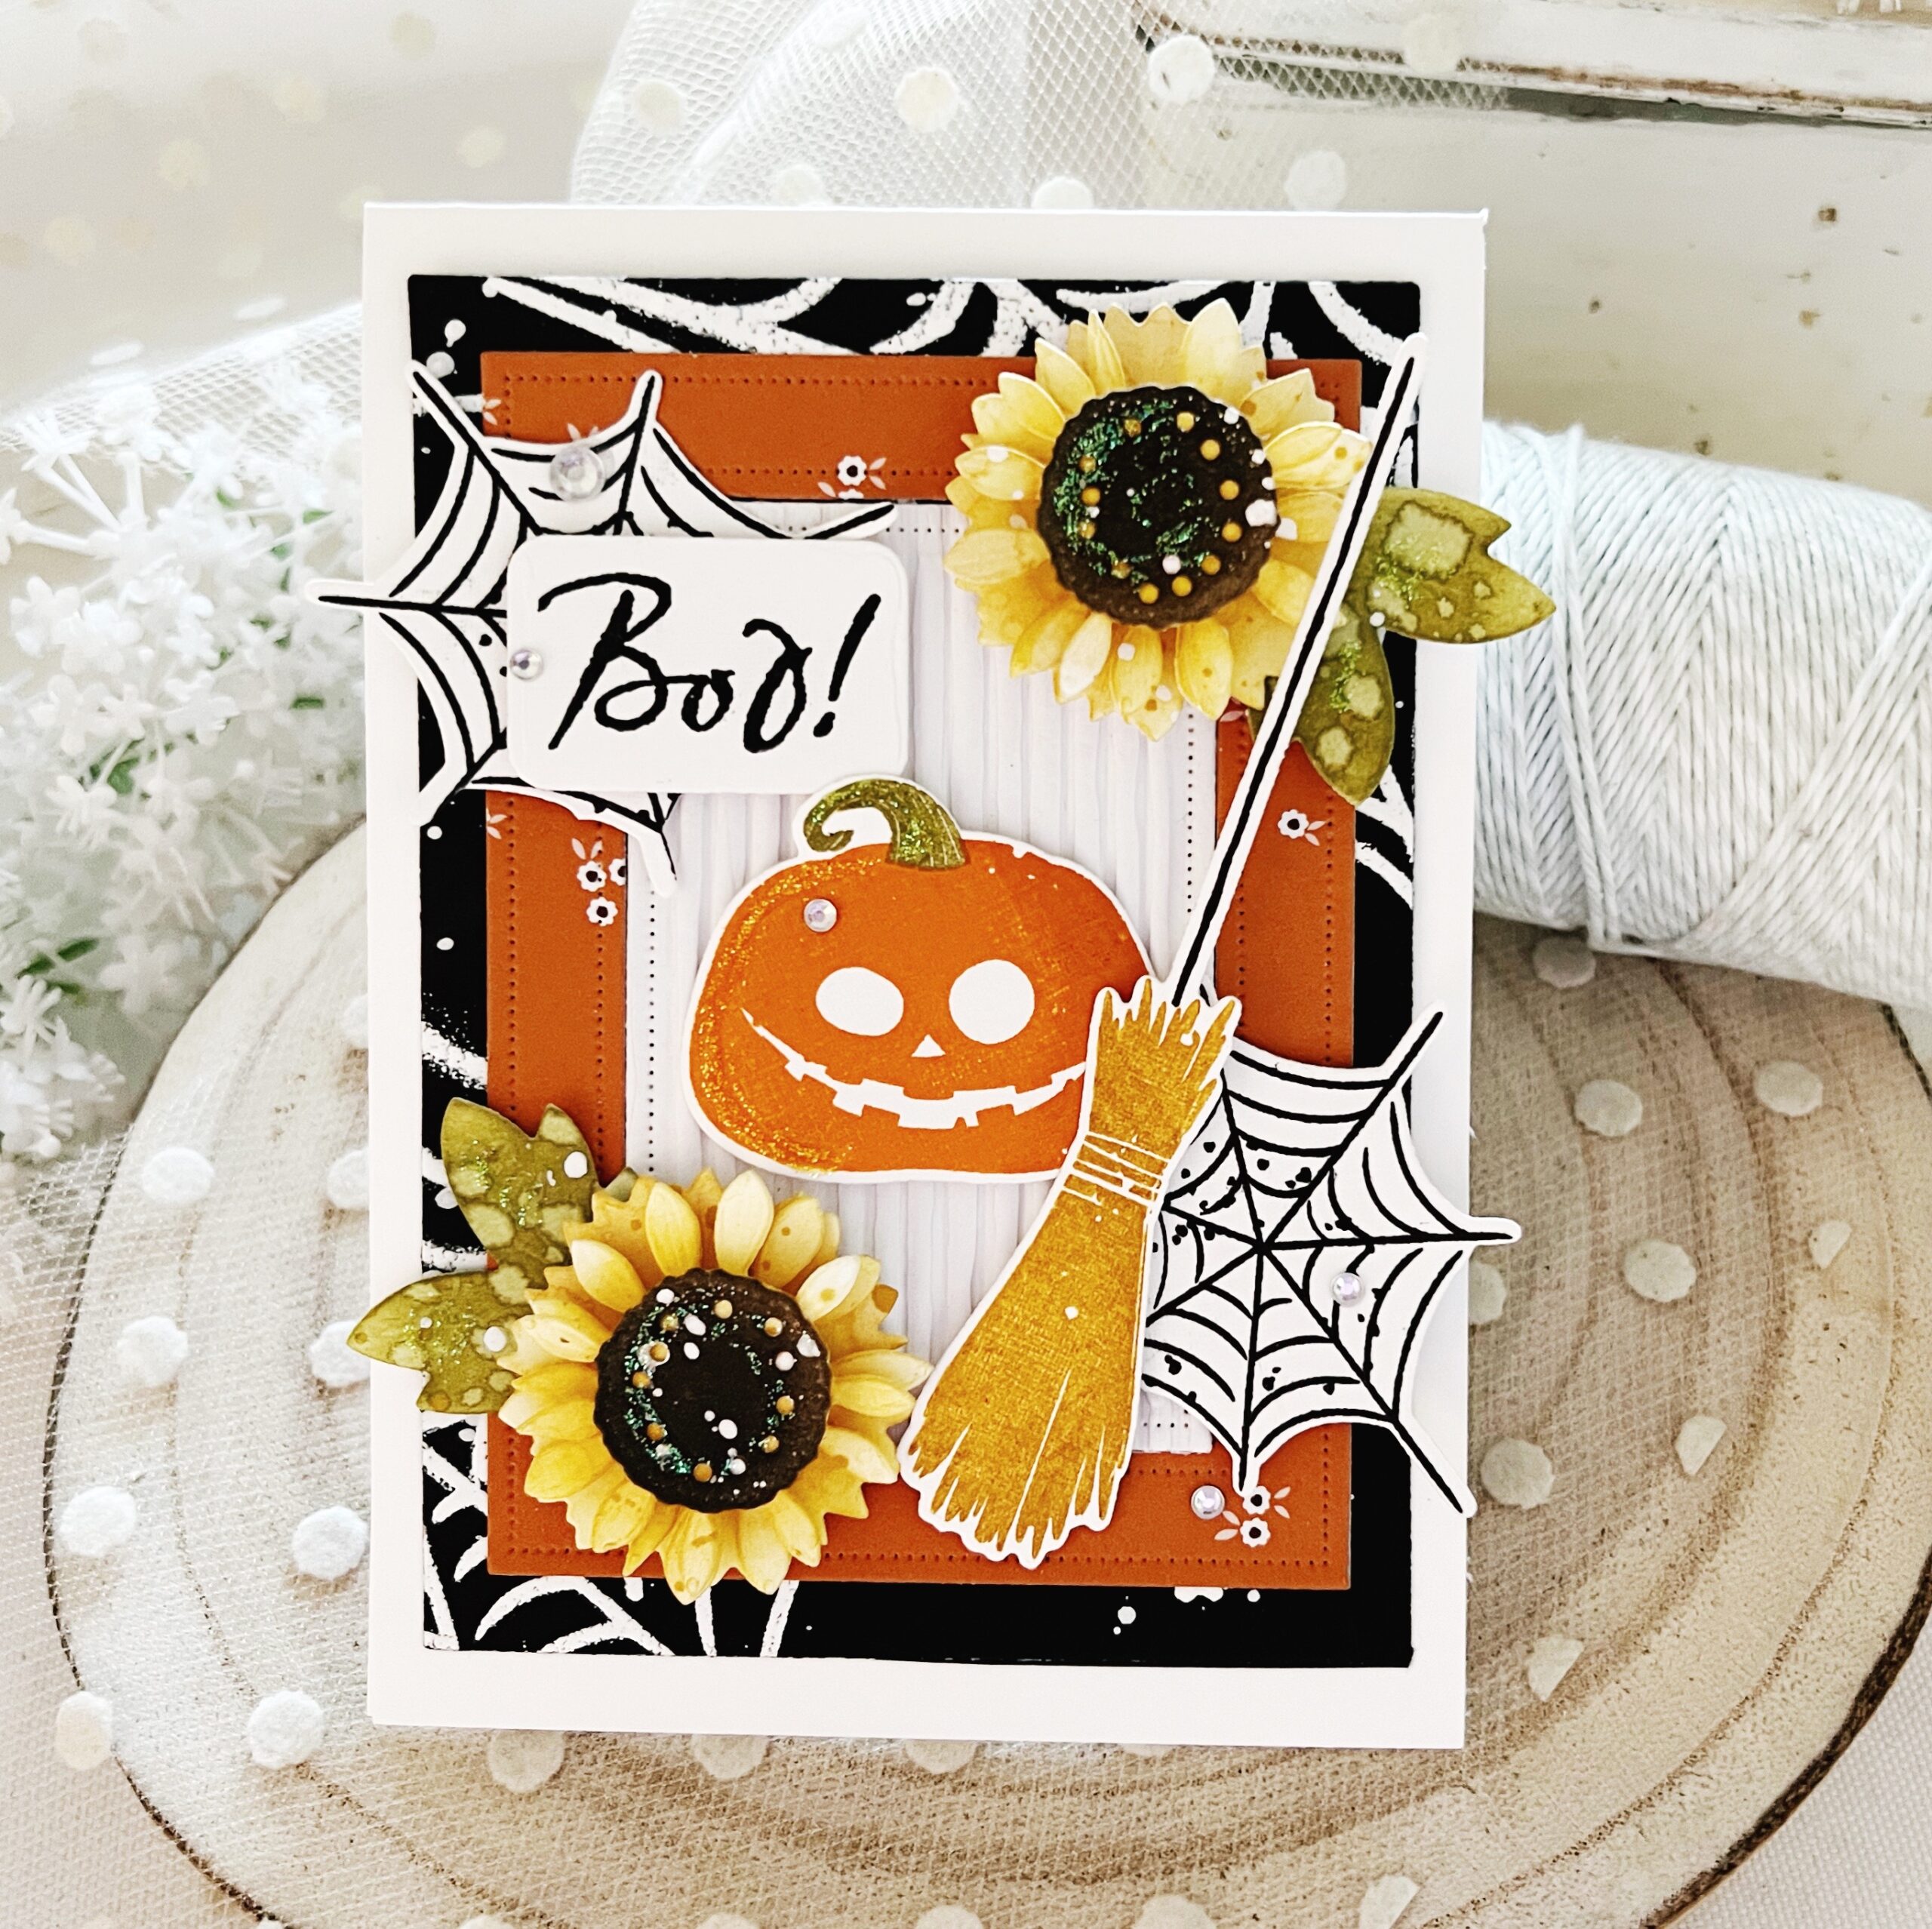
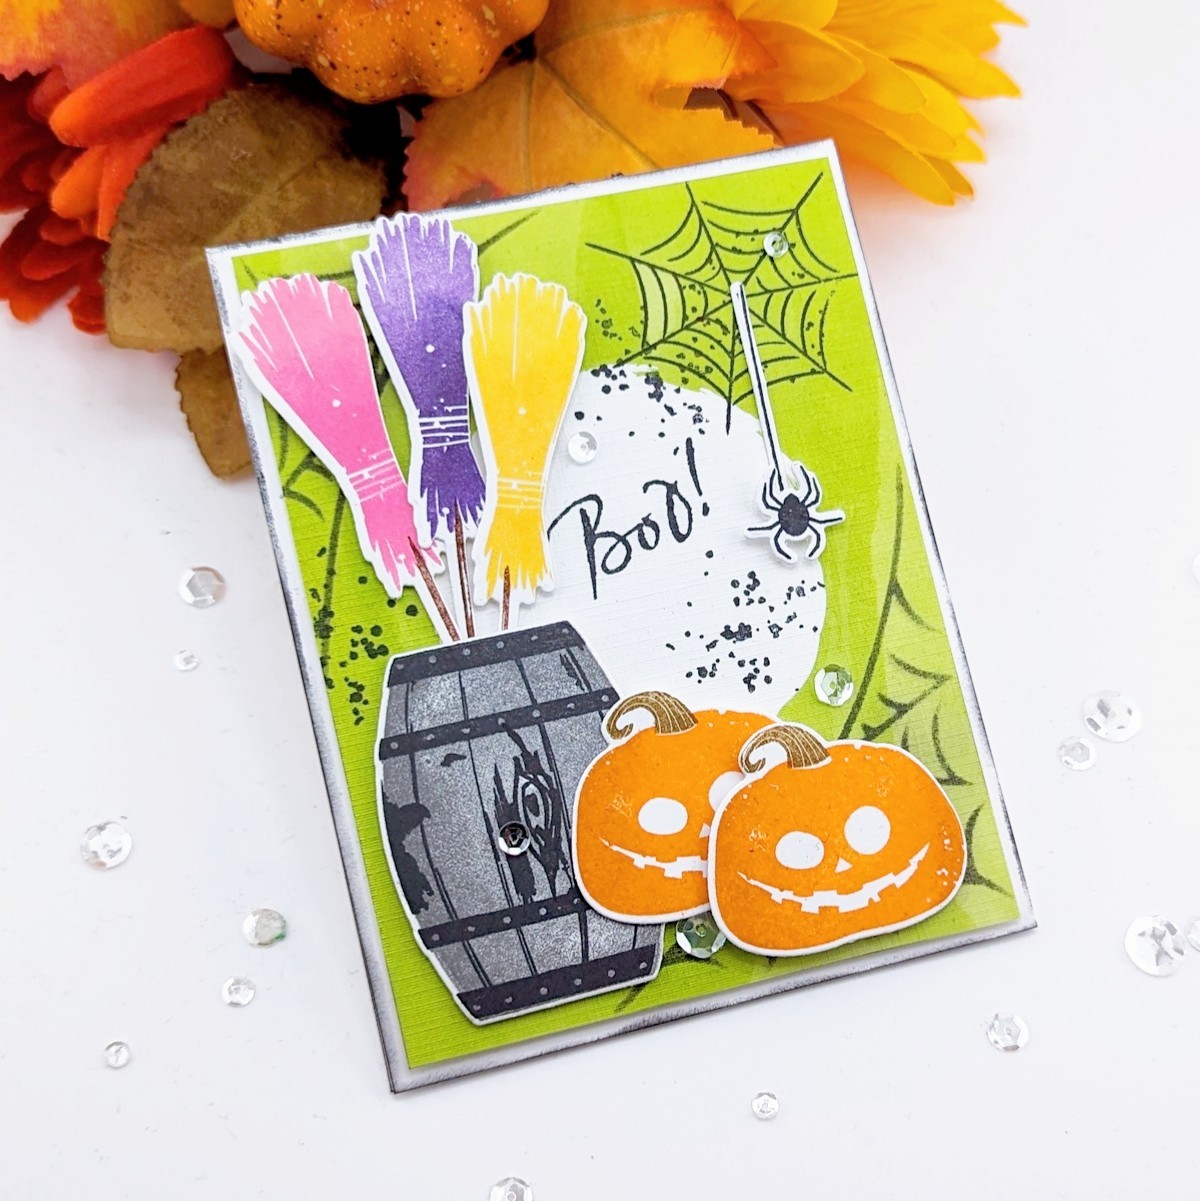
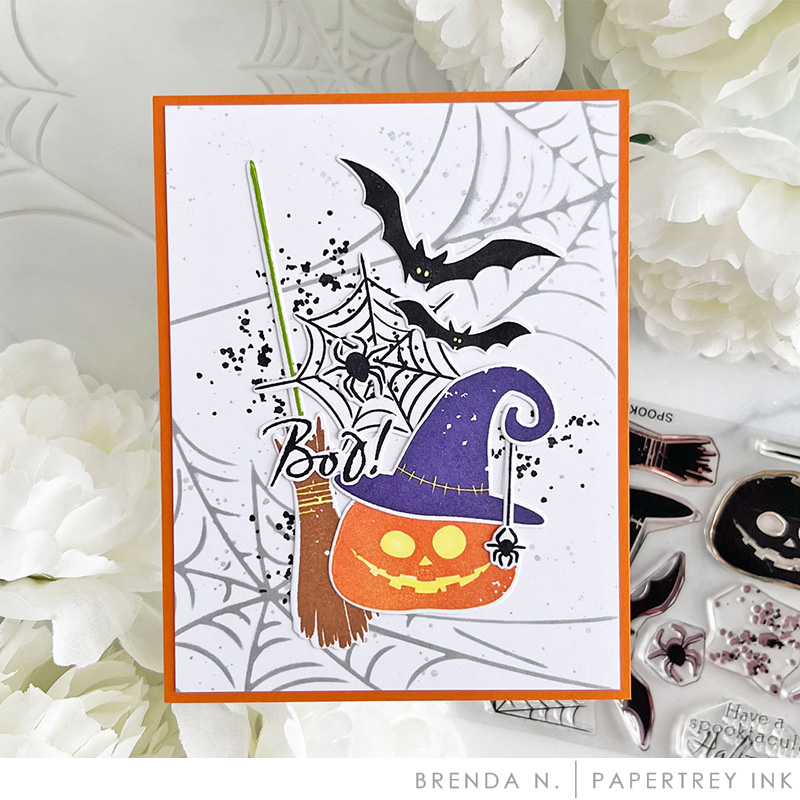
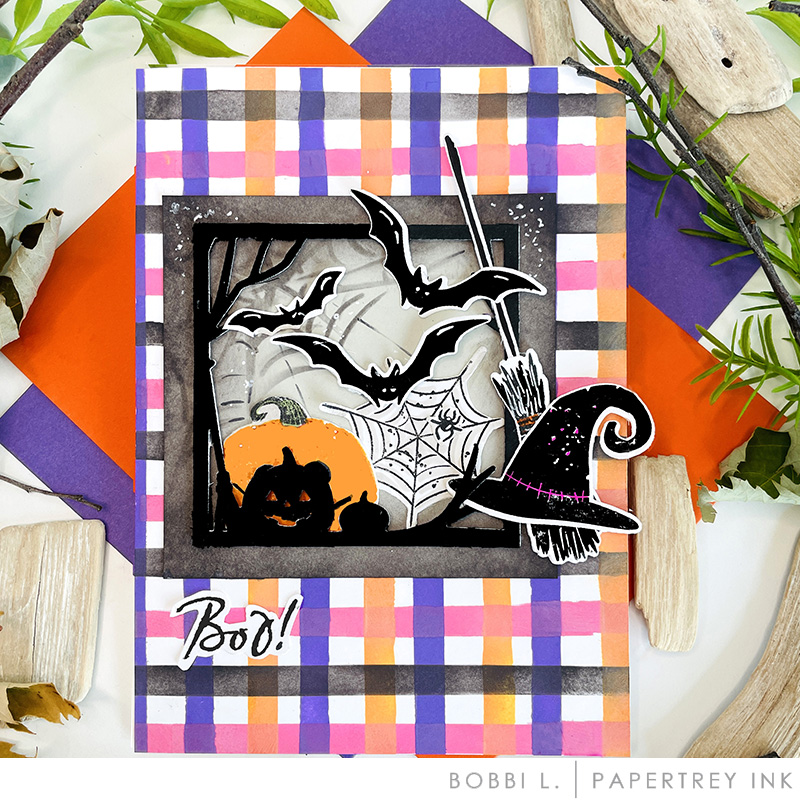
I adore the new Spooky Halloween images. You’ll find the cutest Jack-o-Lantern, broom, bats, spider webs, and more in this set. They’re all designed to work together seamlessly, but can be used individually as well to create the sweetest Halloween cards and tags out there.
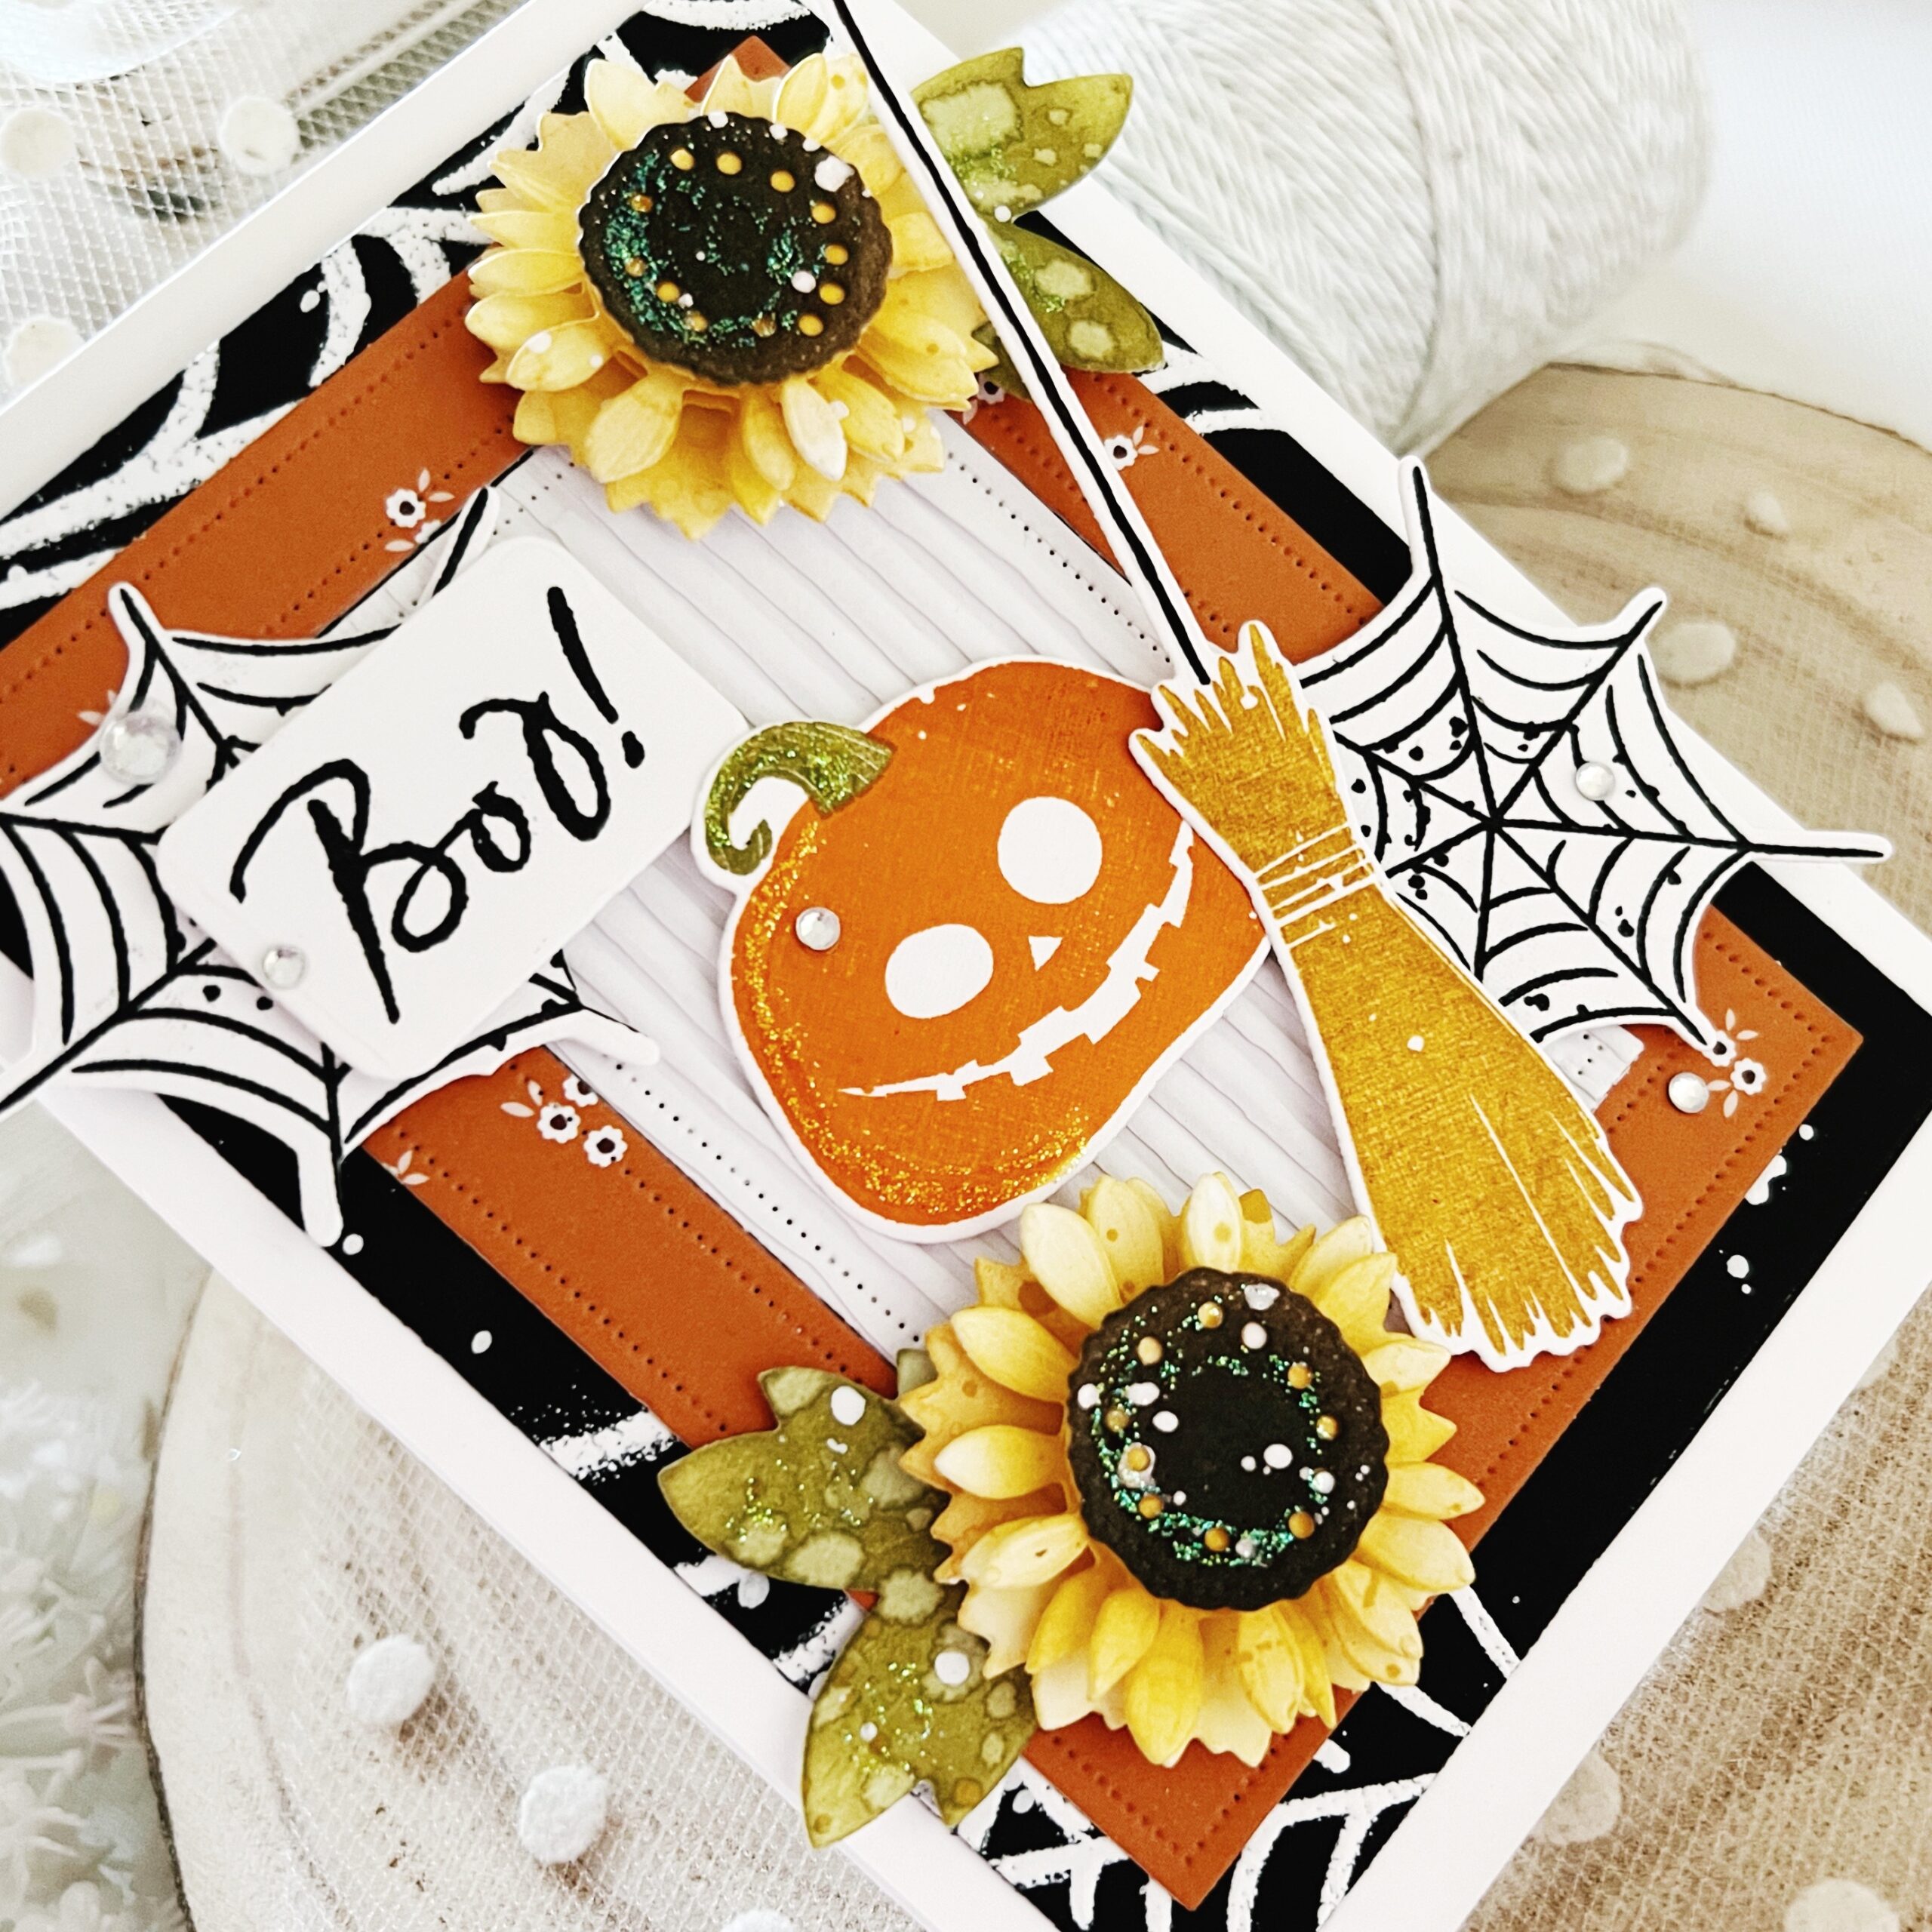
The new Spider Web Stencils are so much fun to use and so easy too. I sponged watermark ink over my stencil and black cardstock. I then coated my inked up area with white embossing powder and then heat set it in place. This created the cutest background from which I could build my card.
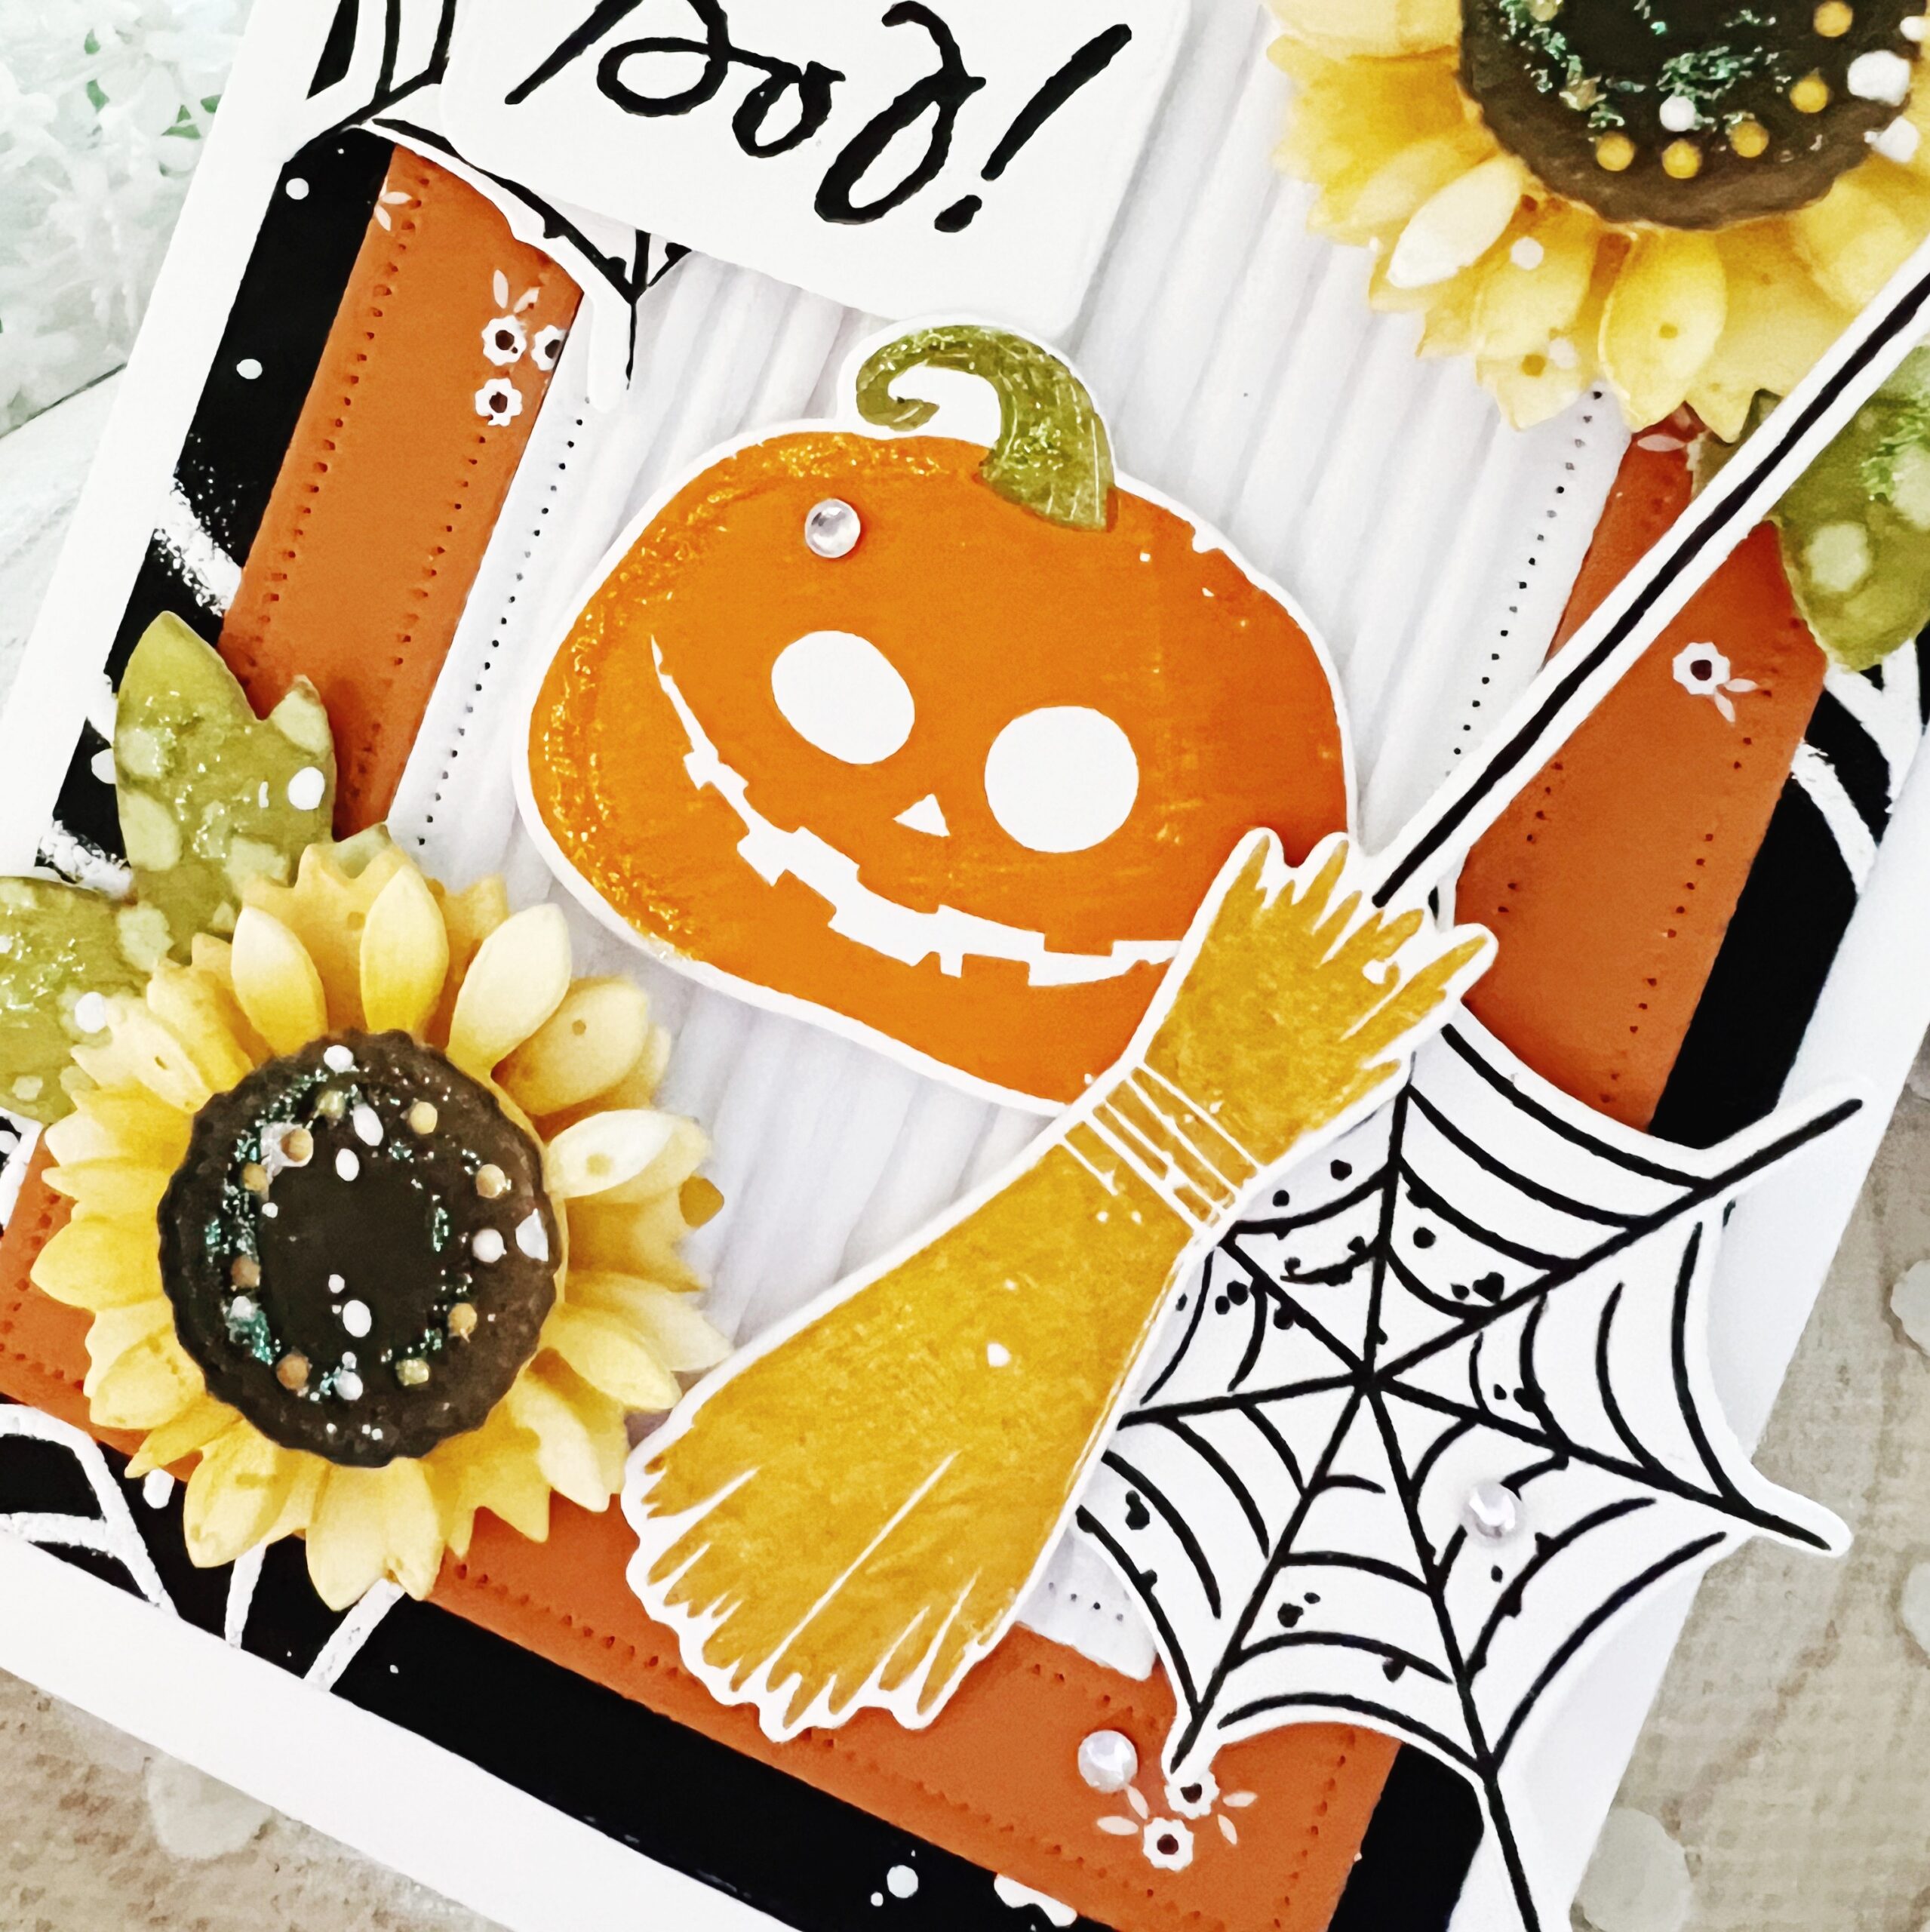
I framed in my happy Jack by using a Pierced Rectangle Feature Frame cut from patterned paper. I added white corrugated cardstock to the center of my frame and then added my pumpkin. It’s surrounded by spider webs, the cutest broom on earth, and Into the Blooms: Sunflowers.
SUPPLY LIST:
STAMPS: Spooky Halloween
INK: True Black, Orange Zest, Terracotta Tile, Ripe Avocado, Honey Nut, Bright Buttercup, Cocoa Bean
PAPER: Stamper’s Select White, True Black
DIES: Spooky Halloween, Pierced Feature Frames, Into the Blooms: Sunflowers
STENCILS: Spider Web Stencils
OTHER: Patterned paper, adhesive gems, Stickles glitter


TIPS:
-
Use a non-traditional color combination for a holiday card for a fresh look
-
Like the wings in this card, score and fold die cuts to lift off of the card base
-
Combine patterned paper in the same color to create a custom look

- Create a background with one stamp in multiple colors
- Stamp a small sentiment randomly over the whole card for a fun look
- Use stripe paper to create a checked border
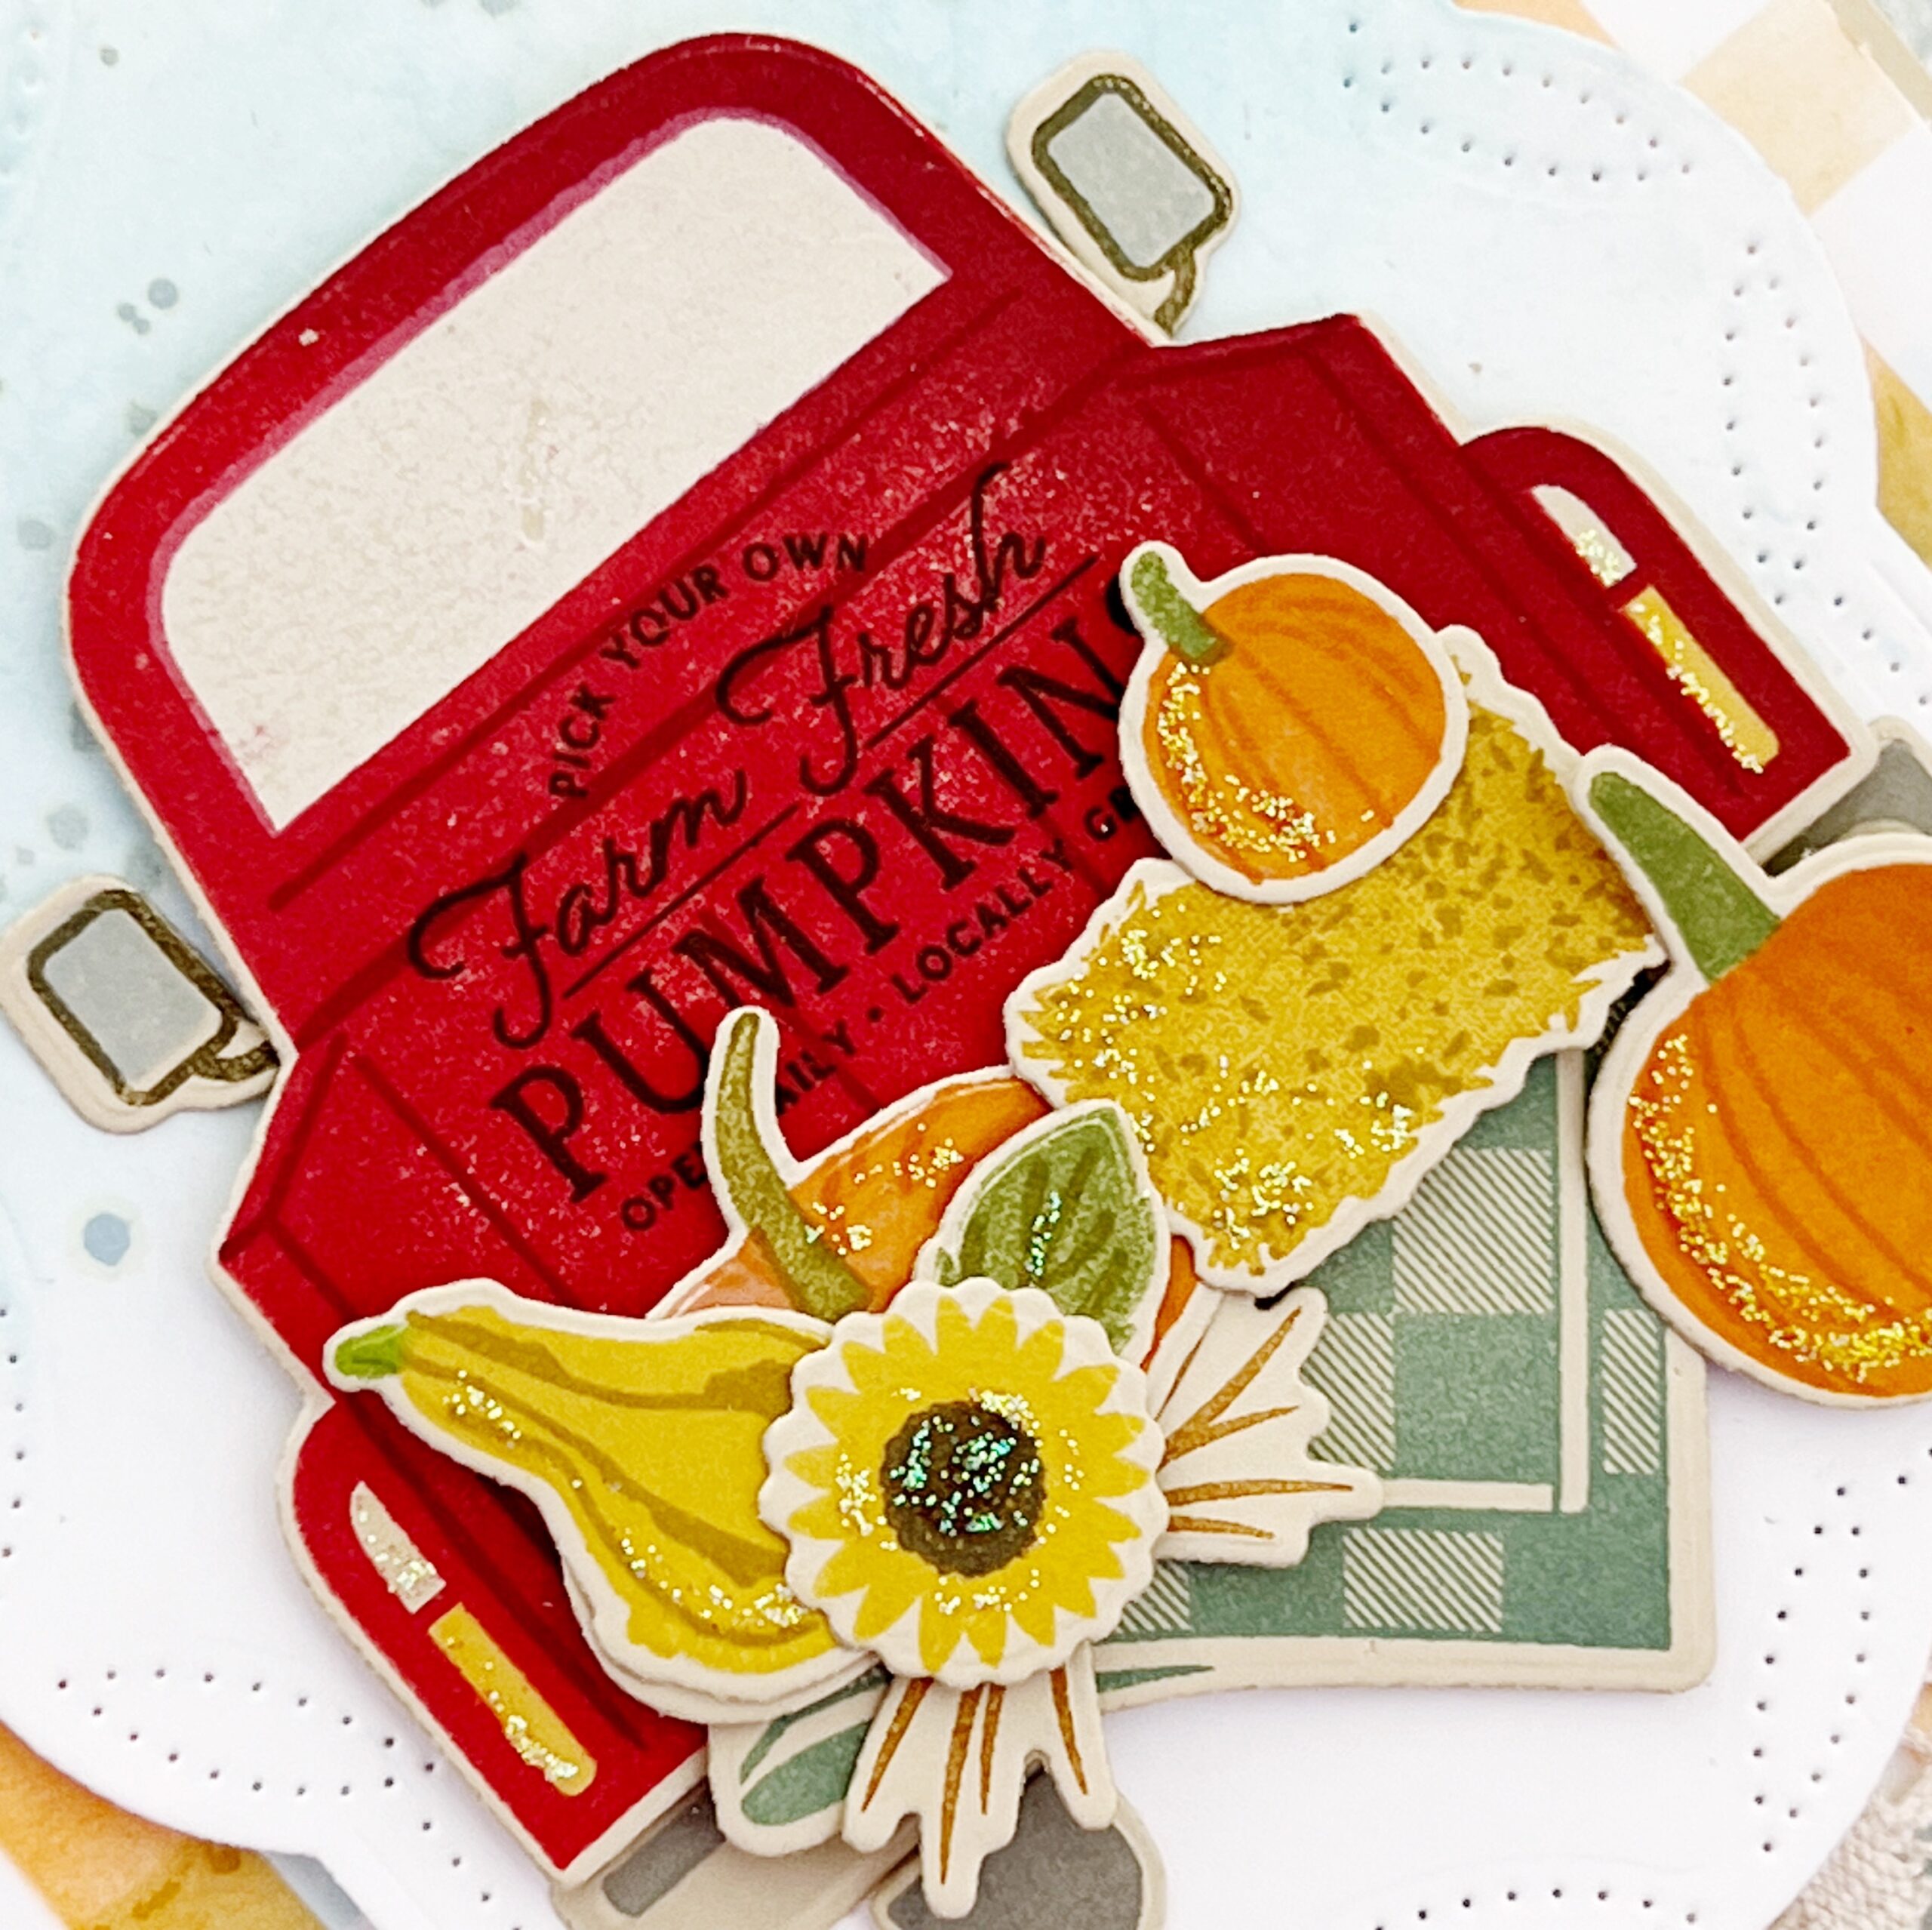
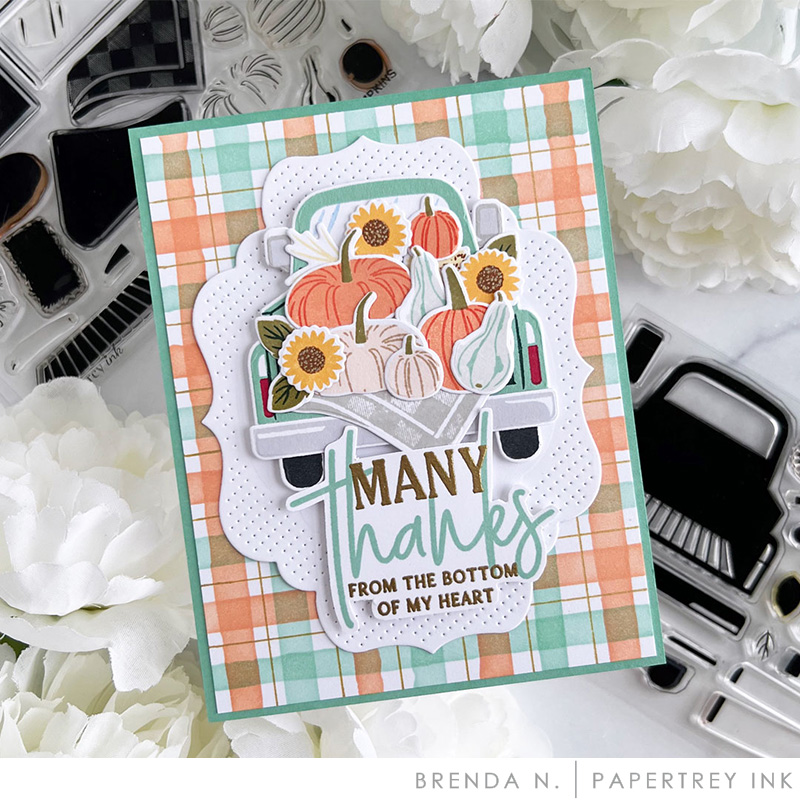
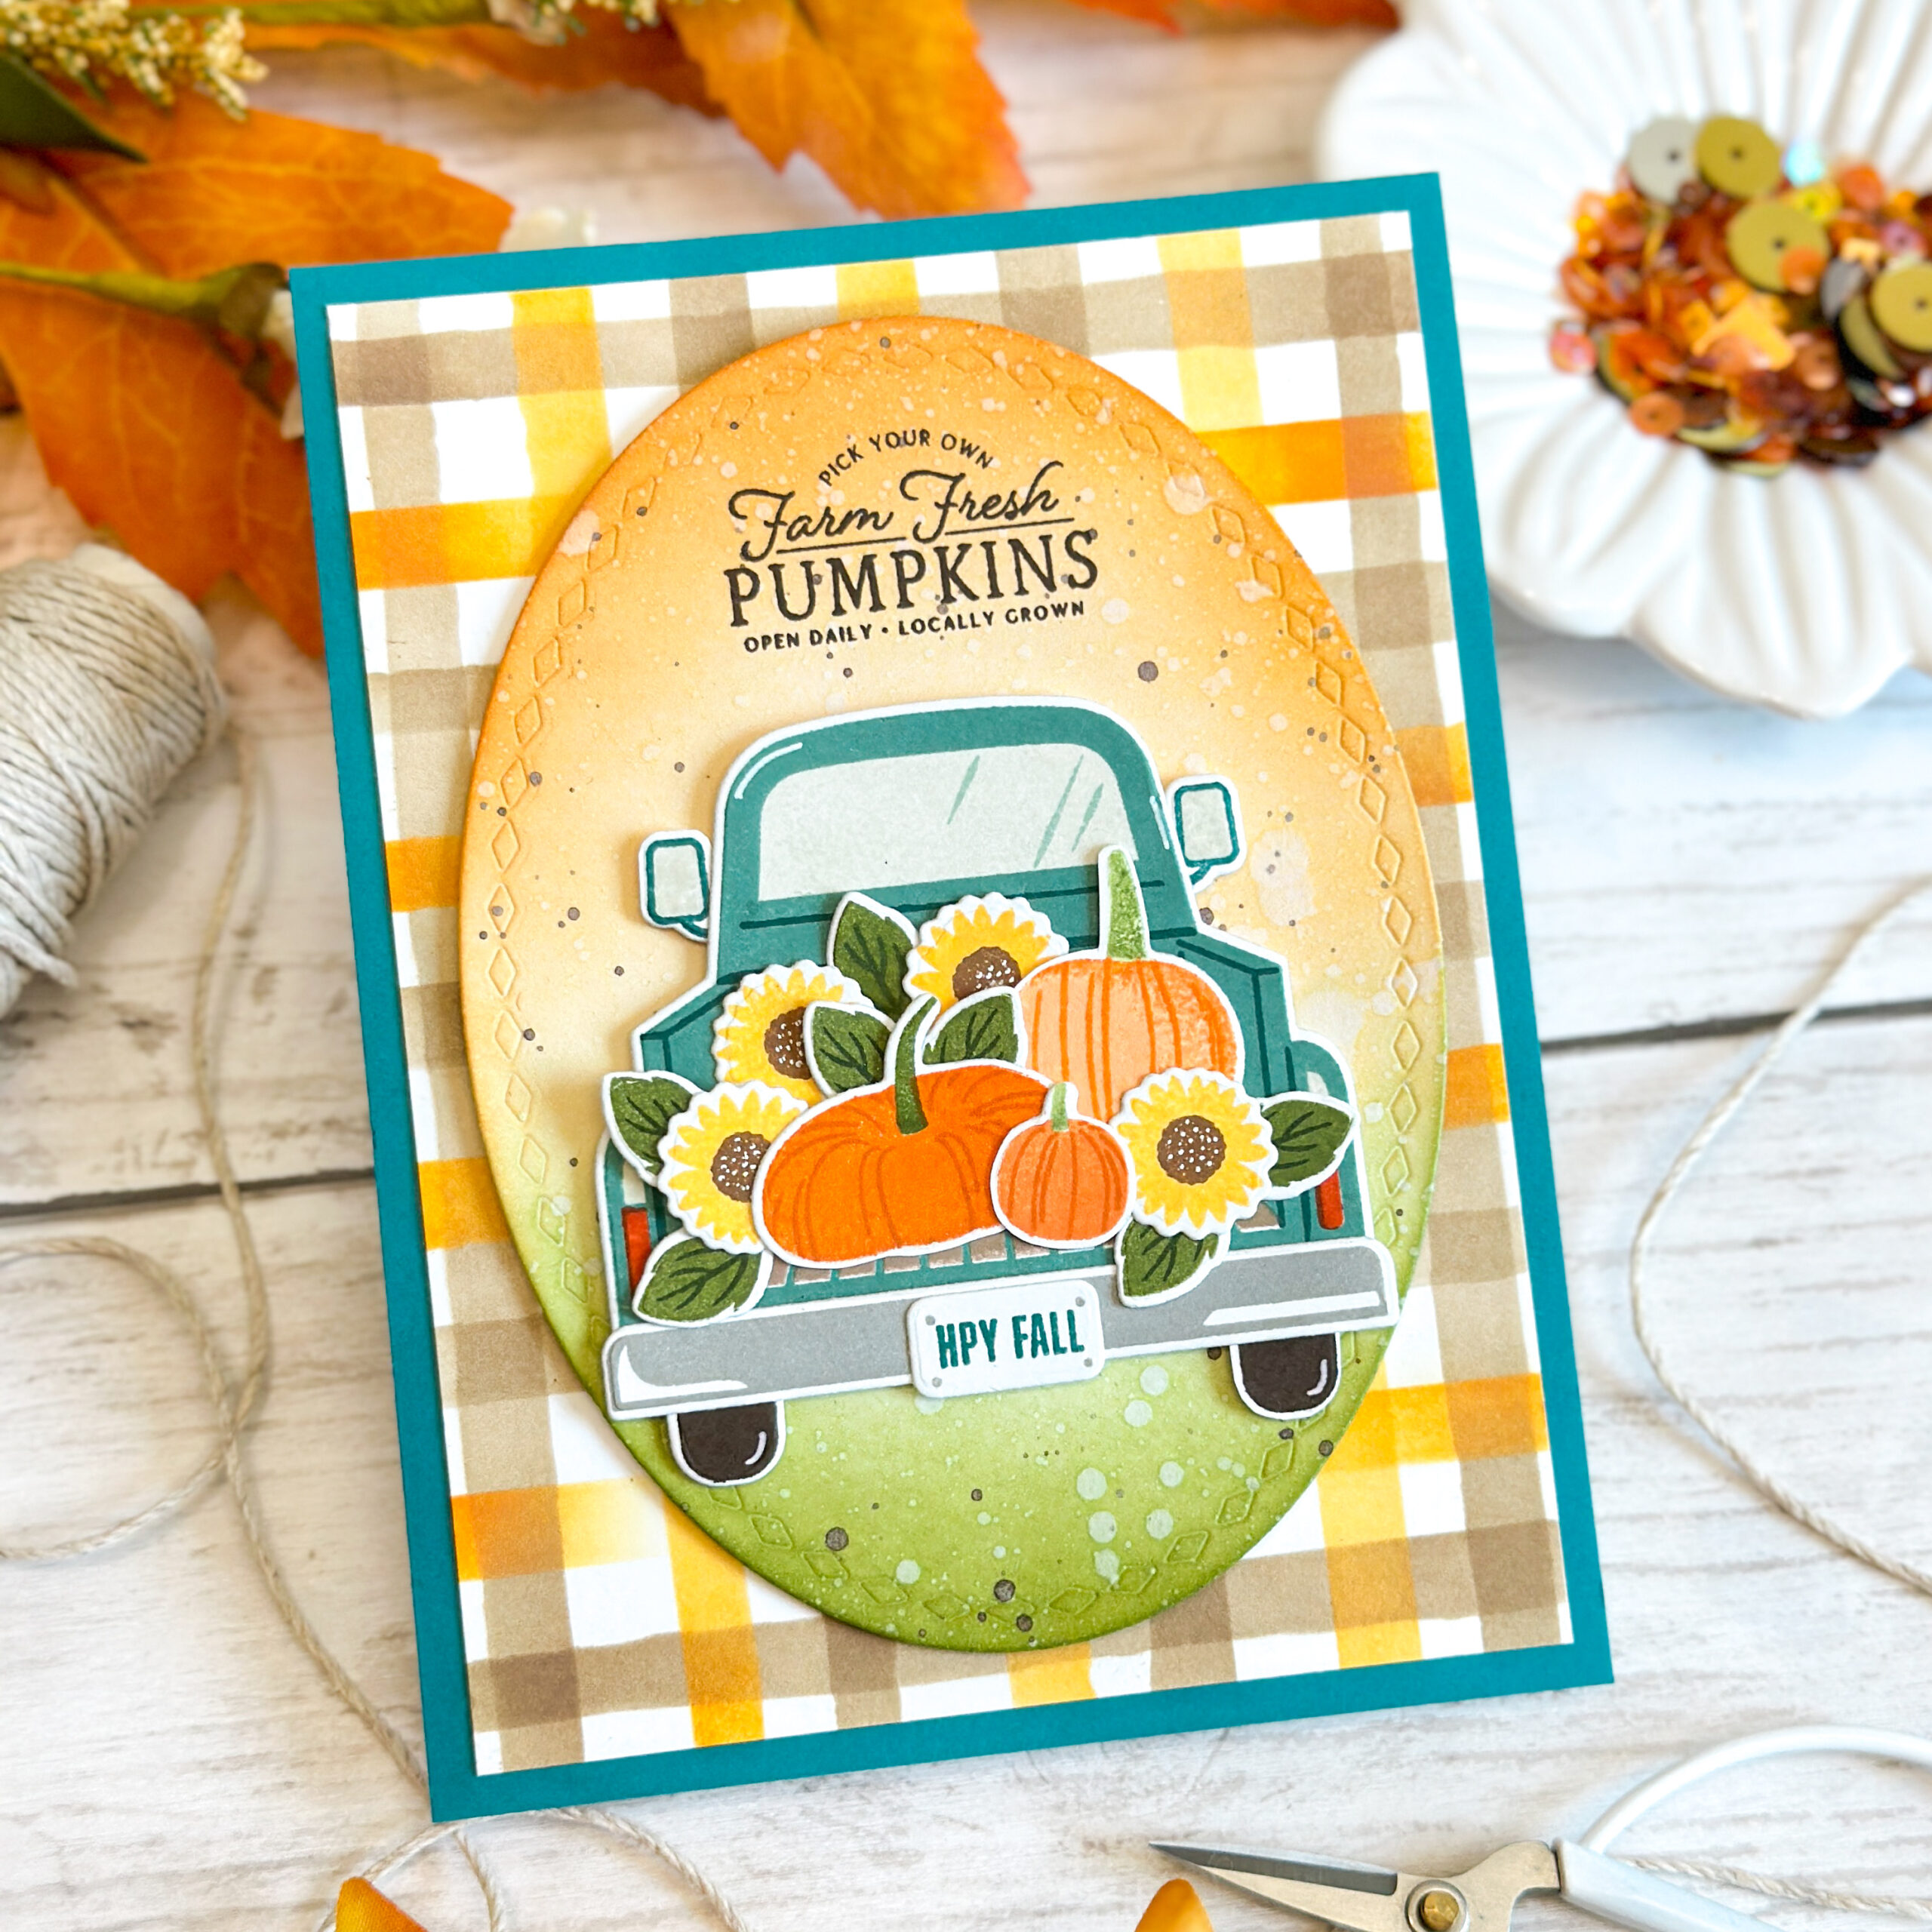
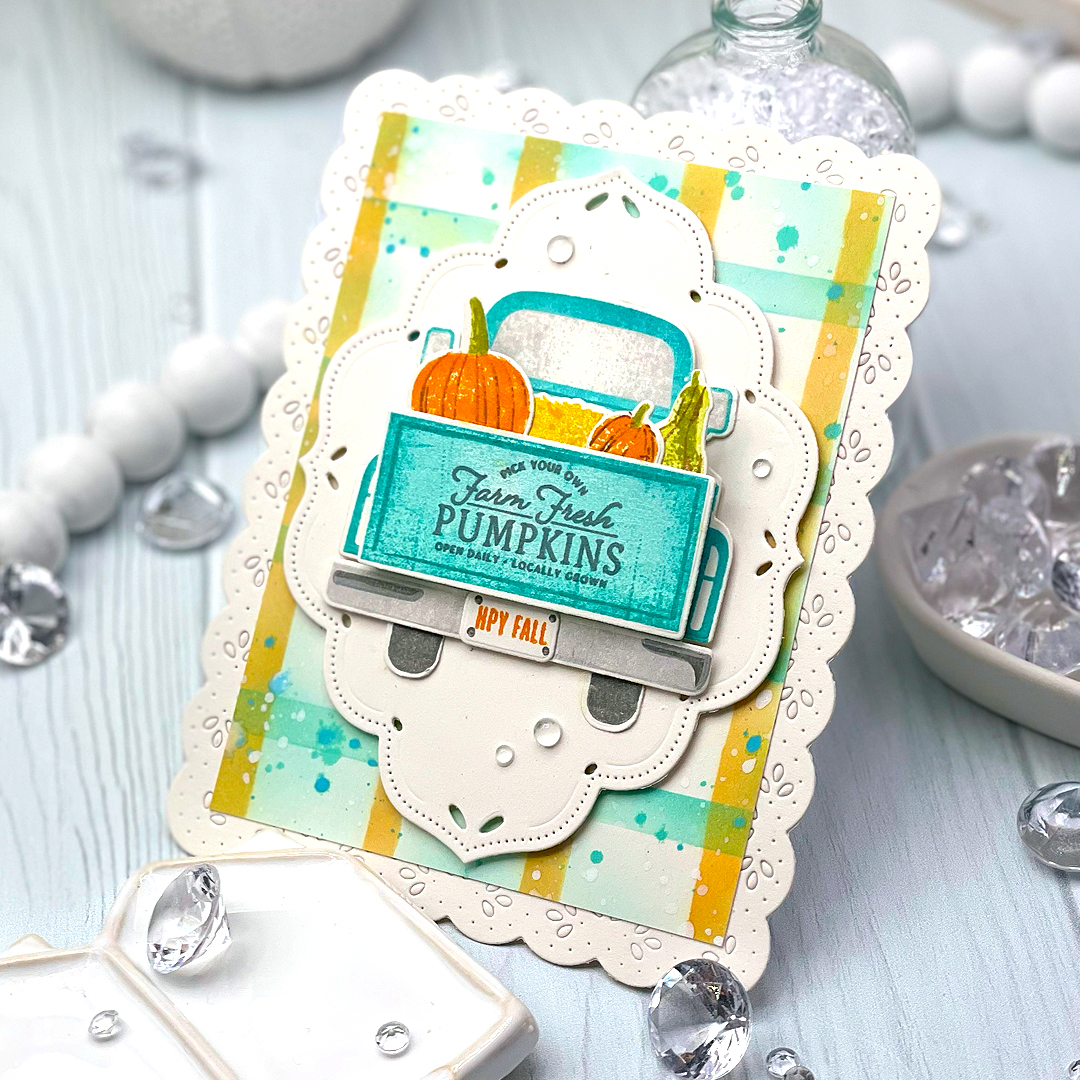
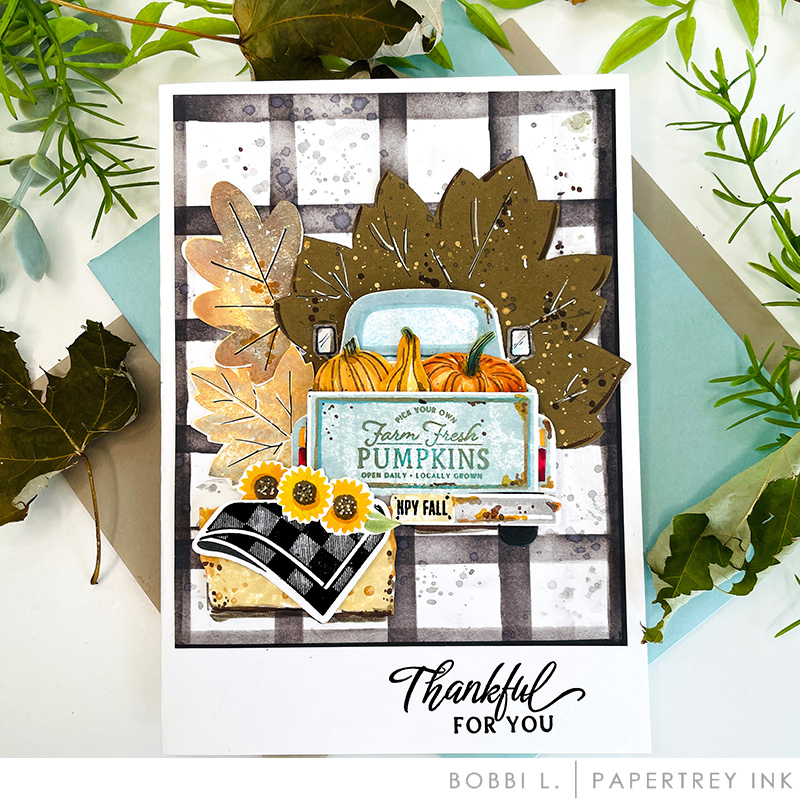
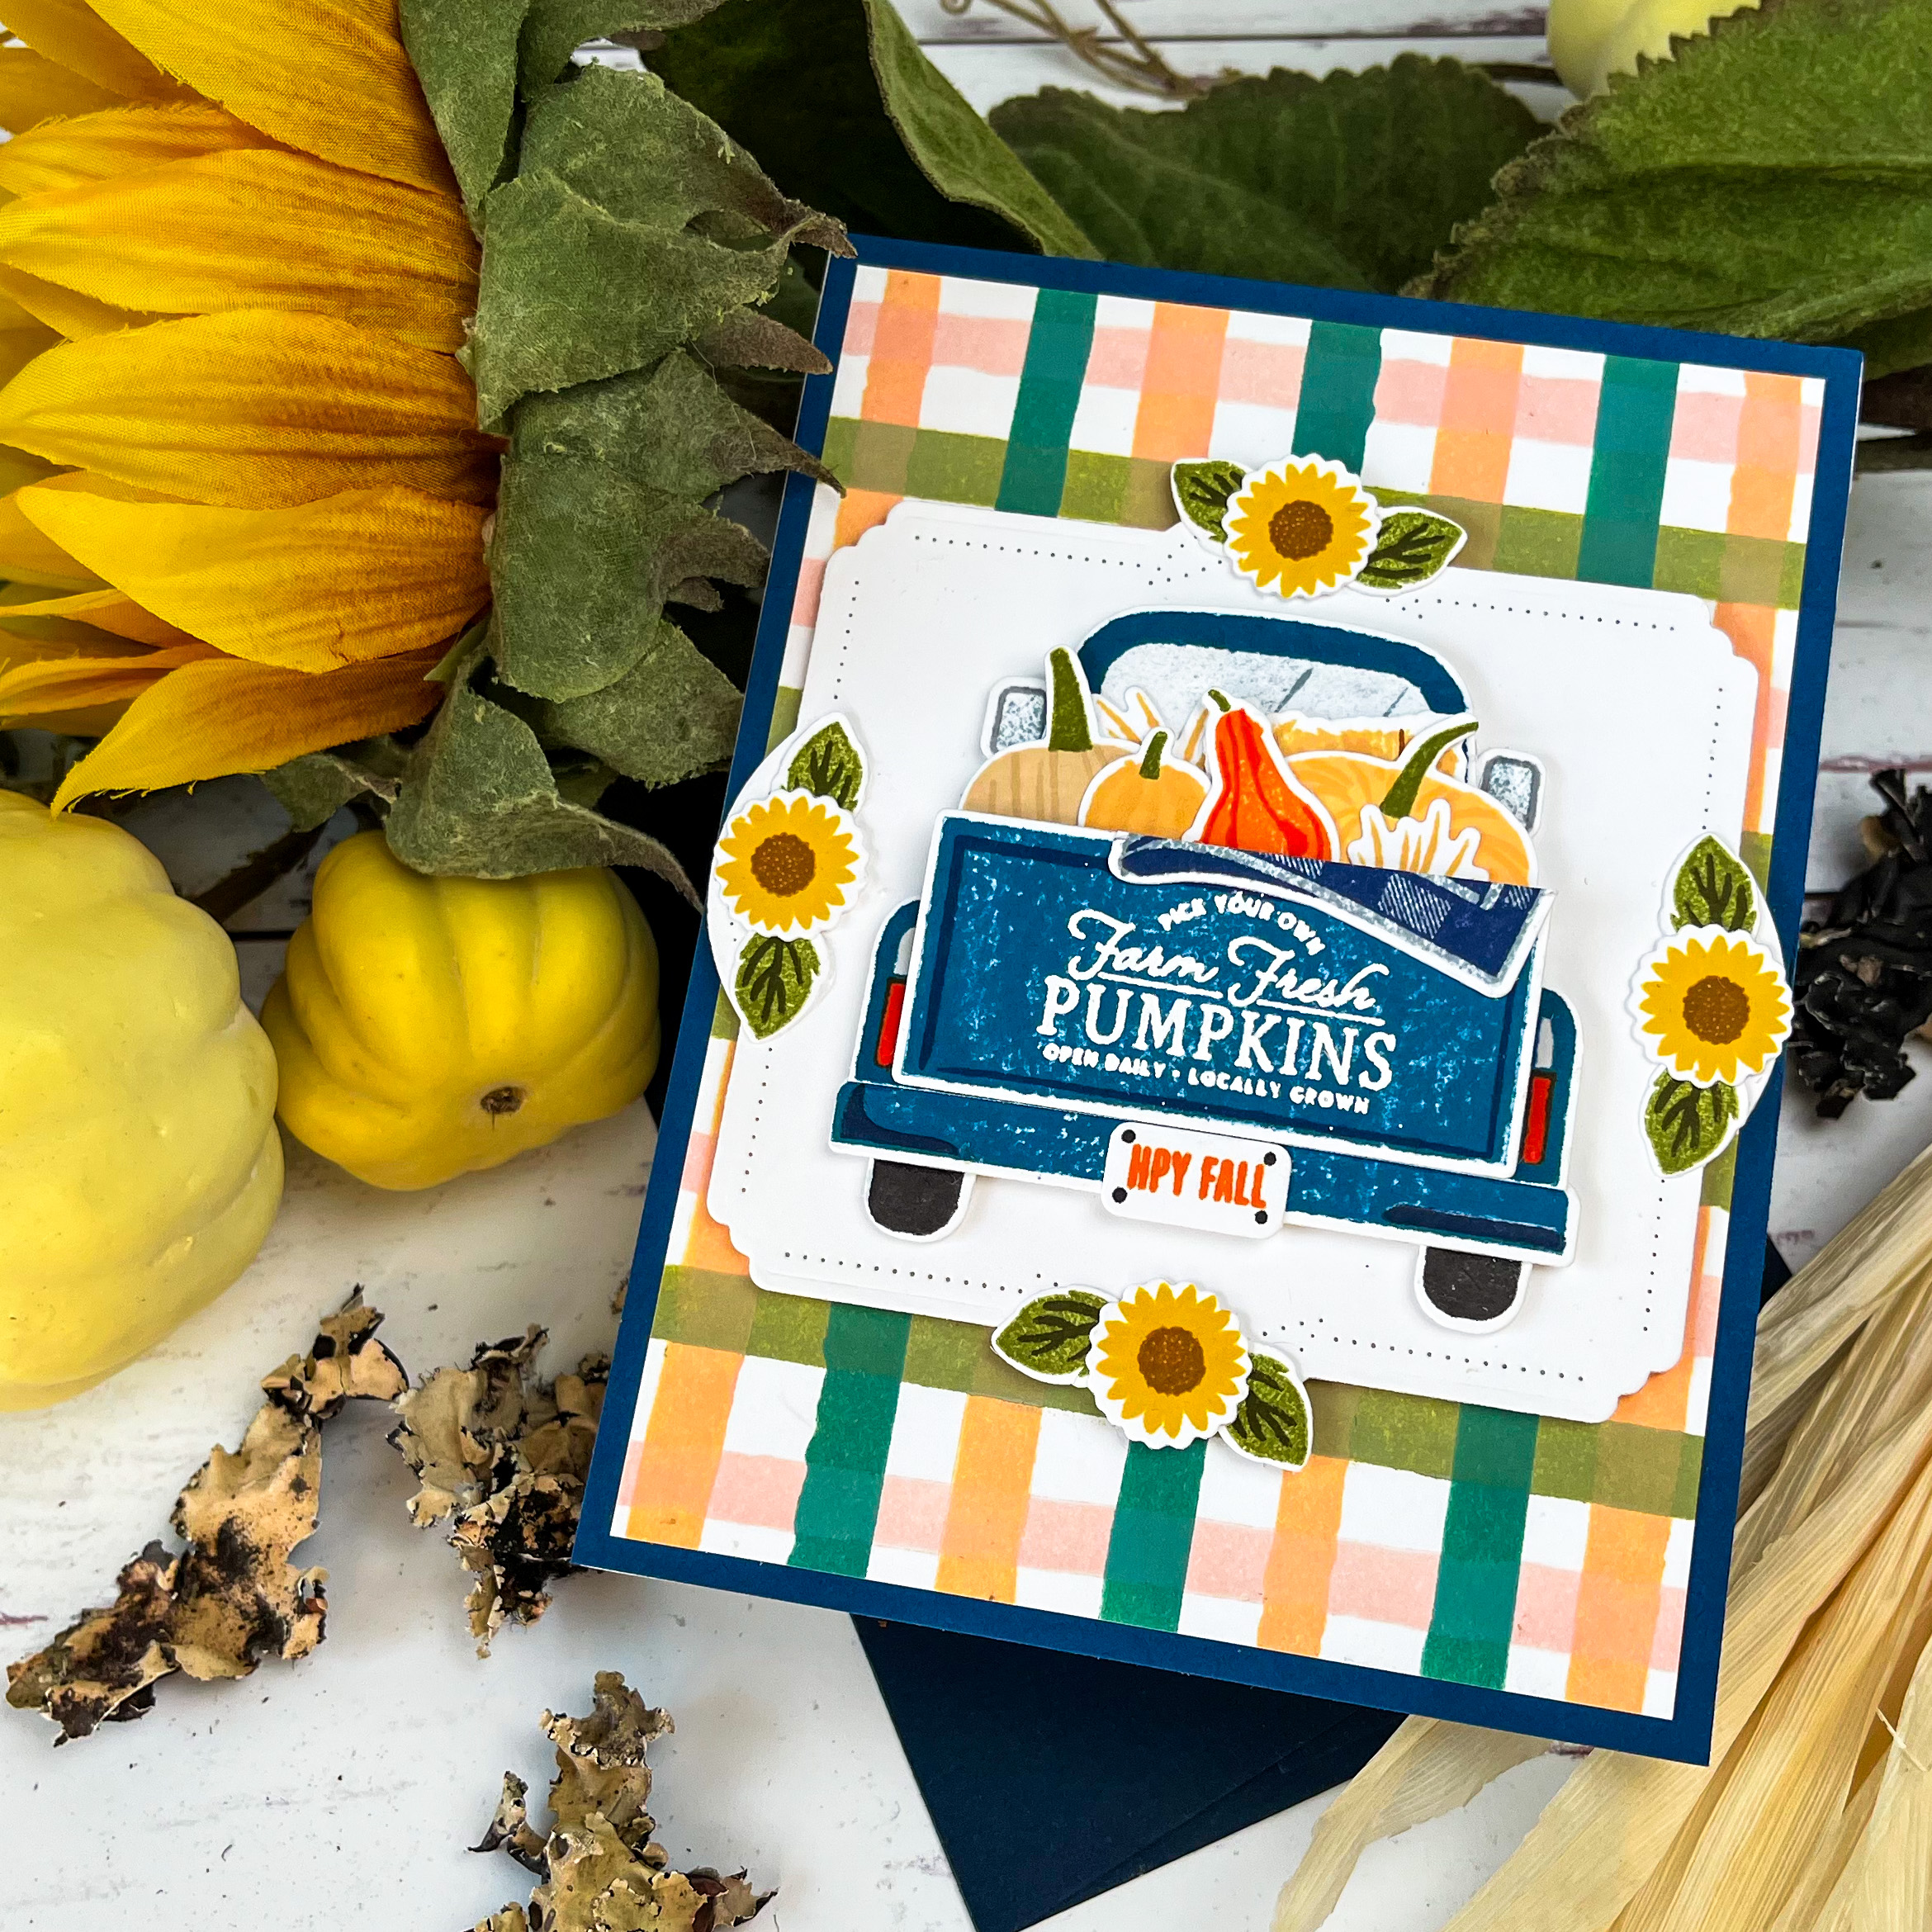
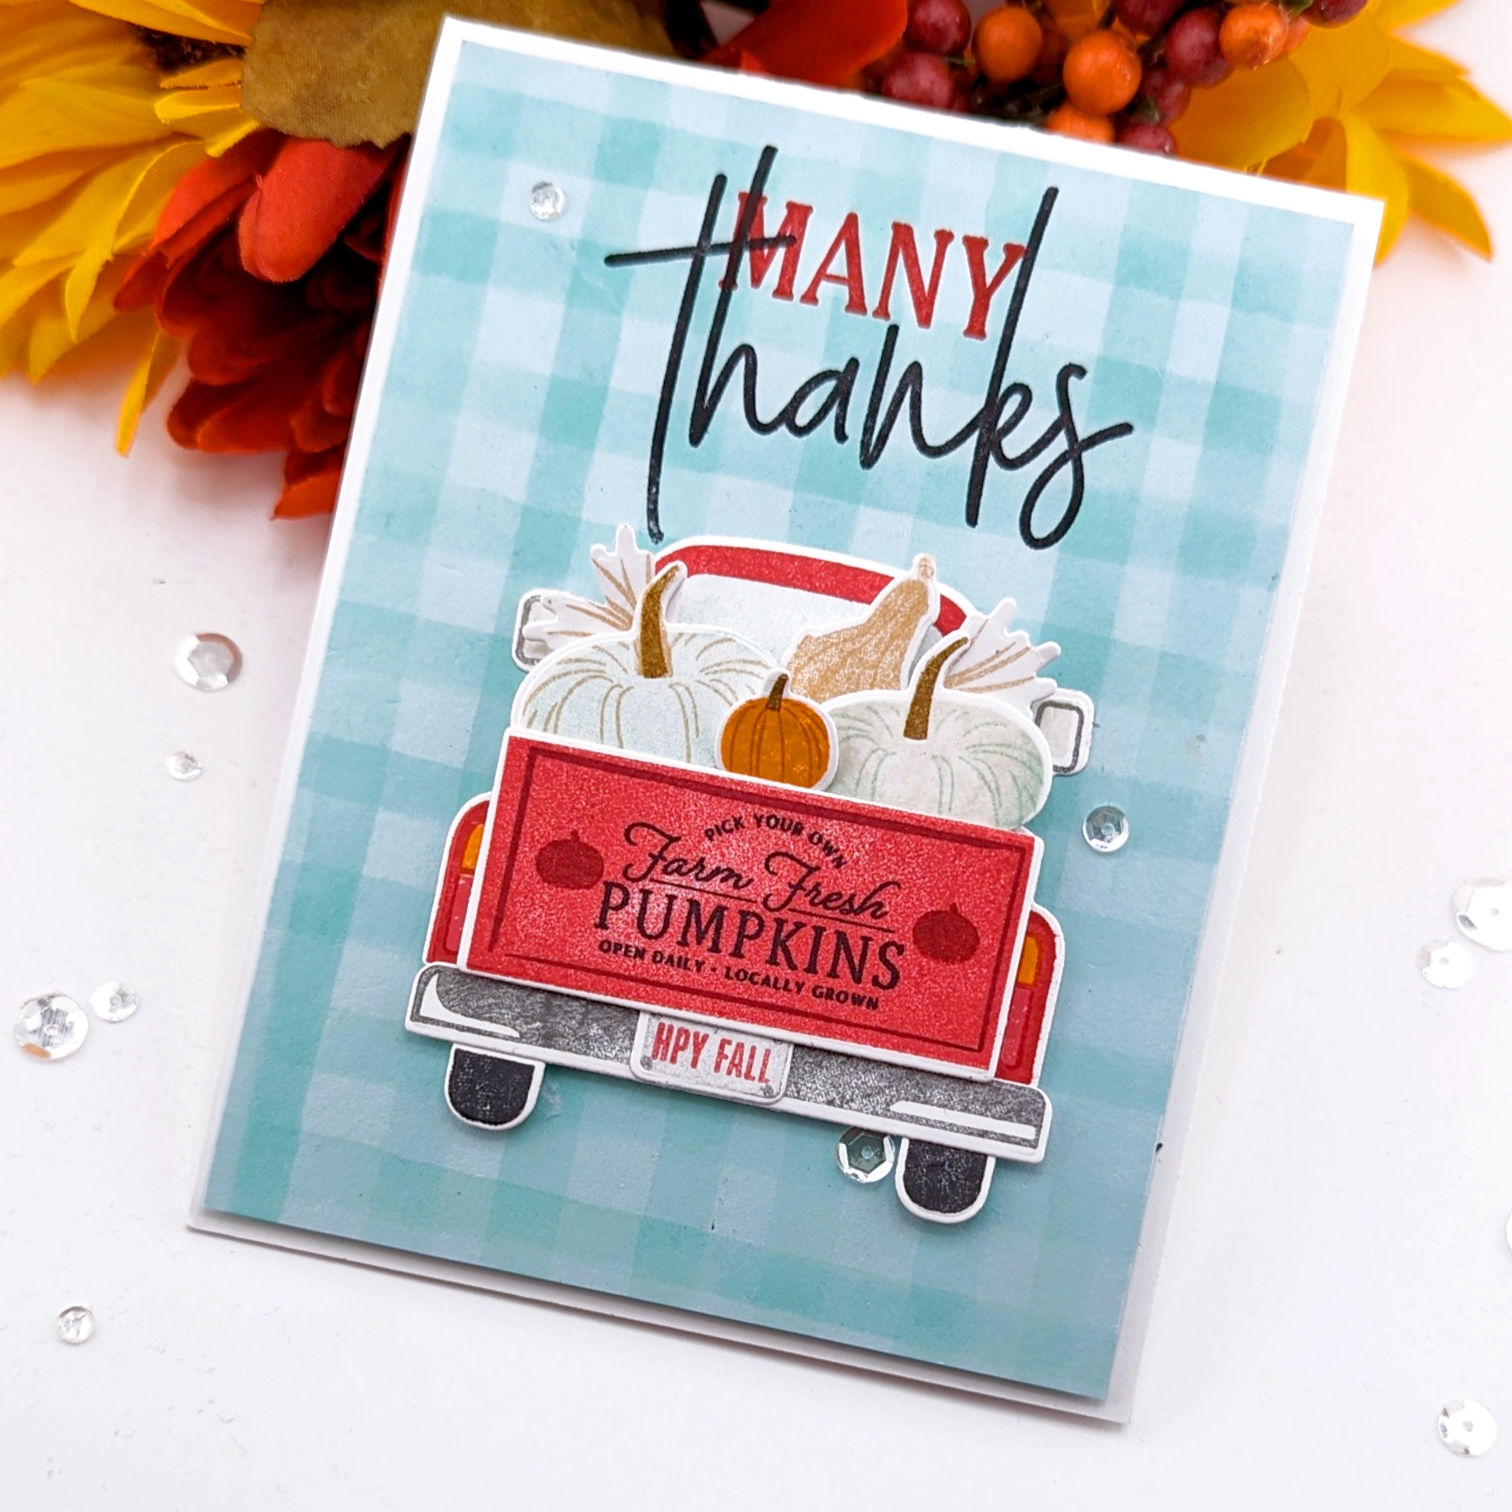
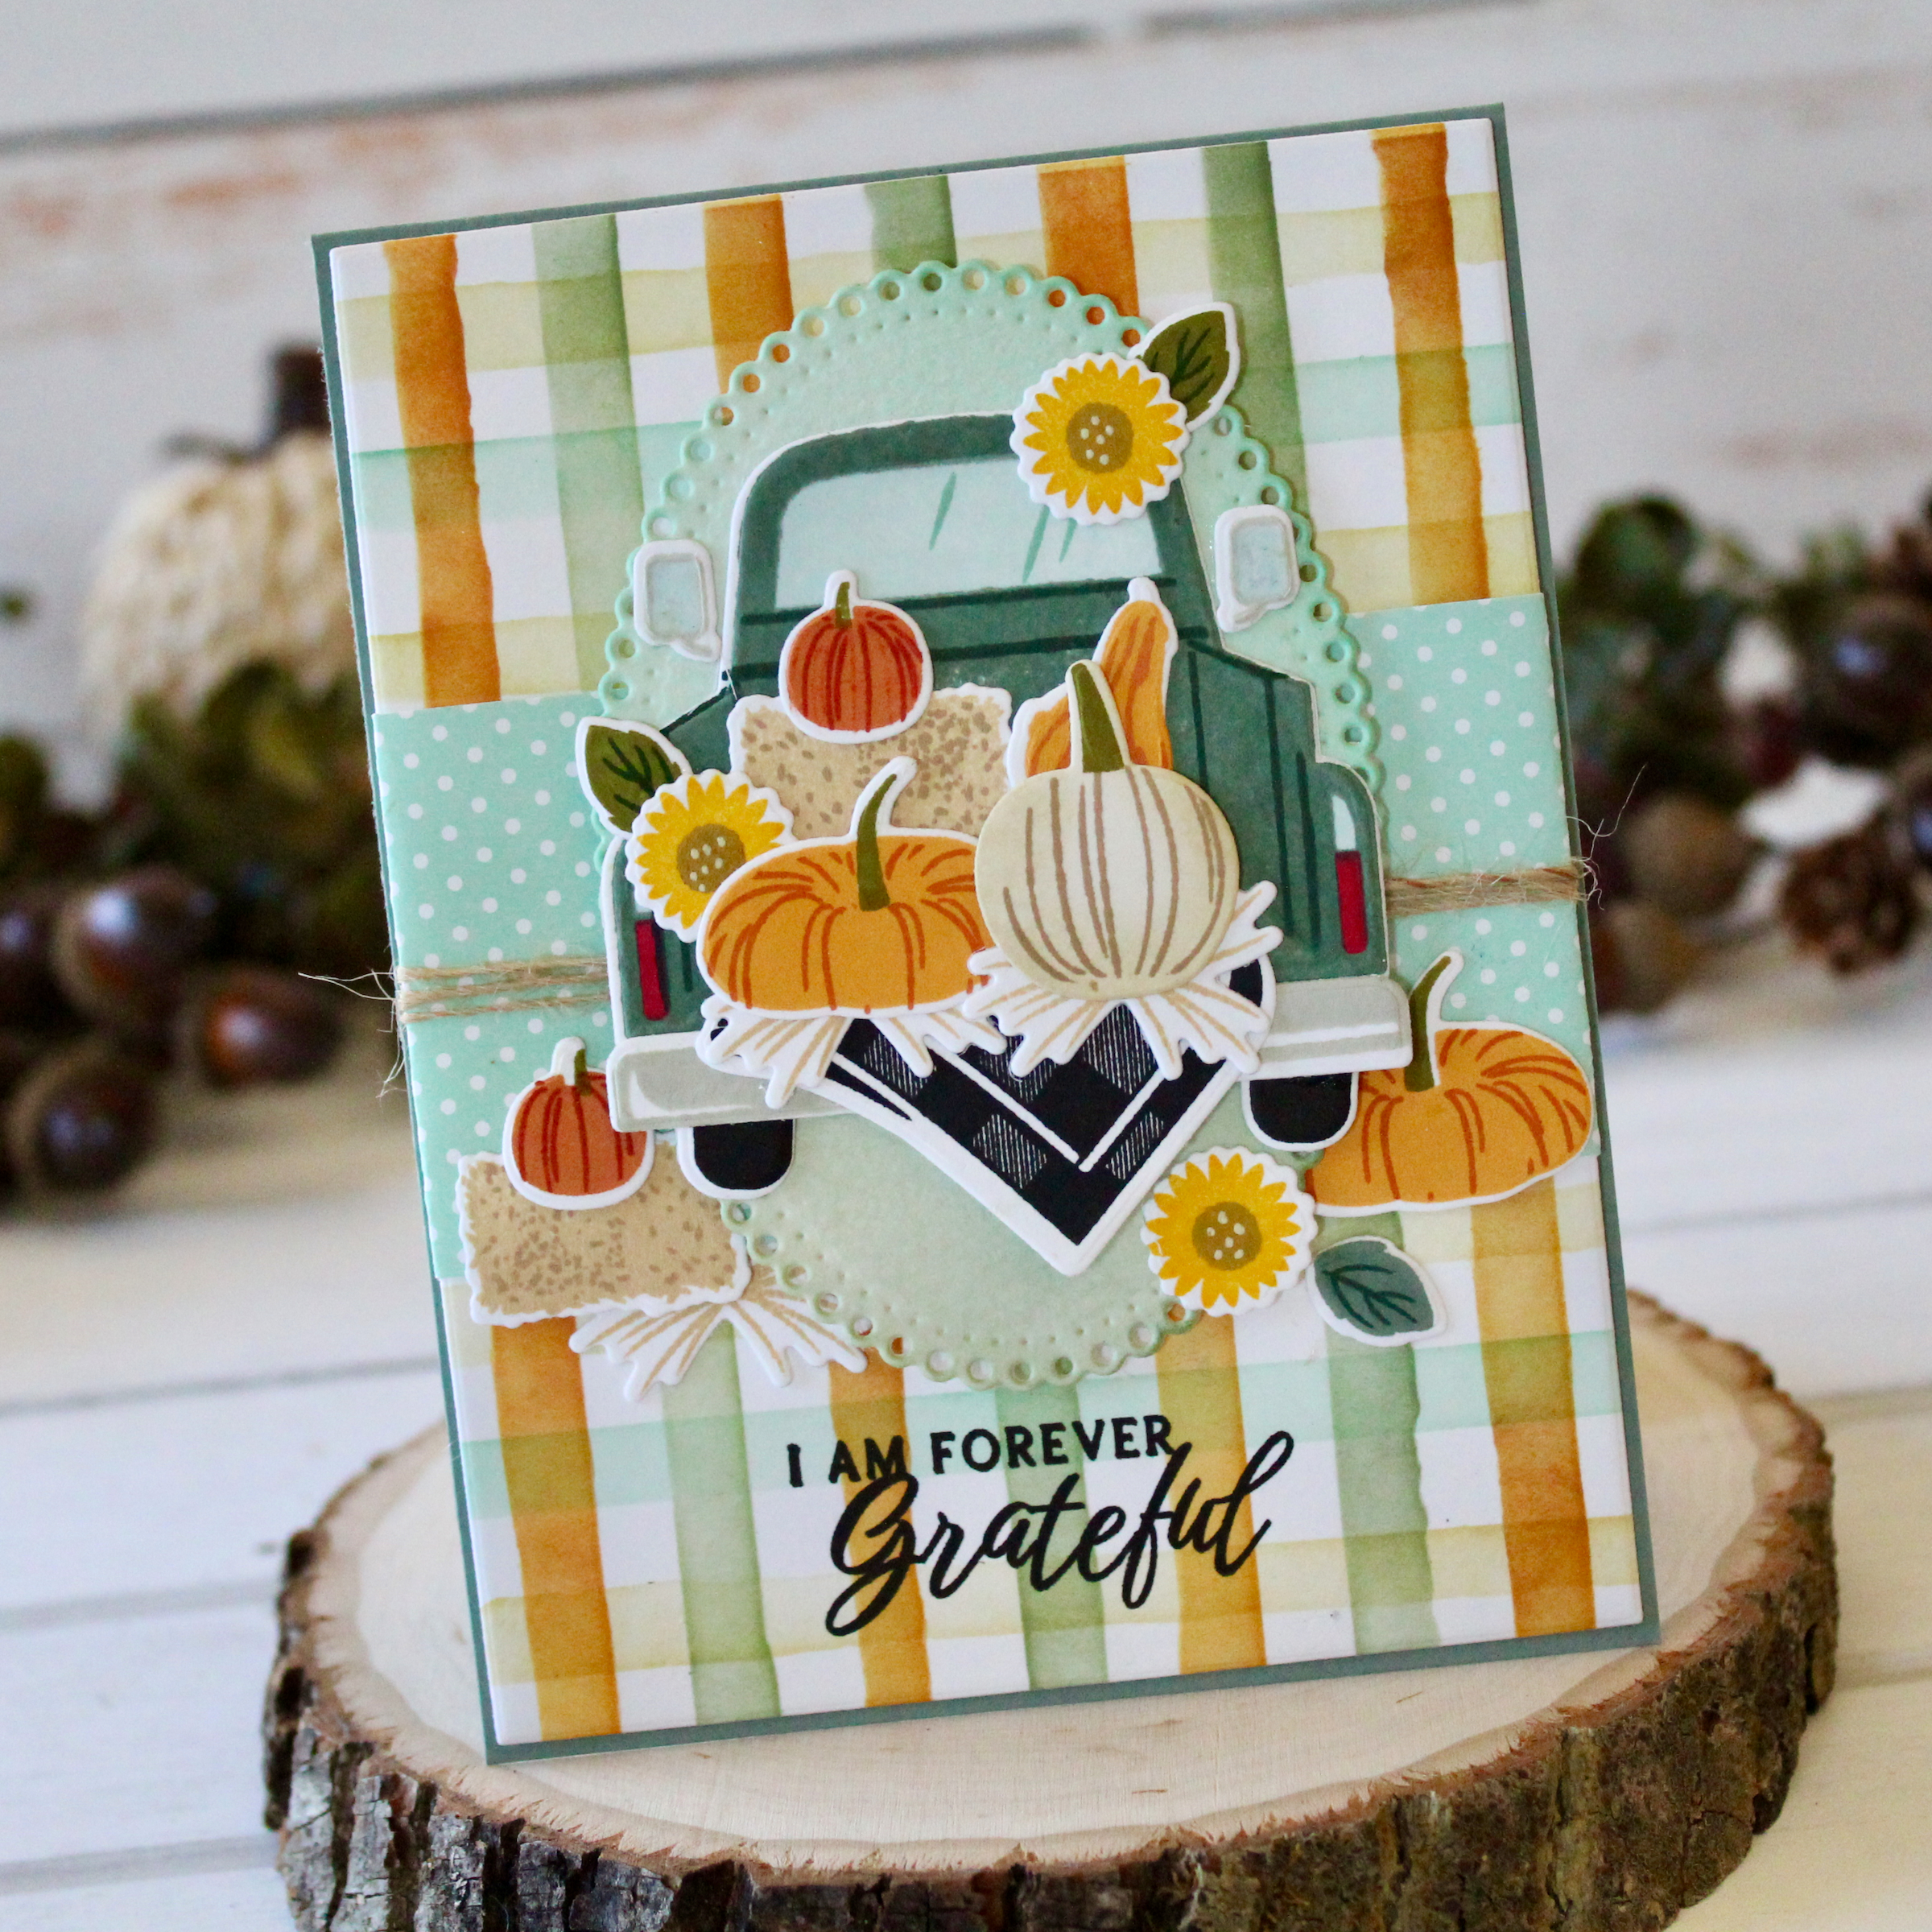
My next card uses the new Farm Fresh Pumpkins stamps and dies along with the gorgeous Watercolor Plaid Stencils. You’ll adore these new products as much as I do, I’m sure!
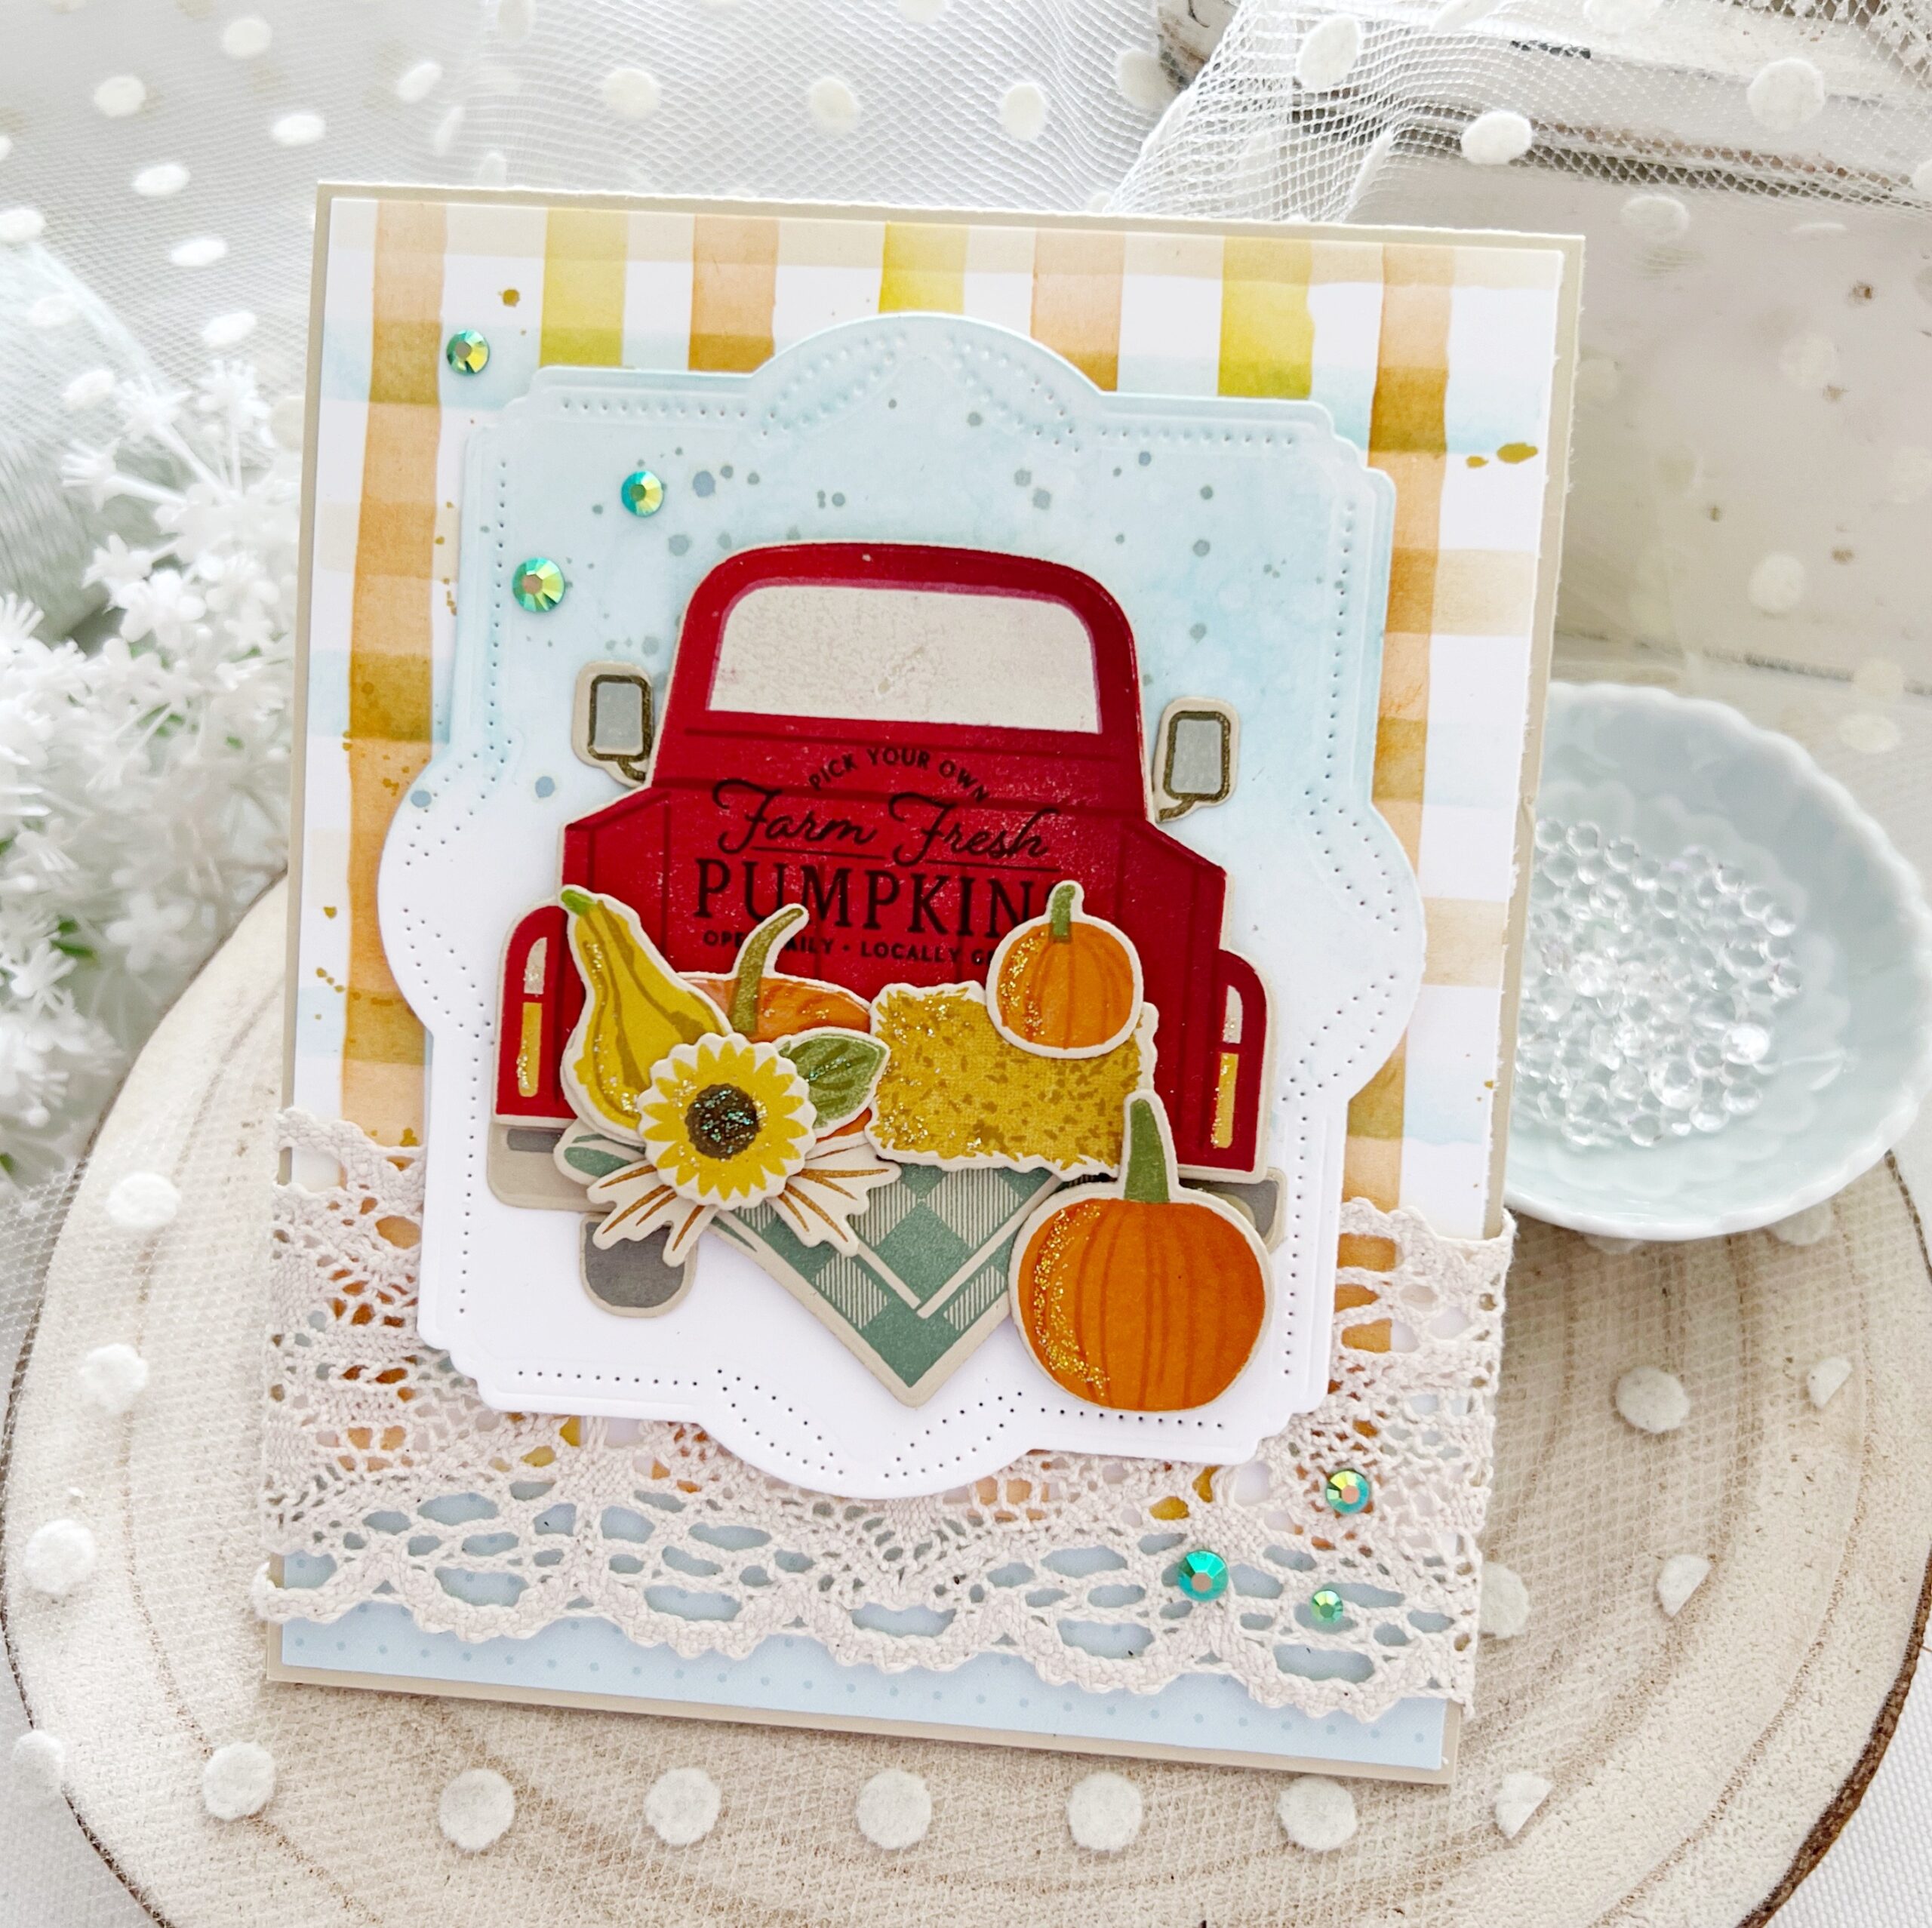
Can you imagine anything cuter than a farm truck loaded with hay bales, pumpkins, squash, sunflowers, a quilt, and more? I love the vantage point this truck was designed in…looking from the backside in.
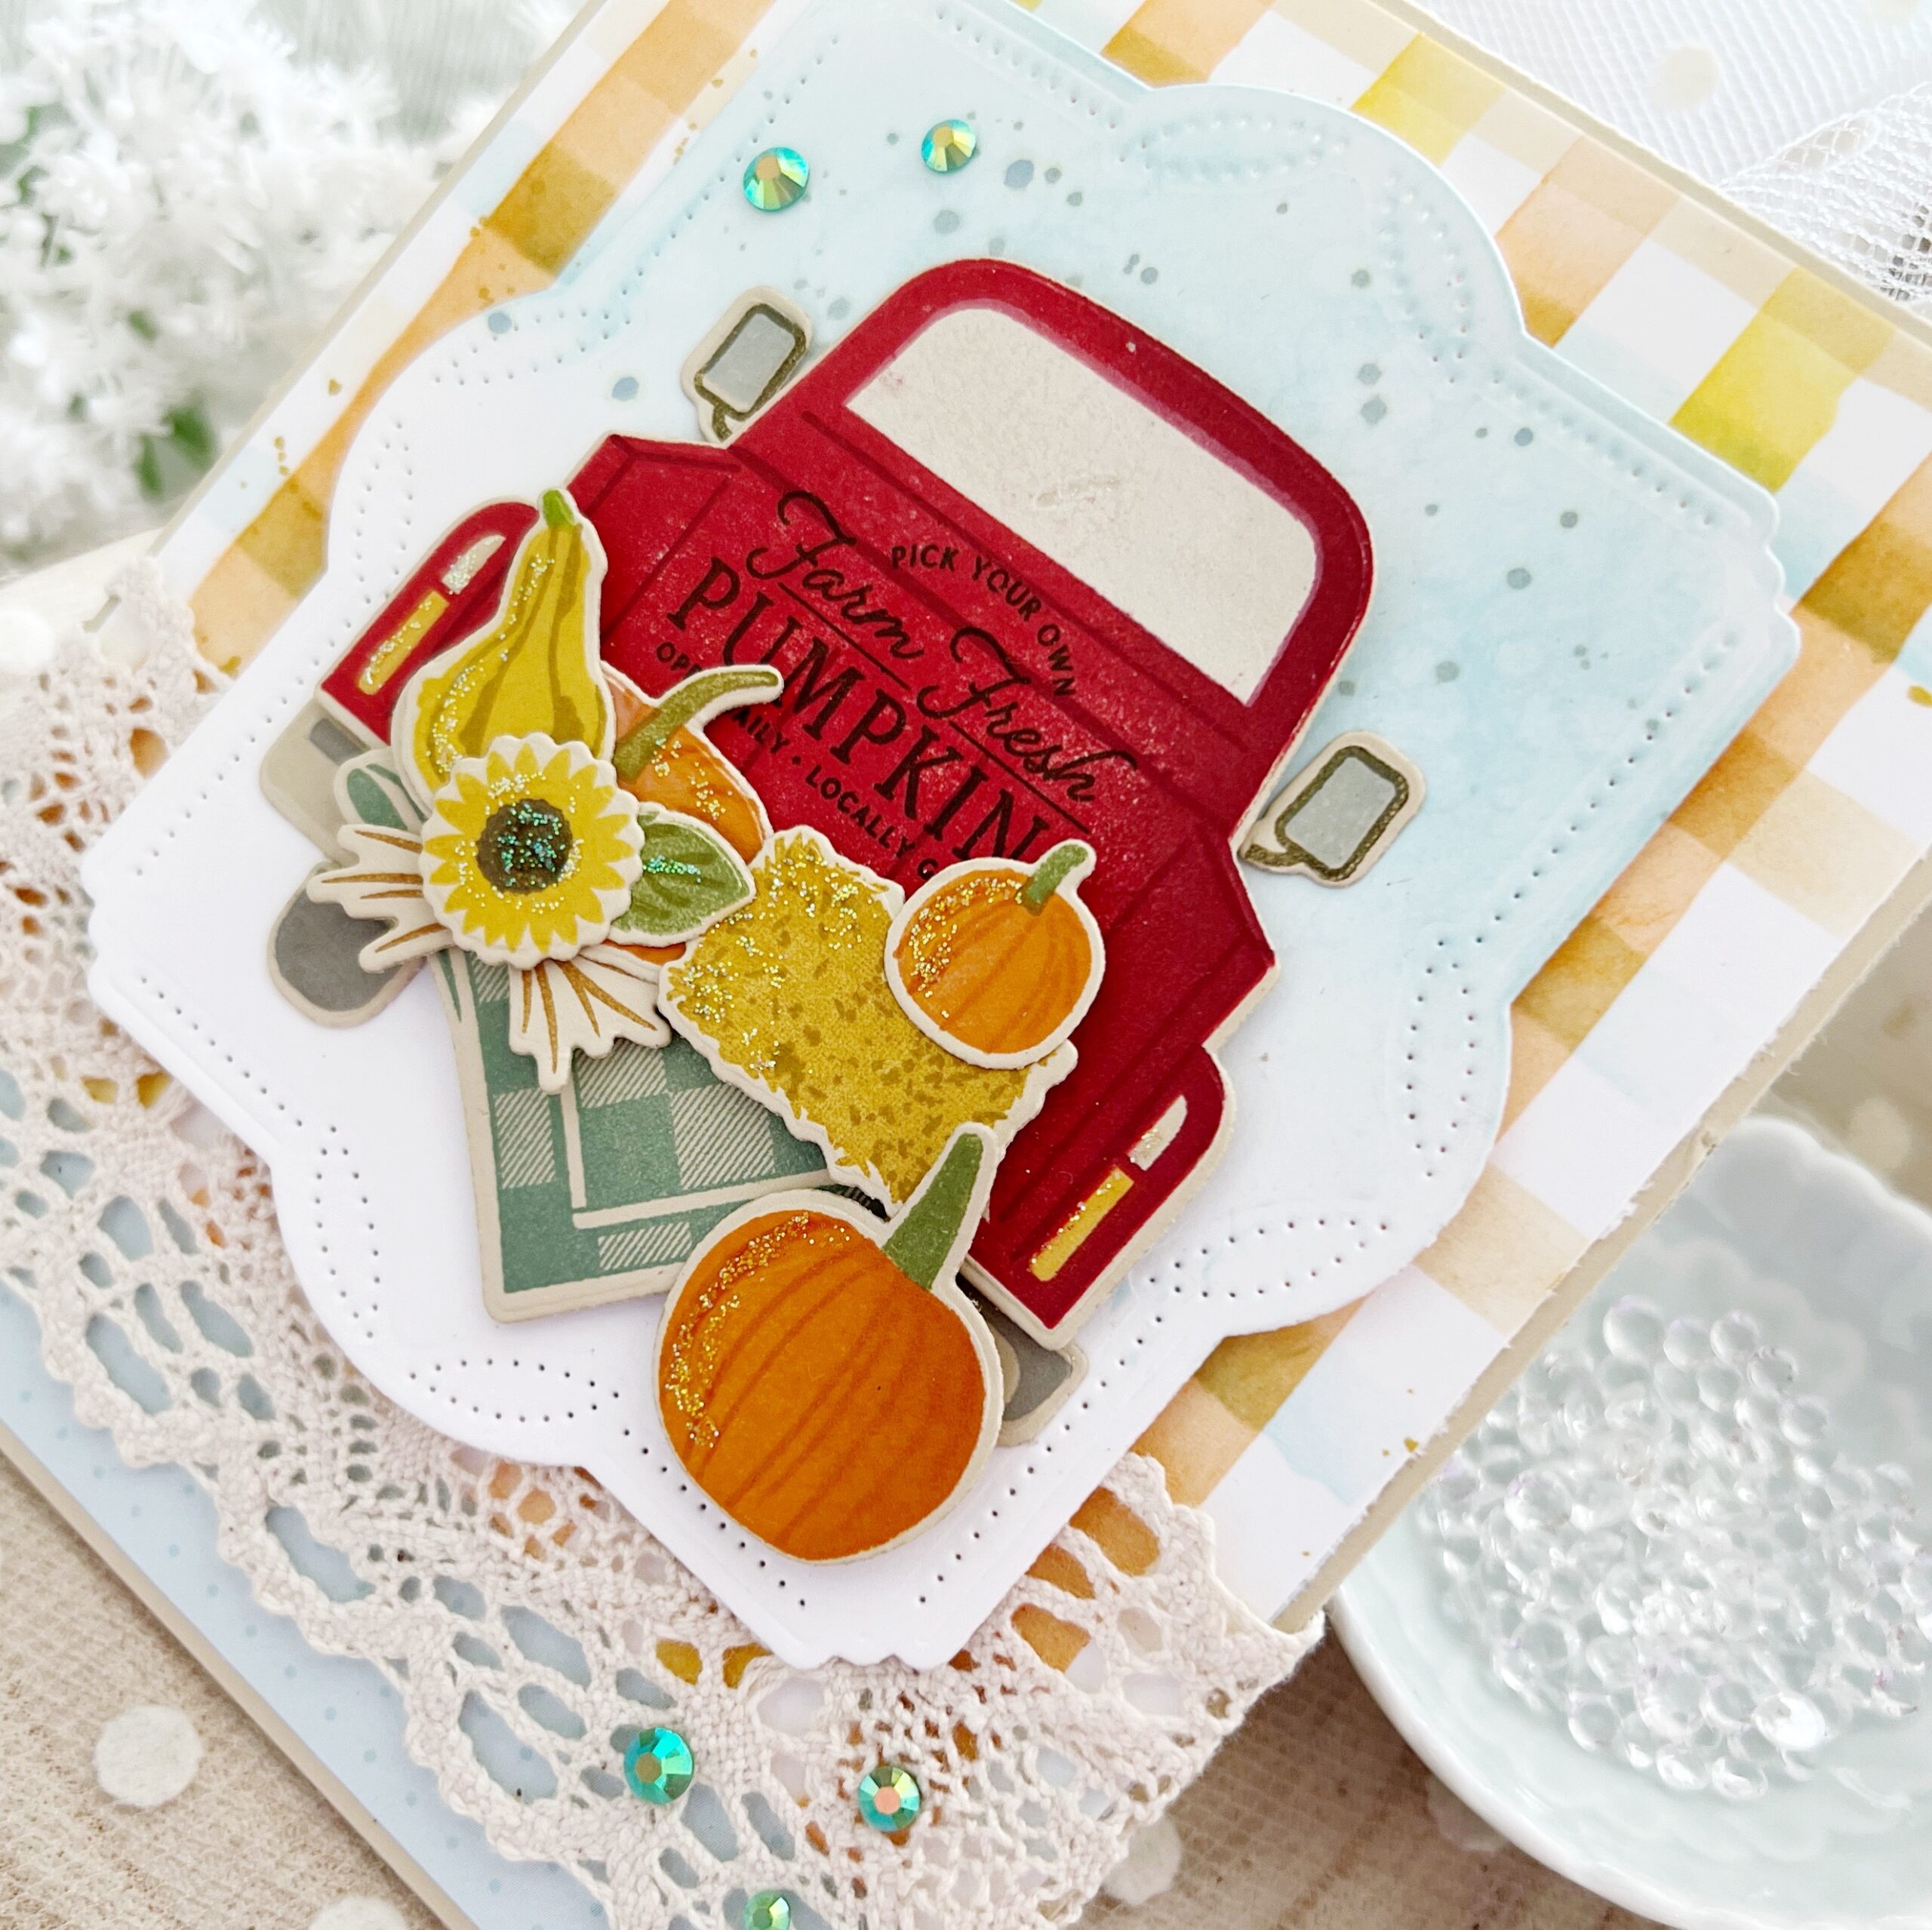
This set was designed to allow you to either leave the tailgate up or down. You’ll notice our designers have designed their cards showing both options. I chose to leave my tailgate down and draped the quilt over the tailgate and then added in my Autumn fixings.
Behind my scene I have used the funnest stencils yet, our new Watercolor Plaid Stencils. This is a 4-step stencil, but can easily be paired down to just one or two, depending on how you’d like to form your pattern. I adore them and am certain I’ll wear them out this holiday season, creating handmade background paper for all of my cards.
SUPPLY LIST:
STAMPS: Farm Fresh Pumpkins
INK: Pure Poppy, Scarlet Jewel, Honey Nut, Bright Buttercup, Saffron Spice, Smokey Shadow, Ocean Tides, Orange Zest, Melon Berry, Ripe Avocado, Weathervane, Fine Linen, Aqua Mist
PAPER: Fine Linen, Stamper’s Select White
DIES: Farm Fresh Pumpkins, Love to Layer: Alluring Brackets
STENCILS: Watercolor Plaid Stencils
OTHER: Patterned paper, trim, Stickles glitter, Distress Spray, adhesive gems


TIPS:
- Add pen detail to the stenciled plaid background. Here, I used a gold gel pen and a t-square ruler.
- Ink blend around the edges of a panel of white cardstock to match your project. I’m fresh out of Aqua Mist cardstock, so I used Aqua Mist ink on an A2 panel of white cardstock for the bottom layer. No need to ink the entire panel…only around the outside edge.
- Add touches of gold to each layer to tie everything together and create a cohesive design.
We hope you have enjoyed all the beautiful projects that we have shared with you today! We would love to hear what you think of everything we have introduced! Please leave a comment on this post to tell us what you like the most and why, and you will be eligible to win big!

Leave a comment today and you will be automatically entered to win a $50 Papertrey Ink gift certificate! You have until 10am ET, August 28th to leave your comment and be eligible to win. Only one comment per person please. One randomly selected winner will be posted on the August Release Winners Page by 11 PM ET on August 29th.


Leave a Reply