


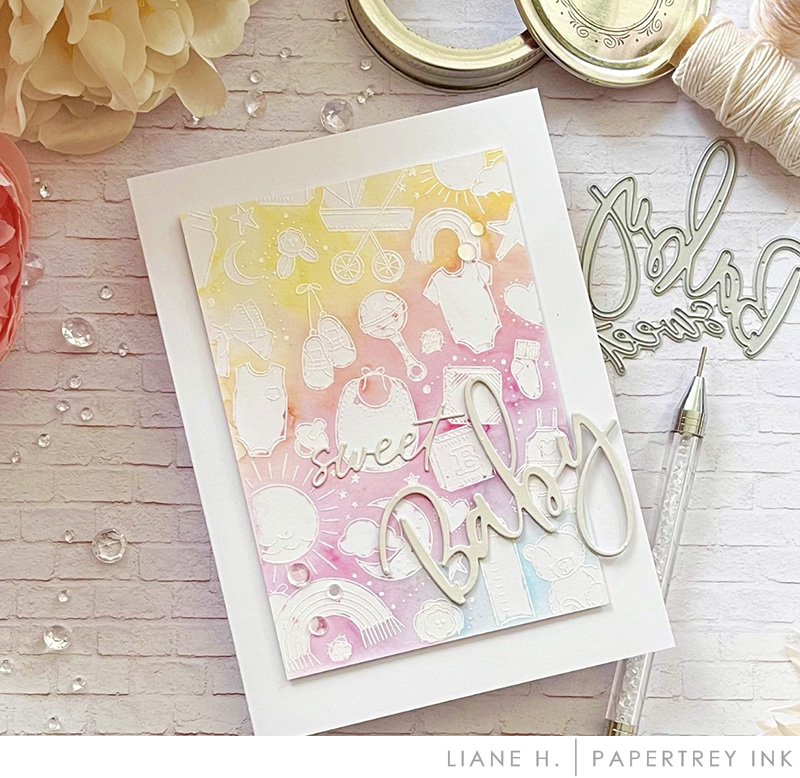
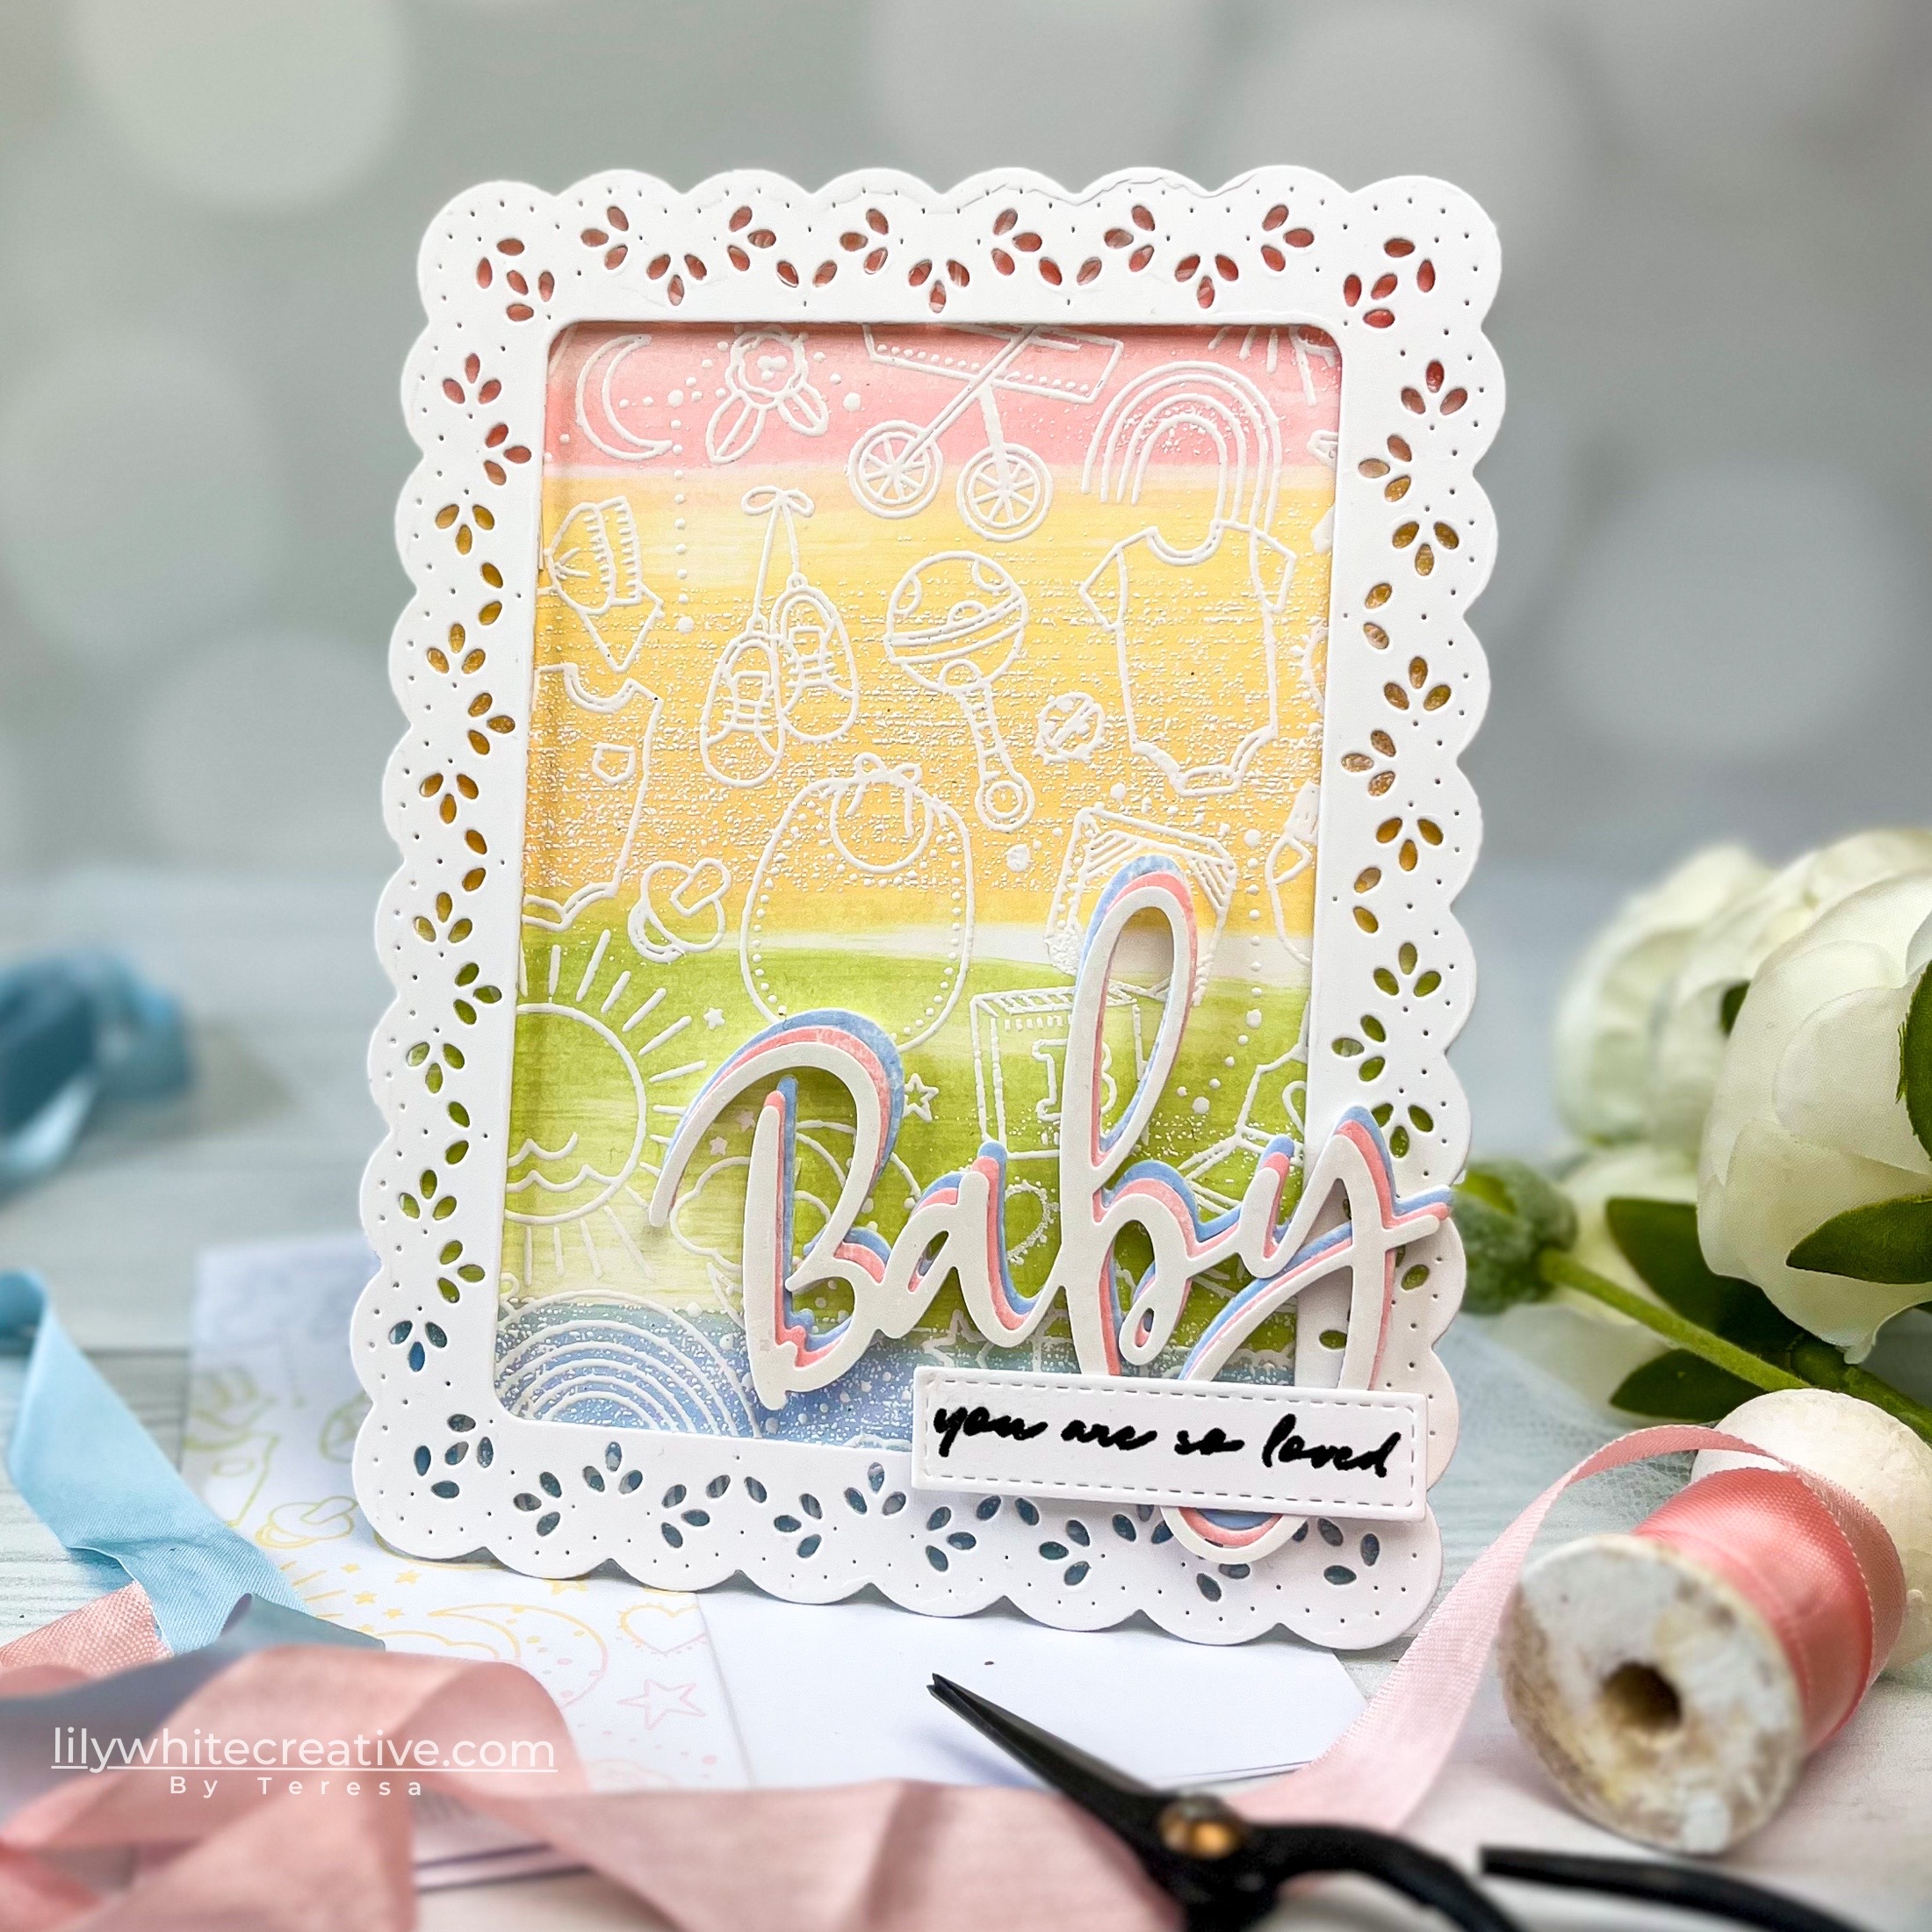
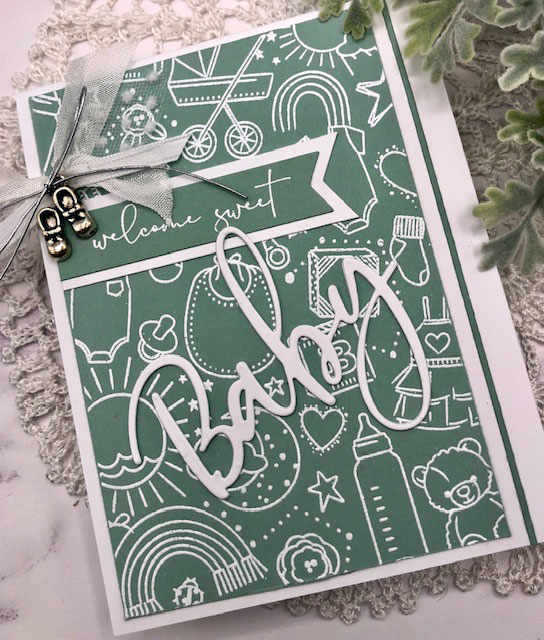
Our new Larger Than Life: Baby die and sentiments stamp set will snag your heart and win you over! Just as irresistible, is the new Baby Background stamp…perfect for creating handmade Baby cards.
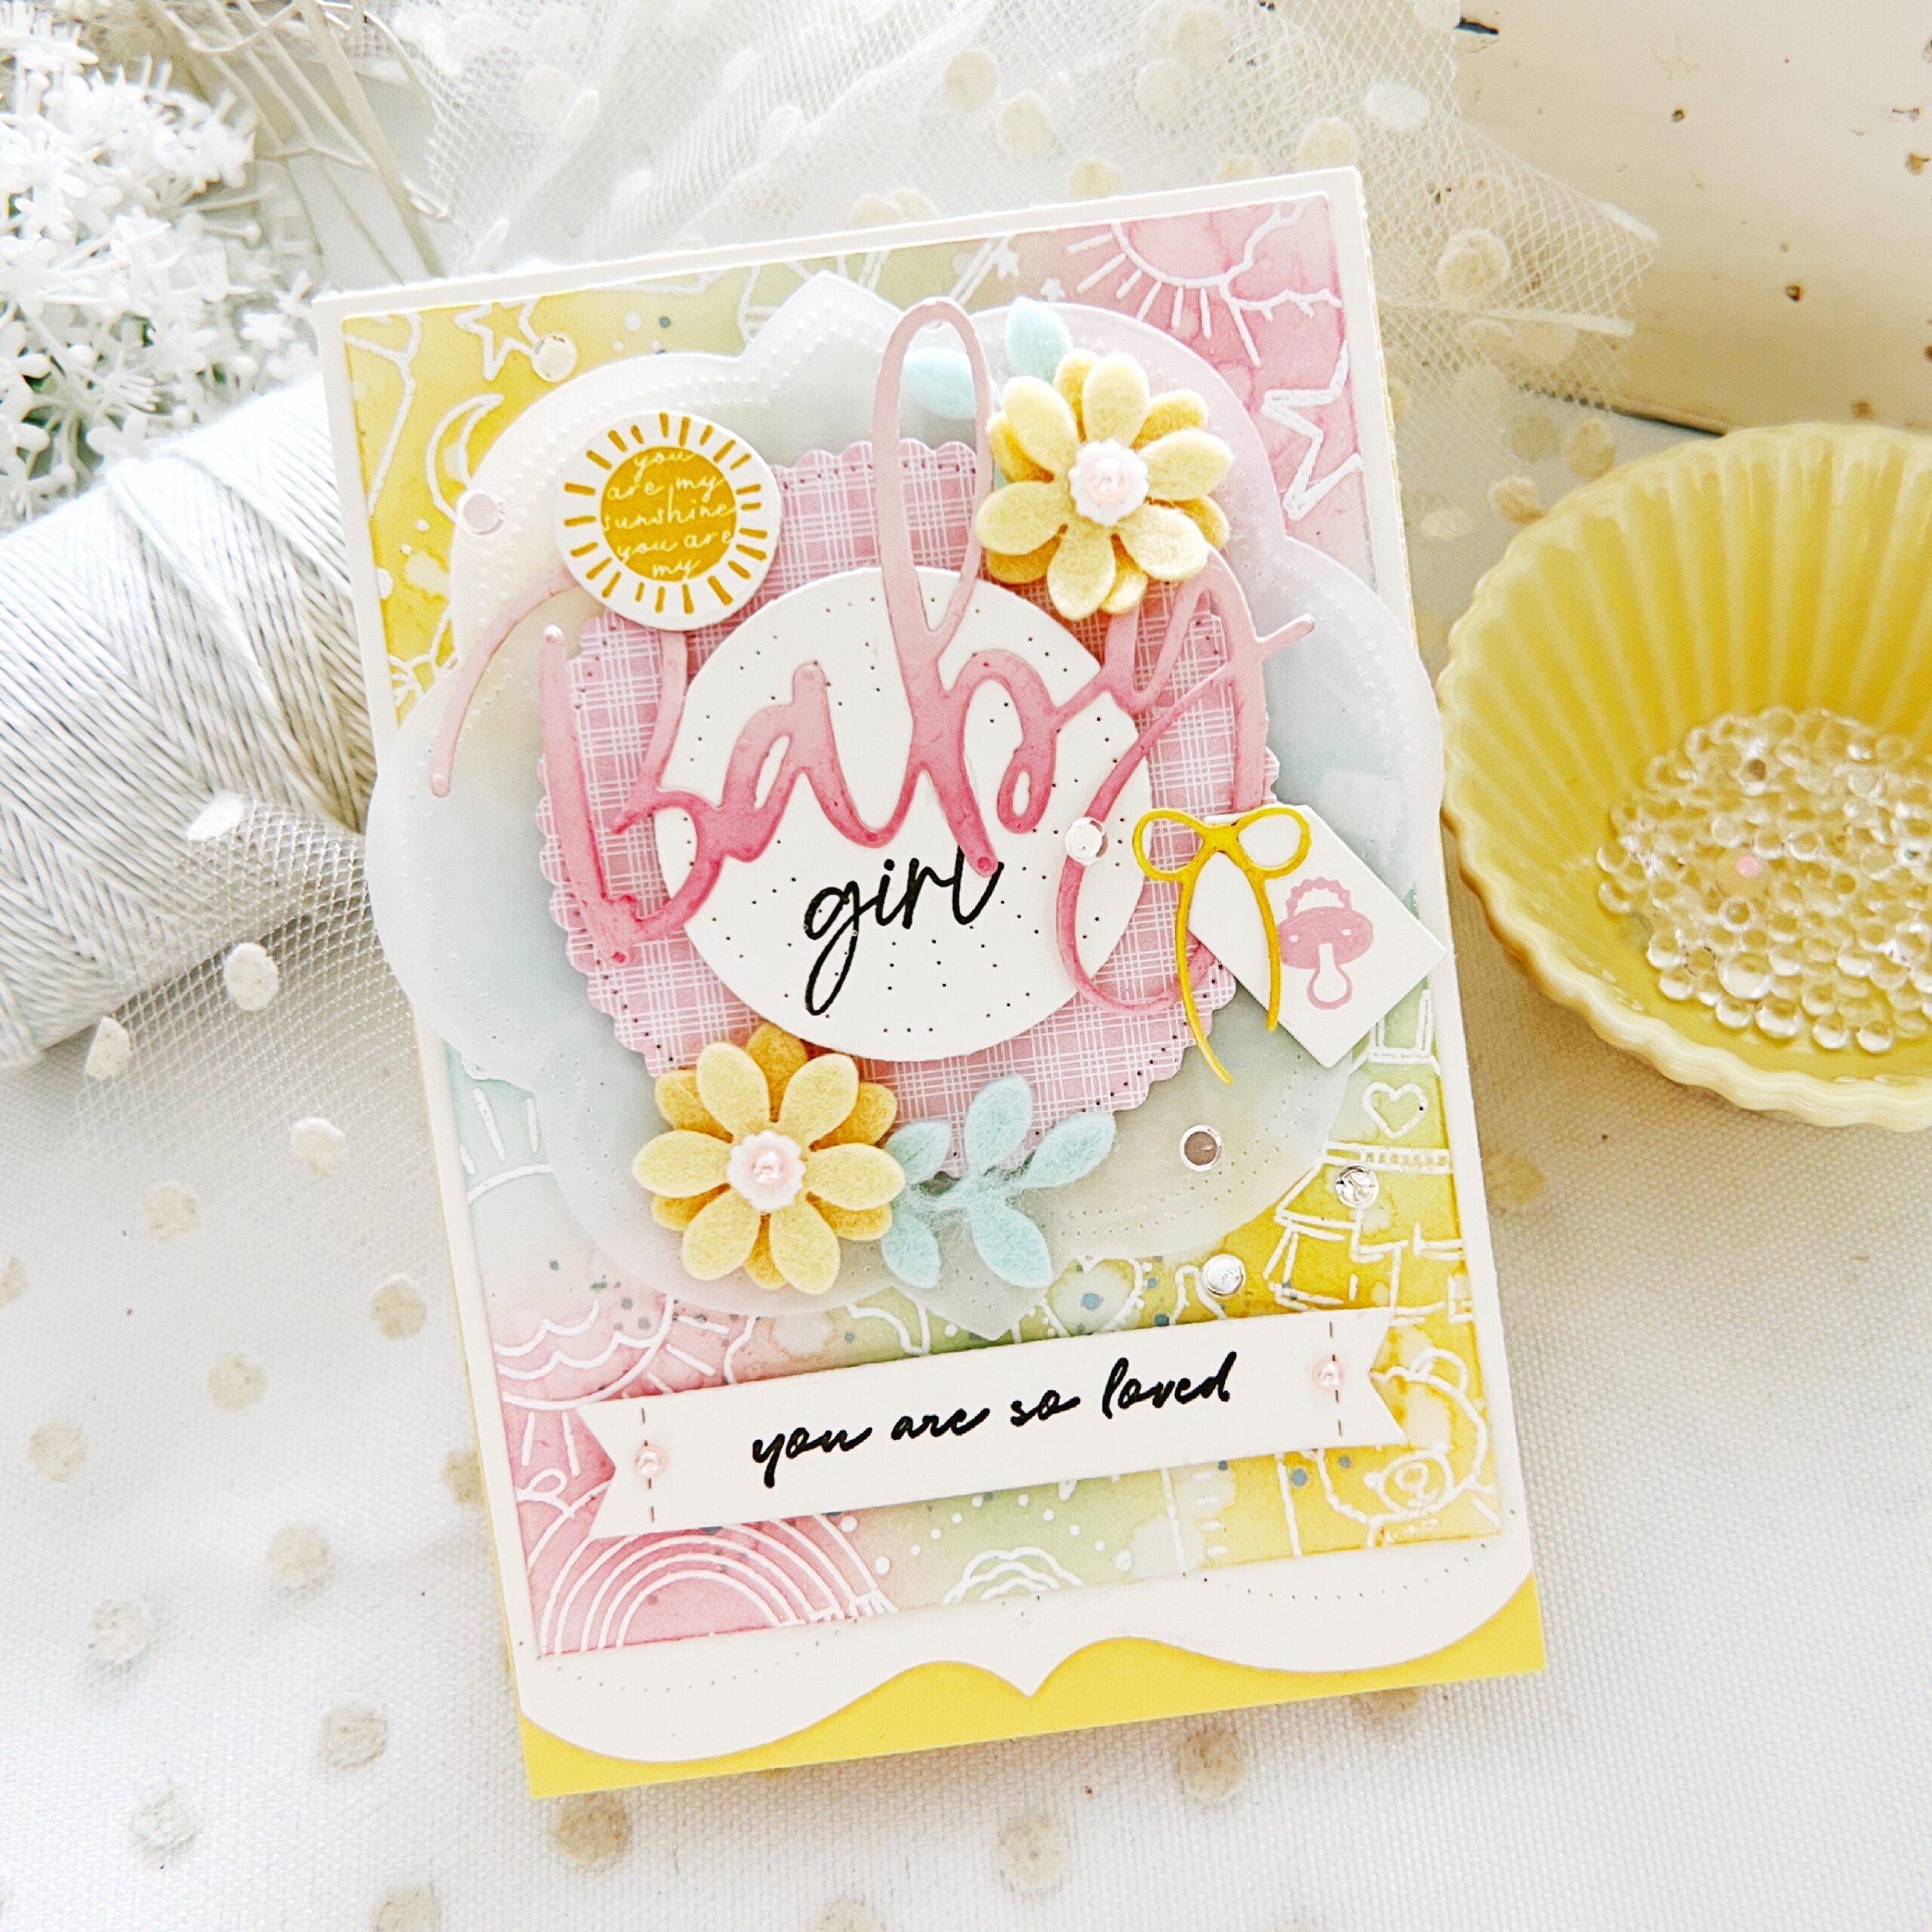
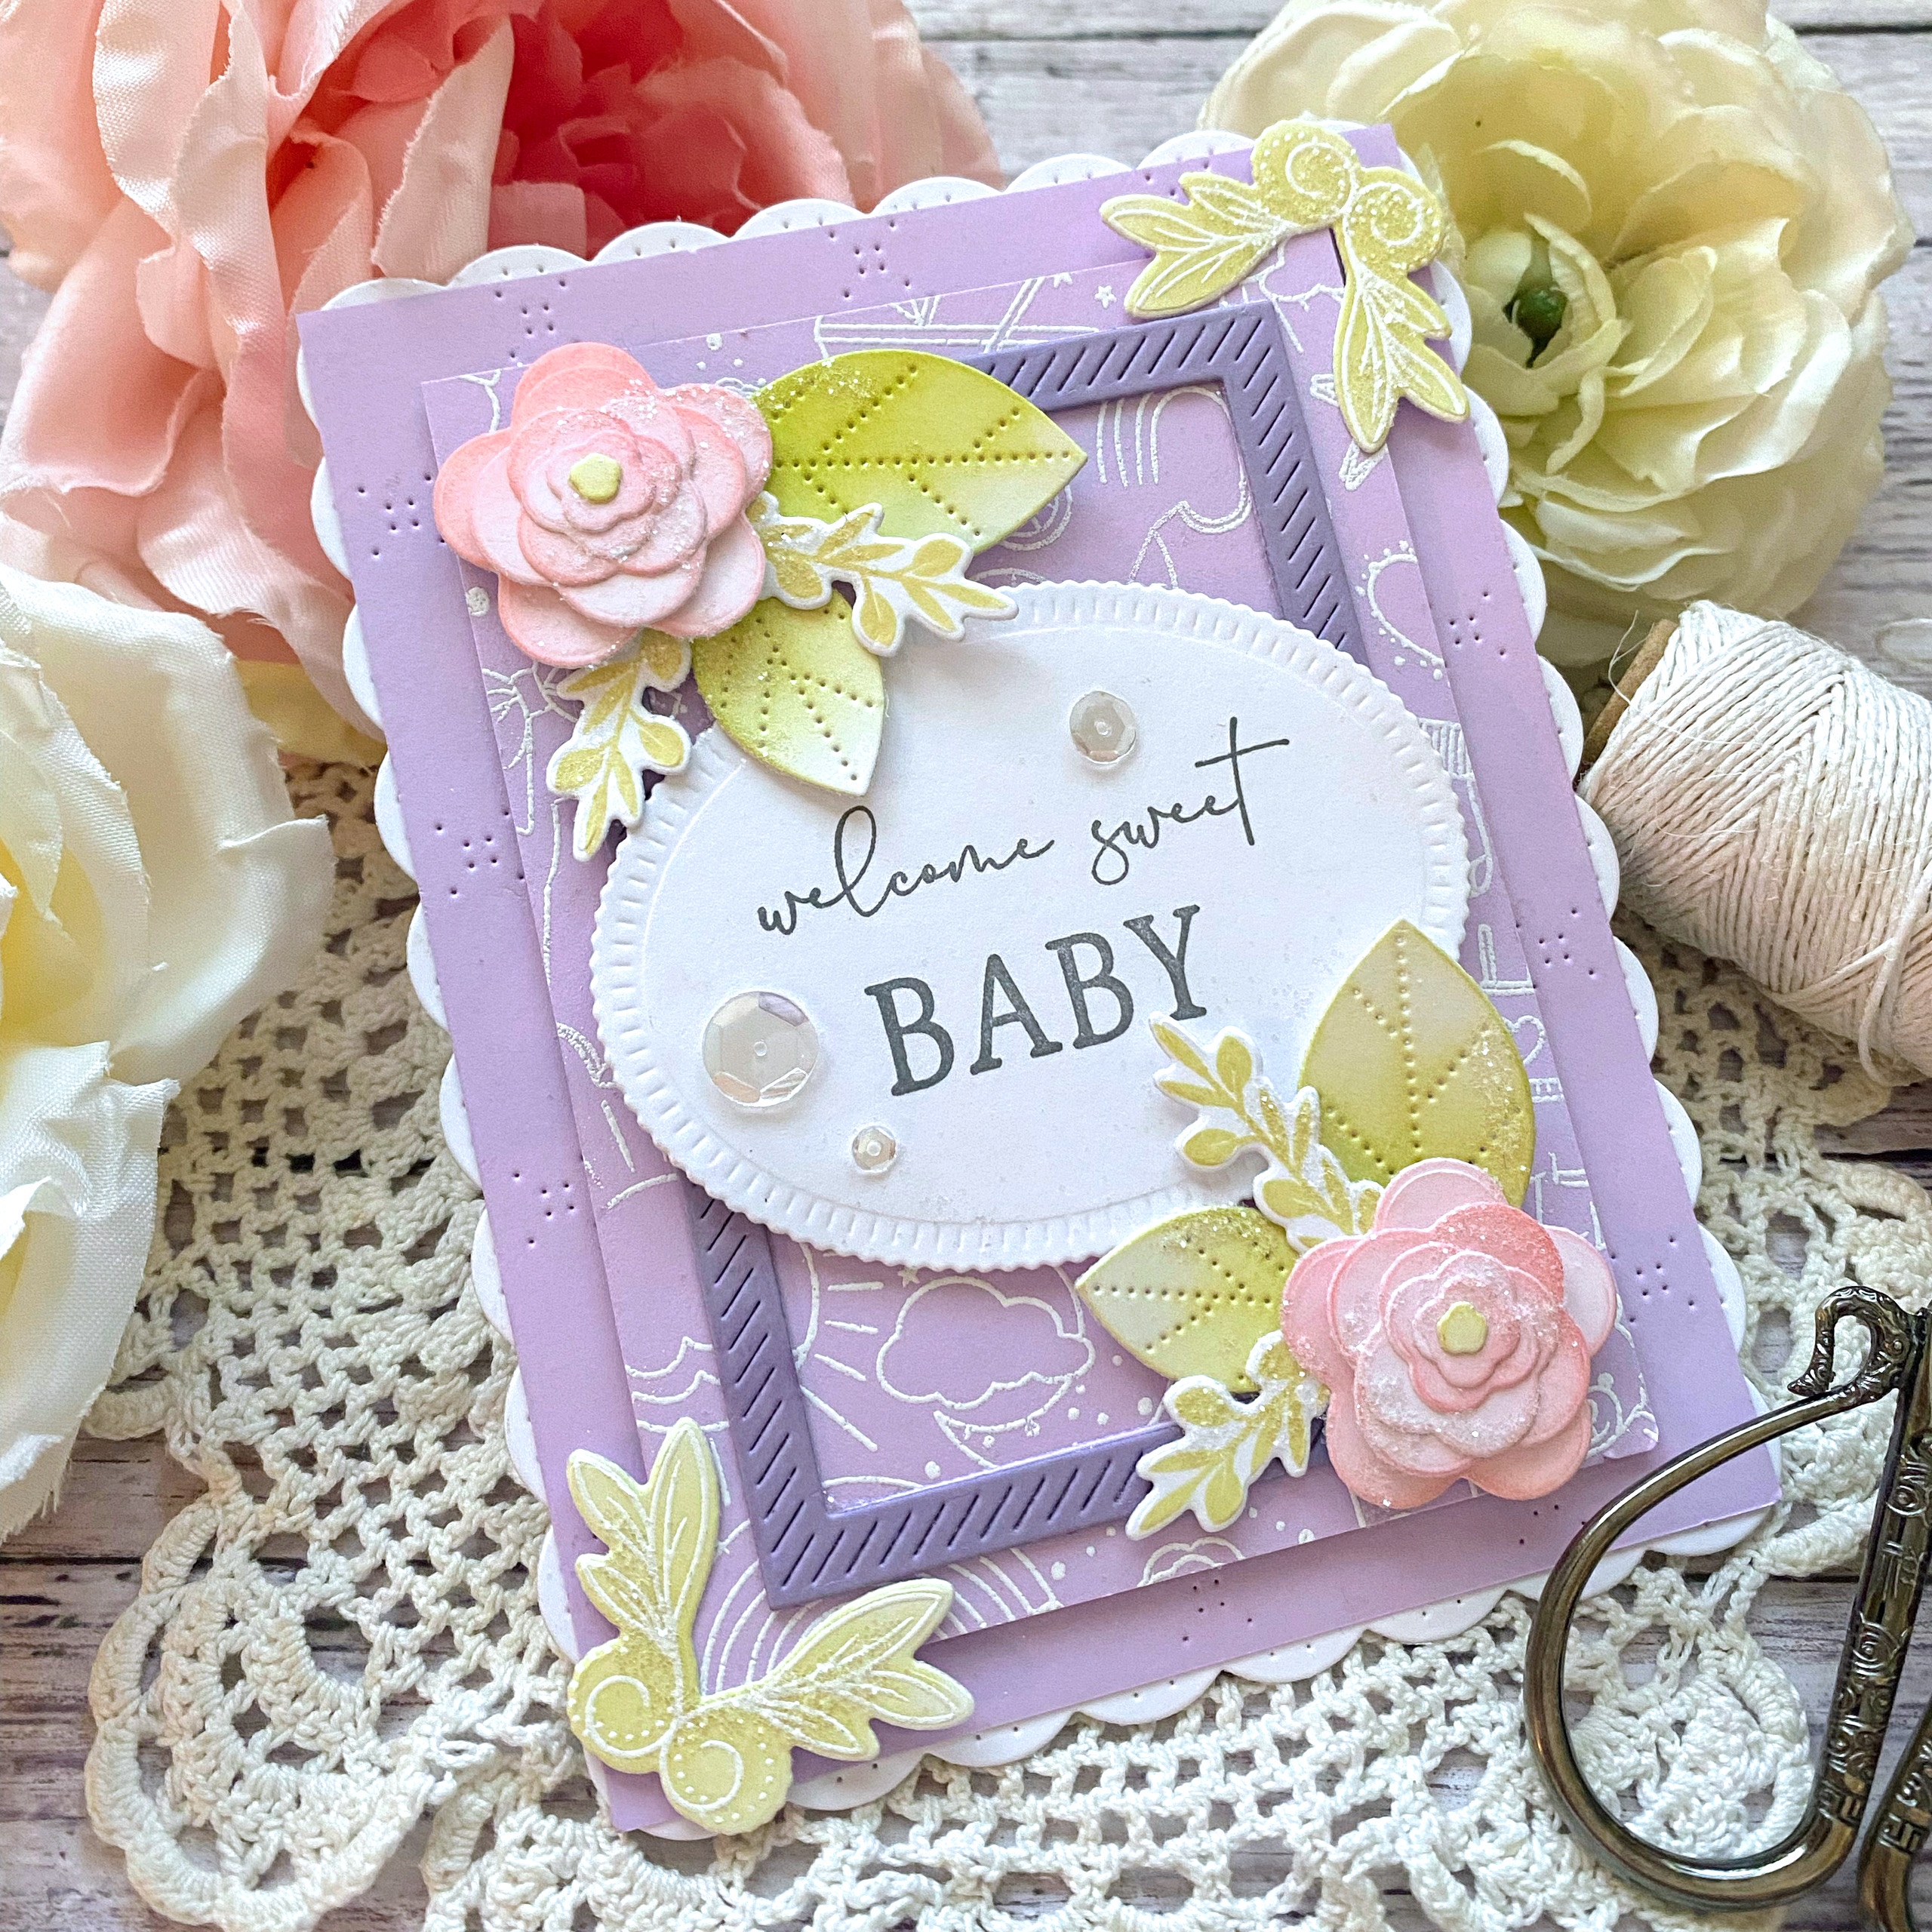
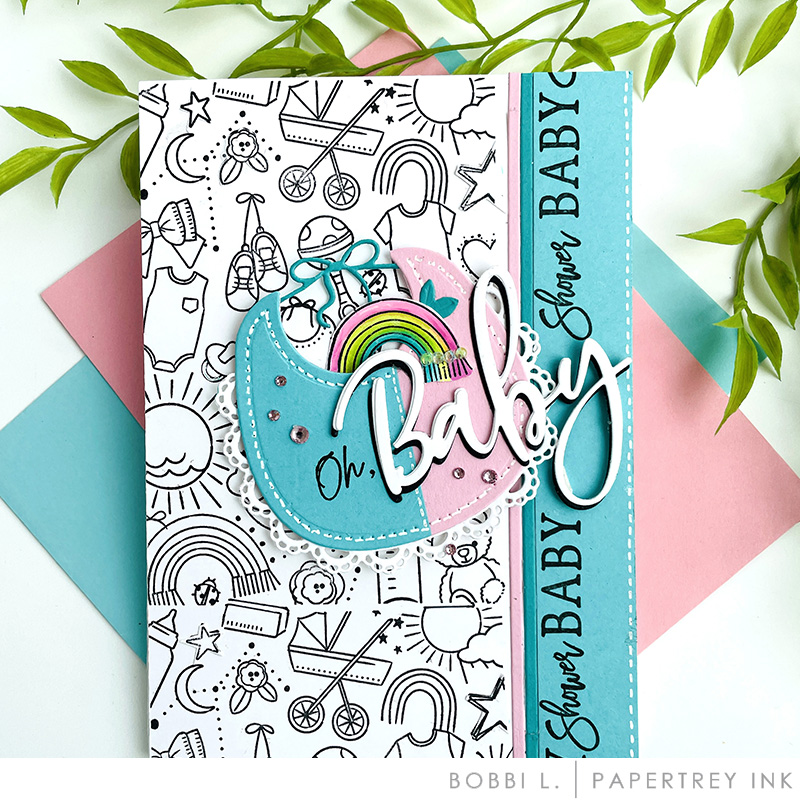
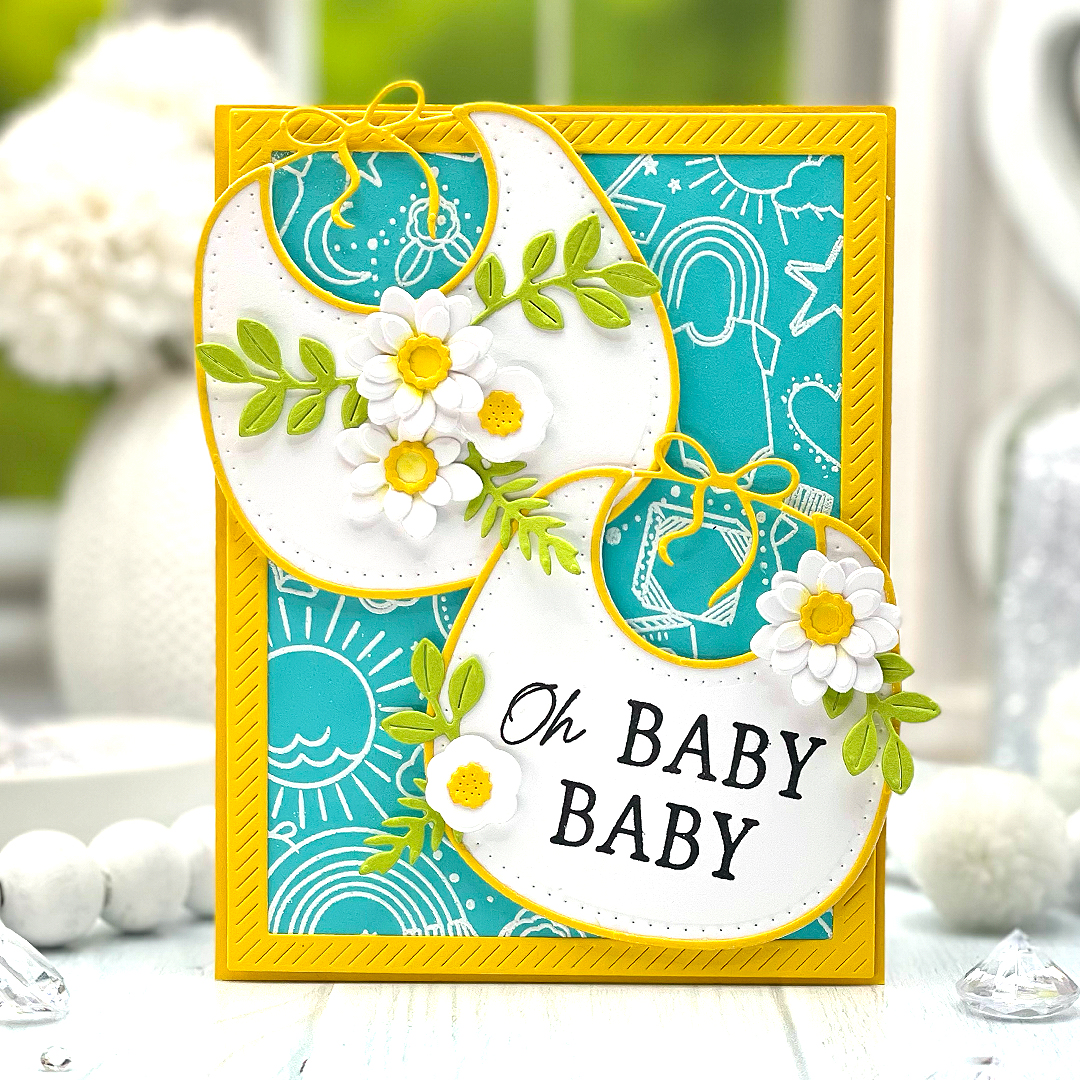
I love the Baby Background stamp set and have created a colorful card base using it. It’s loaded with the sweetest baby images such as sunshines, rainbows, ABC blocks, flowers, rattles, baby bears, onesies, stars, and more. I stamped a block of Vintage Cream cardstock using watermark ink and then heat embossed the stamped images using white embossing powder. Next, I sponged ink over the embossed surfaces using Lovely lady, Summer Sunrise, Hawaiian Shores, and Mint Julep. Once you begin applying the ink, you’re images really start standing out and taking shape.
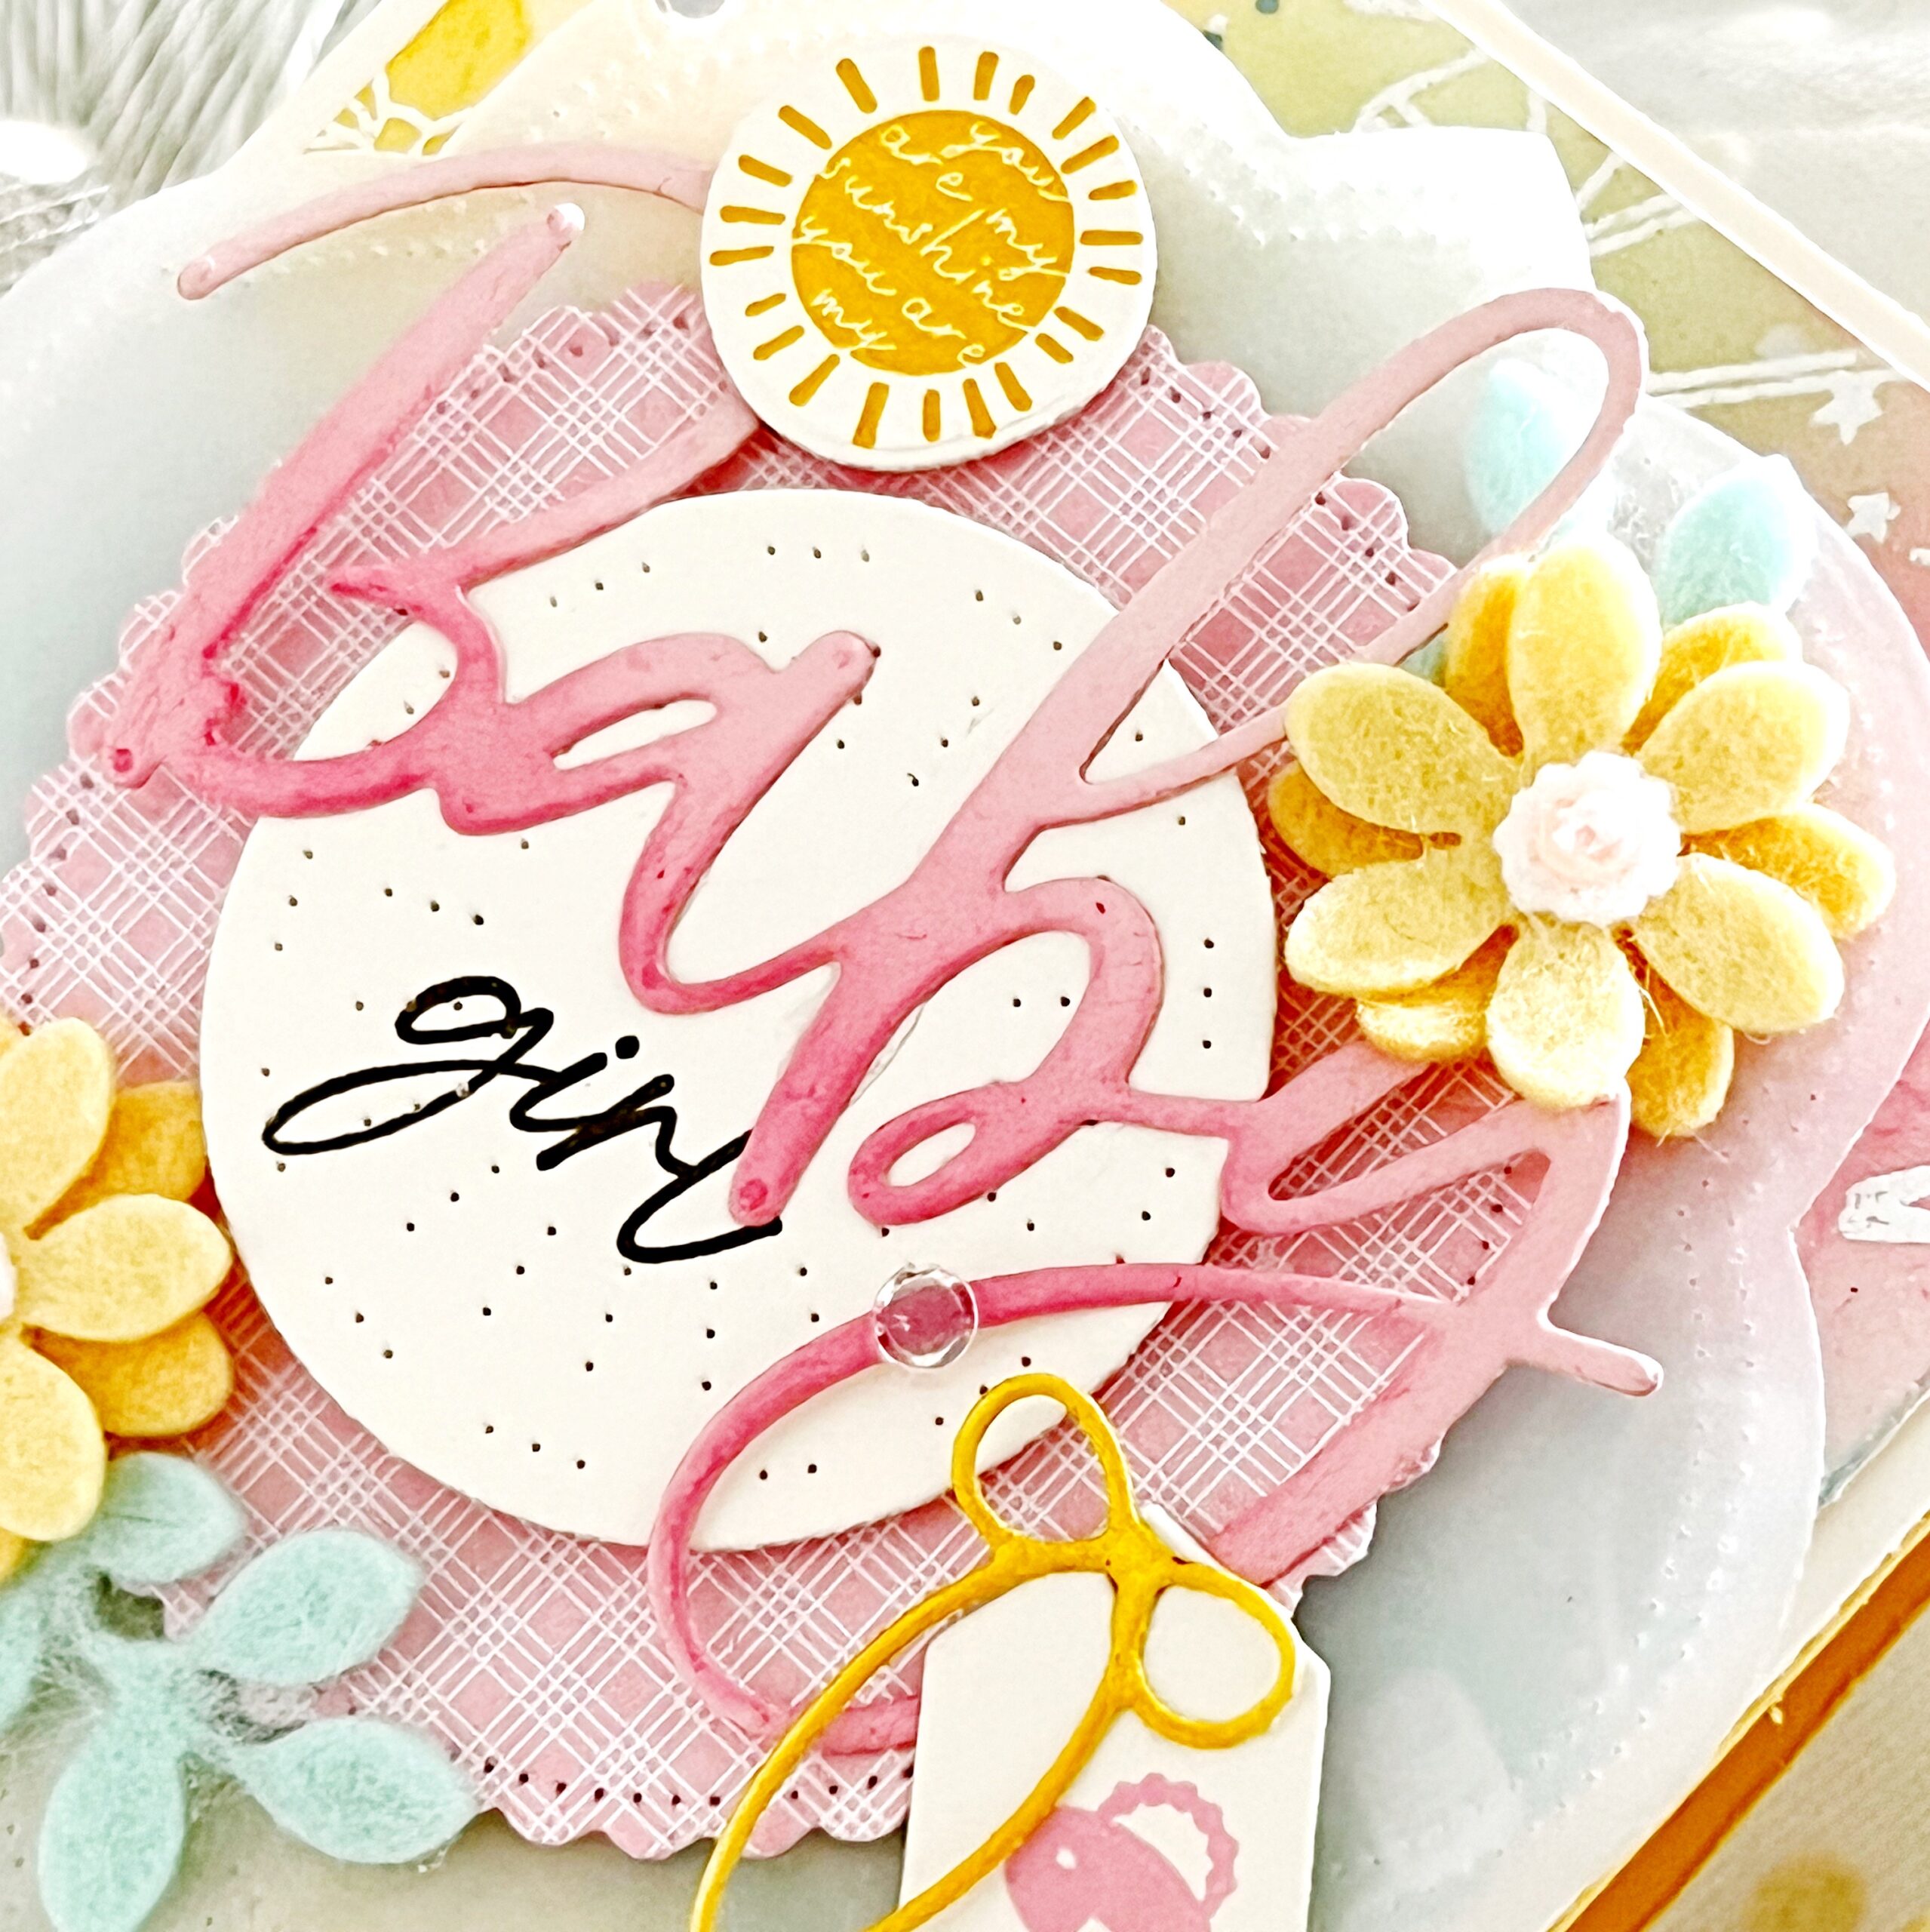
I sponged ink over my die cut Larger Than Life: Baby image, which added shading to the bottom area and helped it stand out a bit more against my die cut Love to Layer: Charming Brackets dies. My sentiments were stamped using Olive Twist ink and the new Larger Than Life: Baby Sentiments. This set is full of the sweetest sayings to add with your Larger Than Life: Baby die.
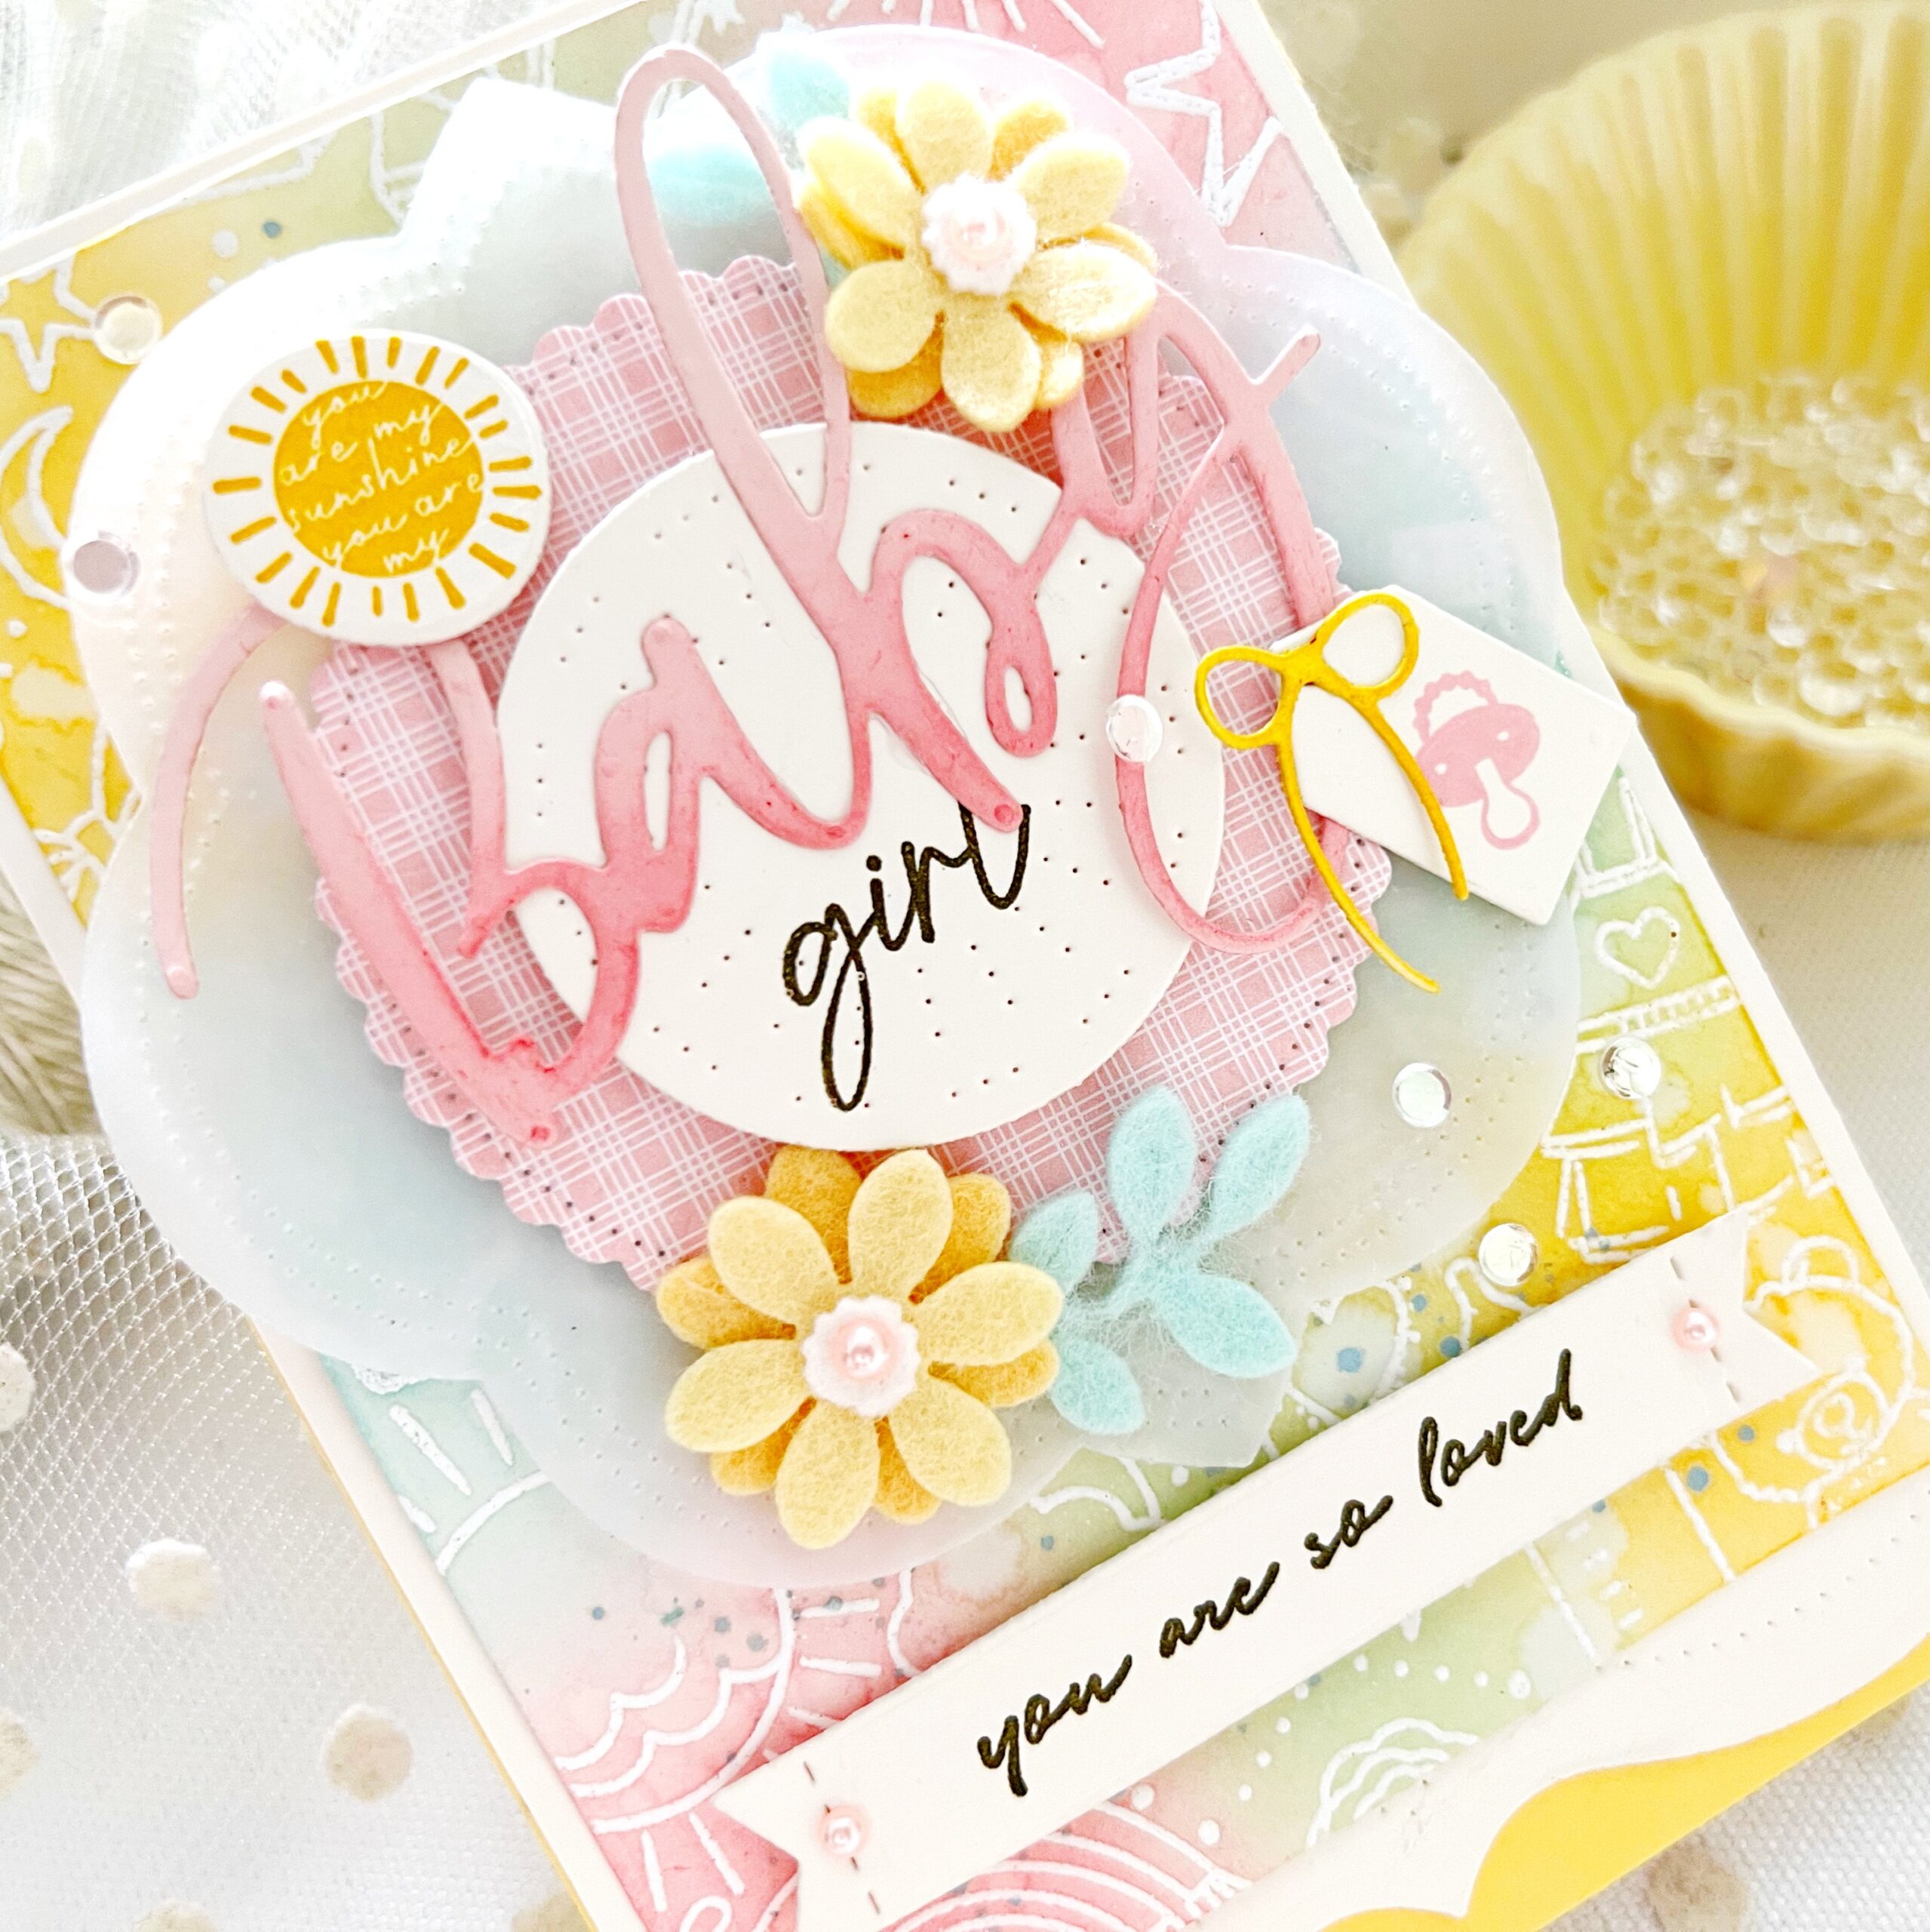
Felt flowers cut using the Sweet Baby Bib dies were used to embellish around my sentiment.
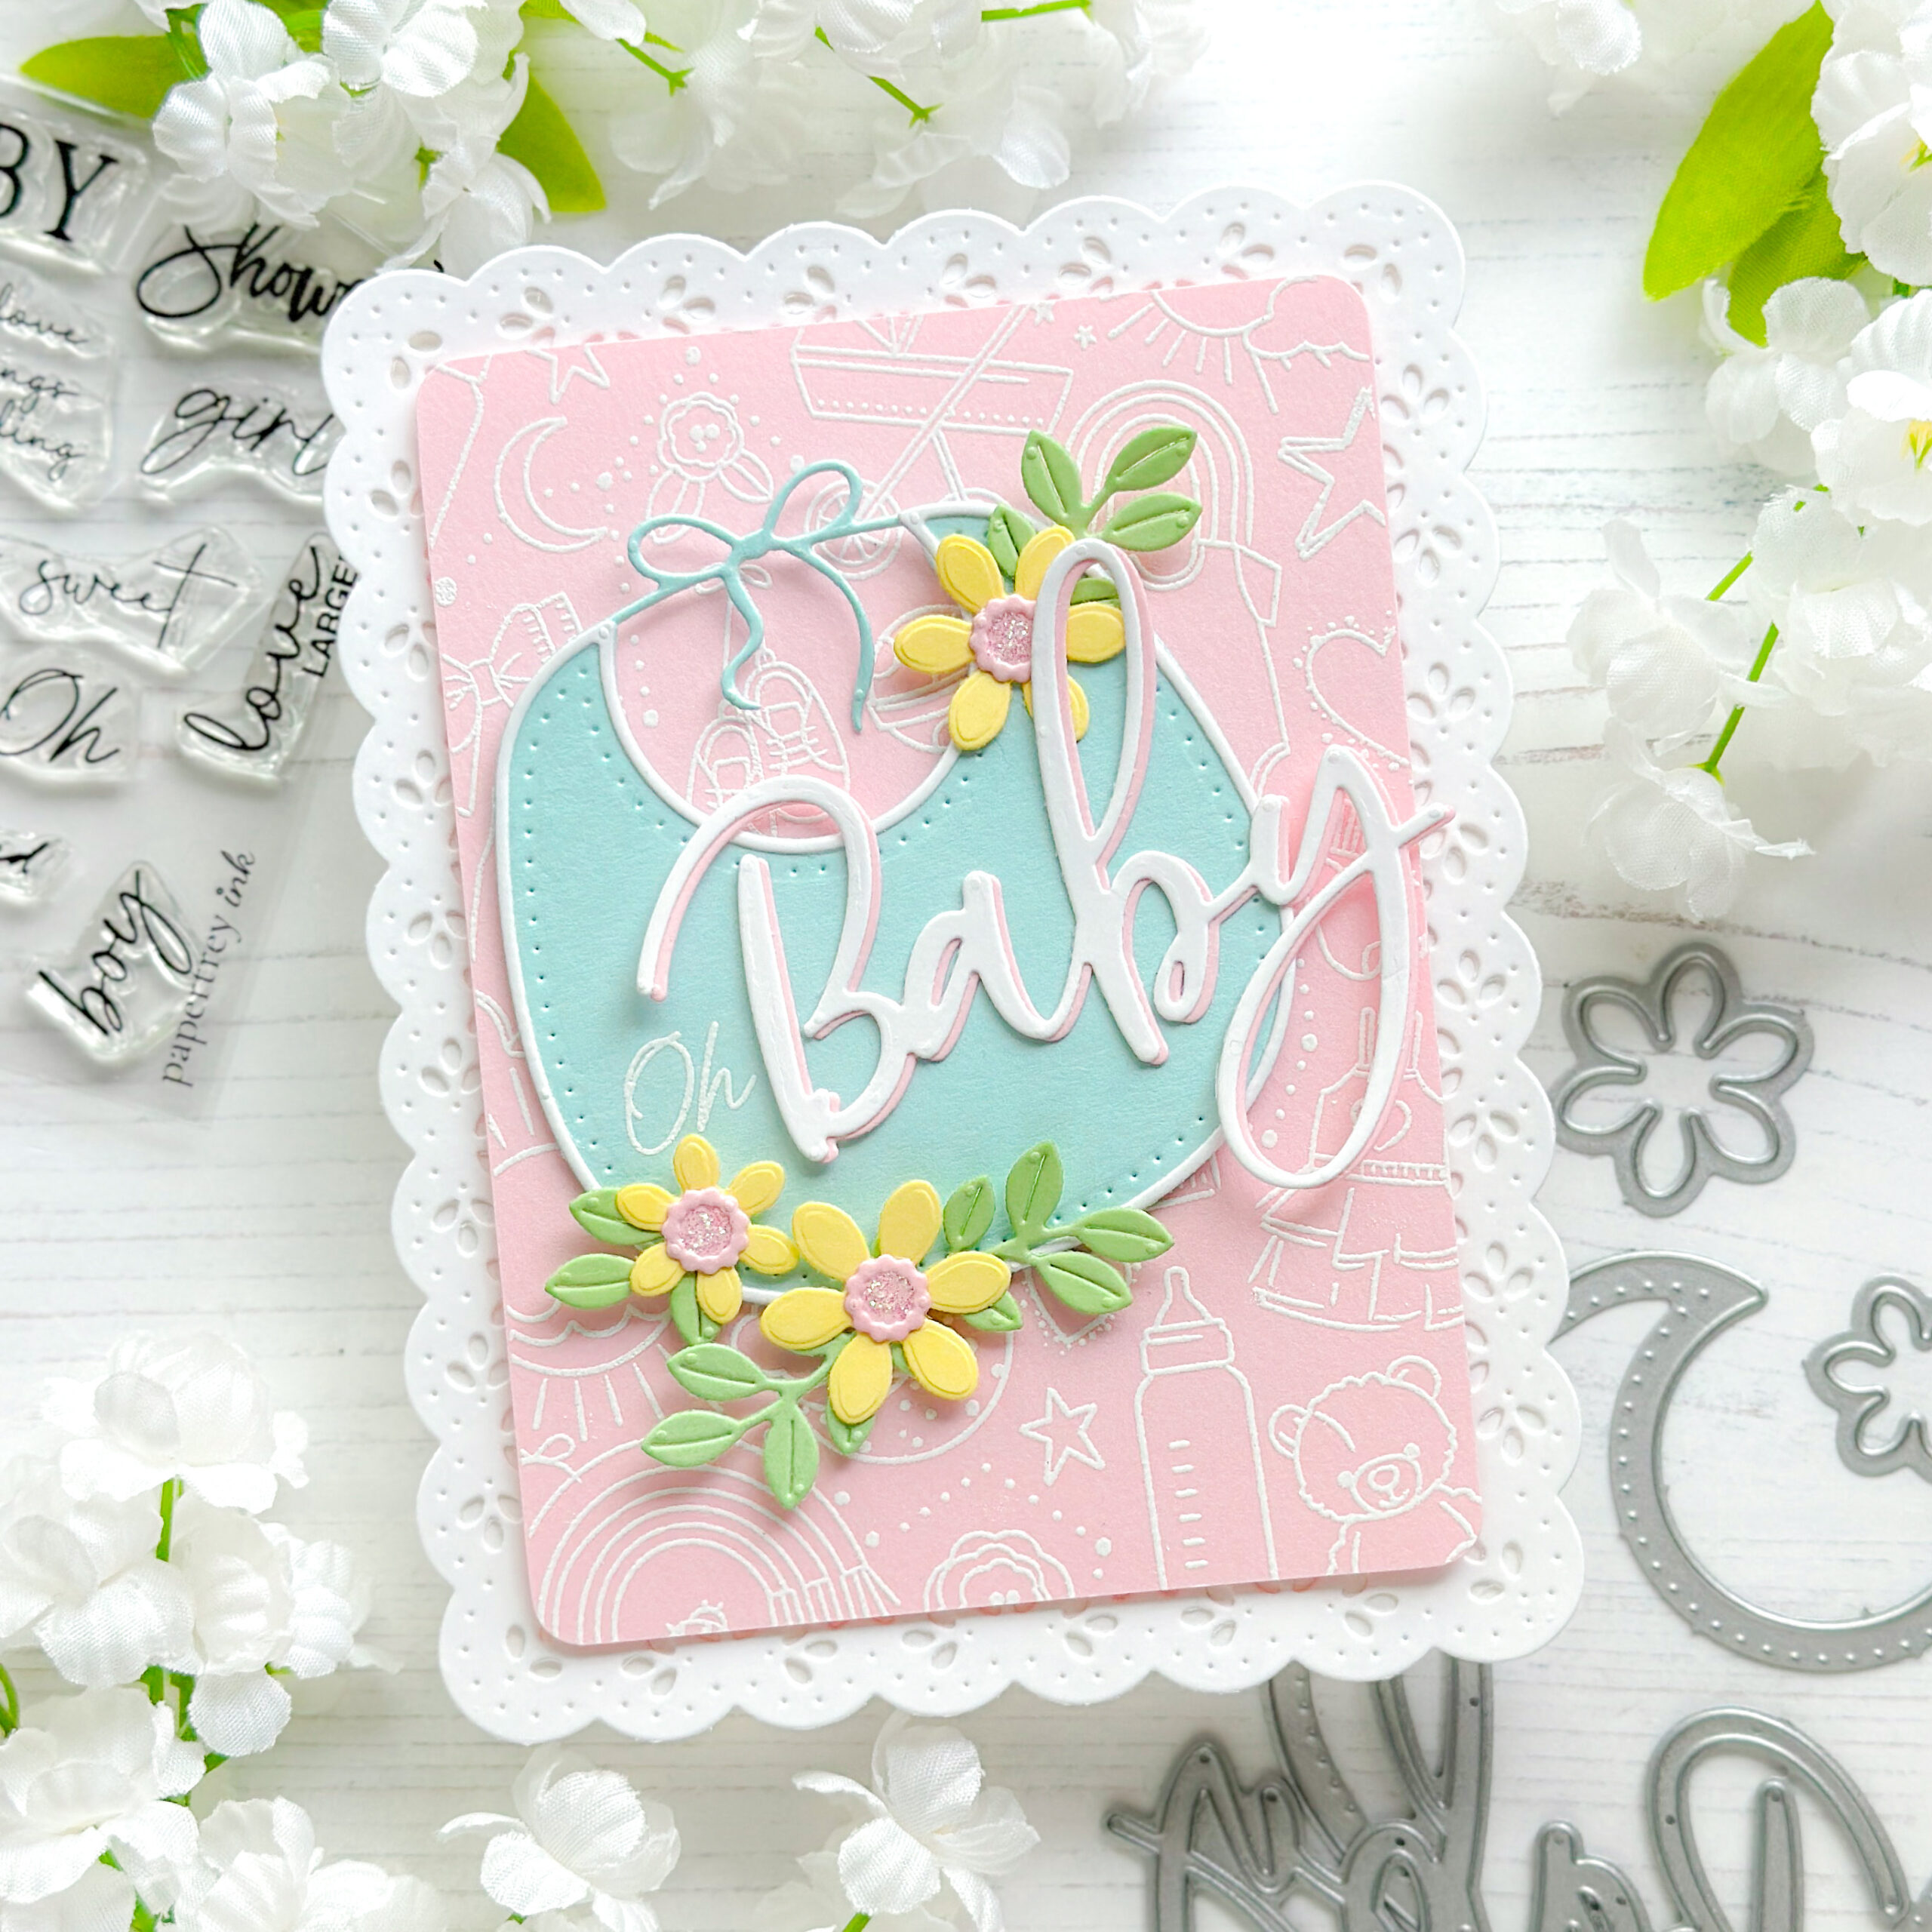
Also used on this card are a few products you’ll be hearing more about tomorrow, the new Iconic Baby stamps and dies, and our lovely Elegant Edges: Fresh Cuts dies. I love all of these new baby products, as creating baby cards is one of my most favorite themes!
Supplies Used:
STAMPS: Larger Than Life: Baby, Baby Background, Iconic Baby
INK: Bright Buttercup, Summer Sunrise, Lovely Lady, Olive Twist, Hawaiian Shores, Mint Julep
PAPER: Vintage Cream, Harvest Gold, Bitty Big Sweet Blush, Sheer Basics Vellum
DIES: Love to Layer: Charming Brackets, Larger Than Life: Baby, Bows Galore, Elegant Edges: Fresh Cuts, Iconic Baby, Sweet Baby Bib
OTHER: Adhesive pearls, white embossing powder, Moonshine sequins


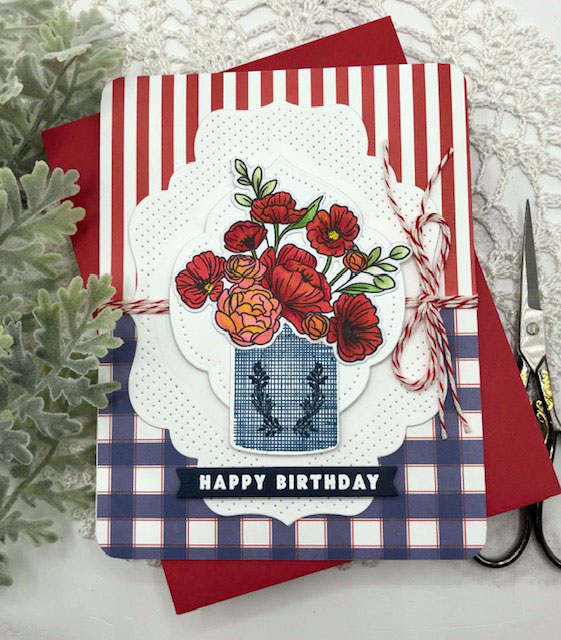
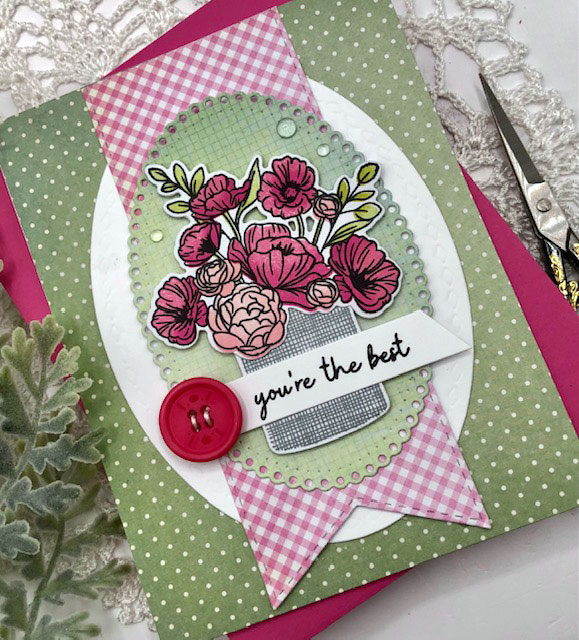
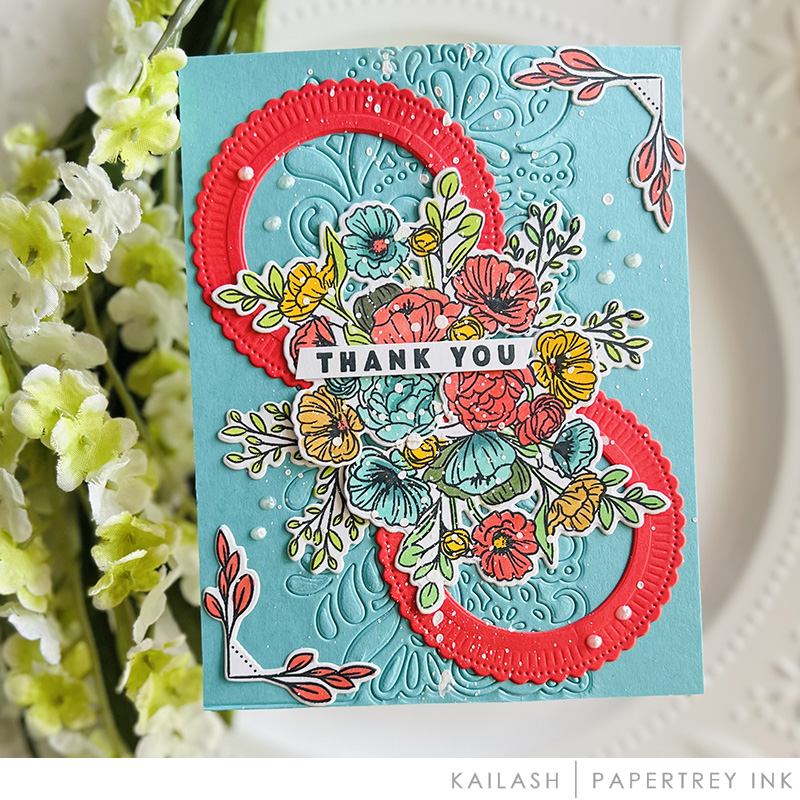
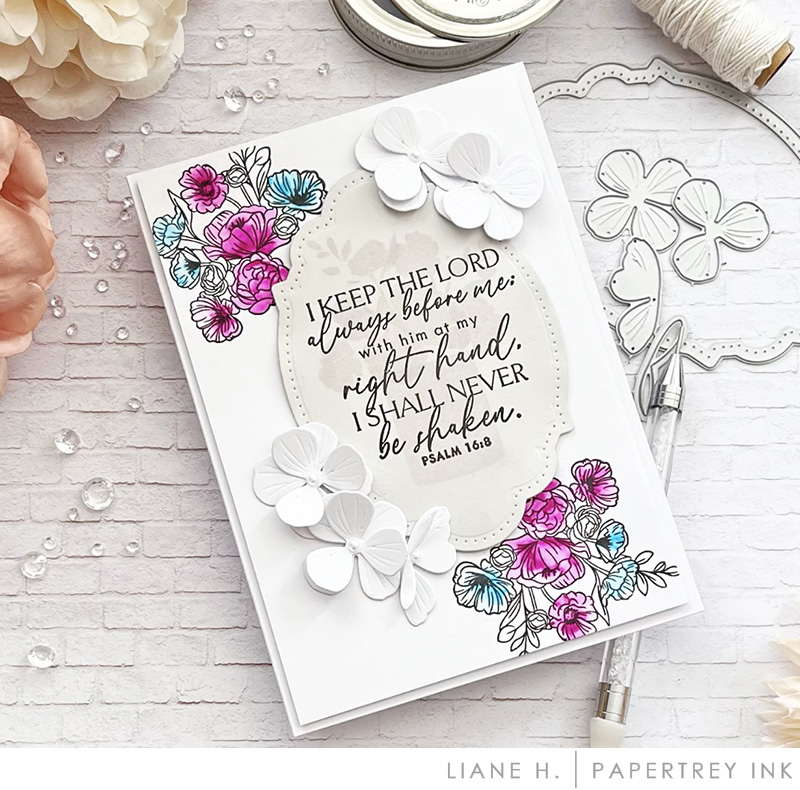
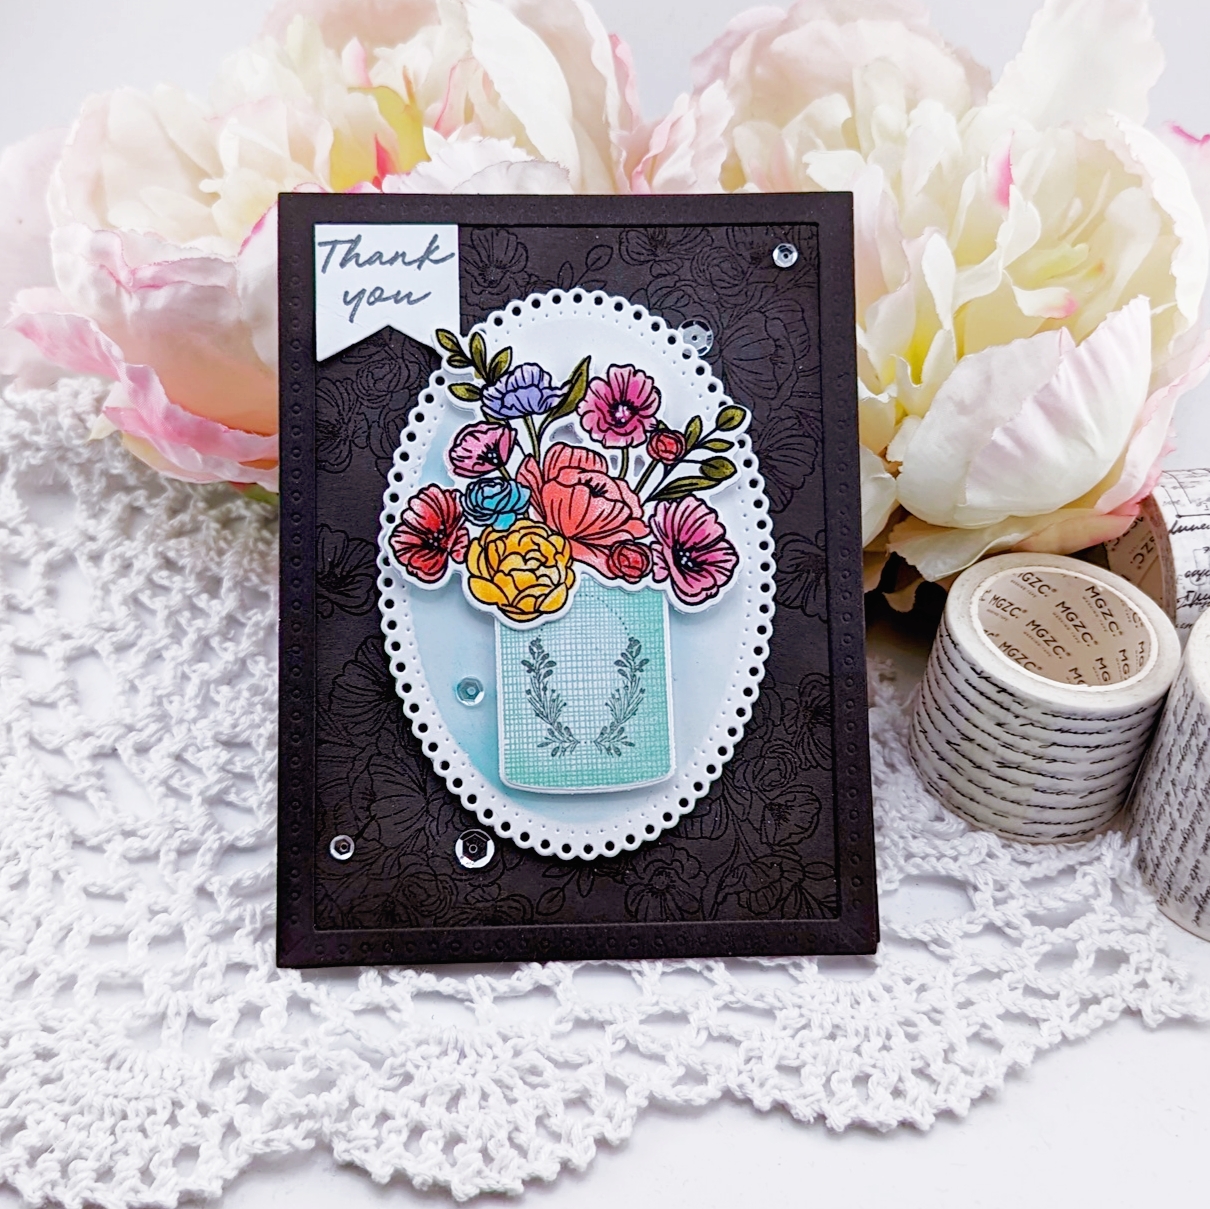
Another new set of products I’m excited to introduce you to today is the Vase Collection 18 stamps with coordinating dies. This stamp set is the perfect addition to our Vase Collection series. You’ll love the frilly, floral bouquet and darling crock the flowers fit perfectly inside. Let’s jump right into the projects.
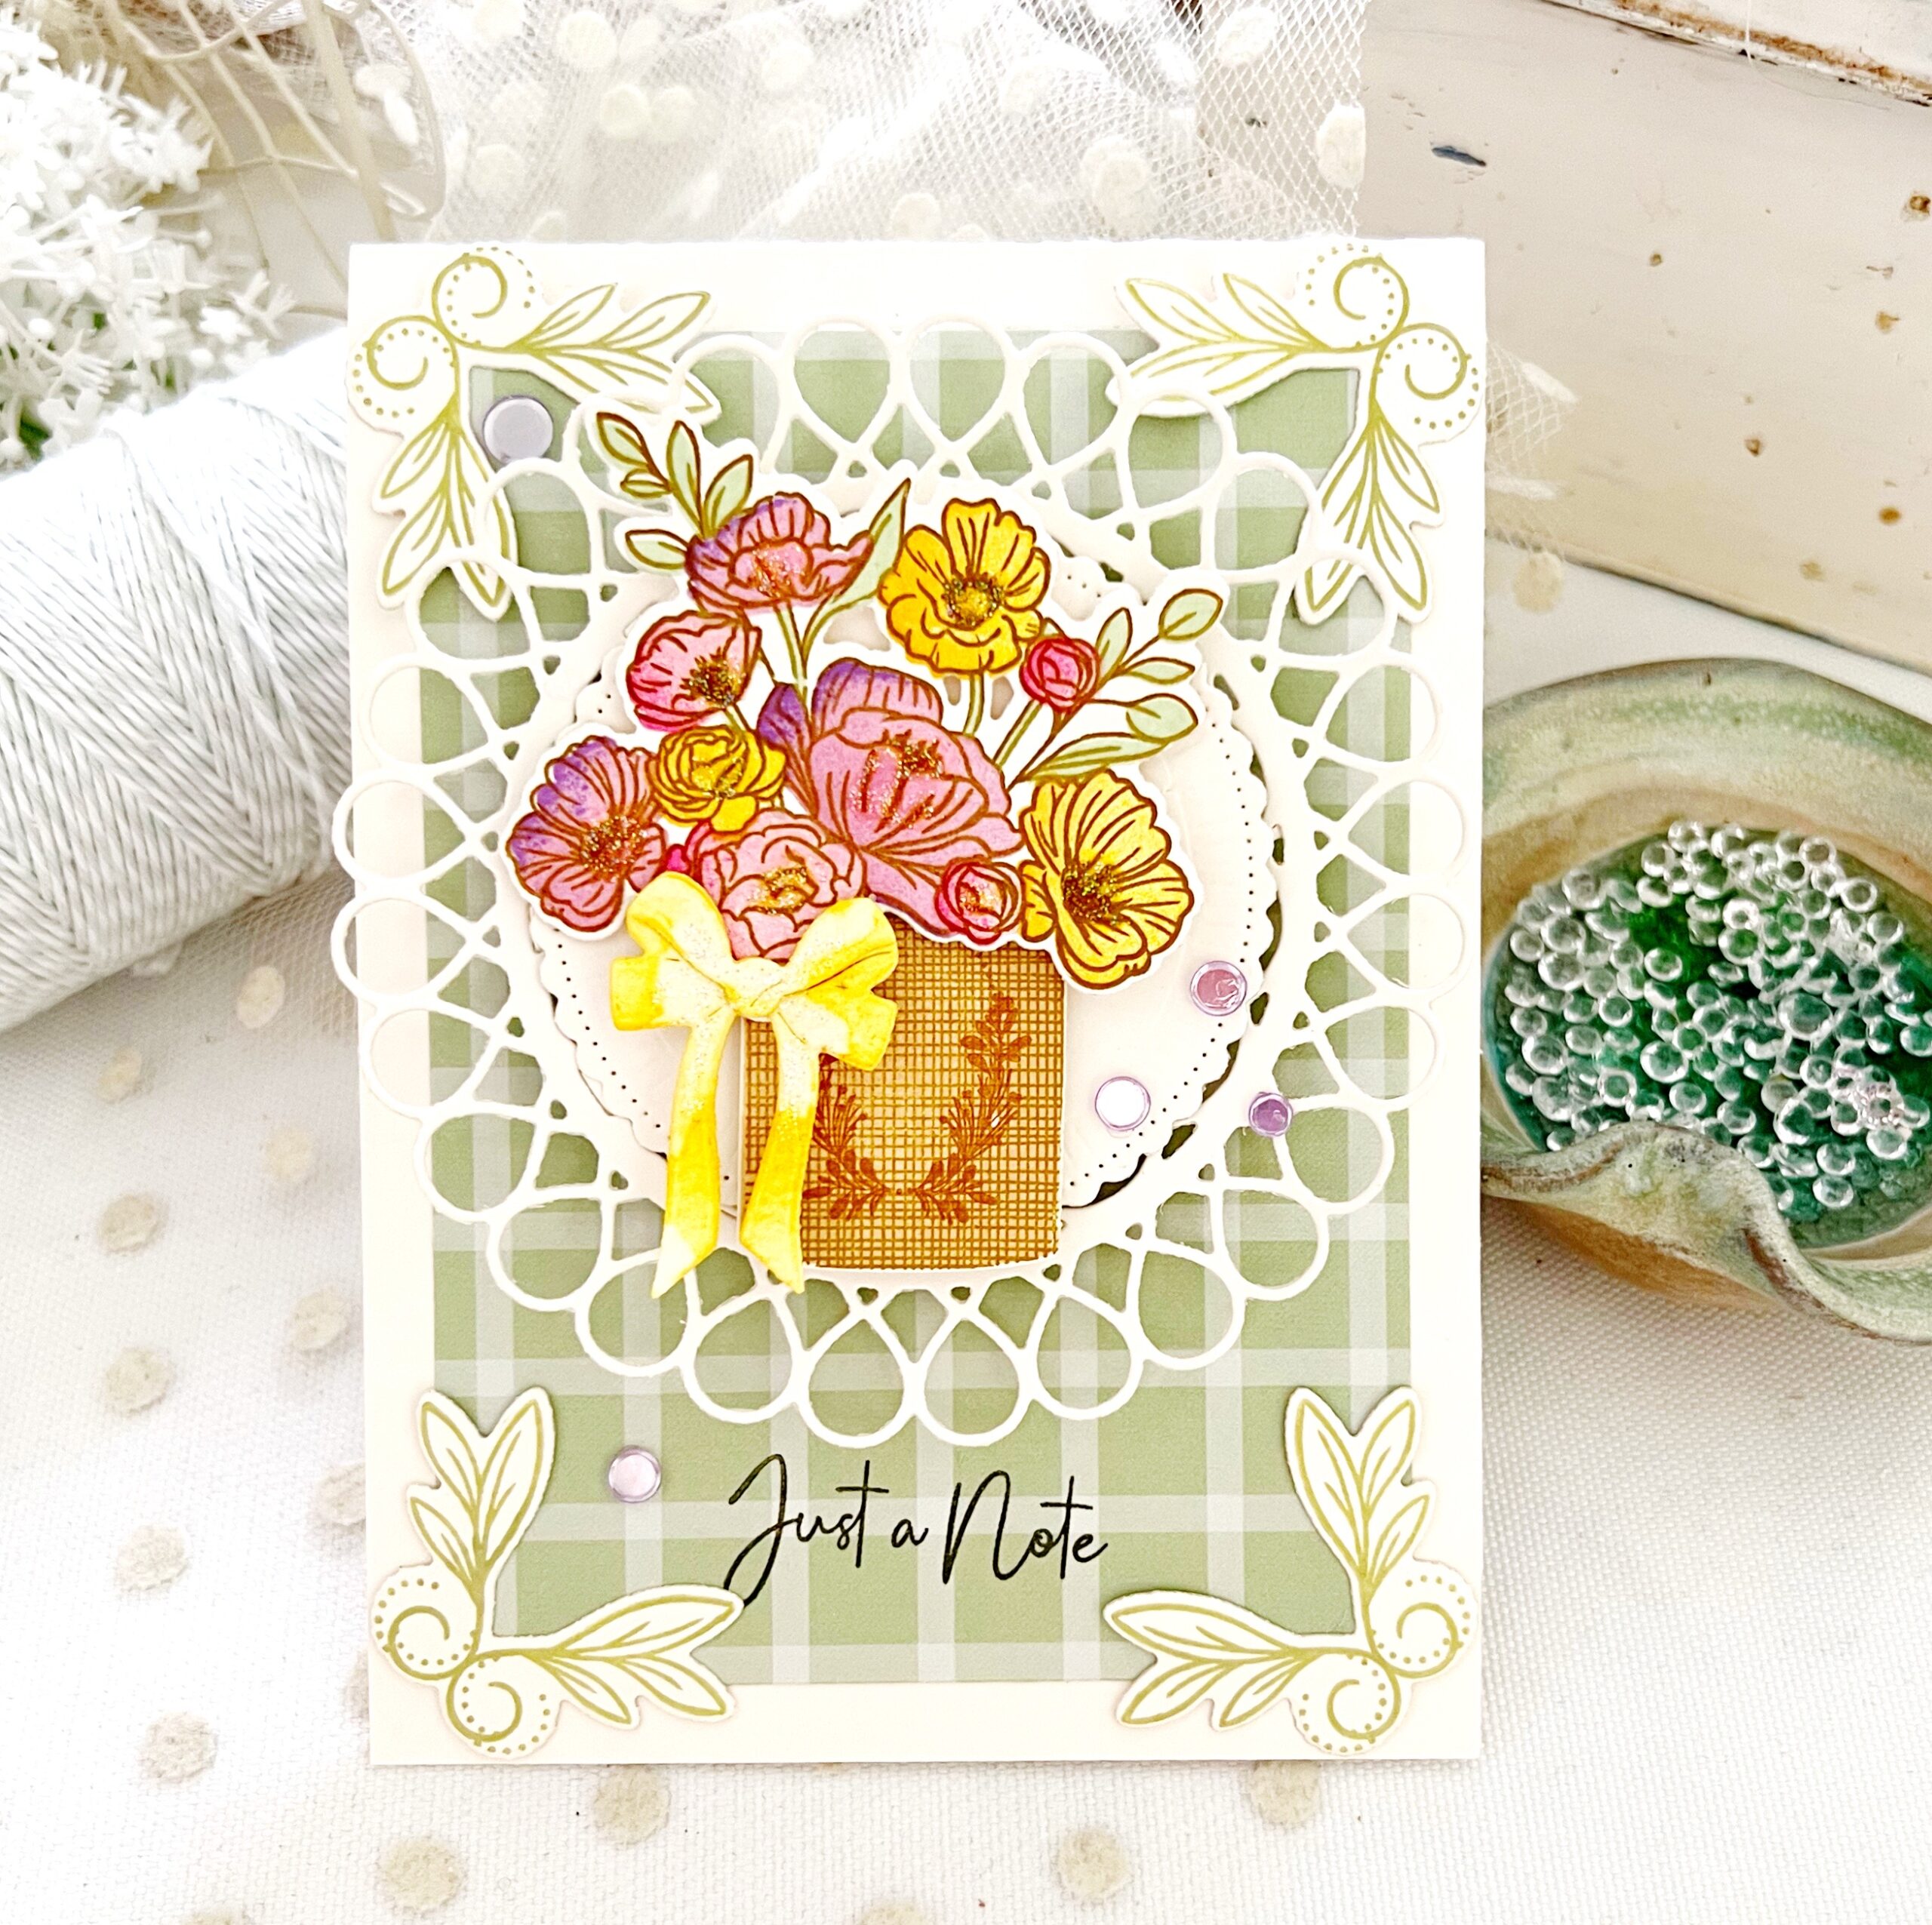
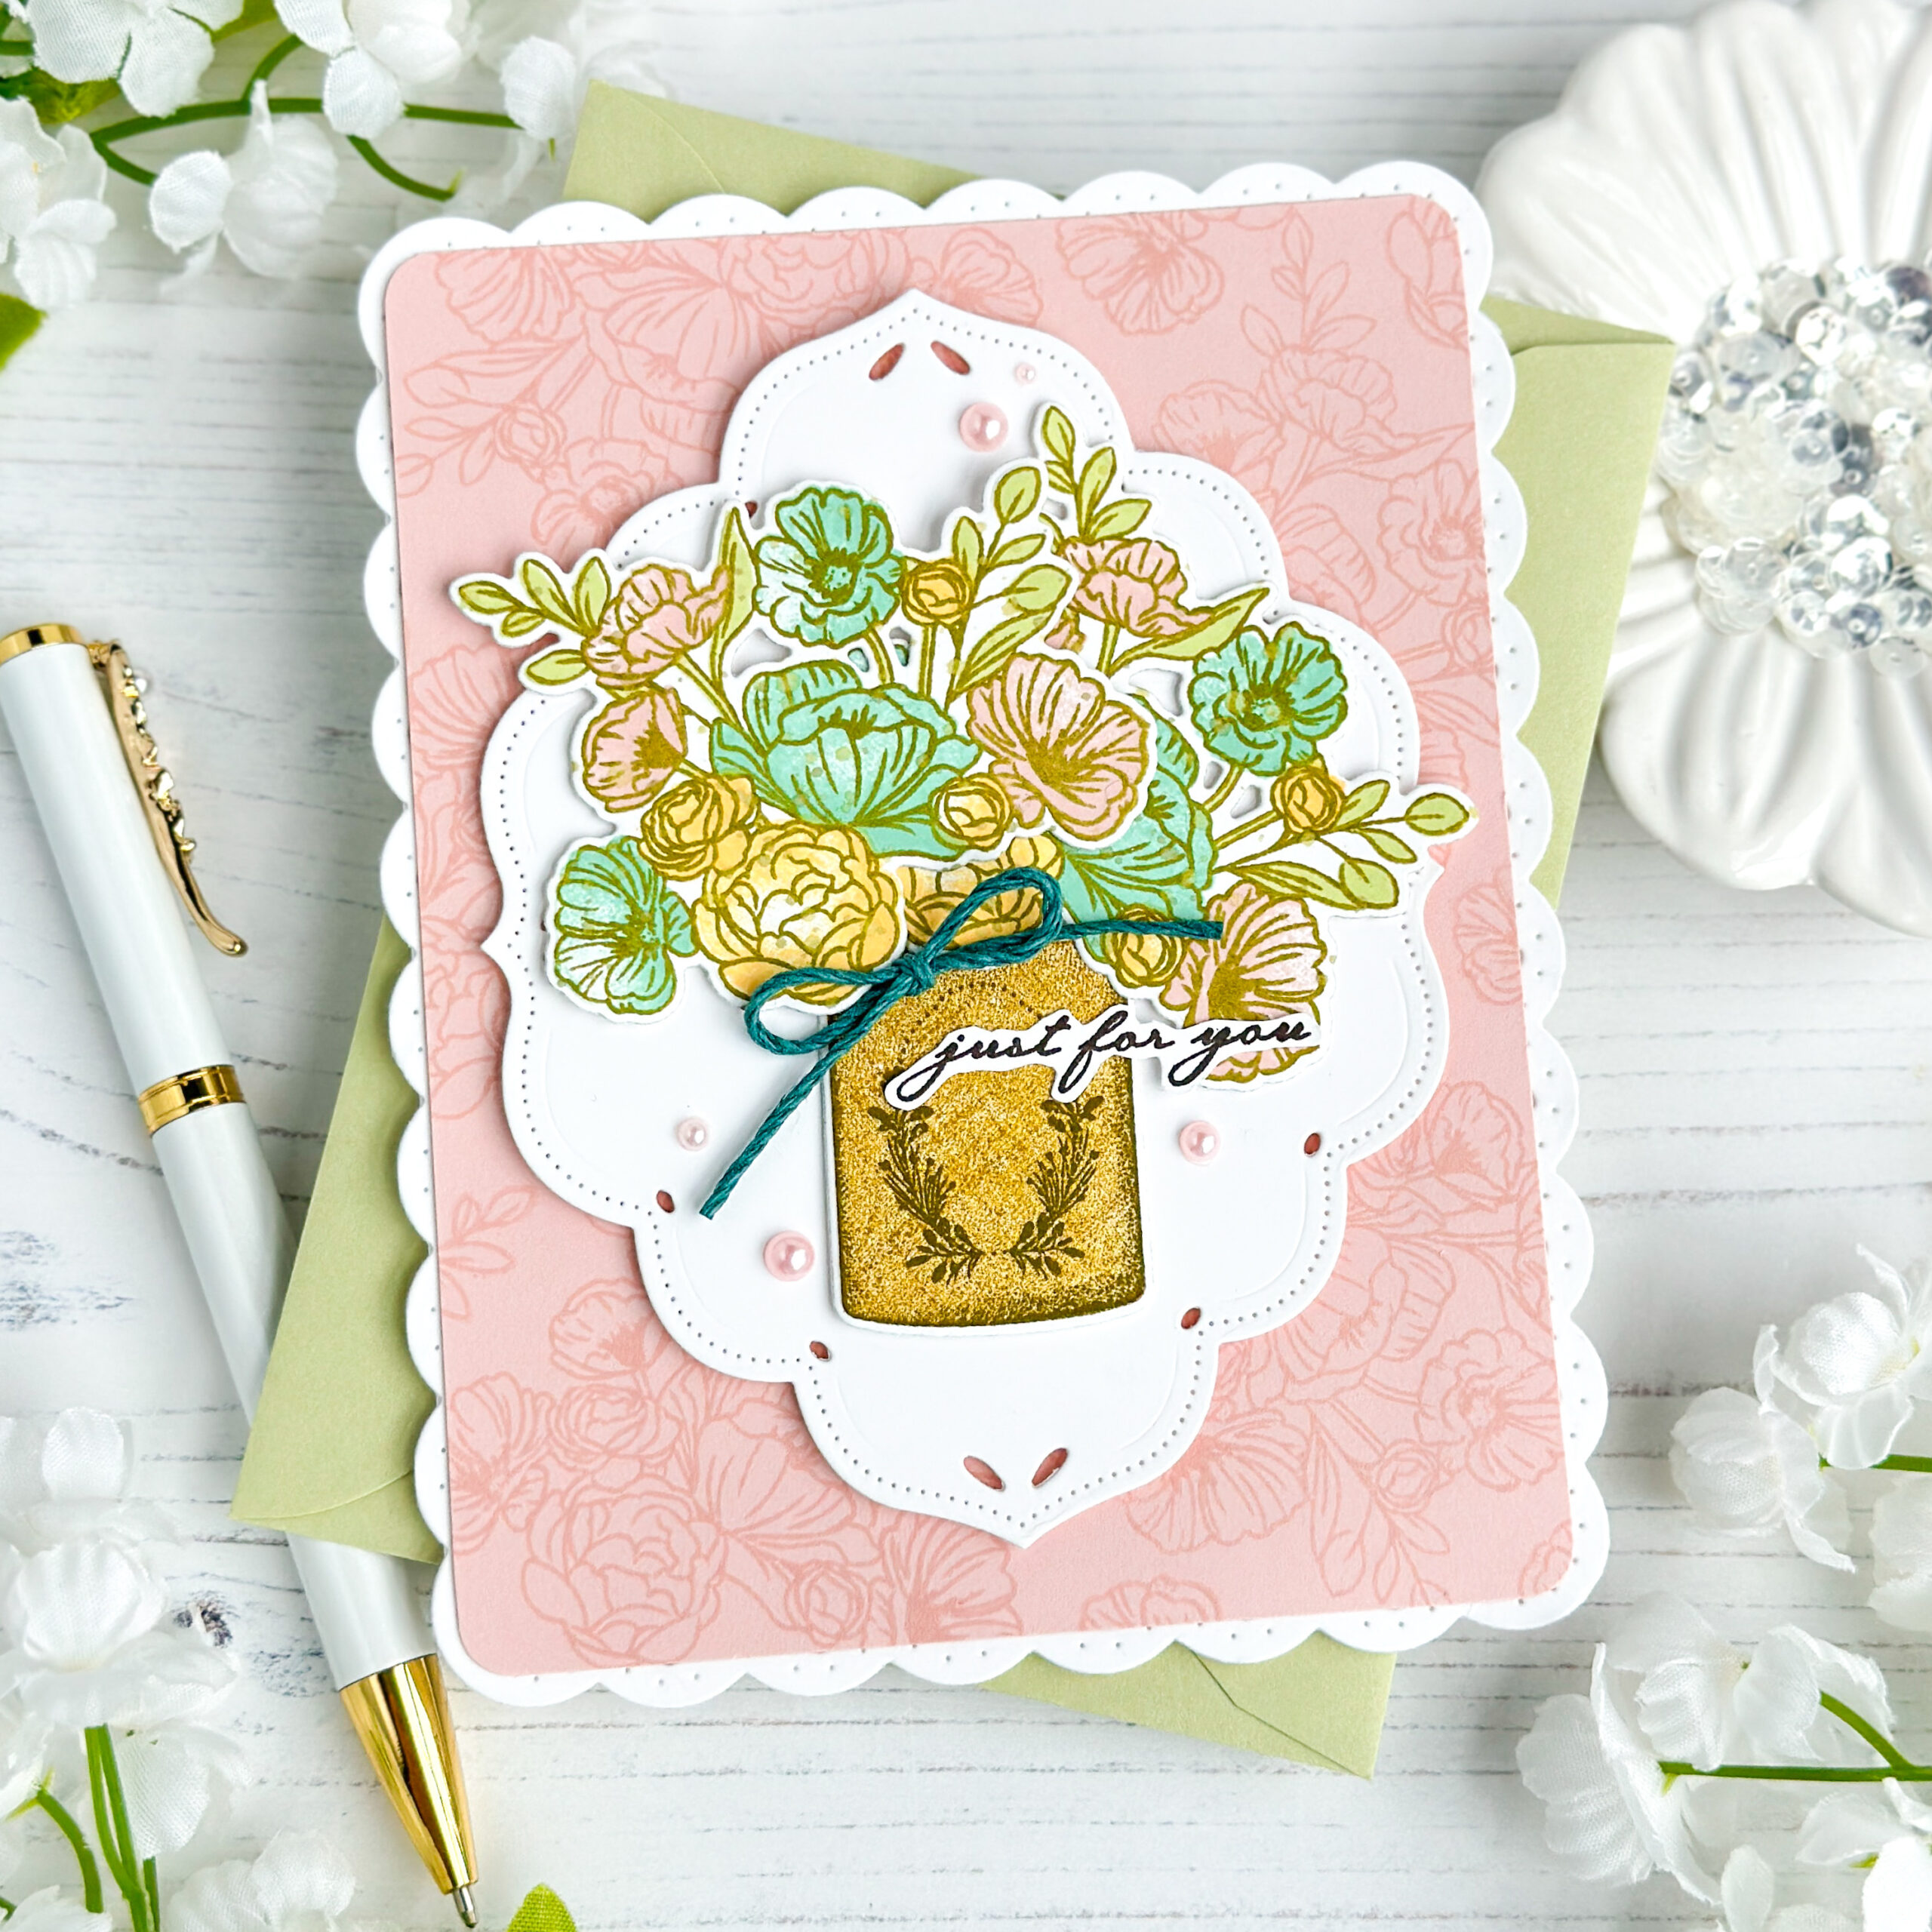
I love the new Vase Collection 18 stamp set because it creates such a beautiful, fresh, bouquet of flowers in an instant. It’s a 2-step stamp, meaning you’ll stamp your outlined flowers first and then add your solid images in whatever colors you choose. Perfect for Spring, Summer, Fall, and Winter depending on the colors use on the blooms!
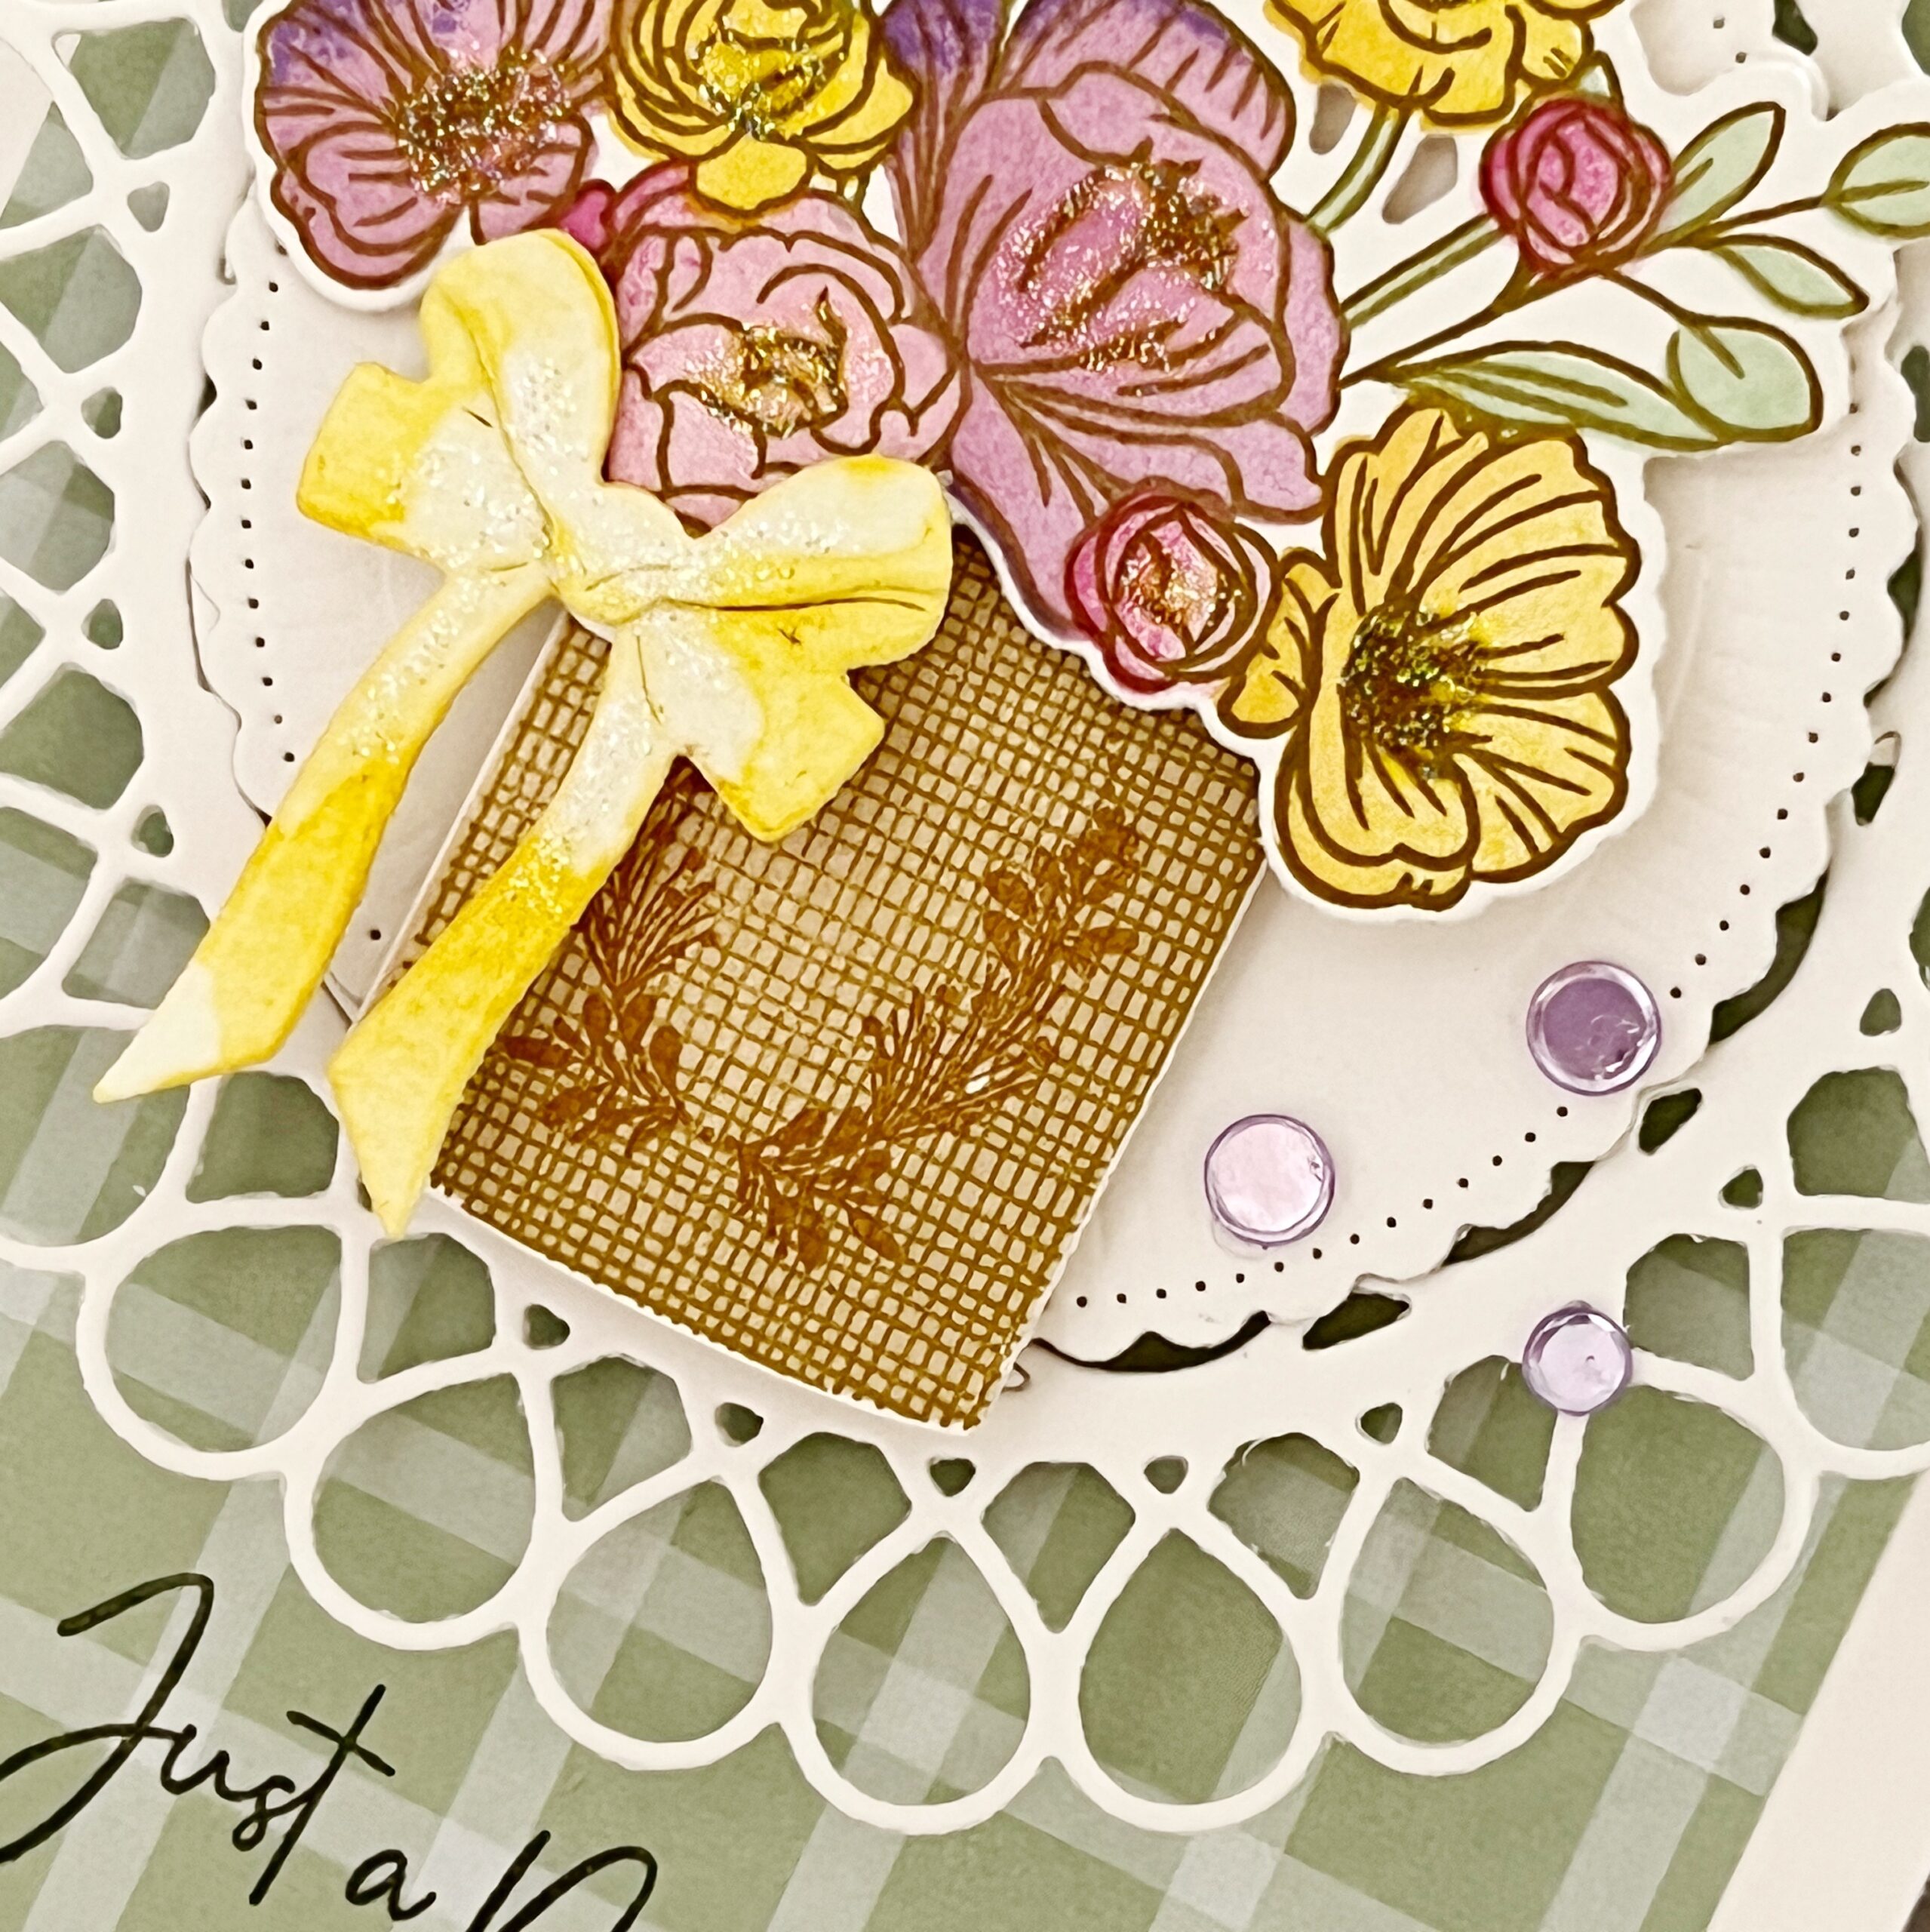
Another reason I love this set is because it is simple enough to be used for any occasion under the sun…Just a Note, Thinking of You, Happy Birthday, With Sympathy, Wedding, Anniversary, Shower, etc. The crock you can nestle your flowers in is a 3-step stamp, complete with a solid base layer, grid for the second layer, and then a beautiful flourish as the third layer. I love watching the blooms and container take shape with each layer I add.
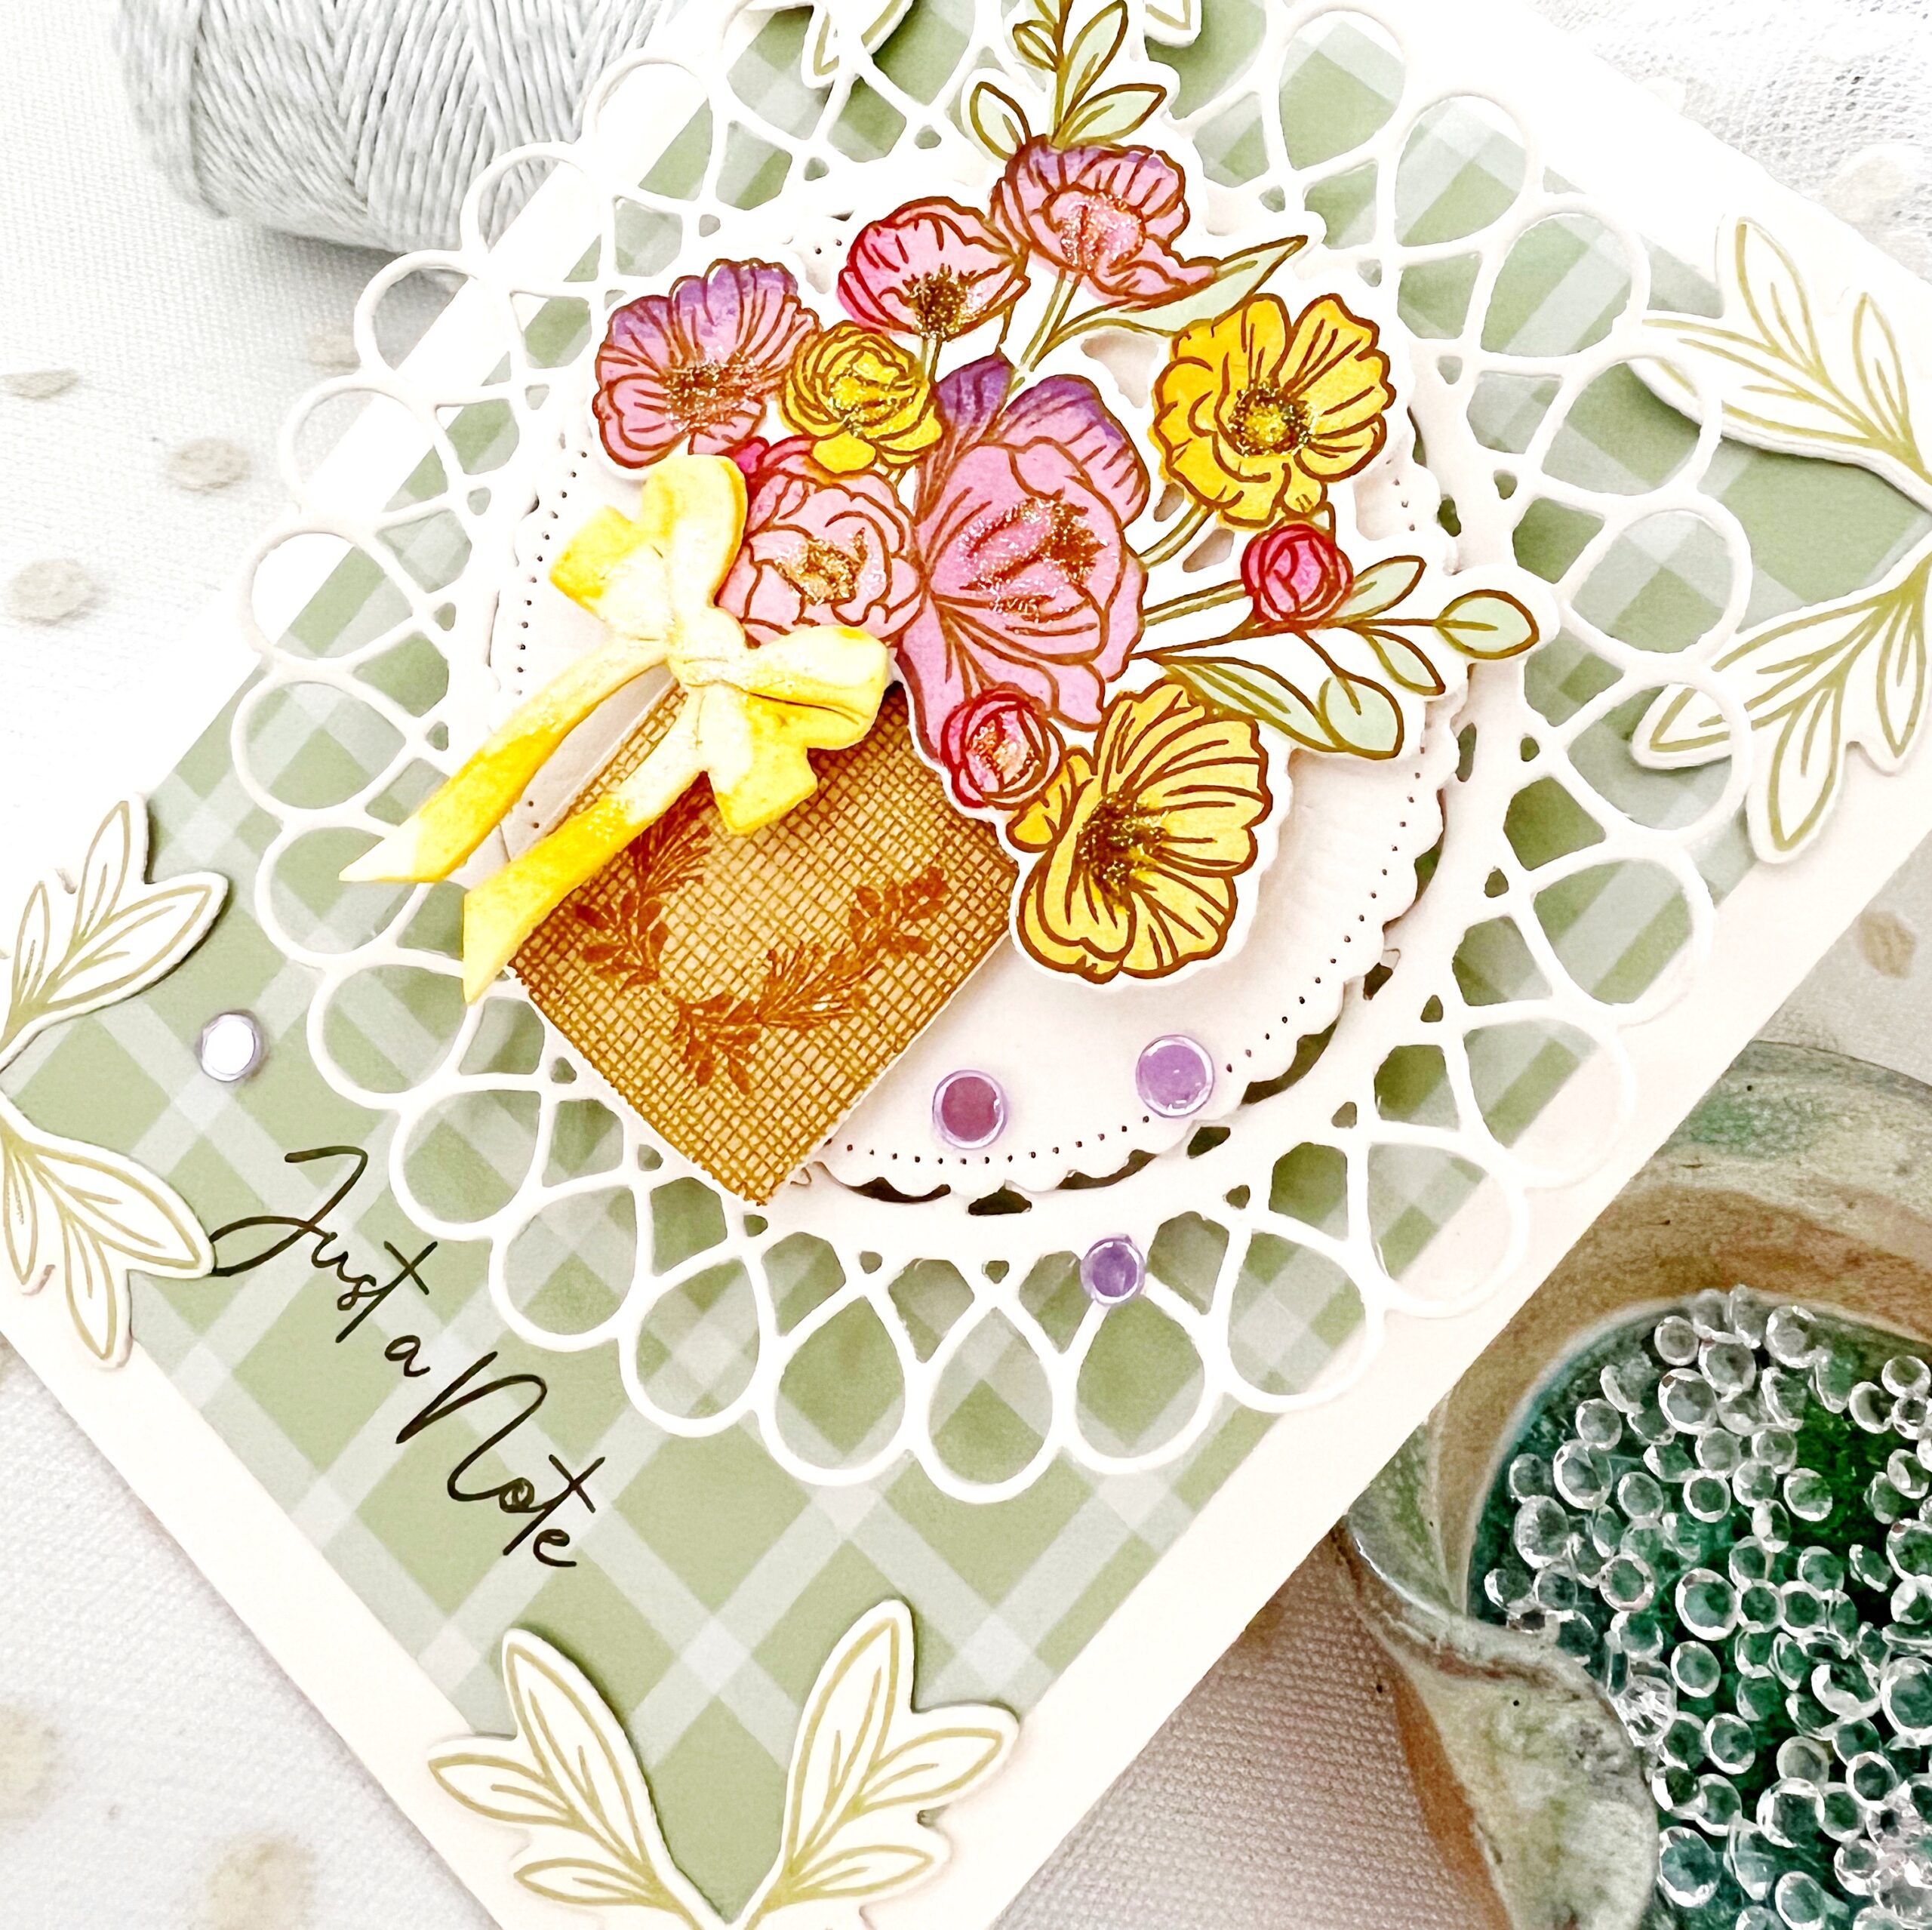
I layered my Vase Collection 18 over a die cut Love to Layer: Charming Brackets and Delicate Circle die. I used one of the die cut bows from the Bows Galore die set to embellish my florals. My sentiment comes from the Elegant Notes Stationery Kit and I added Corner Decor stamps and dies to embellish the corners of my card. I adore this fun stamp set!
Supplies Used:
STAMPS: Vase Collection 18, Corner Decor, Elegant Notes Stationery Kit
INK: Lilac Grace, Amethyst Allure, Saffron Spice, Honey Nut, Summer Sunrise, Lovely Lady, Raspberry Fizz, Mint Julep, Olive Twist
PAPER: Vintage Cream
DIES: Vase Collection 18, Corner Decor, Love to Layer: Charming Brackets, Delicate Circle, Bows Galore
OTHER: Stickles glitter, Moonshine sequins, patterned paper

TIPS:
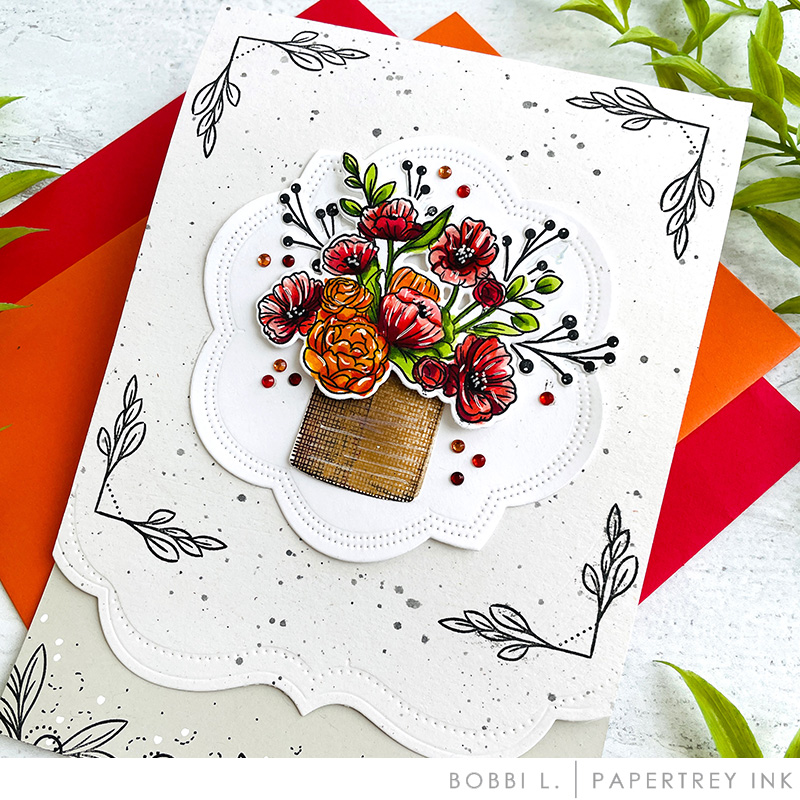
- Copic markers were used to color the florals. I find Memento ink works best to stamp the image to avoid “bleeding” of colors.
- Twine is a great option instead of ribbon as it is less bulky and is easier to mail.
- I love the smaller “one line” sentiments from the Tuck It Sentiments set when I don’t want to cover up much of the design.

TIPS:
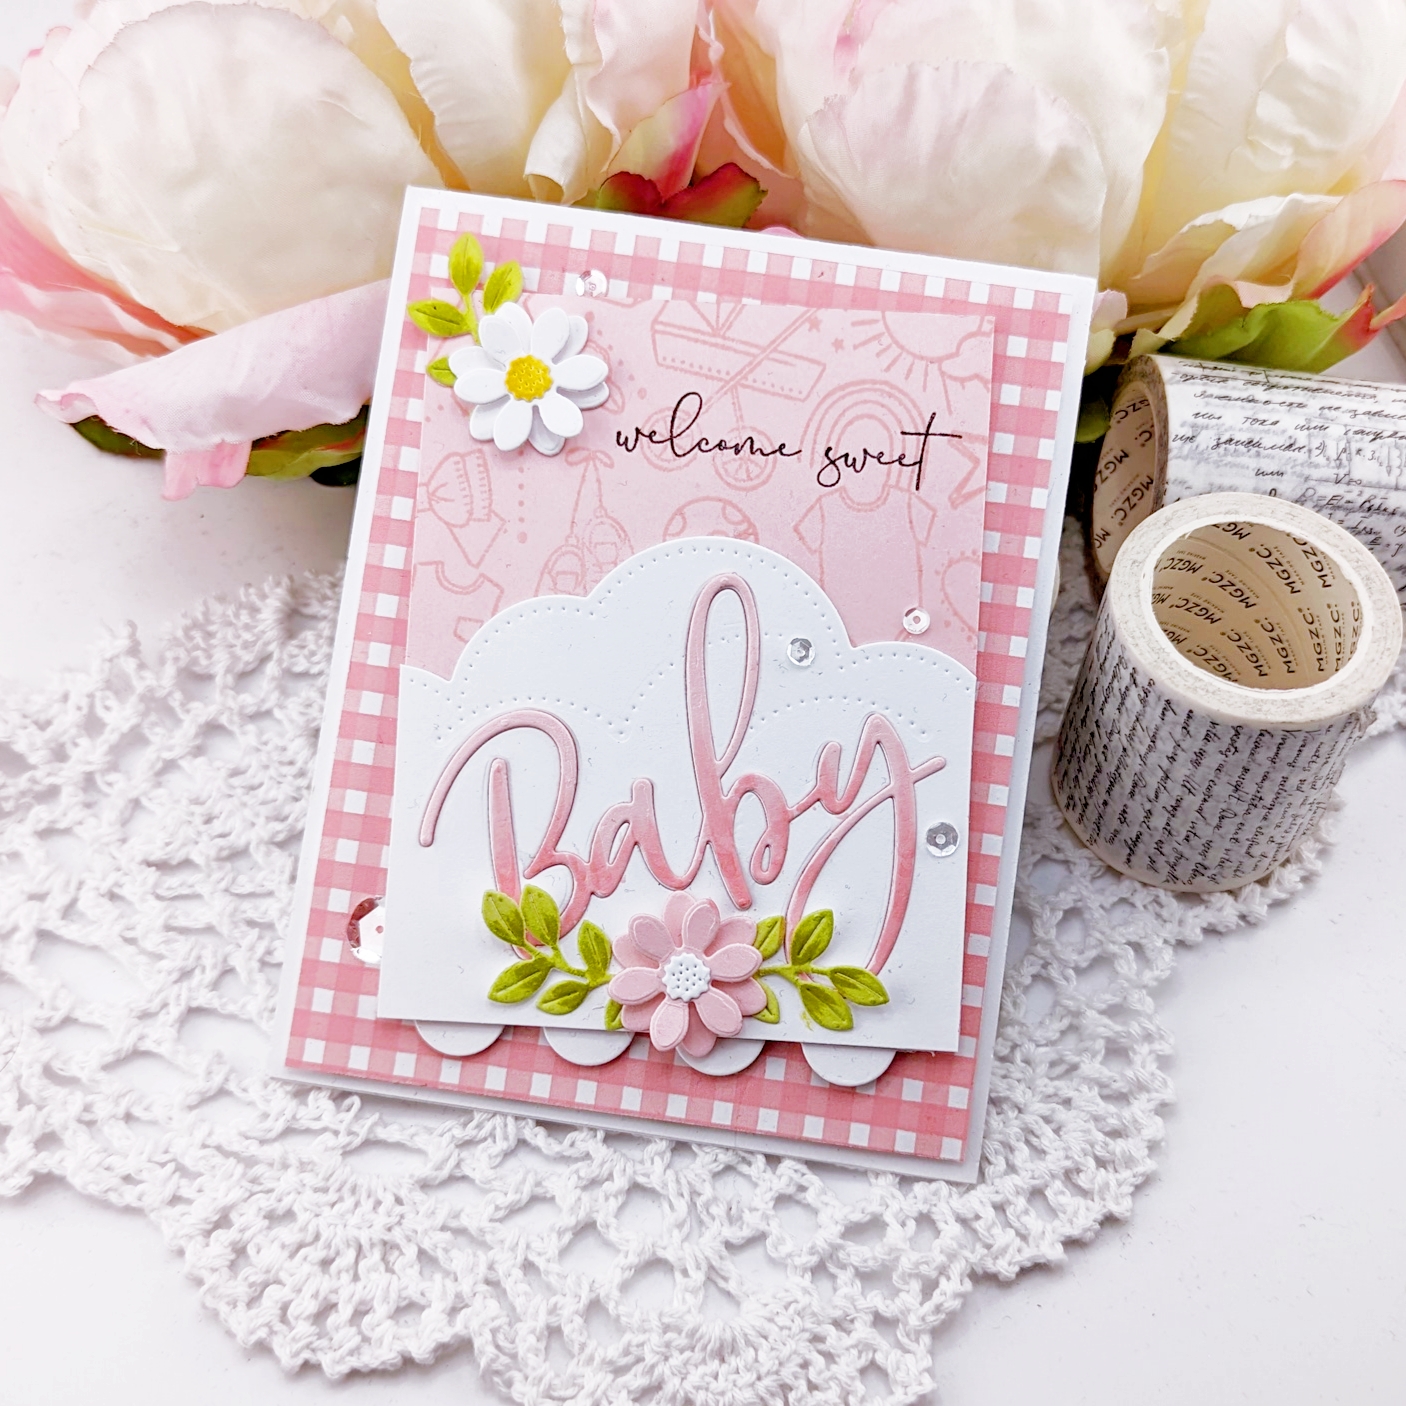
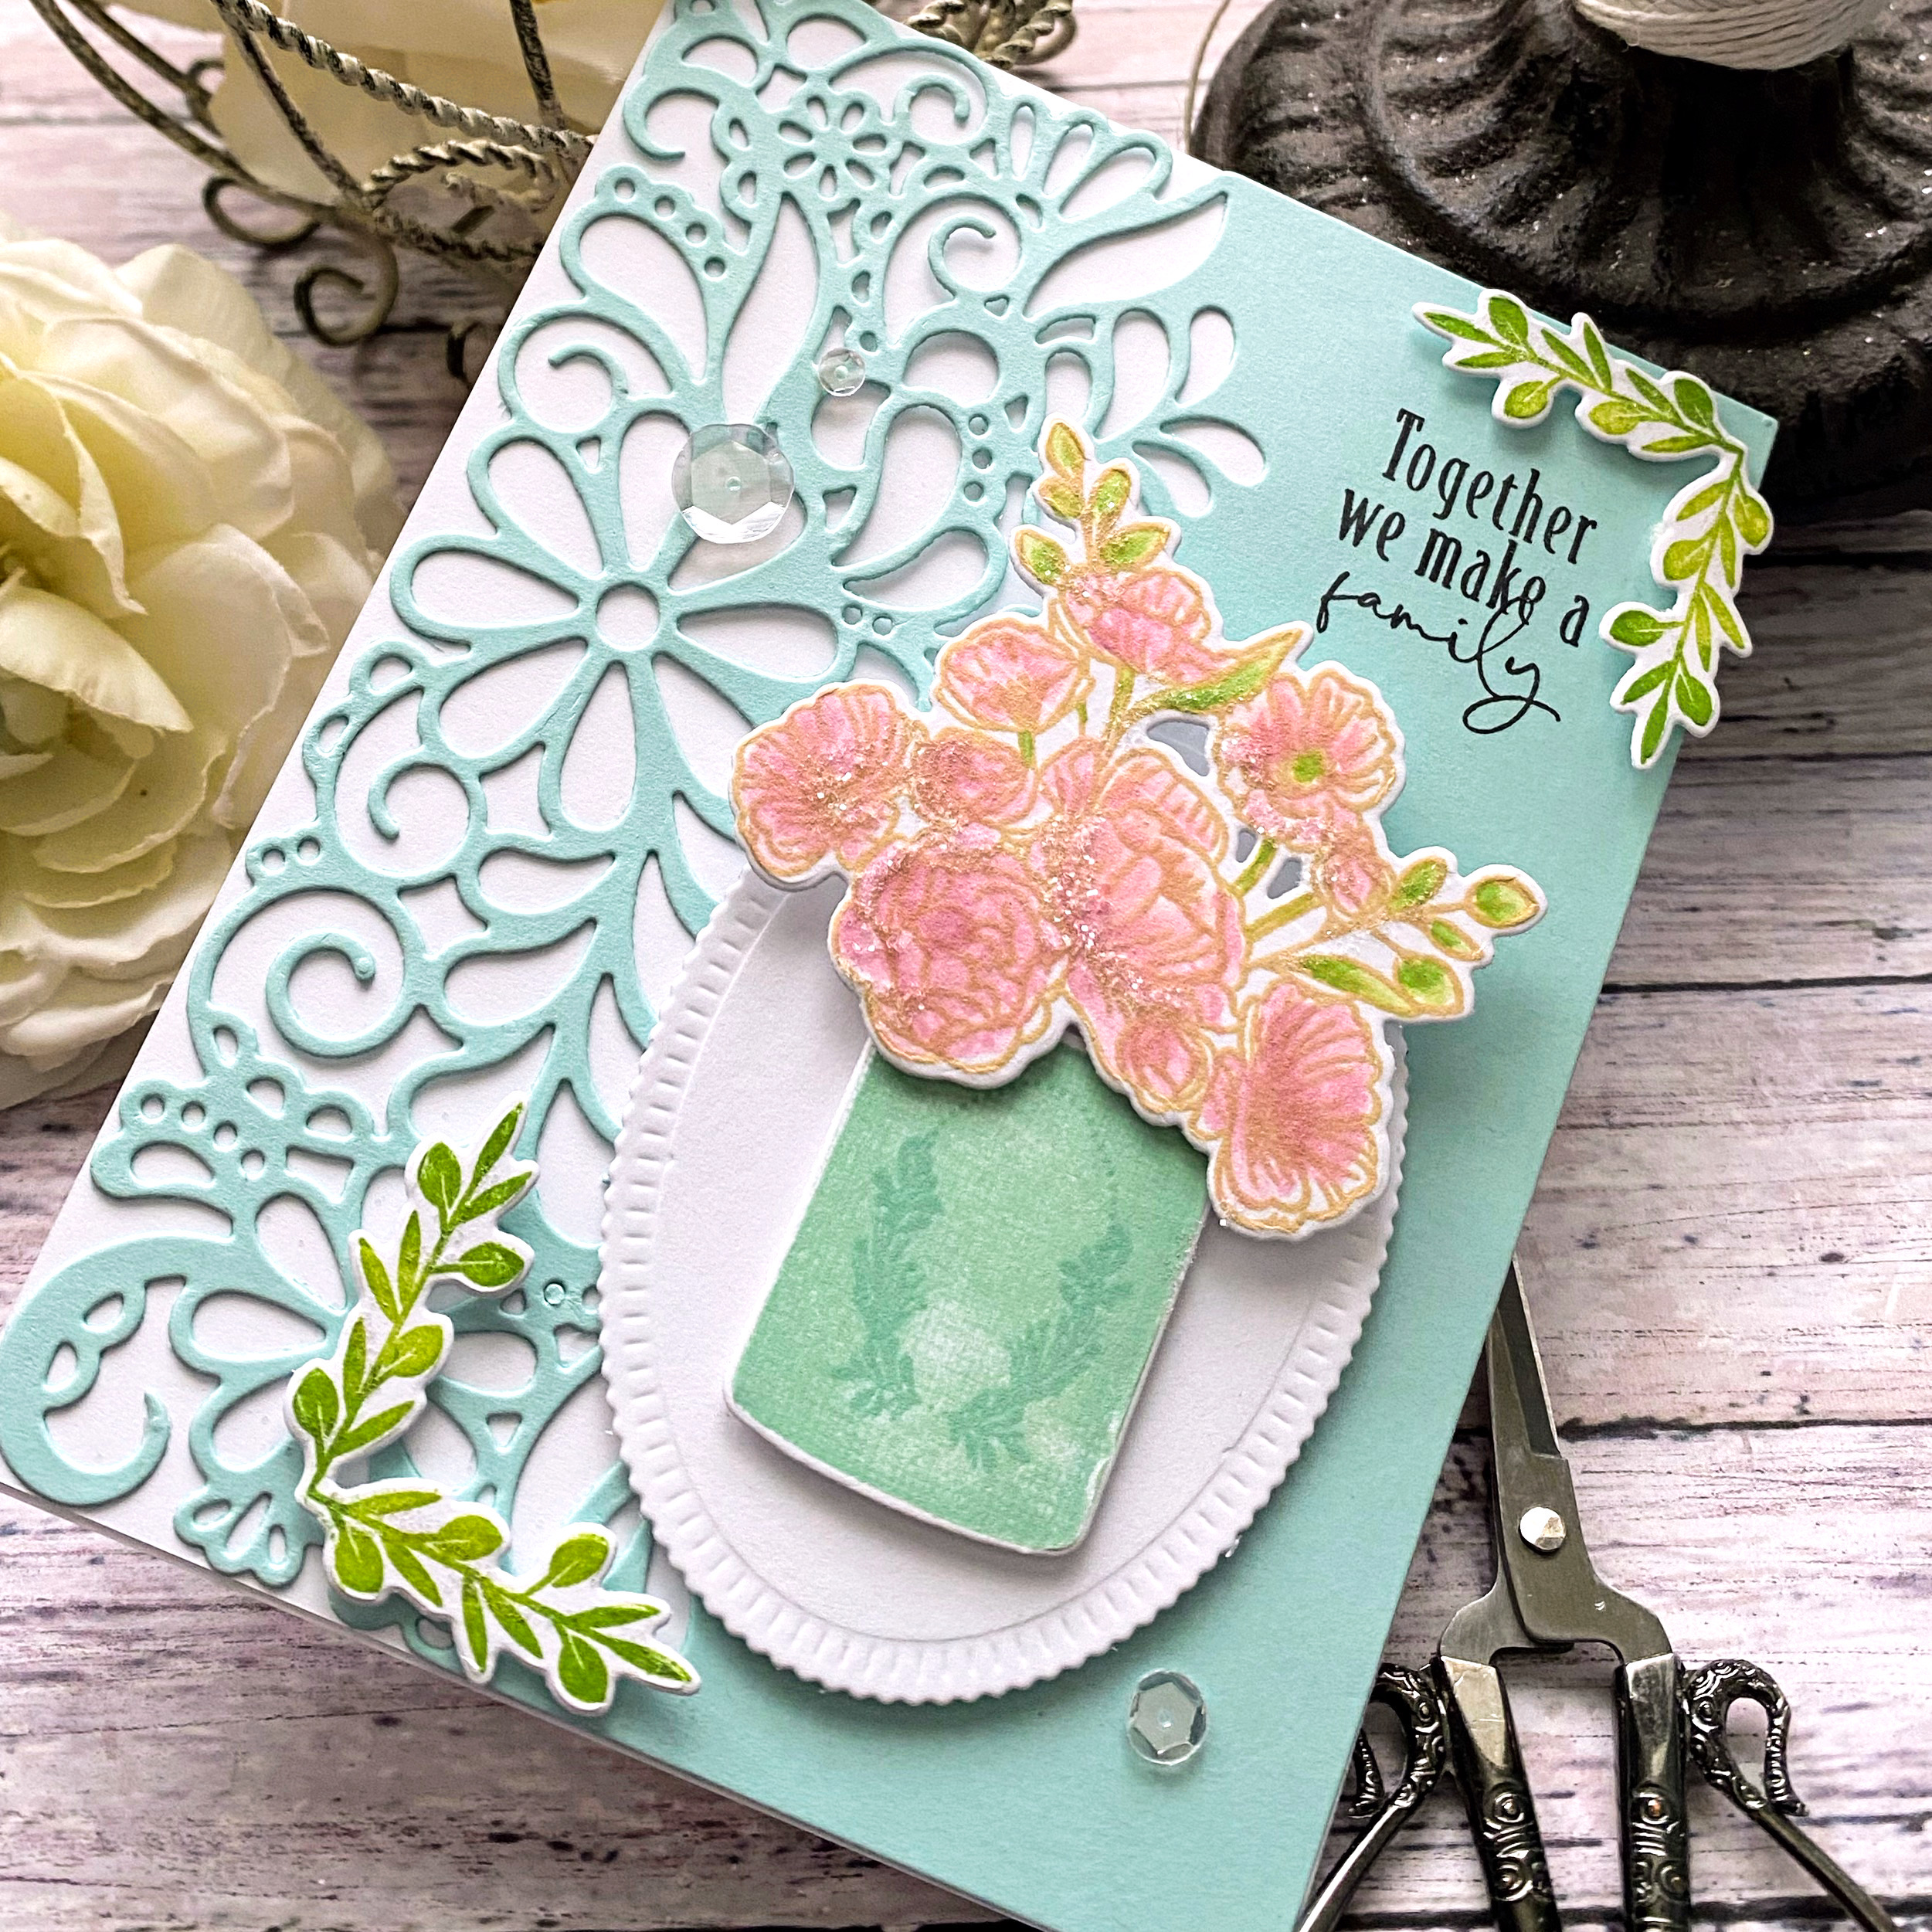
- Stamp some color variation by stamping the lightest of two shades first. Then take a small blending brush or sponge dauber and pounce on a darker color around some of the edges. Repeat until you get desired effect.
- Rounding the card corners helps to soften the look.
- Don’t forget your buttons! They can add a fun element.

We hope you have enjoyed all the beautiful projects that we have shared with you today! We would love to hear what you think of everything we have introduced! Please leave a comment on this post to tell us what you like the most and why, and you will be eligible to win big!

Leave a comment today and you will be automatically entered to win a $50 Papertrey Ink gift certificate! You have until 10am ET, May 22nd to leave your comment and be eligible to win. Only one comment per person please. One randomly selected winner will be posted on the May Release Winners Page by 11 PM ET on May 23rd.


Leave a Reply