


Welcome to Day 1 of our fabulous March Countdown! I am so excited to have you here and introduce you to our first grouping of spectacular products. Introducing the new Stationery Kit, Elegant Edges: Doily Dies, and Floral Garden Hot Foil Plate. Let’s jump right into the projects, shall we?
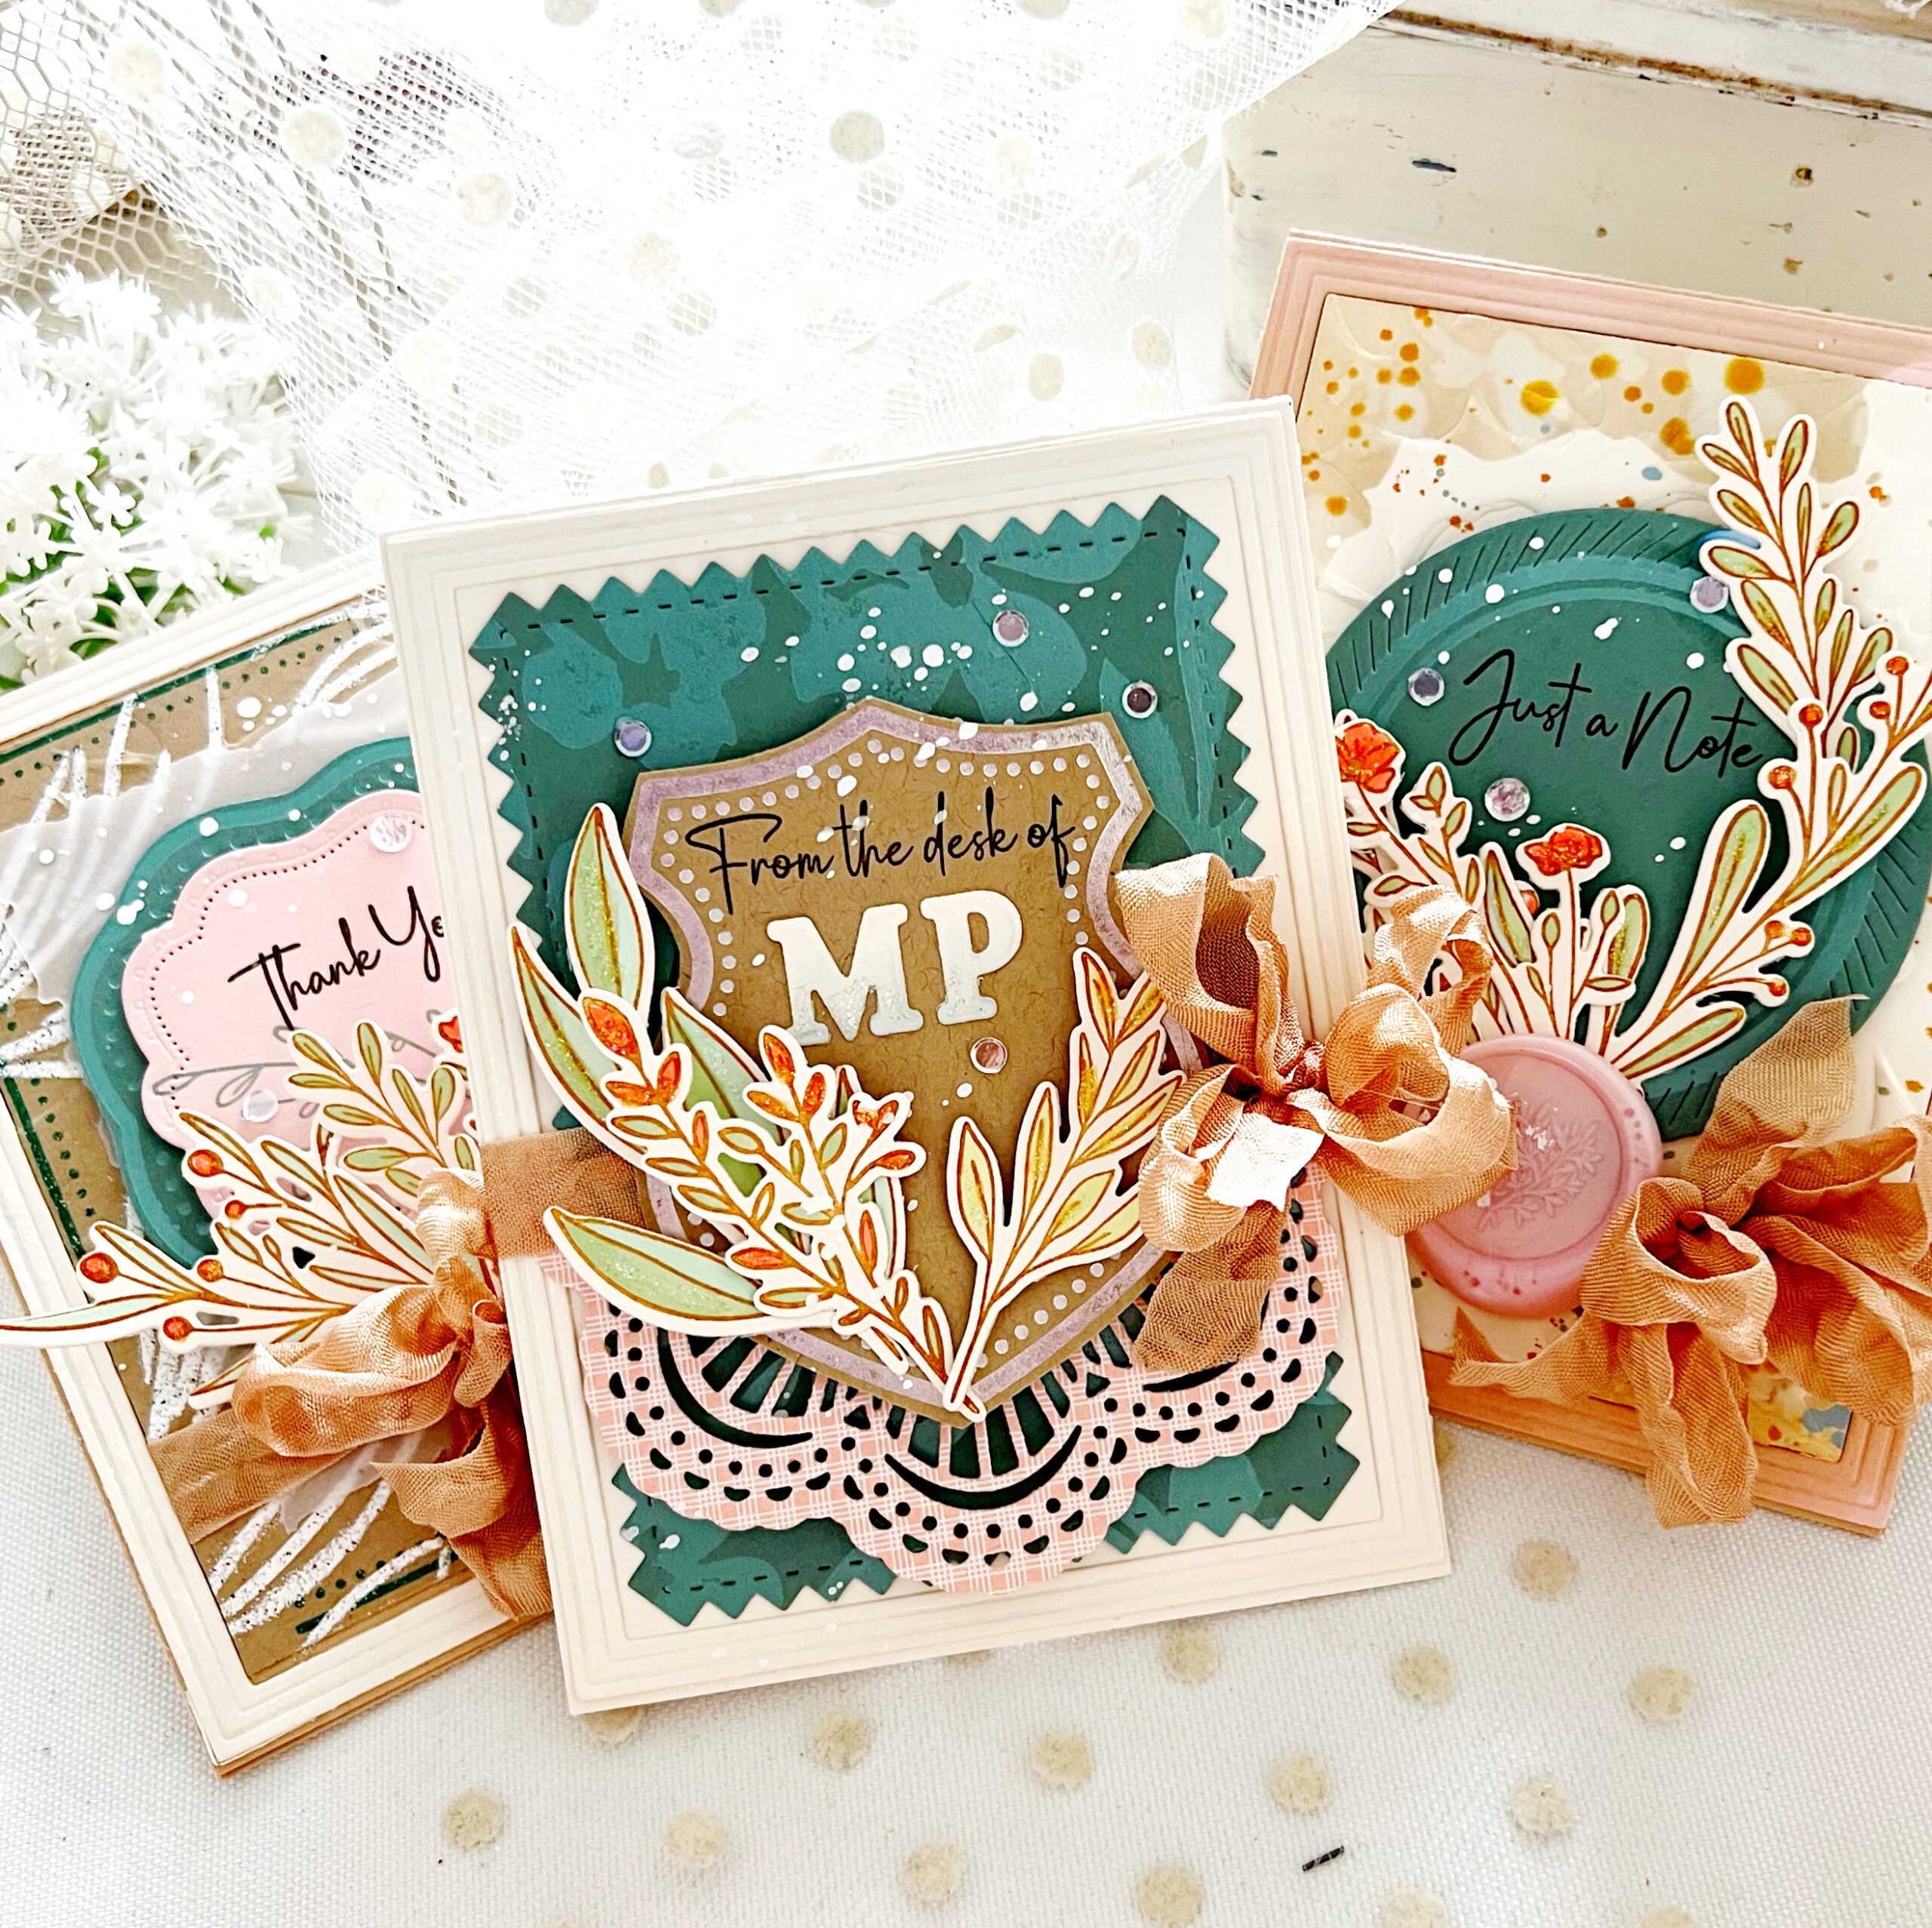
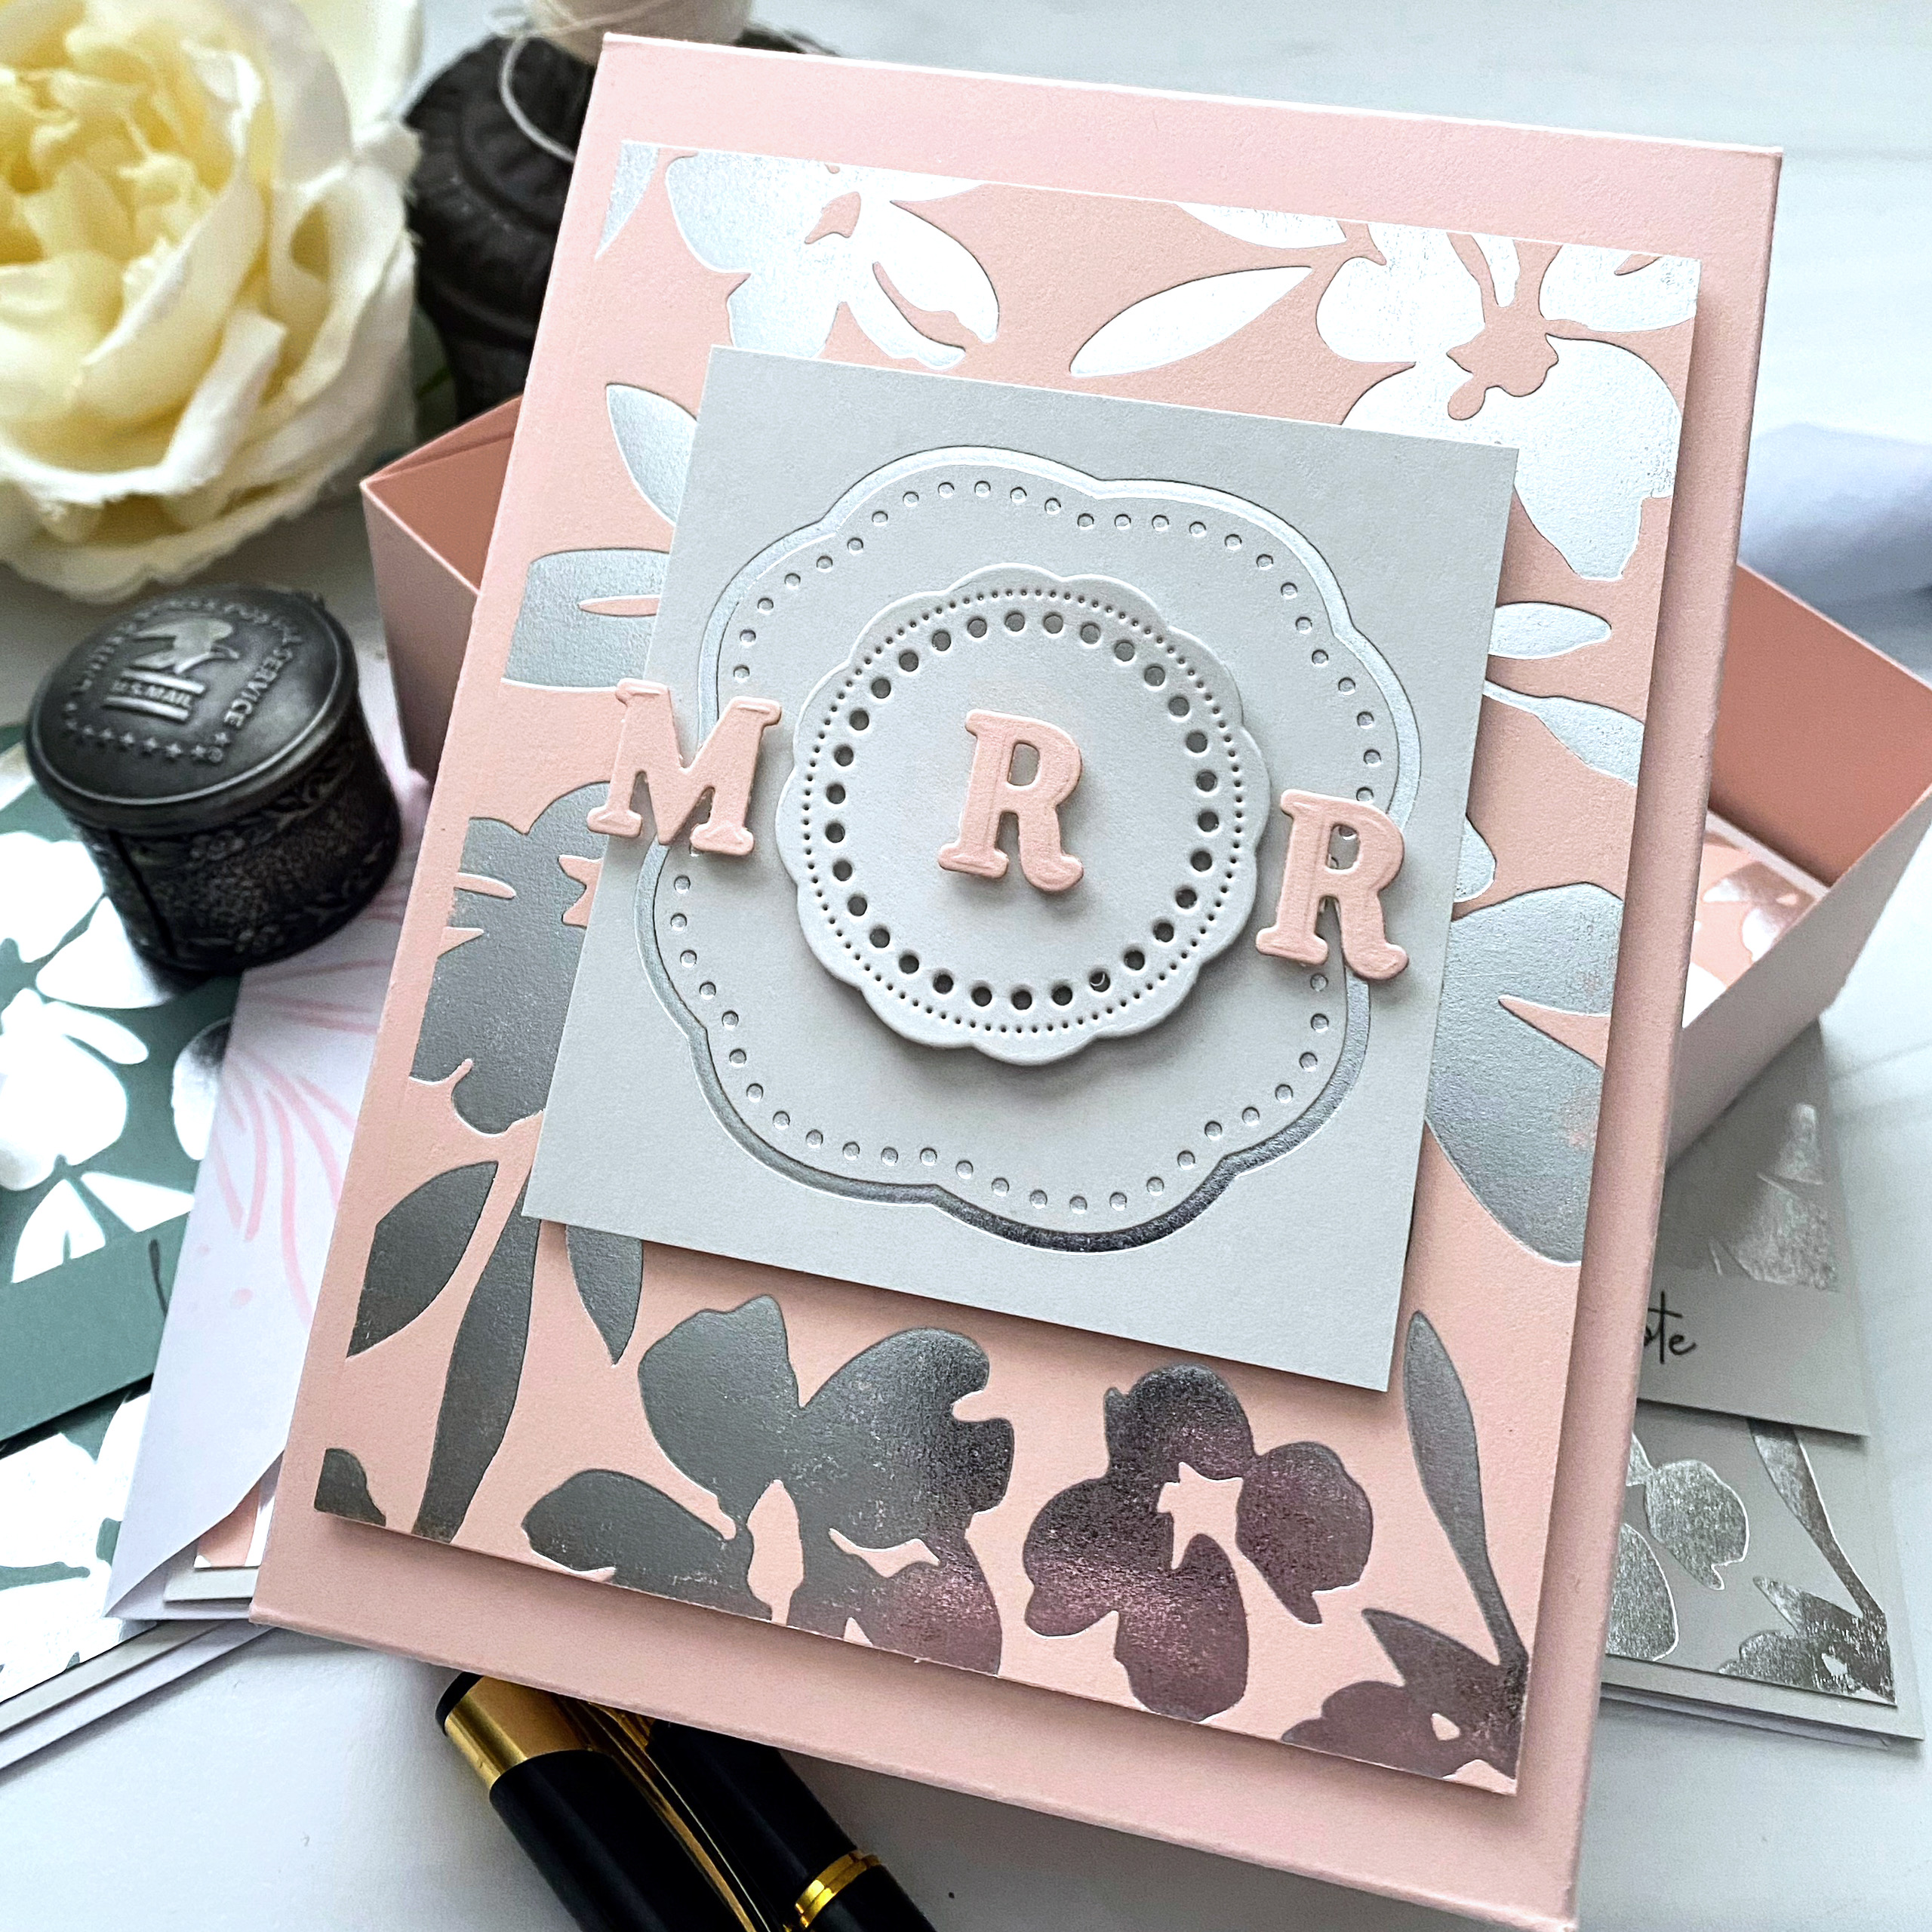
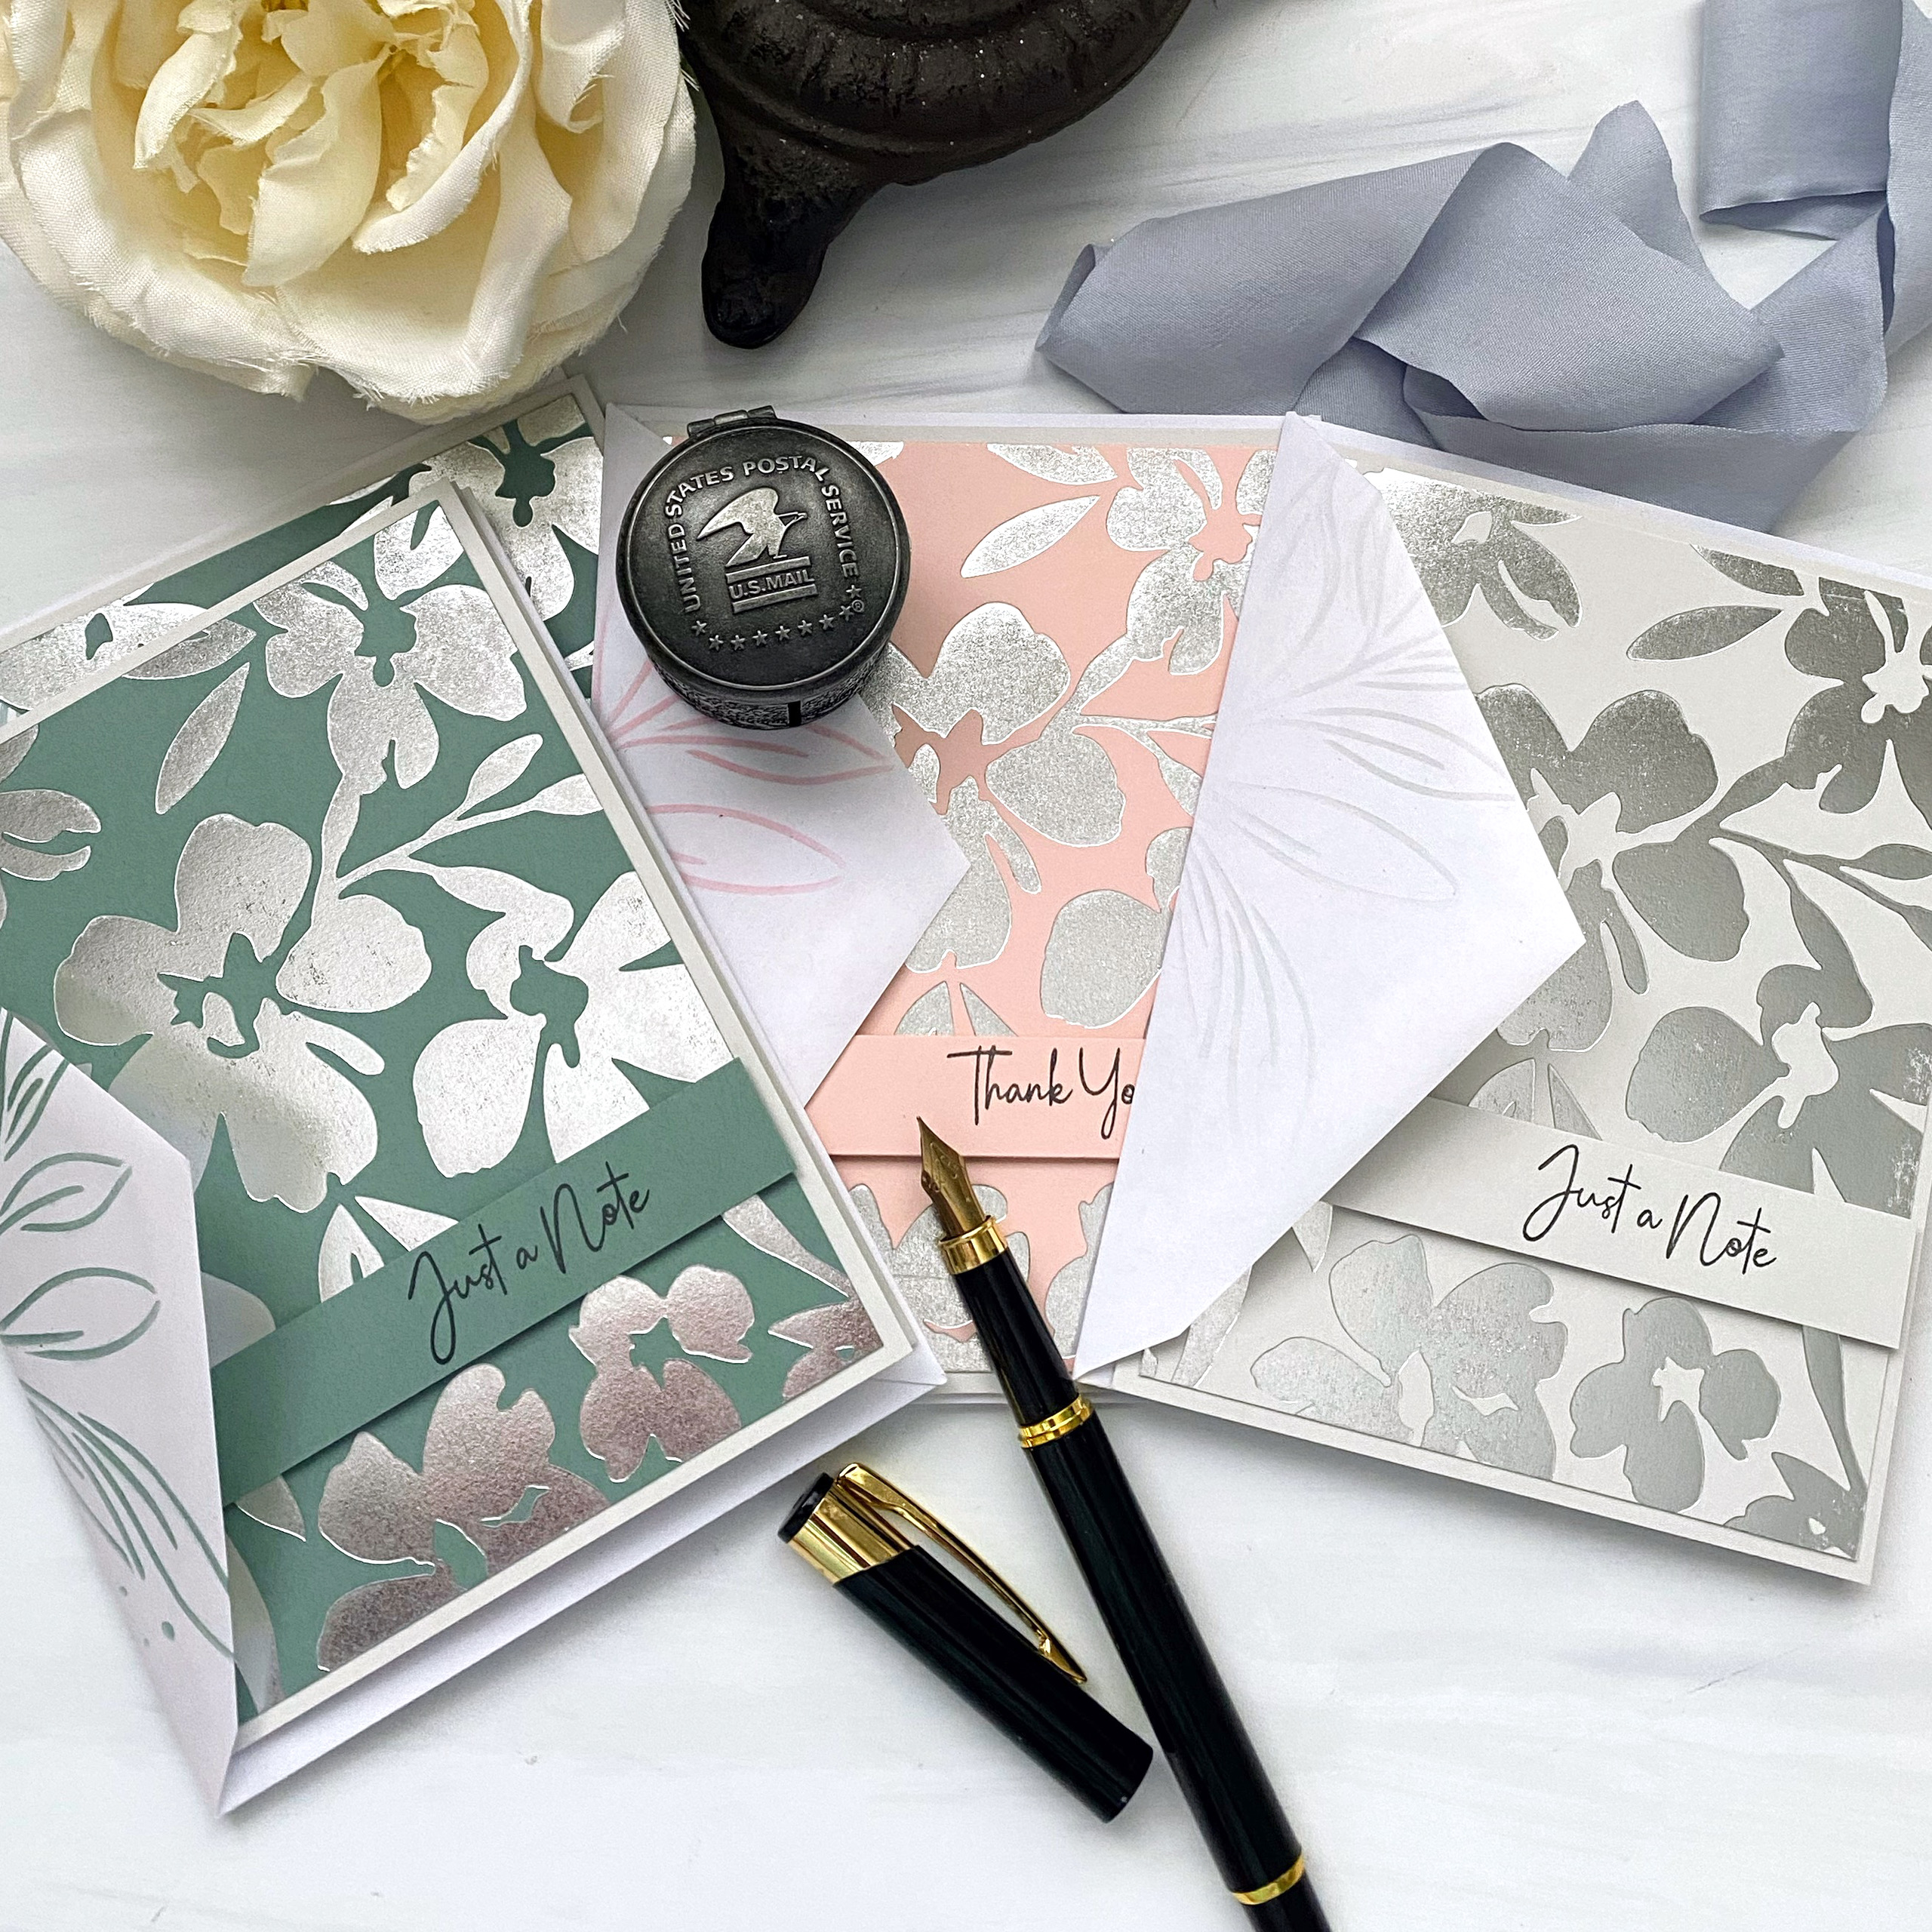
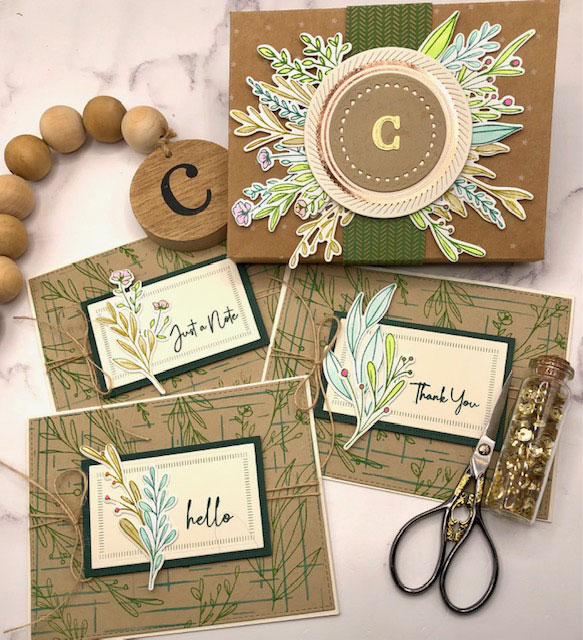
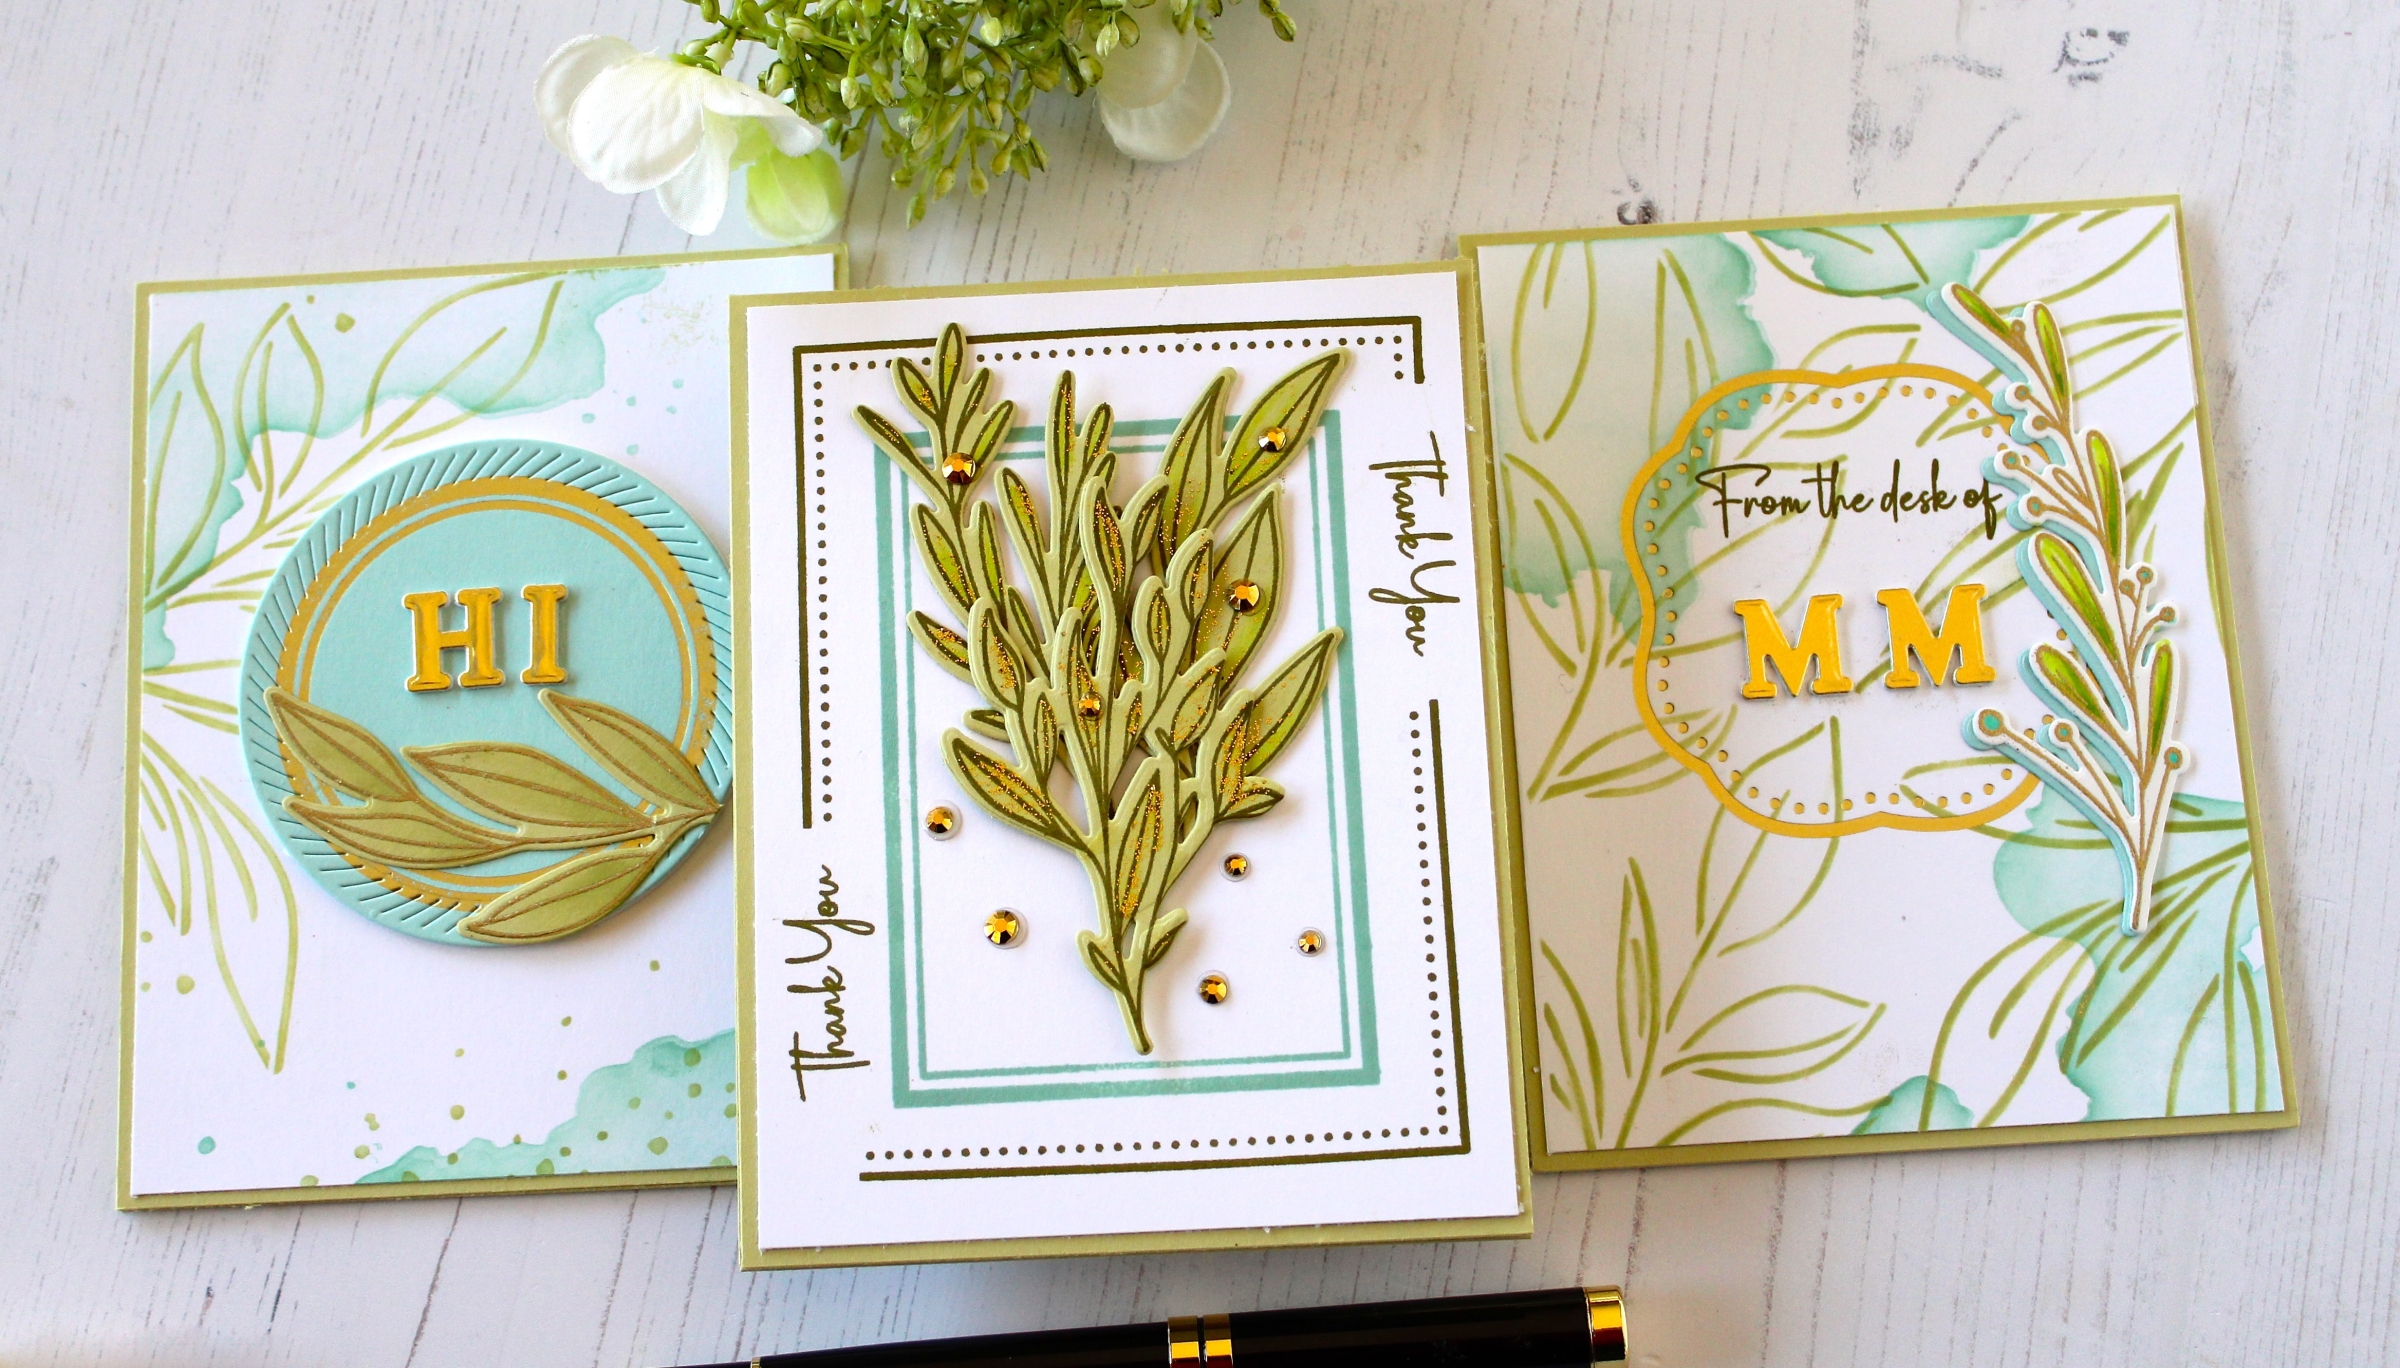
I created a trio of cards using the gorgeous, new Stationery Kit. This kit comes with a beautiful floral stamp set, coordinating dies, three hot foil plates in the shapes of a circle, shield, and bracket. It also comes with an alphabet die set, the most beautiful stencils, and more!
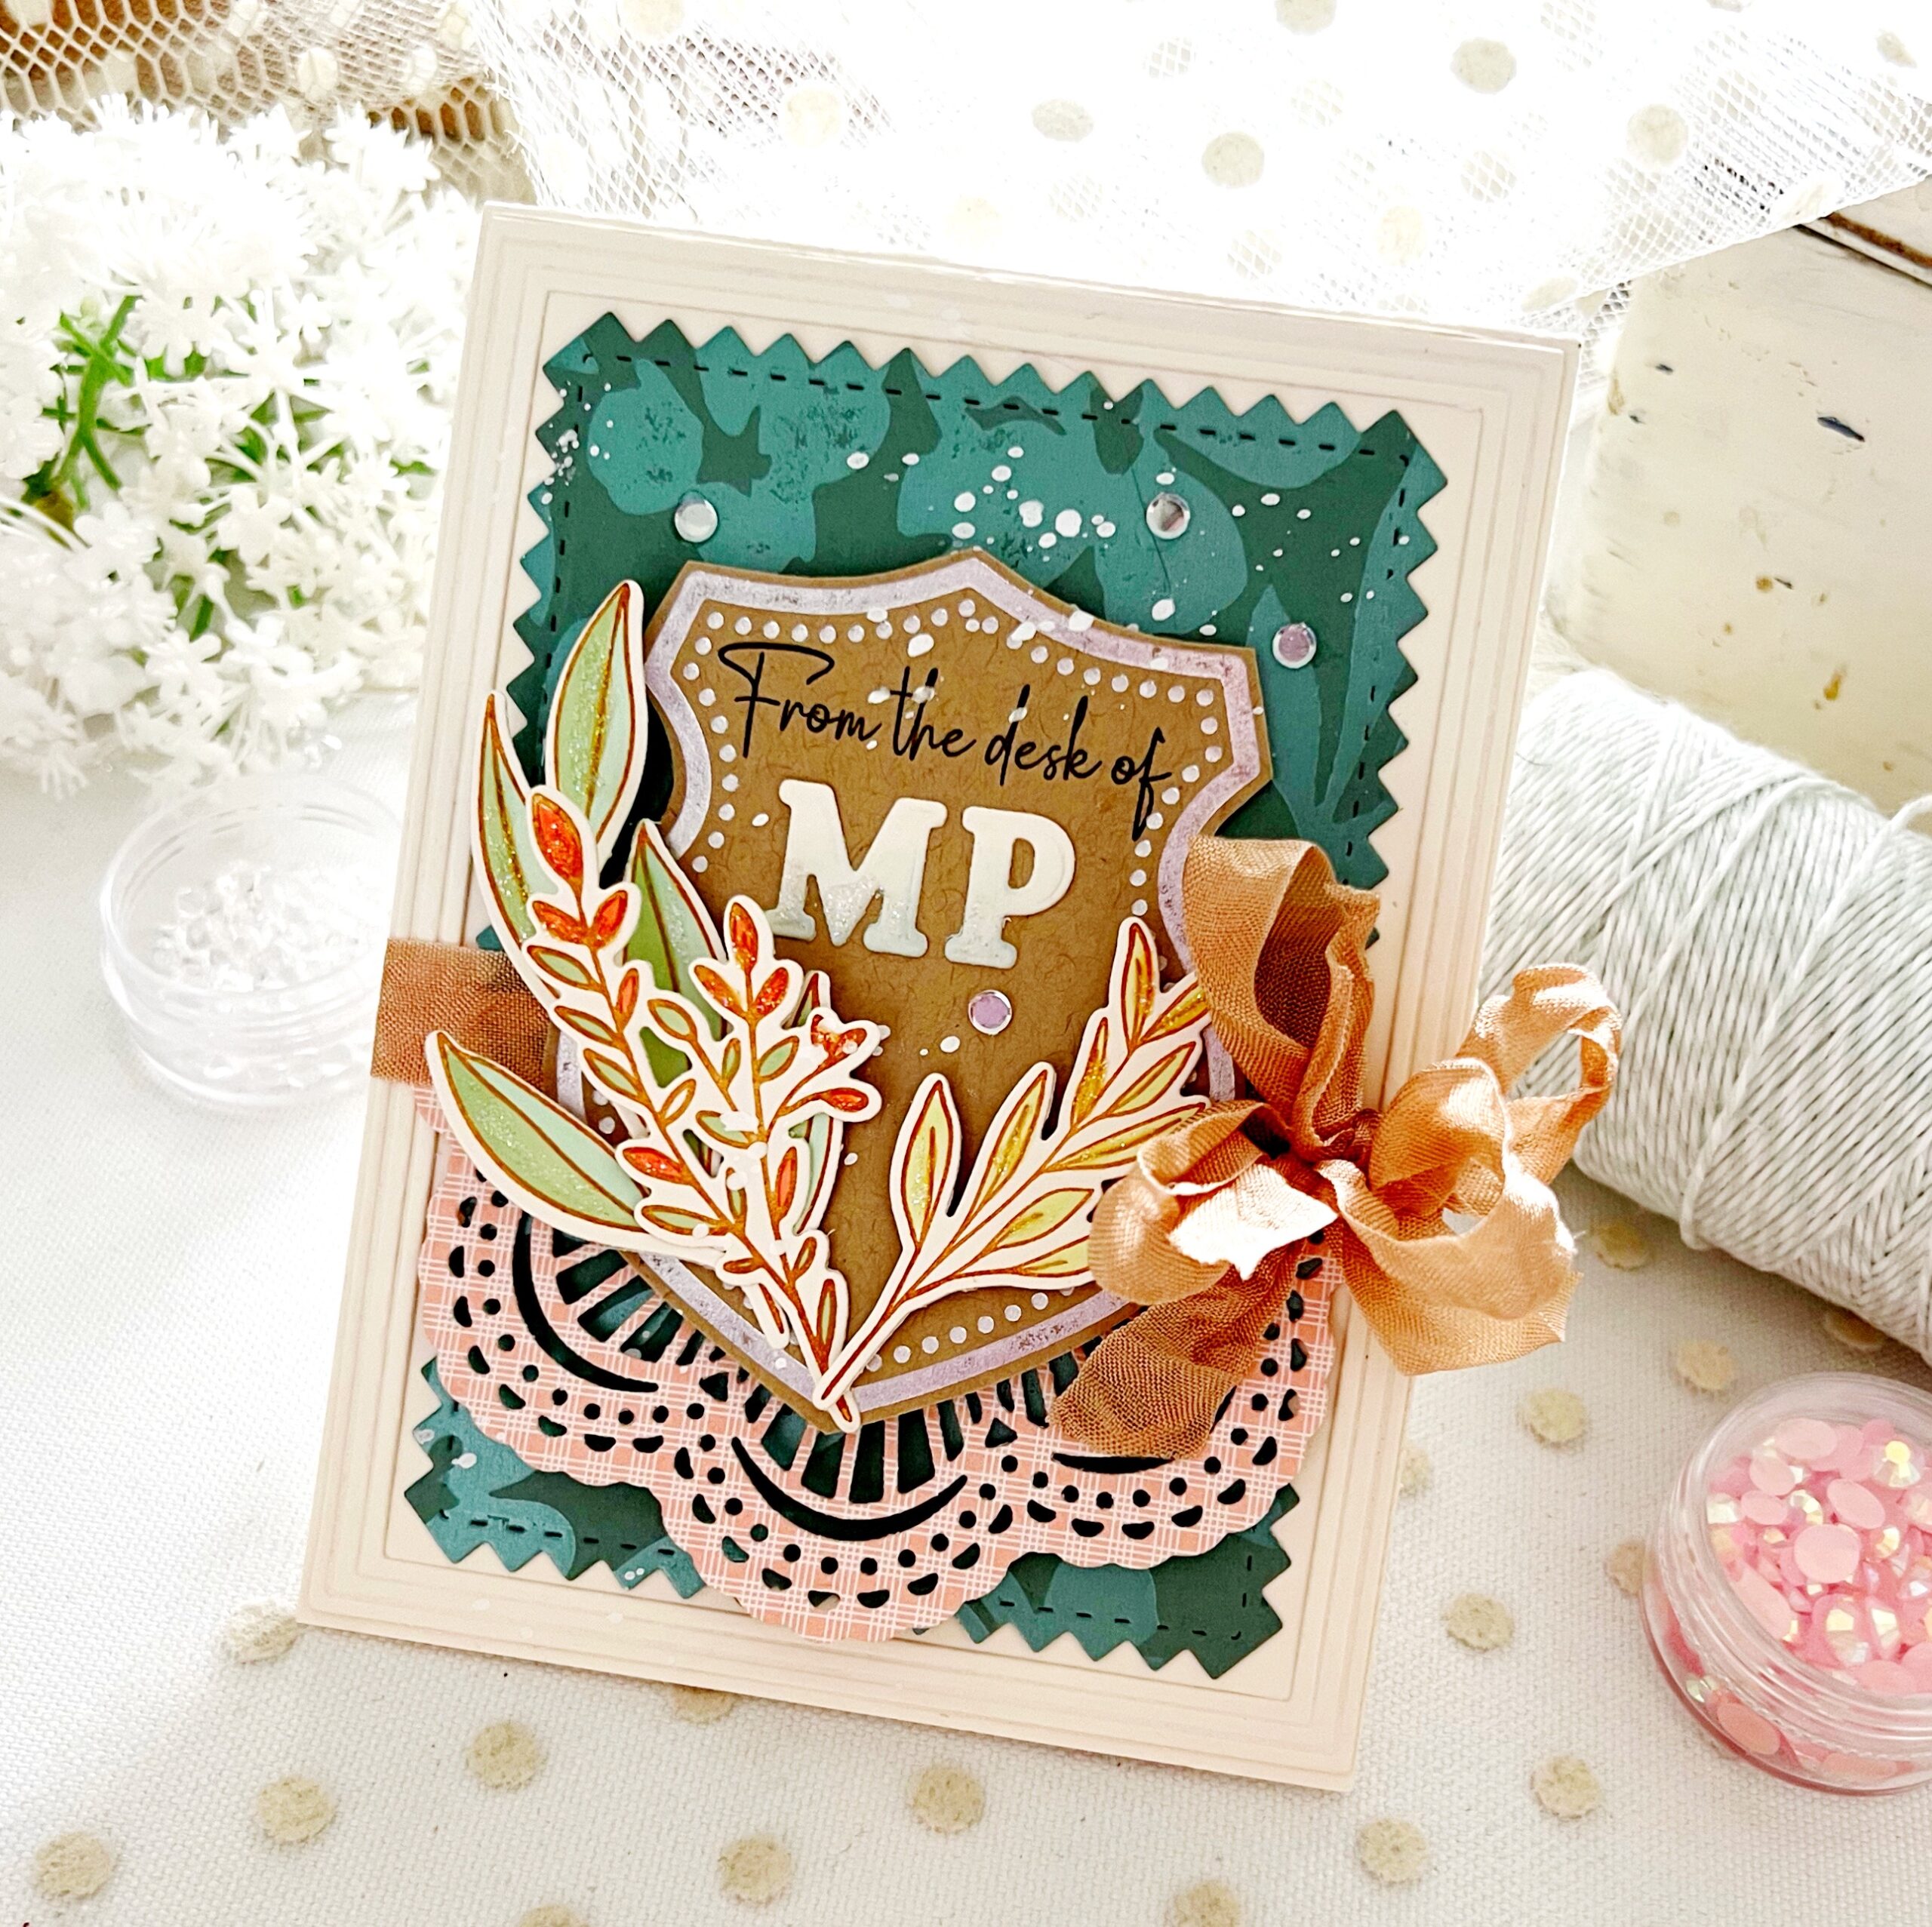
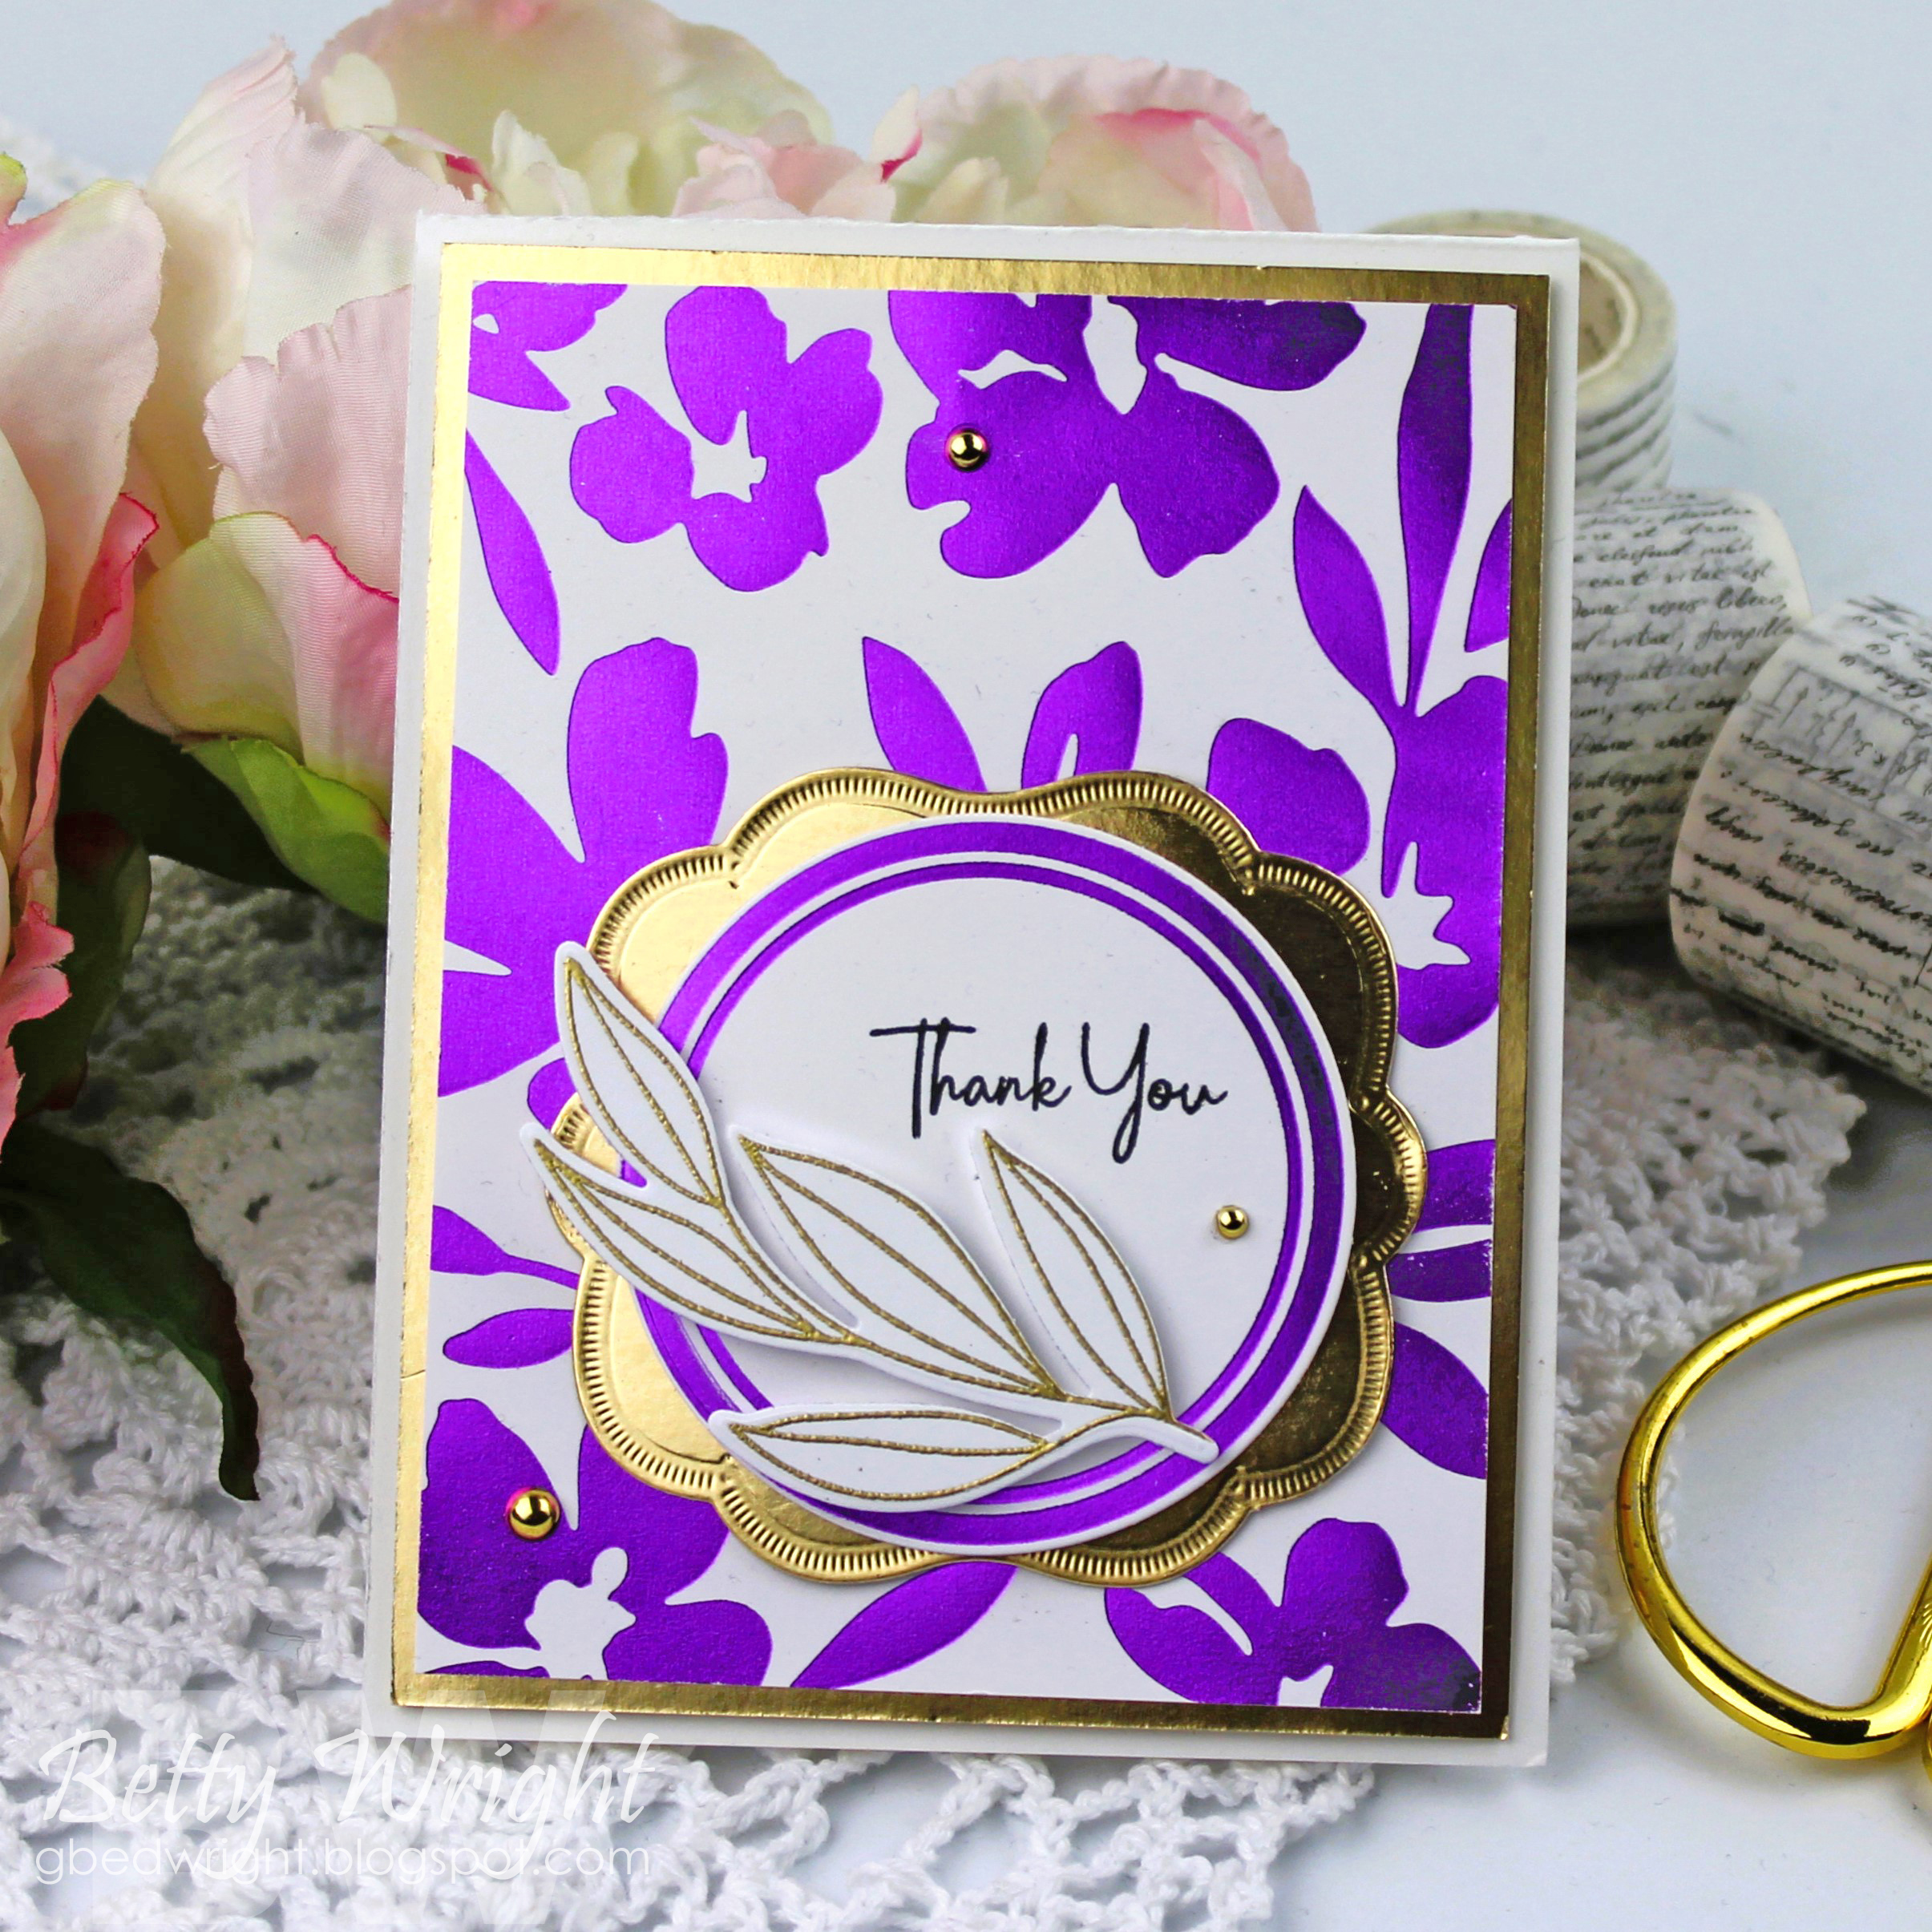
I created a monogram card for my first card, using the alphabet dies as my initials. I love the variety of very basic sentiments you can choose to include on your cards from, “Thank You” to “Just a Note”, to “From the Desk of” and more. The lovely Elegant Edges; Doily Dies were used across the bottom of my card, followed by a Kraft shield, hot foiled in silver. The floral stamp set is so striking and completes the elegant look of this kit so beautifully. In the background, I have used the new Floral Garden Hot Foil Plate, foiling in aqua over Ocean Tides cardstock. So gorgeous!
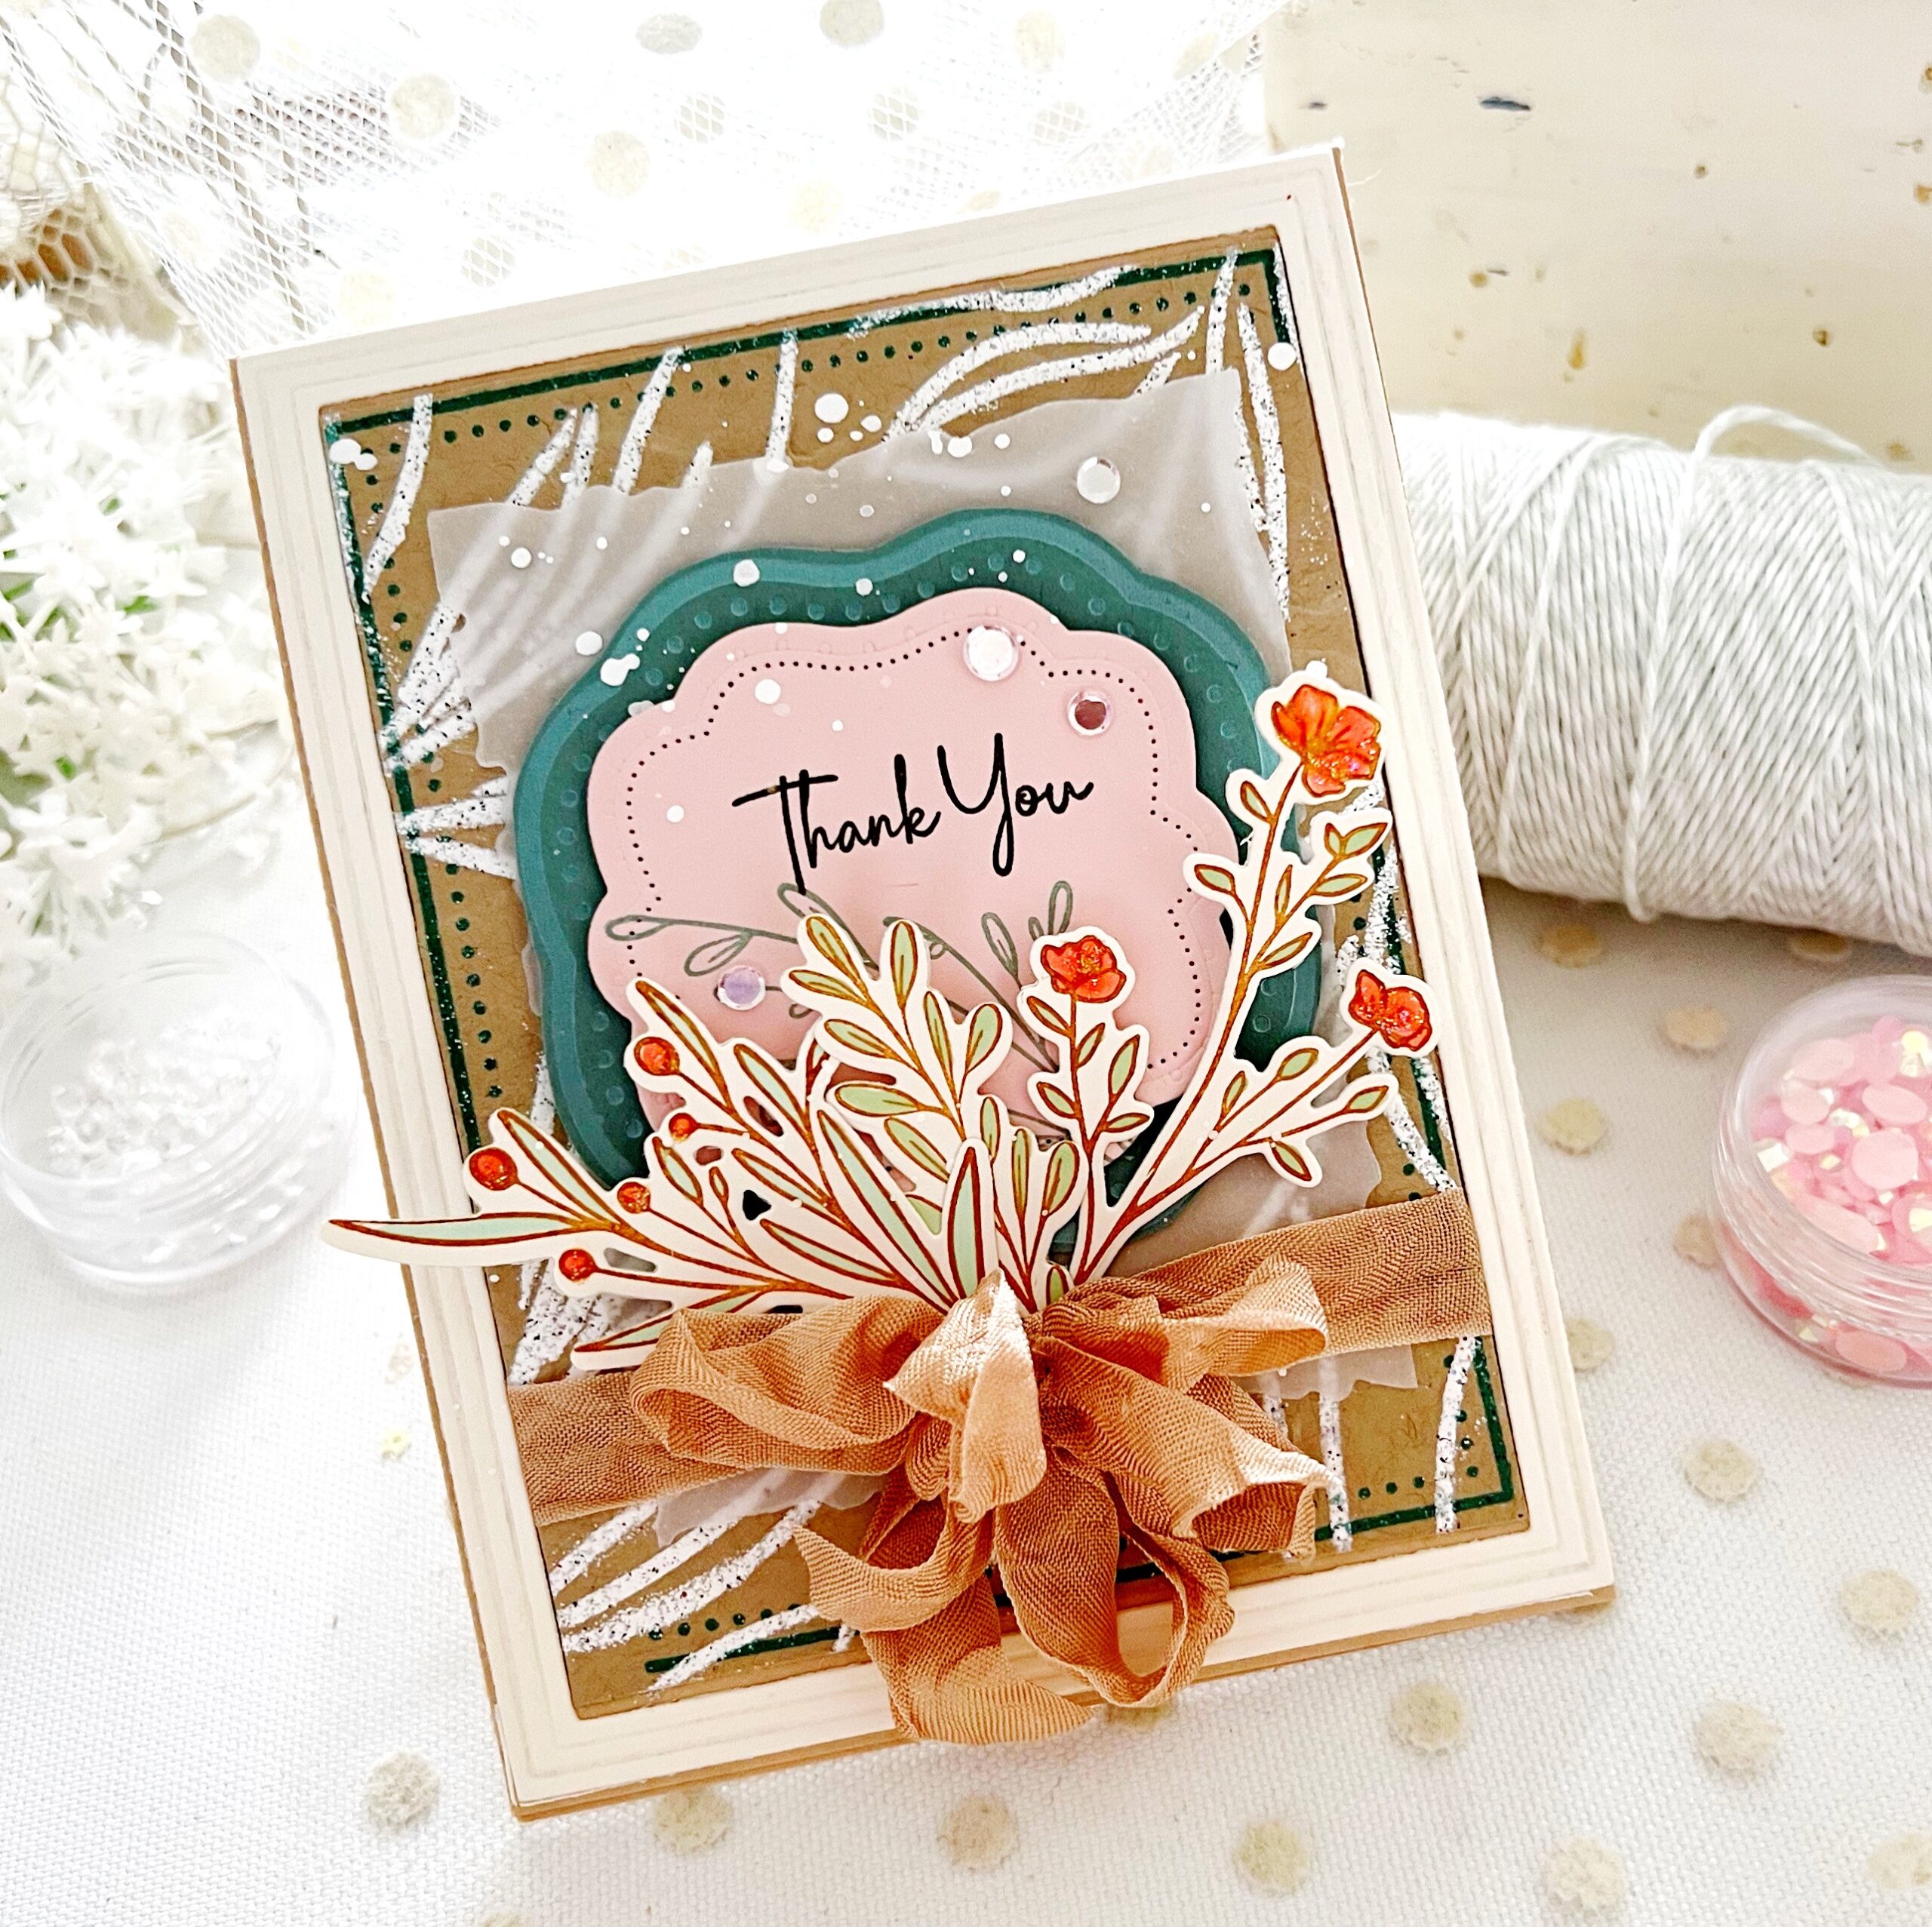
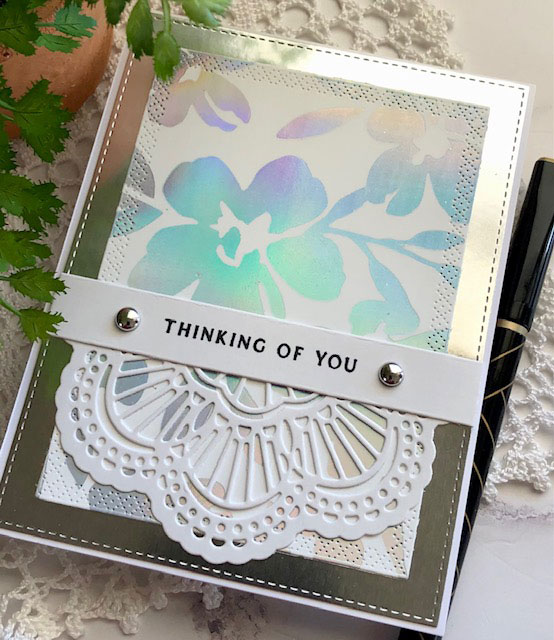
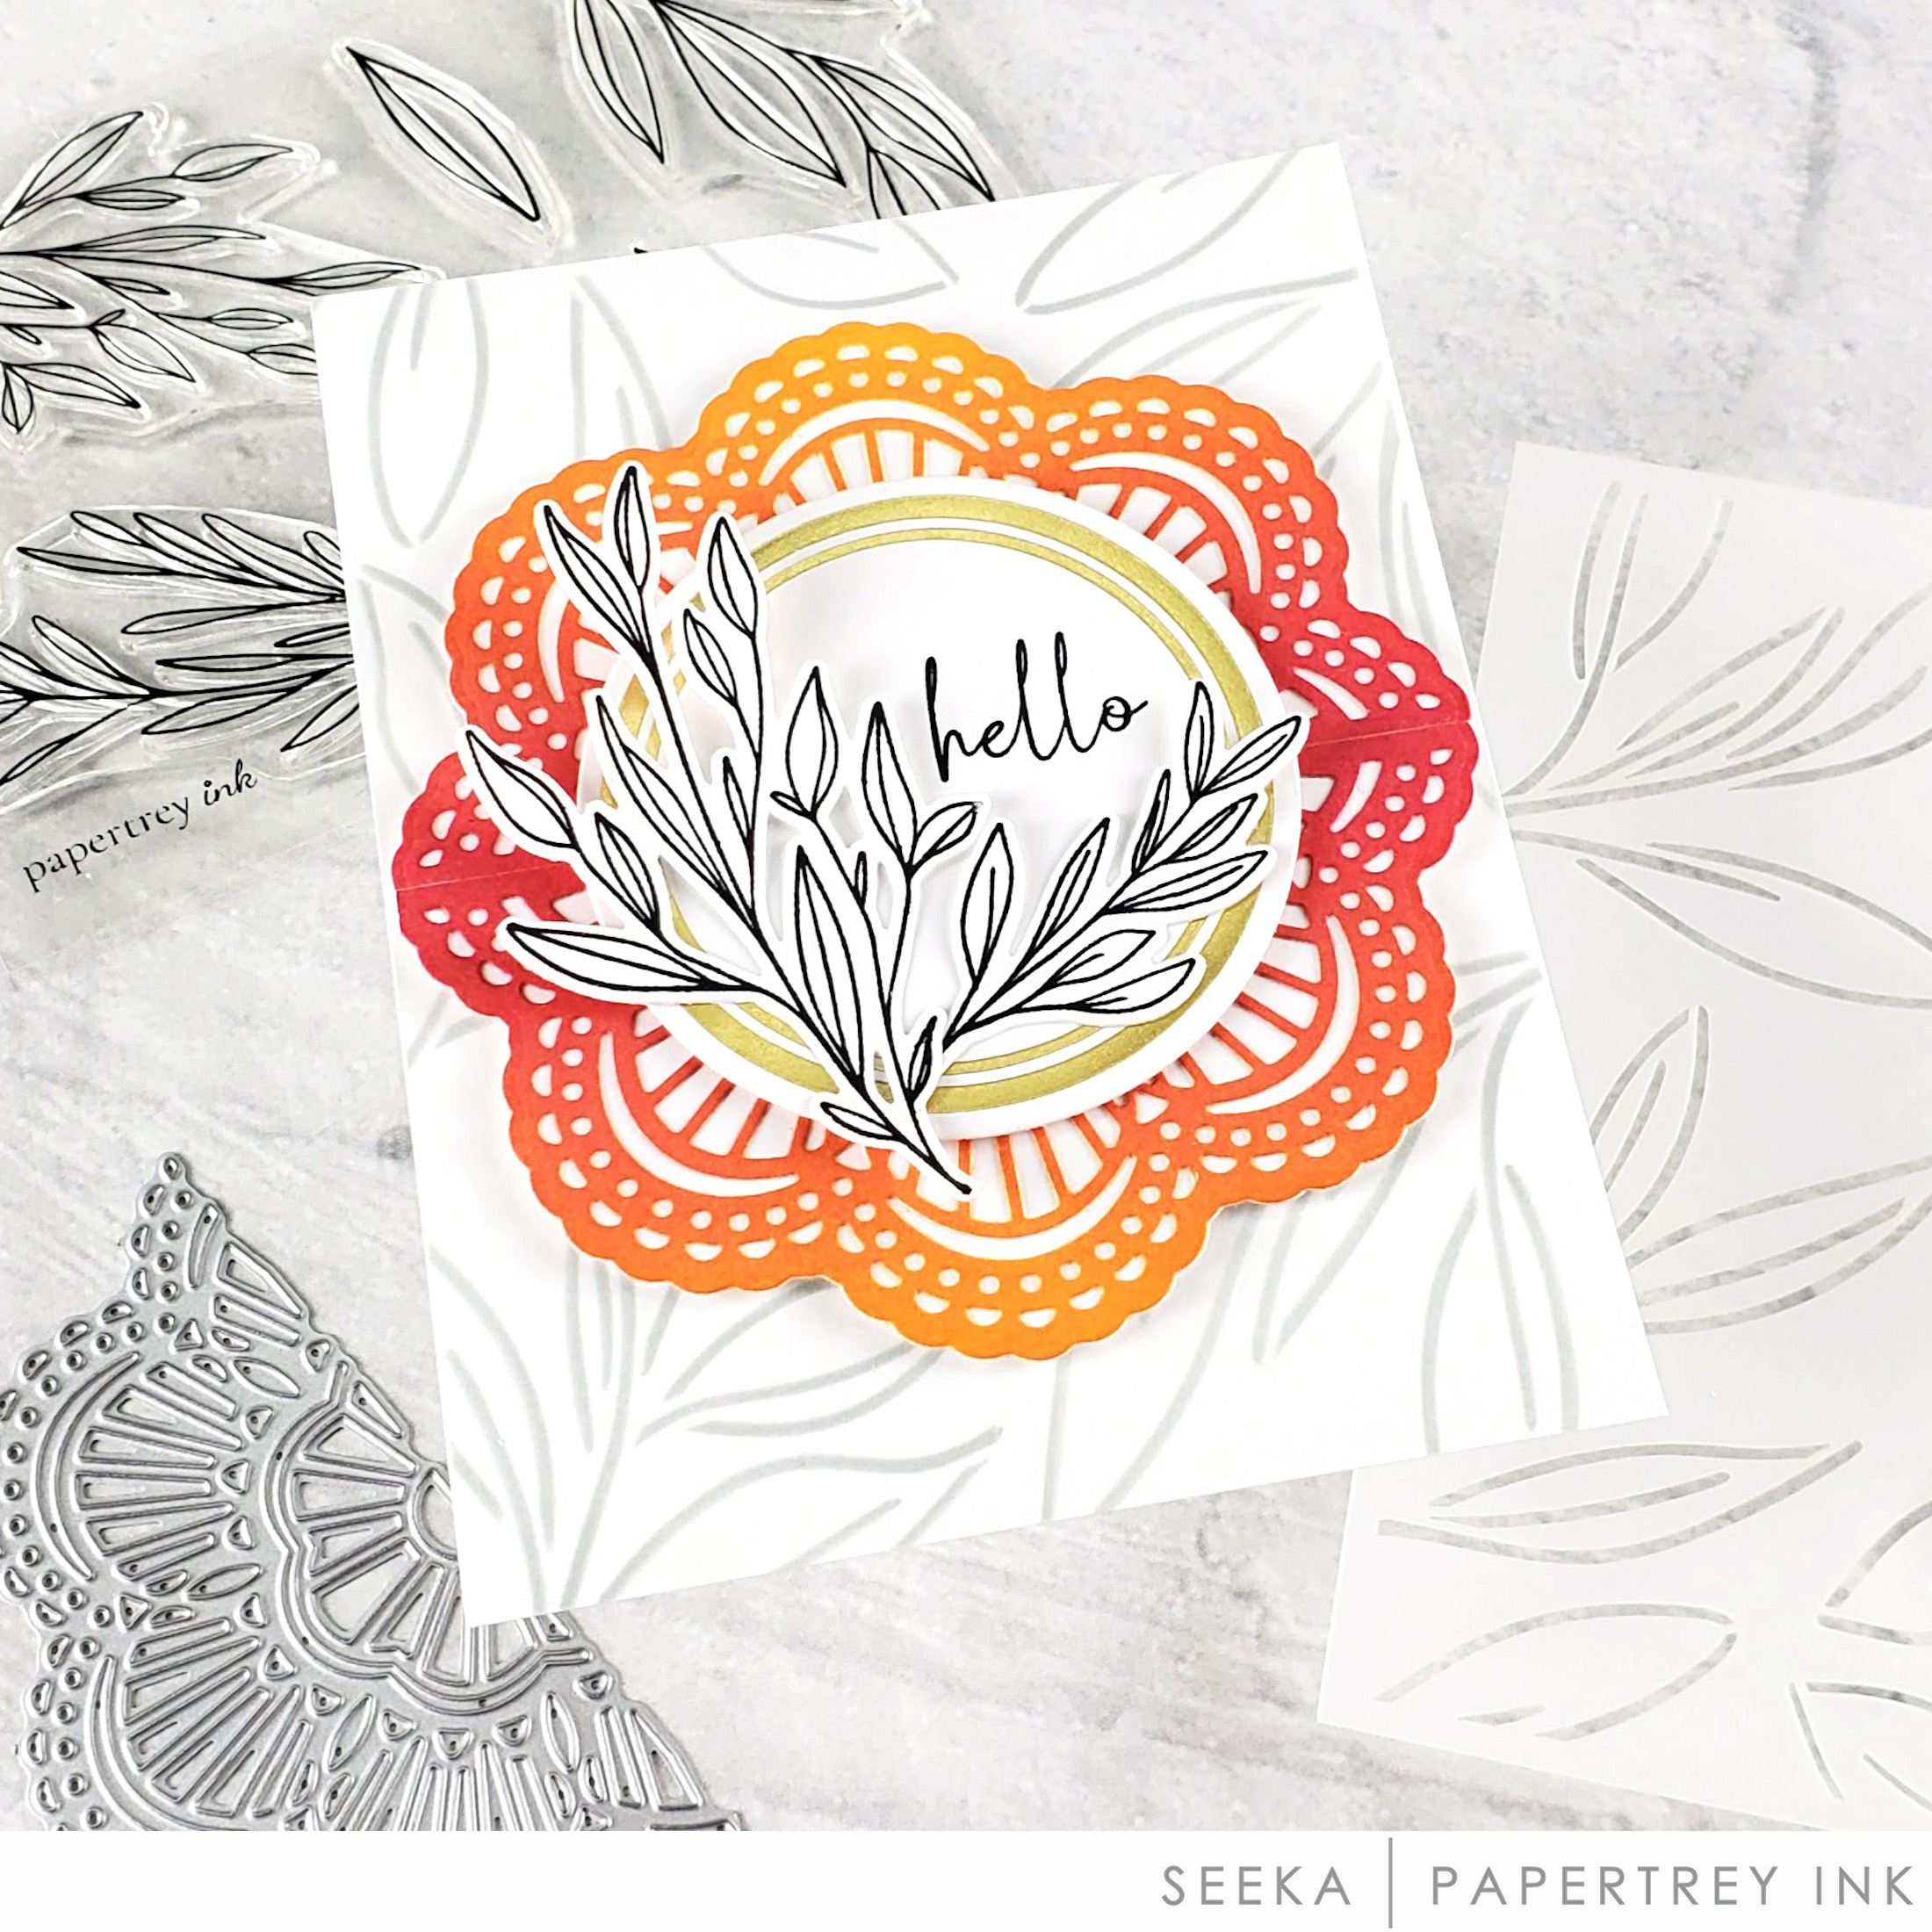
On my second card, I used the Stationery Kit stamp set in the background, stamping on Kraft cardstock in Ocean Tides ink. I then used watermark ink and the coordinating stencils to create a lovely, leaf pattern on my stamped background. I heat embossed using white embossing powder and love the results. You can see a different shape hot foil plate used on this card, more of a soft bracket shape. I topped it off with a die cut pink bracket, cut using the Love to Layer: Lovely Brackets die.
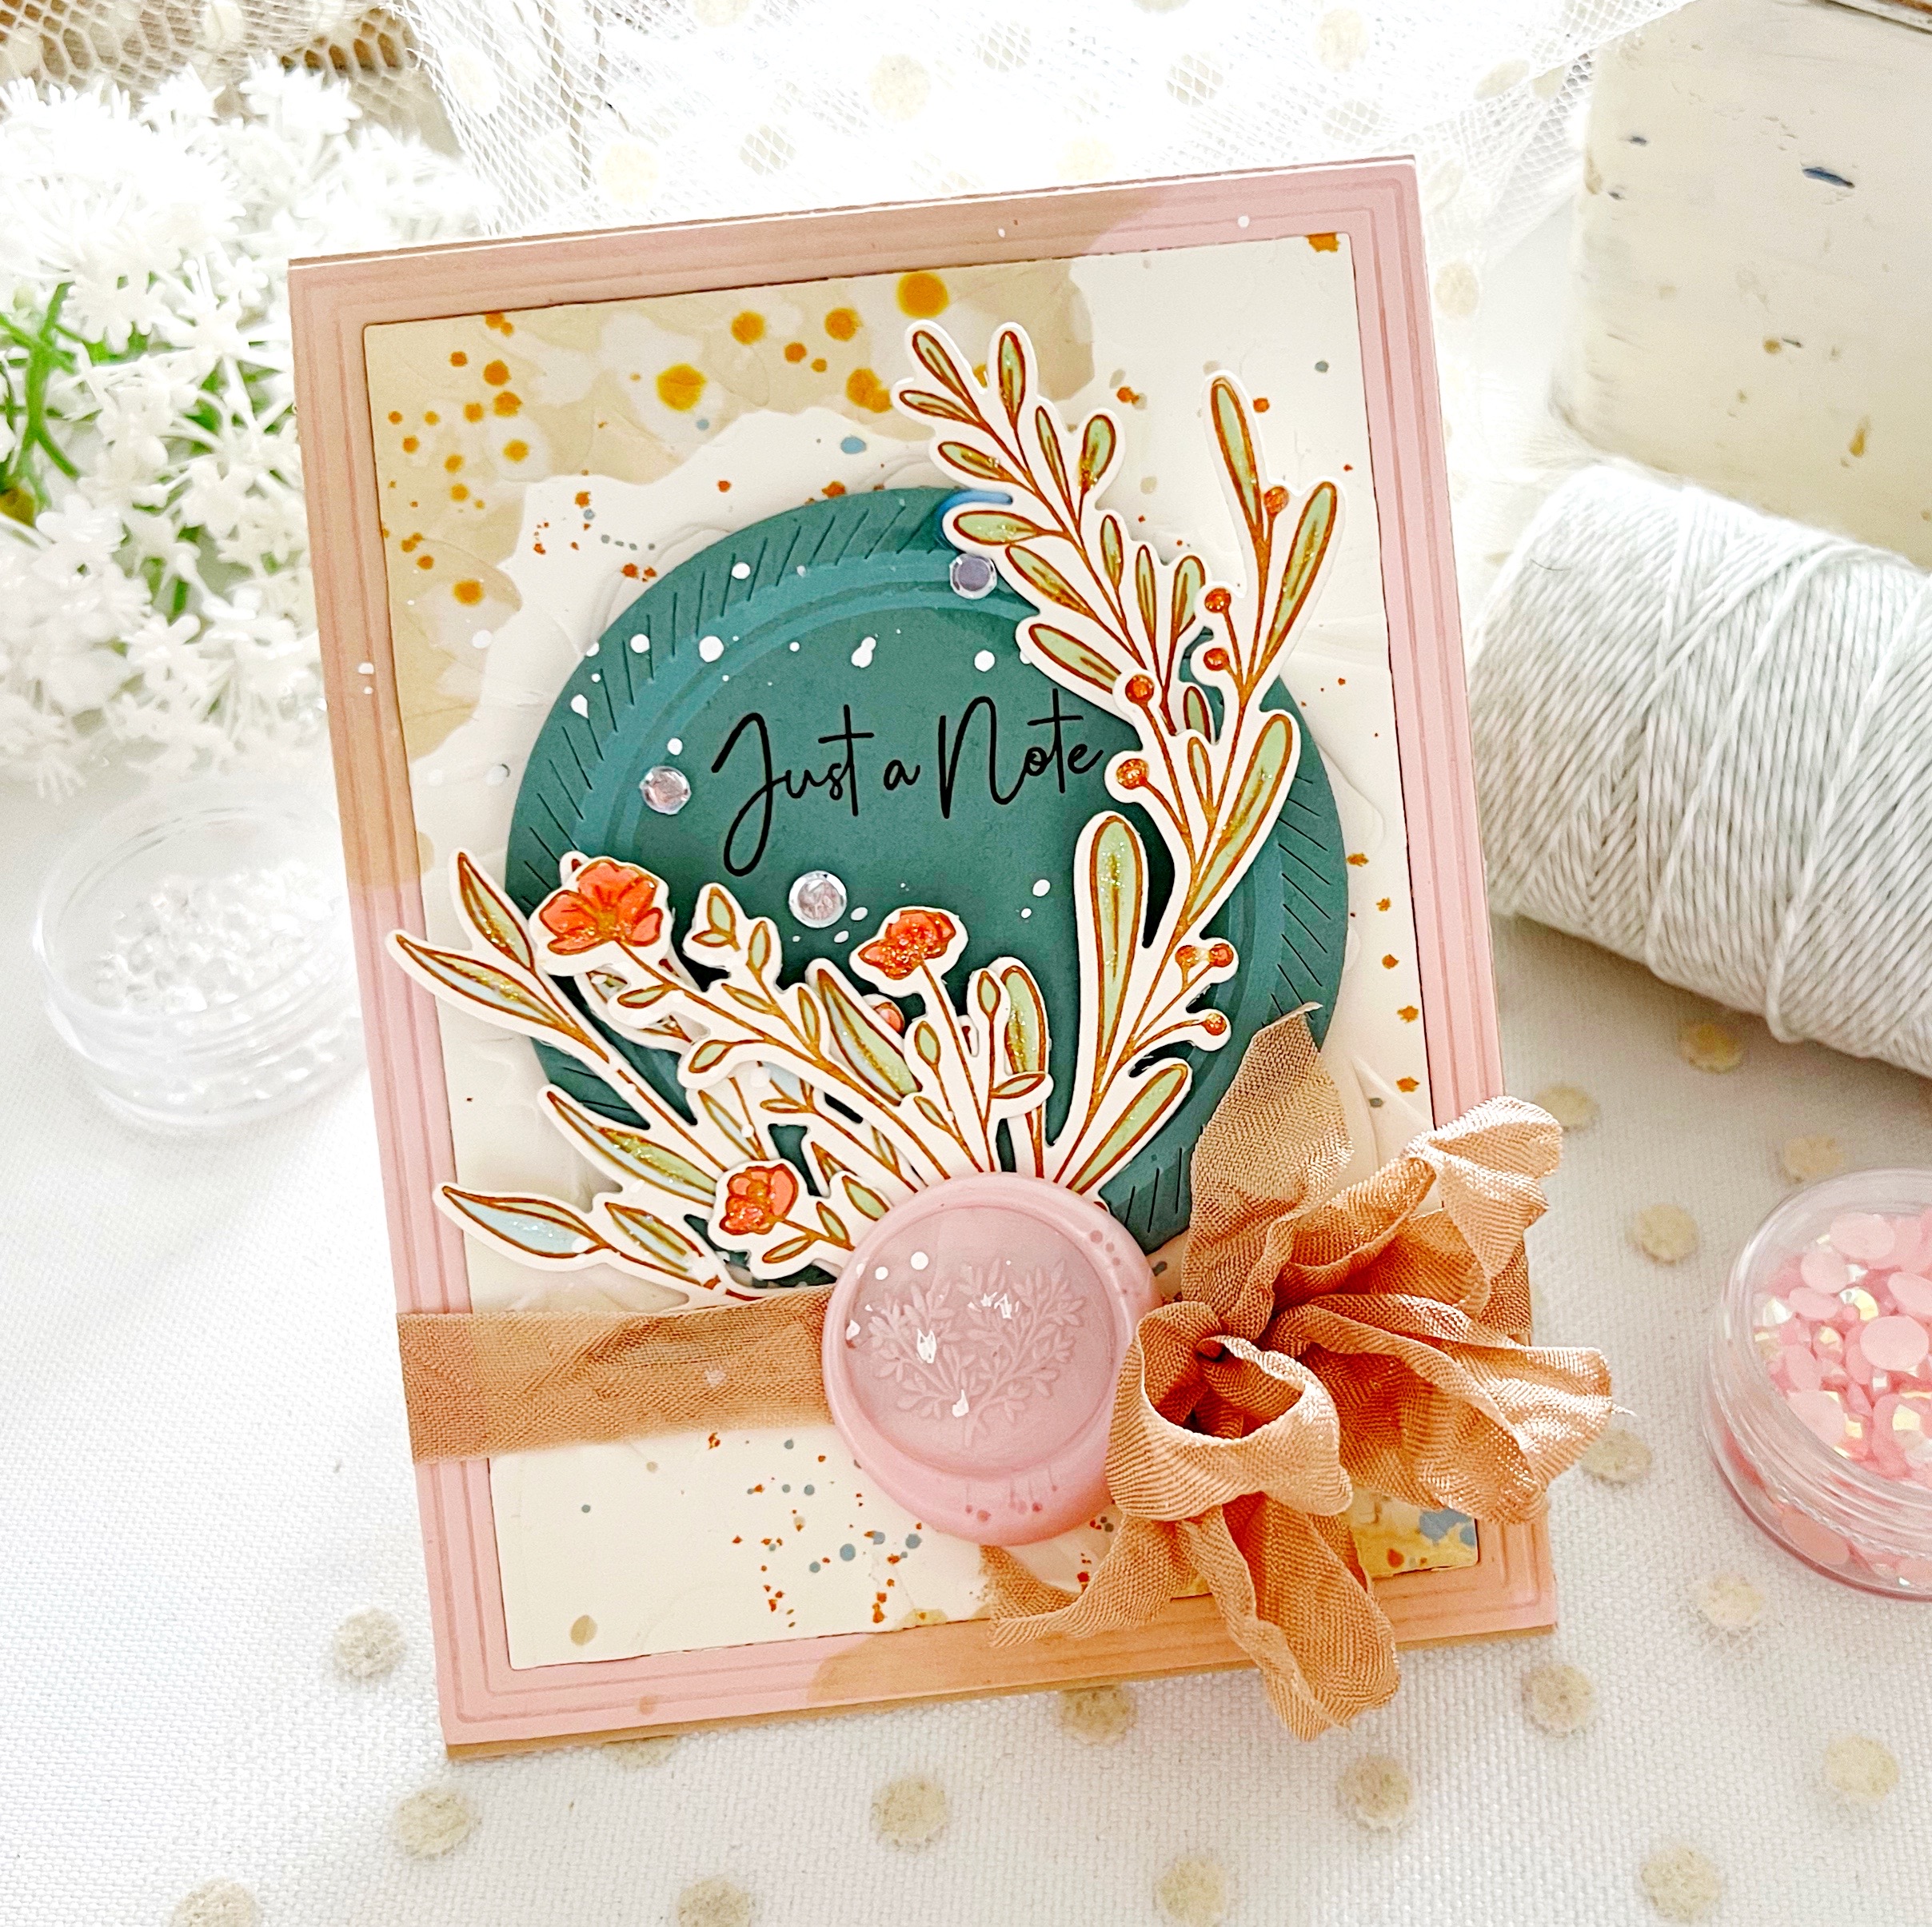
A different stencil from the kit was used on this card, followed by my using the Floral Garden Hot Foil Plate as an embossing folder. It created the most beautiful impression! I used the circle hot foil plate on this card, foiling in aqua over Ocean Tides cardstock.
This kit is so much fun to create with! You will love every minute spent using it.
Supplies Used:
STAMPS: Stationery Kit
INK: Olive Twist, Honey Nut, Fine Linen, Soft Stone
PAPER: Vintage Cream, Ocean Tides, Kraft, Bitty Big Sweet Blush, Sweet Blush
DIES: Stationery Kit, Elegant Edges: Doily, Mix & Mat: Pinked Edge, Border Bling: Skinny Embossed Frame, Love to Layer: Lovely Brackets, Love to Layer: Torn Edges, Love to Layer: Circles
OTHER: Floral Garden Hot Foil Plate, Copic Markers, silver and aqua foil, scrunched seam binding, Stickles glitter, wax seal, white embossing powder, white paint, Distress Spray


TIPS:
- Use the alphabet dies for monogramming
- I used the medium heat setting for 20 seconds to get beautiful results with the Floral Garden plate
- Add stenciling to the envelope flaps to pull it all together

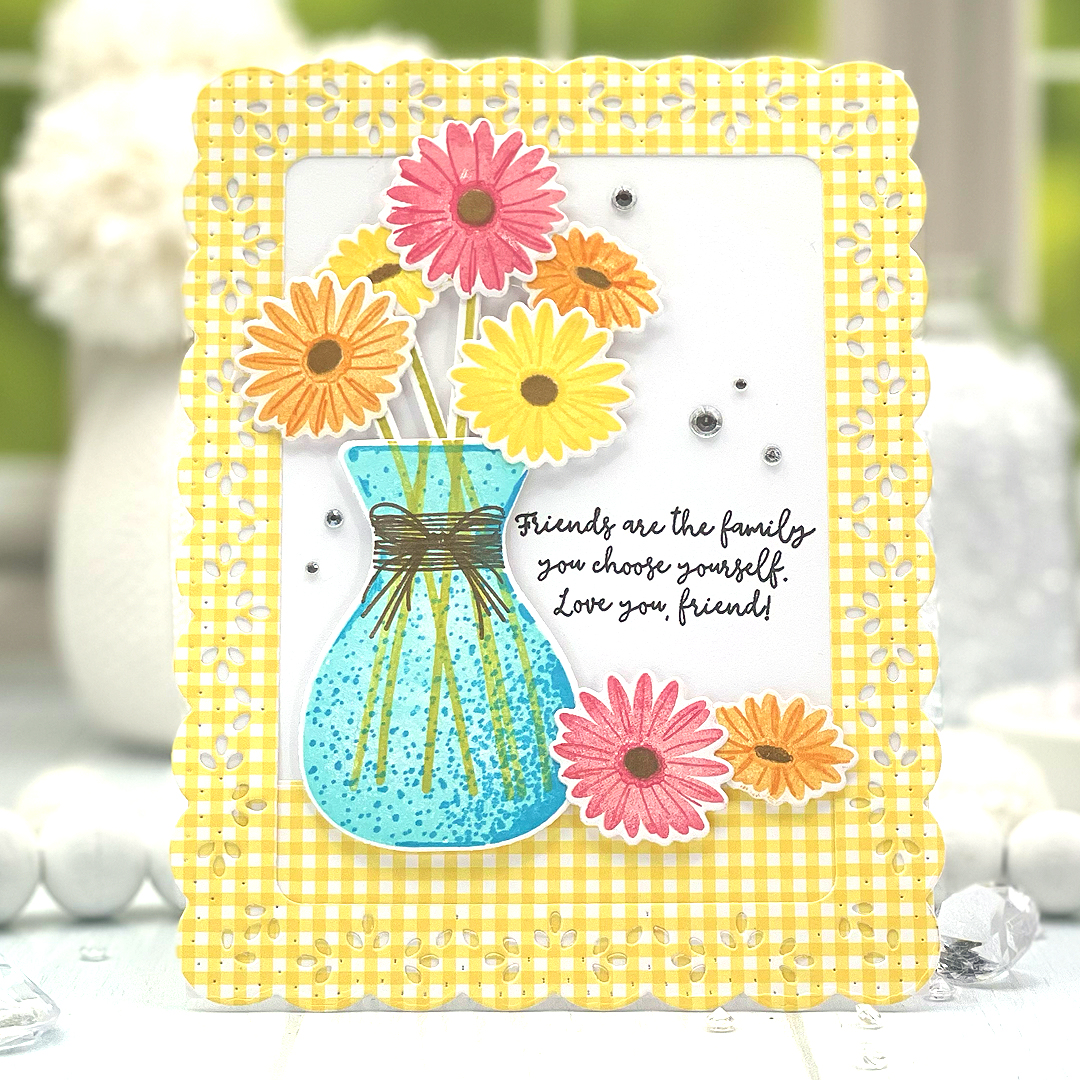
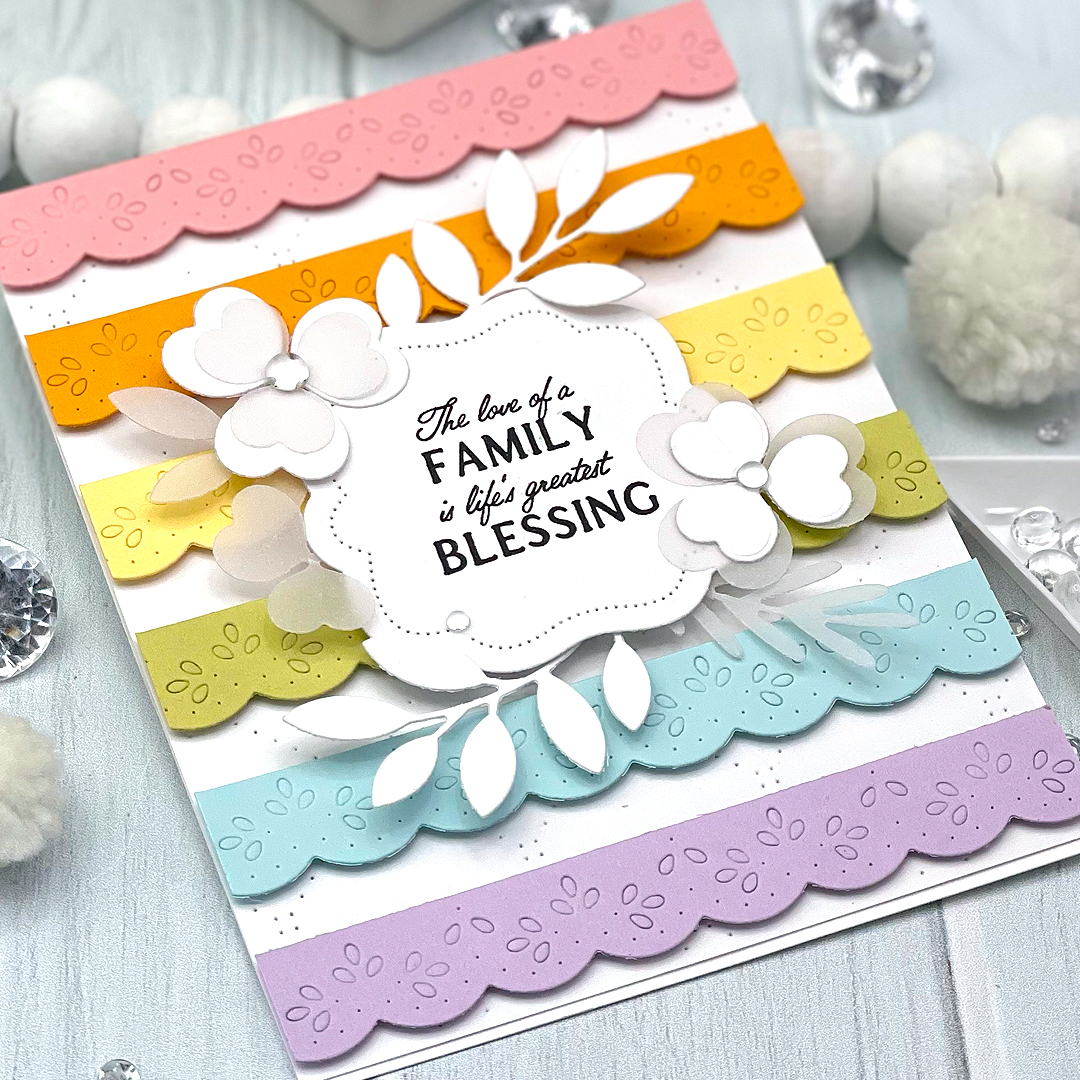
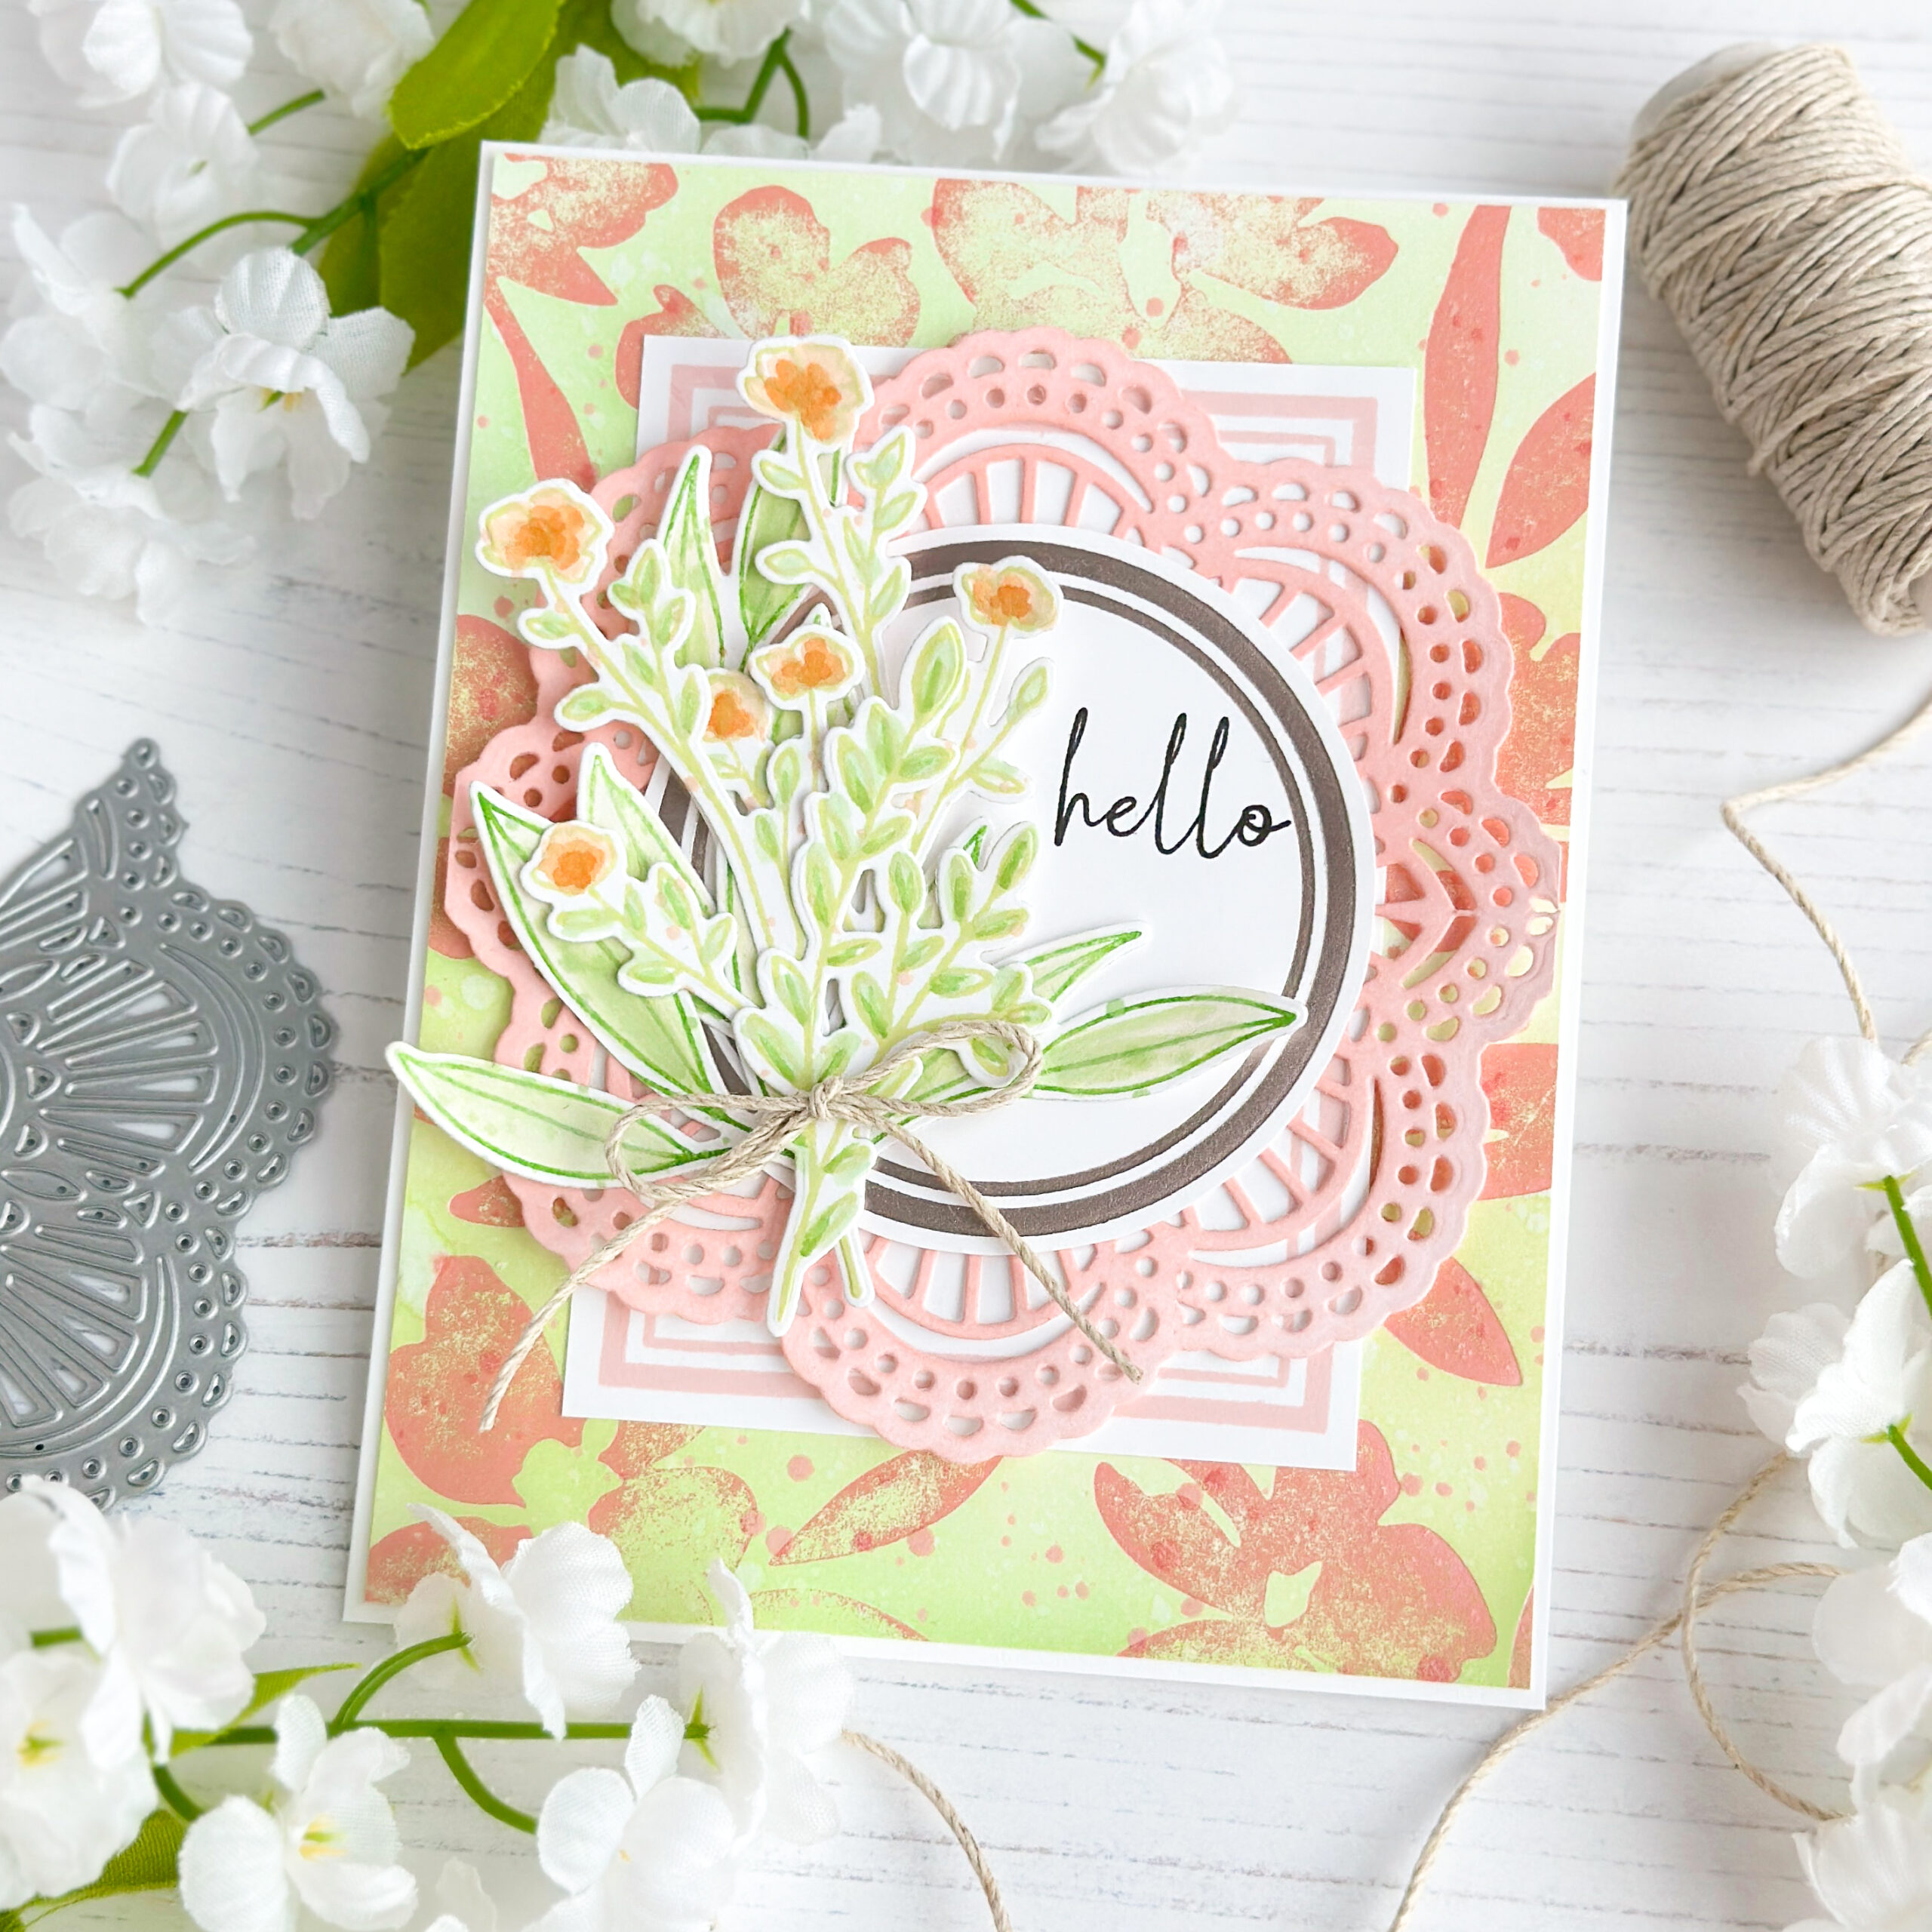
I’m so excited to share with you our next grouping of products. You’ll adore our new Border Bling: Scalloped Frame, our sweet, new Vase Collection 16, Love to Layer: Lovely Brackets dies, and Inside Greetings: Family stamp set

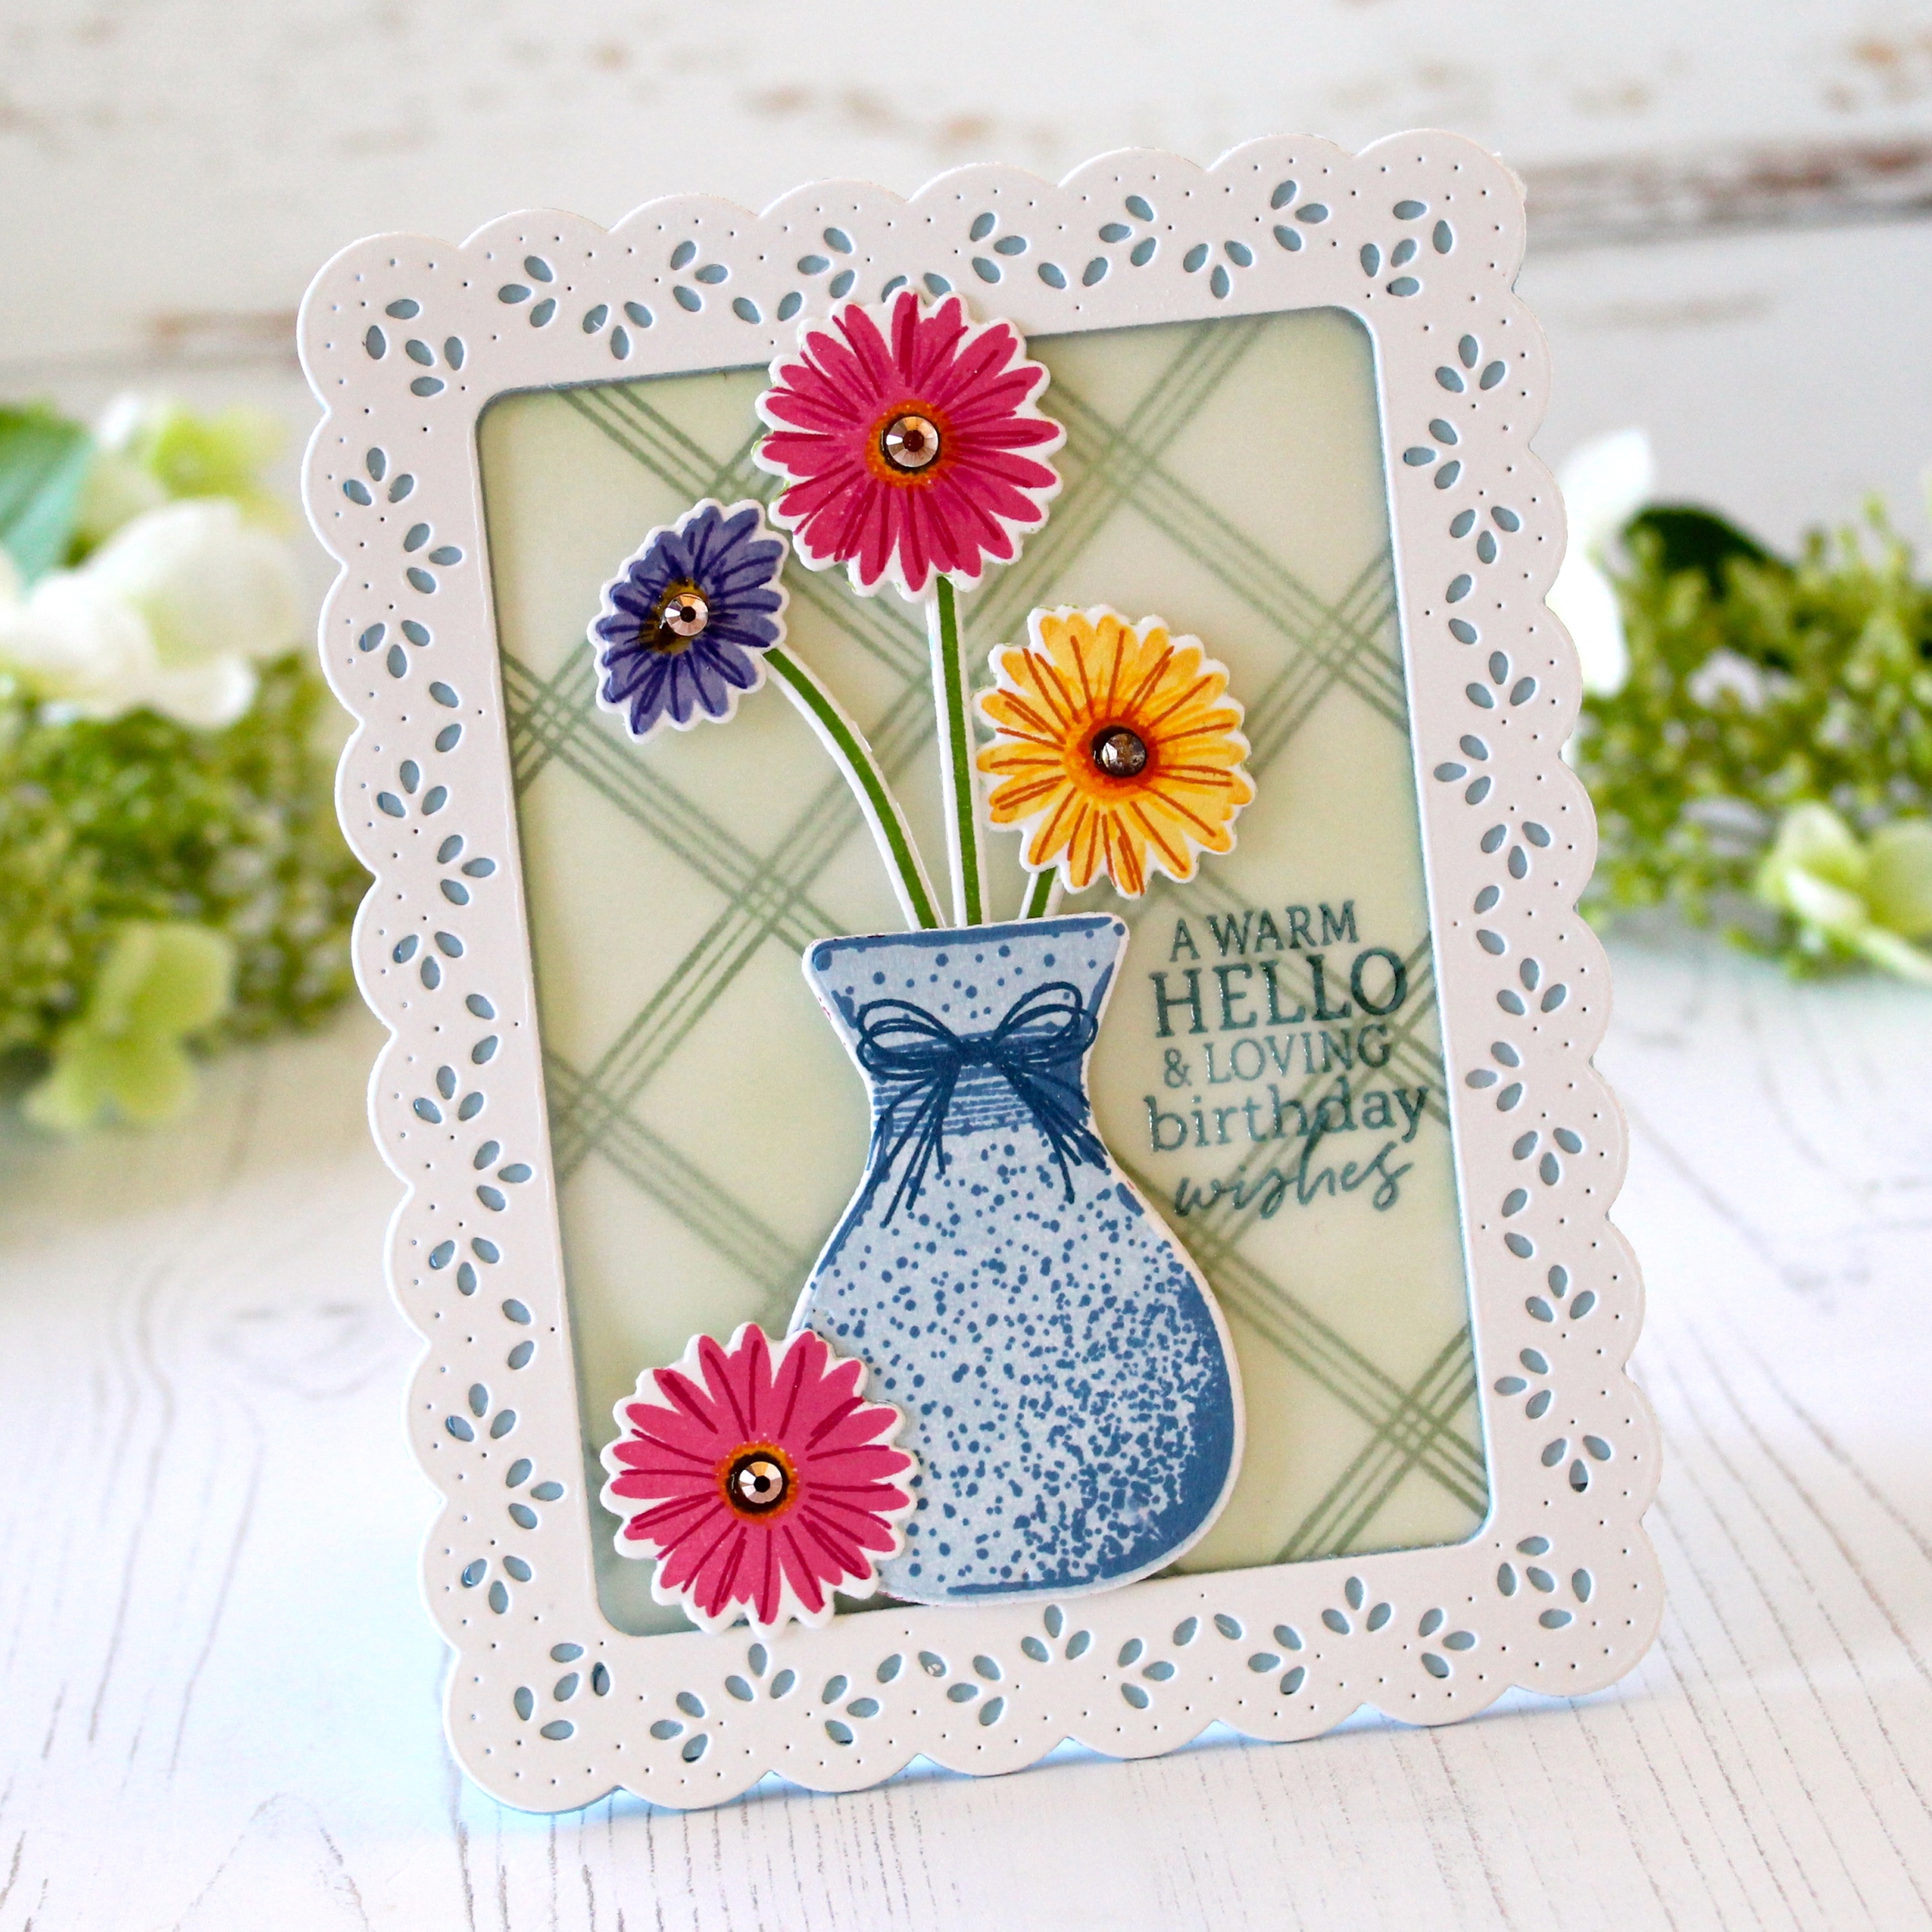
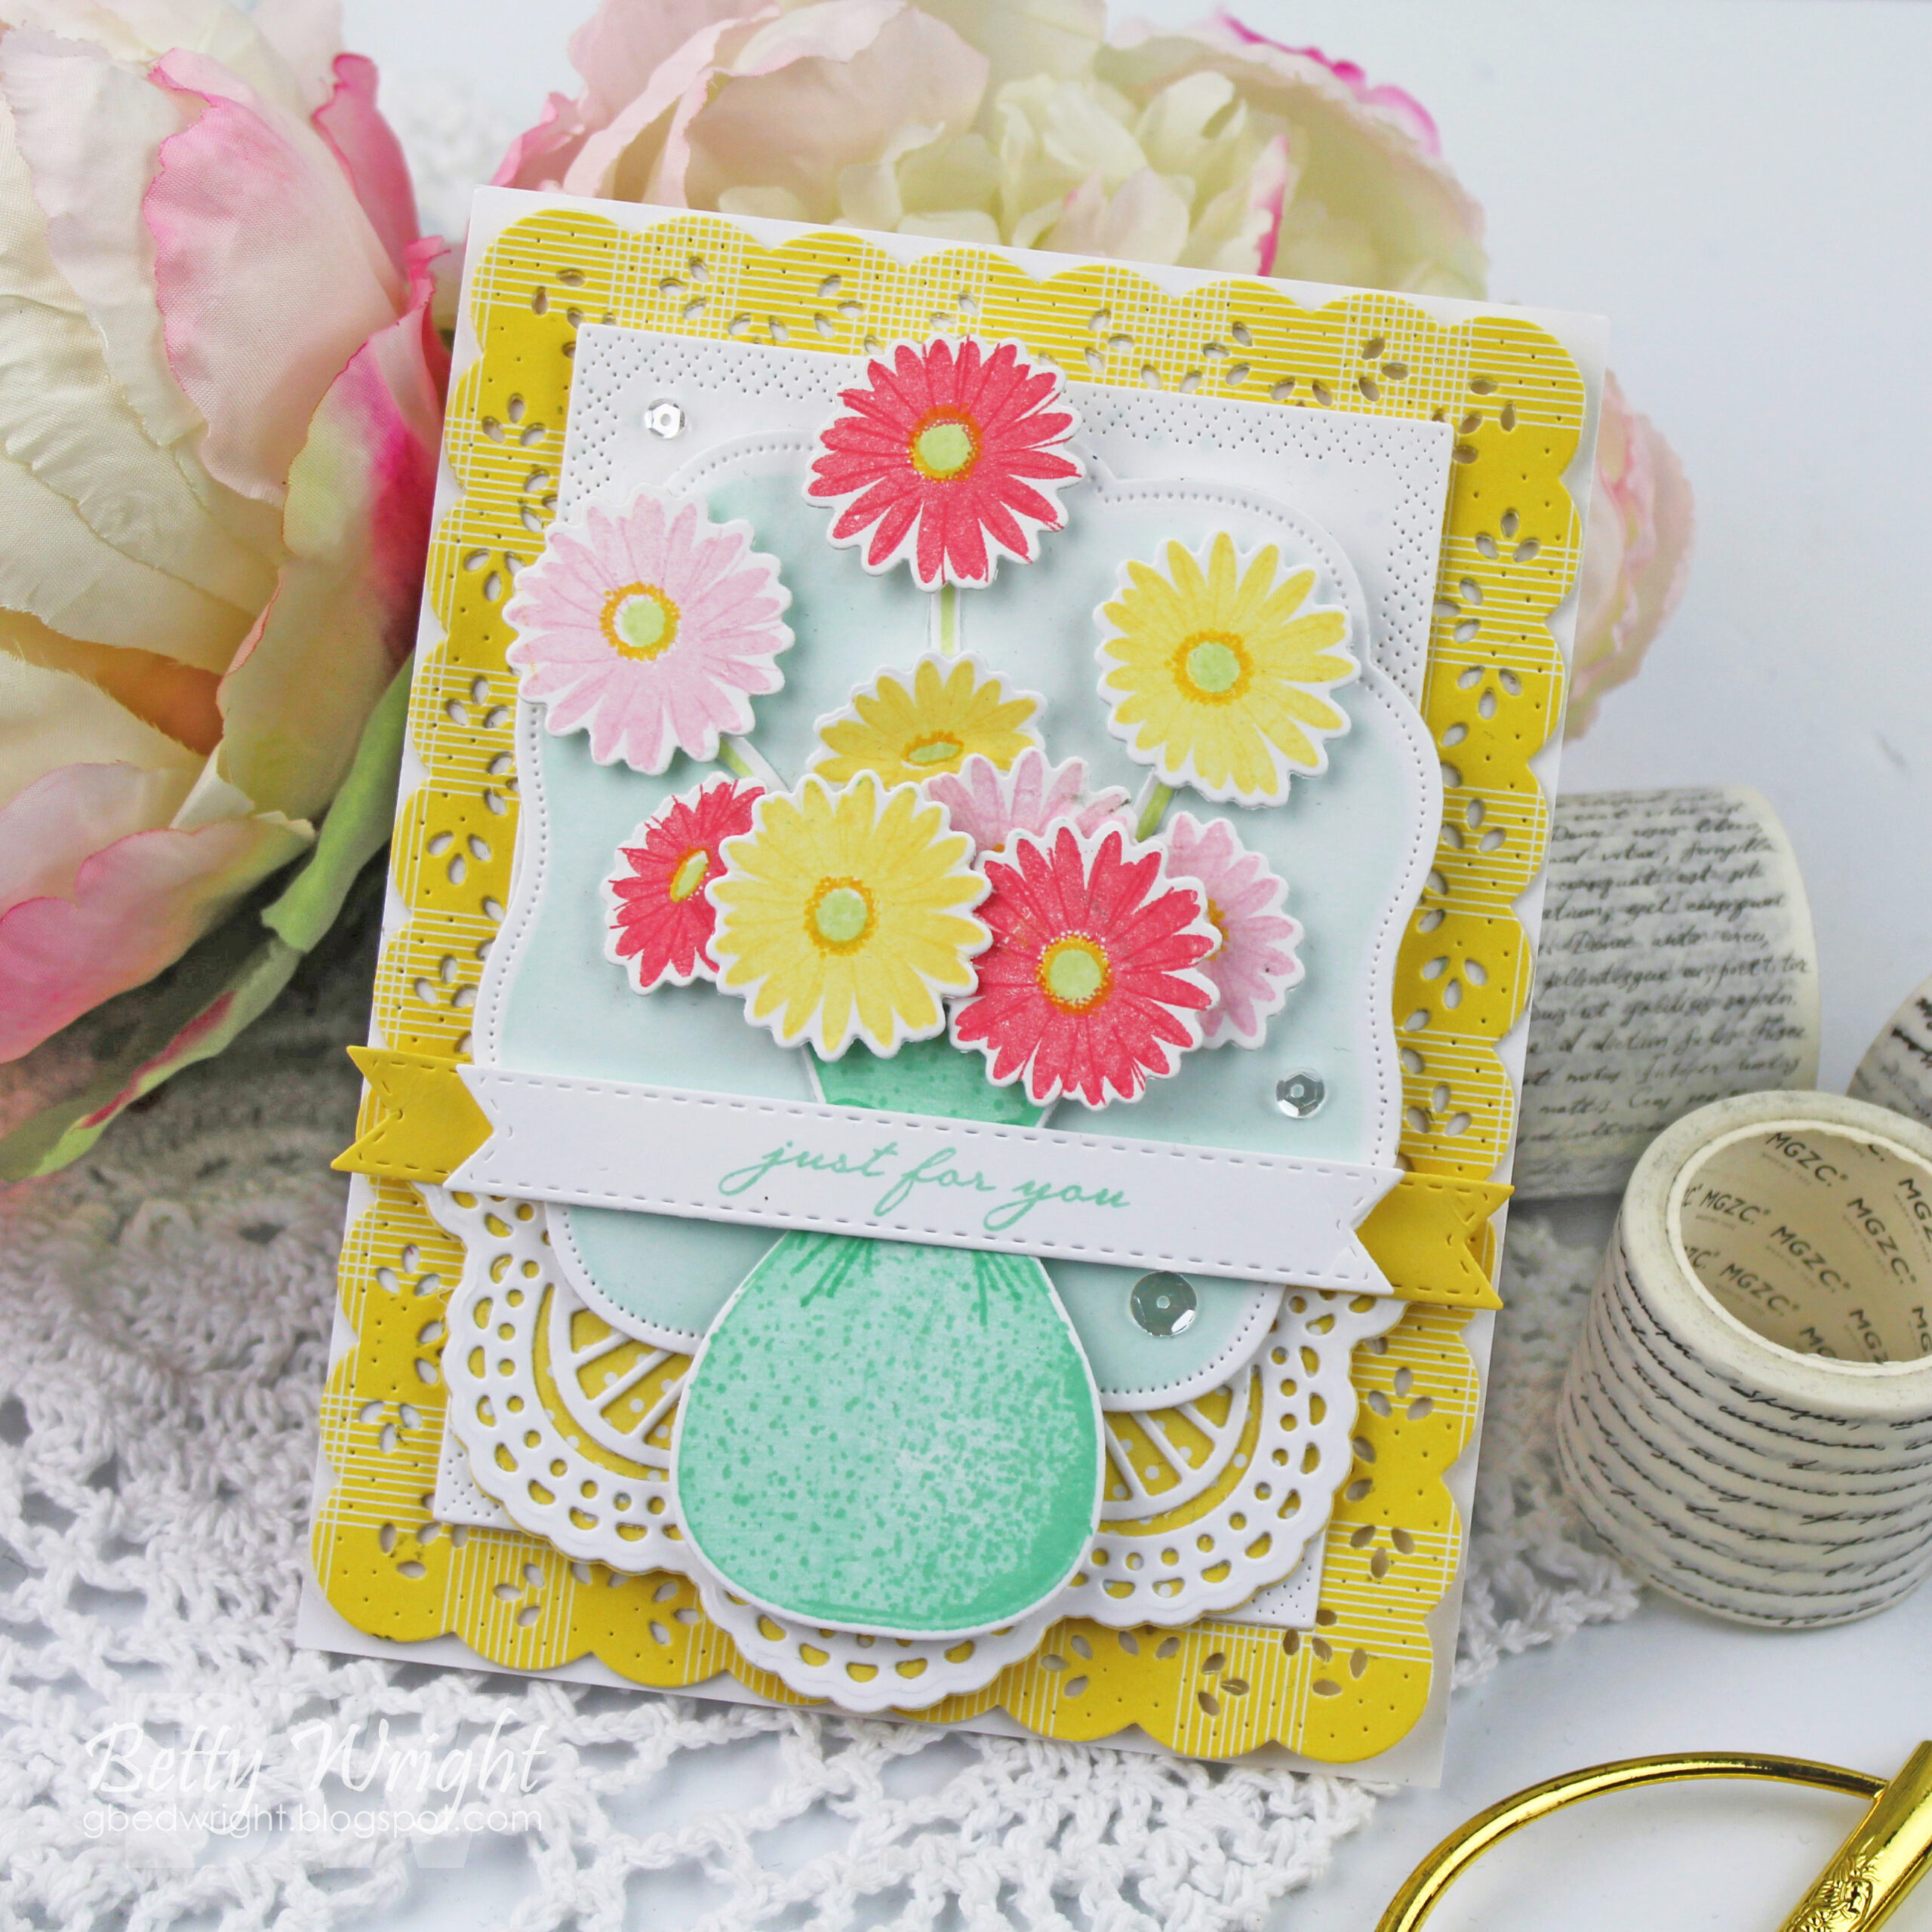
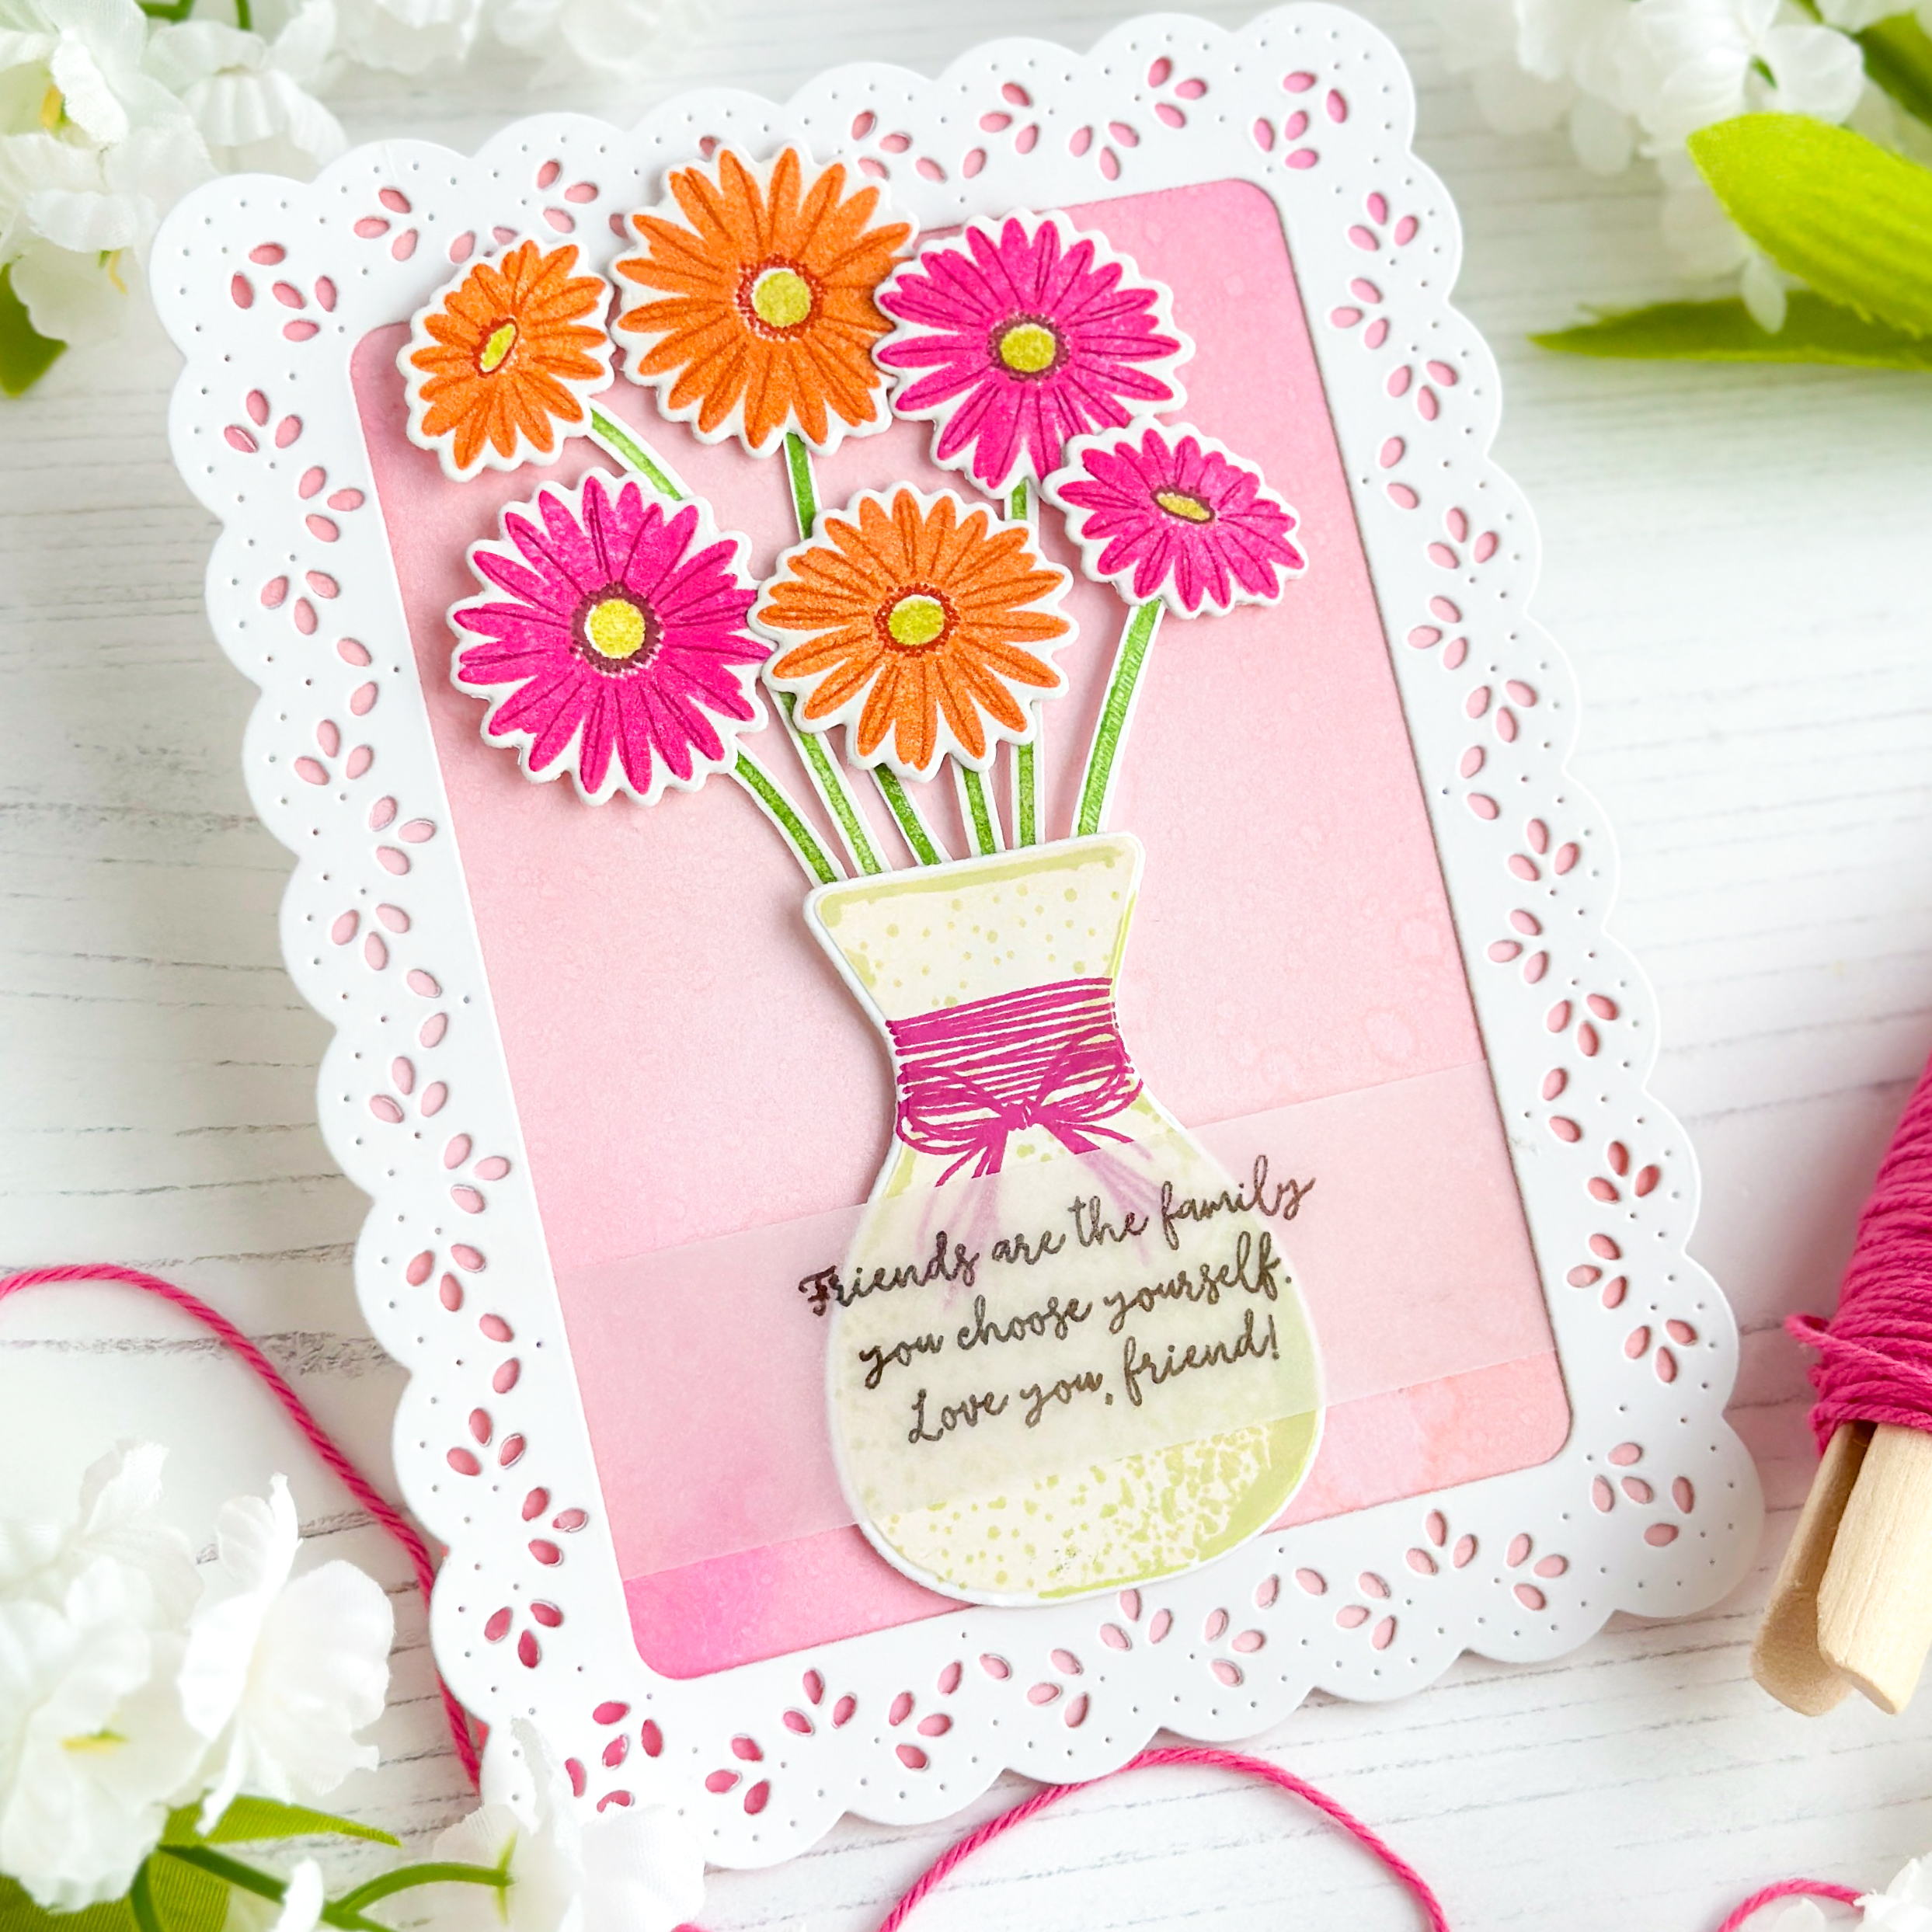
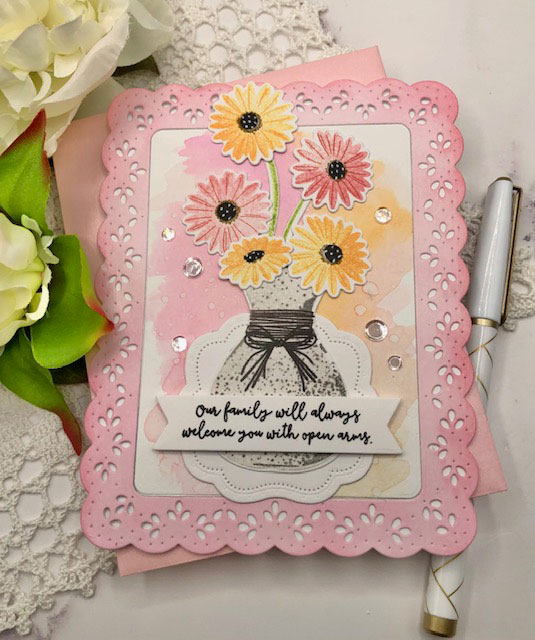
I love the darling vase from our Vase Collection 16 stamp set….it looks perfectly delightful filled with happy florals! This set comes with long stems that you can use to perch your flowers on, or bunch them together popping out of the top of your vase….so versatile.
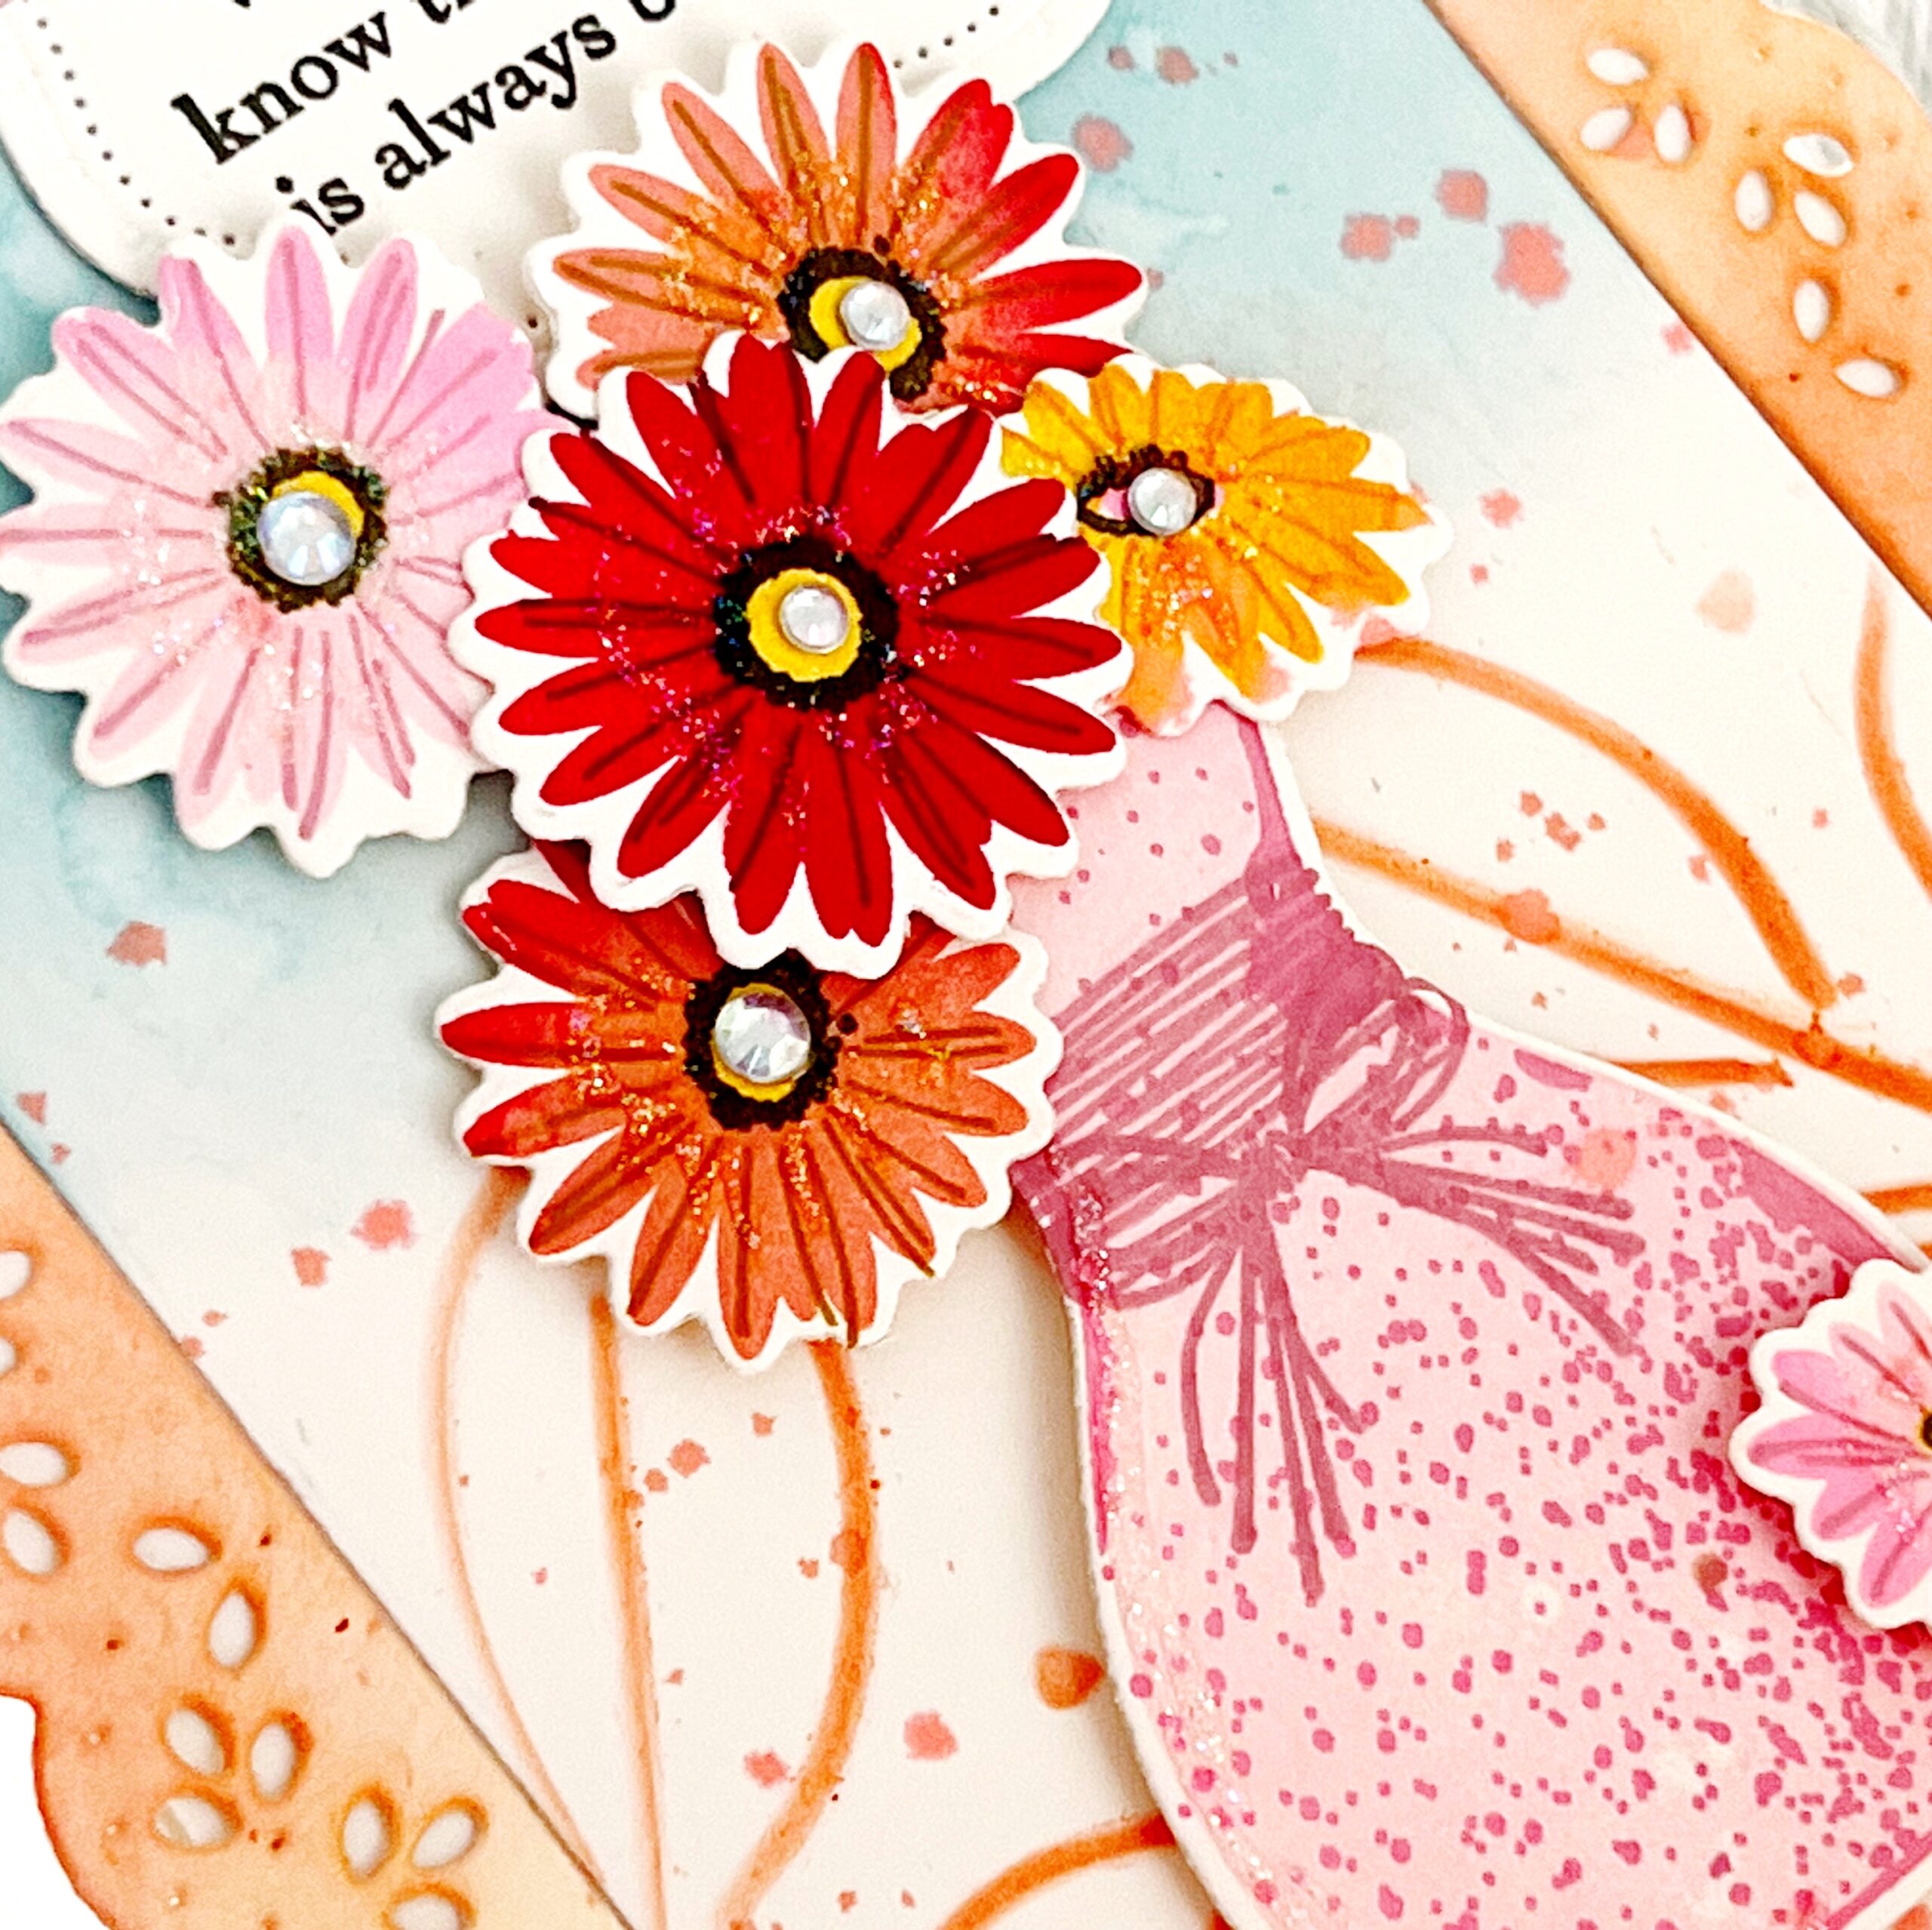
I surrounded my vase with our new Border Bling: Scalloped Frame die, cutting it from Vintage Cream cardstock and then adding ink in coordinating soft, pastels.
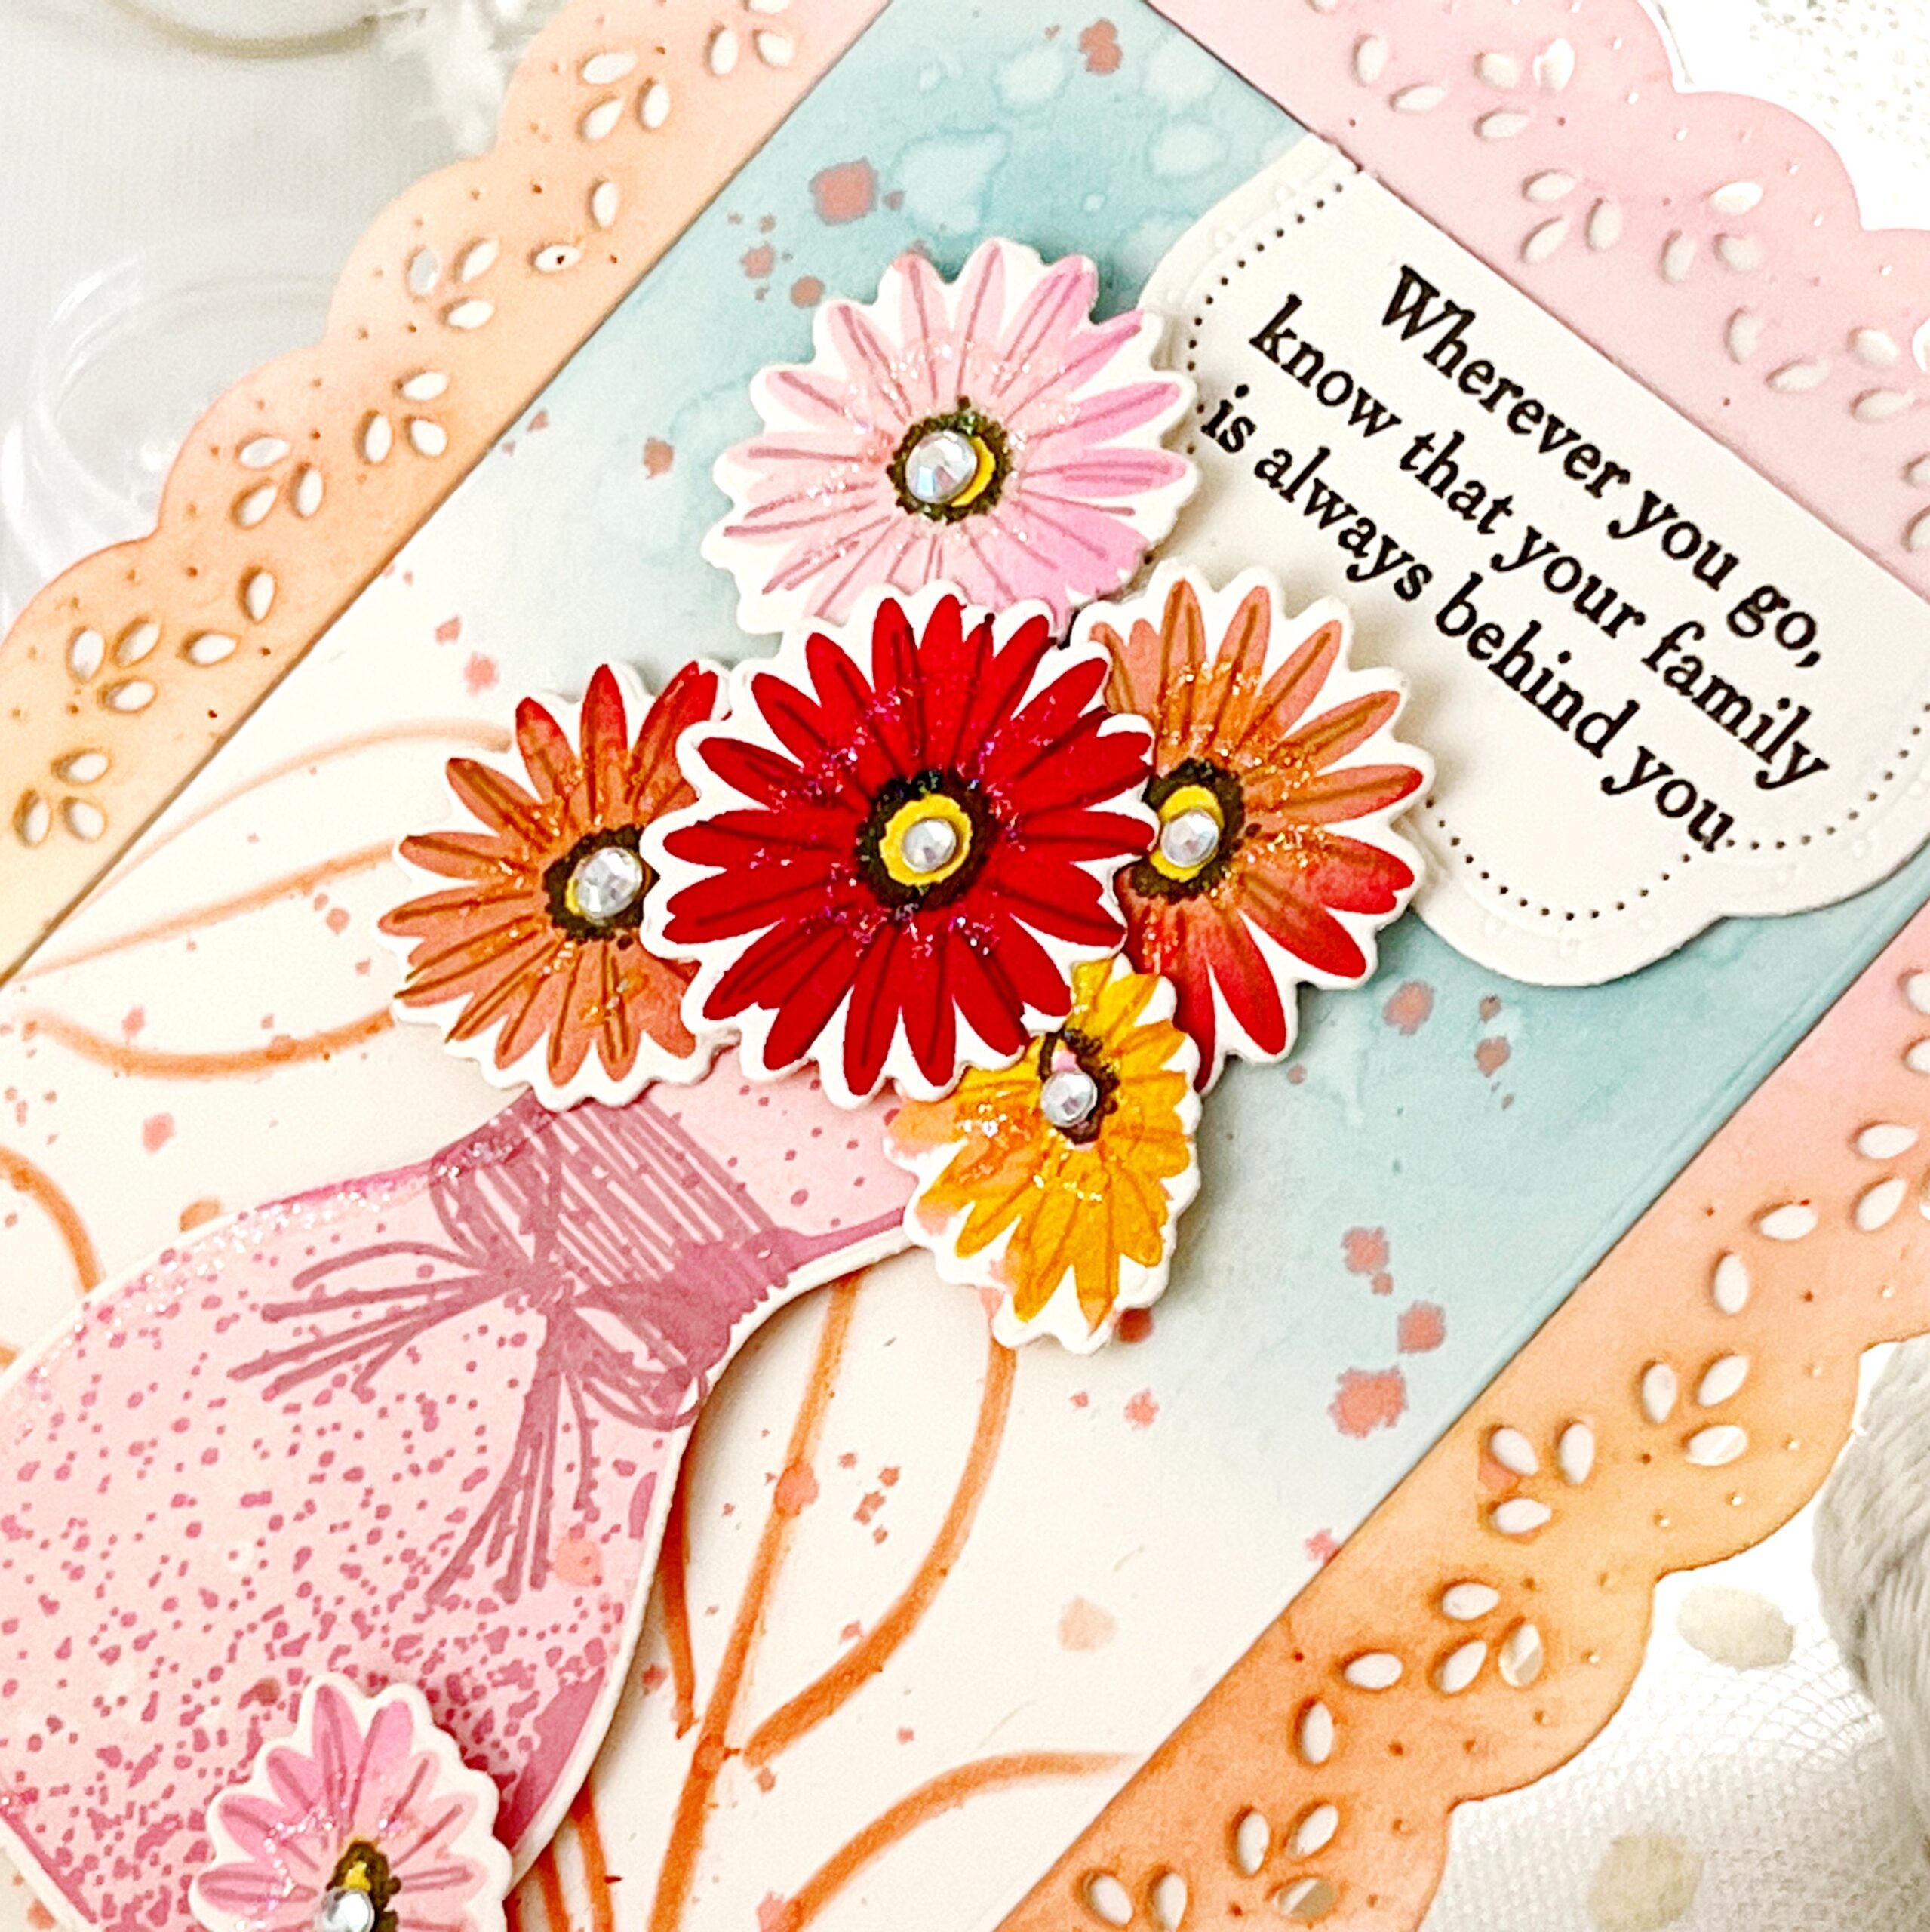
My sentiment is from the new Inside Greetings: Family stamp set and is stamped on a half of a bracket from the new Love to Layer: Lovely Brackets die collection. The stencils used in the background are from the Stationery Kit…they make lovely backgrounds.
Supplies Used:
STAMPS: Vase Collection 16, Inside Greetings: Family
INK: Lovely Lady, Autumn Rose, Melo Berry, Berry Sorbet, Olive Twist, Bright Buttercup, Pure Poppy, Aqua Mist
PAPER: Vintage Cream
DIES: Vase Collection 16, Border Bling: Scalloped Frame, Love to Layer: Lovely Brackets
OTHER: Stationery Kit, adhesive gems, Stickles glitter


TIPS:
-
Create the look of a glass vase by stamping the vase in a light shades of blue and stamping with the stems
-
Avoid the look of a floating vase by adding a base such as a table along the bottom of the card
-
For layered stamping, you can use the same color stamped multiple times to create a darker shade that matches perfectly

TIPS:
-
Get more looks from large frame dies by partial cutting just stripes or corners
-
Keep your die cuts intact for an embossed pattern look
We hope you have enjoyed all the beautiful projects that we have shared with you today! We would love to hear what you think of everything we have introduced! Please leave a comment on this post to tell us what you like the most and why, and you will be eligible to win big!

Leave a comment today and you will be automatically entered to win a $50 Papertrey Ink gift certificate! You have until 10am ET, March 25th to leave your comment and be eligible to win. Only one comment per person please. One randomly selected winner will be posted on the March Release Winners Page by 11 PM ET on March 28th.


Leave a Reply