


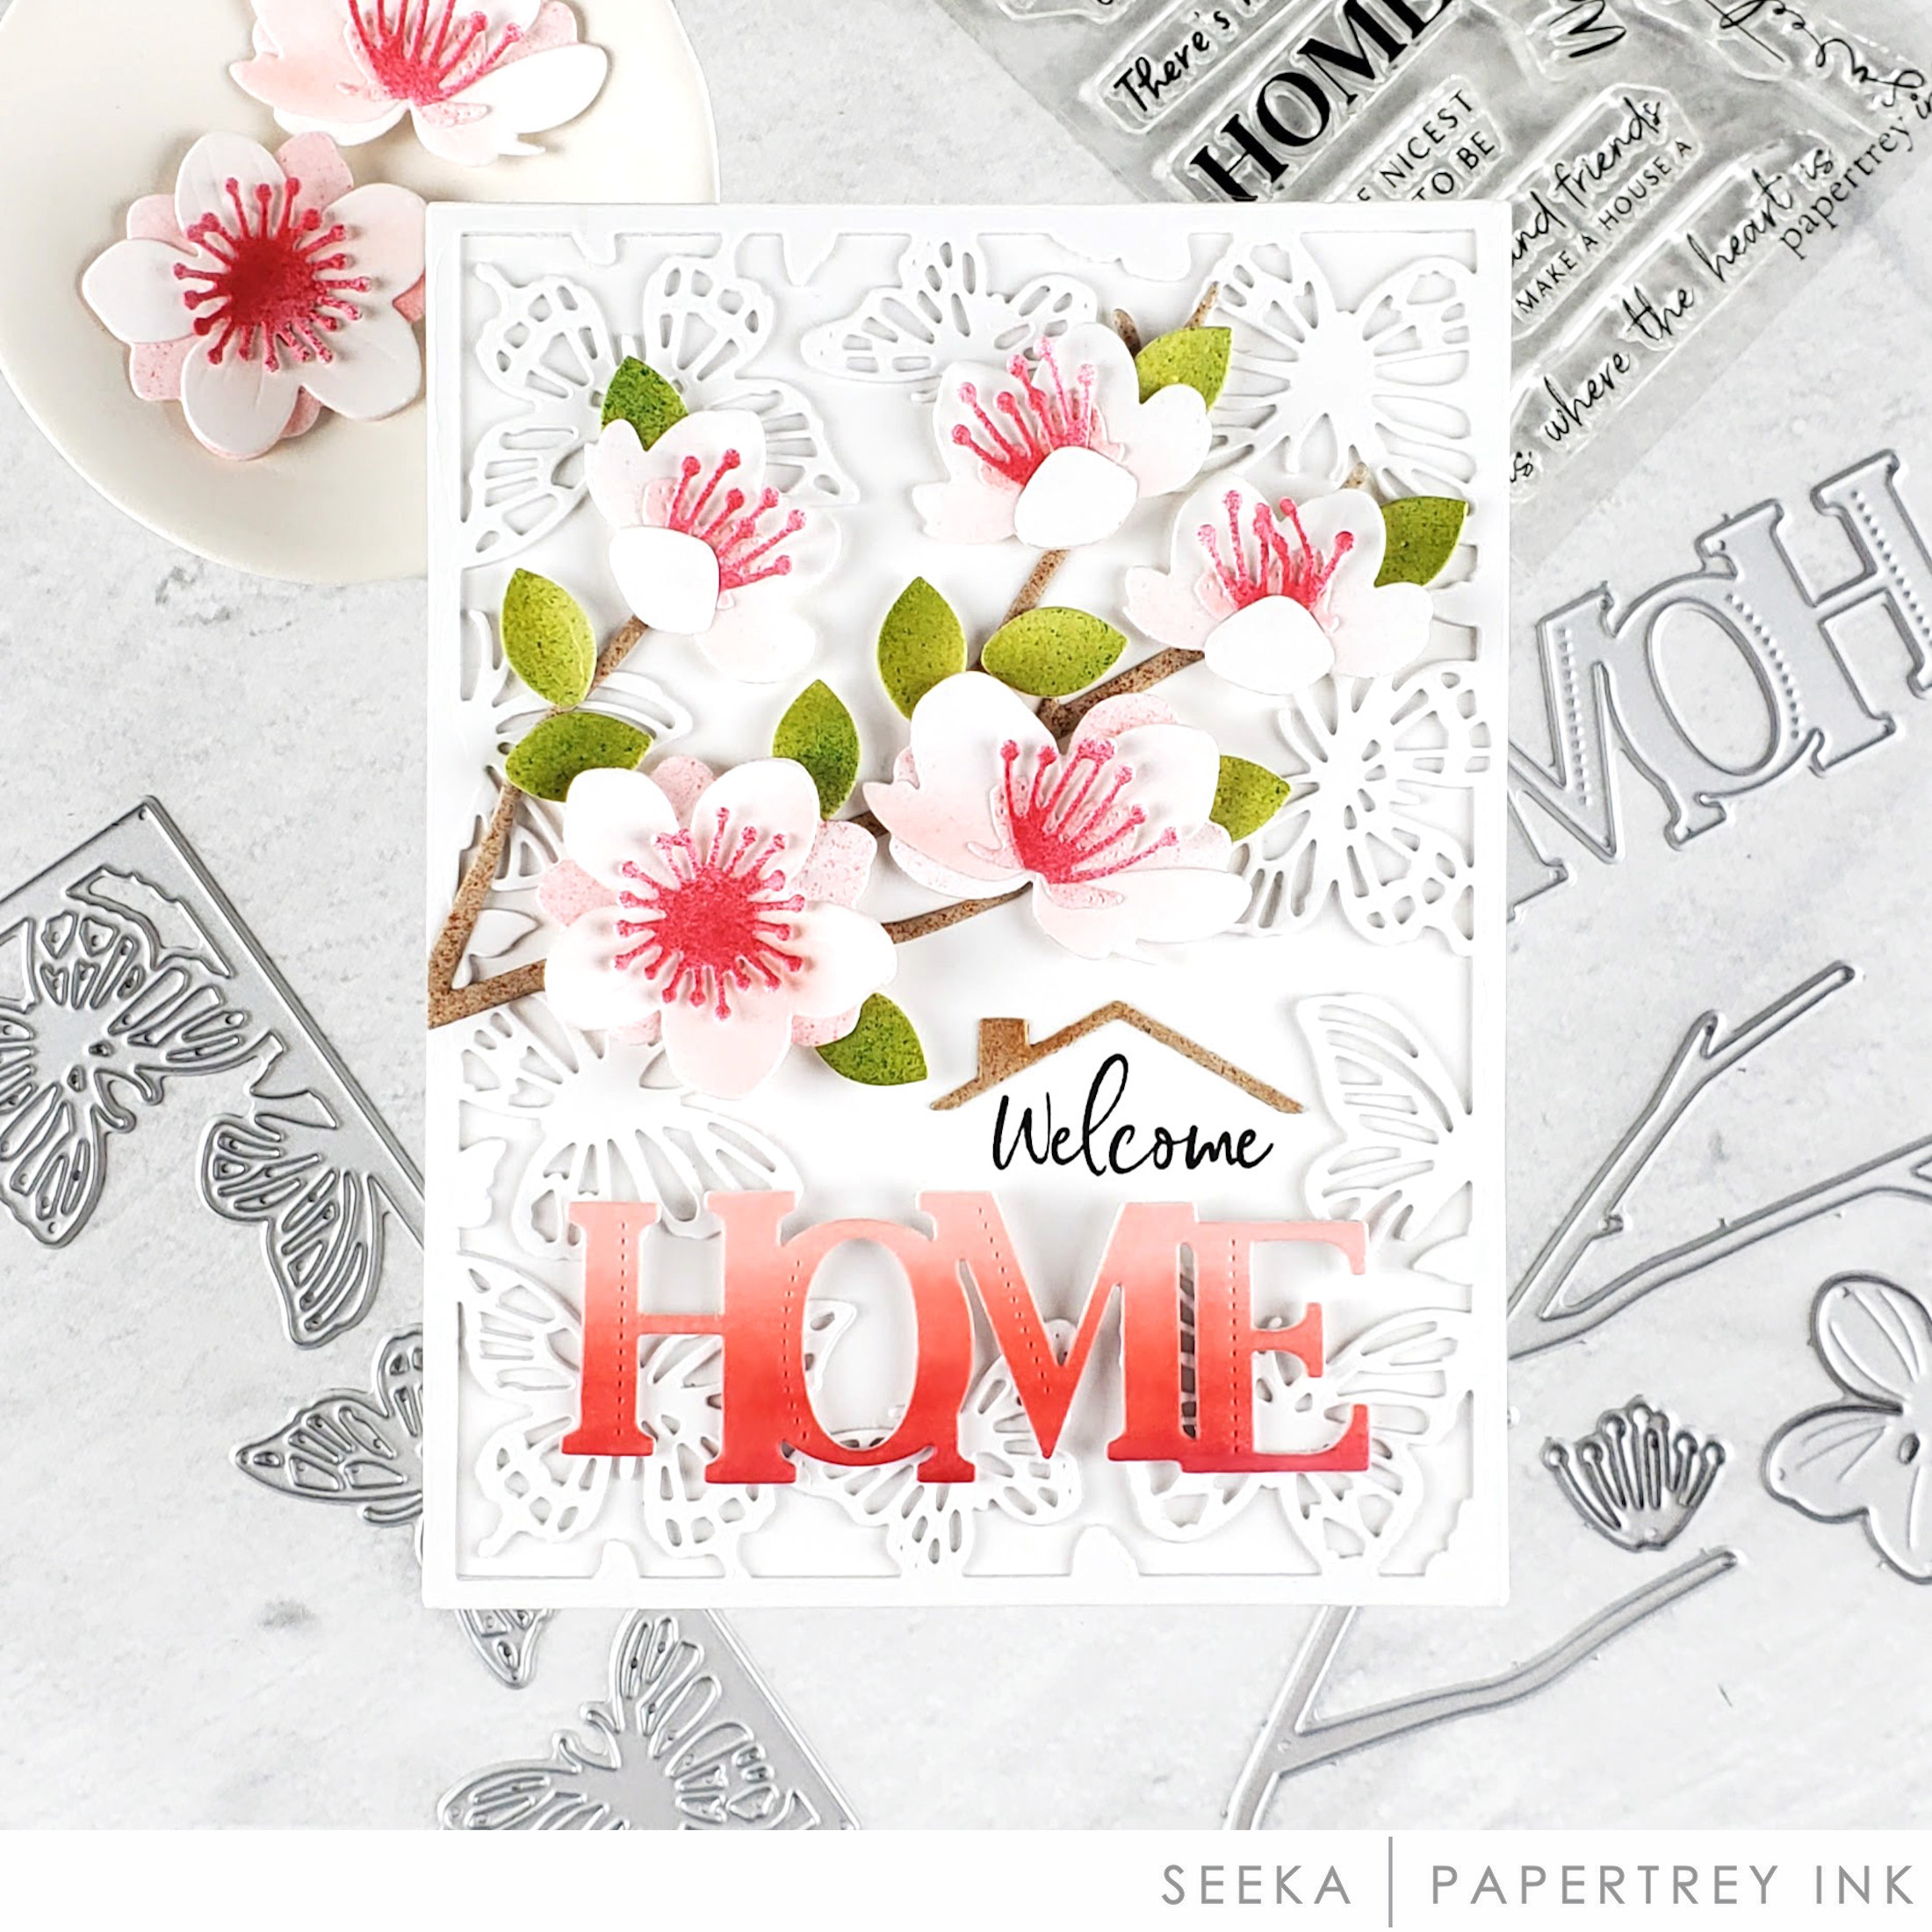
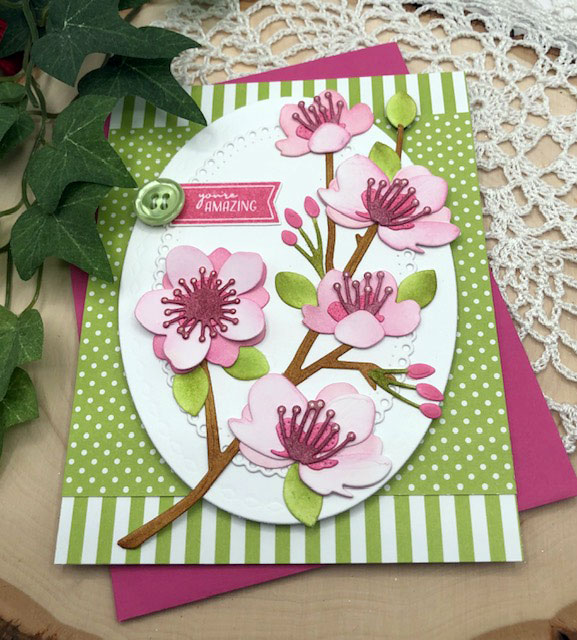
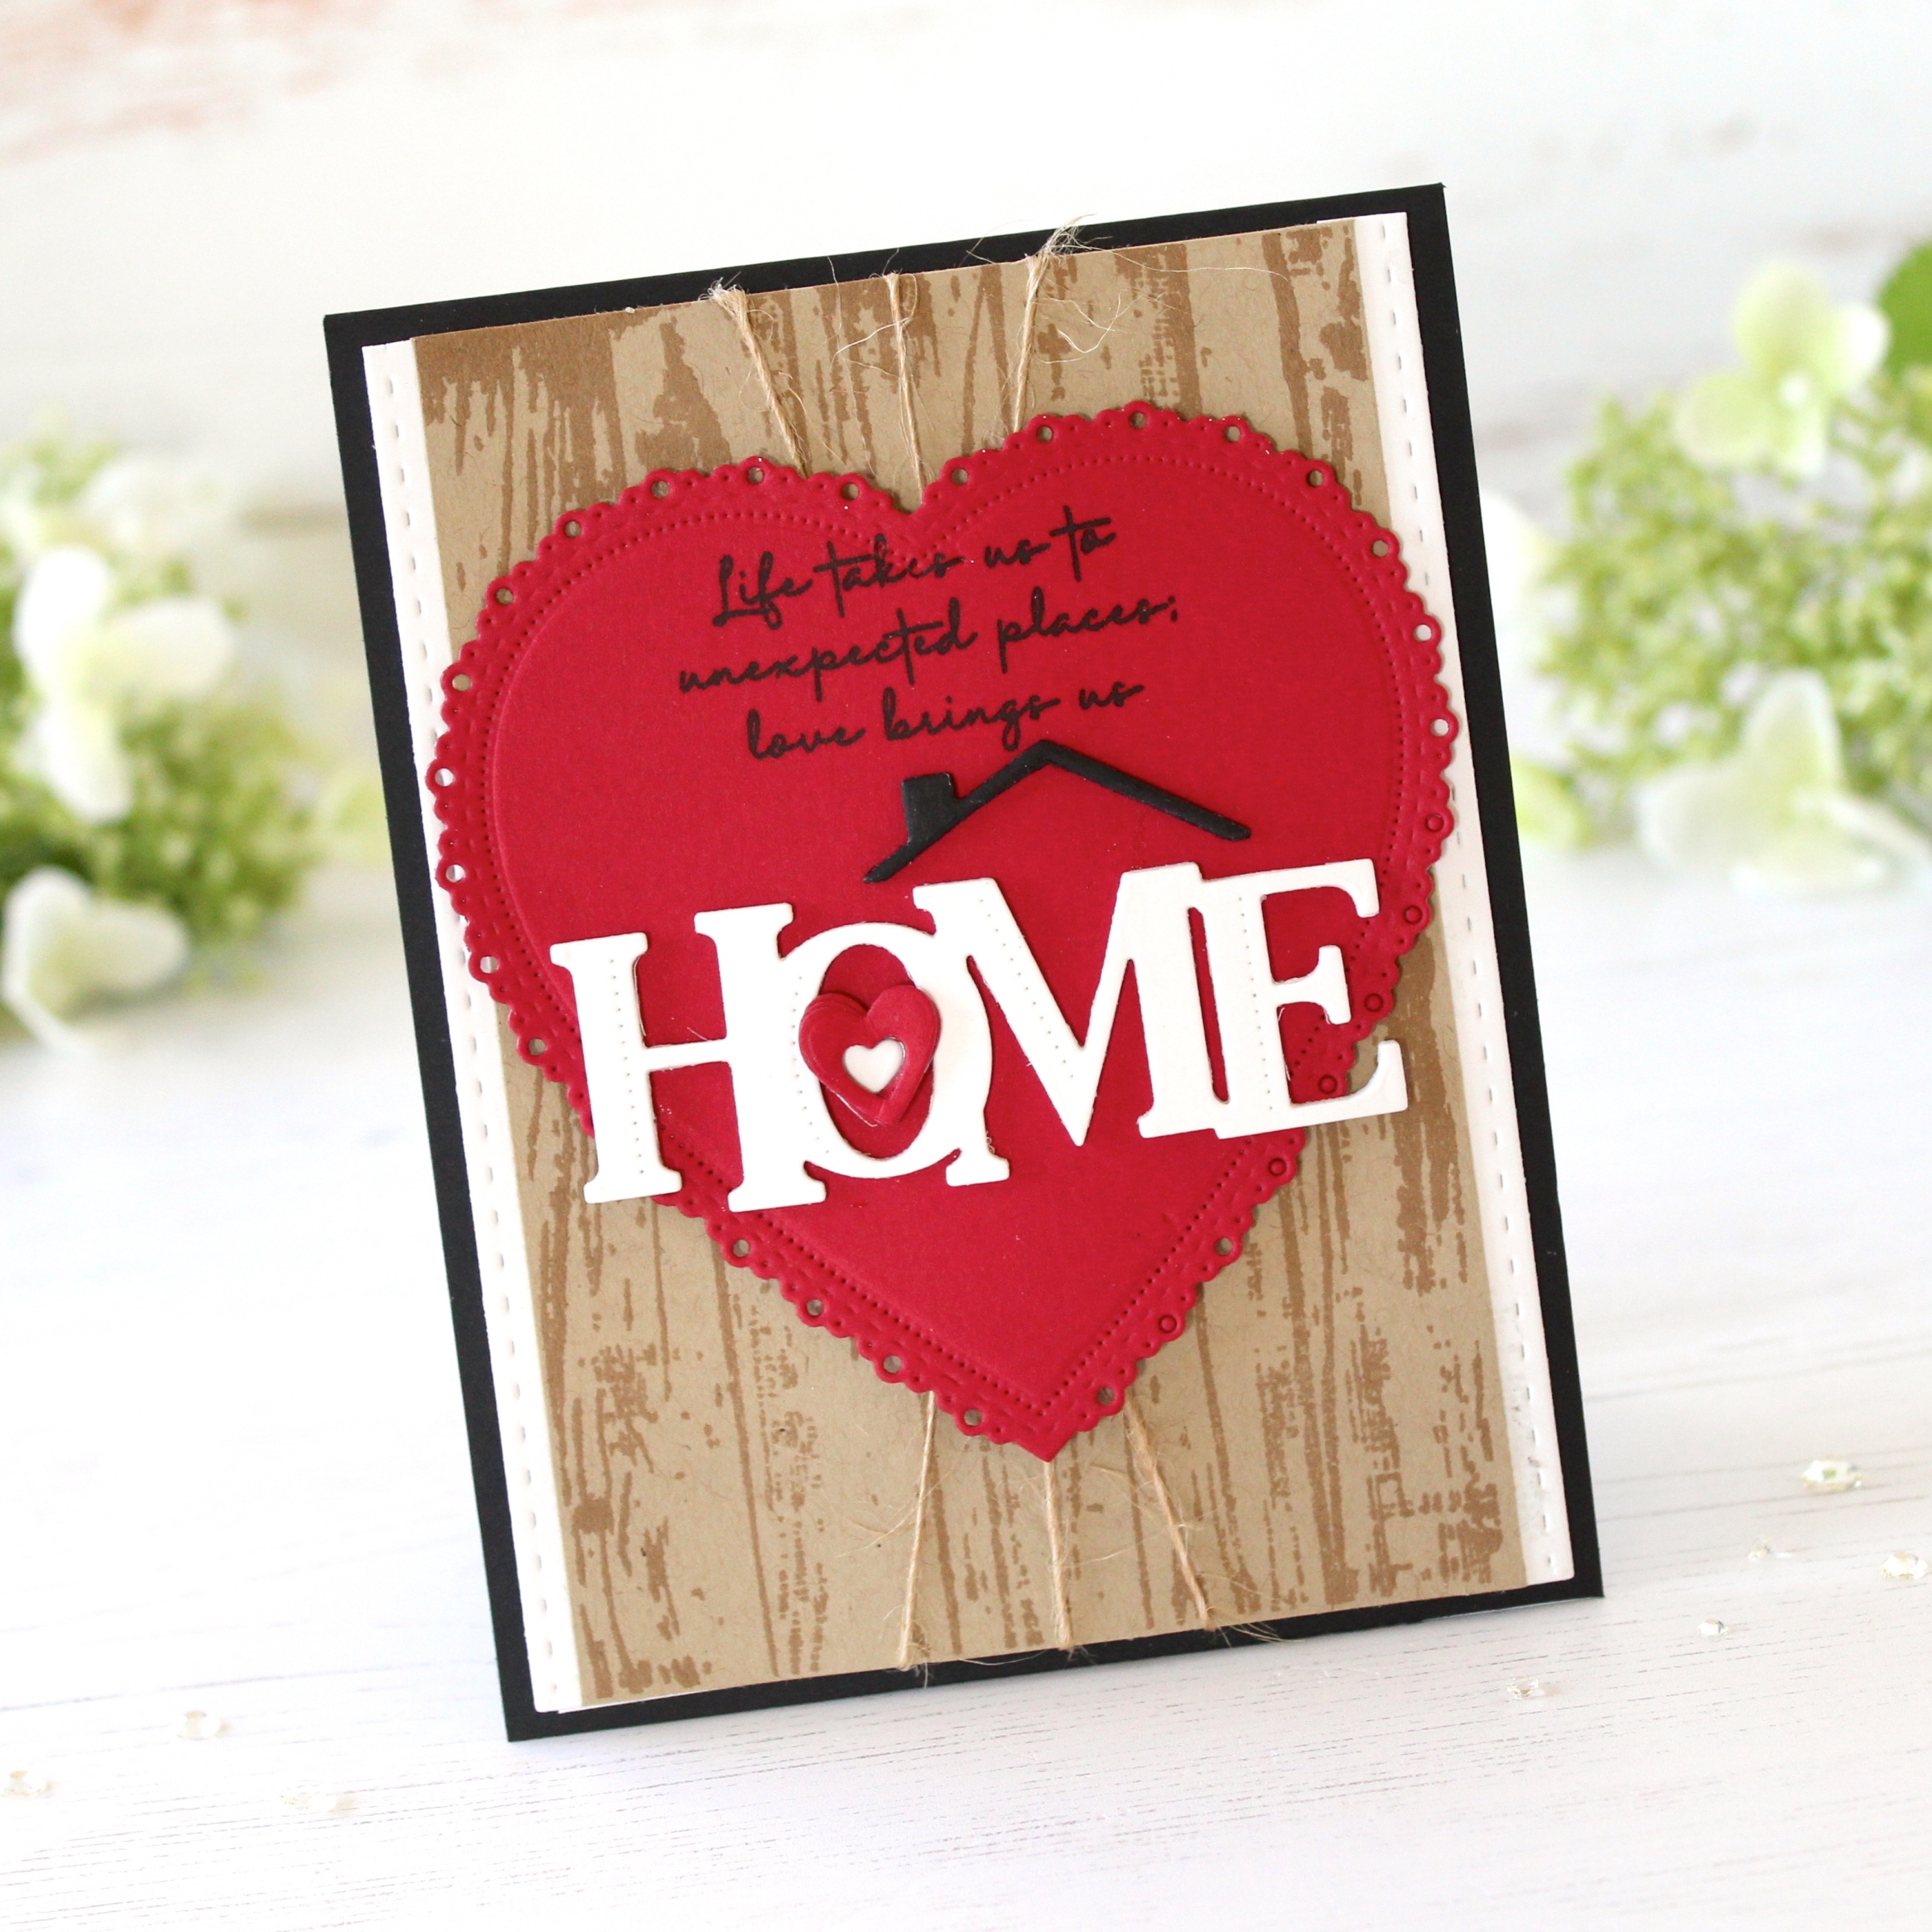
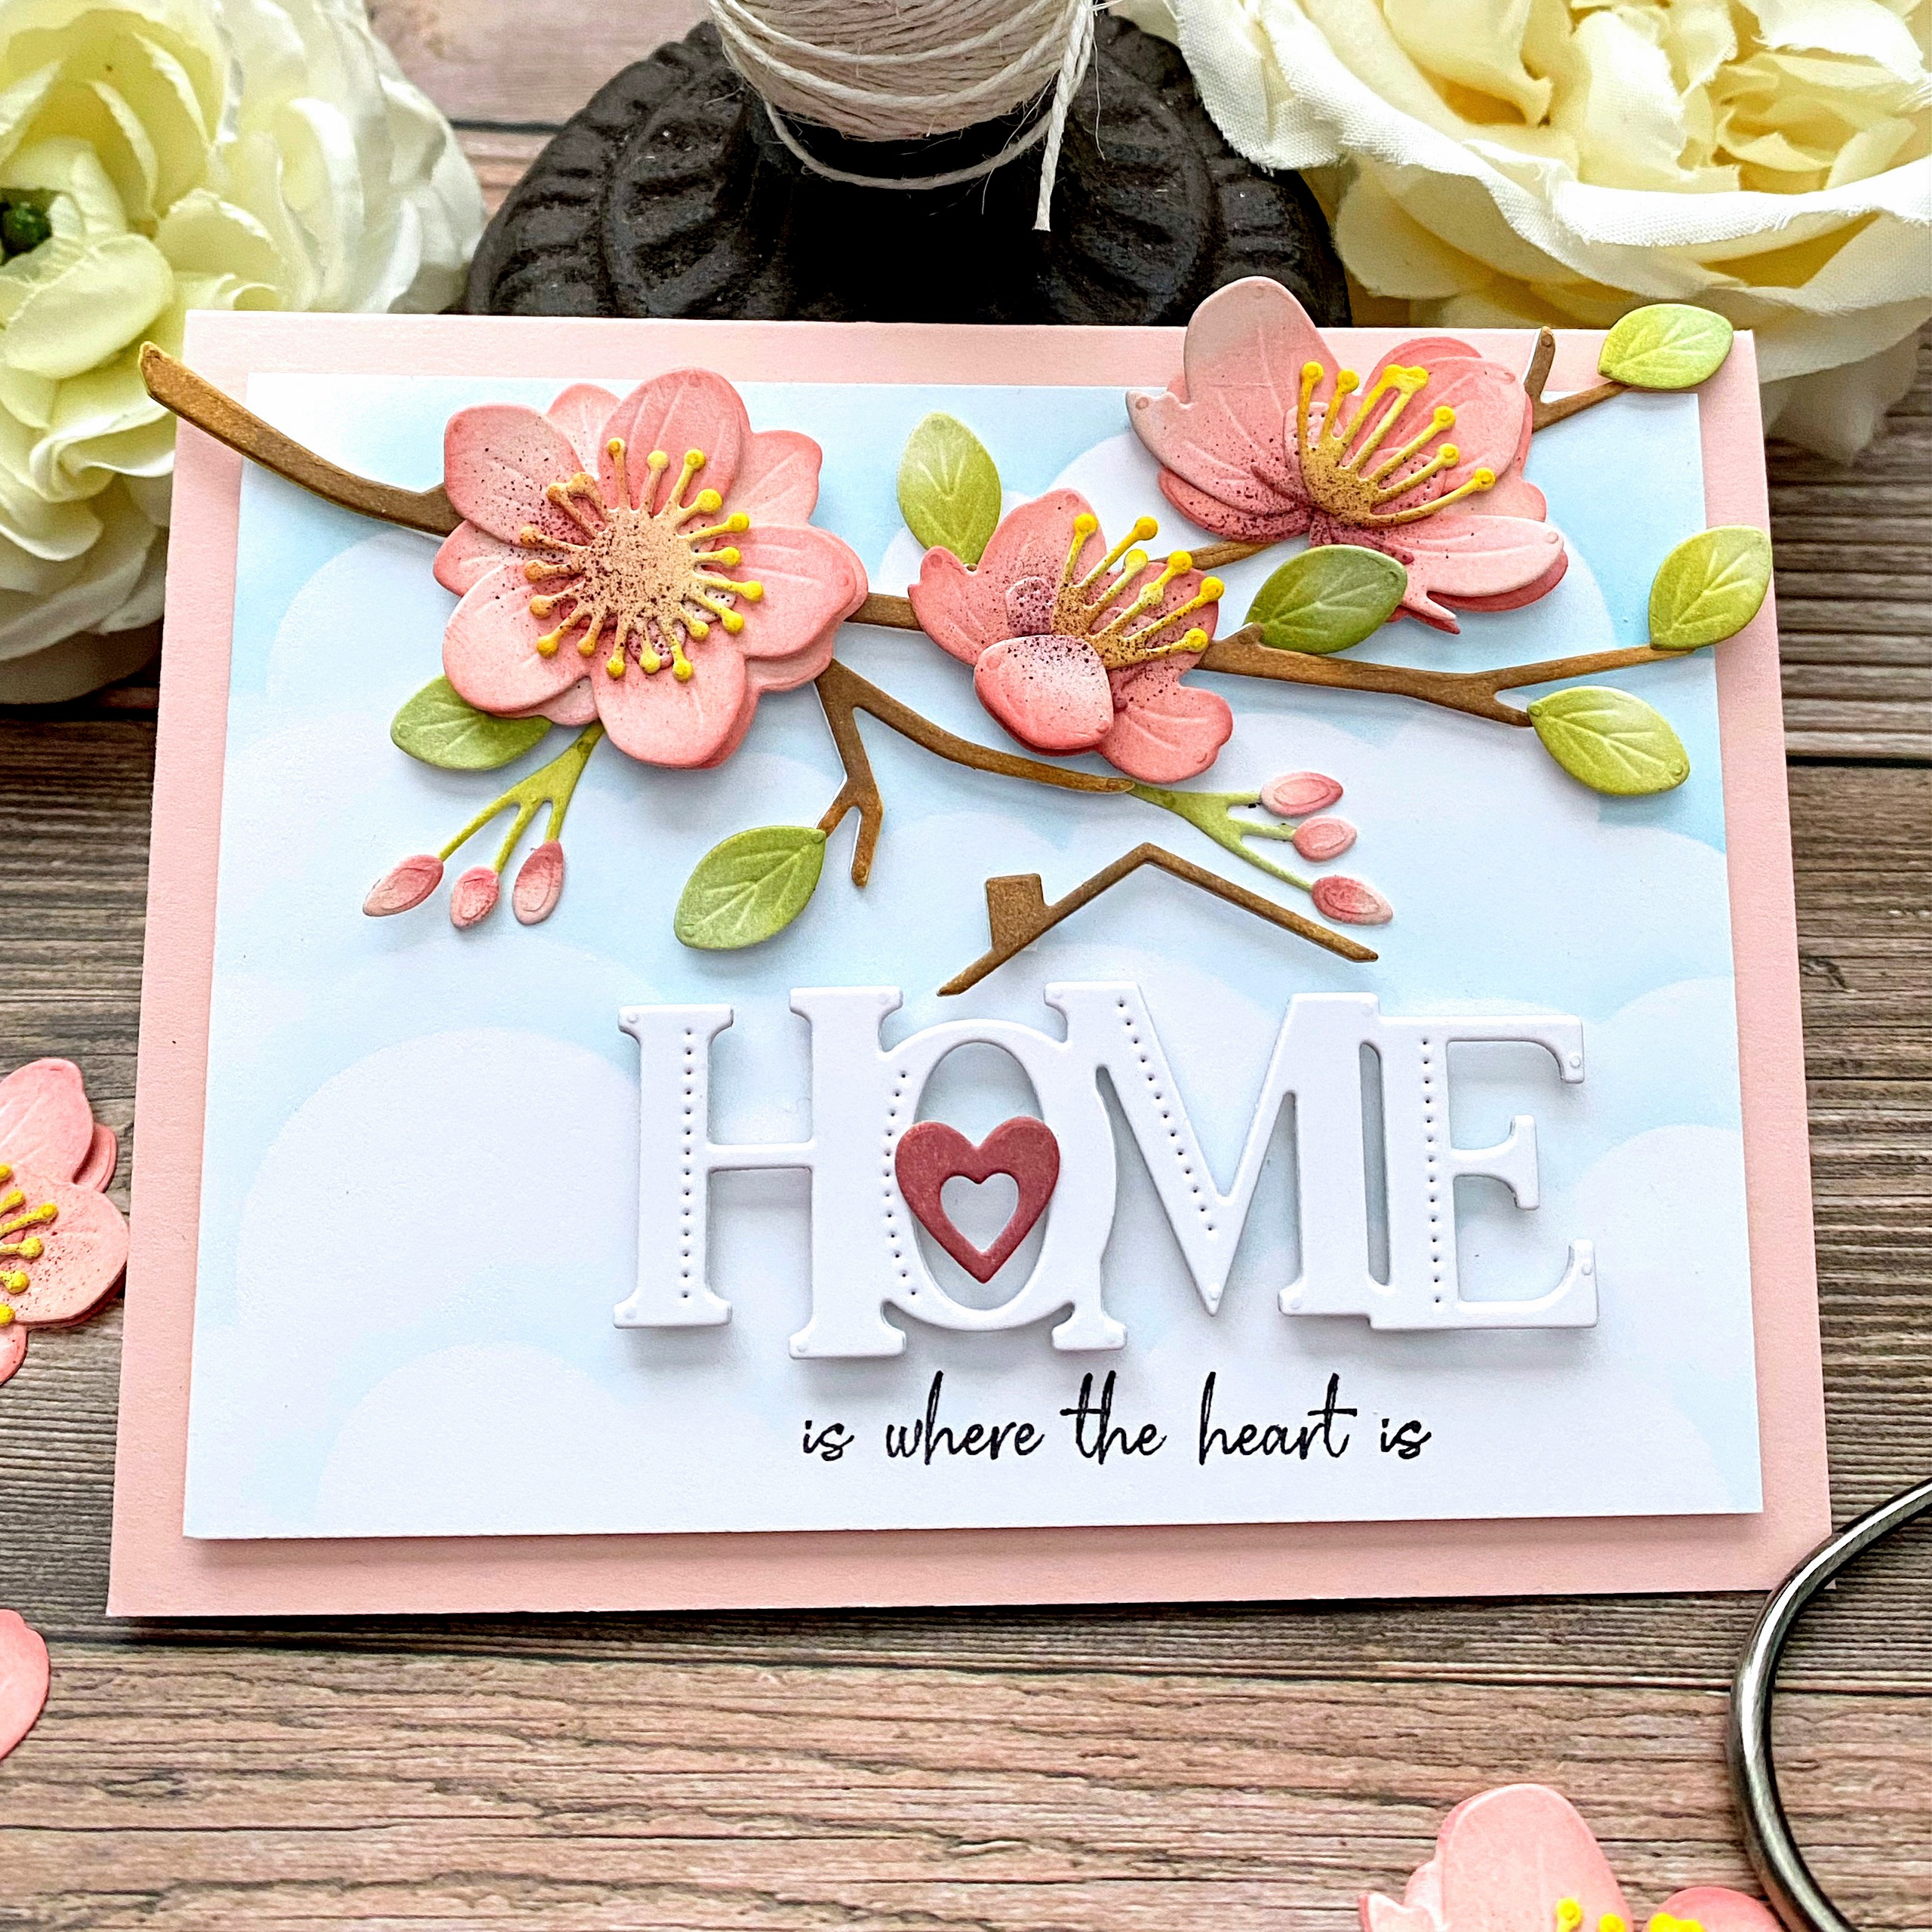
Are you ready for our latest Into the Blooms flower? Introducing the new and oh so beautiful Into the Blooms: Cherry Blossoms. They are just as gorgeous created from paper as they are in real life. Also, today I’m sharing the new Larger Than Life: Home dies and coordinating Home Sentiments stamp set.
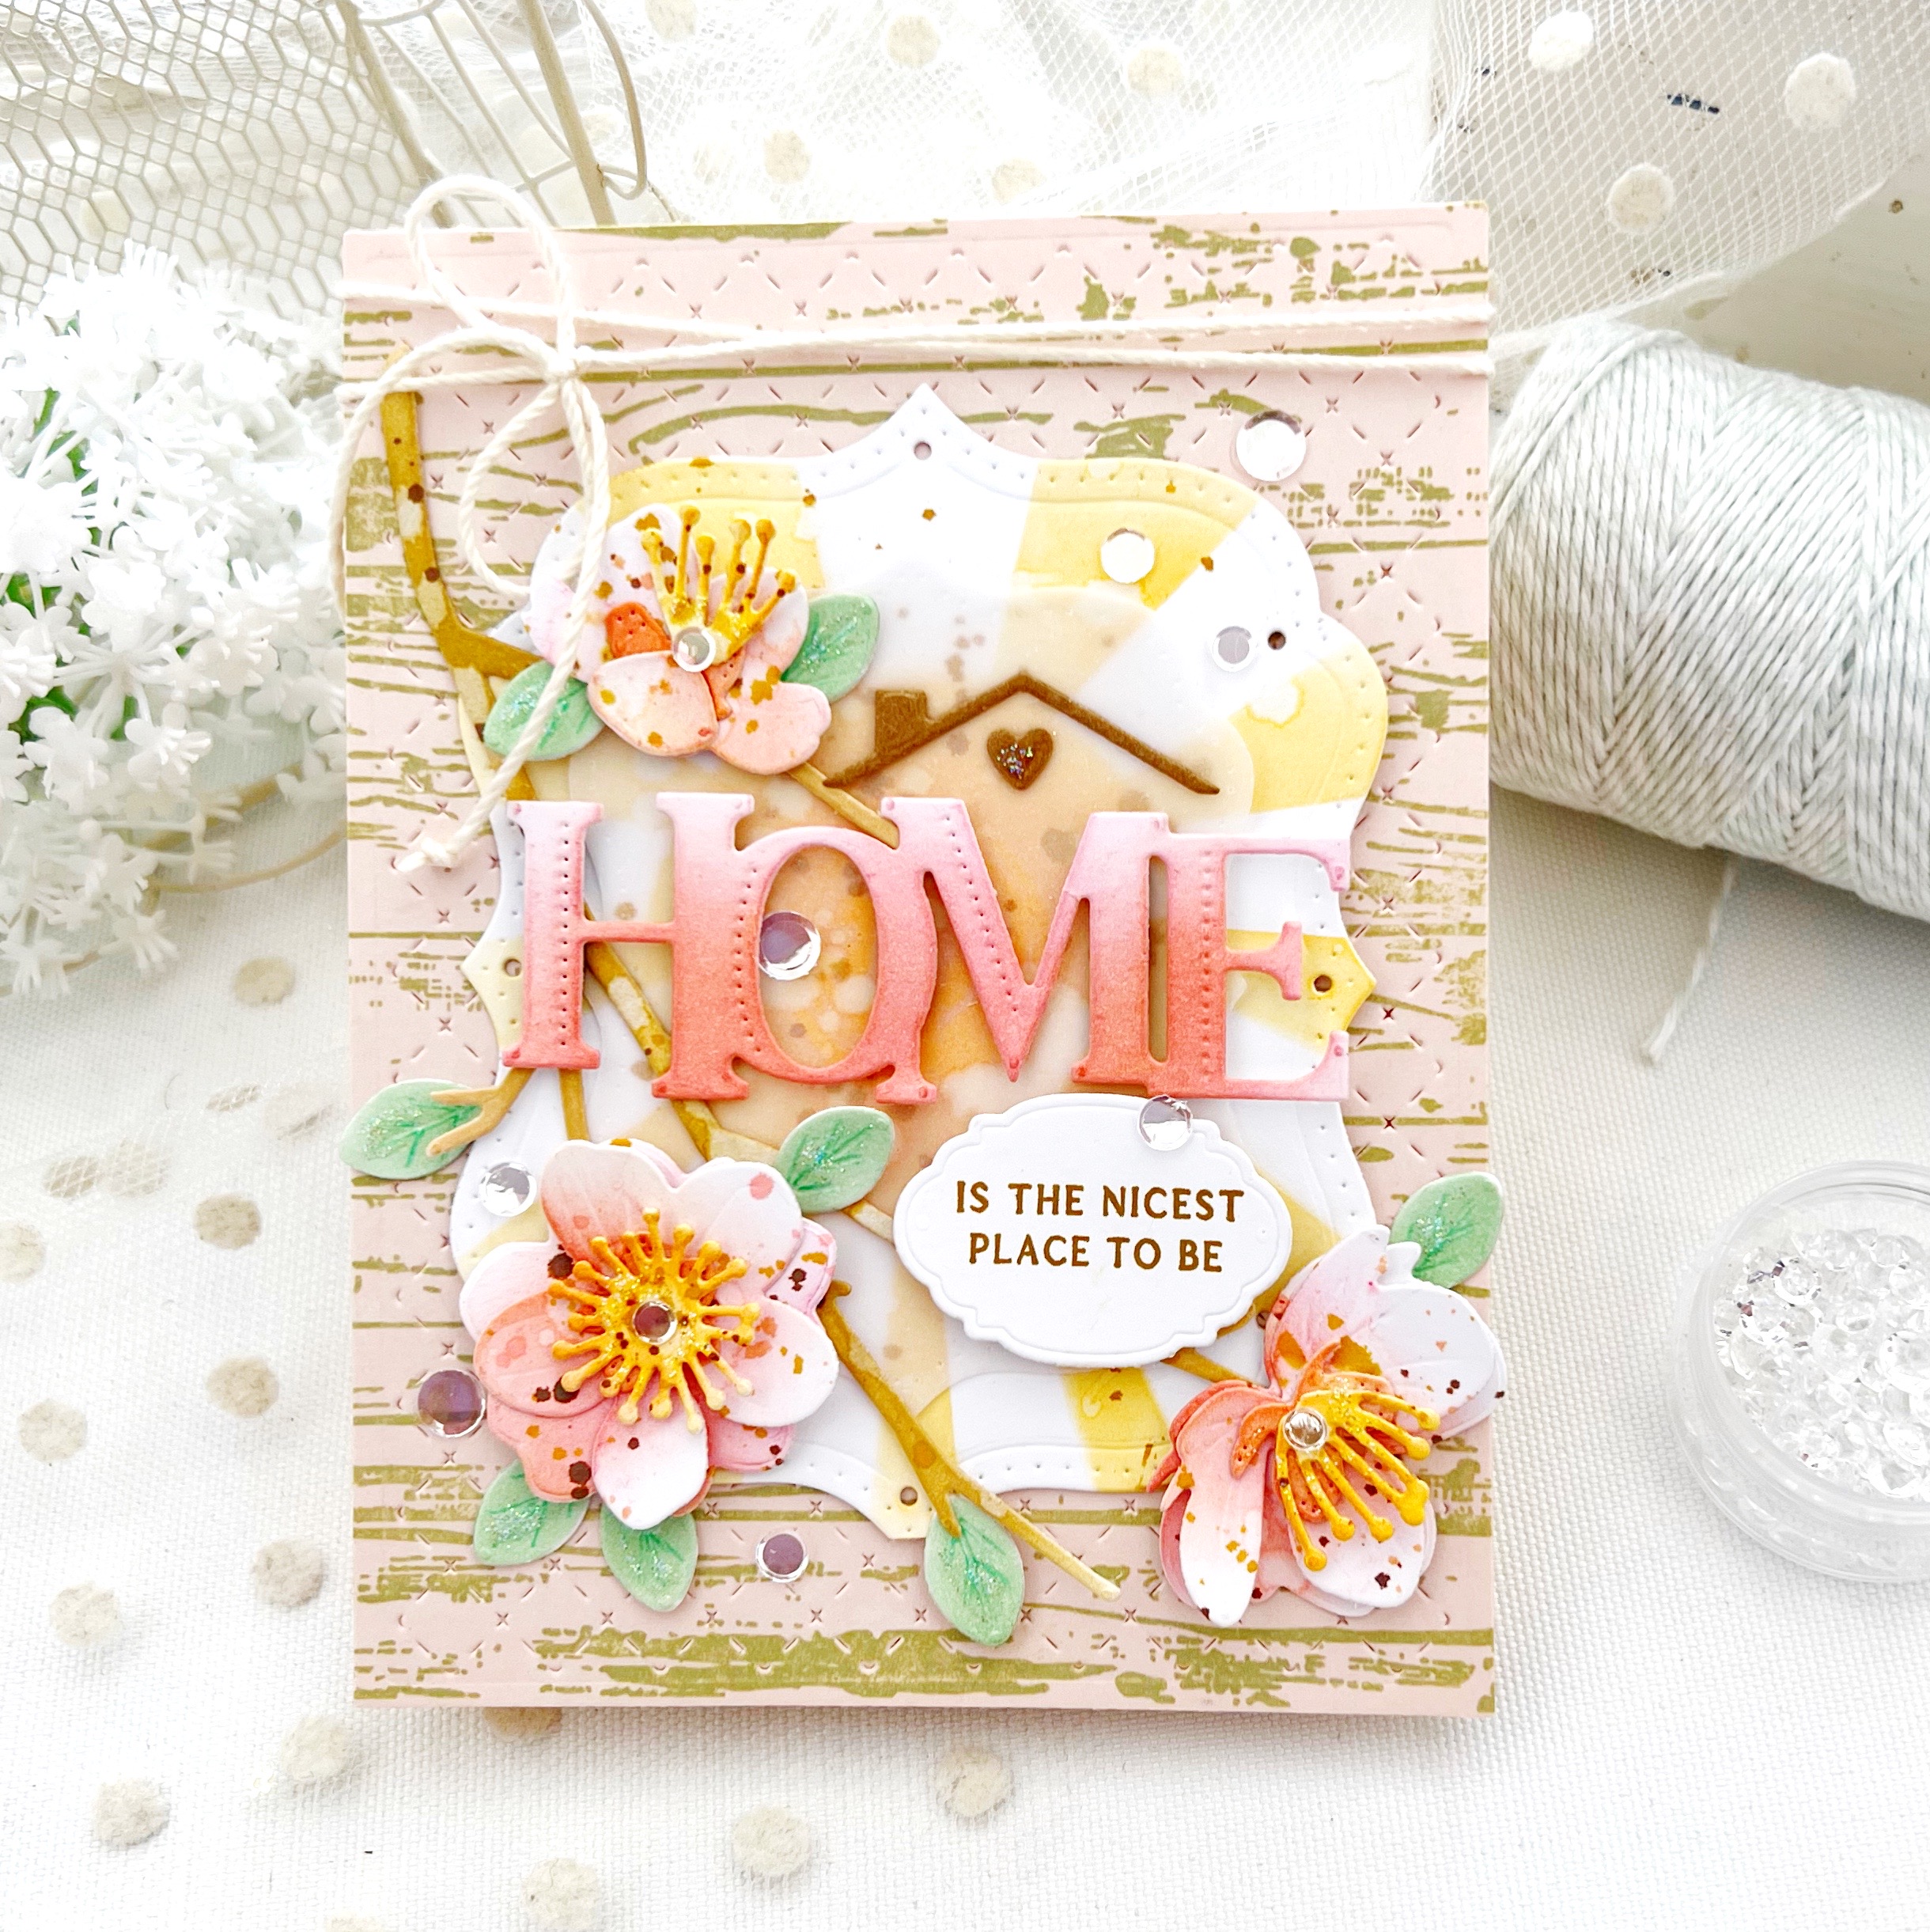
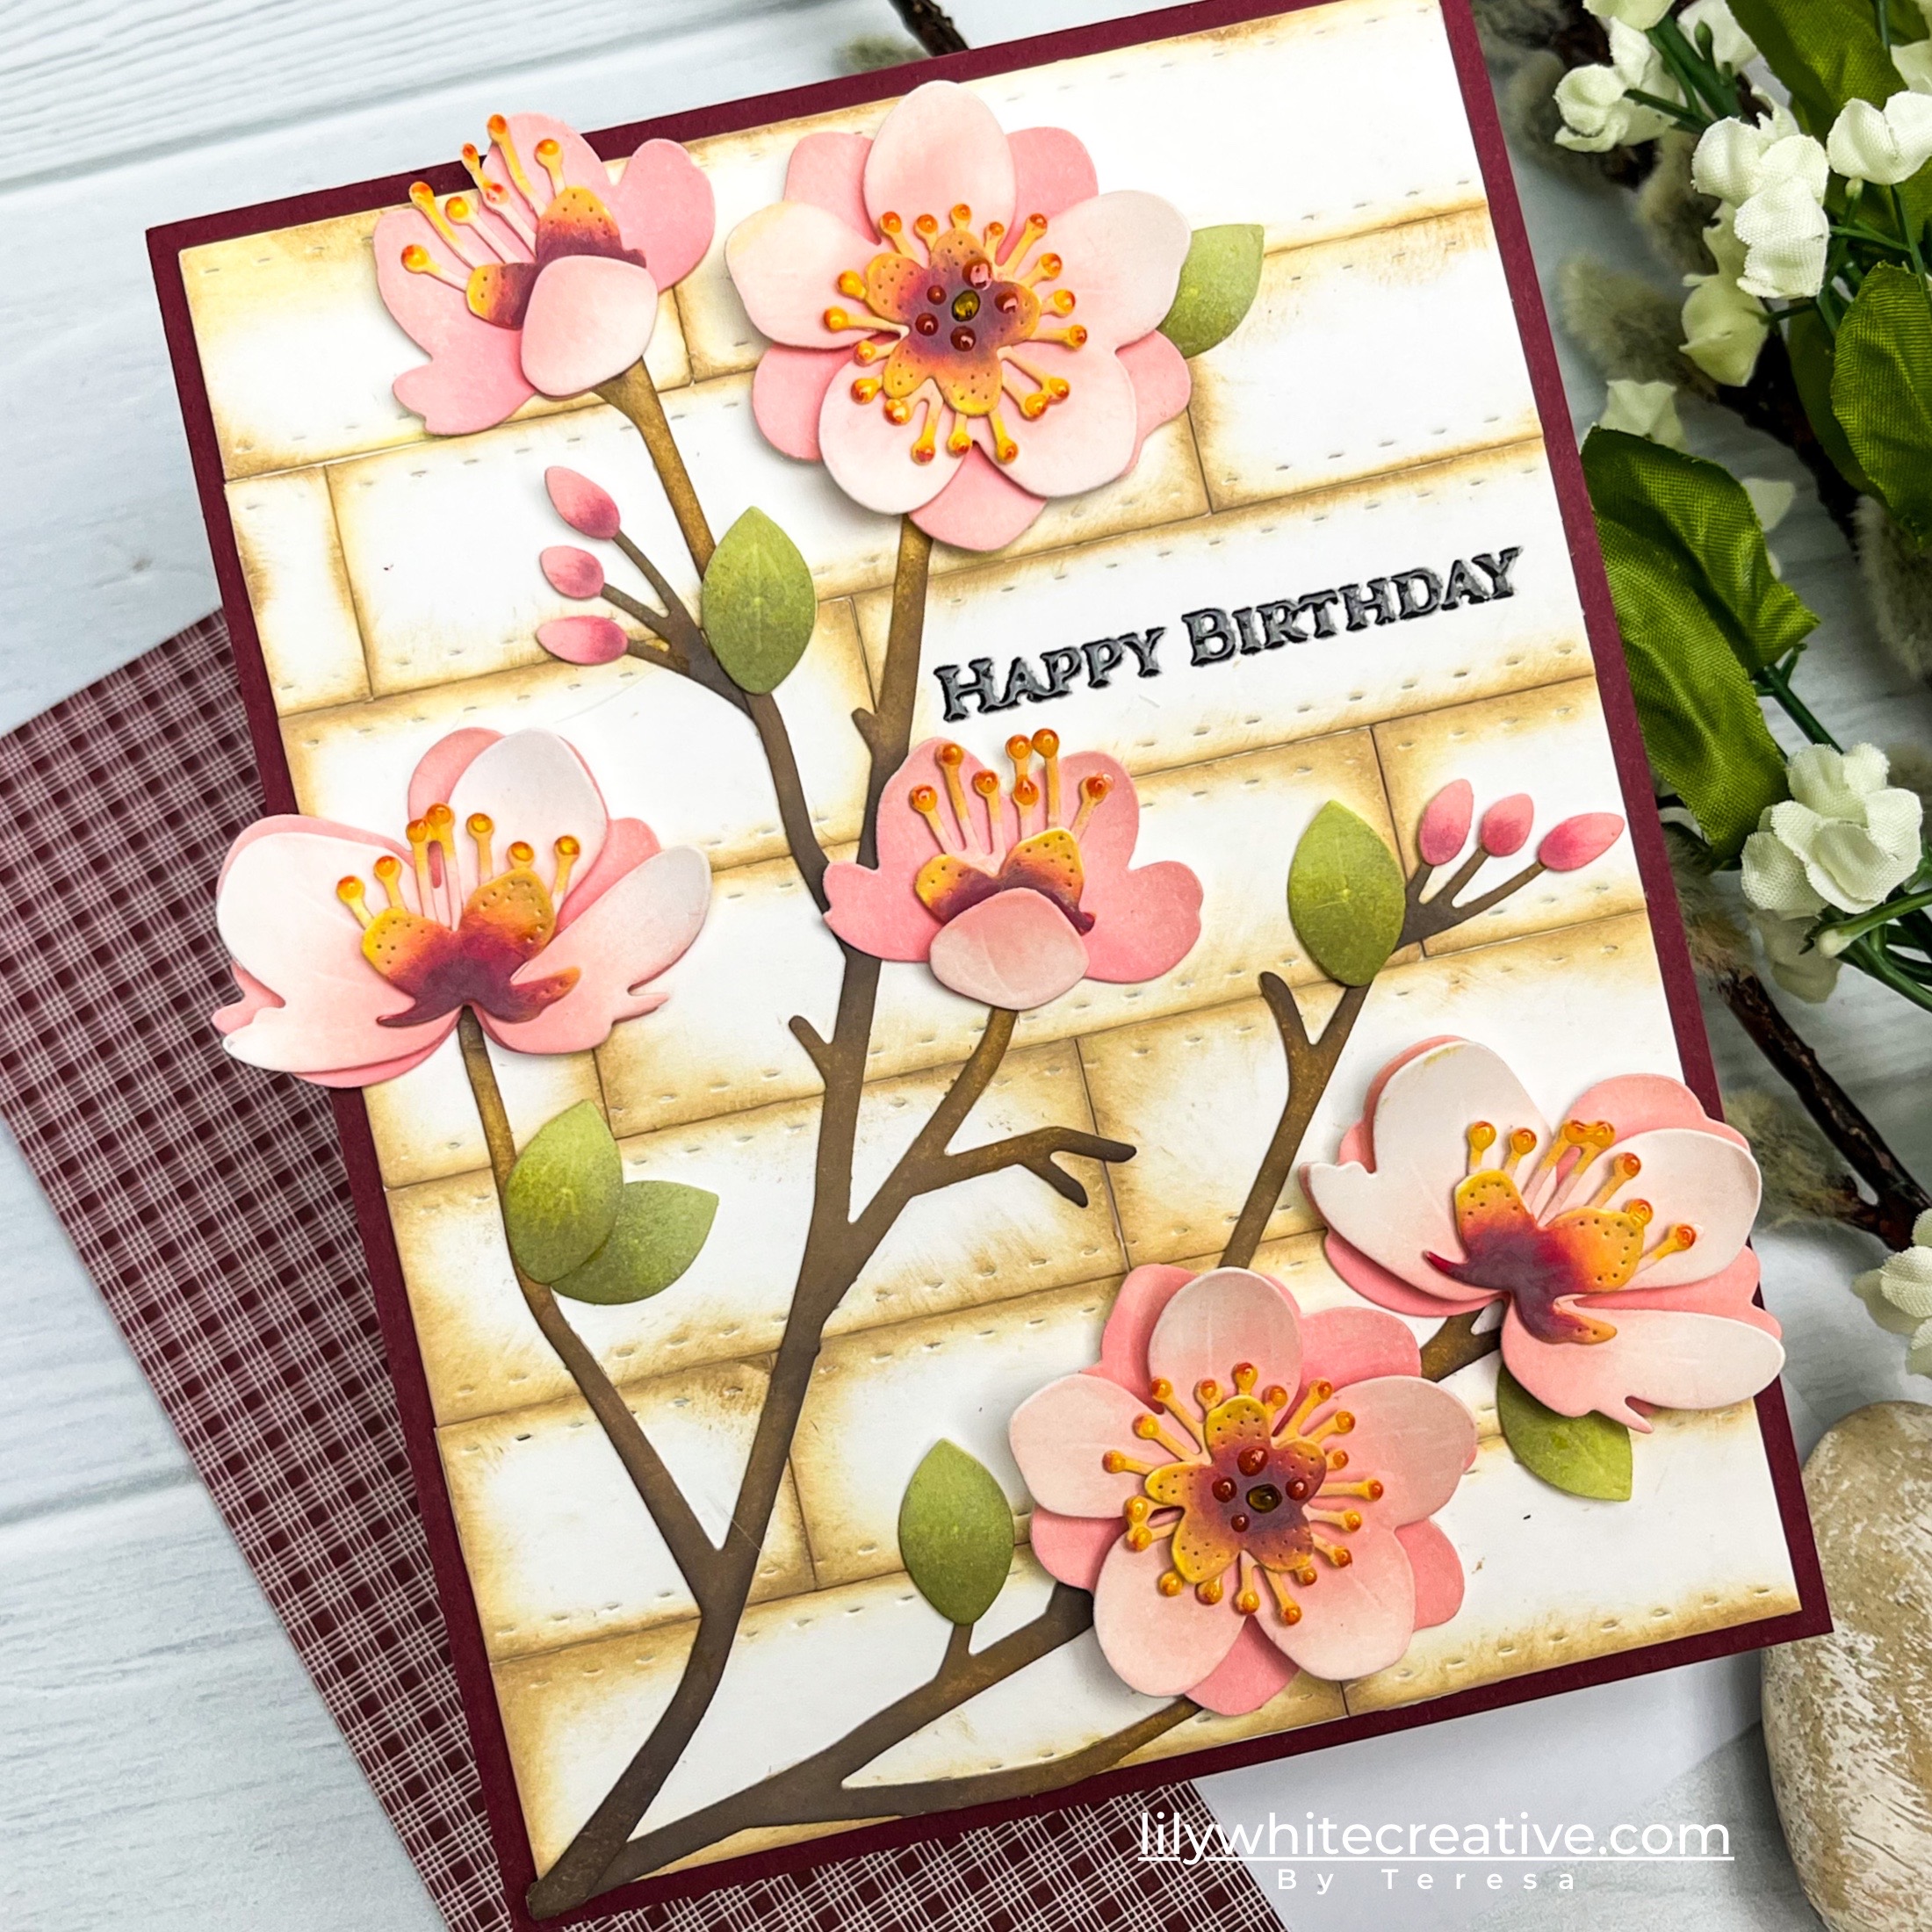
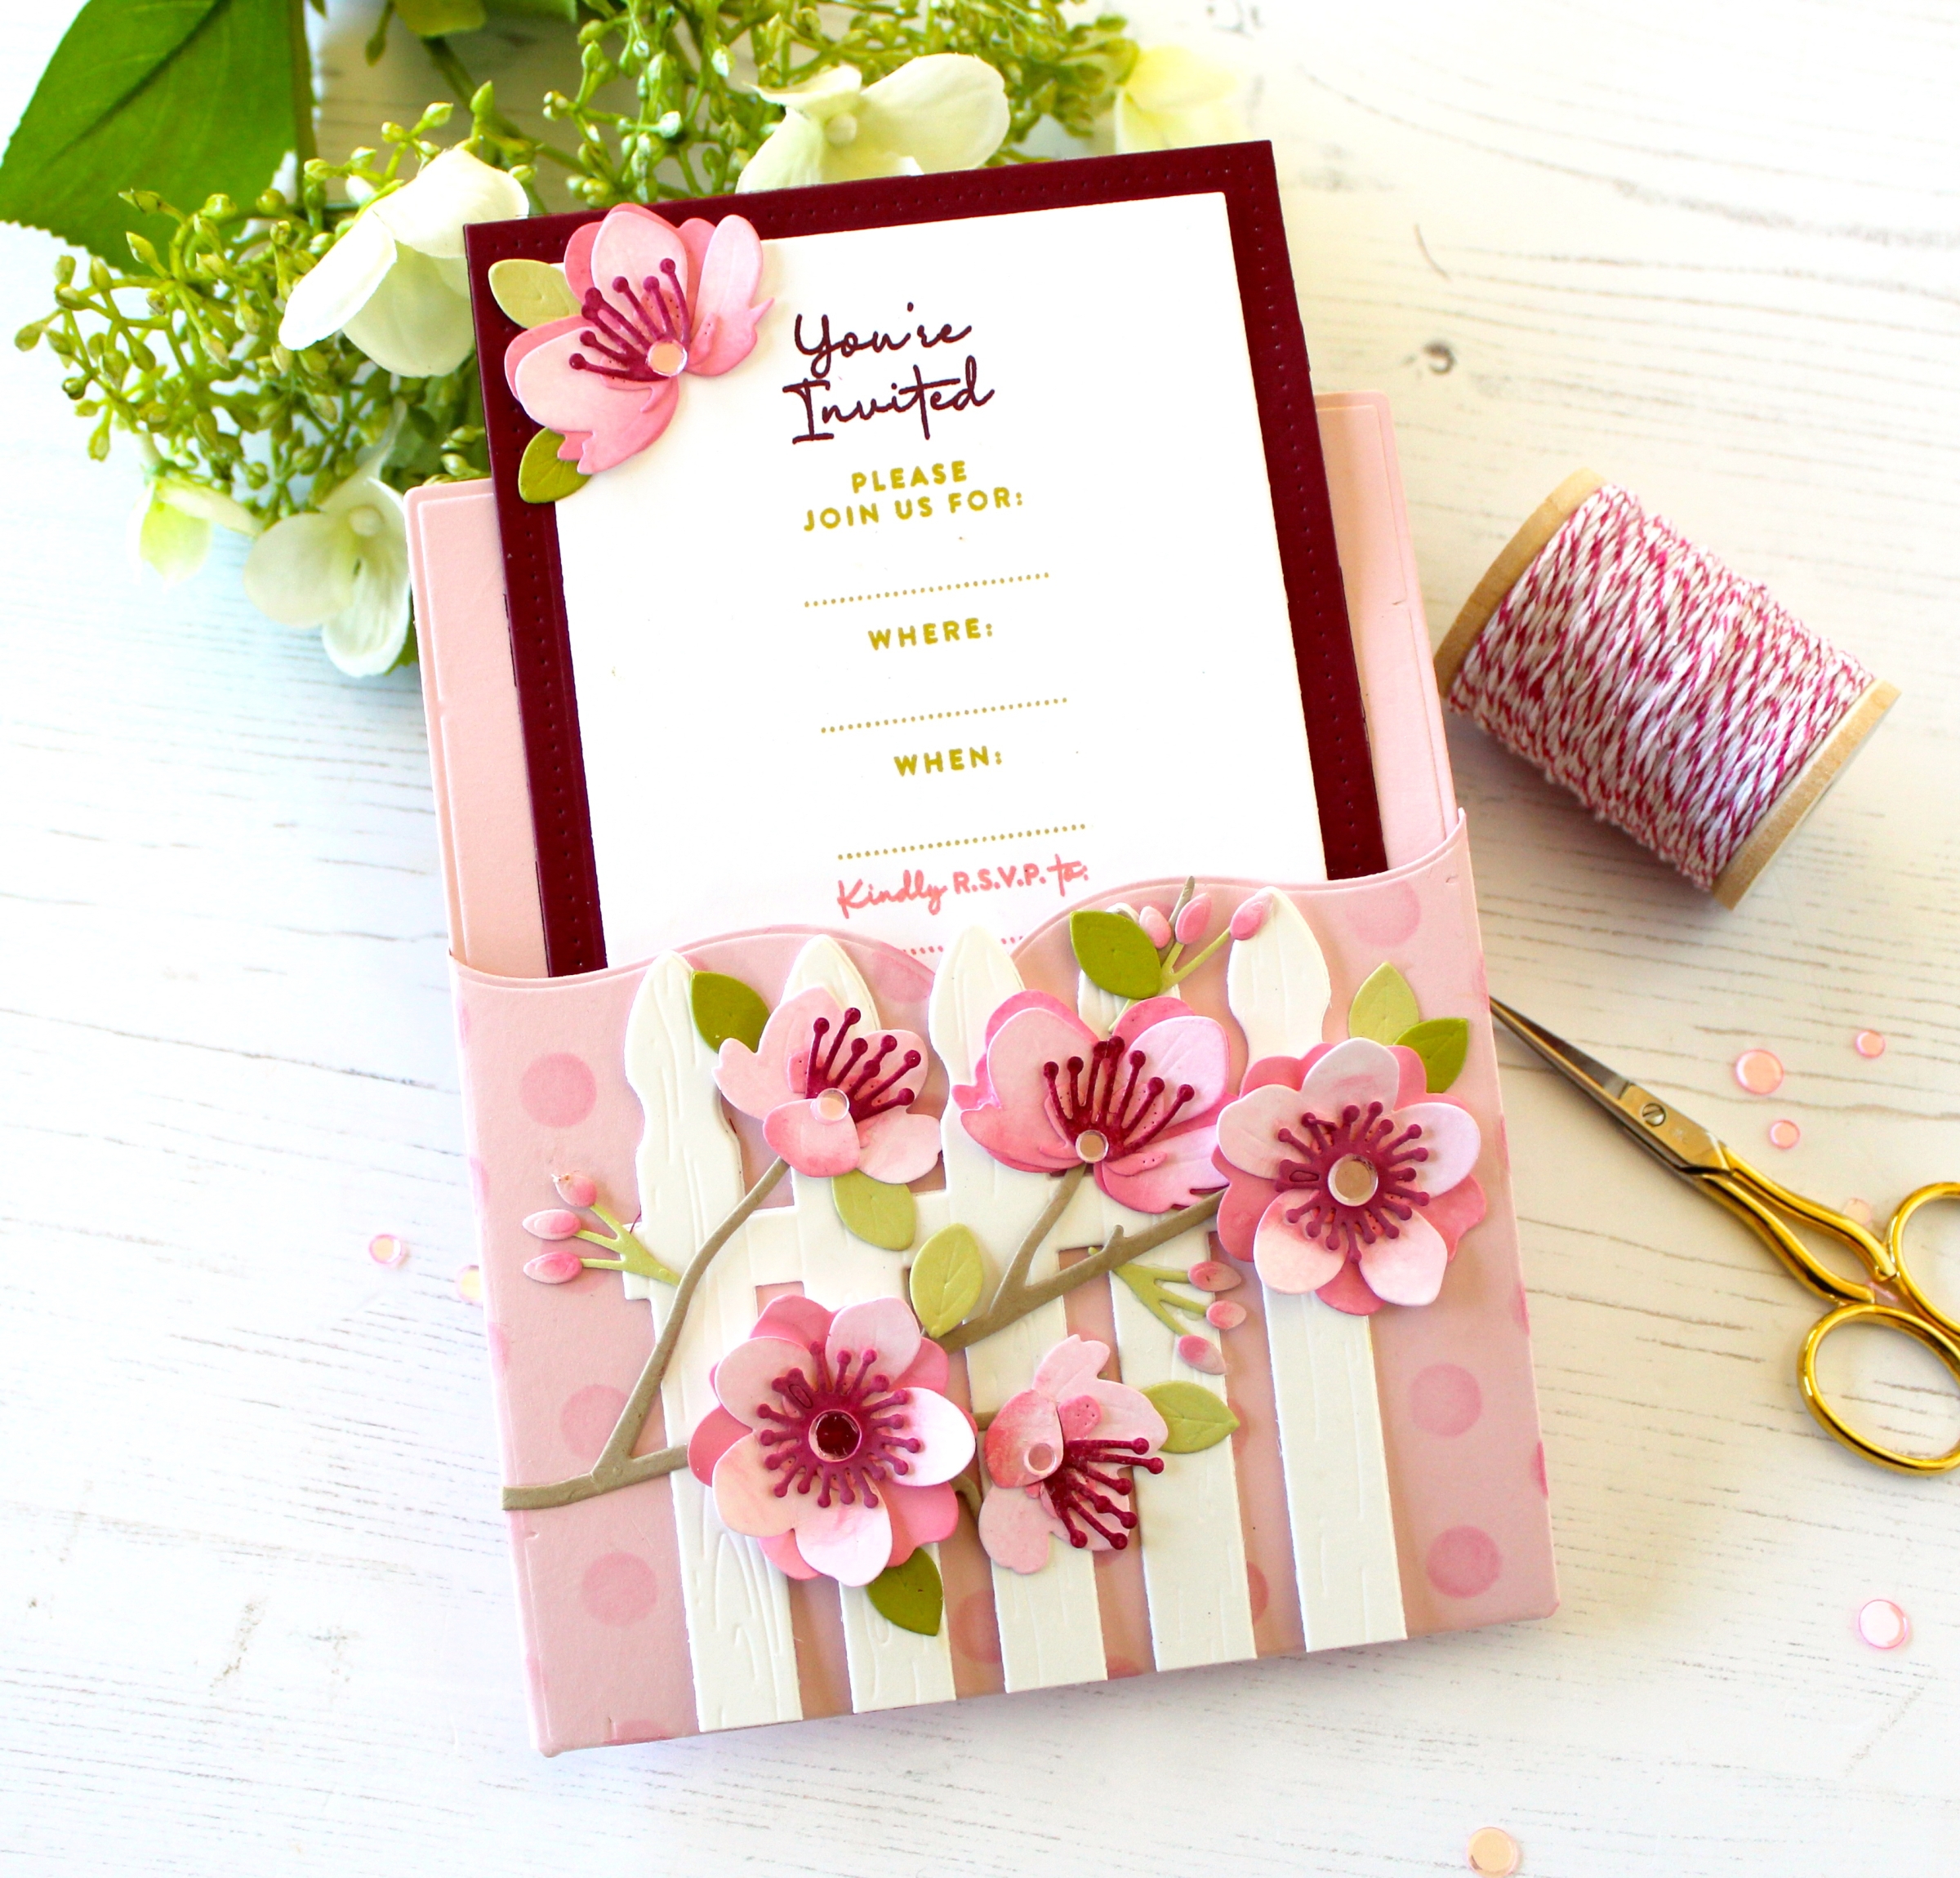
These sweet Cherry Blossoms might just be my most favorite Into the Blooms die yet. I began by creating a wood grain background on the base of my card. I used the Border Bling: Tin Stitch die topped with the Weathered Wood Background stamp, stamped in Spring Moss ink.
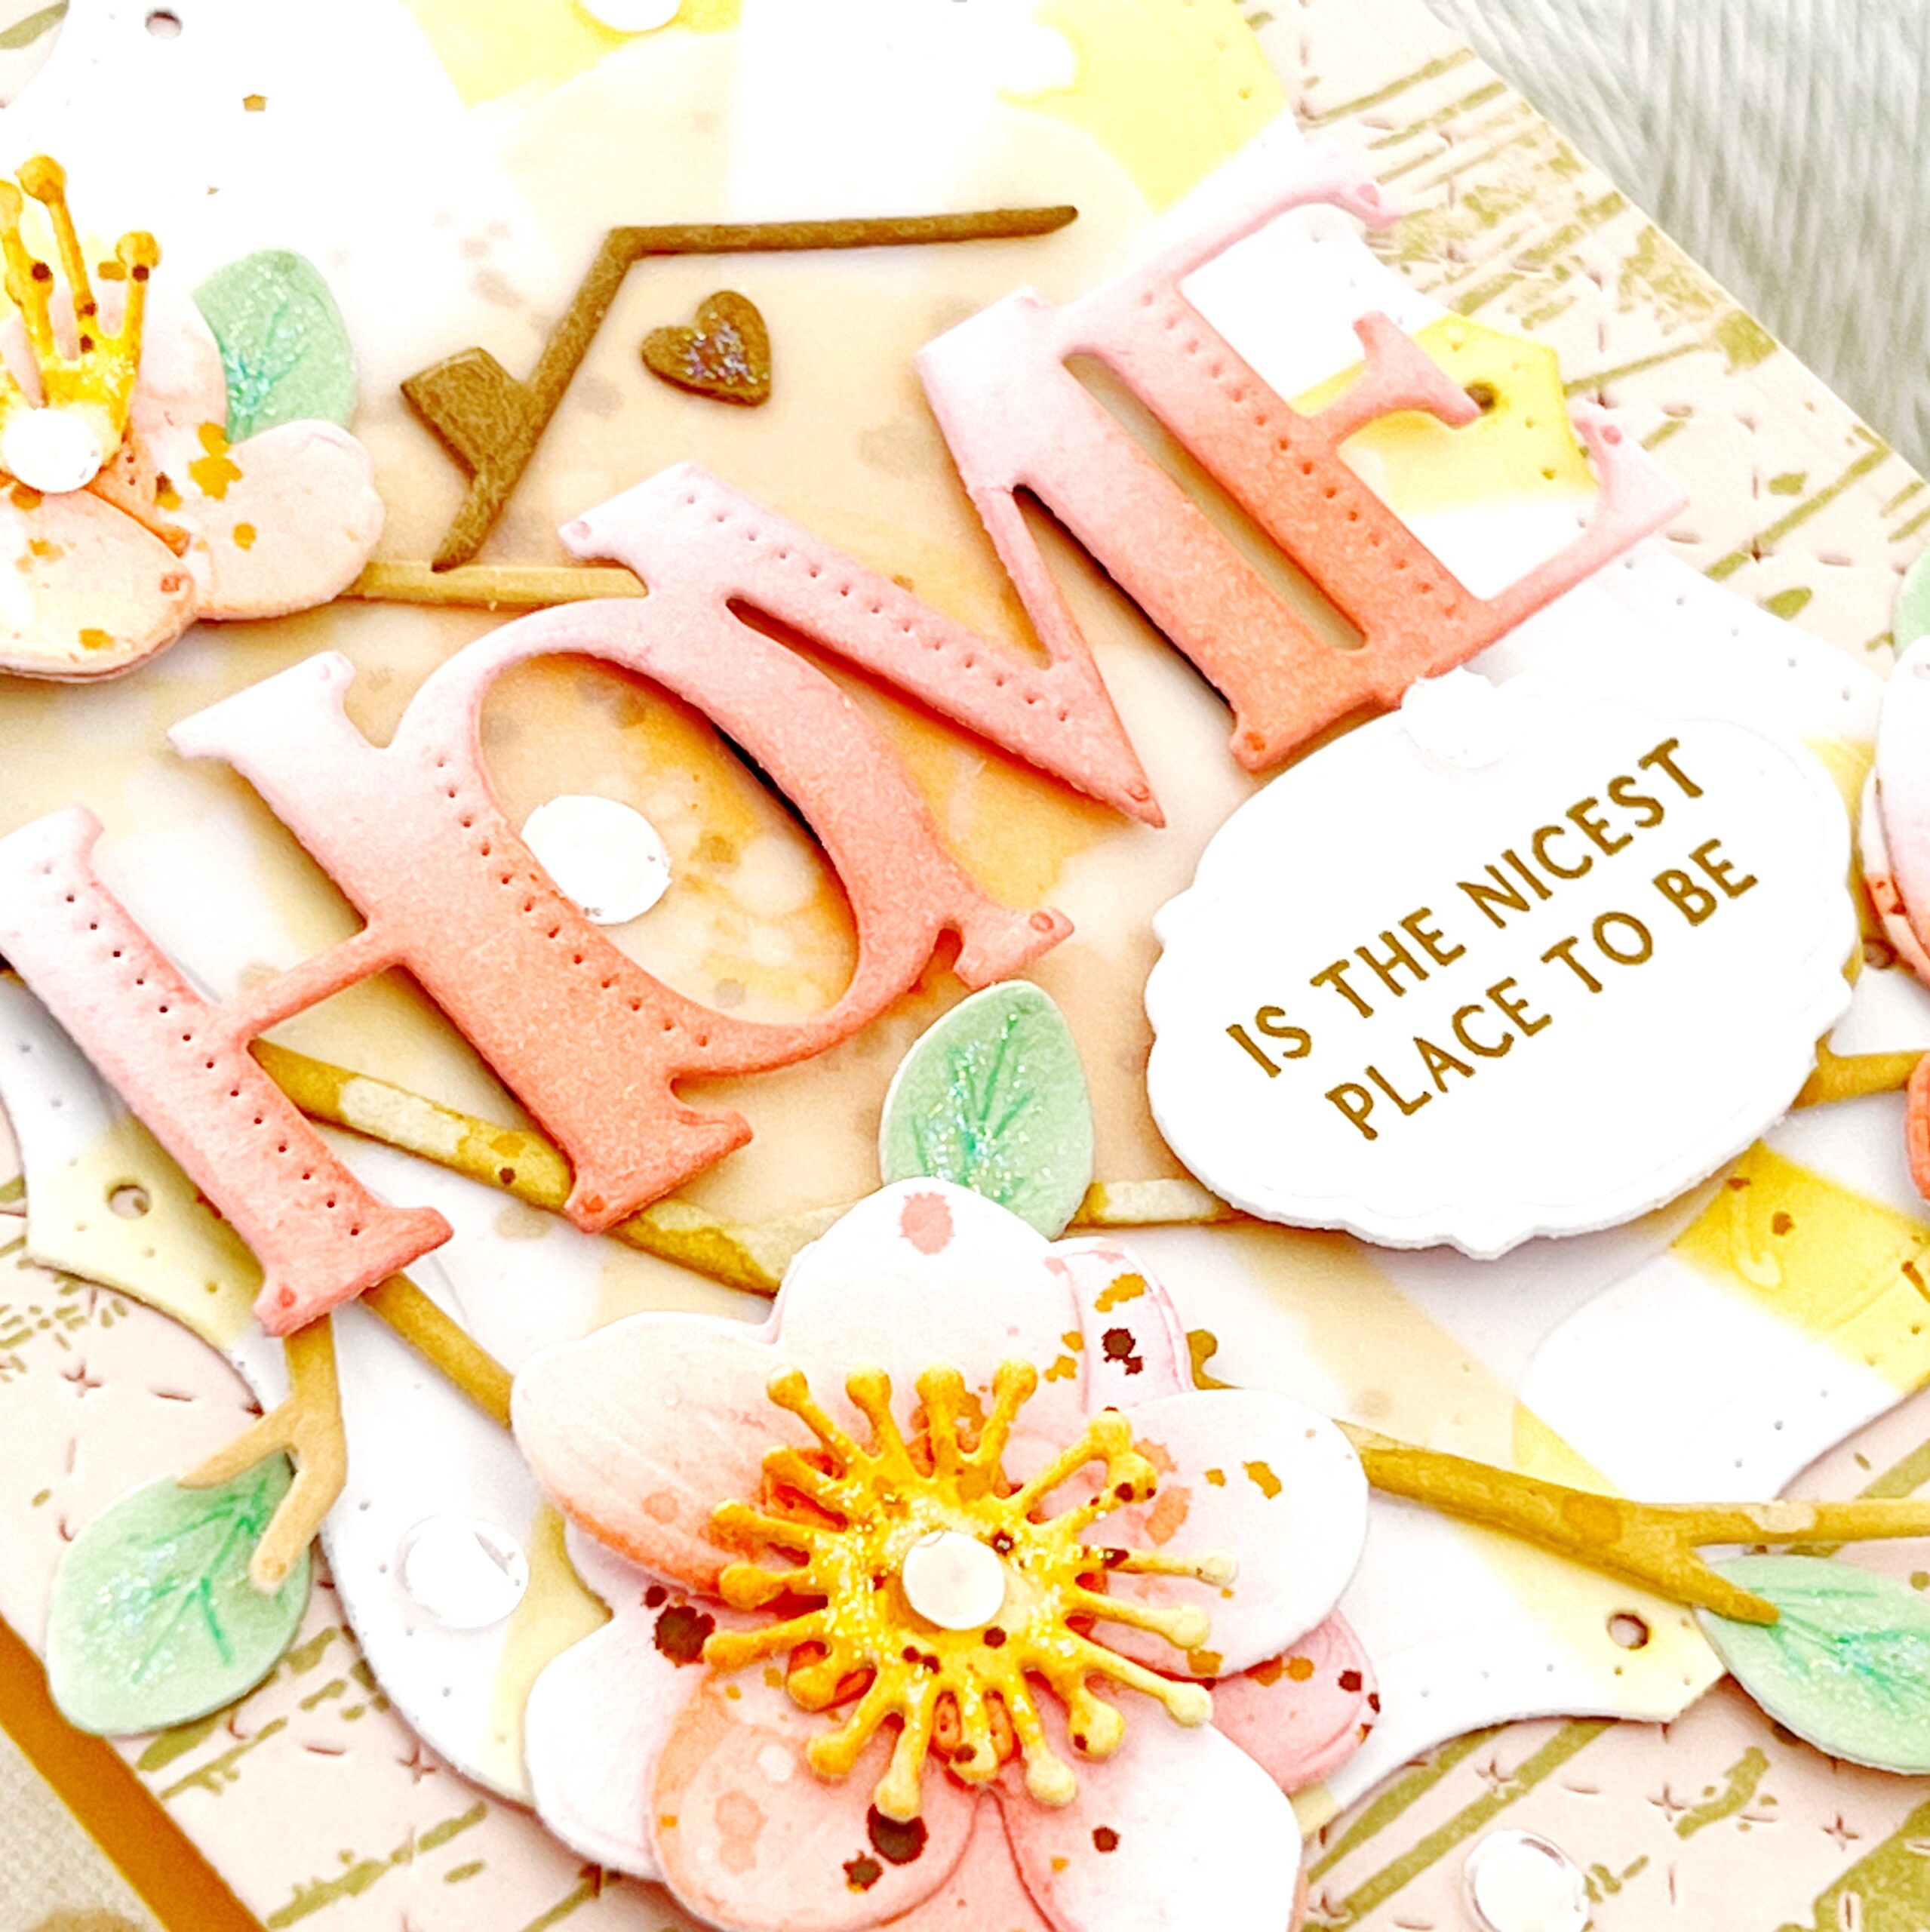
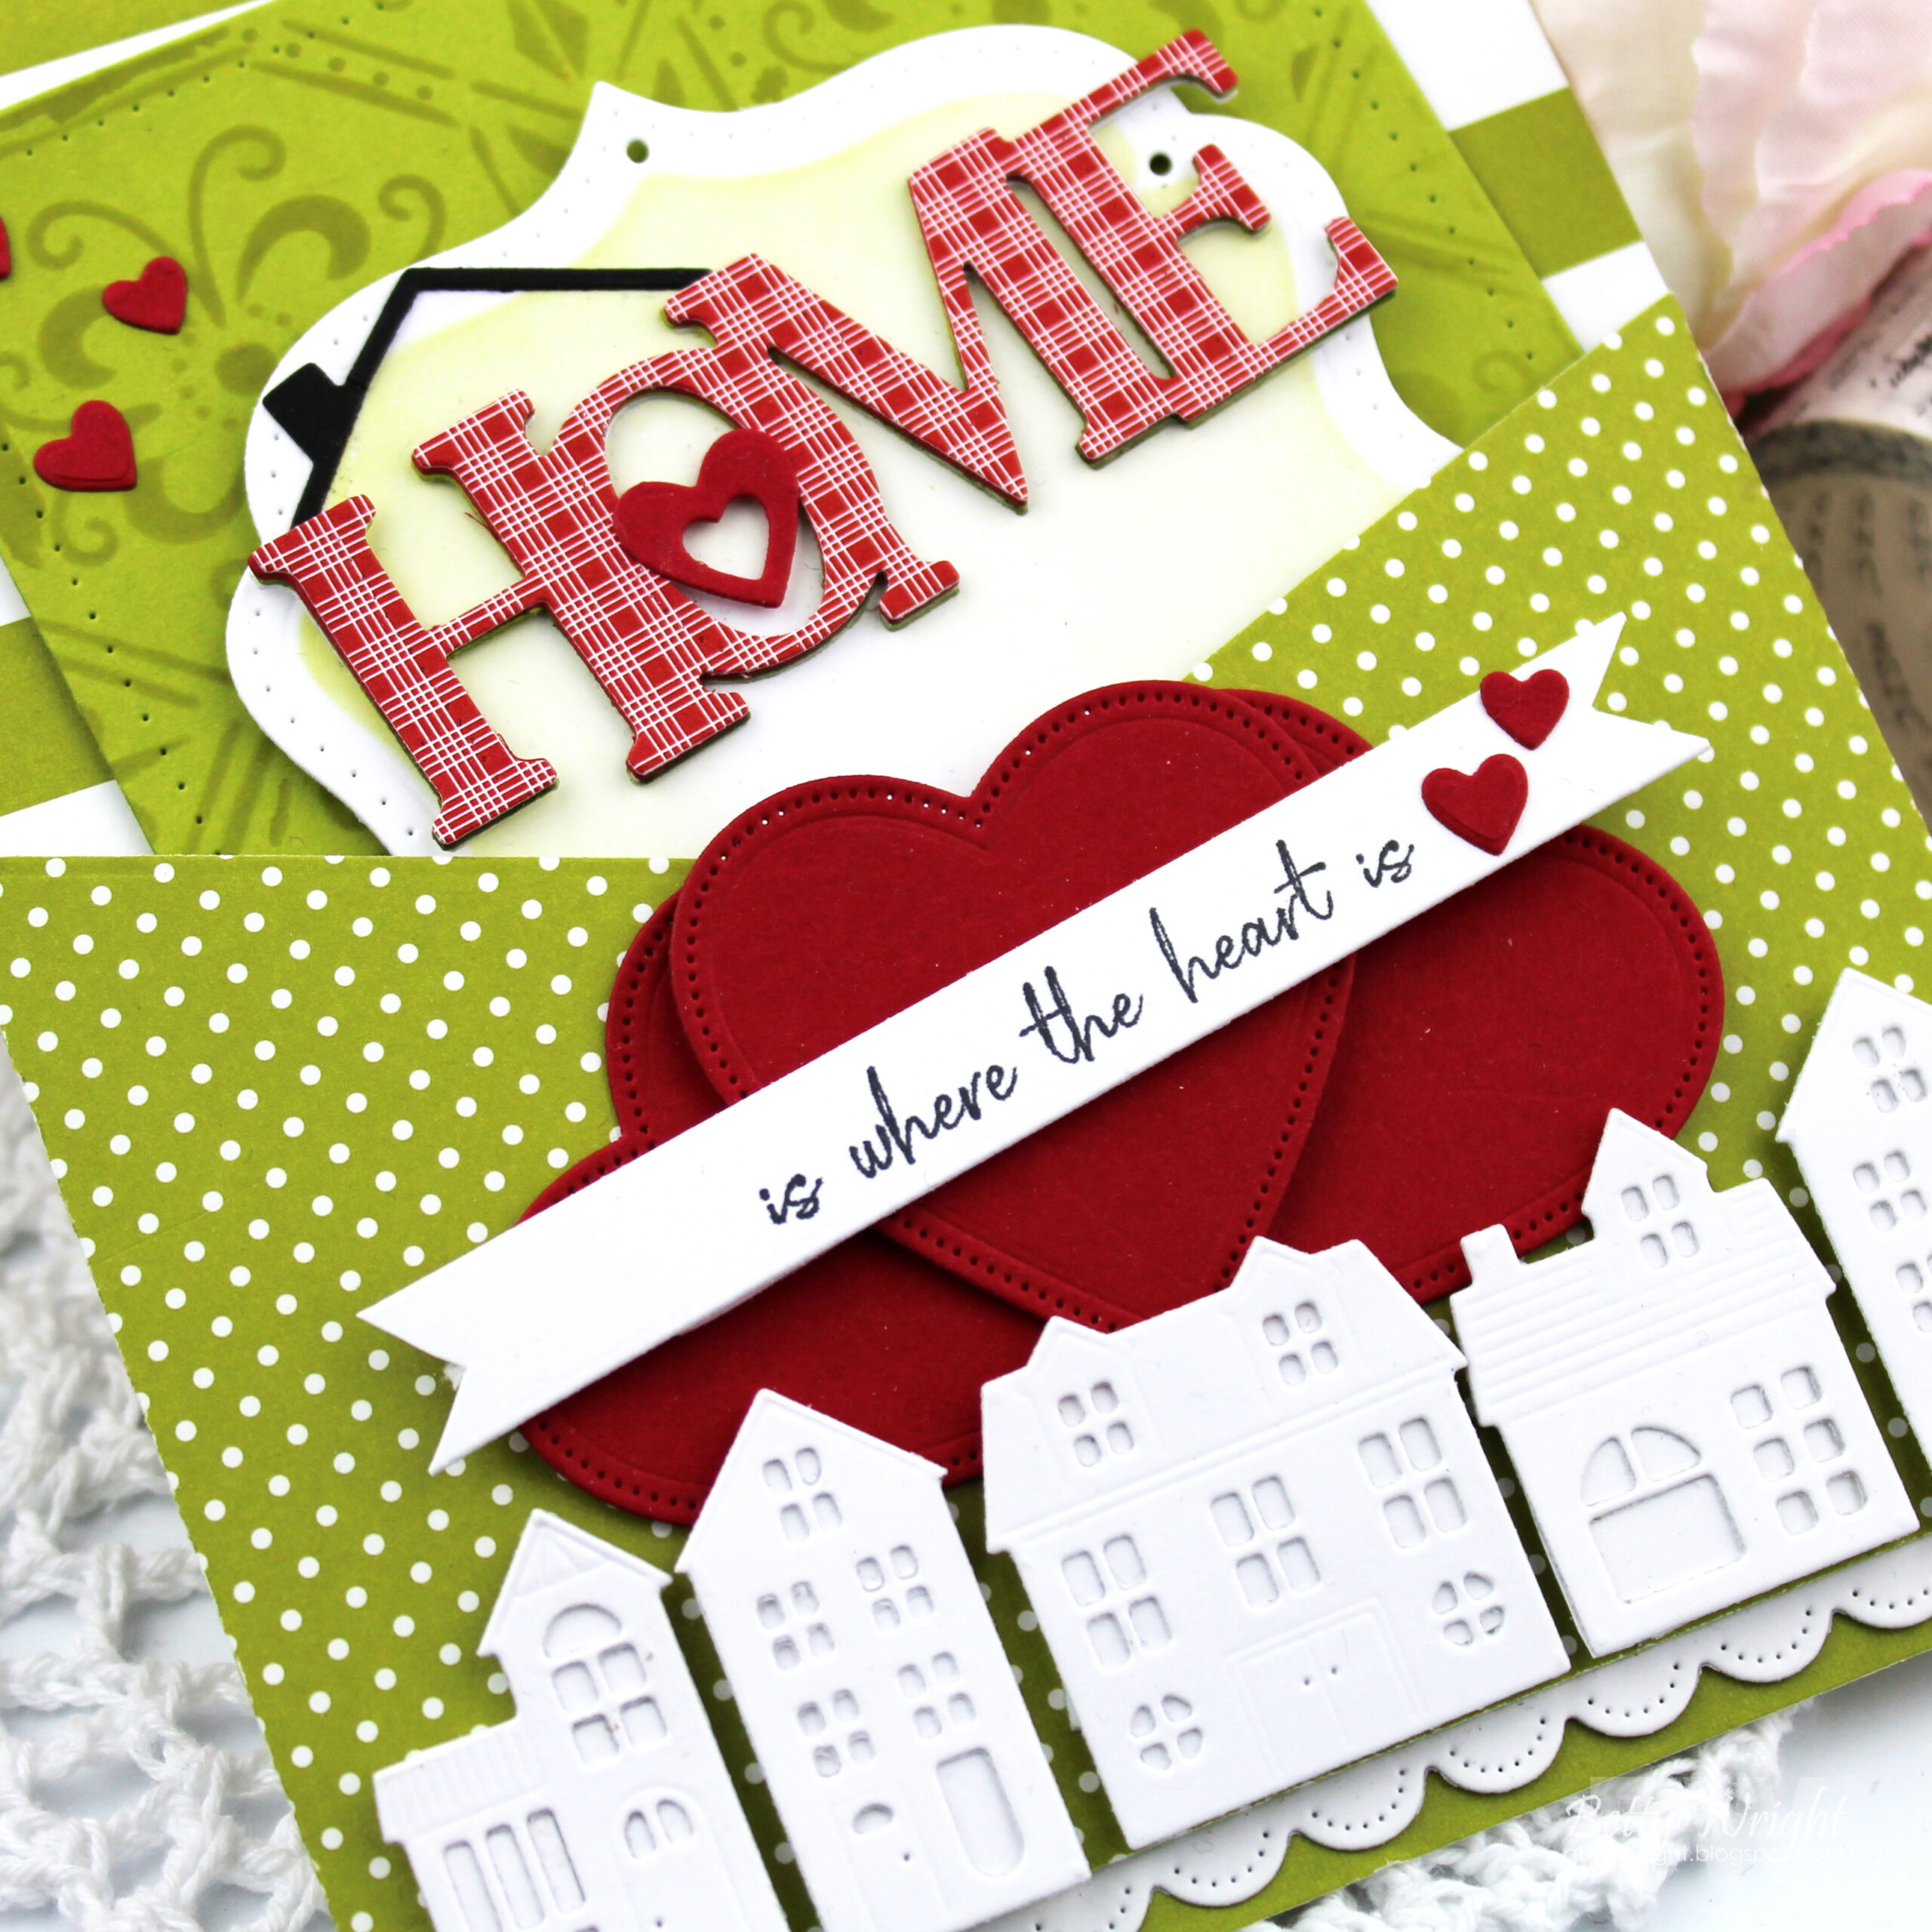
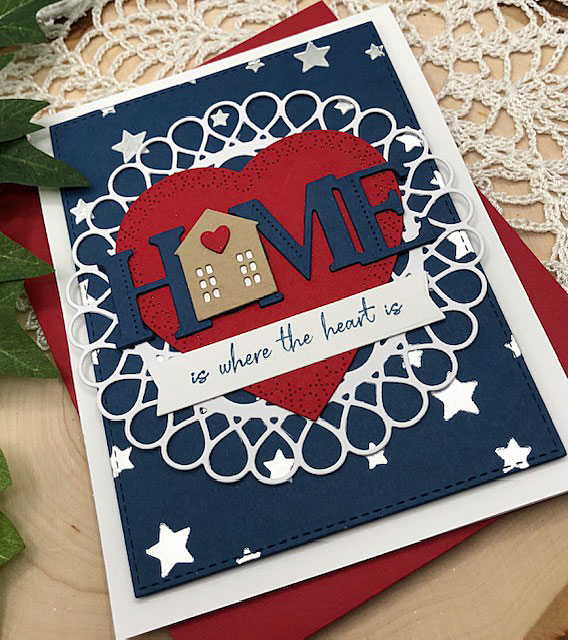
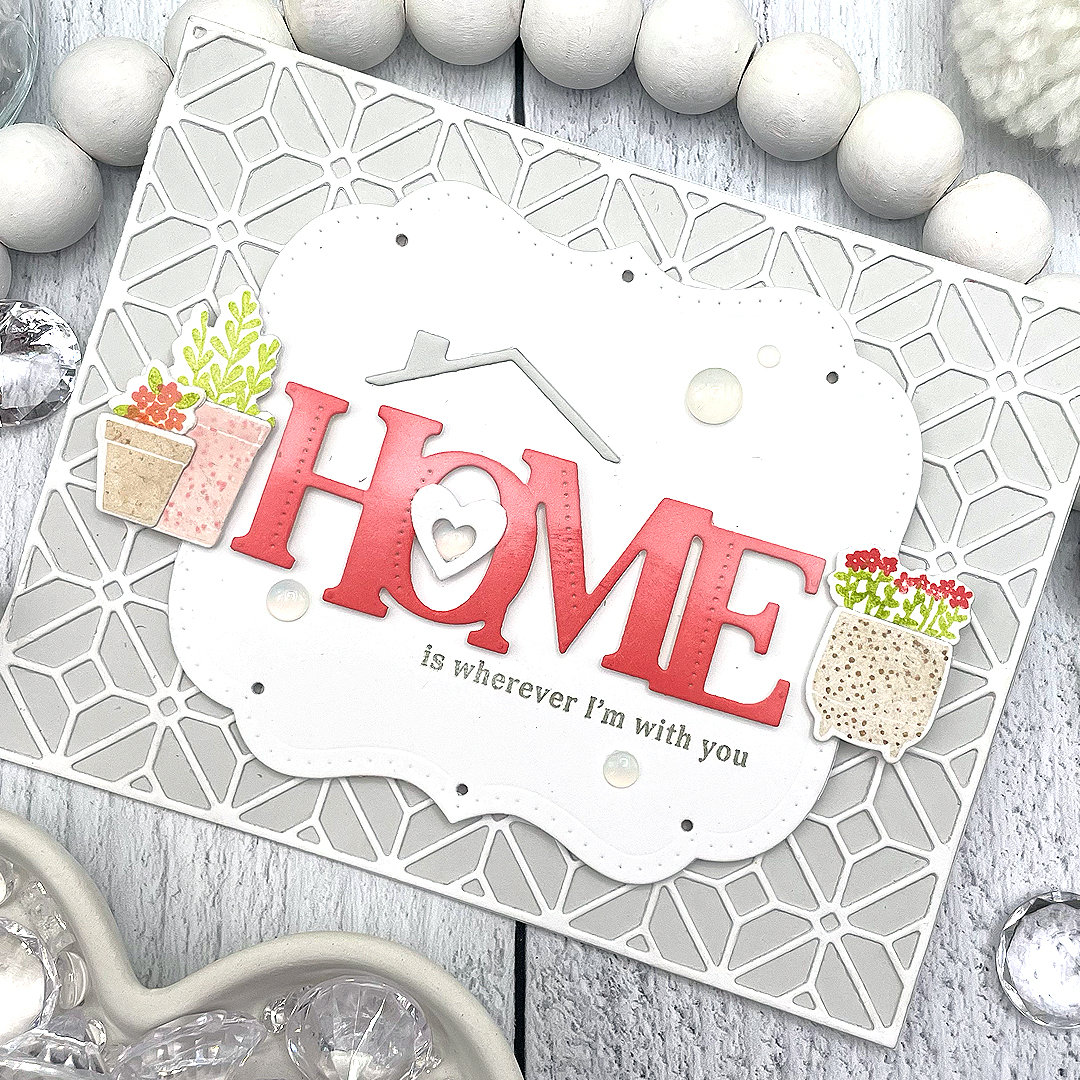
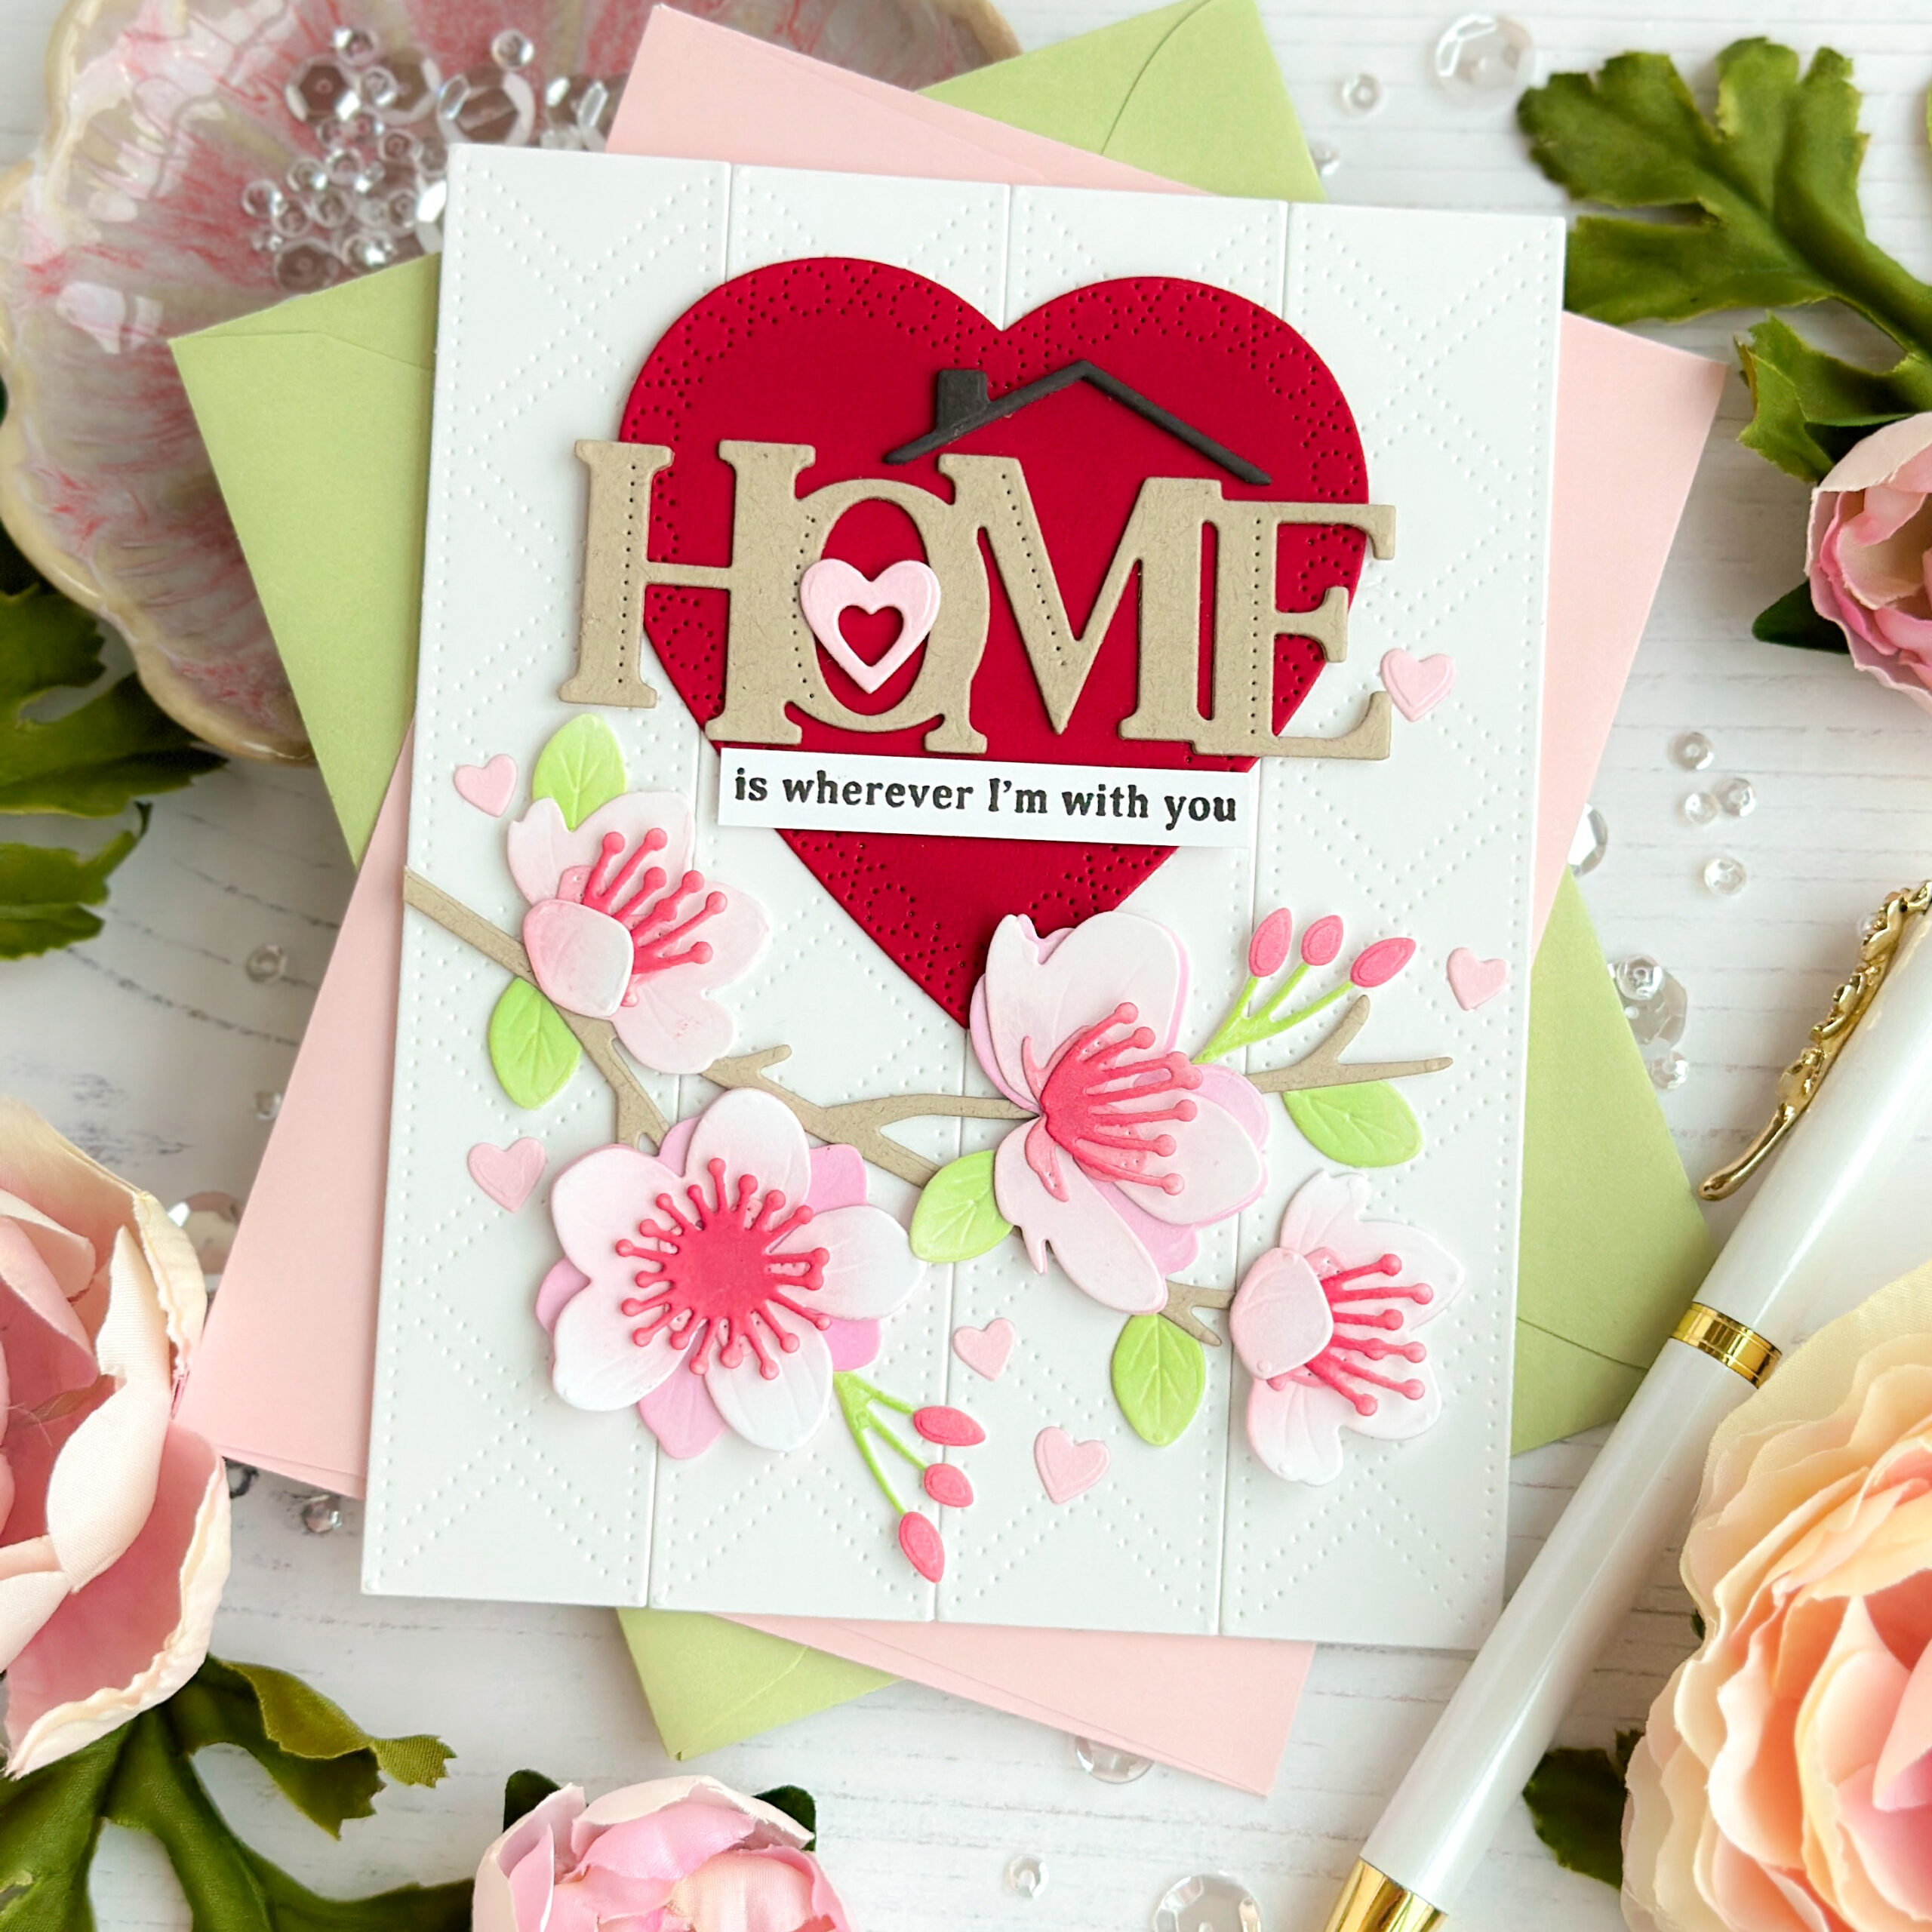
I then added a stenciled Love to Layer: Decorative Brackets die. I used the delightful Sunburst Stencil collection over my largest bracket die cut. I then die cut the middle bracket from Sheer Basics Vellum and adhered both brackets to the center of my card. I love the Larger Than Life: Home die and coordinating sentiments…they are truly so sweet and remind me of what I feel in my home. I die cut my “Home” from white cardstock and lightly sponged ink in coordinating colors over the die cut to create an ombre look.
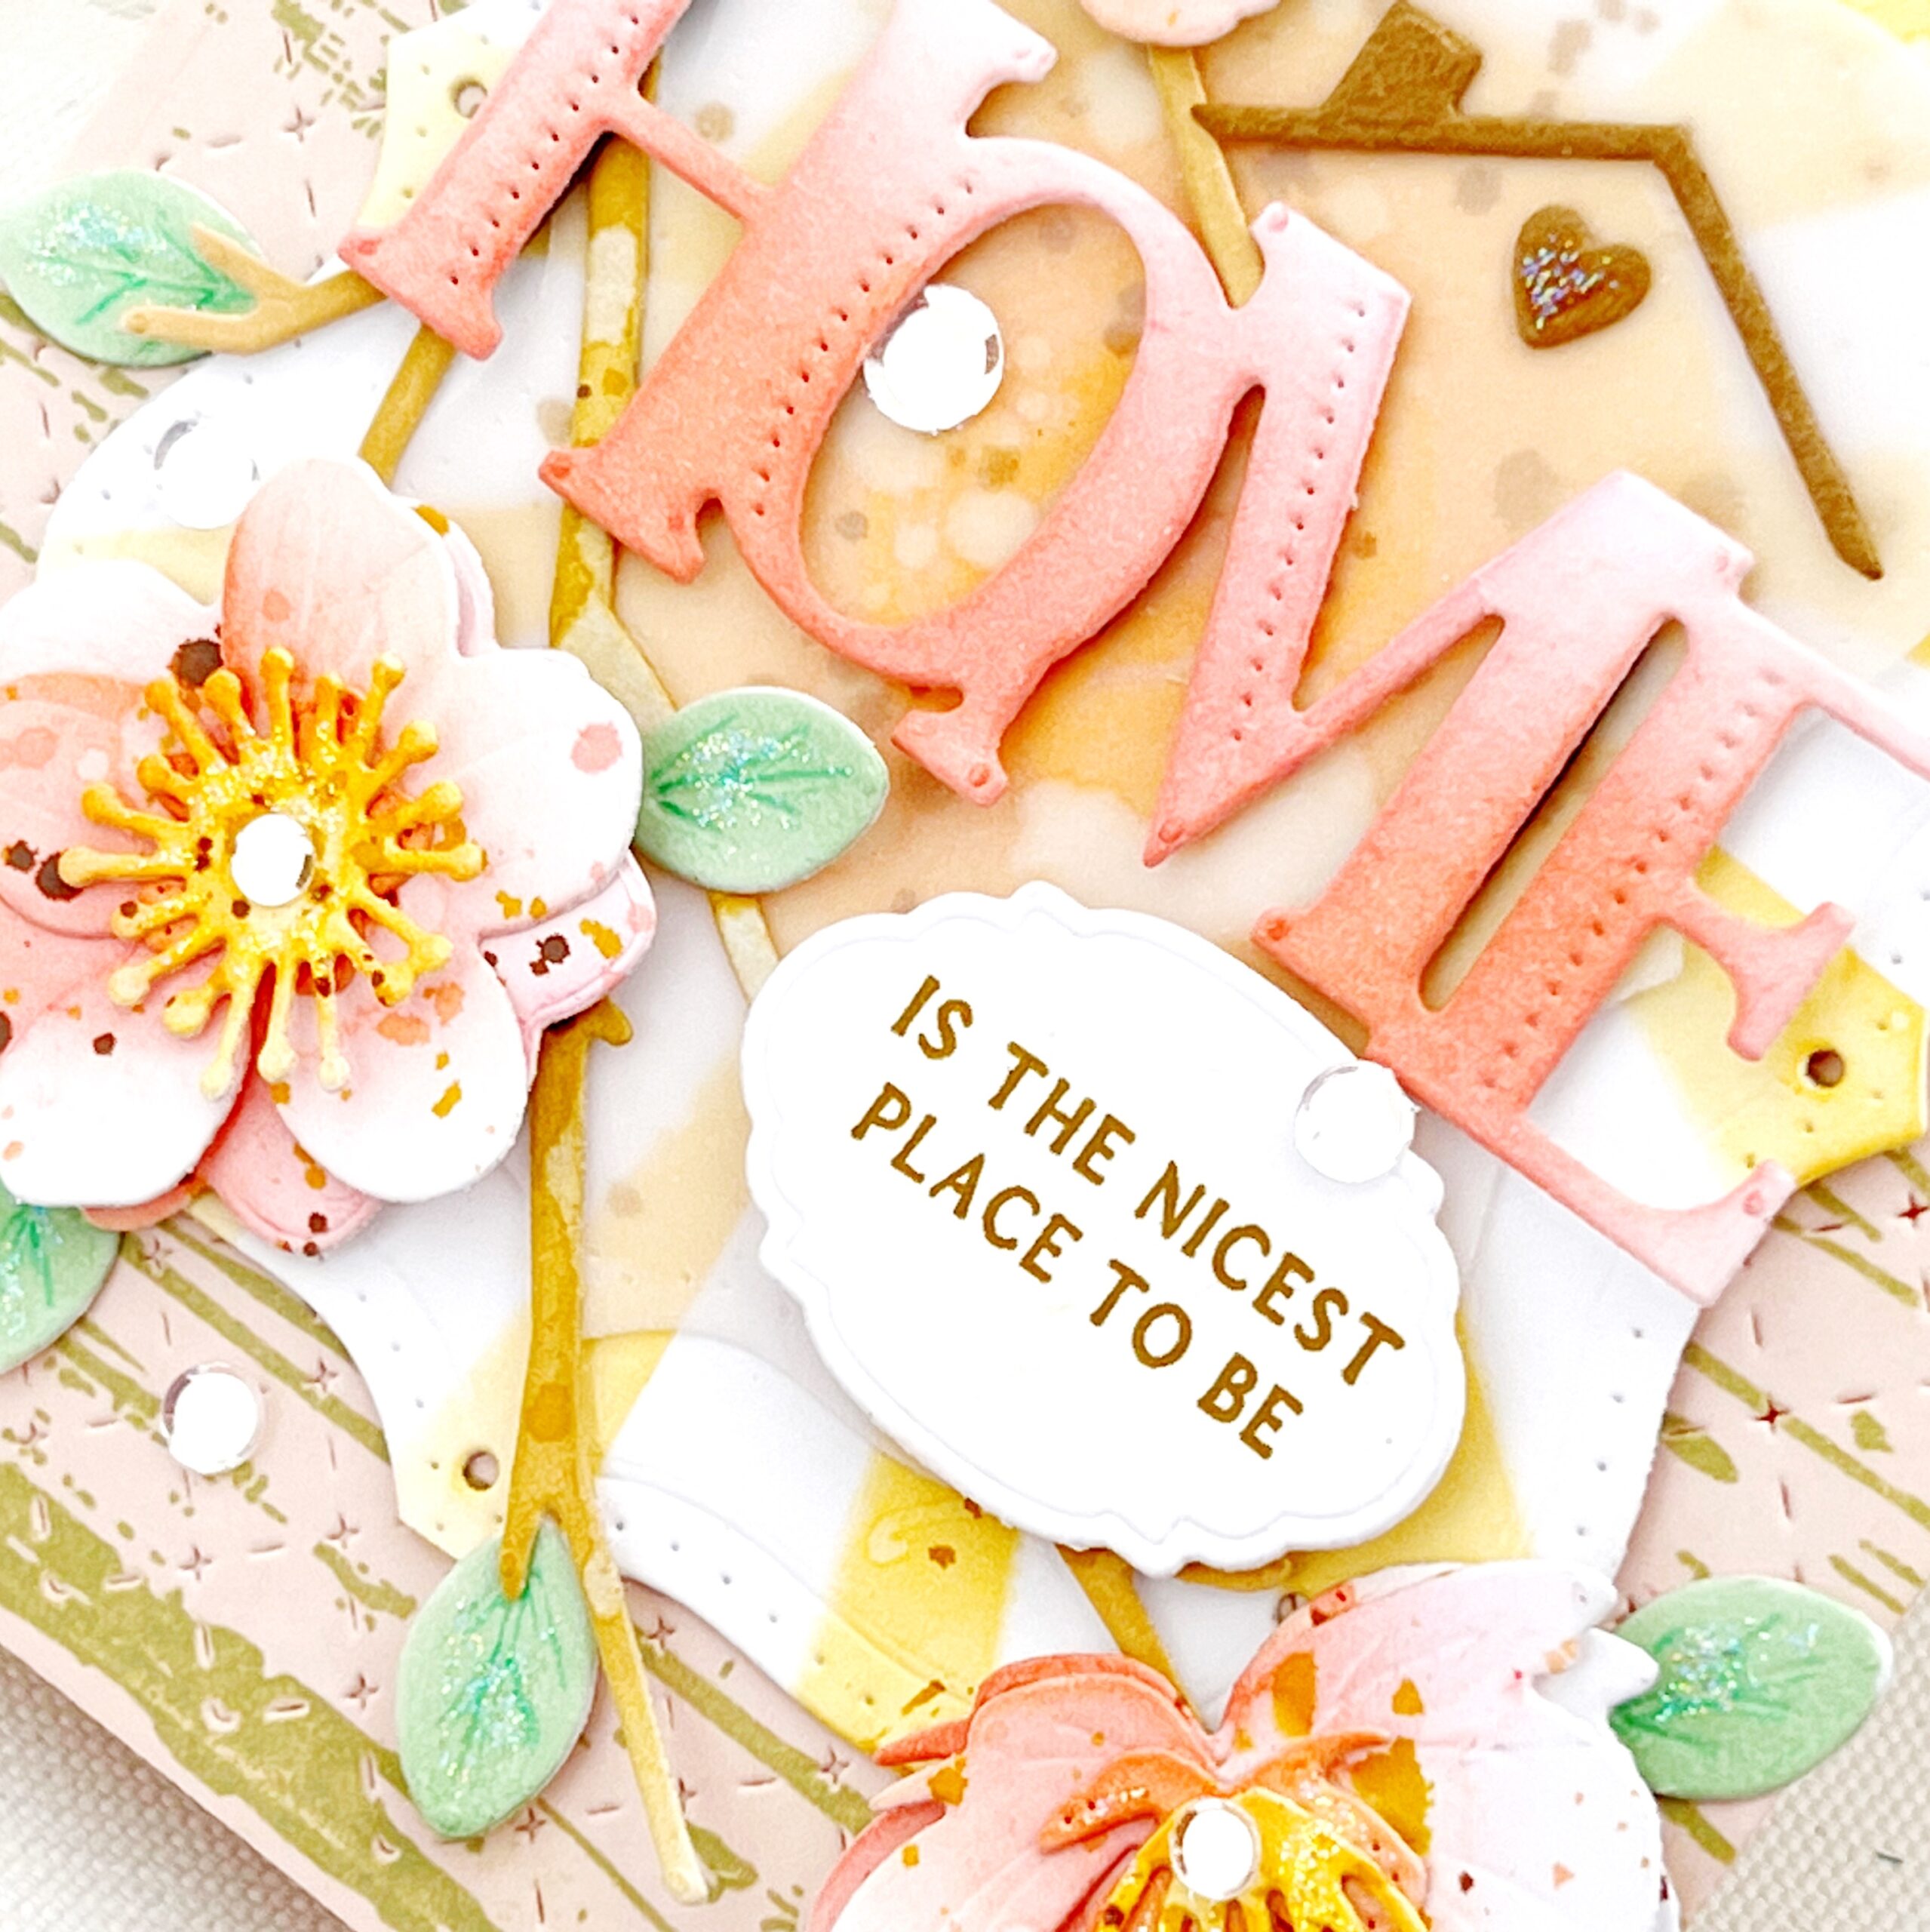
Next I die cut my cherry blossoms from white cardstock, sponged ink in similar colors to my “Home” die, spritzed them with water and added a bit of Distress Spray. Once they were dry, I assembled them and added them to my card front. I stamped the secondary sentiment on a die cut Tag Creations; Delightful Bunch label and added it, the rooftop, and heart to finish my card. I love how it turned out.
Supplies used:
STAMPS: Larger Than Life: Home Sentiments, Weathered Wood Background
INK: Spring Moss, Lovely Lady, Bright Buttercup, Saffron Spice, Berry Sorbet, Melon Berry
PAPER: Sweet Blush, Stamper’s Select White, Sheer Basics Vellum
DIES: Into the Blooms: Cherry Blossoms, Larger Than Life: Home, Love to Layer: Decorative Brackets, Tag Creations: Delightful Bunch, Border Bling: Tin Stitch
OTHER: Sunburst Stencil Collection, Twine, Moonshine sequins, Copic markers, Distress Spray, Stickles glitter


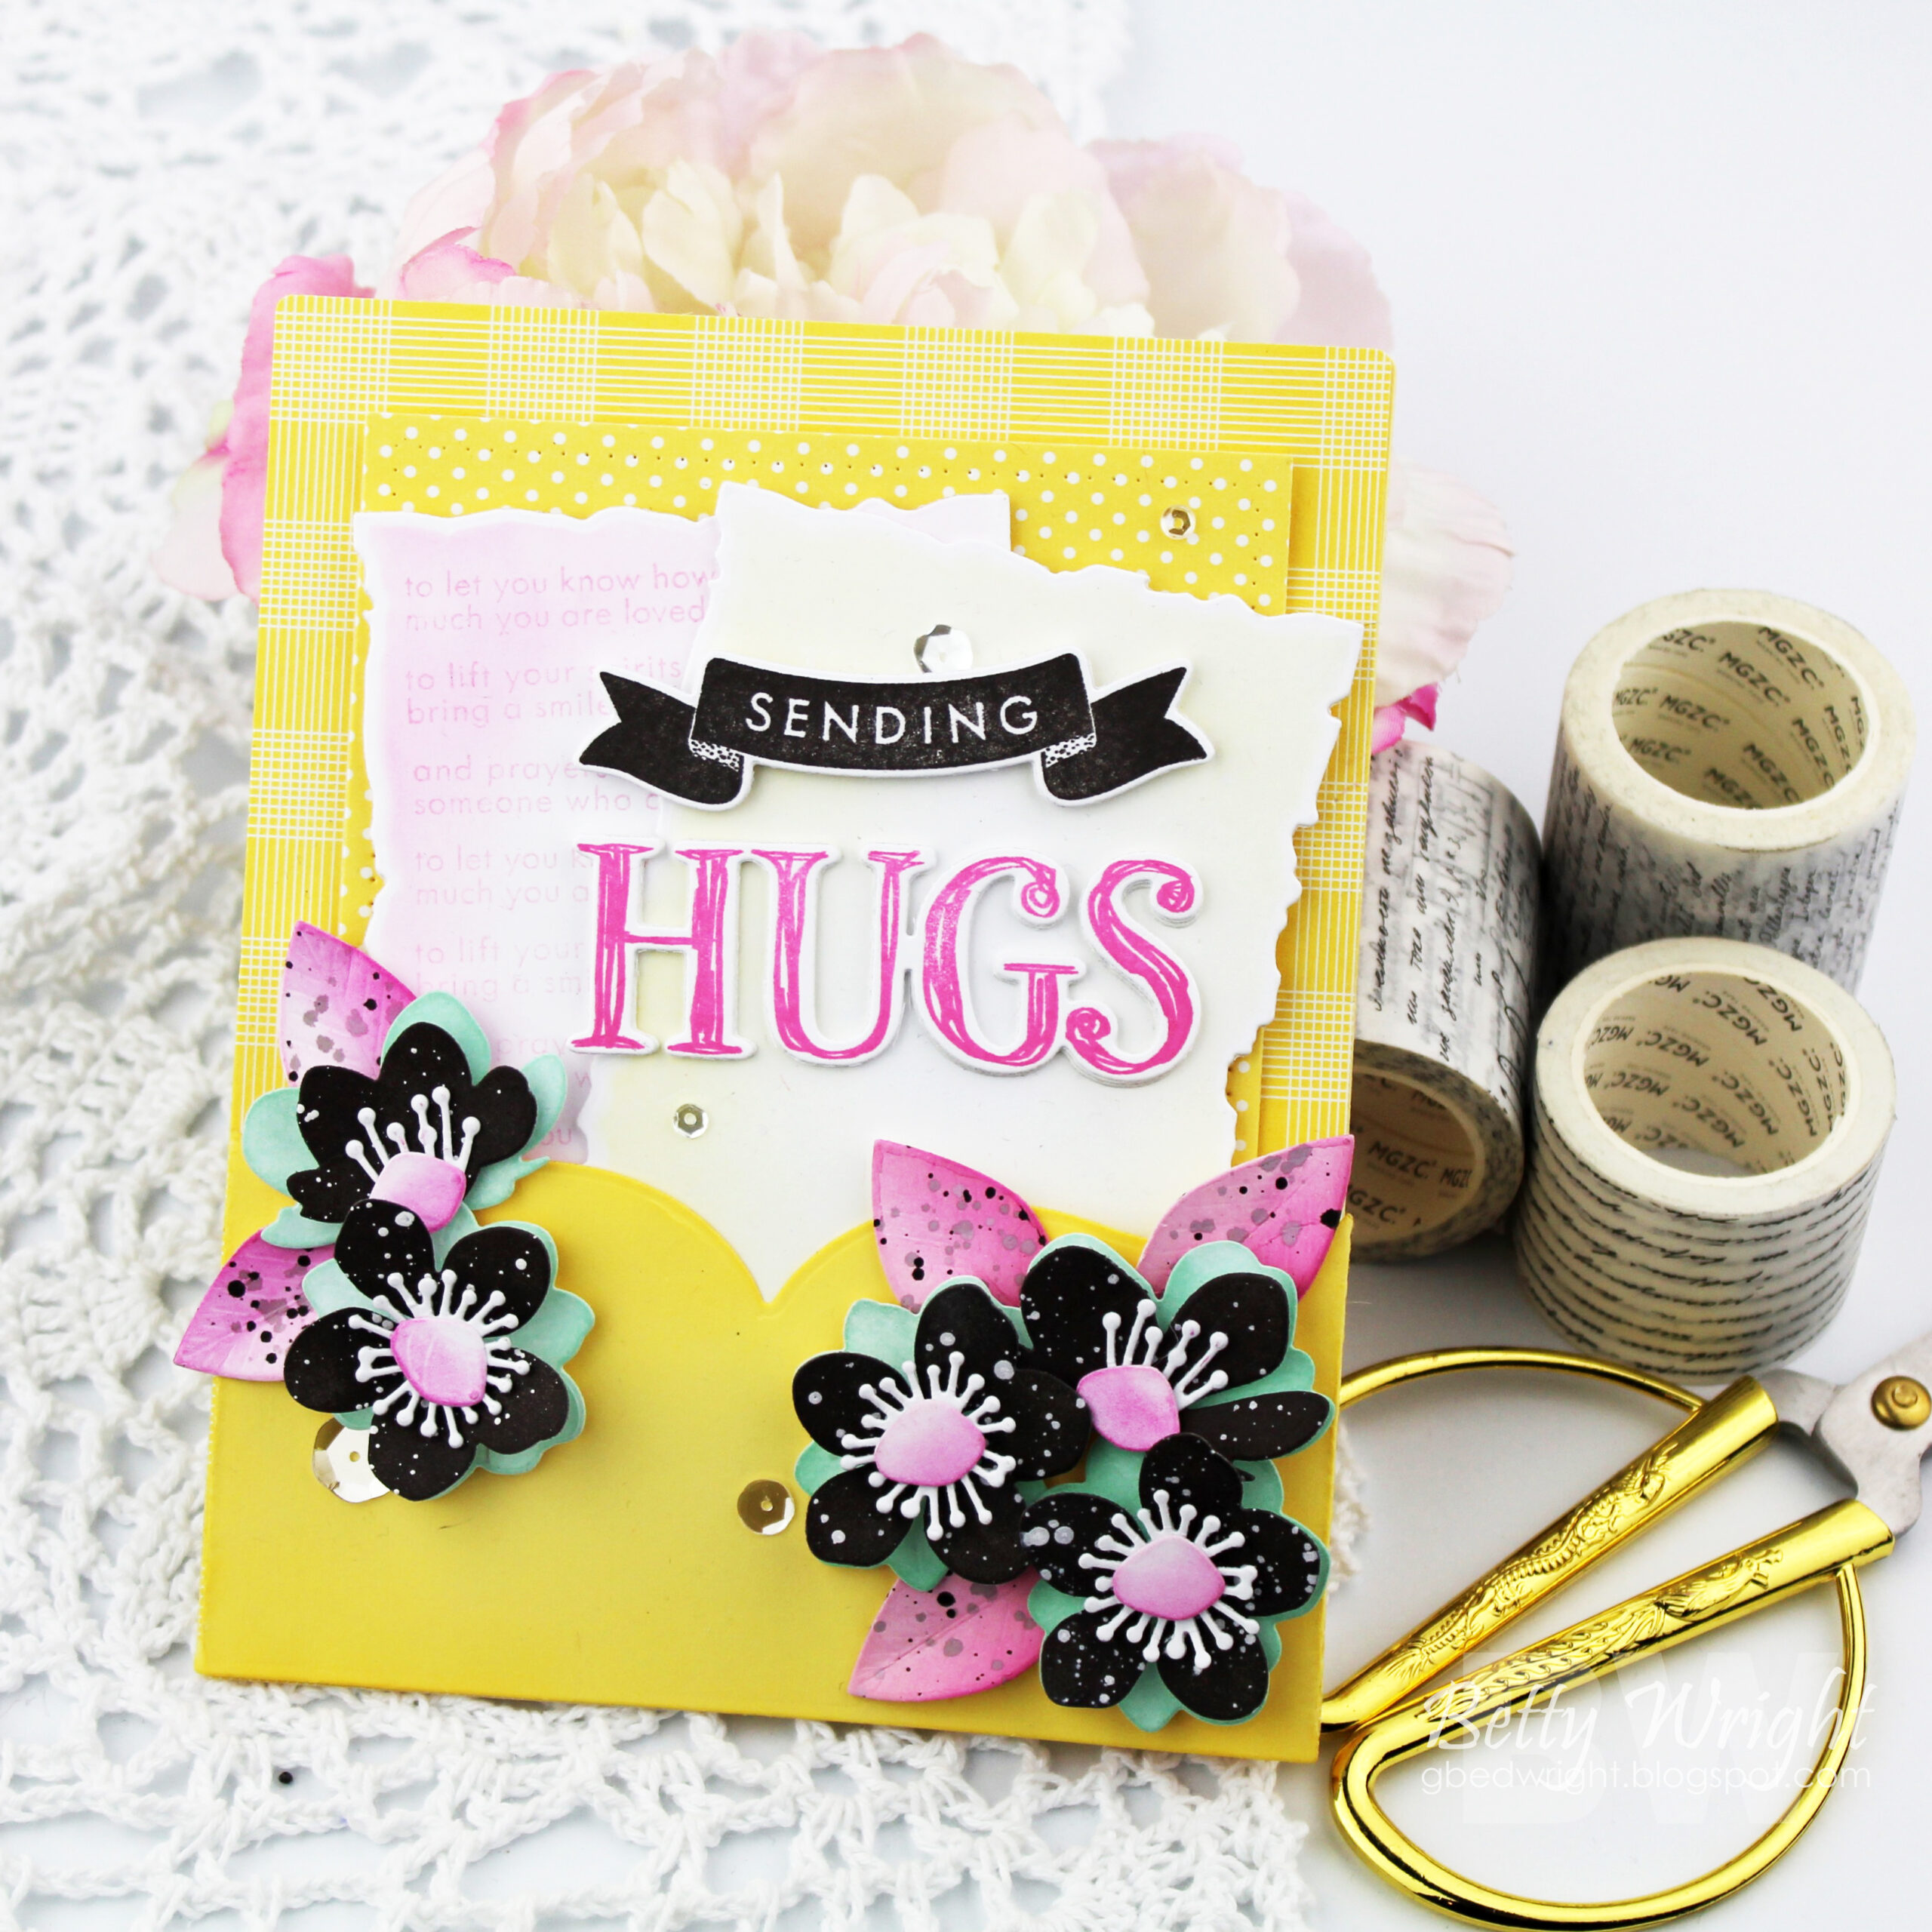
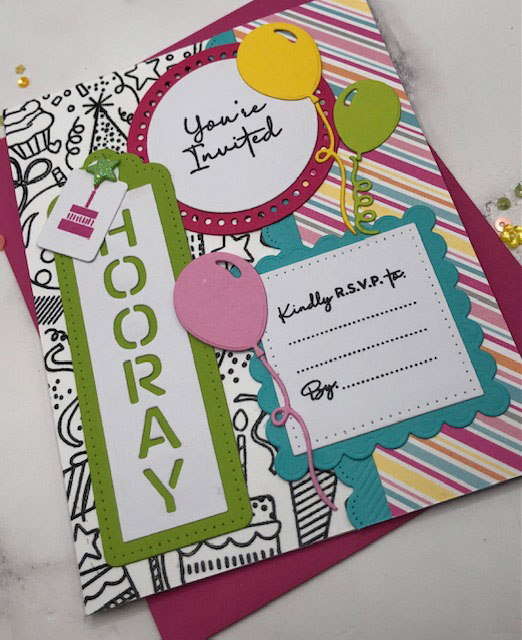
This next group of new products are simply delightful! The new In the Pocket Dies and Party Time stamp set make creating party invitations of any variety so easy, fun, and beautiful!
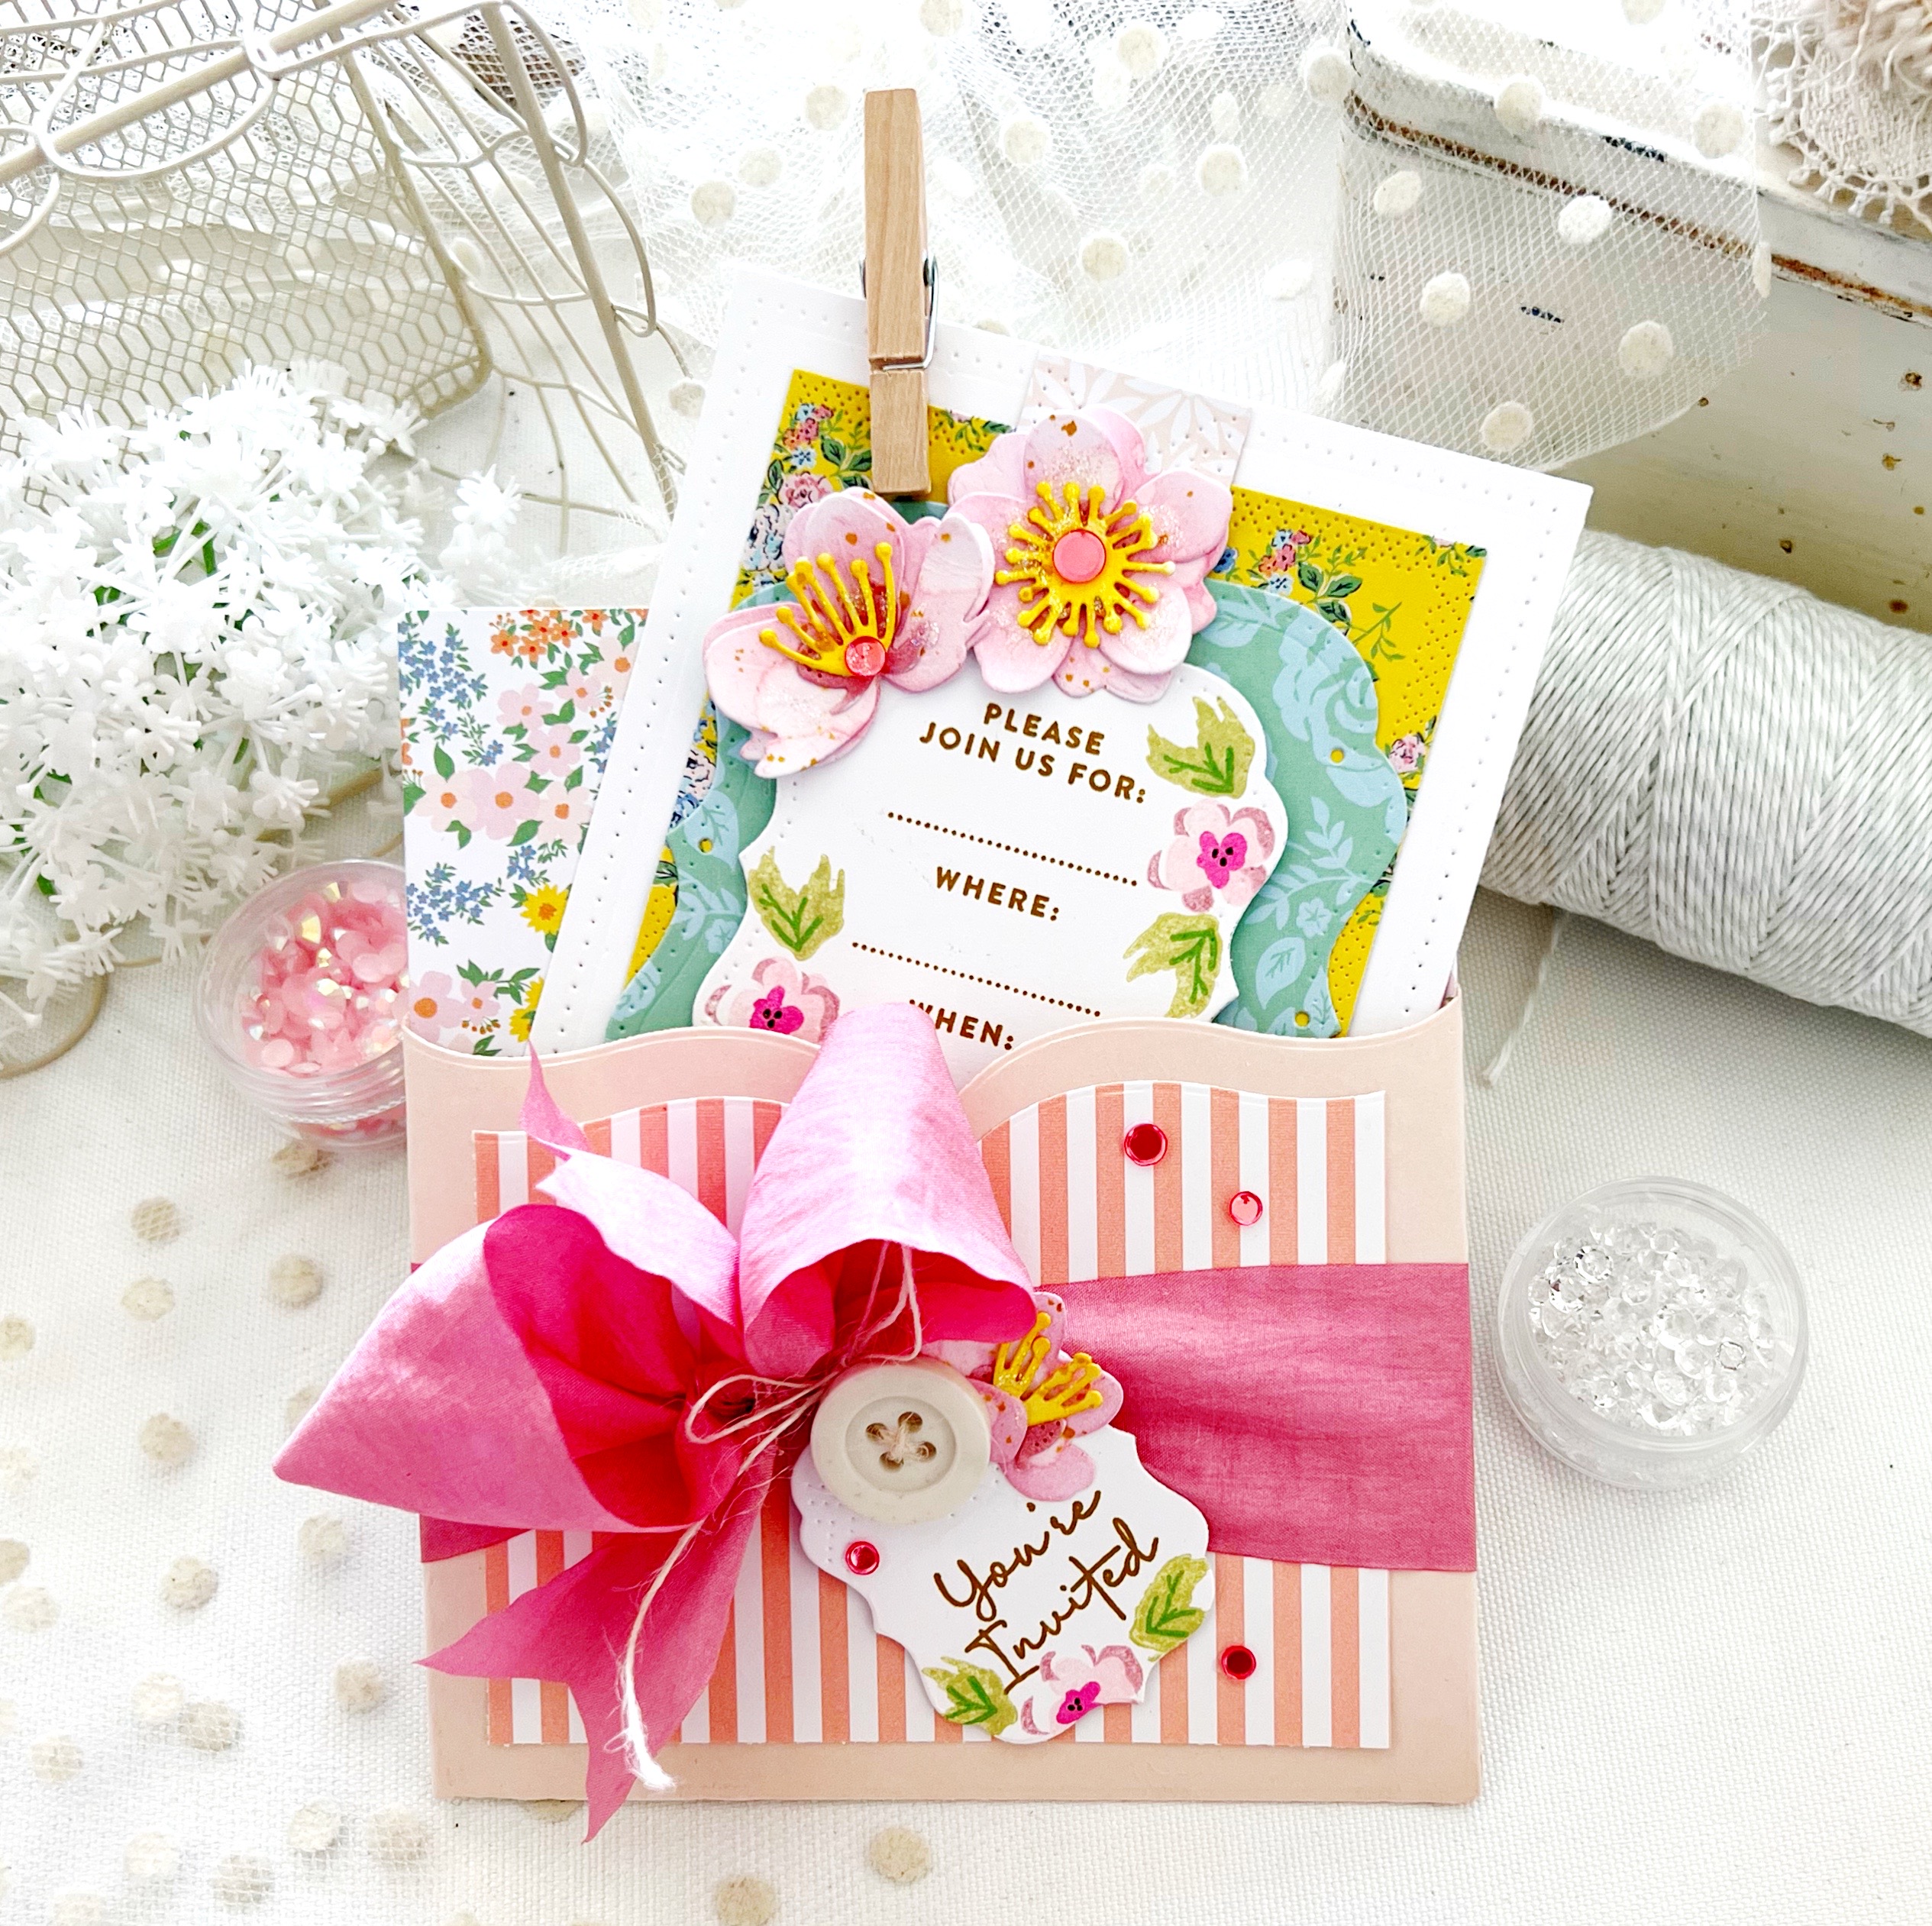
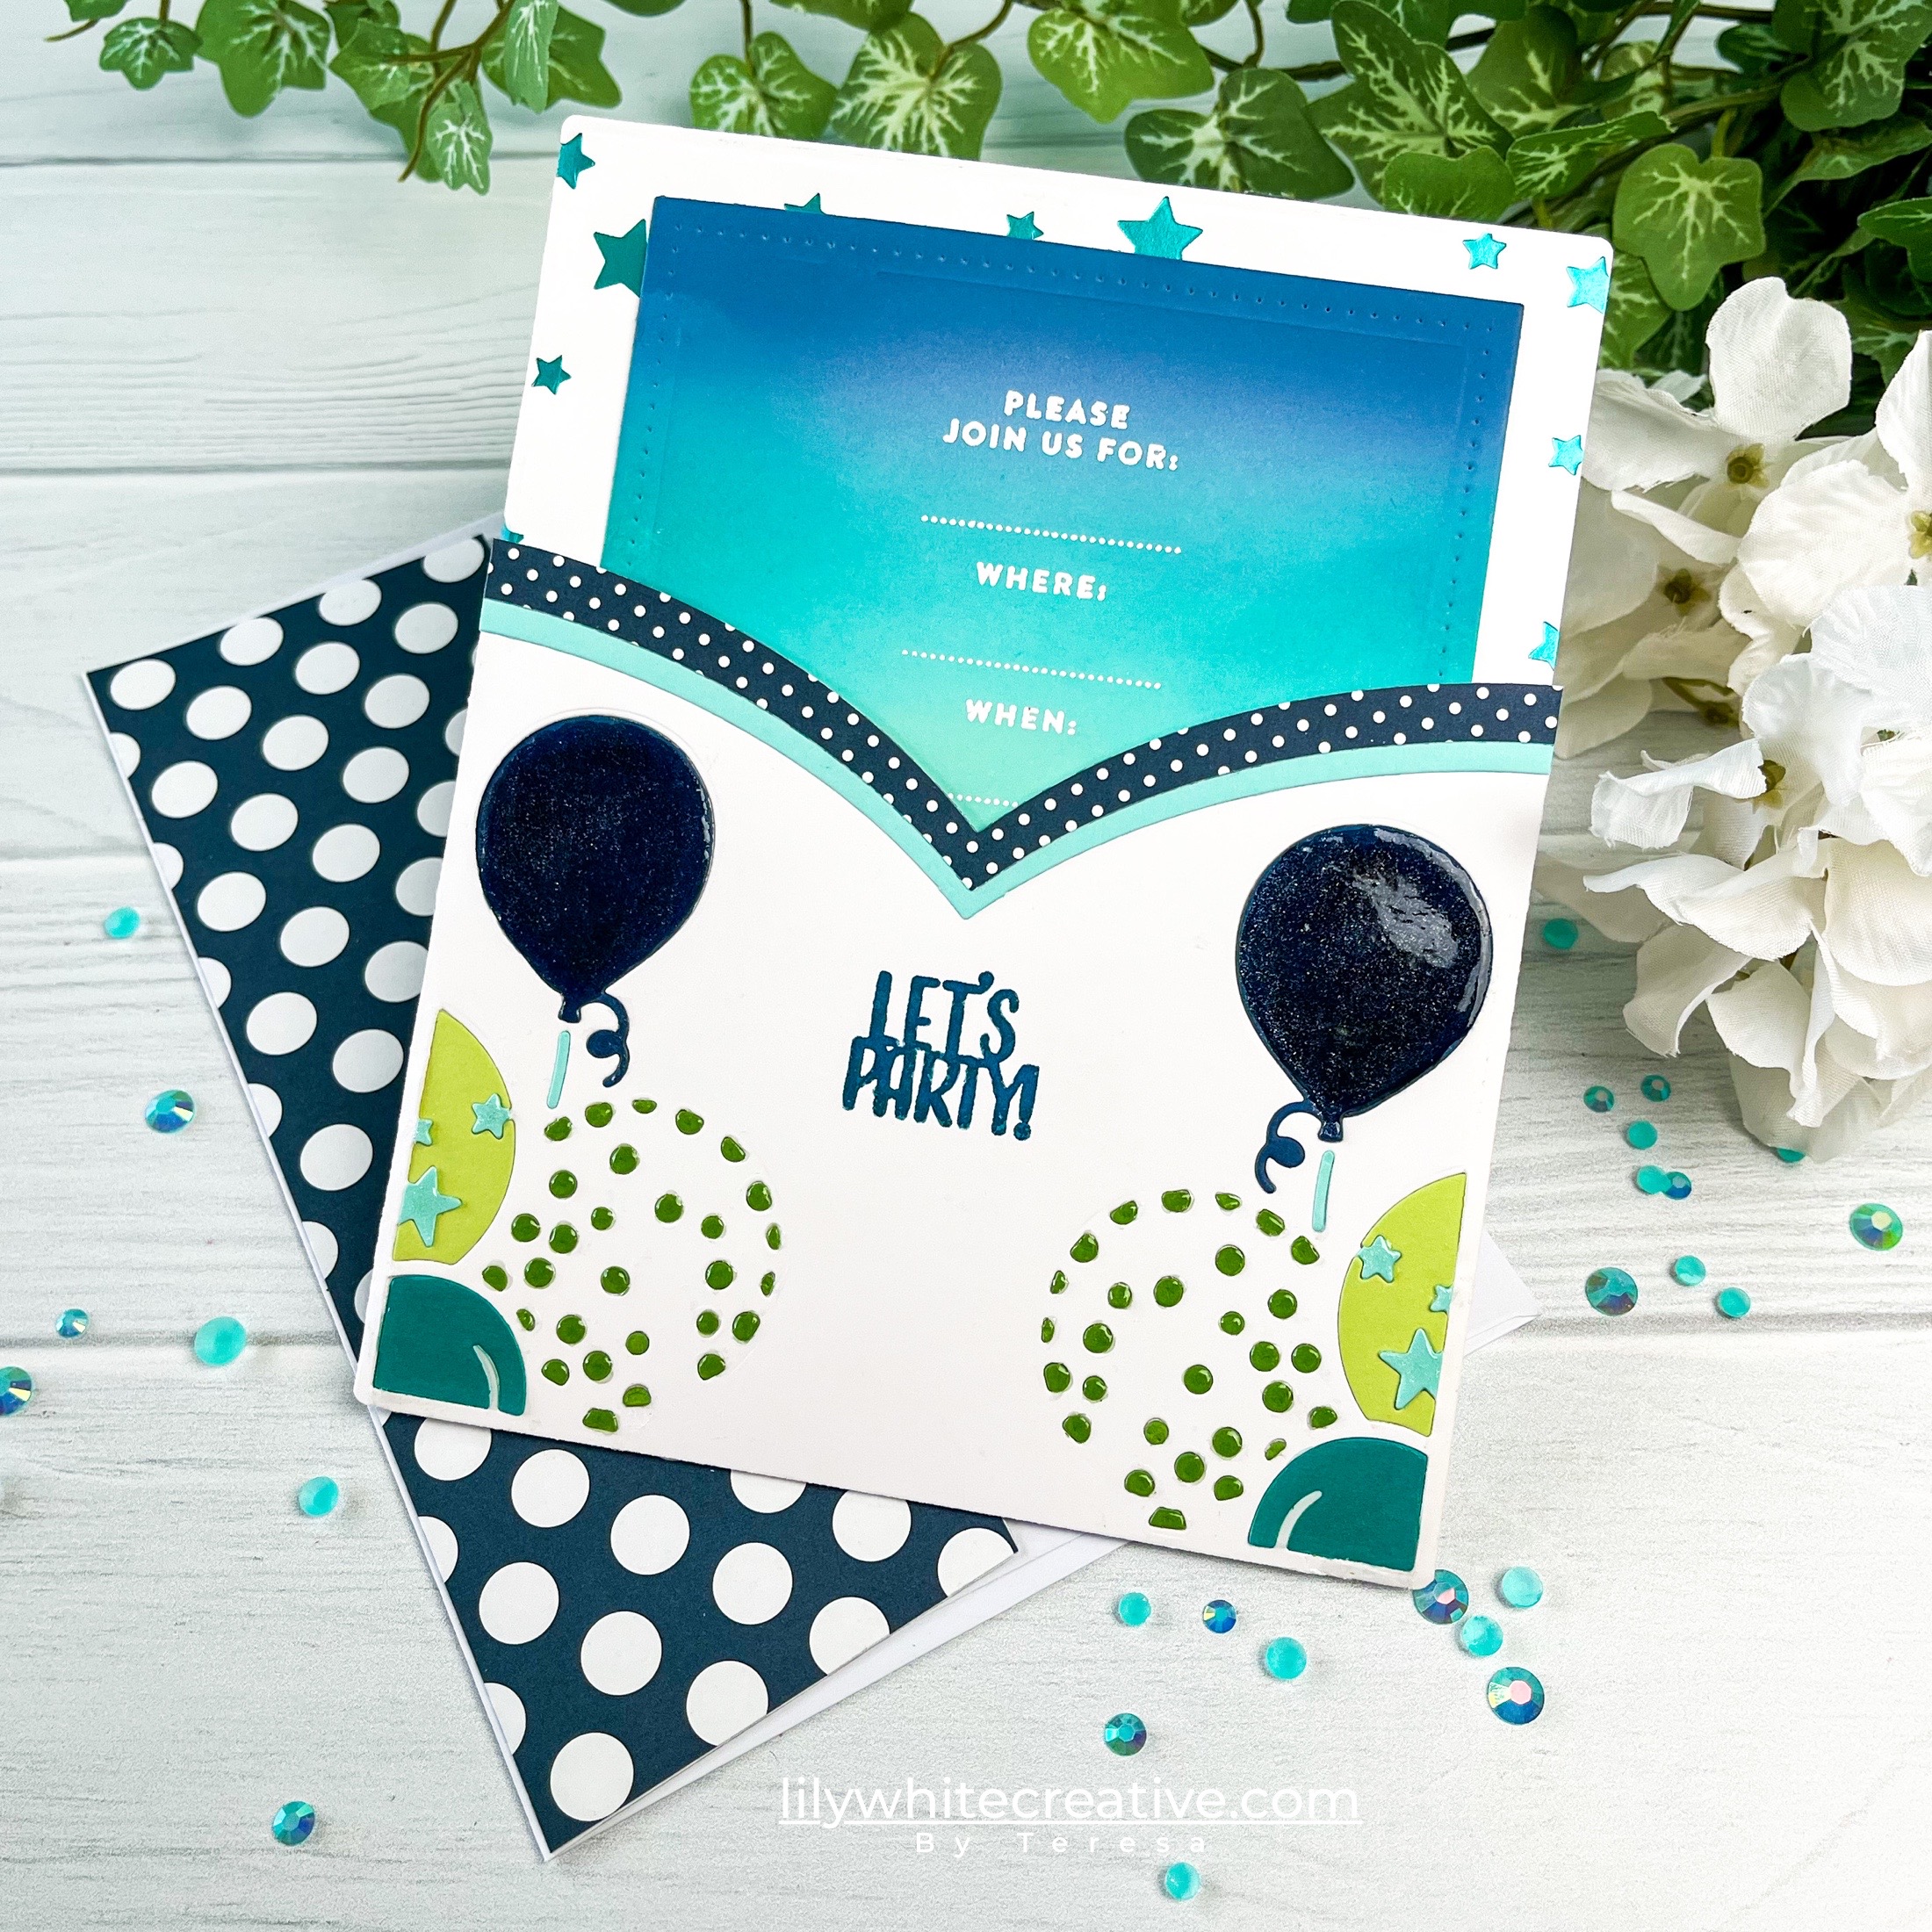
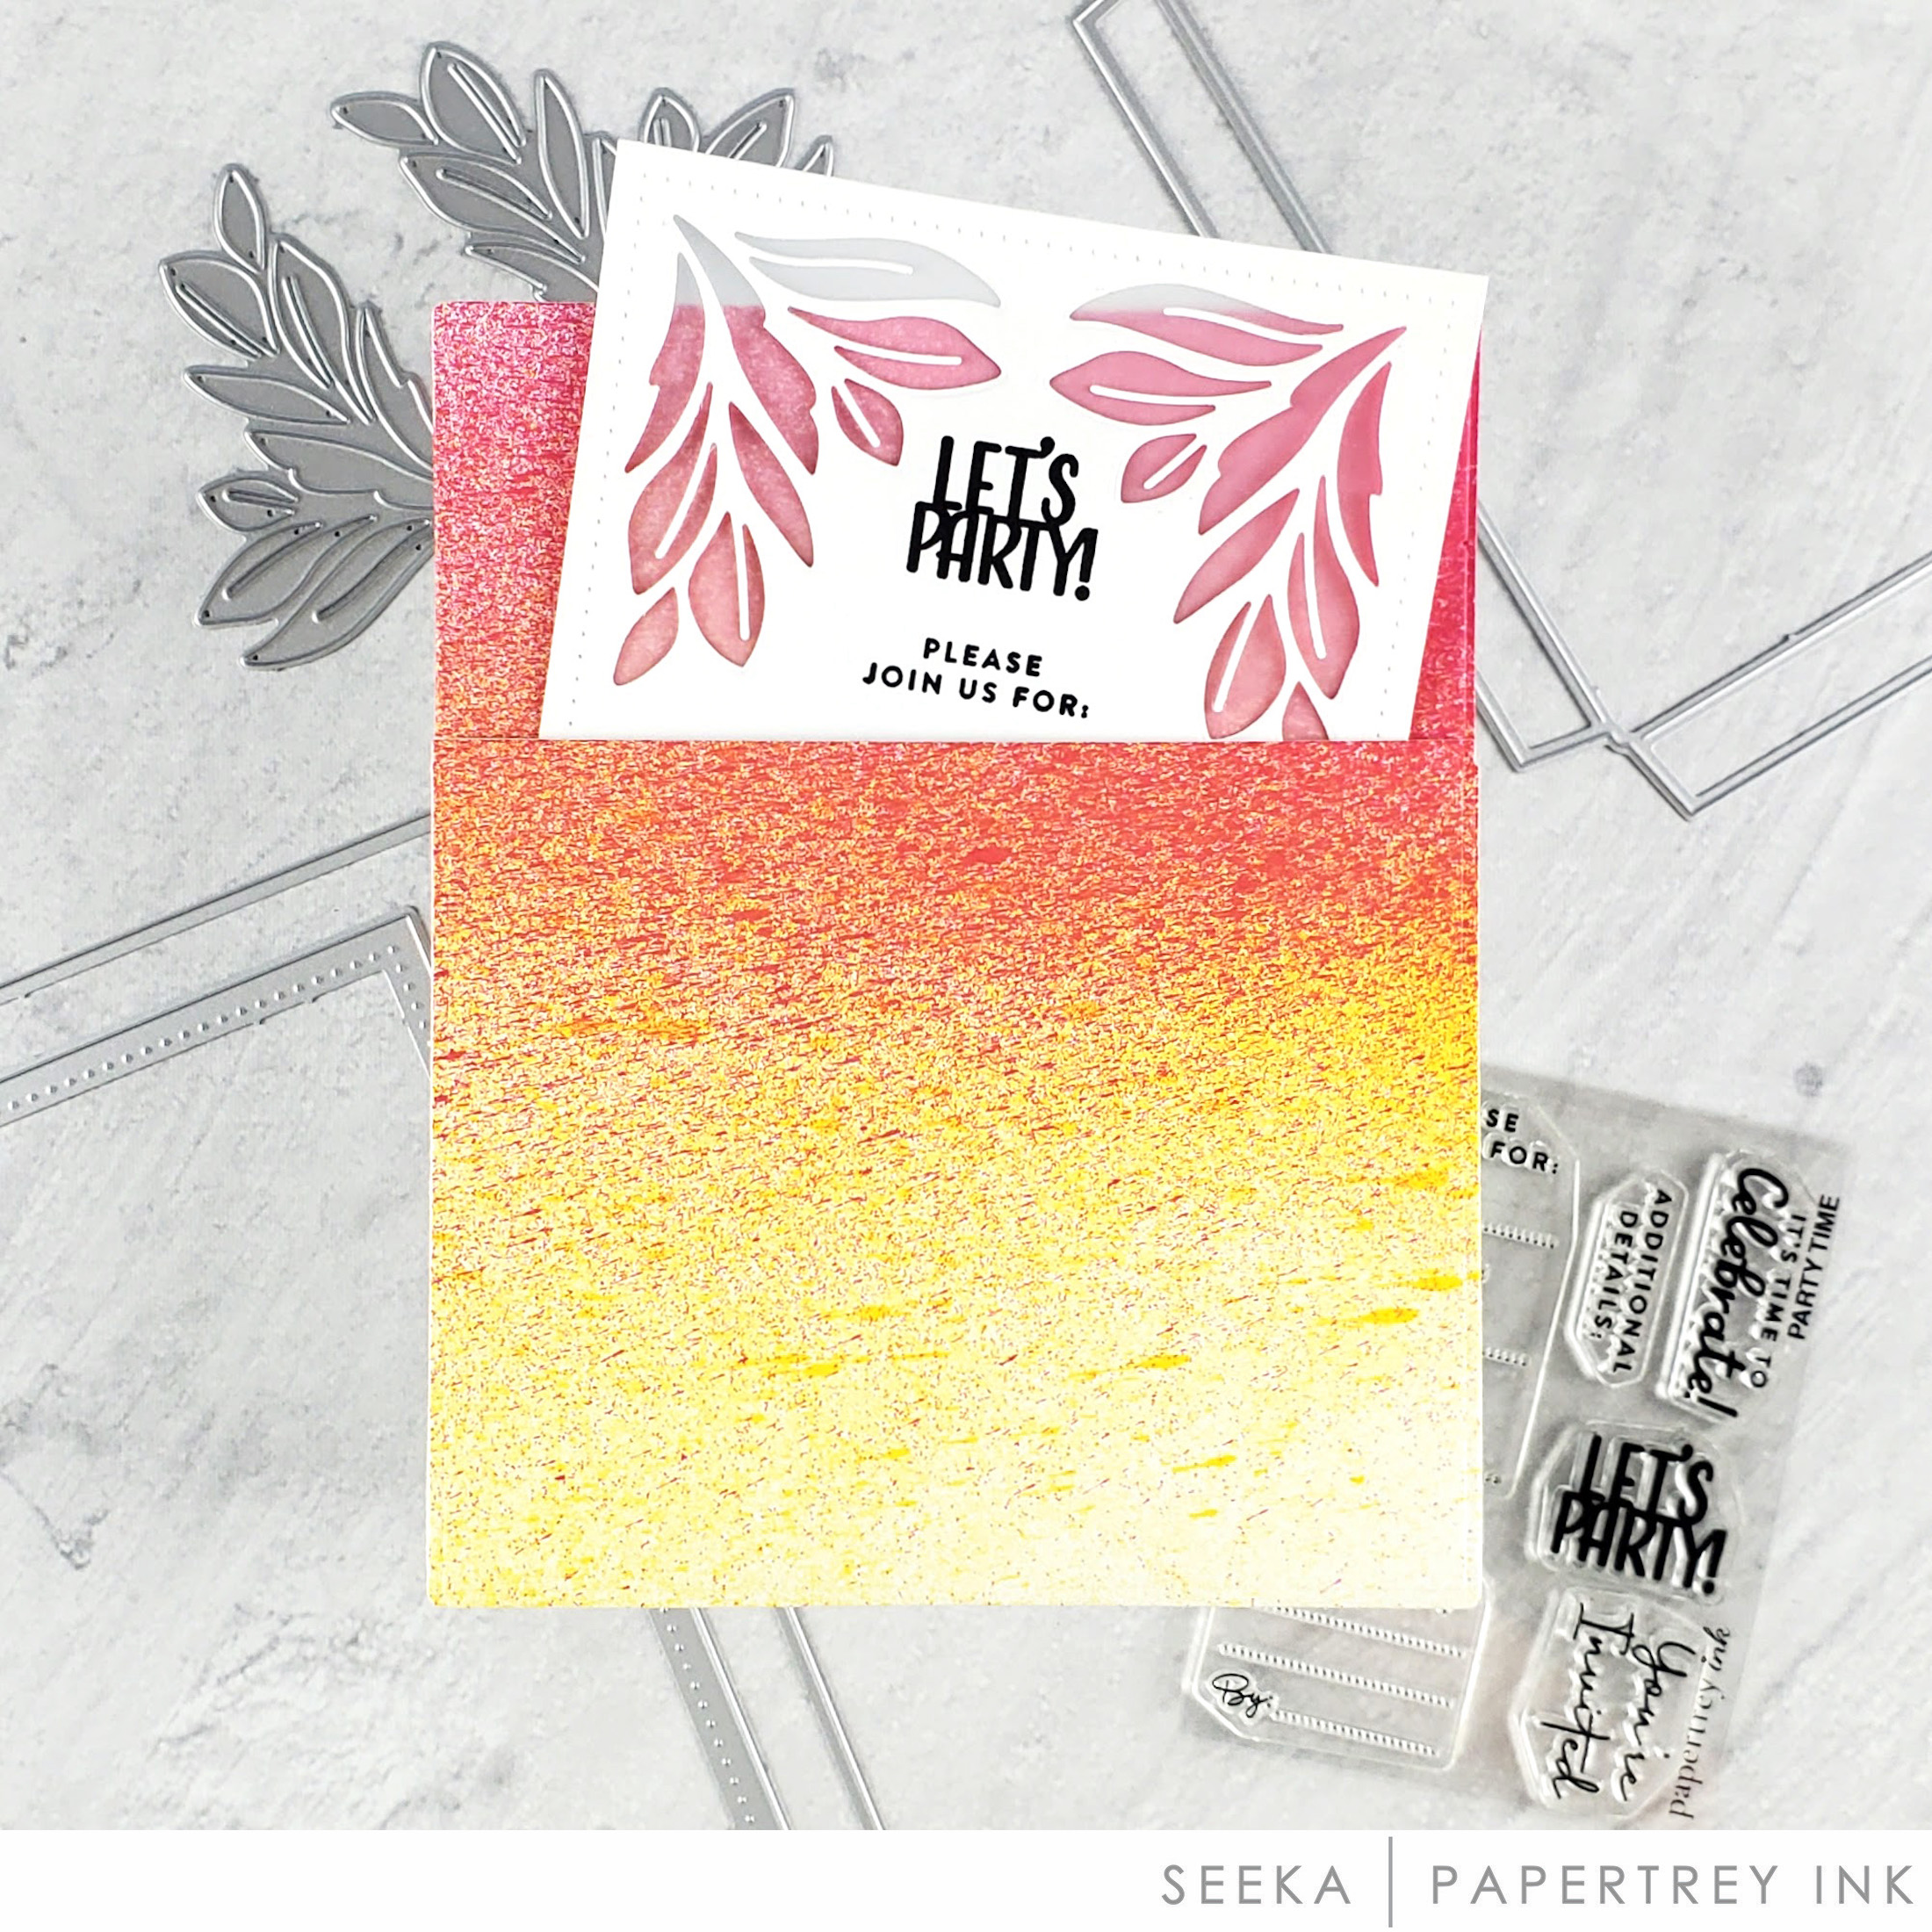
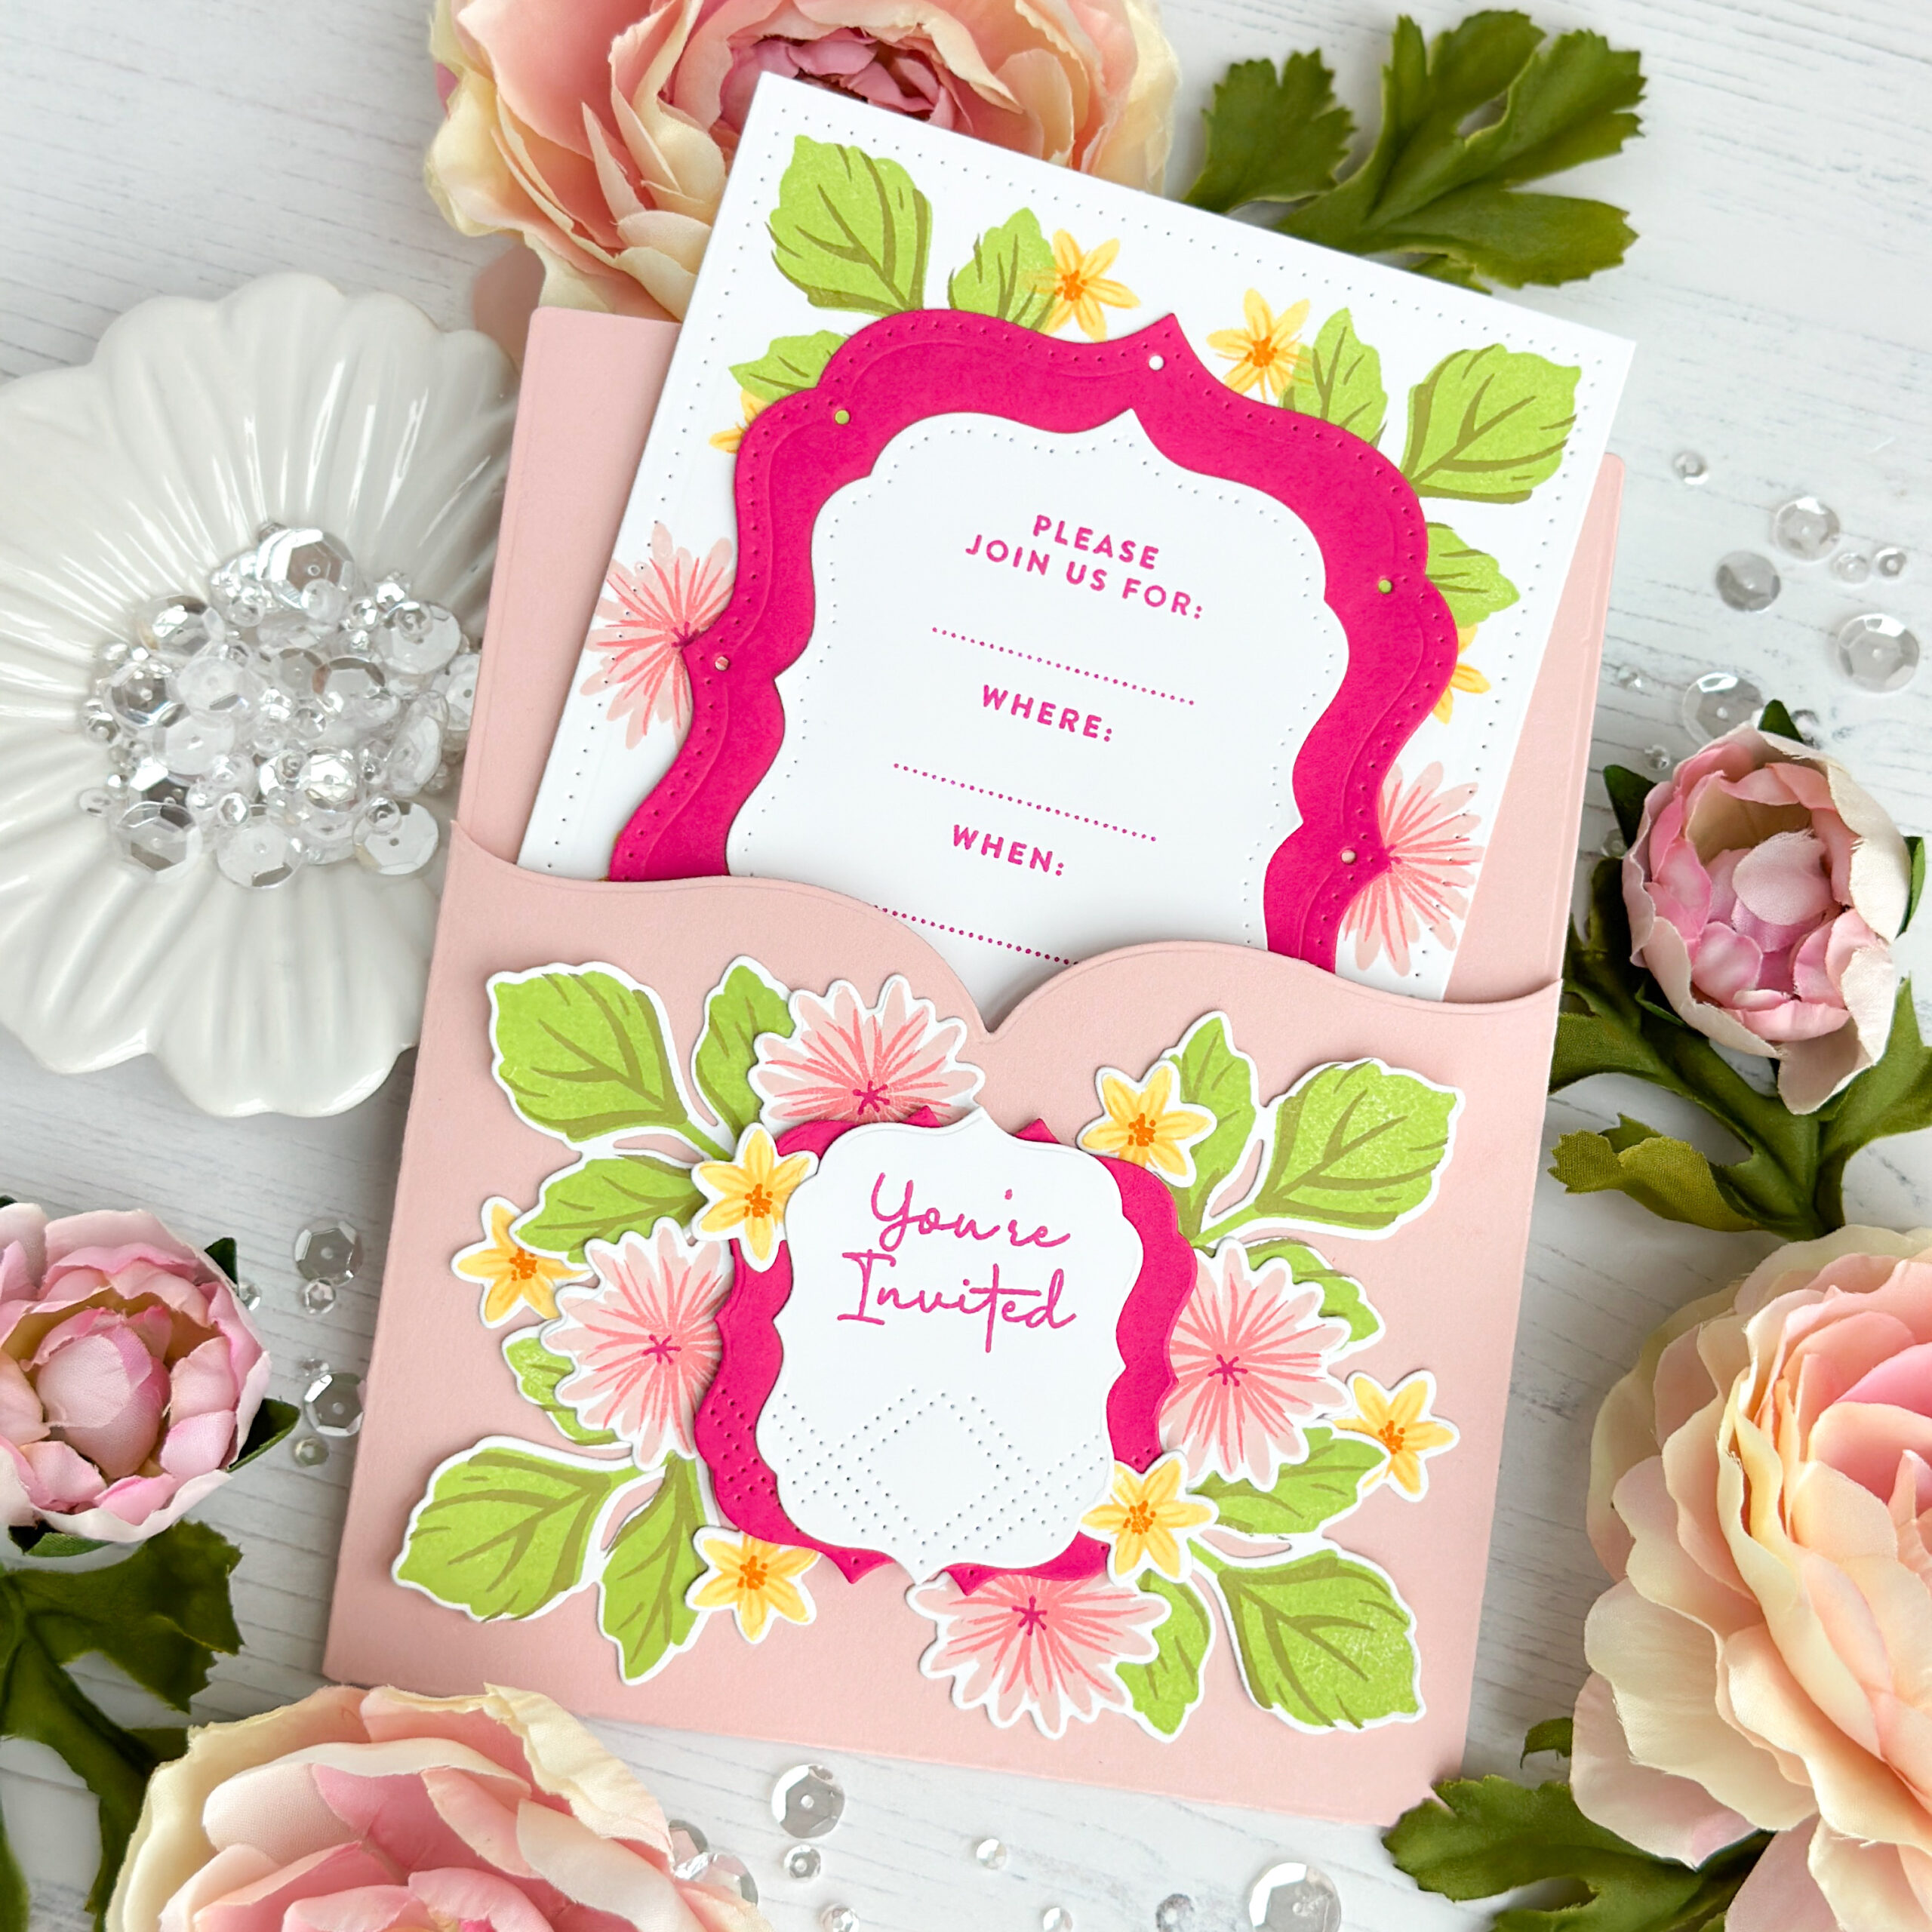
My party invitation could be used for a variety of occasions. Think baby shower, bridal shower, Mother’s Day tea party, Wedding announcement, etc. I really wanted my patterned paper to play a large role in creating this project. The in the Pocket dies are a 3-step die with 3 other options to create a decorative edge on your pocket. I love the soft, curved bracket edge, so chose that for this invitation.

I used a base of Sweet Blush cardstock followed by some Bitty Big Pale Peony paper across the bottom of my pocket. The inside uses patterned paper in a variety of coordinating prints. I used the smallest Love to Layer: Decorative Brackets die to stamp “You’re Invited” and also added some soft florals form the Sprigs & Sprays stamp set to dress it up and tie it in with my actual invitation. I attached it to a large bow and used a fun jumbo button from the Birthday Tag Kit. I used one of the Into the Blooms: Cherry Blossoms to embellish my tag too. Isn’t it cute?
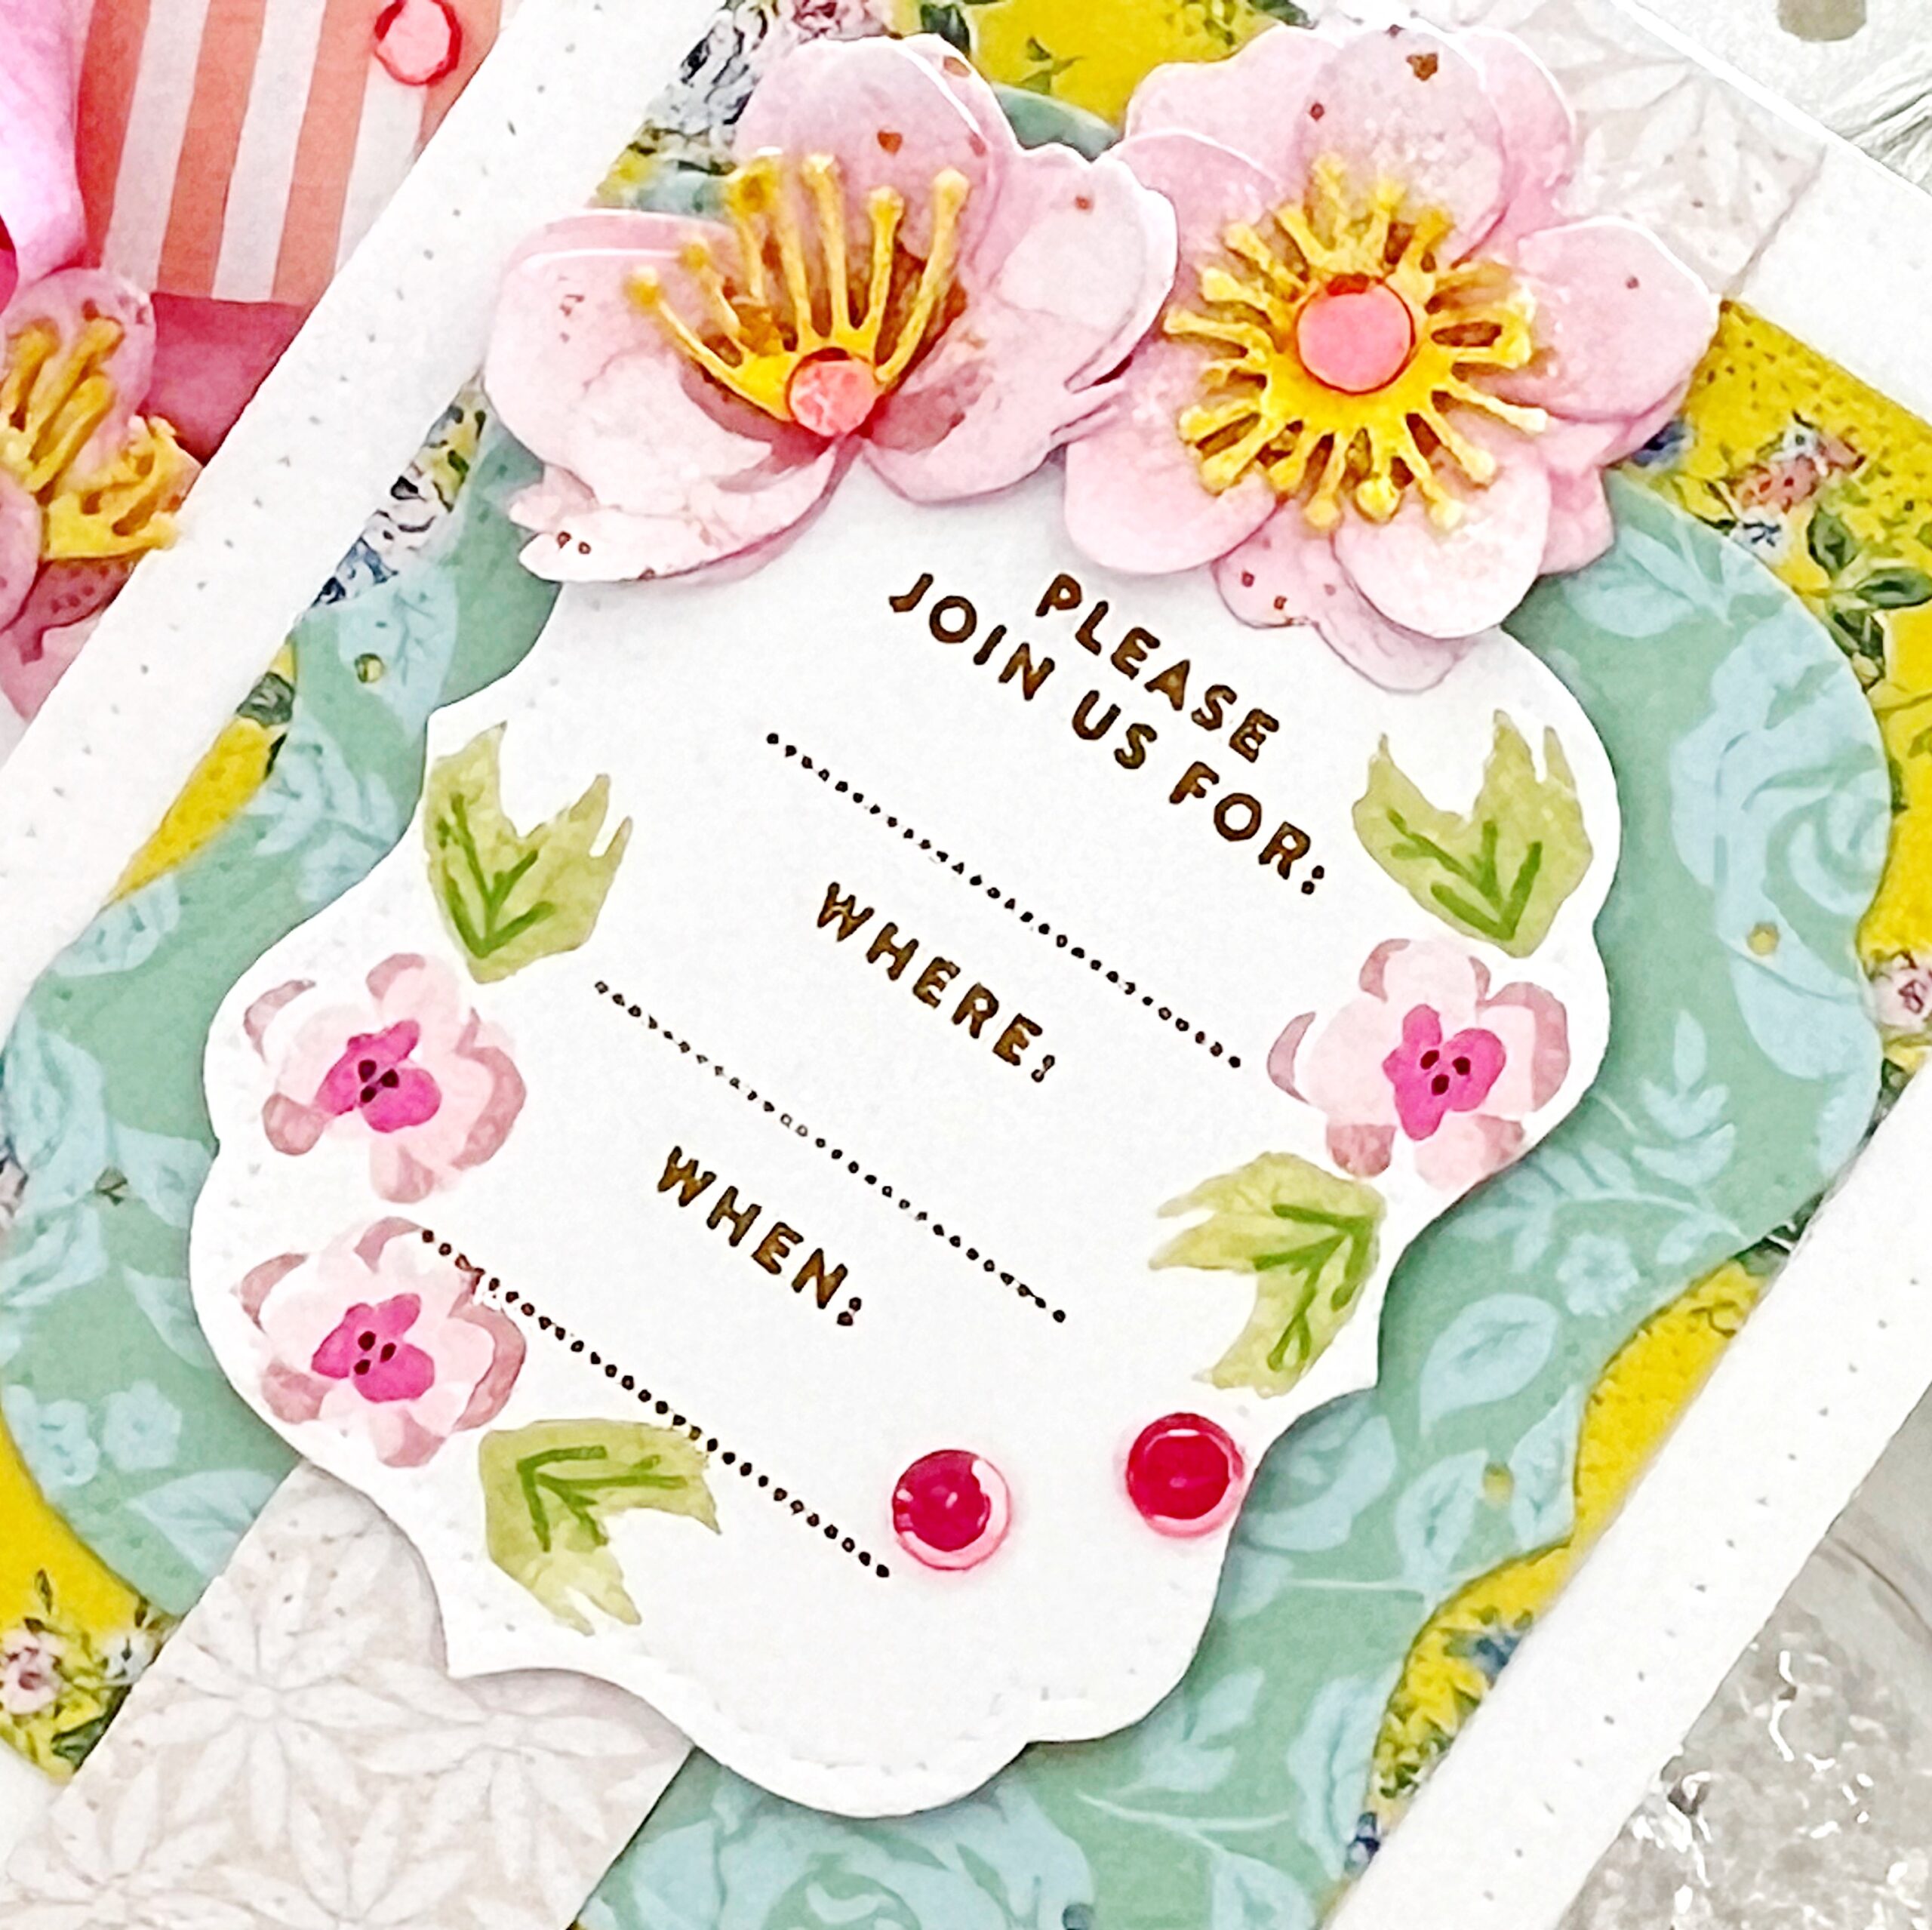
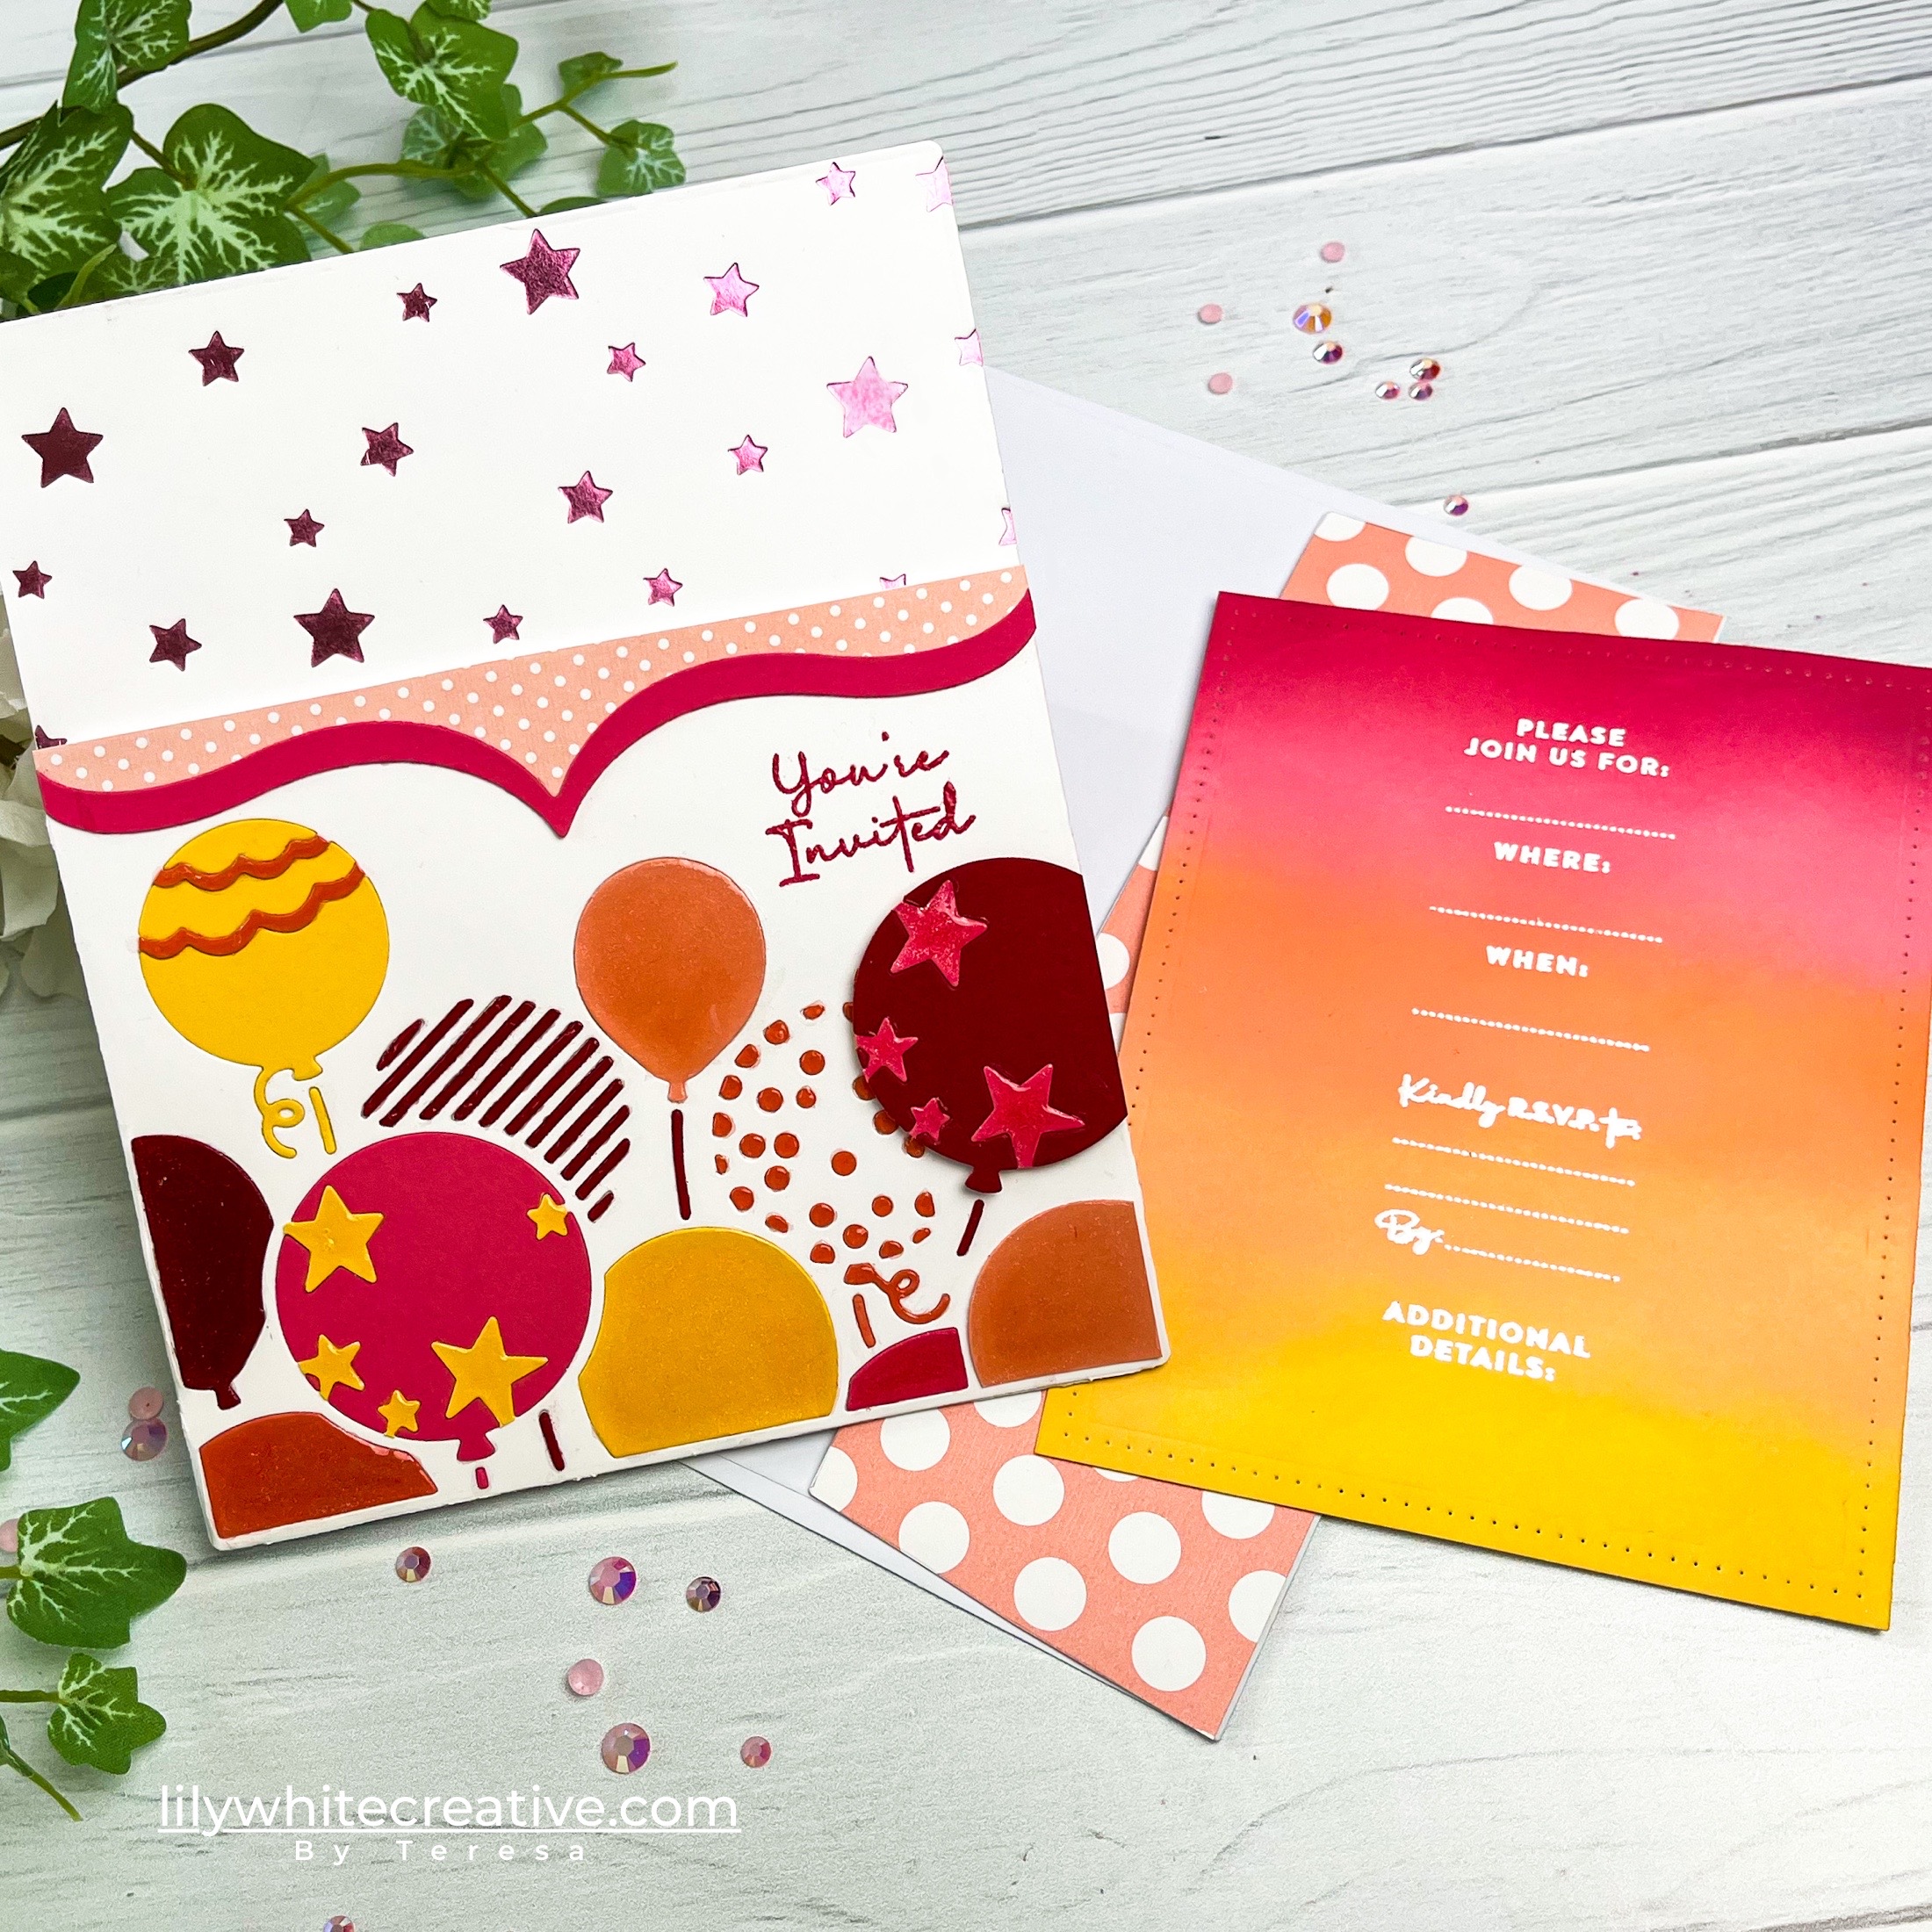
My insert uses the Love to Layer: Rectangles die and two sizes for the Love to Layer: Decorative Bracket die as well as the embossed strip that fits perfectly vertically down the center of the card. I used the darling Party Time stamp set to add the party details to the inside of the pocket and embellished with more cherry blossoms and florals from Sprigs & Sprays.
These dies make creating darling pocket invitations to much fun! Just wait until you see how our designers have dressed up their pockets.
Supplies Used:
STAMPS: Party Time, Sprigs & Sprays
INK: Saffron Spice, Spring Moss, Hibiscus Burst, New Leaf, Autumn Rose, Lovely Lady, Sweet Blush
PAPER: Stamper’s Select White, Sweet Blush, Bitty Big Pale Peony
DIES: Love to Layer: Decorative Brackets, Love to Layer: Rectangles, Into the Blooms: Cherry Blossoms, In the Pocket
OTHER: Patterned paper, Moonshine sequins, Stickles glitter, ribbon, buttons

TIPS:
- Mix various colors and patterns of papers
- I used the tiny hearts as embellishments
- You can angled your elements inside of your pocket

TIPS:
- Your pocket can be side facing
- Use different embellishments to create a pull tab for your pocket insert
TIPS:
- You can change the depth of your pocket by cutting the accent element lower
- Add ink blending to the inside of your diecut frames to create a “faux layered” look


We hope you have enjoyed all the beautiful projects that we have shared with you today! We would love to hear what you think of everything we have introduced! Please leave a comment on this post to tell us what you like the most and why, and you will be eligible to win big!

Leave a comment today and you will be automatically entered to win a $50 Papertrey Ink gift certificate! You have until 10am ET, January 25th to leave your comment and be eligible to win. Only one comment per person please. One randomly selected winner will be posted on the January Release Winners Page by 11 PM ET on January 26th.


Leave a Reply