


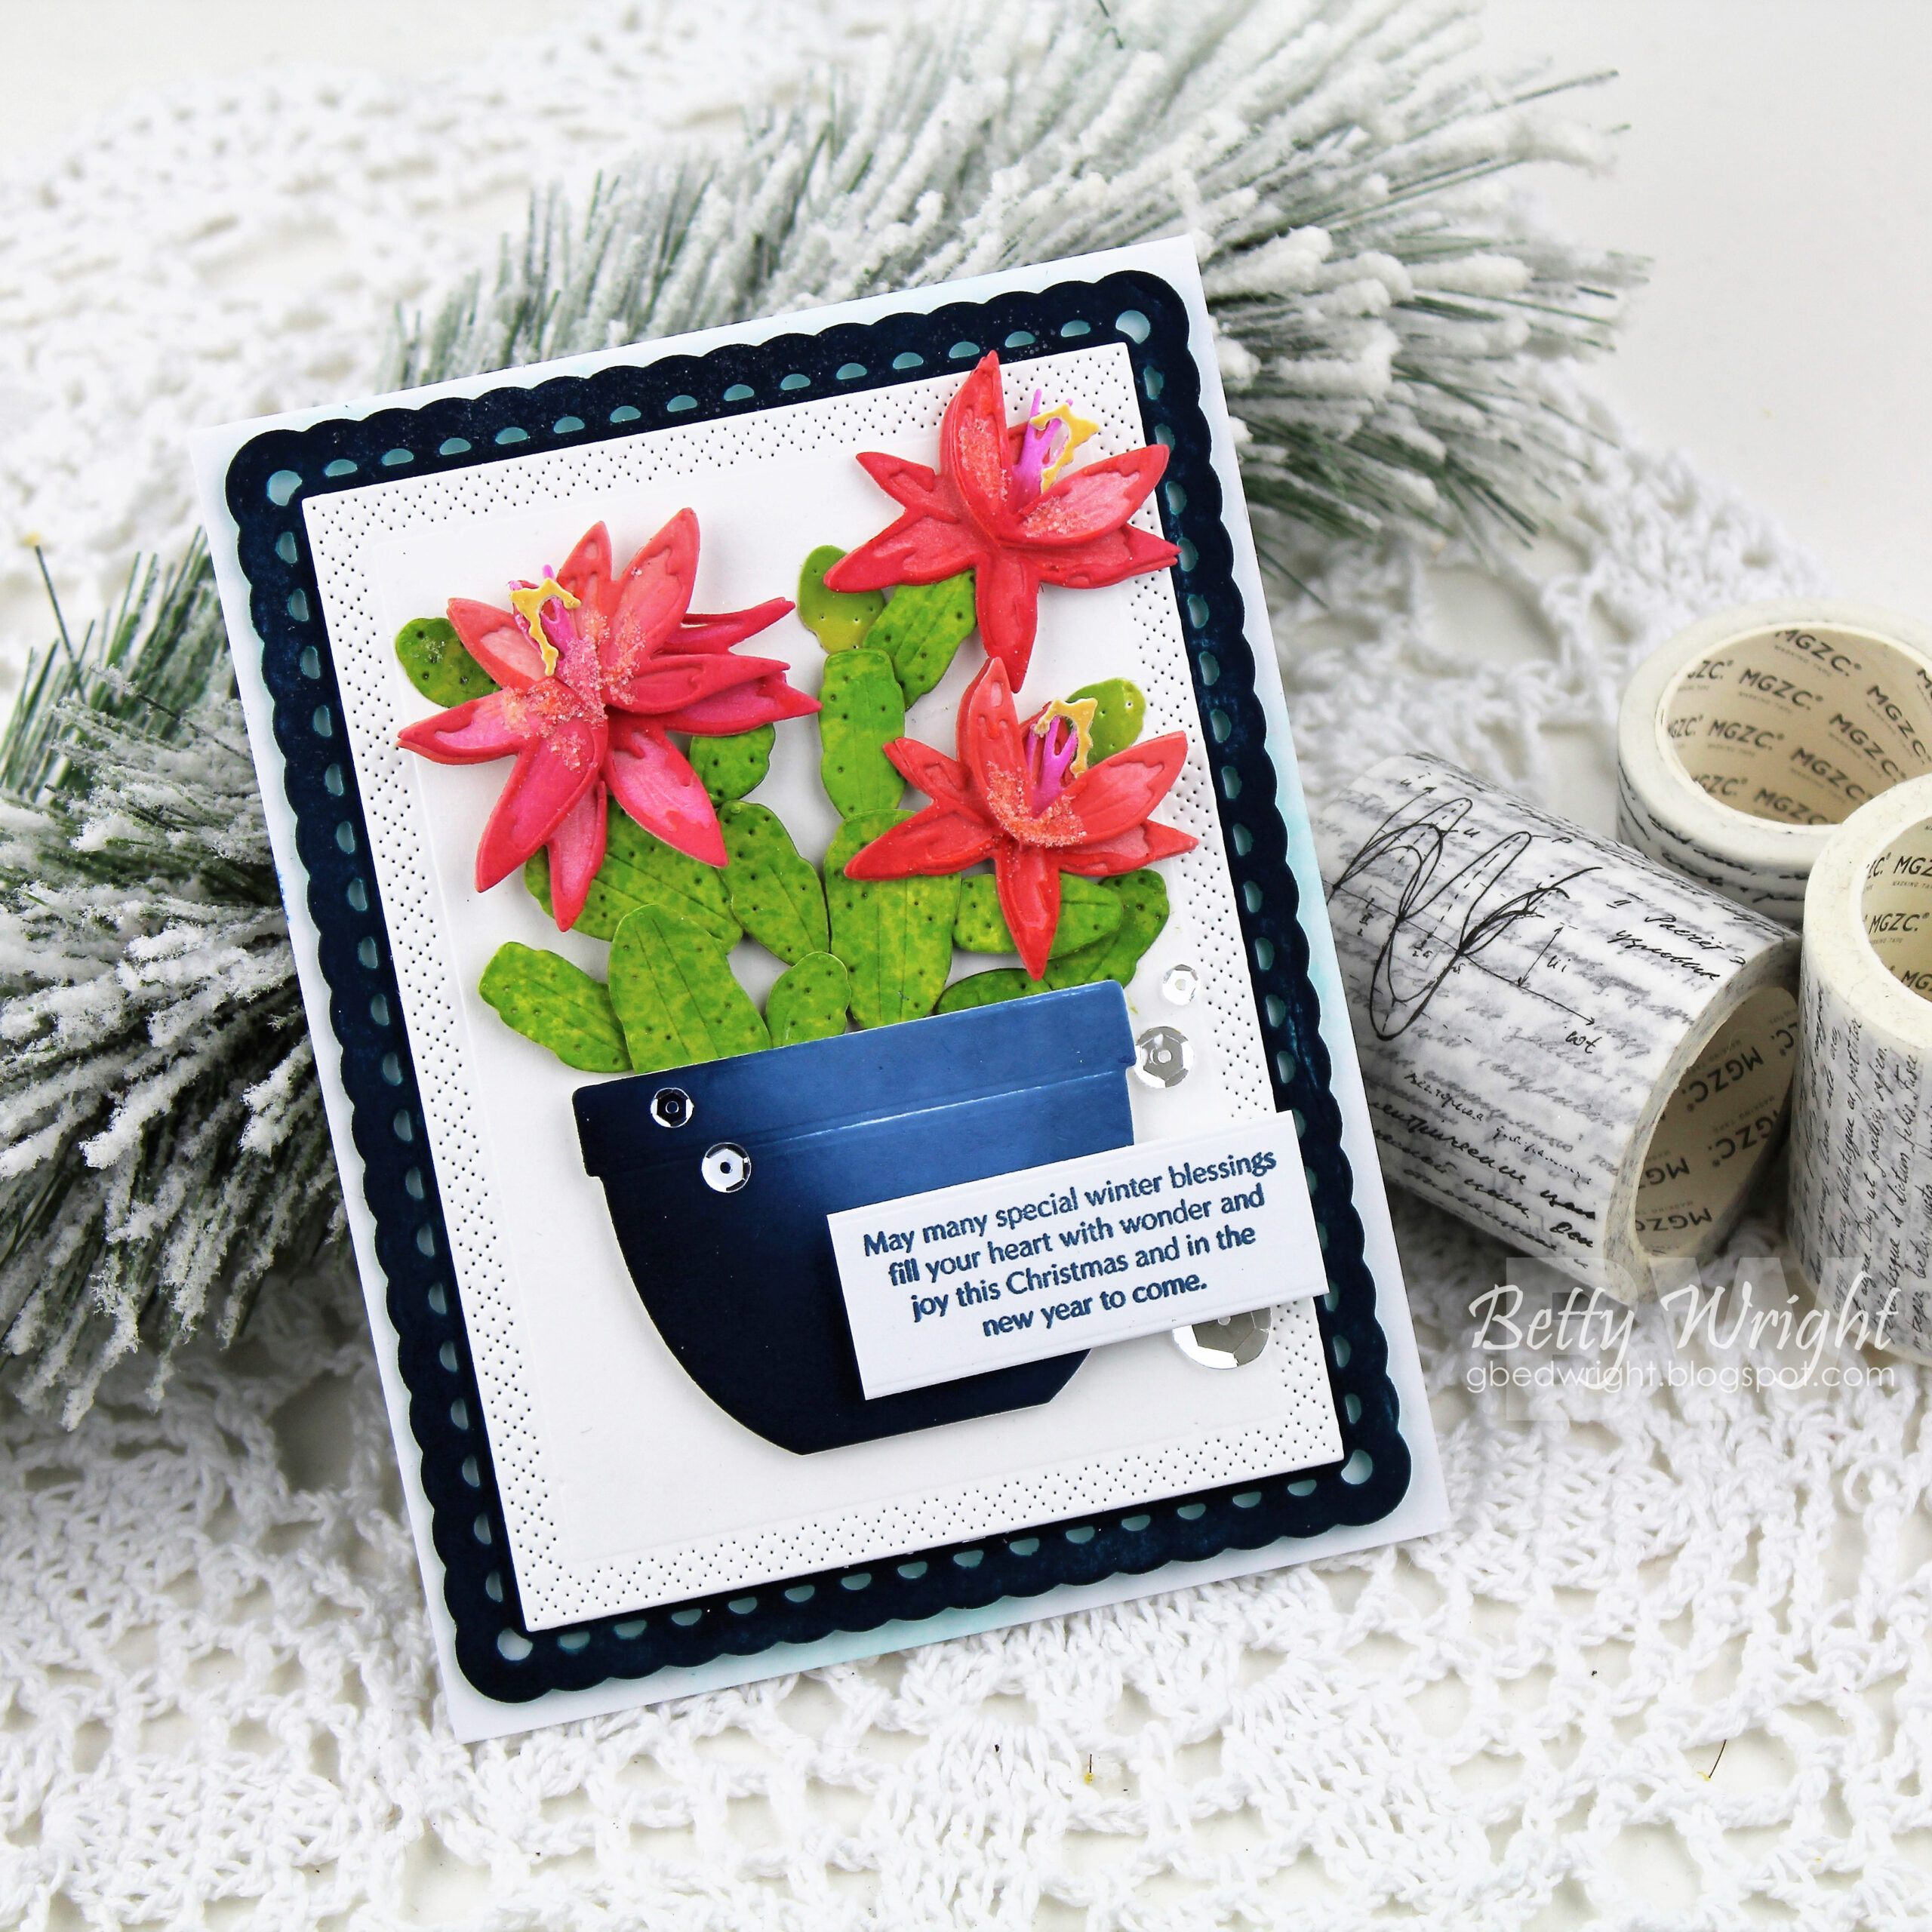
On Day 2 of our November Countdown, I’ve got some really beautiful and playful new products to share with you. Let’s start with our newest Into the Blooms: Cactus dies, our newest Cover Plate: Stitched Florals die, and Inside Greetings: Winter Wonderland stamp set.

I’ve used the blossoms from the Into the Blooms: Cactus die collection to embellish my Christmas wreath. This fun die collection also includes a pot for your potted Christmas cactus. You’ll love how our designers have used the pot and blossoms together. I wanted to show a slightly different way of using these dies, hence the embellished wreath, stamped and die cut using an older set called Wreath Favor Box Sentiments.

The cactus blossoms are built from multiple layers of die cuts and create the most beautiful flowers. I love that they can be used year-round! After die cutting, stamping, and heat embossing my wreath, I added my Inside Greetings: Winter Wonderland sentiment. I then embellished my wreath using the Into the Blooms: Cactus blossoms and leaves, pine springs, and glittered snowflakes.

In the background of my card, my card base consists of using the gorgeous, new Cover Plate: Stitched Florals die. I adore this beautiful Cover Plate! It has a simple stitched design that will dress up any background or card base. I then layered on red cardstock that was foiled using the new Cascading Dots: Hot Foil Plate and silver foil. The corners of my card are embellished using die cut photo corners, cut using the Vintage Blooms dies.
Supplies Used:
STAMPS: Inside Greetings: Winter Wonderland
INK: Pure Poppy, Scarlet Jewel, New Leaf, Ripe Avocado, Olive Twist, Bright Buttercup, Summer Sunrise
PAPER: Ocean Tides, Stamper’s Select White, Pure Poppy, Ripe Avocado
DIES: Vintage Blooms, Cover Plate: Stitched Florals, Into the Blooms: Cactus, Border Bling: Snow Flakes, Tag Creations: Modern Gift Die, Holiday Cheer Overlays, Wreath Favor Box Sentiments
OTHER: Cascading Dots Hot Foil Plate, silver foil, gold glitter cardstock, white glitter foam, white embossing powder, gold adhesive pearls, velvet ribbon


TIPS:
- Add texture to your card with pastes and stencils.
- Layer your sentiment dies with at least 3 layers to give it dimension and sturdiness.
- Use blending brushes to add the color to the leaves and flowers.


TIPS:
- Use stencils in tone on tone ink and paper for a subtle pattern.
- Cut a doily die in half to add a delicate detail to the design.
- Smoosh a variety of distress inks onto a sheet of water color paper then cut out the flowers, leaves and vase. It will give you a variety of color shades with little effort.

Our next group of new products today will knock your sock off! With creating handmade wrapping paper, gift bags, tags, cards, and embellishing your Christmas envelopes in mind, you’ll love our new Iconic Christmas stamp set and dies. To further the fun envelope-theme, our new Deliver by Dec. 25th stamps and dies, create fun postmarks for your holiday creations!

Let’s start with an embellished envelope, shall we? I think creating coordinating Christmas envelopes is such a fun way to spread the holiday cheer, don’t you? The Iconic Christmas stamps and dies are the perfect way to do just that and makes the process so easy and fun! I first began by running my envelope through my die cut machine with the new Cover Plate: Stitched Florals die. This gives your envelope a beautiful pattern and texture on both sides.

Next I added patterned paper and a block of pink cardstock, stenciled using the new Ho, Ho, Ho Stencils. These stencils are delightful and playful! The fun address label attached to the center of my card was created using the many different images found in the Iconic Christmas stamp and die collection. The set even includes lines for you to address your holiday envelopes.

I added postage stamps and fun seals in the upper right corner of my card using images from the new Deliver by Dec, 25th stamps and dies. This set is full of the most beautiful vintage-inspired images and ephemera…I adore all of them!

I created a coordinating card to tuck inside my hand stamped envelope. The Iconic Christmas stamps helped me create a stamped background, by using a sprinkling of candy canes across my white block of cardstock.

Once again, I used images from the Deliver by Dec. 25th stamps in the upper right corner of my card to coordinate and further the postage feel of my card and envelope. I added the scalloped label from the Iconic Christmas dies to the center of my card, followed by a Snowflake Banners die, layered vertically.

The sentiment included on my card is from the new Simply Snowmen, and provided the perfect, cheerful greeting for the recipient. I adore these new products and am so happy to have them in my holiday crafting stash!
Supplies Used:
STAMPS: Iconic Christmas, Simply Snowmen, Deliver by Dec. 25th
INK: Pure Poppy, Spring Moss, Berry Sorbet, Ripe Avocado, Pinefeather, Olive Twist
PAPER: Pure Poppy, Stamper’s Select White, Sweet Blush
DIES: Iconic Christmas, Deliver by Dec. 25th, Mix & Mat: Pinked Edge, Cover Plate: Stitched Florals, Snowflake Banners
OTHER: Envelope, ribbon, patterned paper, Moonshine sequins


We hope you have enjoyed all the beautiful projects that we have shared with you today! We would love to hear what you think of everything we have introduced! Please leave a comment on this post to tell us what you like the most and why, and you will be eligible to win big!

Leave a comment today and you will be automatically entered to win a $50 Papertrey Ink gift certificate! You have until 10am ET, November 15th to leave your comment and be eligible to win. Only one comment per person please. One randomly selected winner will be posted on the November Release Winners Page by 11 PM ET on November 17th.


Leave a Reply