


Welcome back to Day 2 of the Papertrey Ink October Countdown. We have oodles of beautiful things to share with you today including the Vase Collection 13 stamps and dies, Elegant Edges: Snowflakes dies, Geometric Snowflake Stencils, and Inside Greetings: Believe.
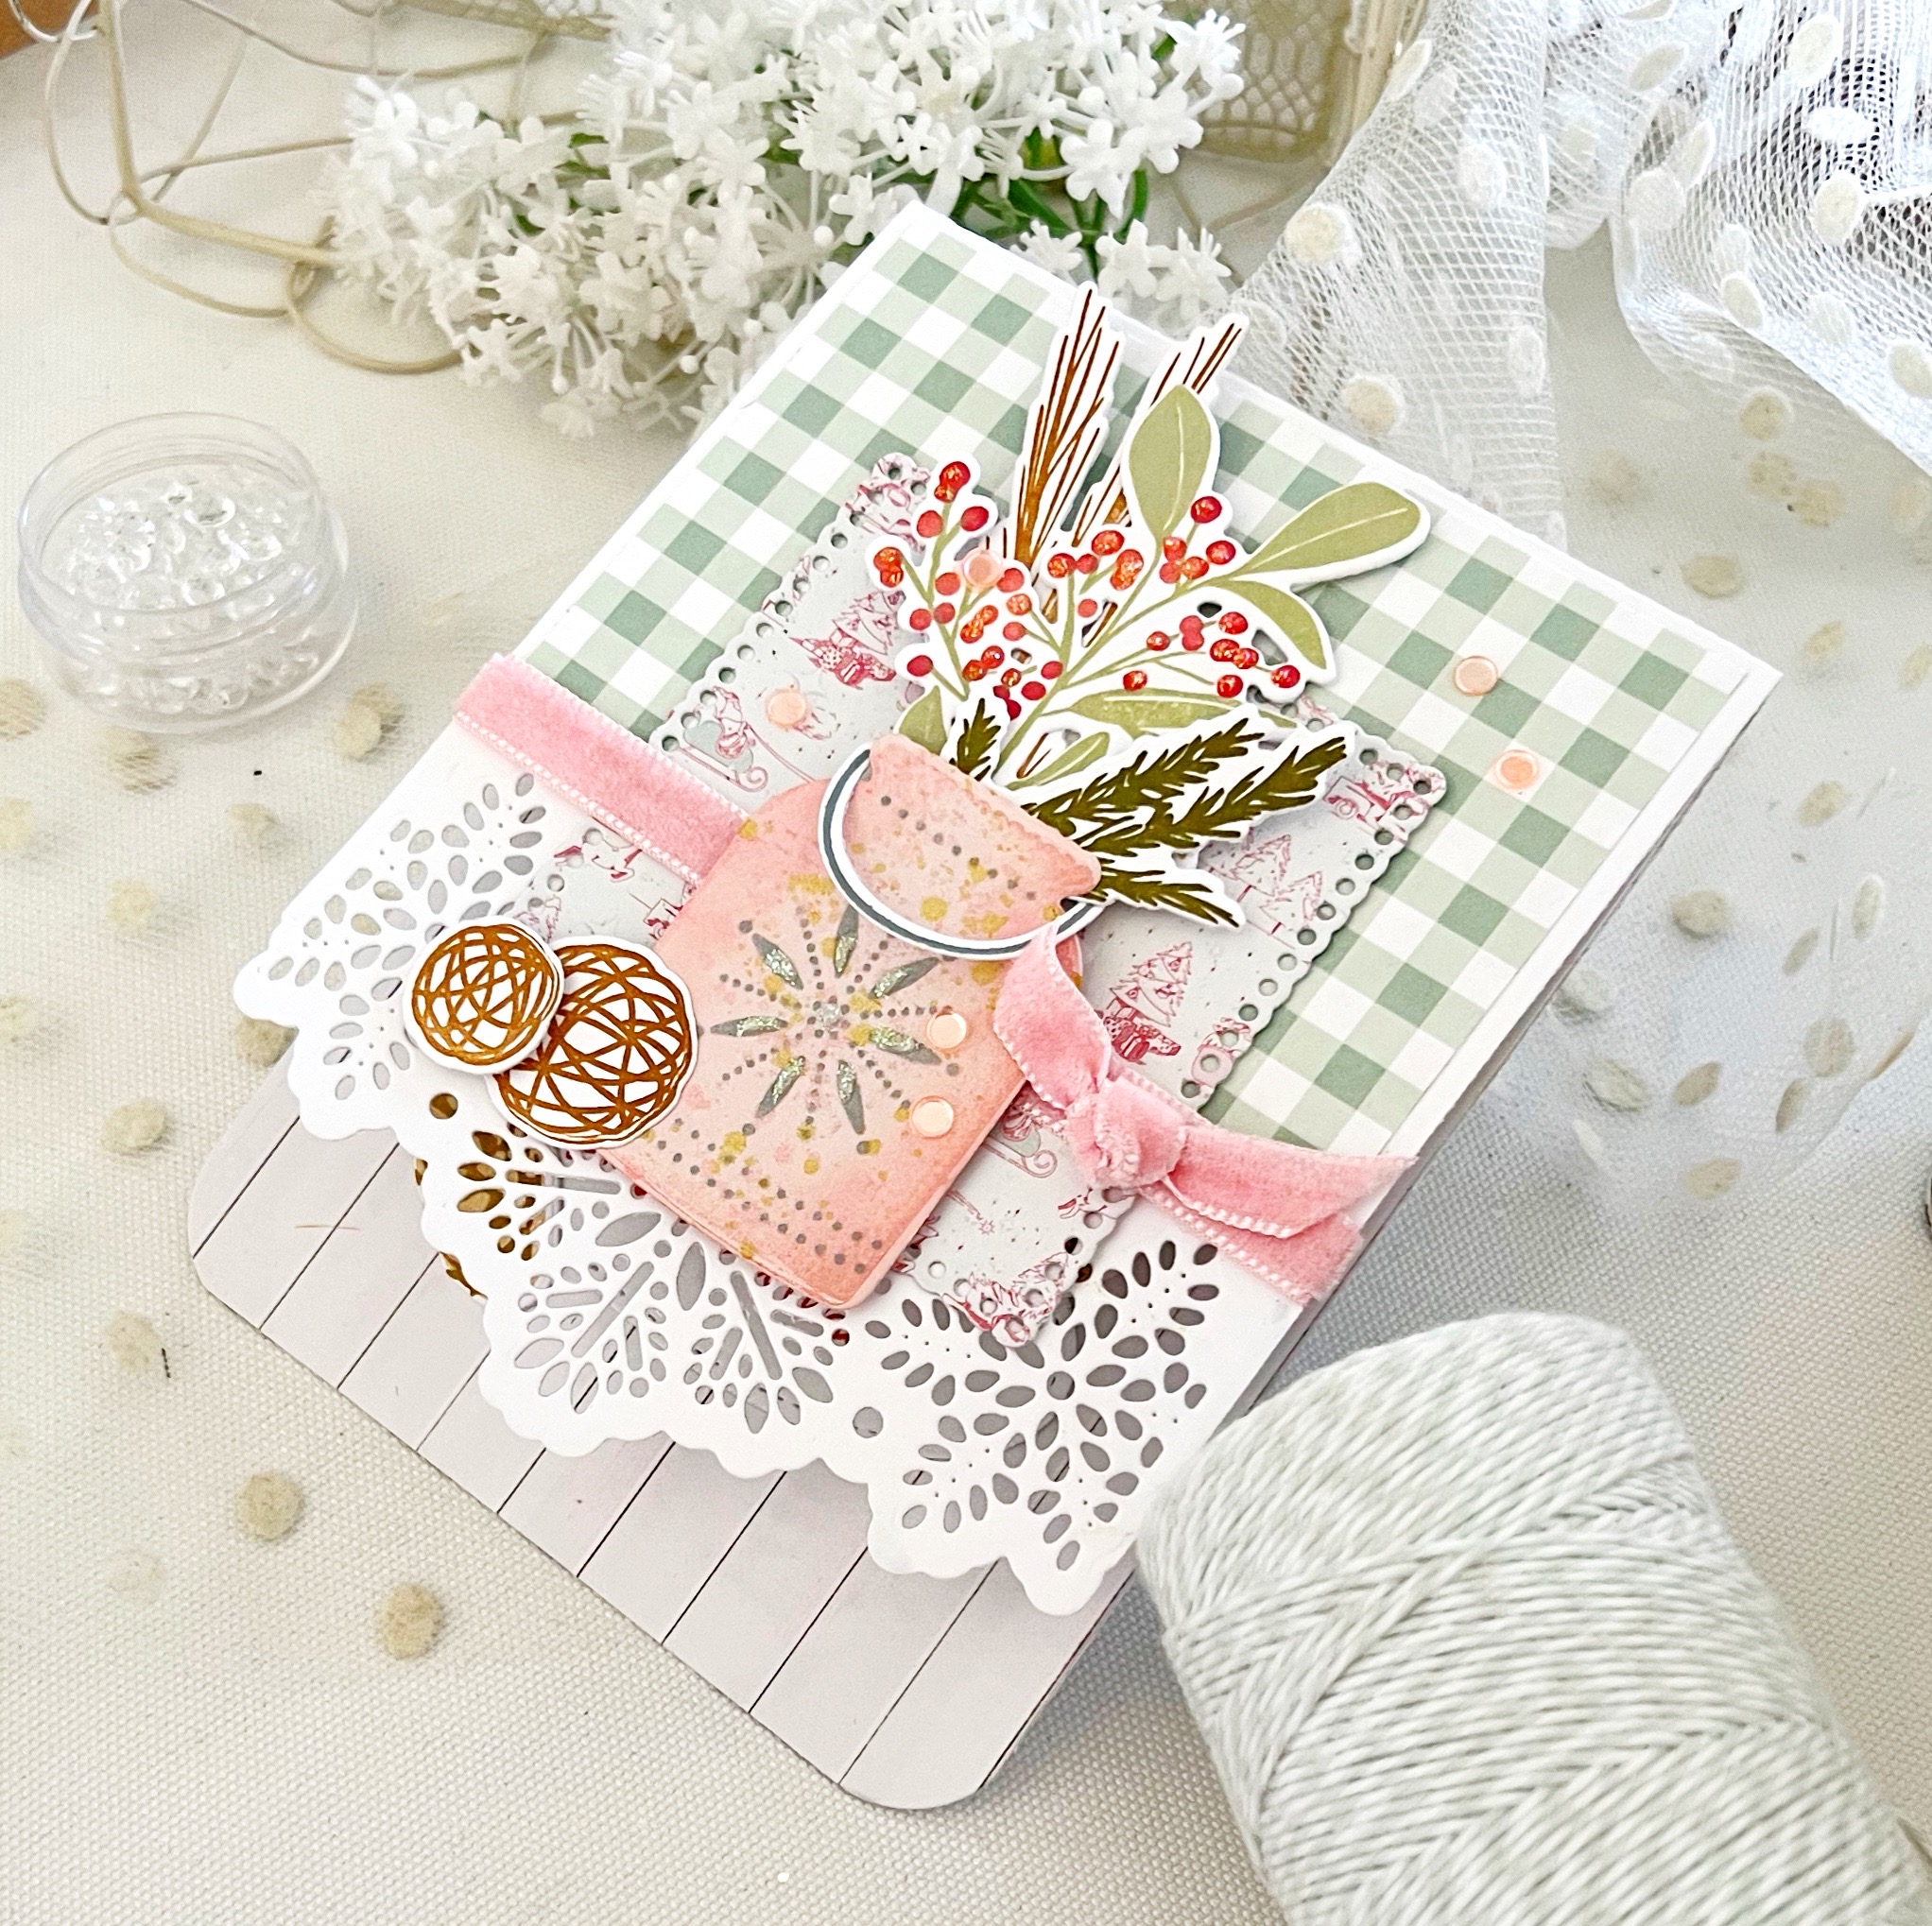
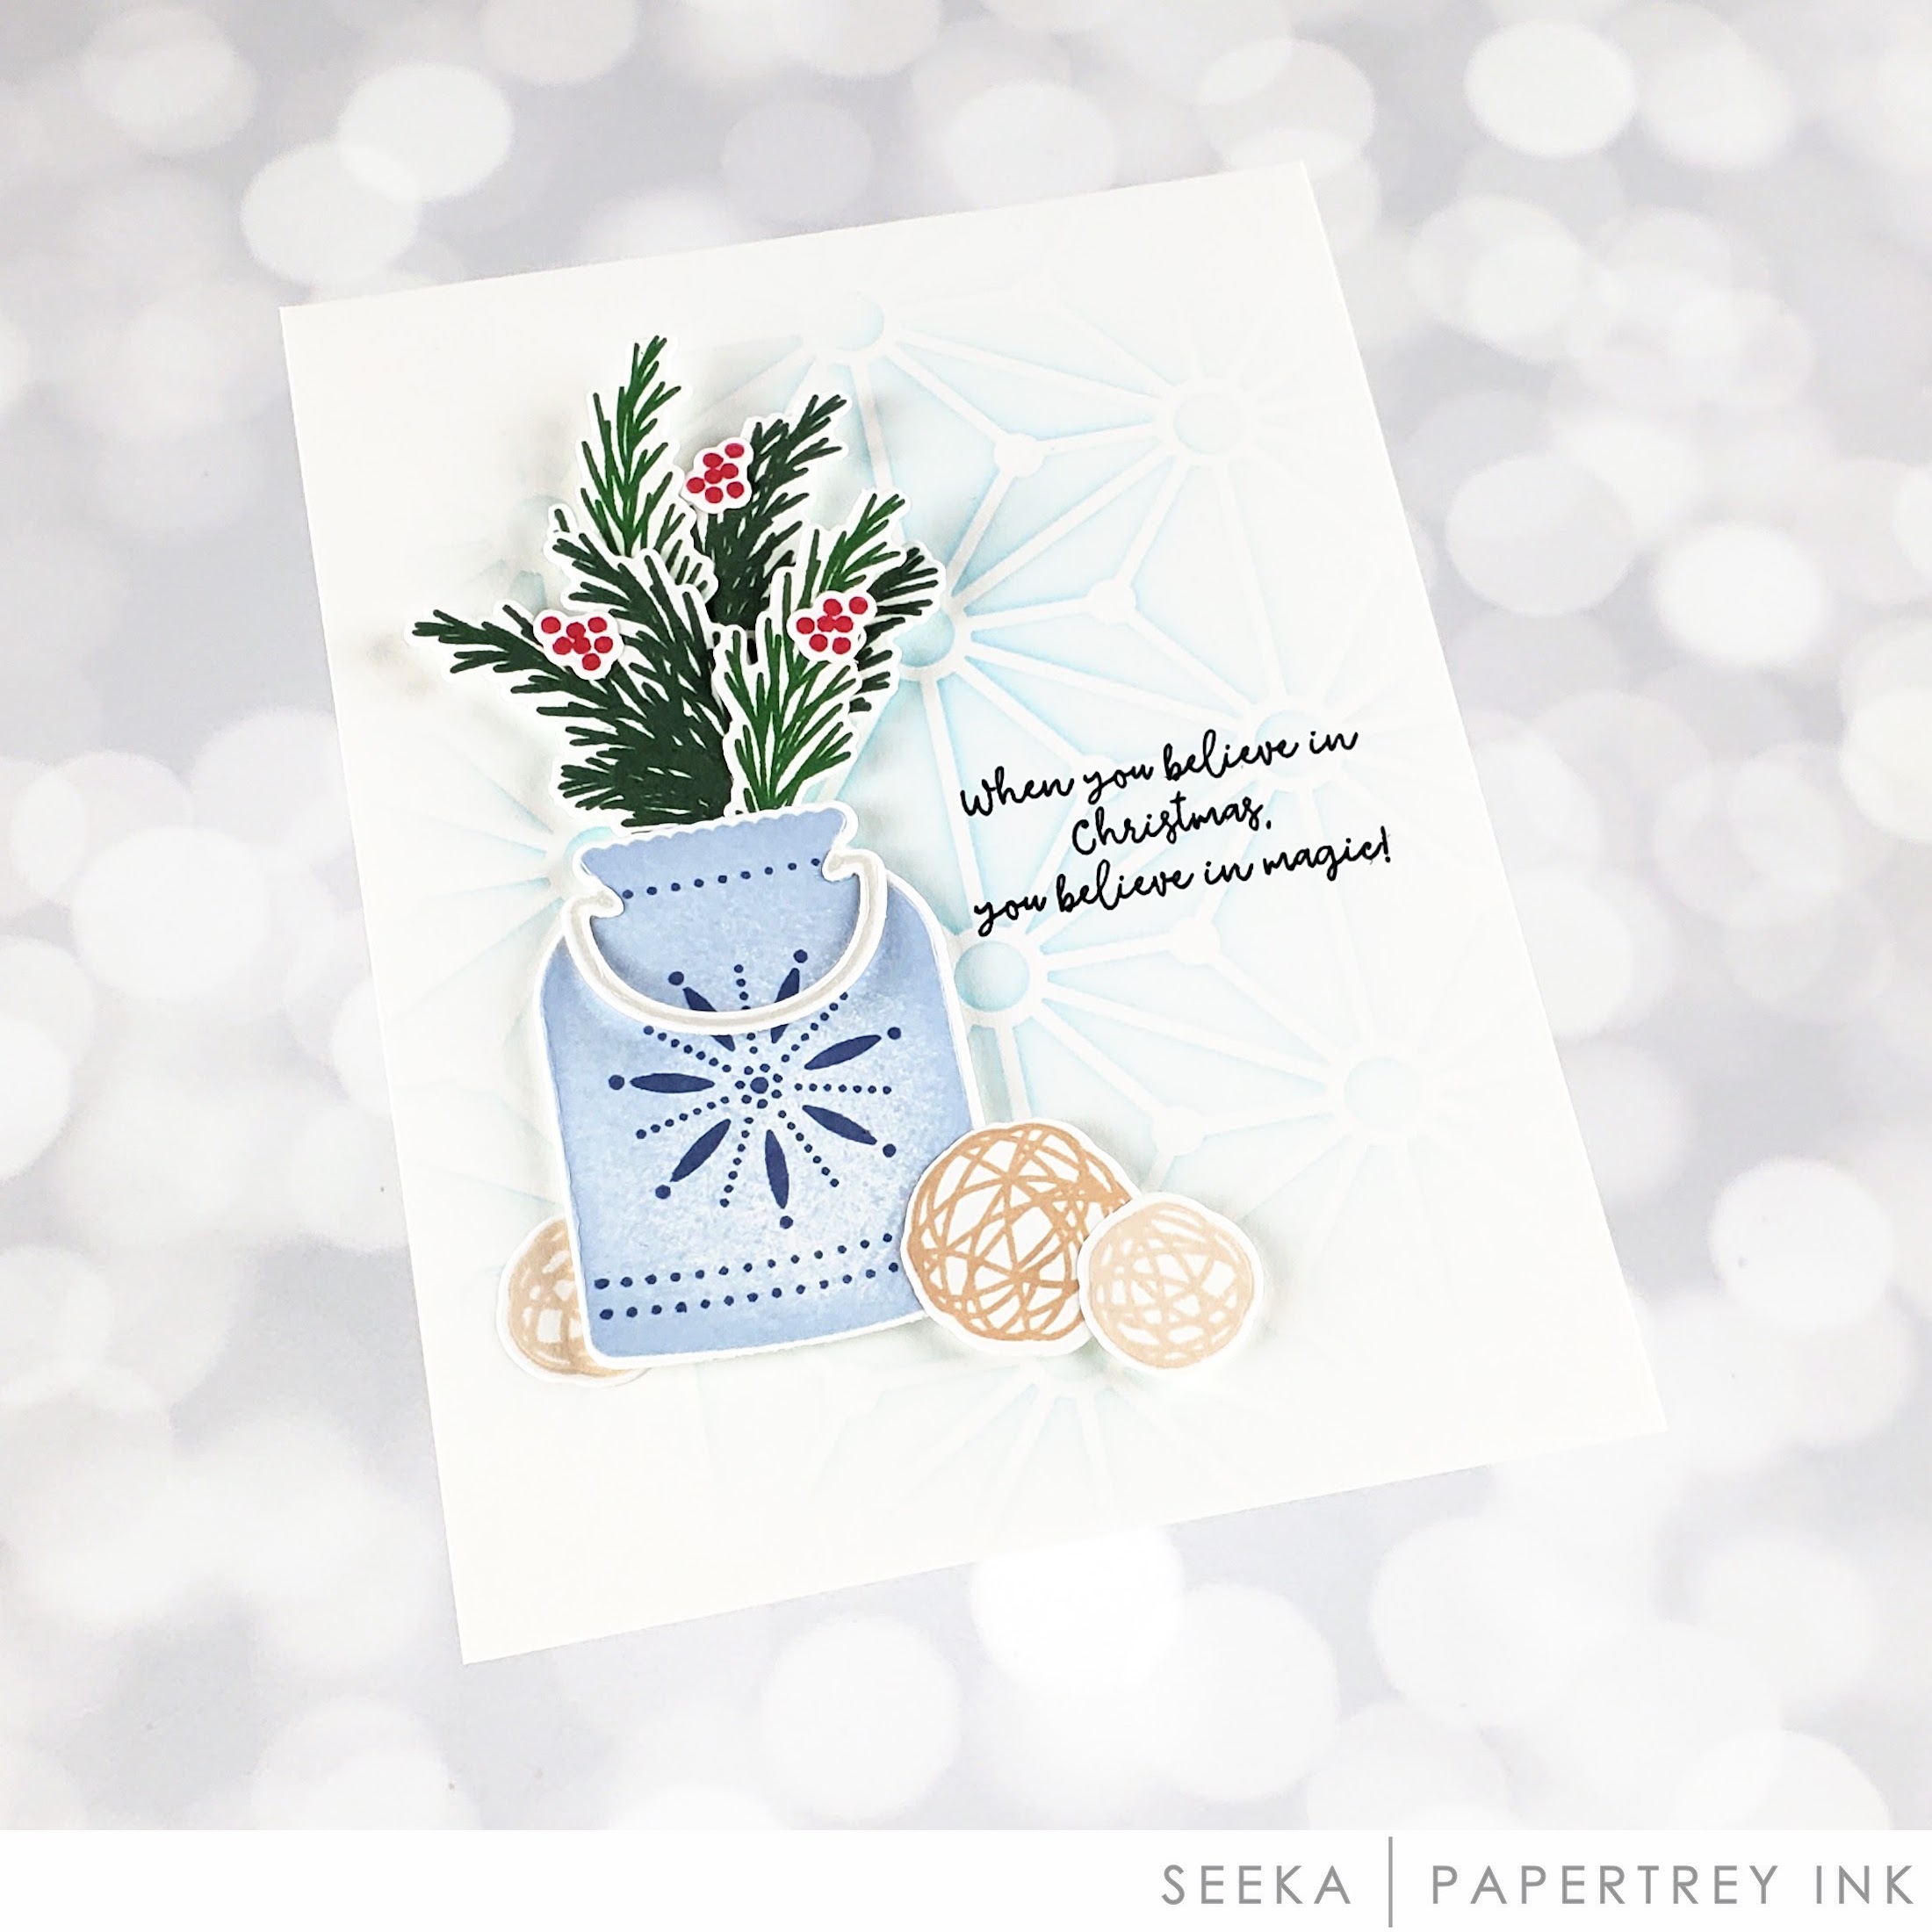
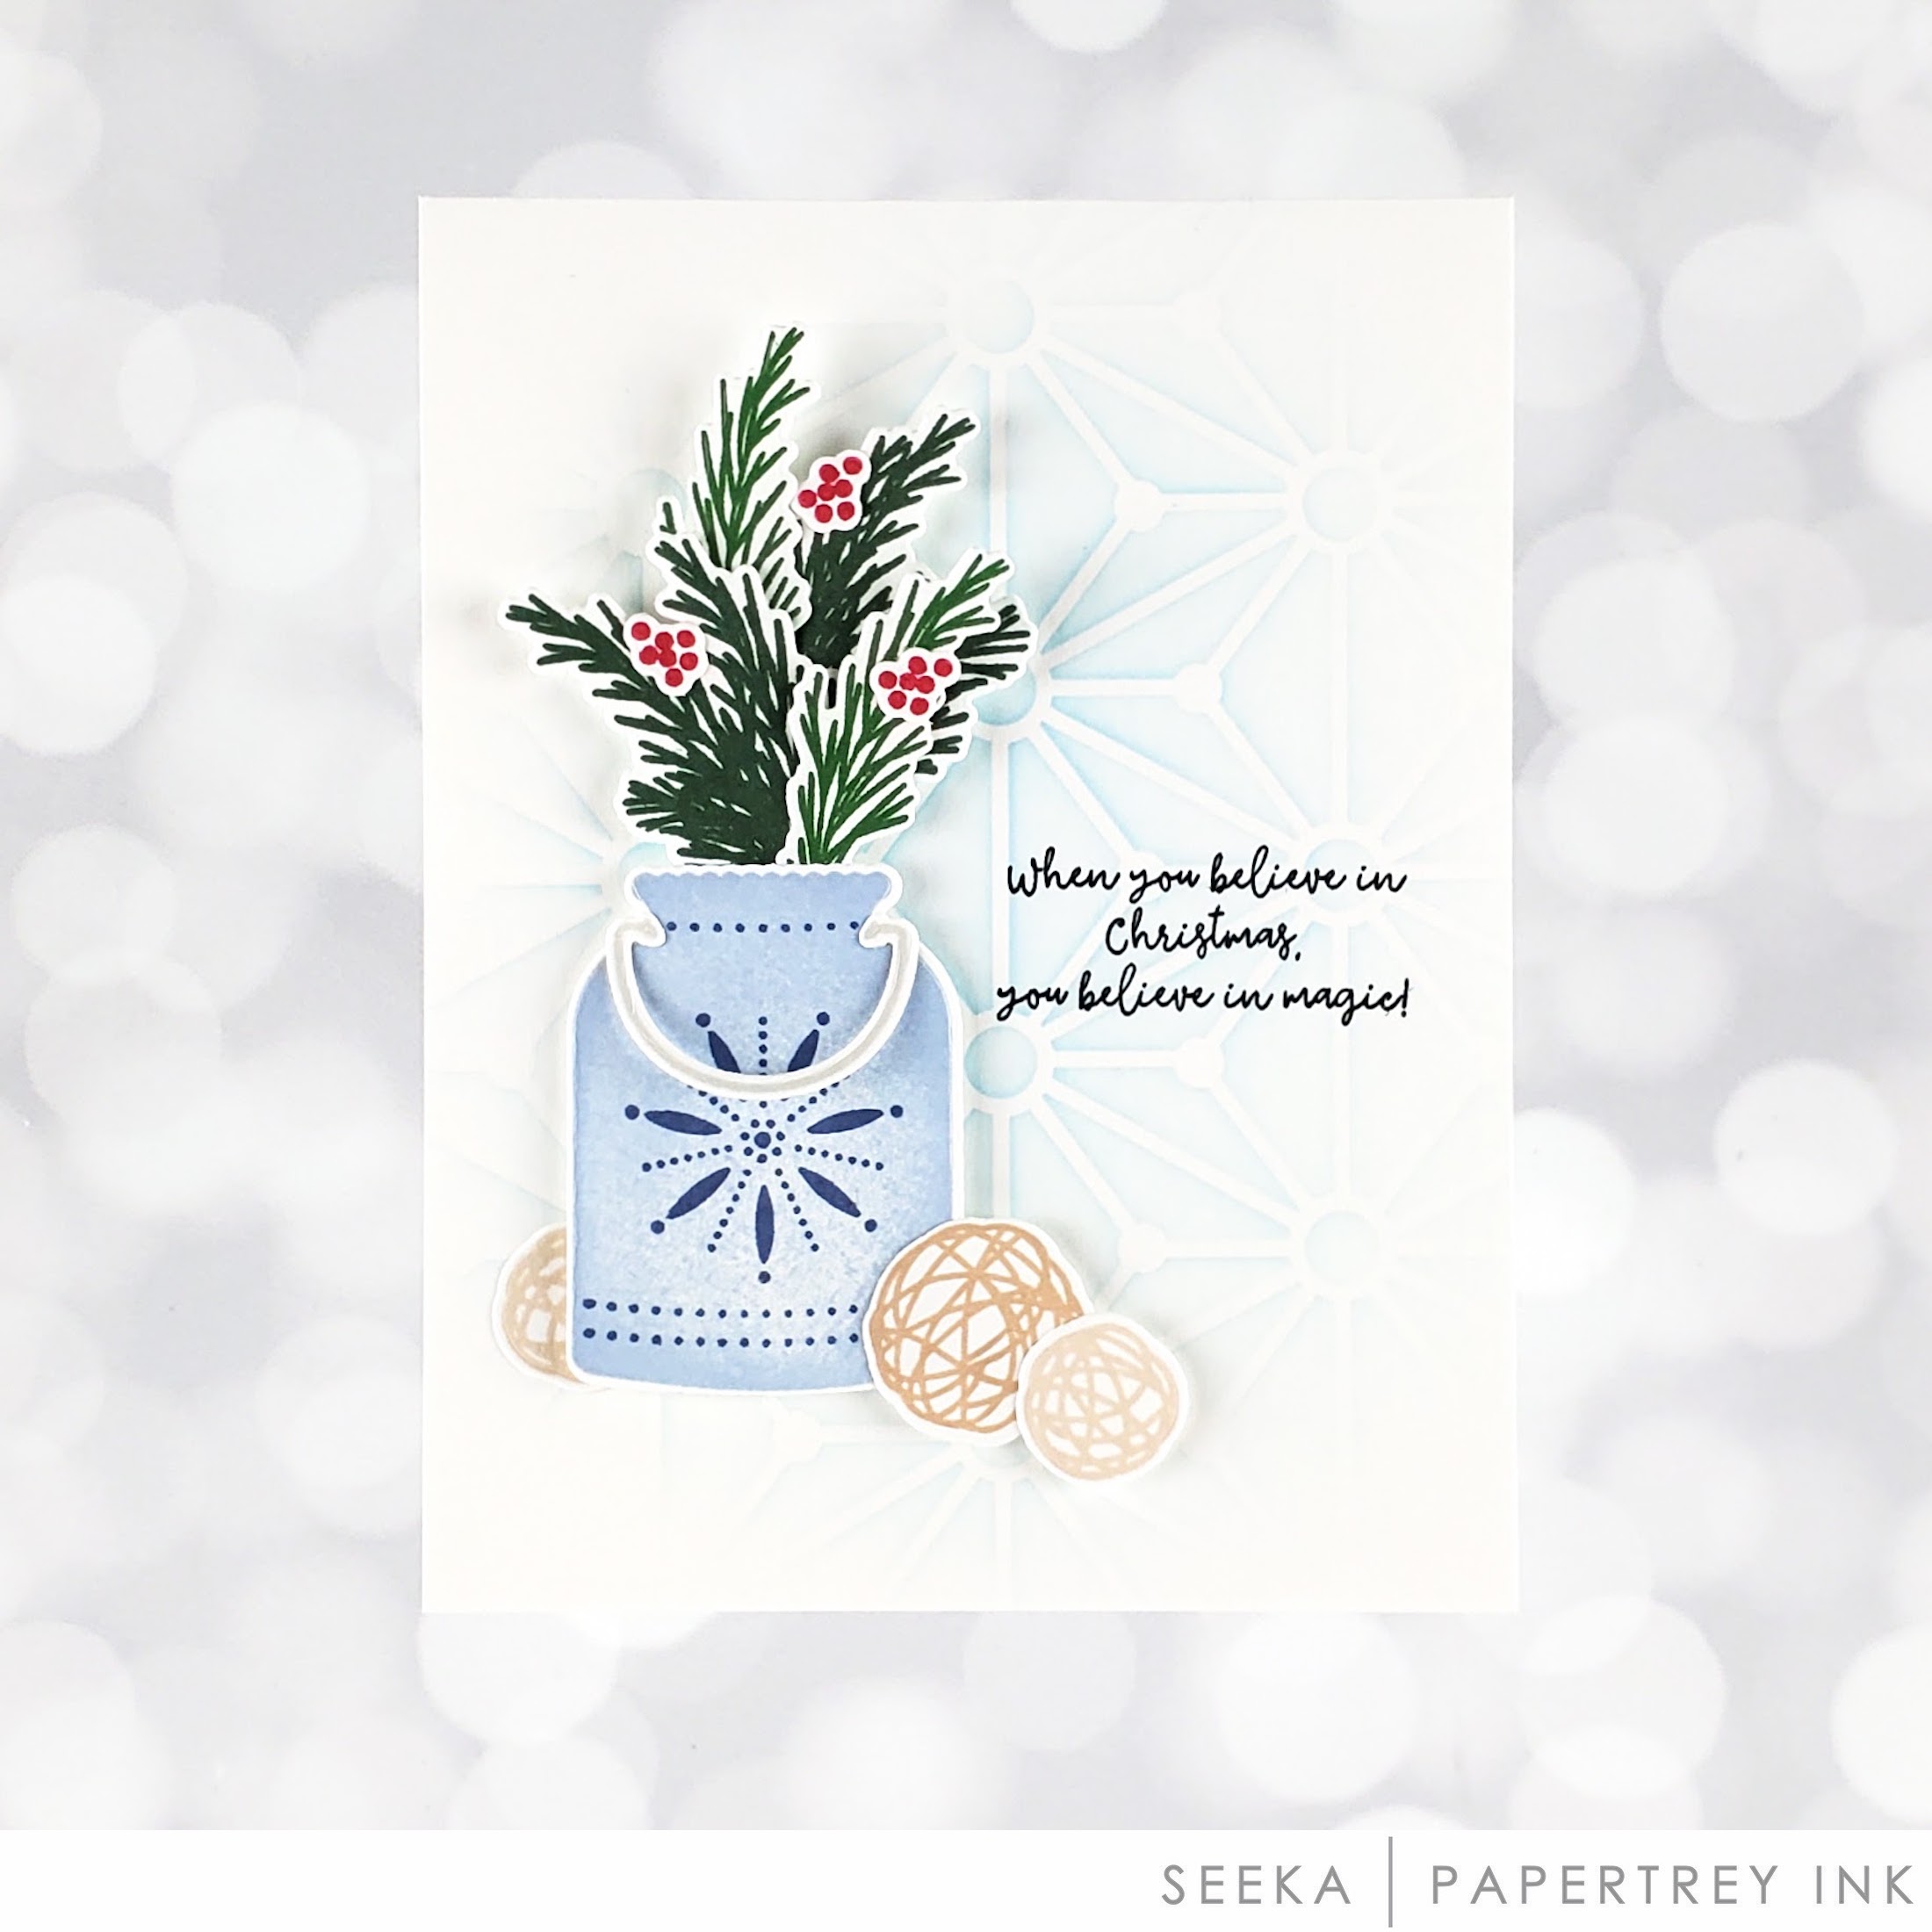
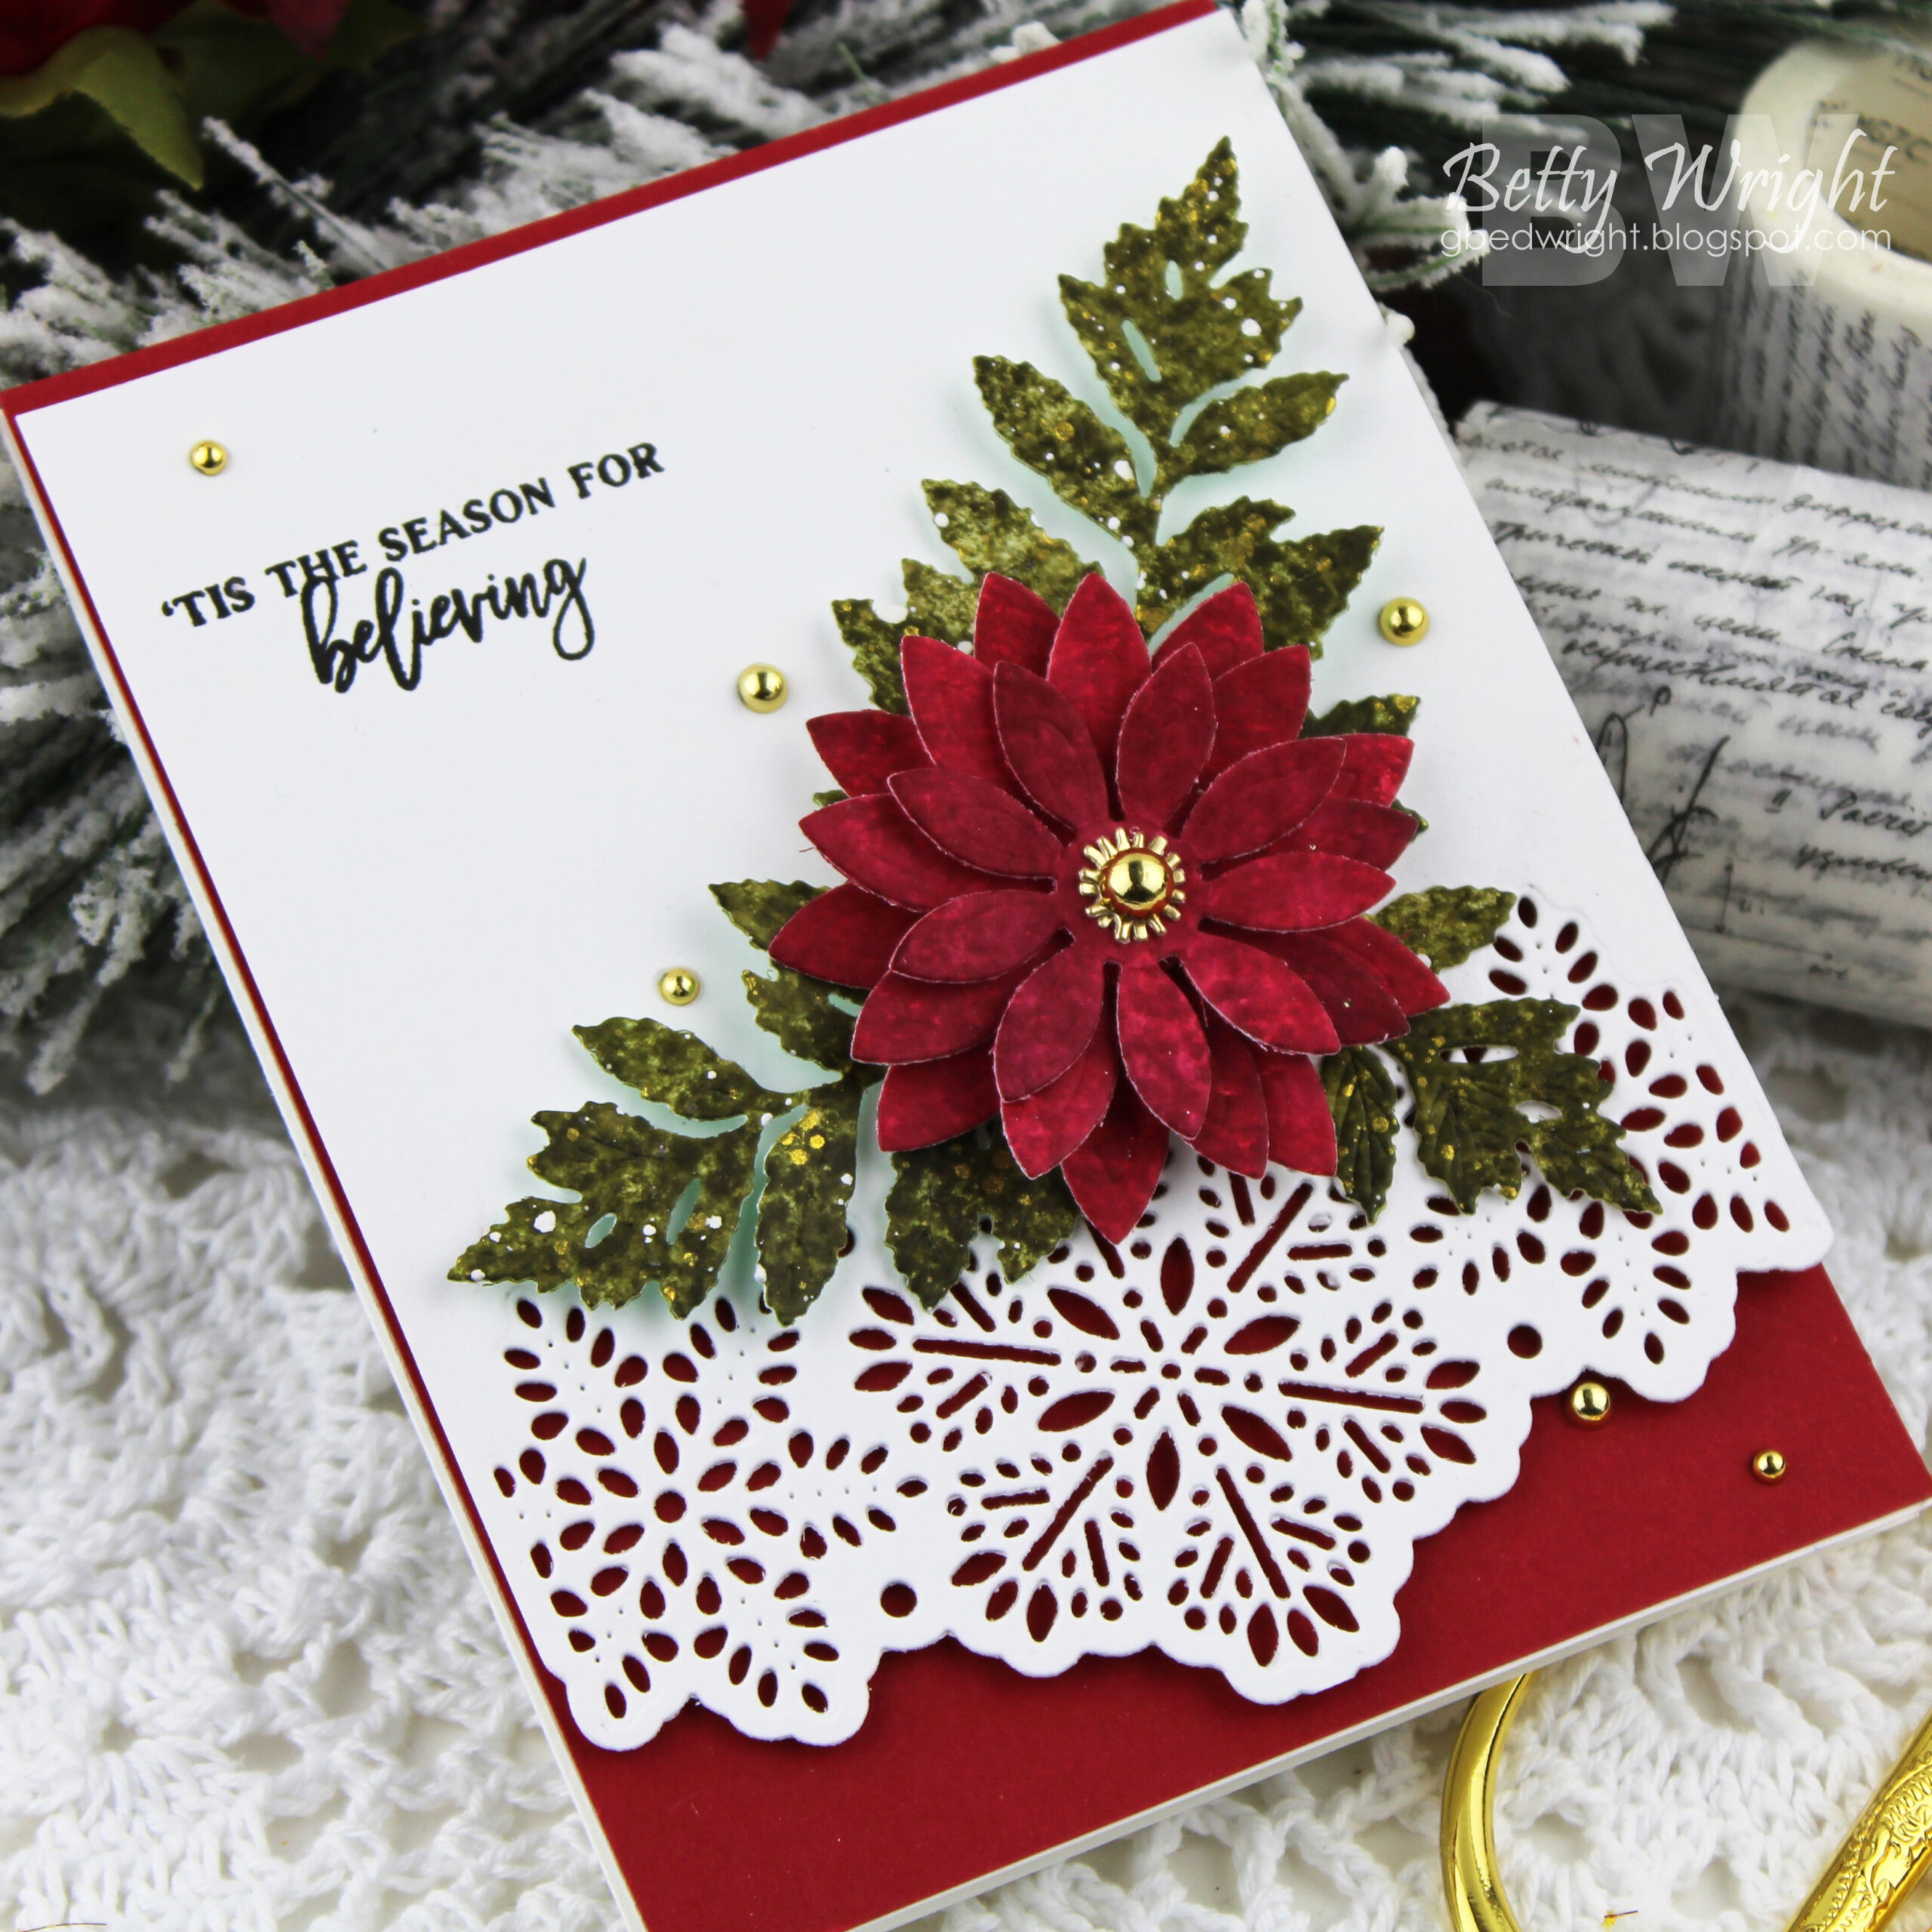
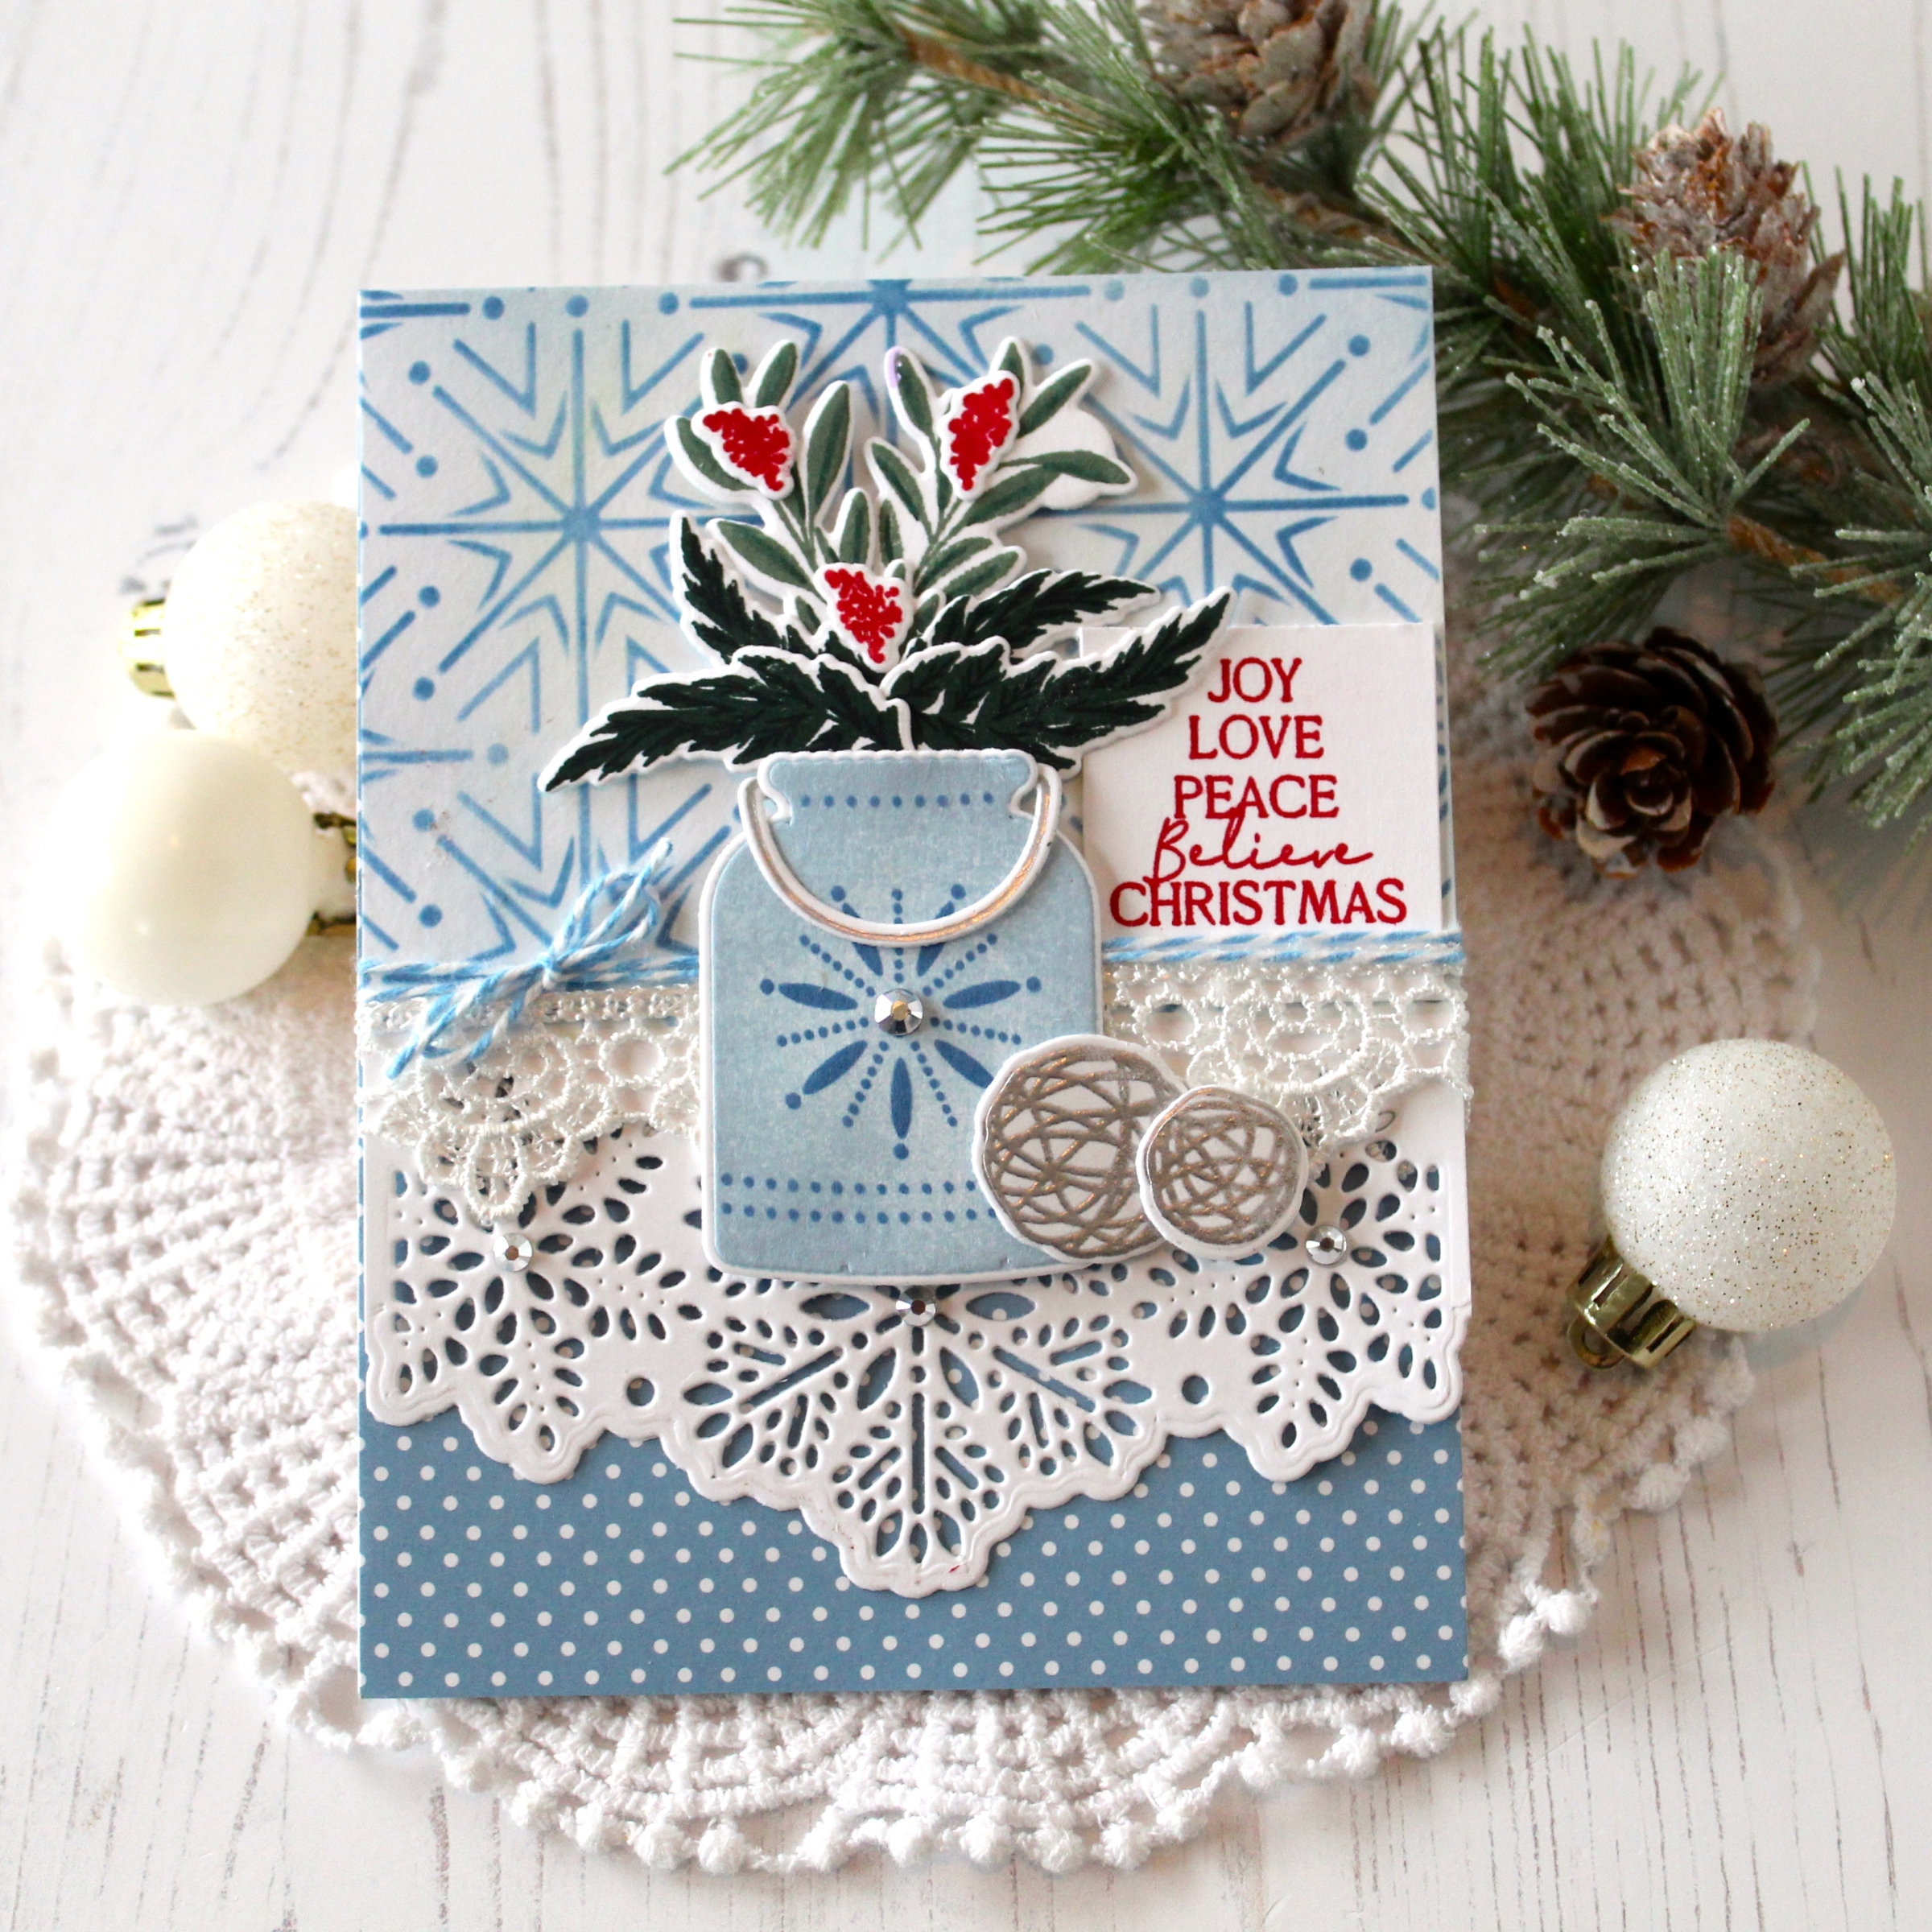
Our new Elegant Edges: Snowflakes dies create the most beautiful, intricate edge, border, decorative accent, inlay, and much more. I have used it across the bottom of the top layer of my card and loved it so much, I decided to leave it just as it is, so you can see the inside, bottom layer of my card beneath it. These beautiful snowflakes remind me of lace and are perfect for your holiday cards!
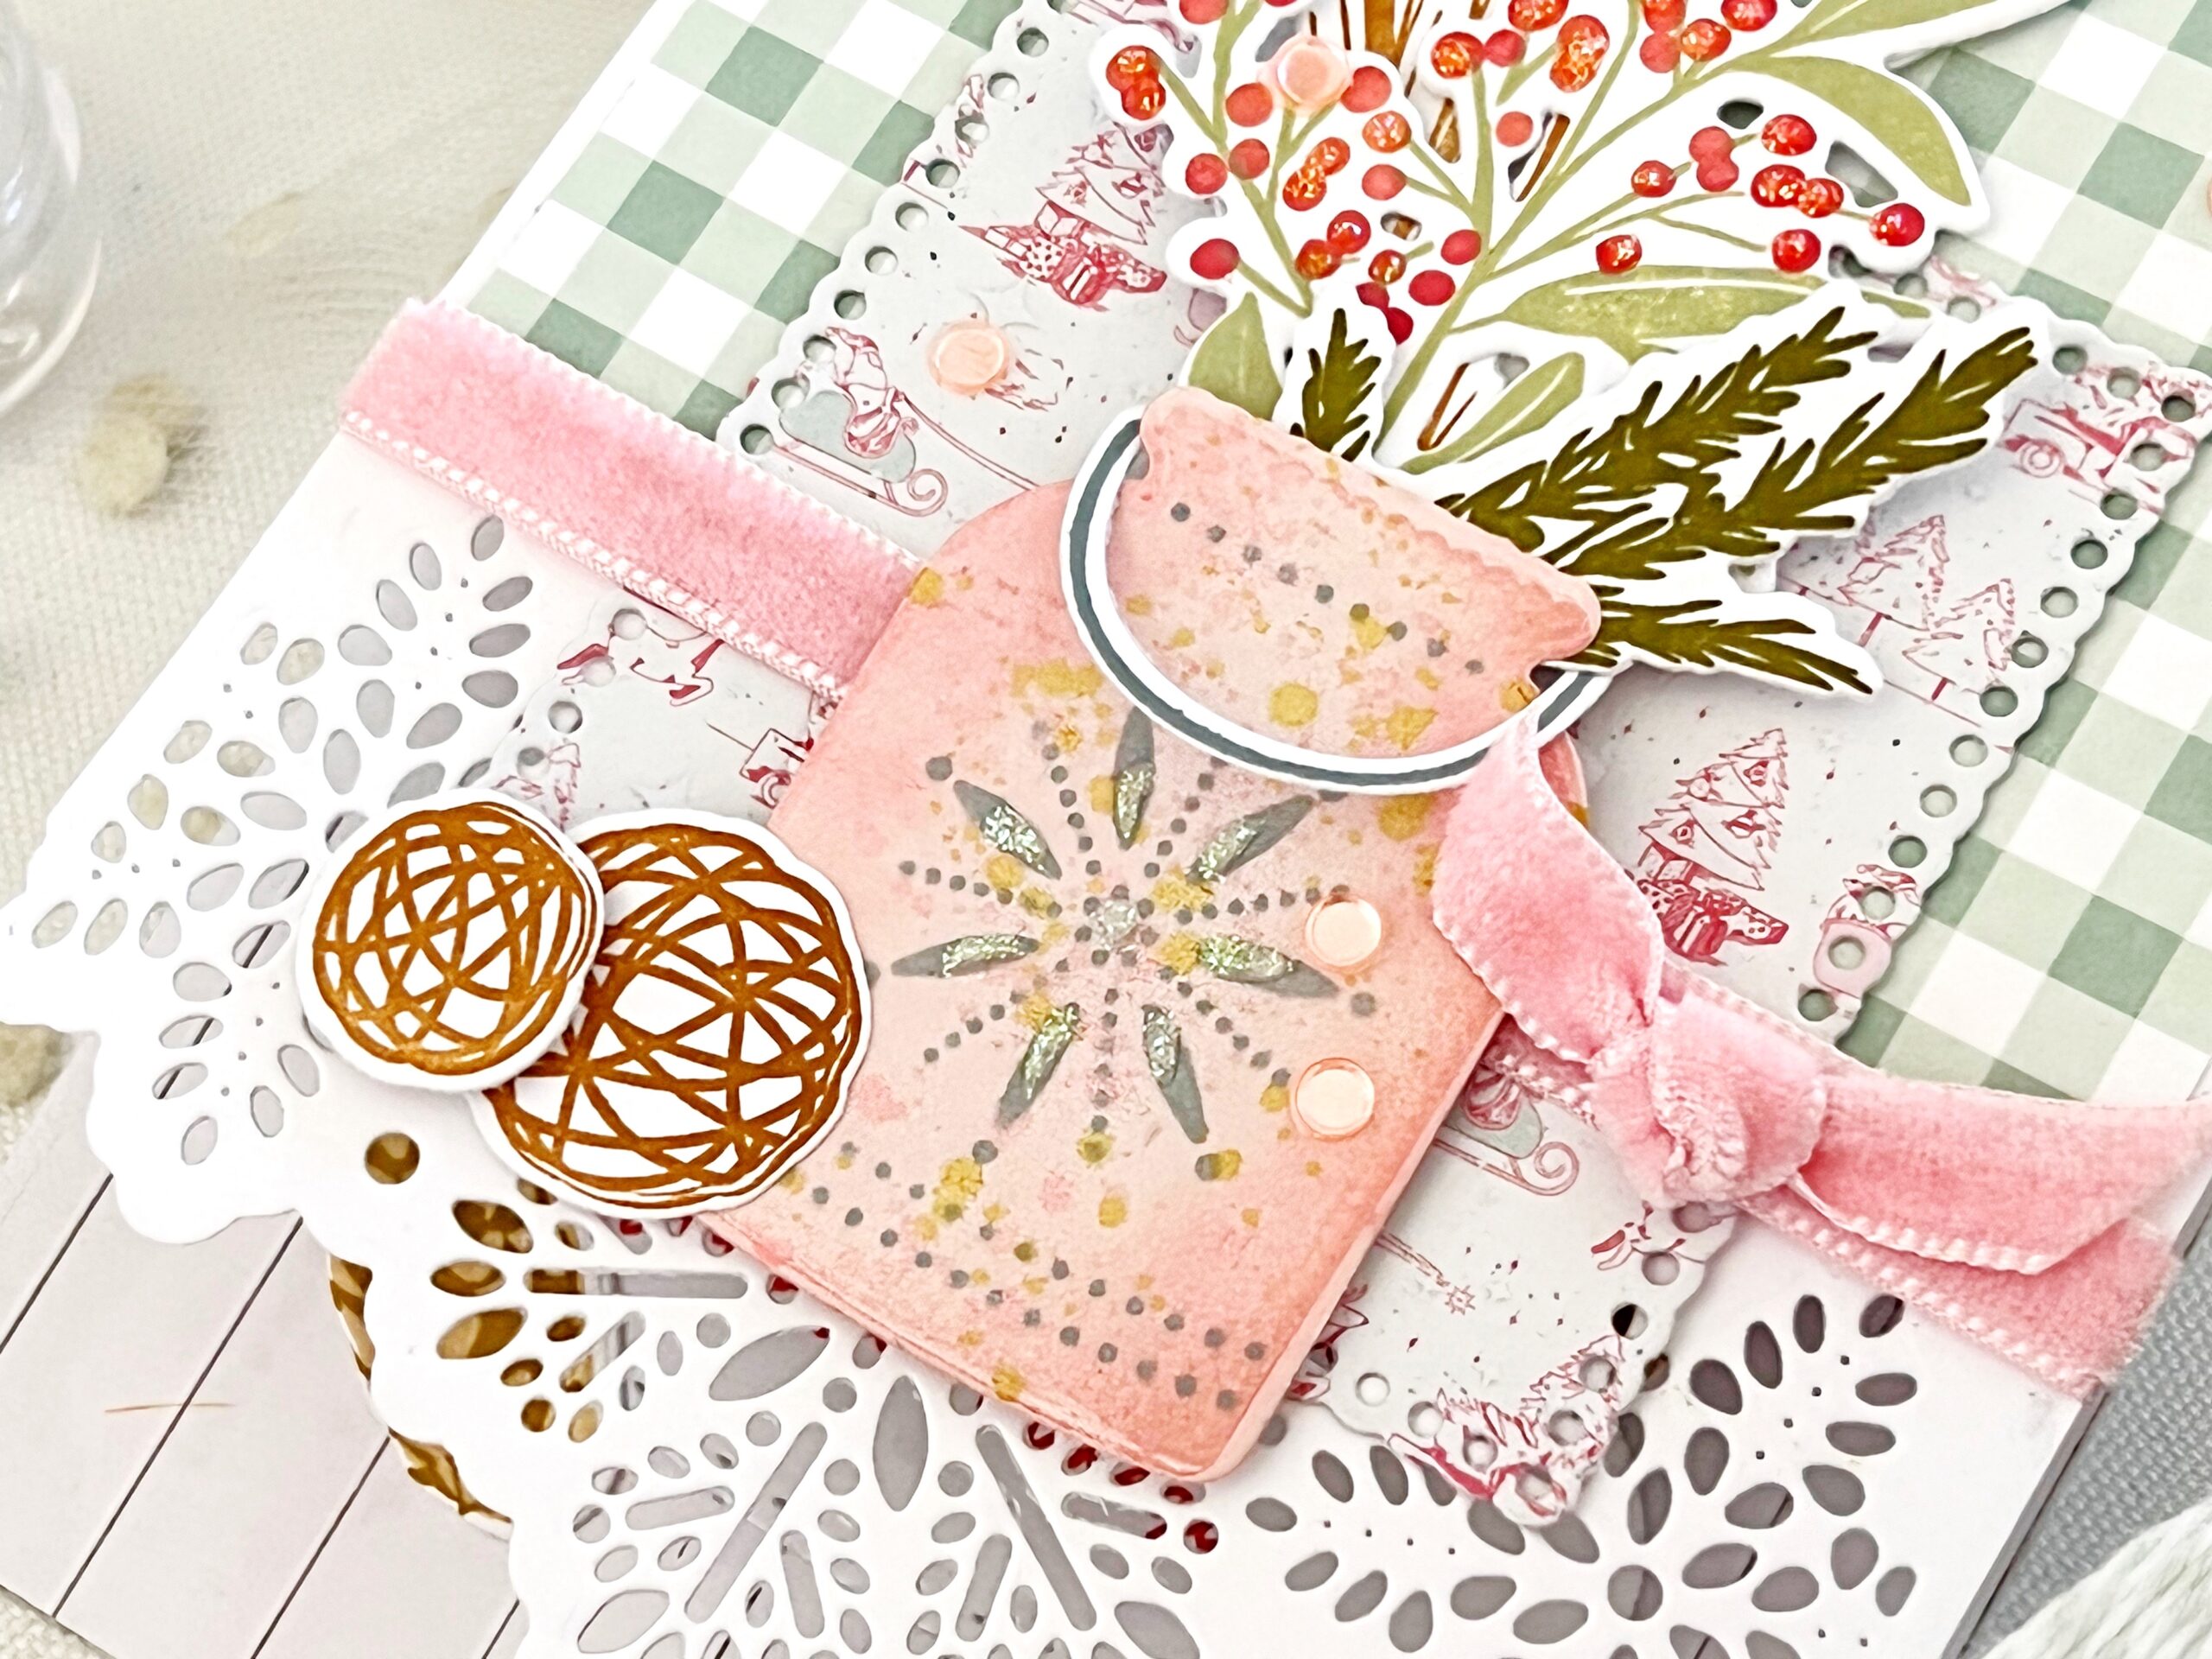
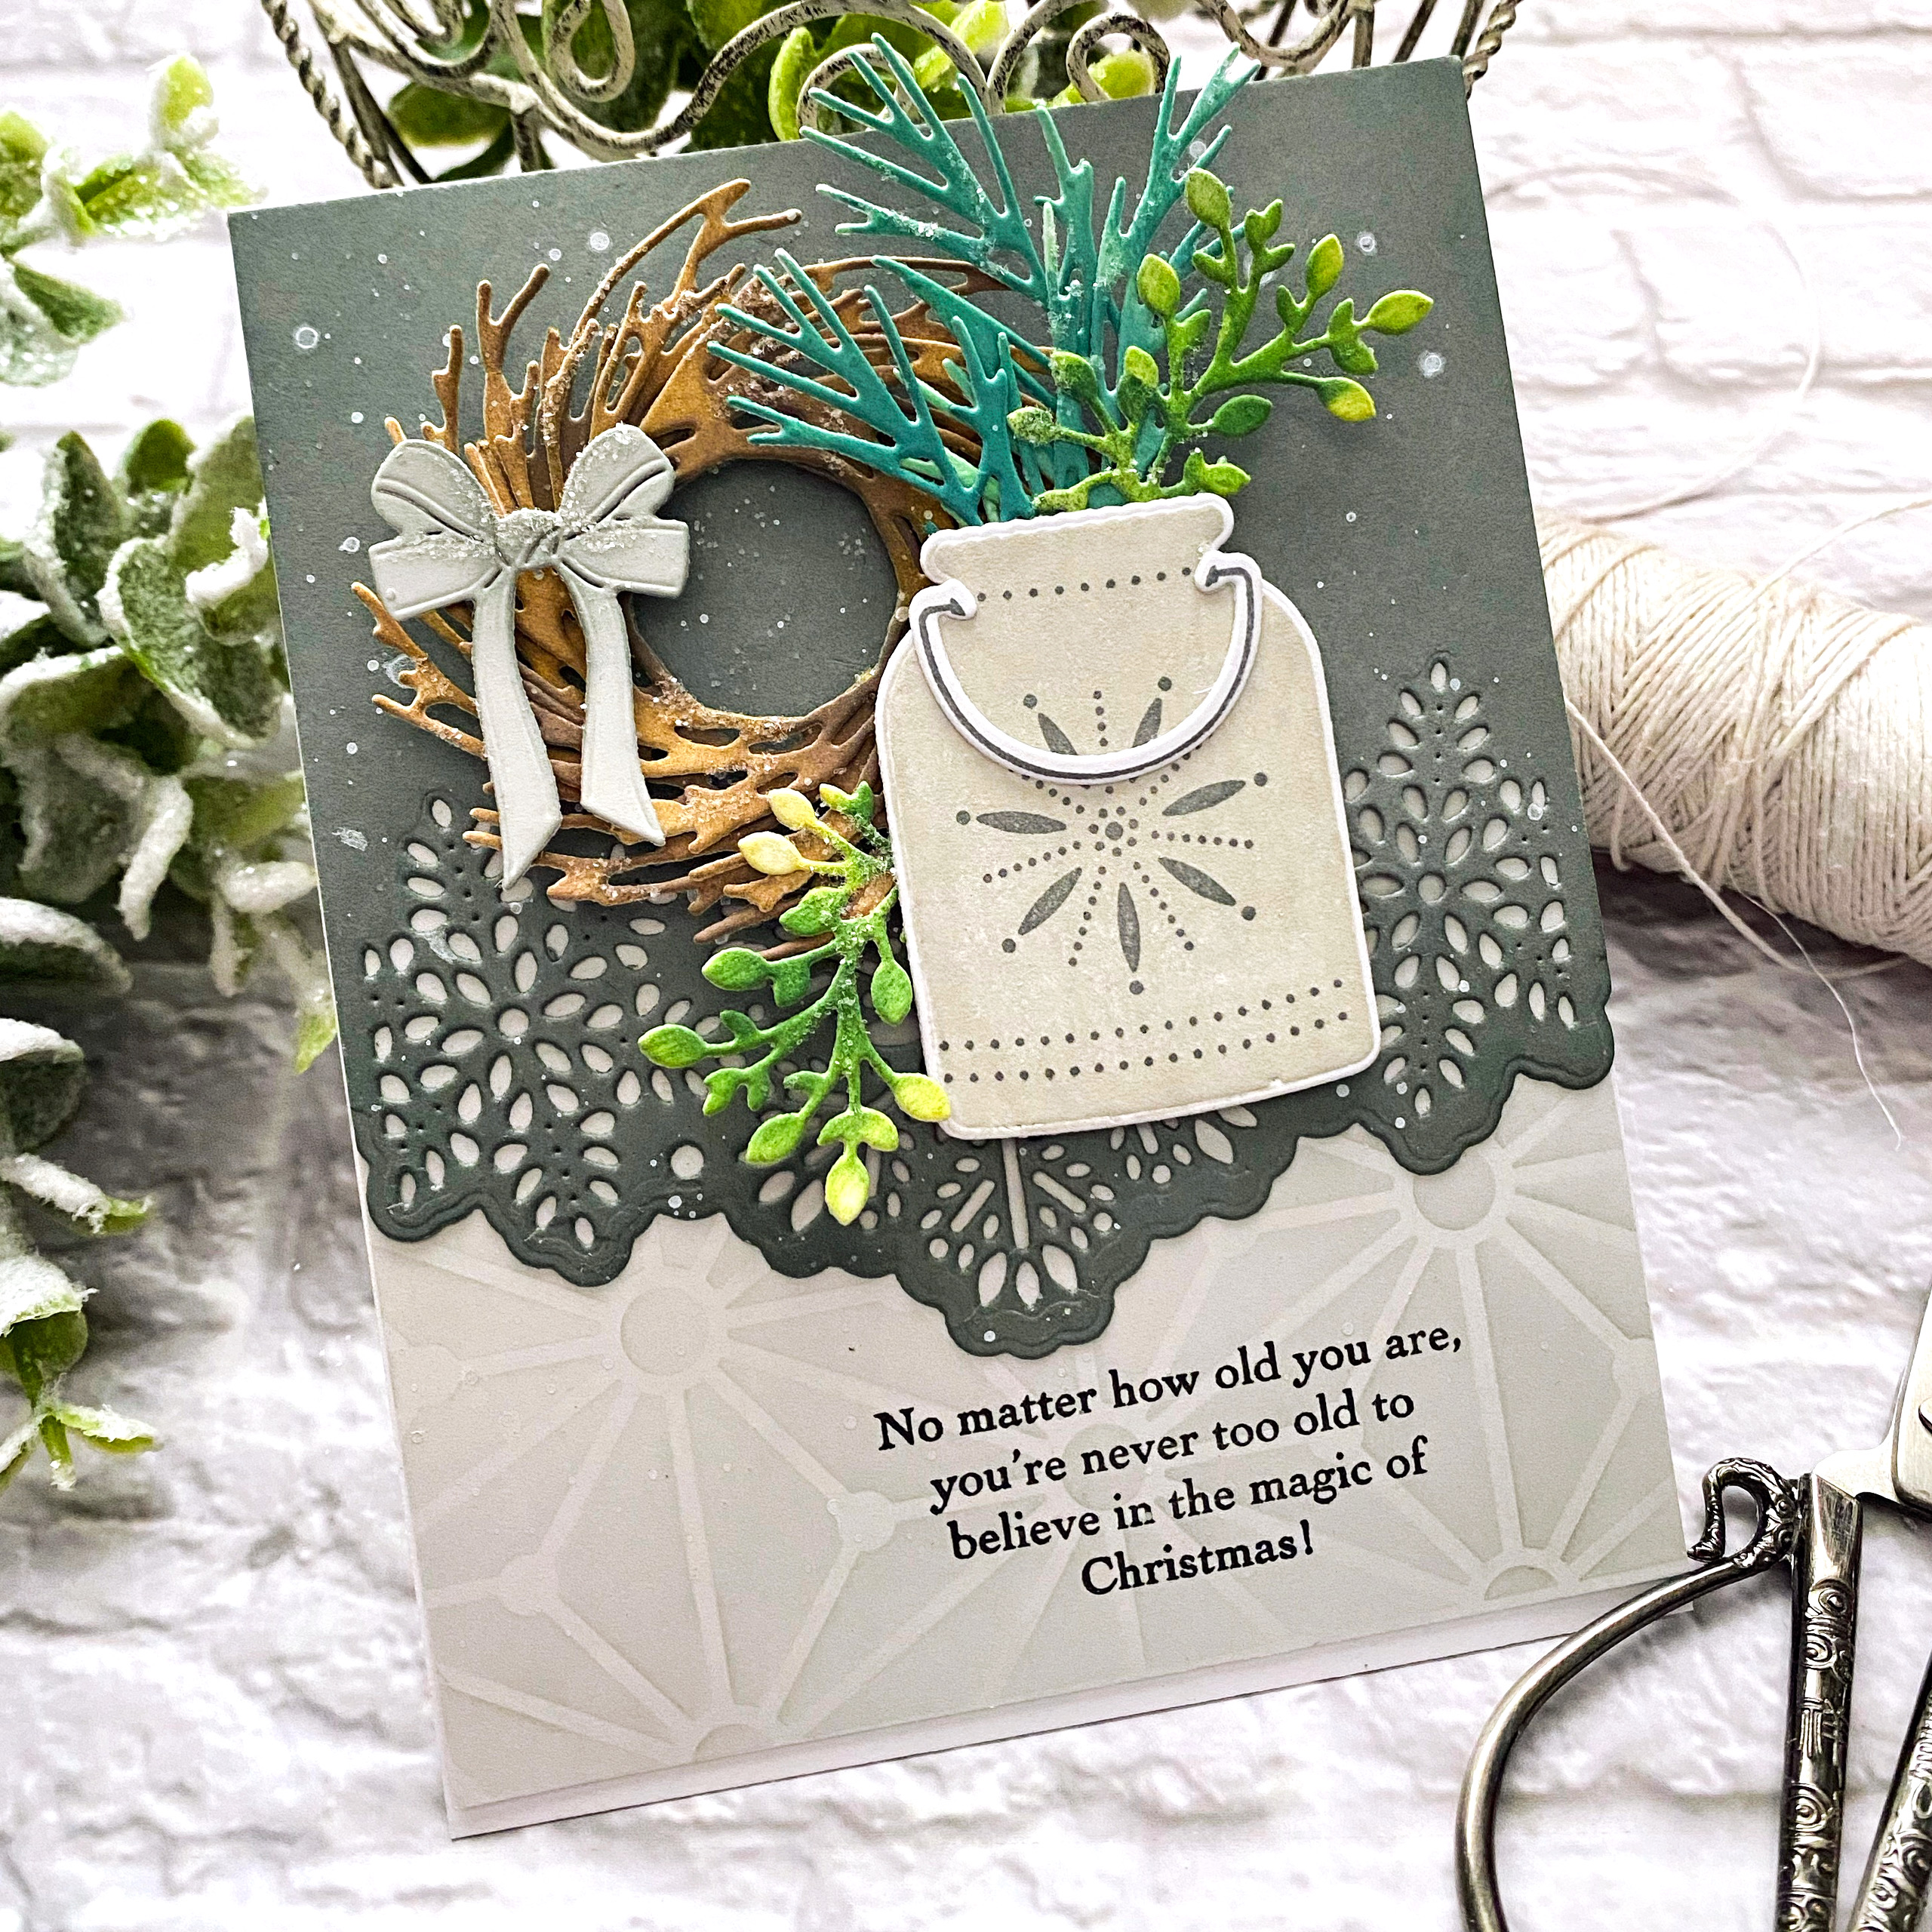
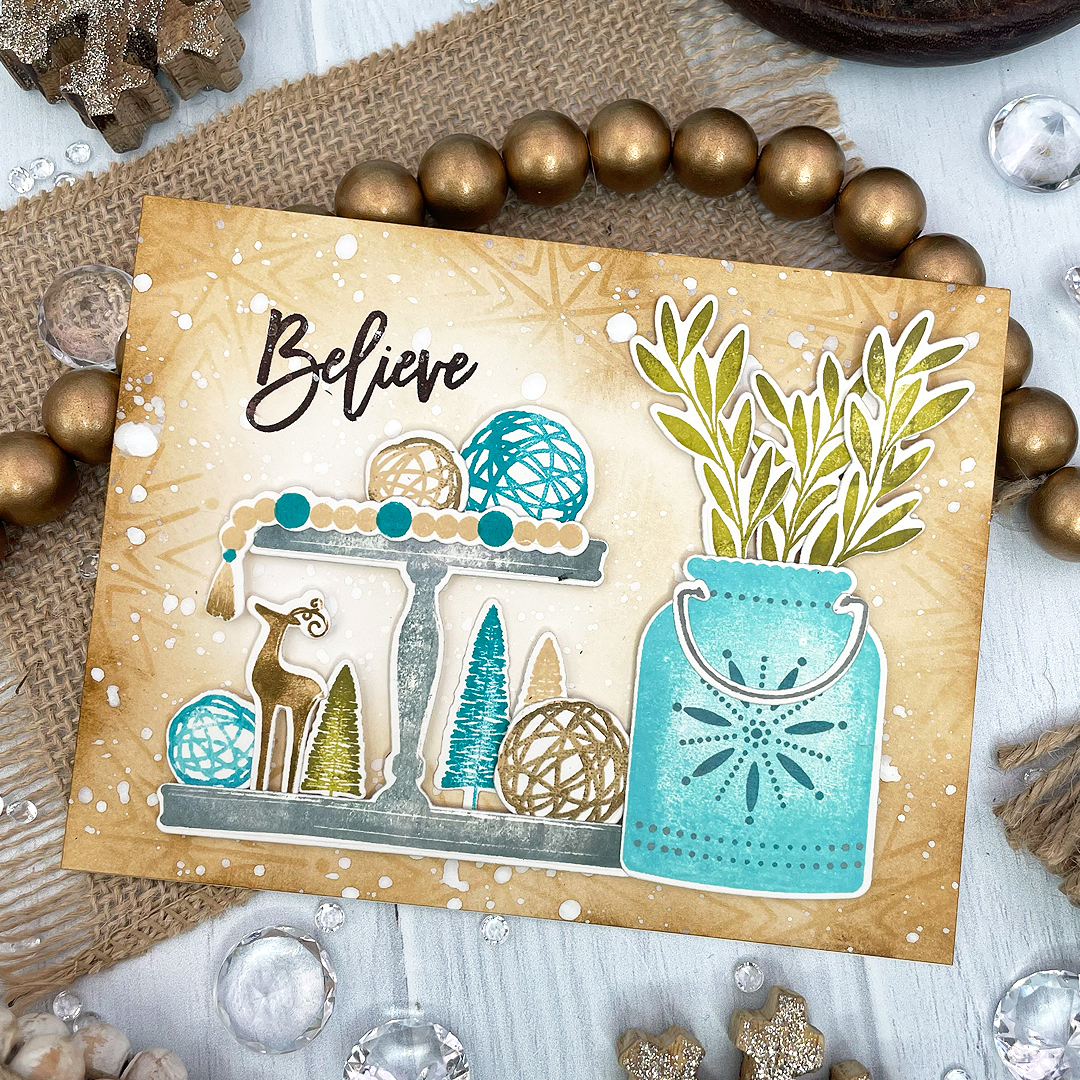
I then added a gingham pattern to the upper portion of my card followed by a die cut Love to Layer: Square cut from patterned paper. Next came my darling Vase Collection 13 stamp and die, filled to the brim with Sprigs & Sprays: Holiday. Don’t you love the detailed snowflake image that can be stamped across the front of the vase? We were inspired to create this based off of a beautiful, vase we found with a snowflake cutout on the front. This is our version and we couldn’t love it more. Think of all of the fun Papertrey Ink stamp sets you can use to fill this vase. How fun!
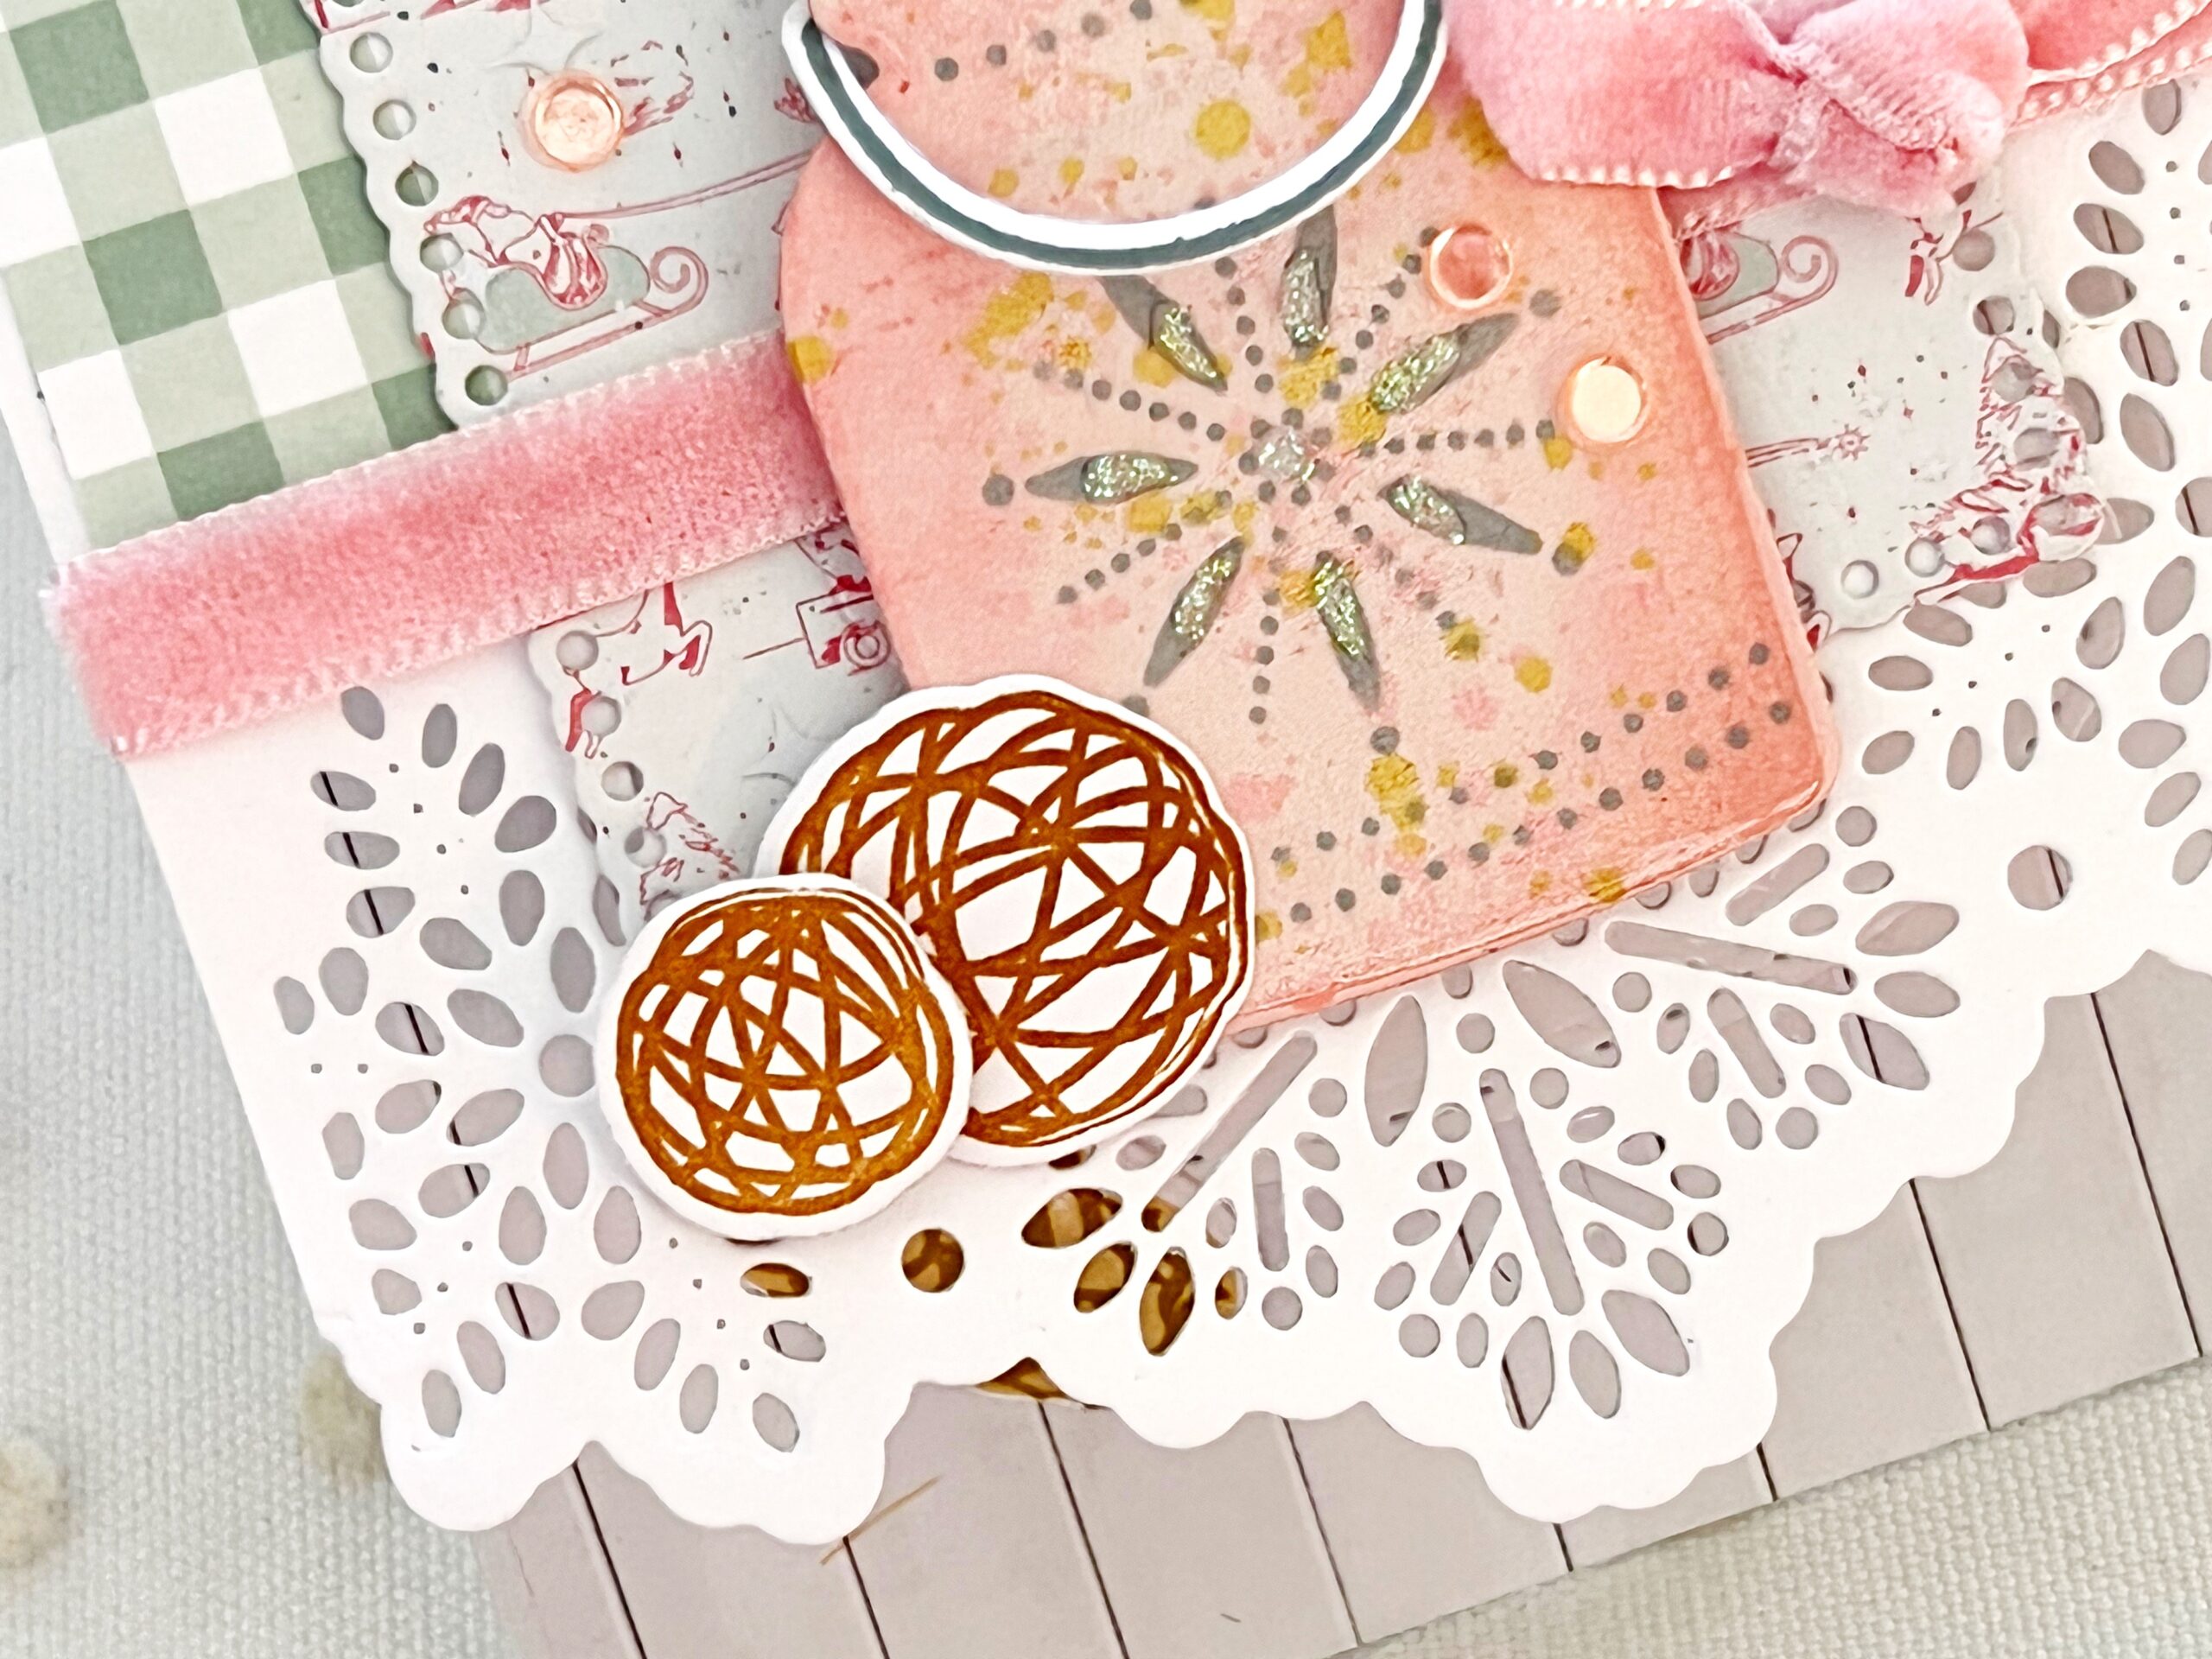
The Vase Collection 13 stamp set also comes with these cute string or grapevine, decorative balls. They are unique to our style, but definitely trendy and spotted everywhere right now. They’ll be a perfect finishing touch to many of our past Vase Collection stamp sets. They’re earthy and organic and such a great filler.
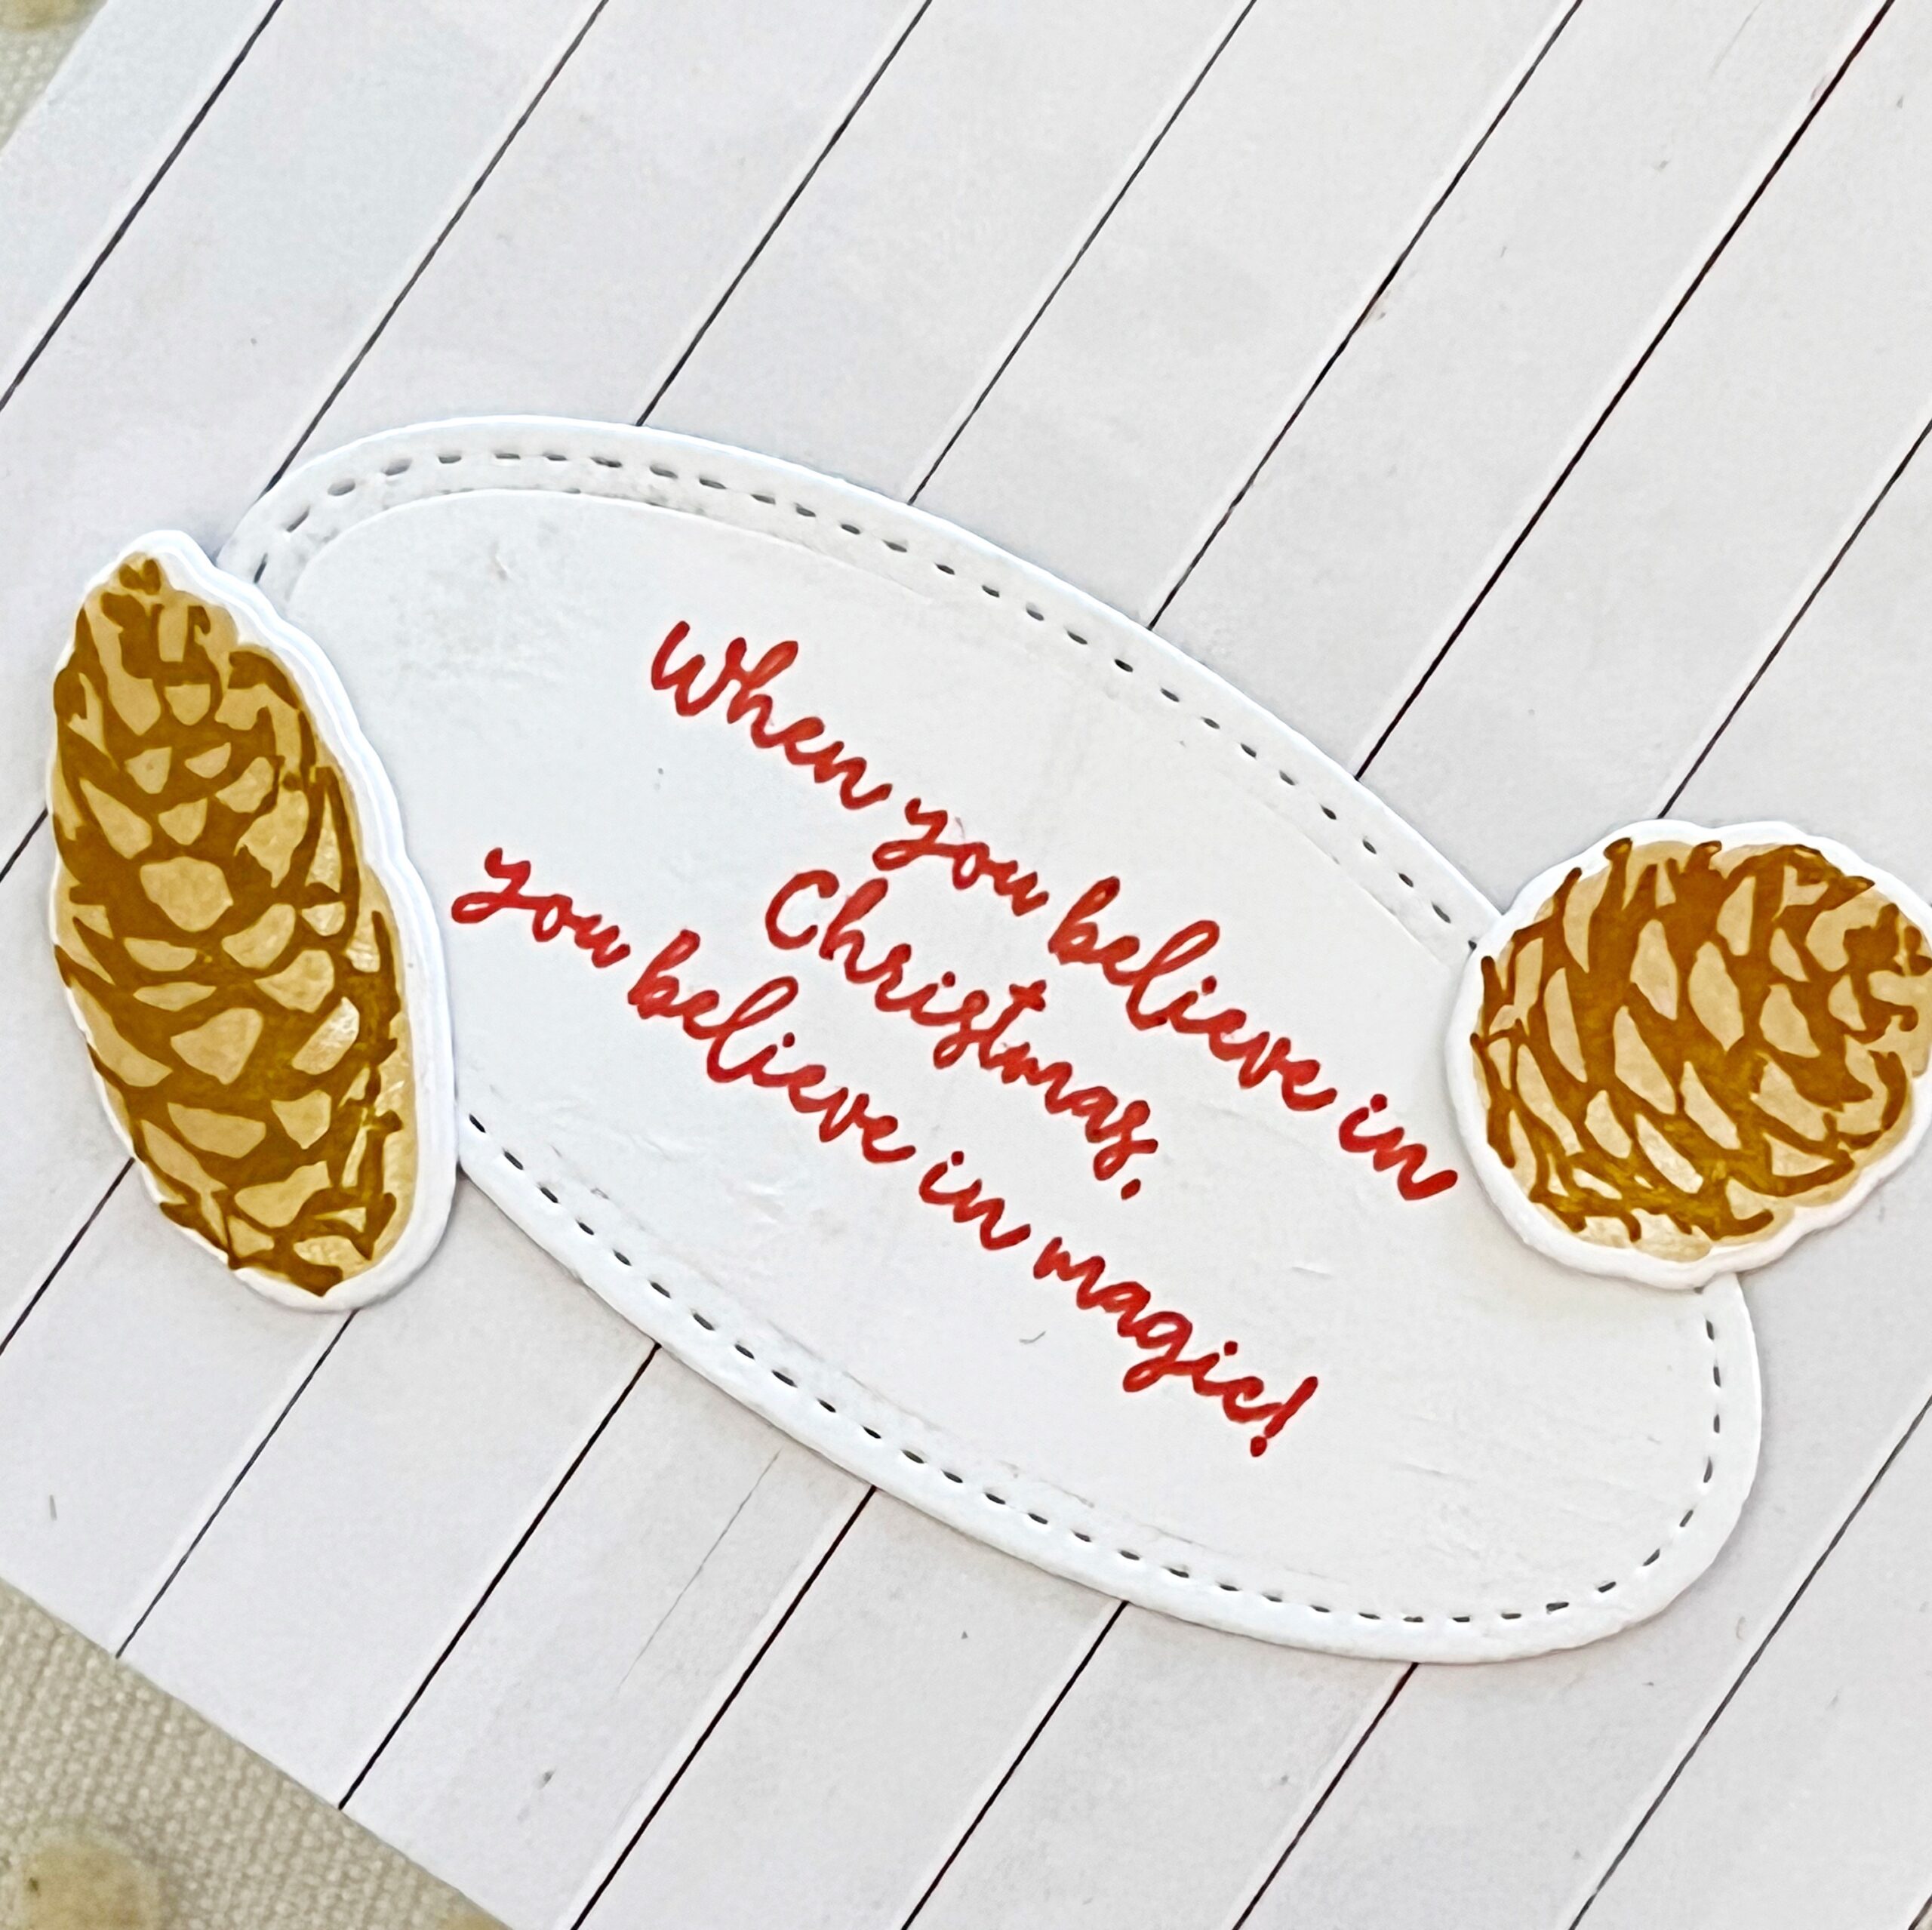
I added my sentiment to the inside of my card so both the inside and outside were completed. I used the new Inside Greetings: Believe stamp set accented by pine cones which are also from the Sprigs & Sprays: Holiday stamp set. This sentiment is one of my favorites from the set…Christmas truly is magic, isn’t it?
Supplies Used:
STAMPS: Inside Greetings: Believe, Vase Collection 13, Sprigs & Sprays: Holiday
INK: Ripe Avocado, Sweet Blush, Pale Peony, Honey Nut, Hibiscus Burst, Spring Moss, Berry Sorbet, Soft Stone
PAPER: Stamper’s Select White
DIES: Vase Collection 13, Elegant Edges: Snowflakes, Sprigs & Sprays: Holiday, Love to Layer: Squares, Love to Layer: Ovals
OTHER: Patterned paper, Moonshine sequins, Stickles glitter, velvet ribbon
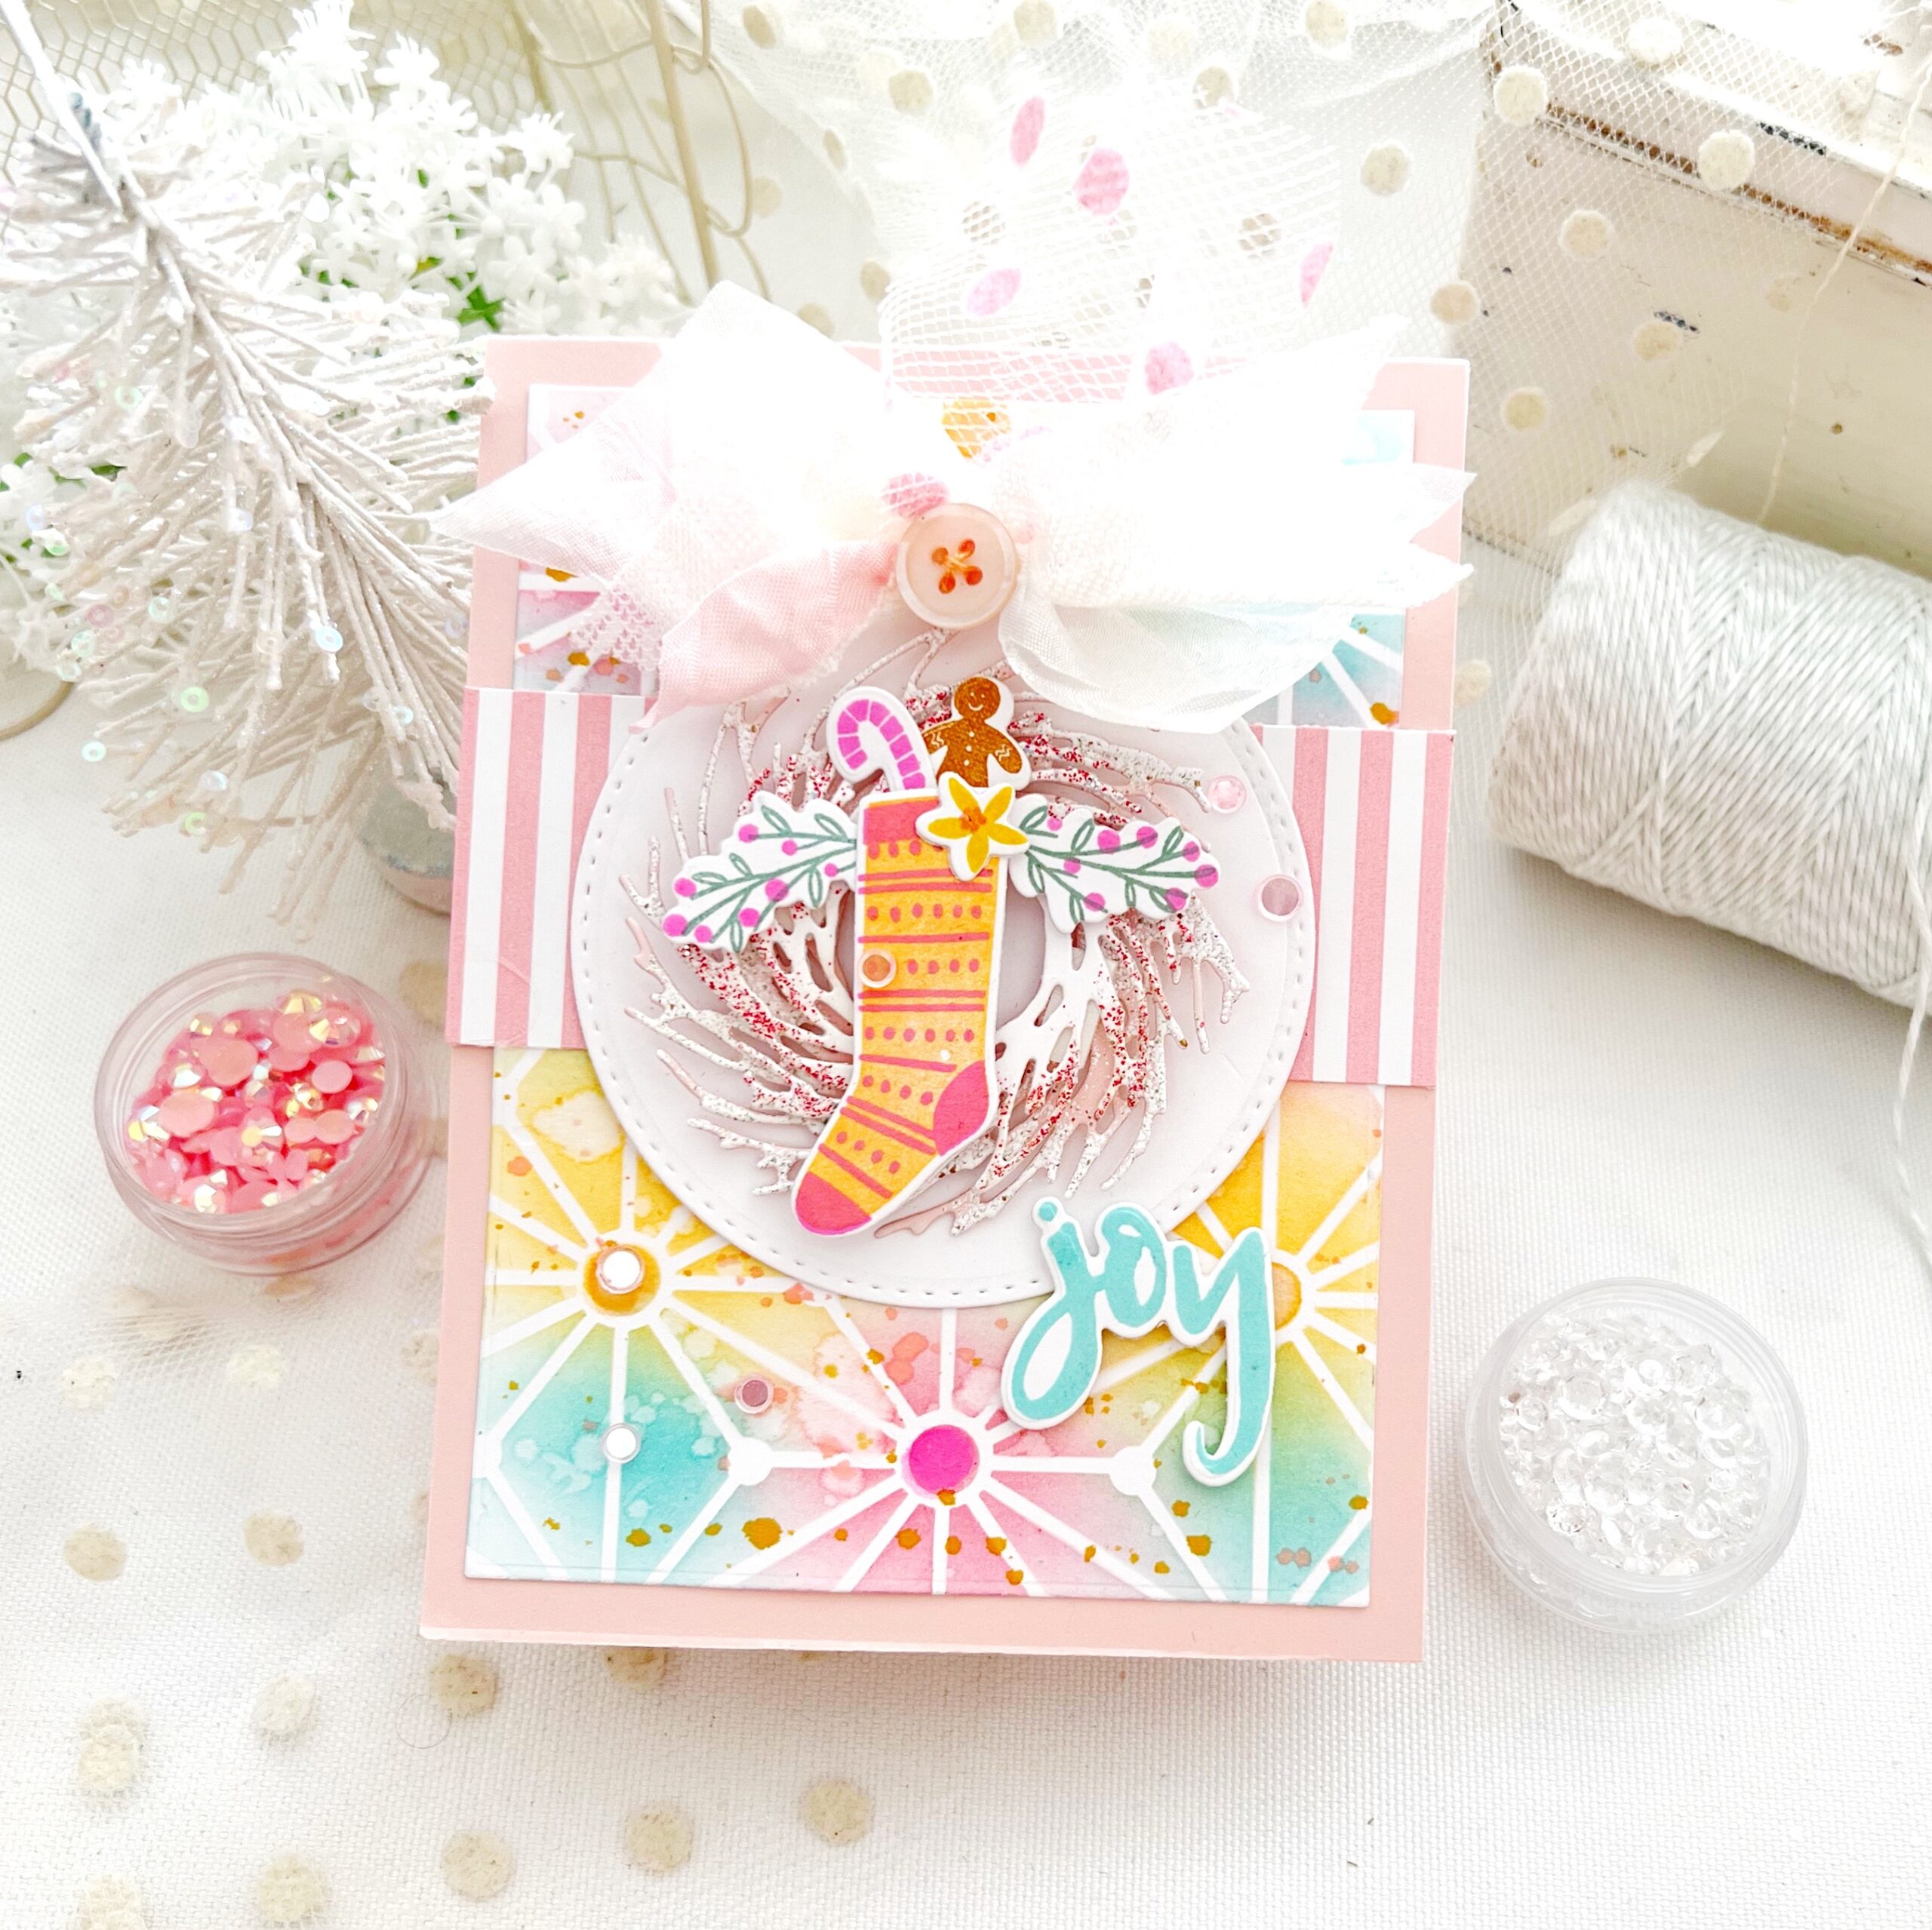
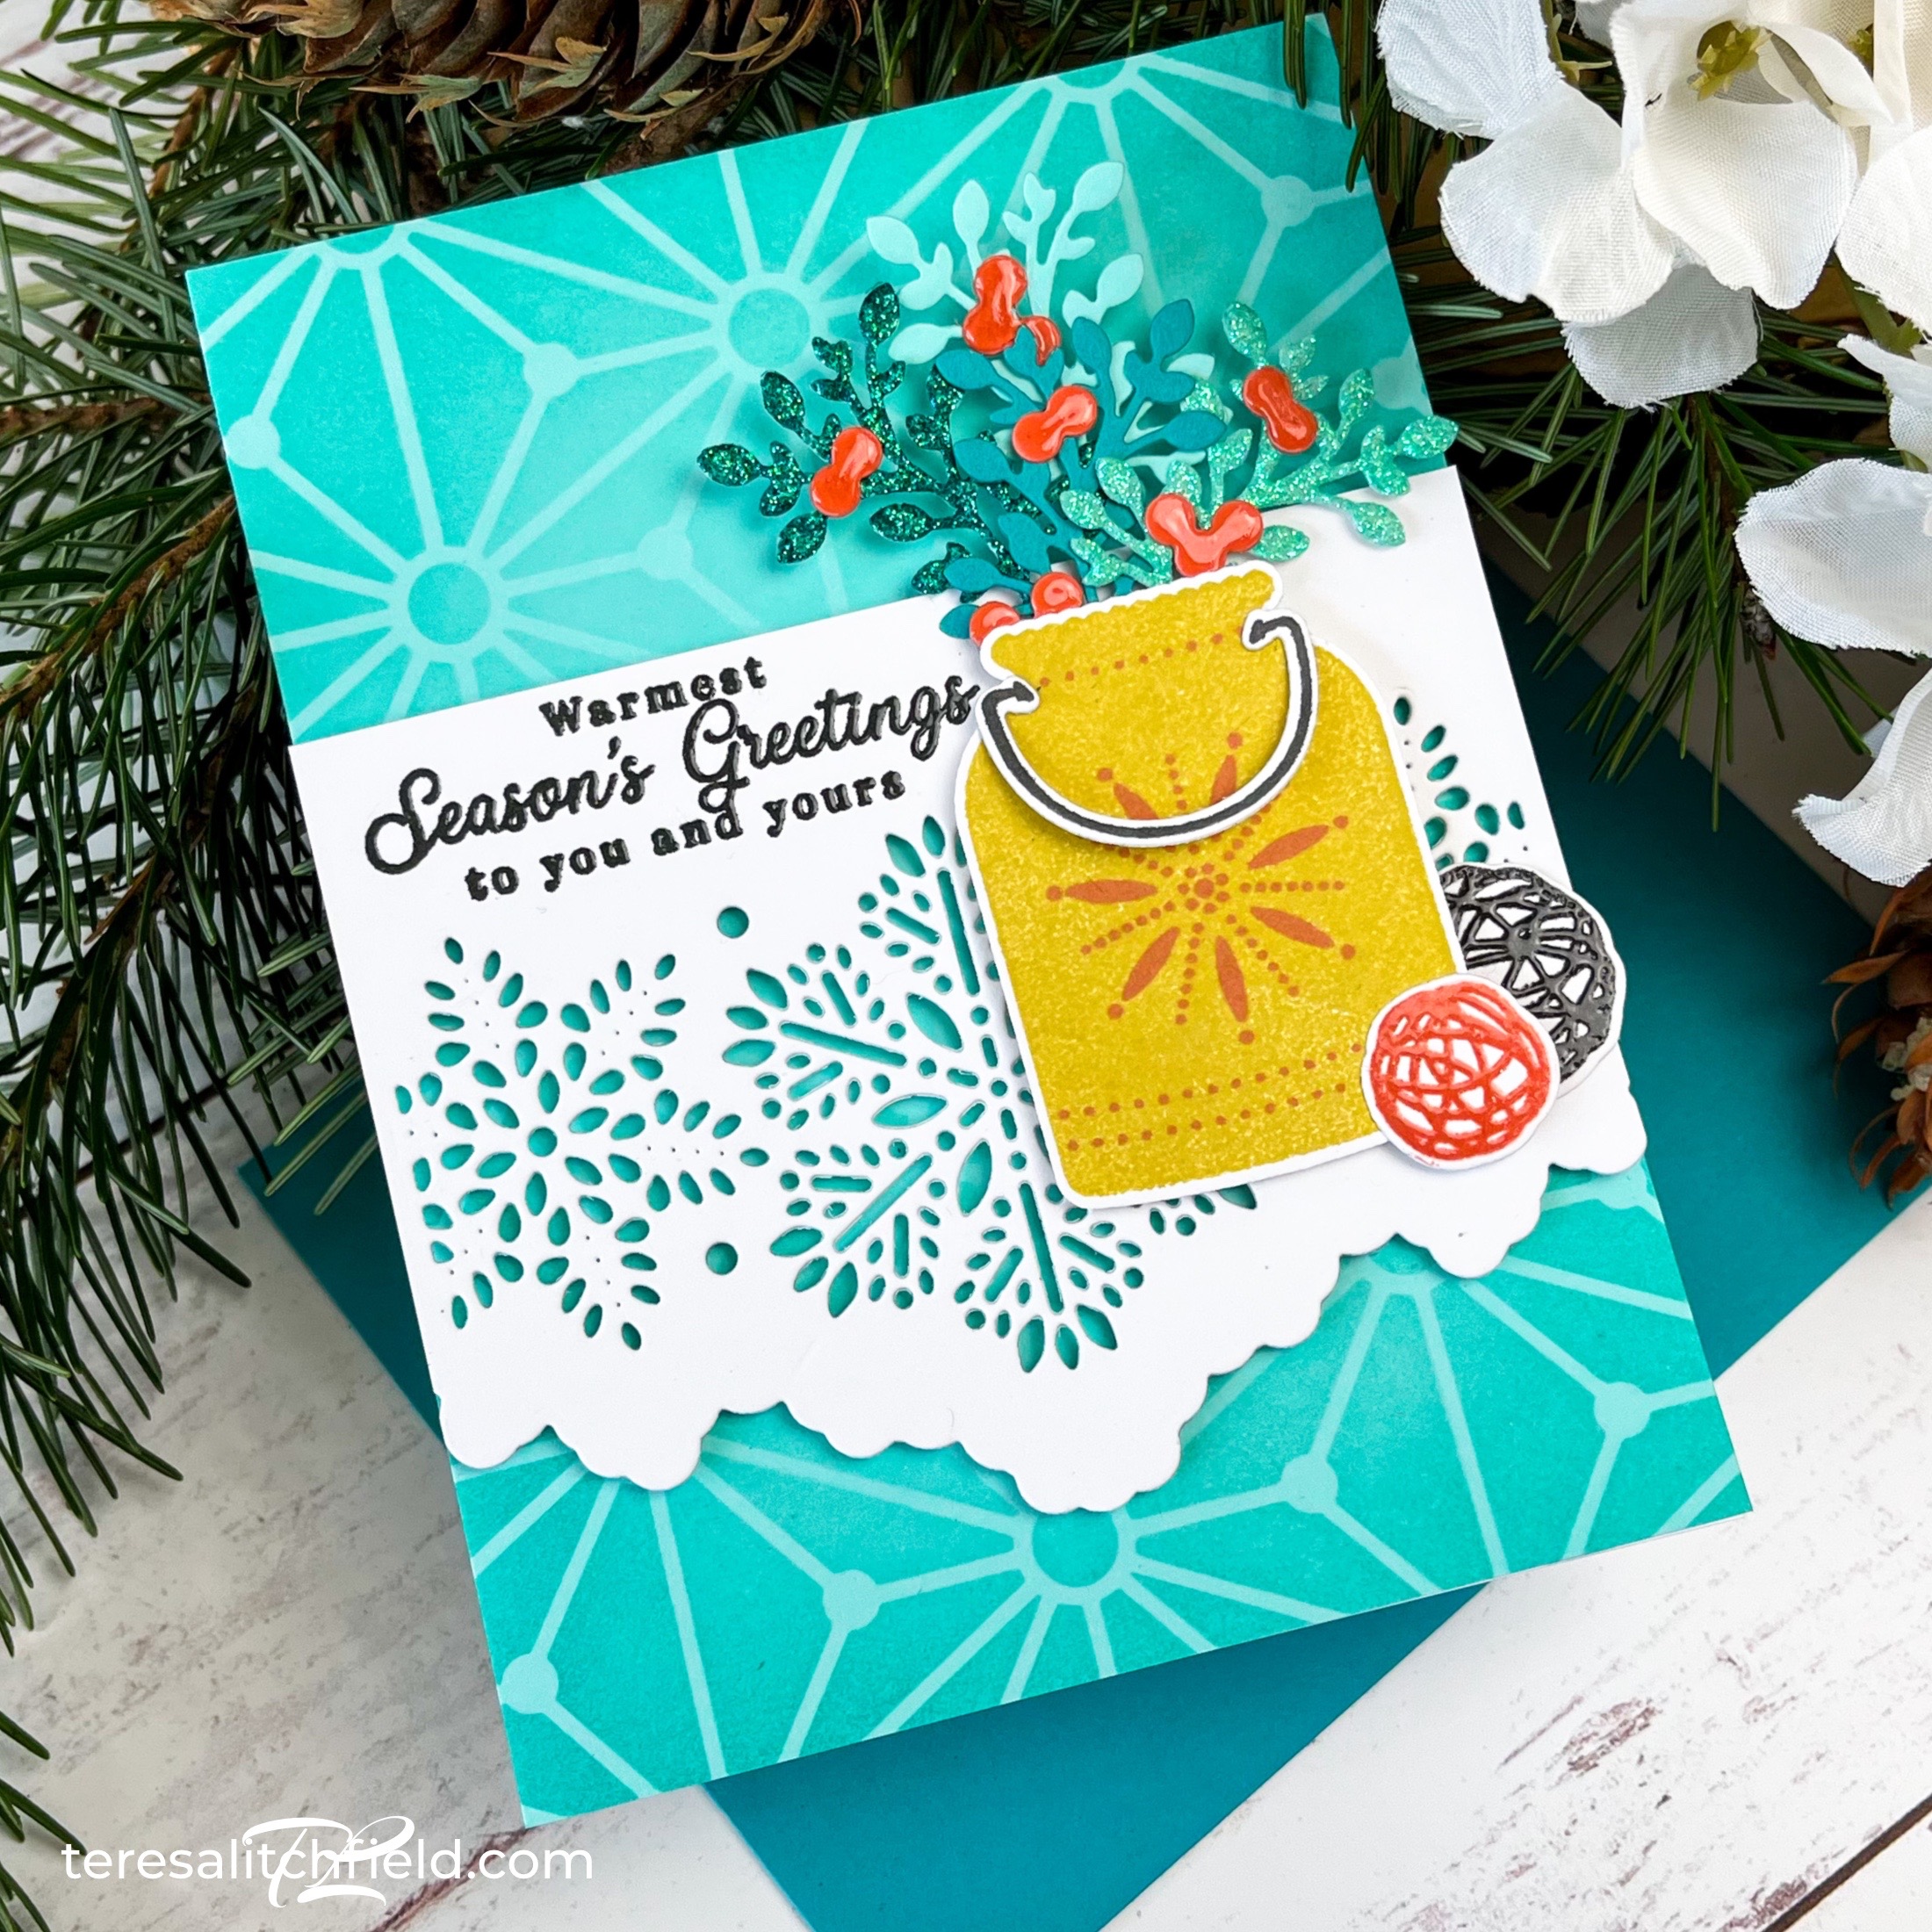
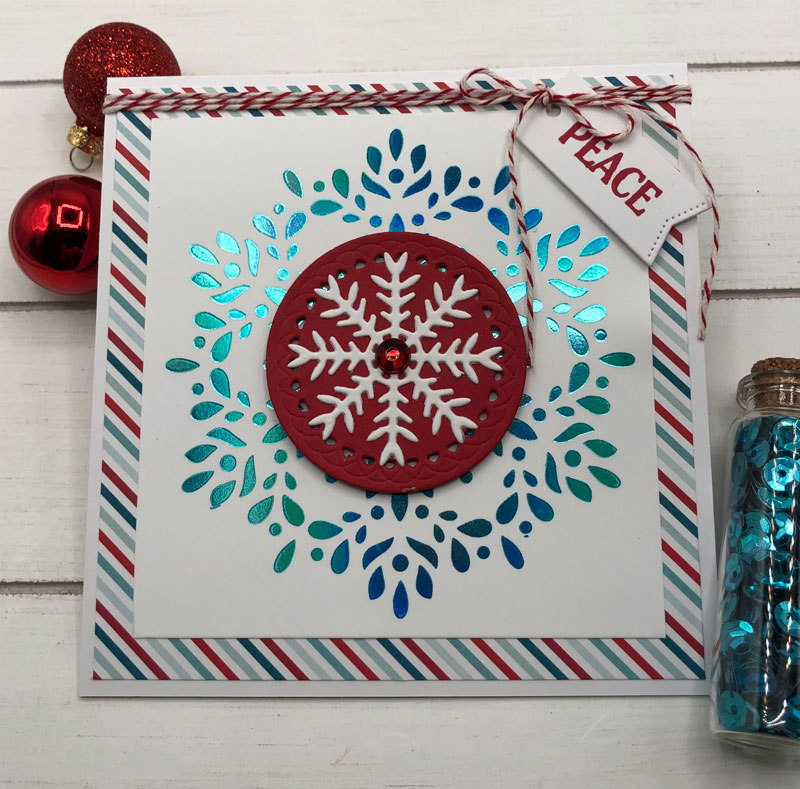
My next card uses the new Geometric Snowflakes Stencils and I adore them! They are so playful and fun to create with.
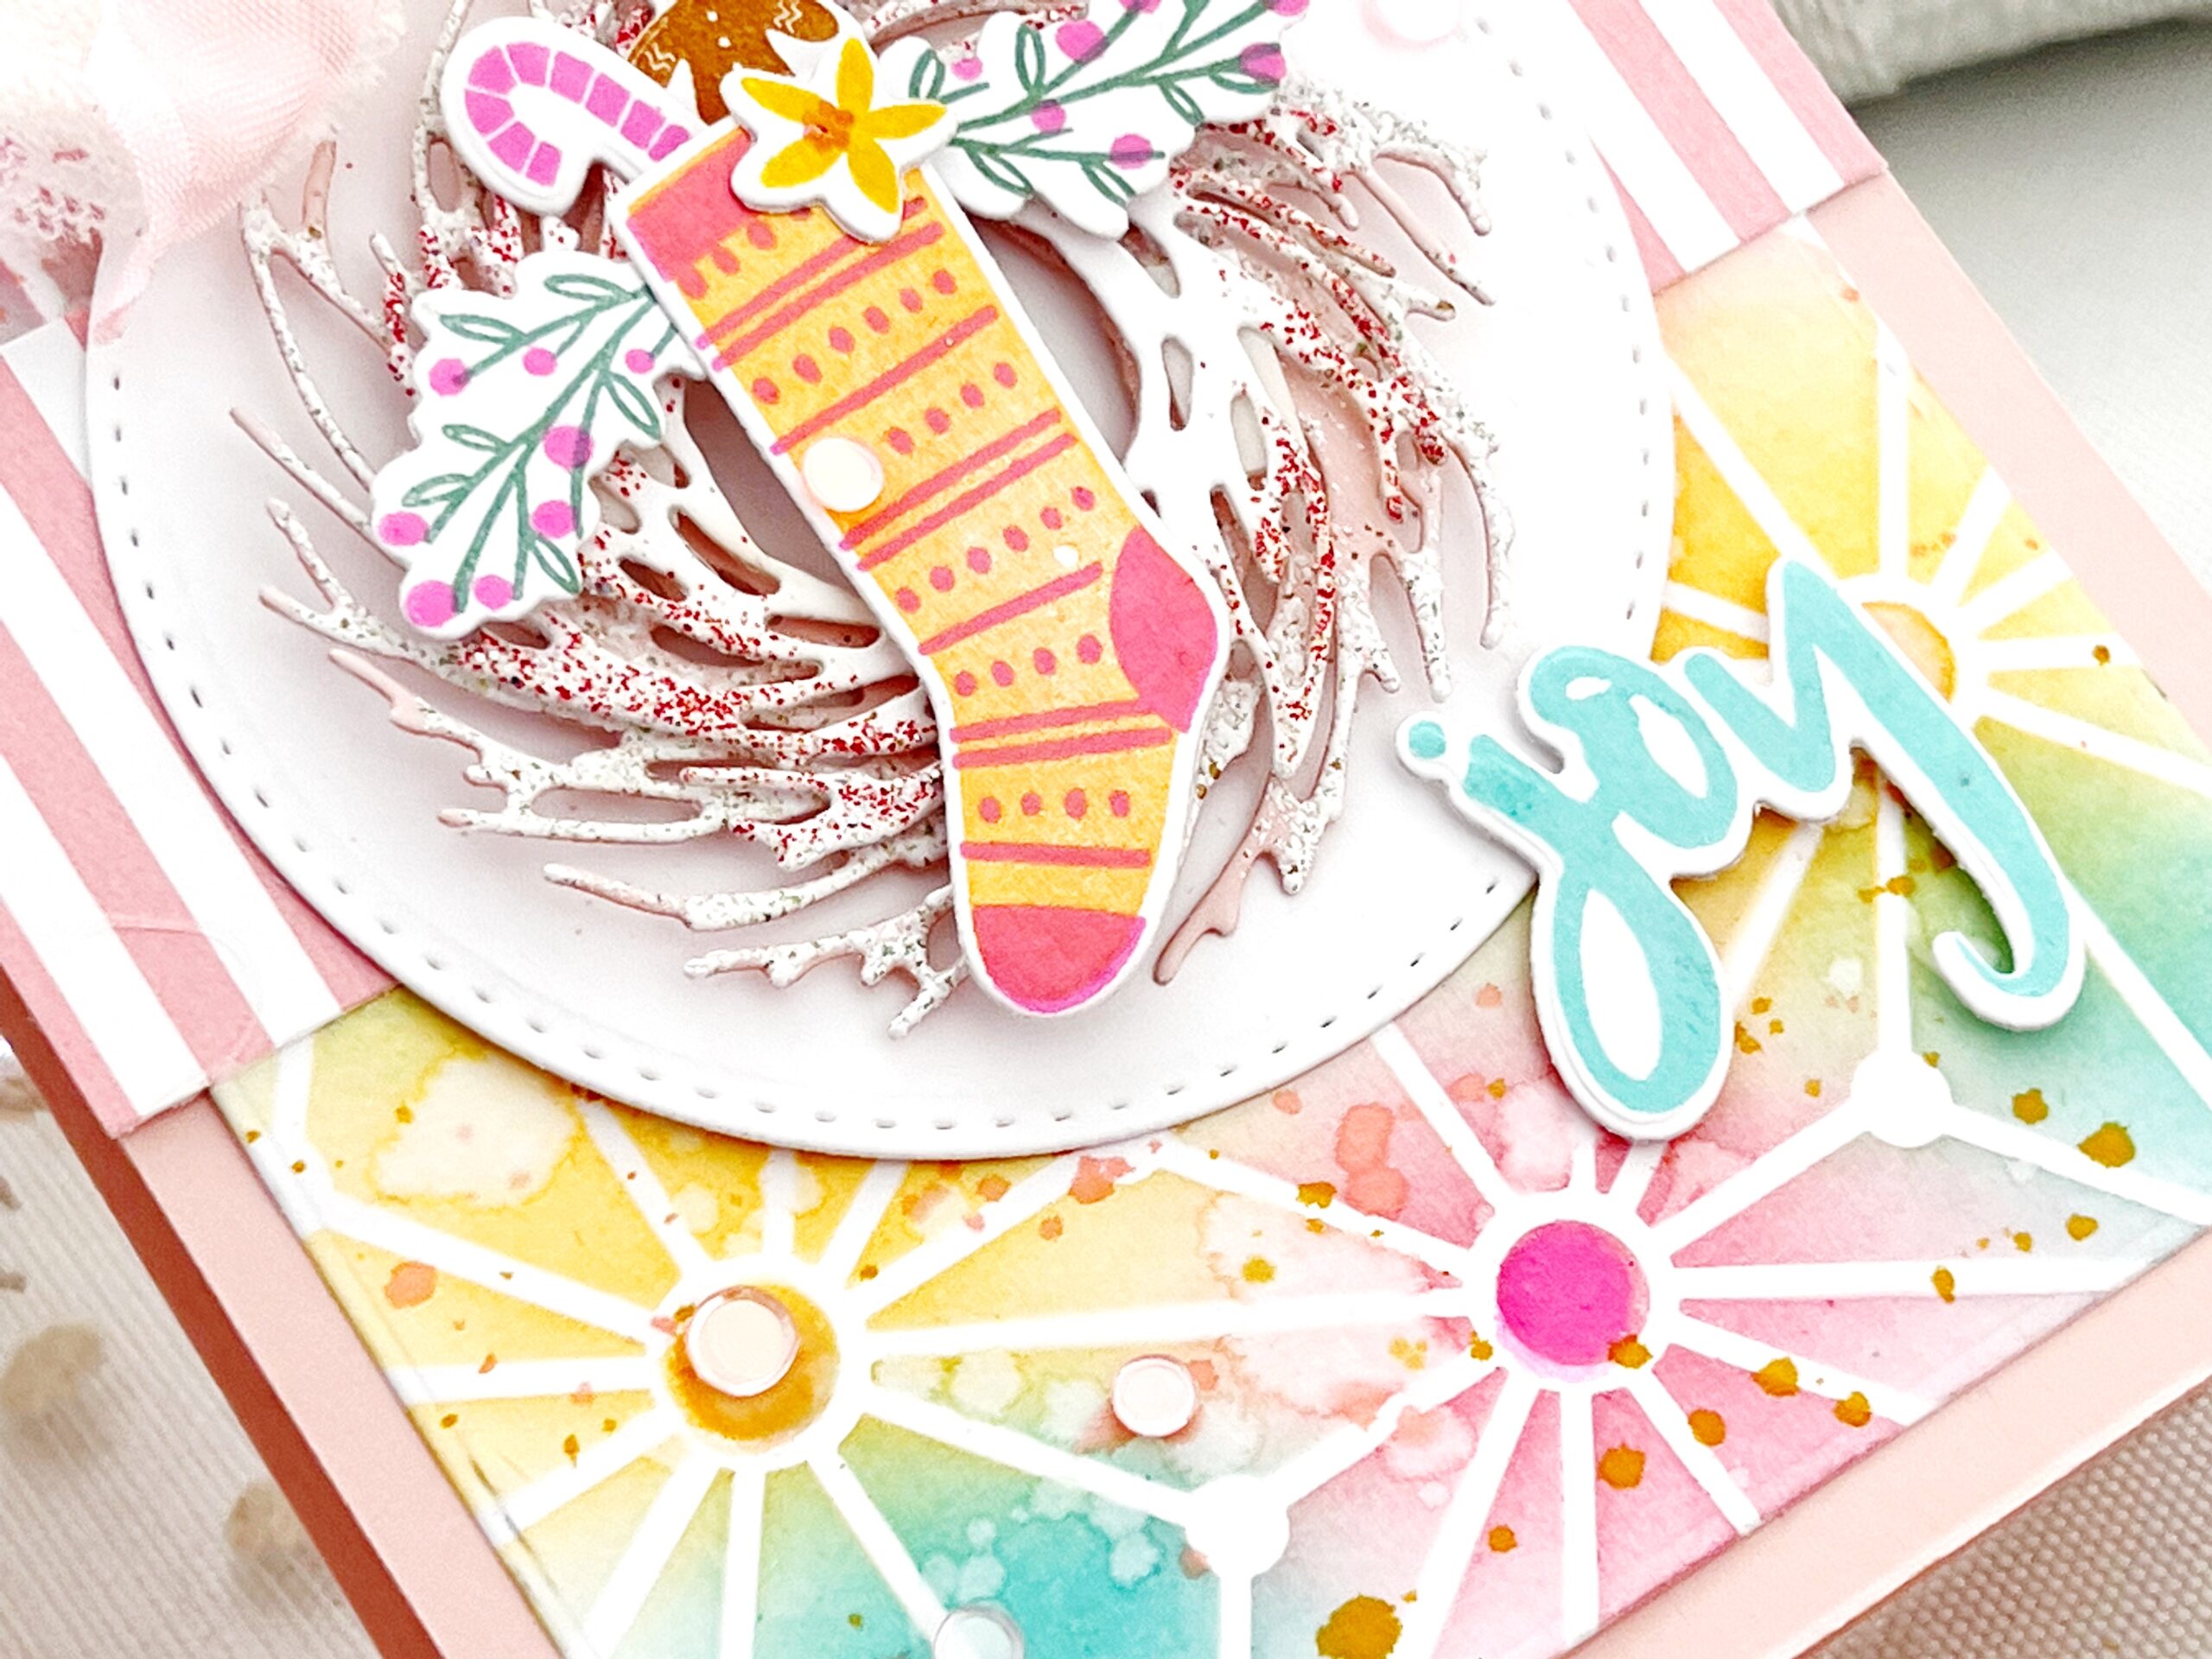
My background was created using the Geometric Snowflakes Stencils. I began with a white block of cardstock and then sponged ink in a variety of colors over the stencil. I used Hawaiian Shores, Hibiscus Burst, Summer Sunrise, and Raspberry Fizz. I then spritzed water over my surface area and added a bit of Distress Ink in coordinating colors. Once dry, I was ready to start layering over the top.
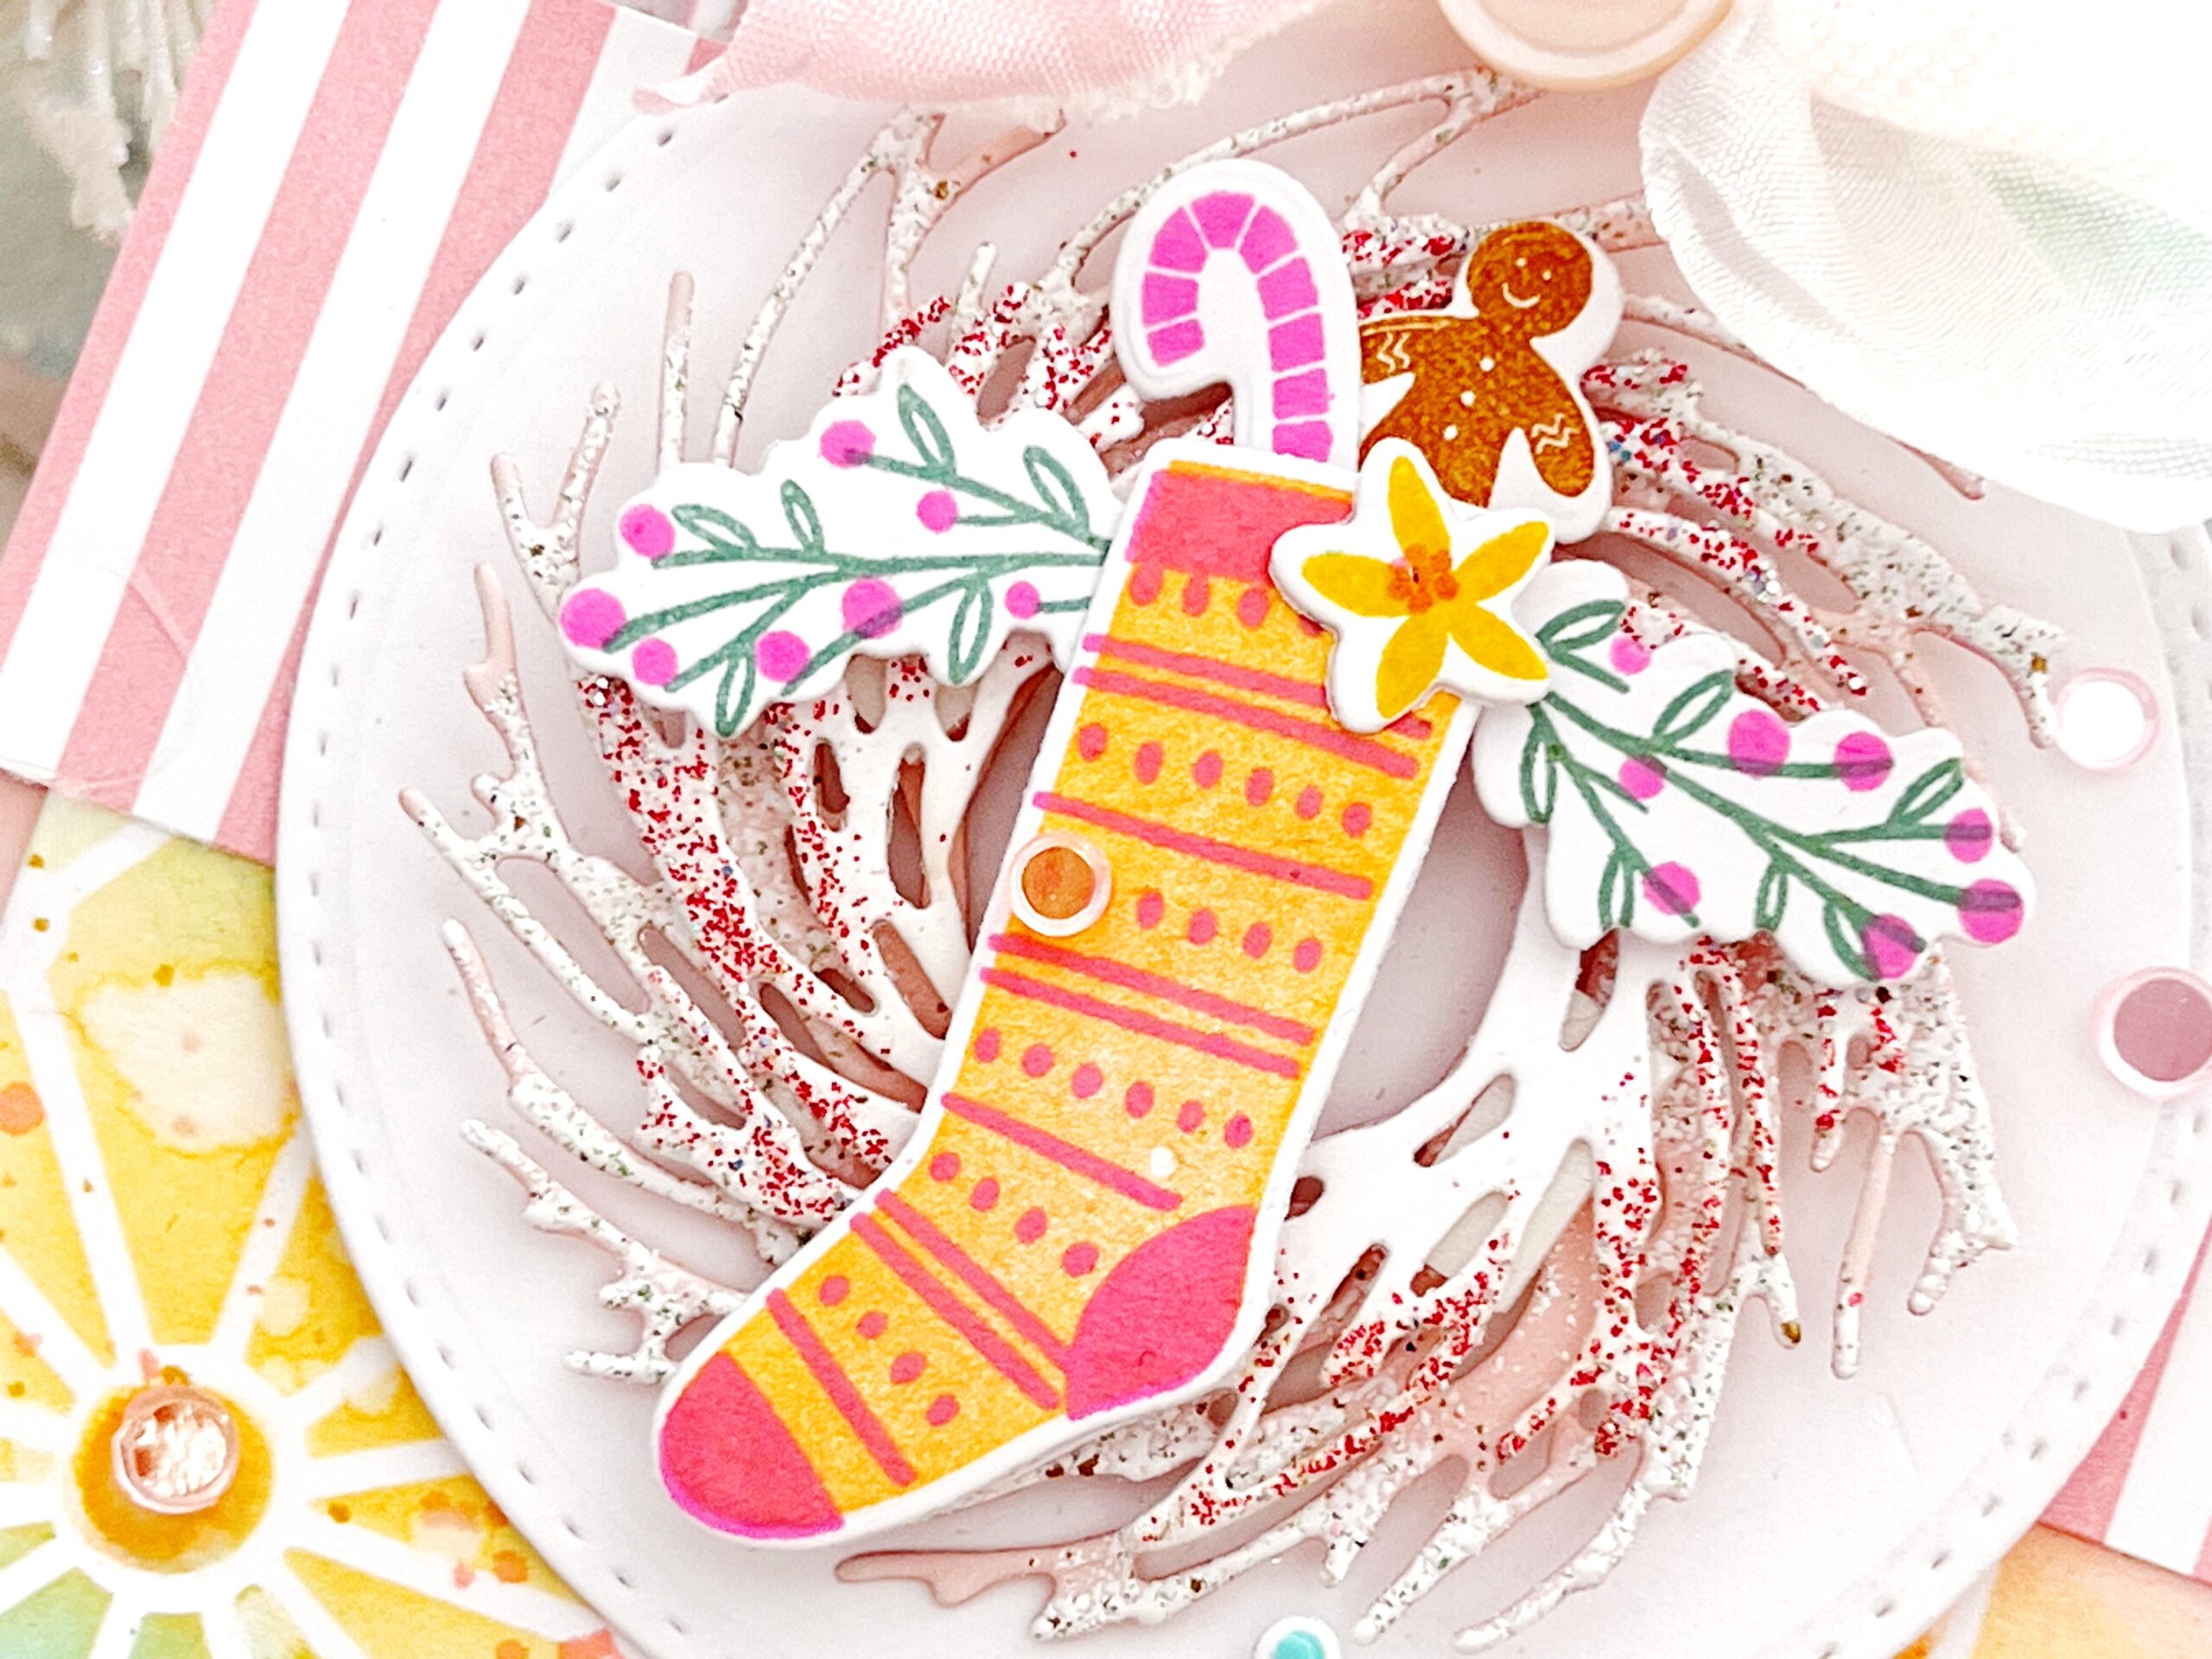
I used the wreaths from the Rustic Wood Star dies and layered the smaller over the larger. I added embossing glitter to the tips to add some sparkle. I then used the Sweet Stockings stamp set and added a stocking hung and filled to the center of my wreath. My sentiment is from the Merry Berry Wreath stamp set and dies and creates a simple statement to finish off my card.
Supplies Used:
STAMPS: Sweet Stockings, Merry Berry Wreath
INK: Hawaiian Shores, Hibiscus Burst, Summer Sunrise, Raspberry Fizz, Ocean Tides, Bright Buttercup, Honey Nut
PAPER: Stamper’s Select White, Sweet Blush, Bitty Big Lovely Lady
DIES: Berry Wreath Tag, Rustic Wood Star, Sweet Stockings, Merry Berry Wreath
OTHER: Embossing enamel, Moonshine sequins, trim, button, thread, tulle


Our next reveal on Day 2 of the October Countdown is sure to please. Introducing the new Fanciful Snowflakes Hot Foil Plate, Fanciful Snowflakes Background Hot Foil Plate, and Into the Blooms: Gardenia dies.
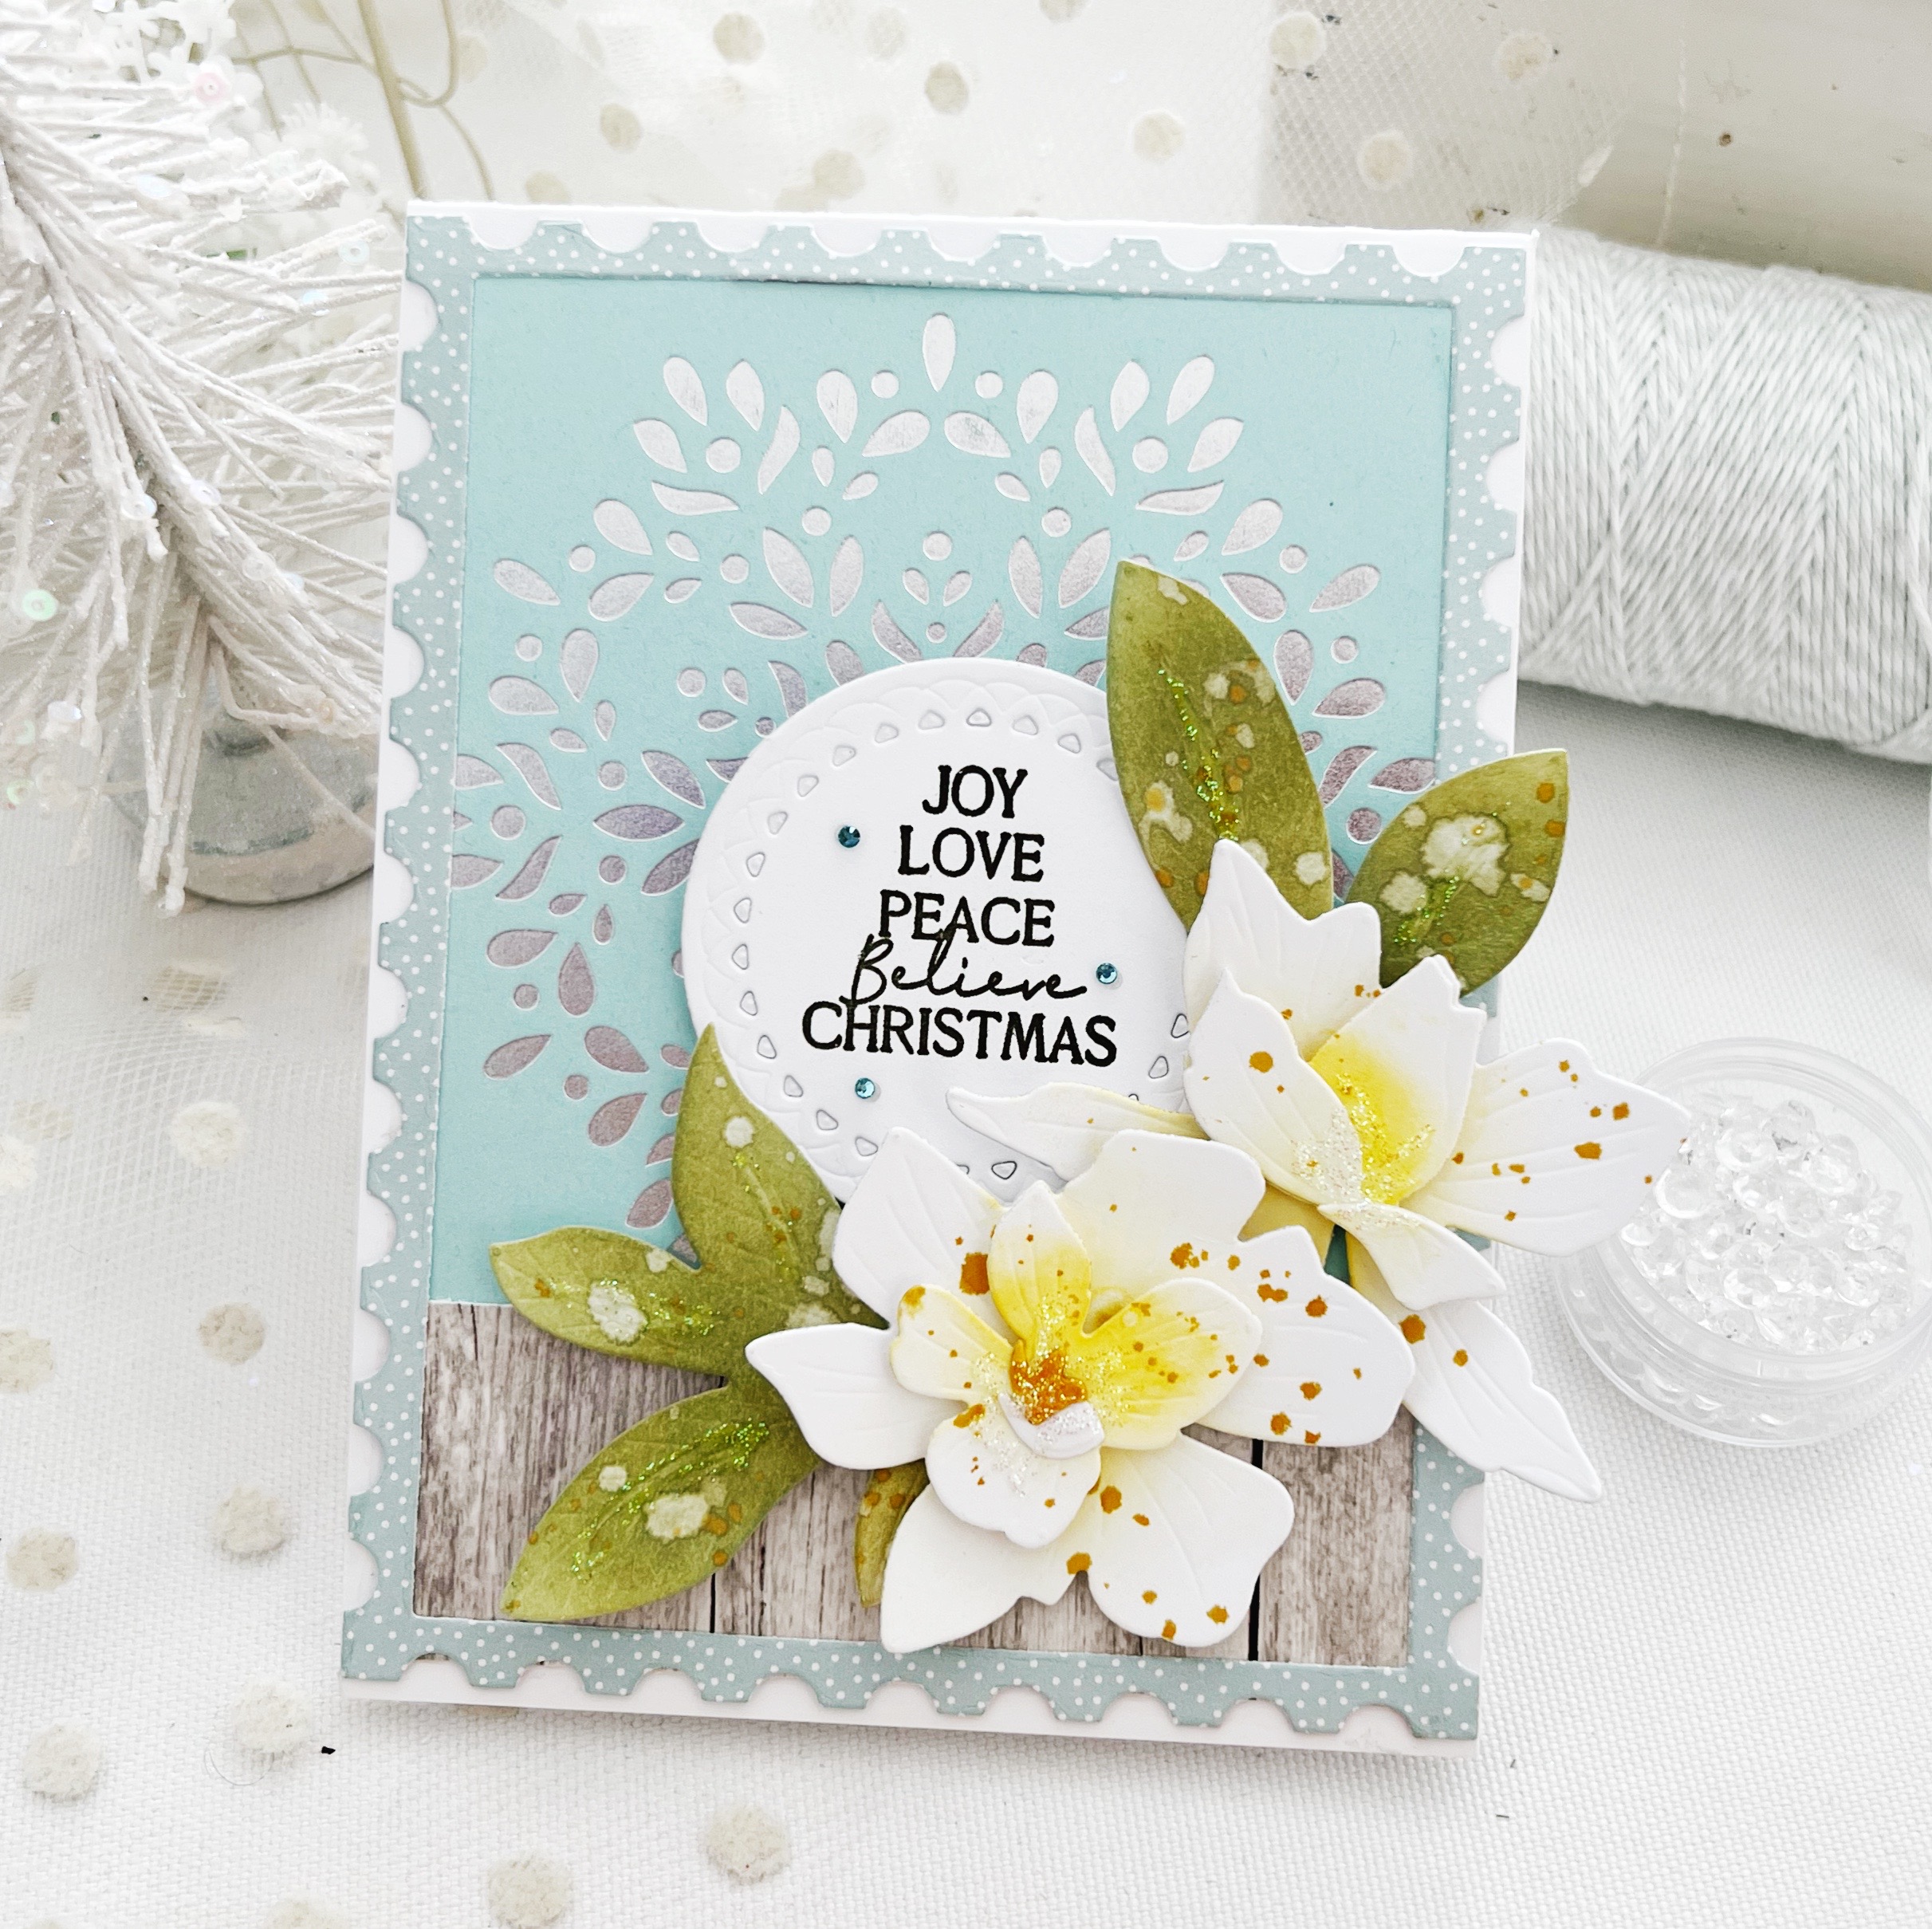
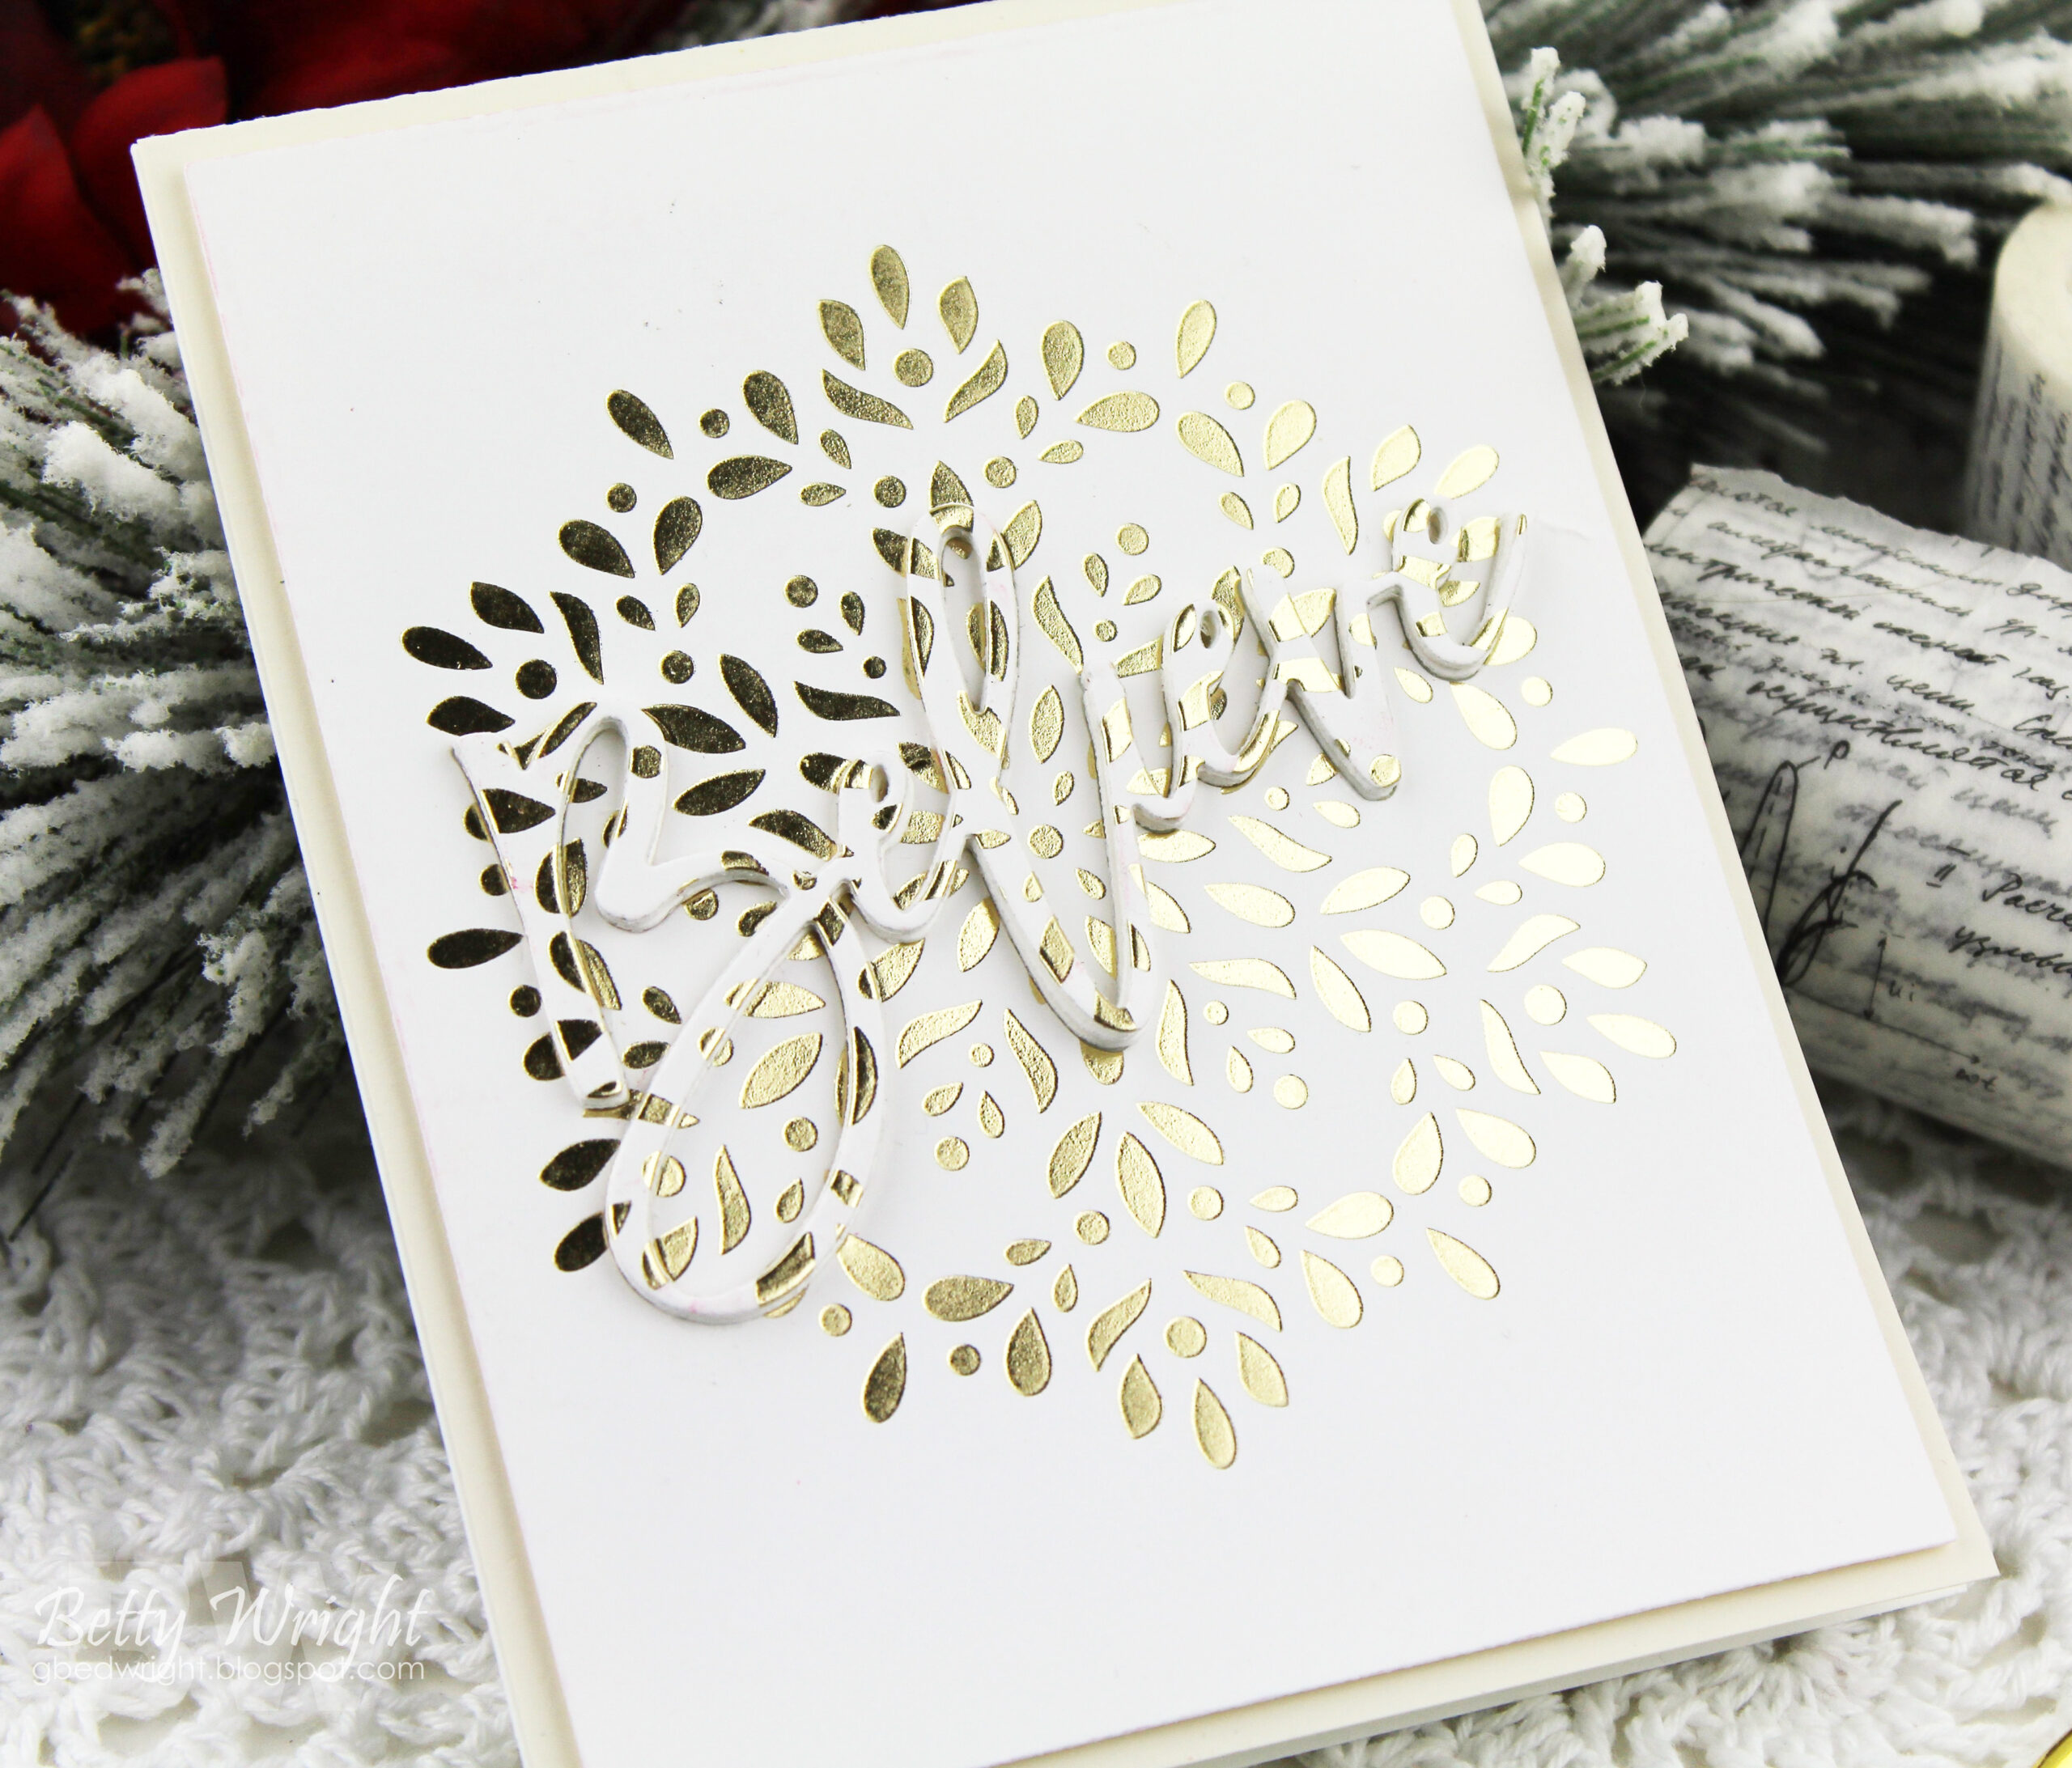
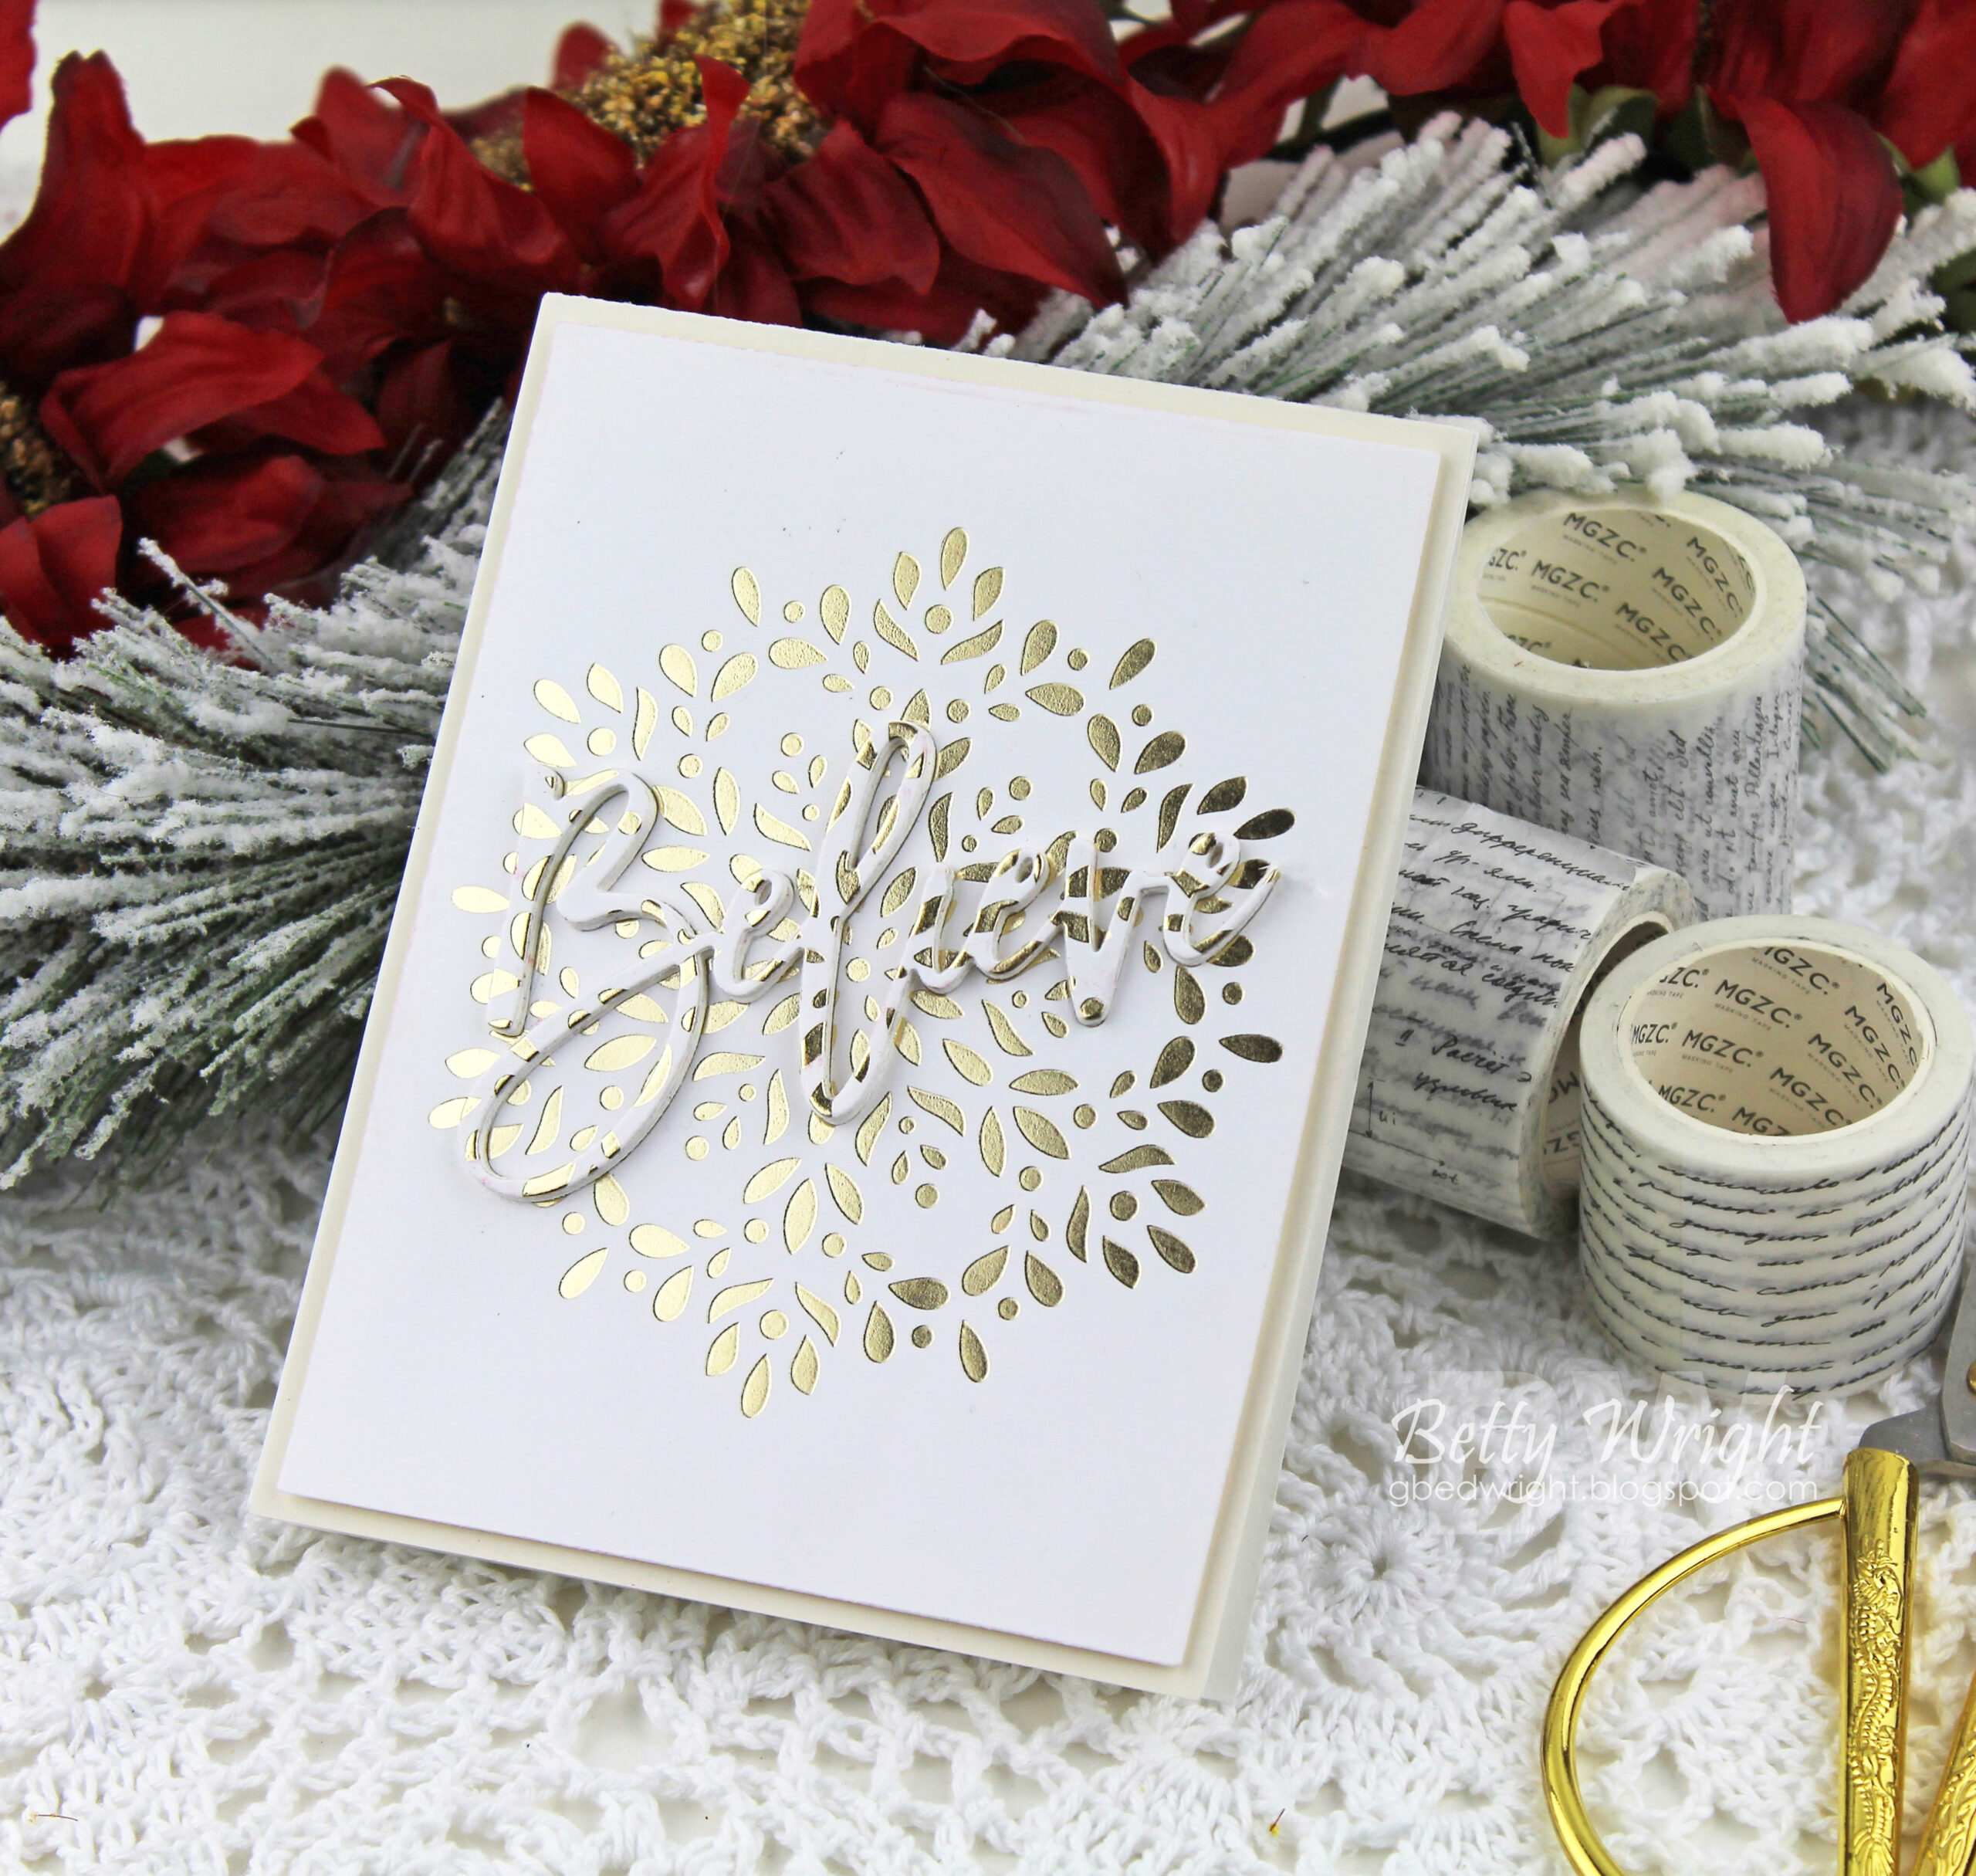
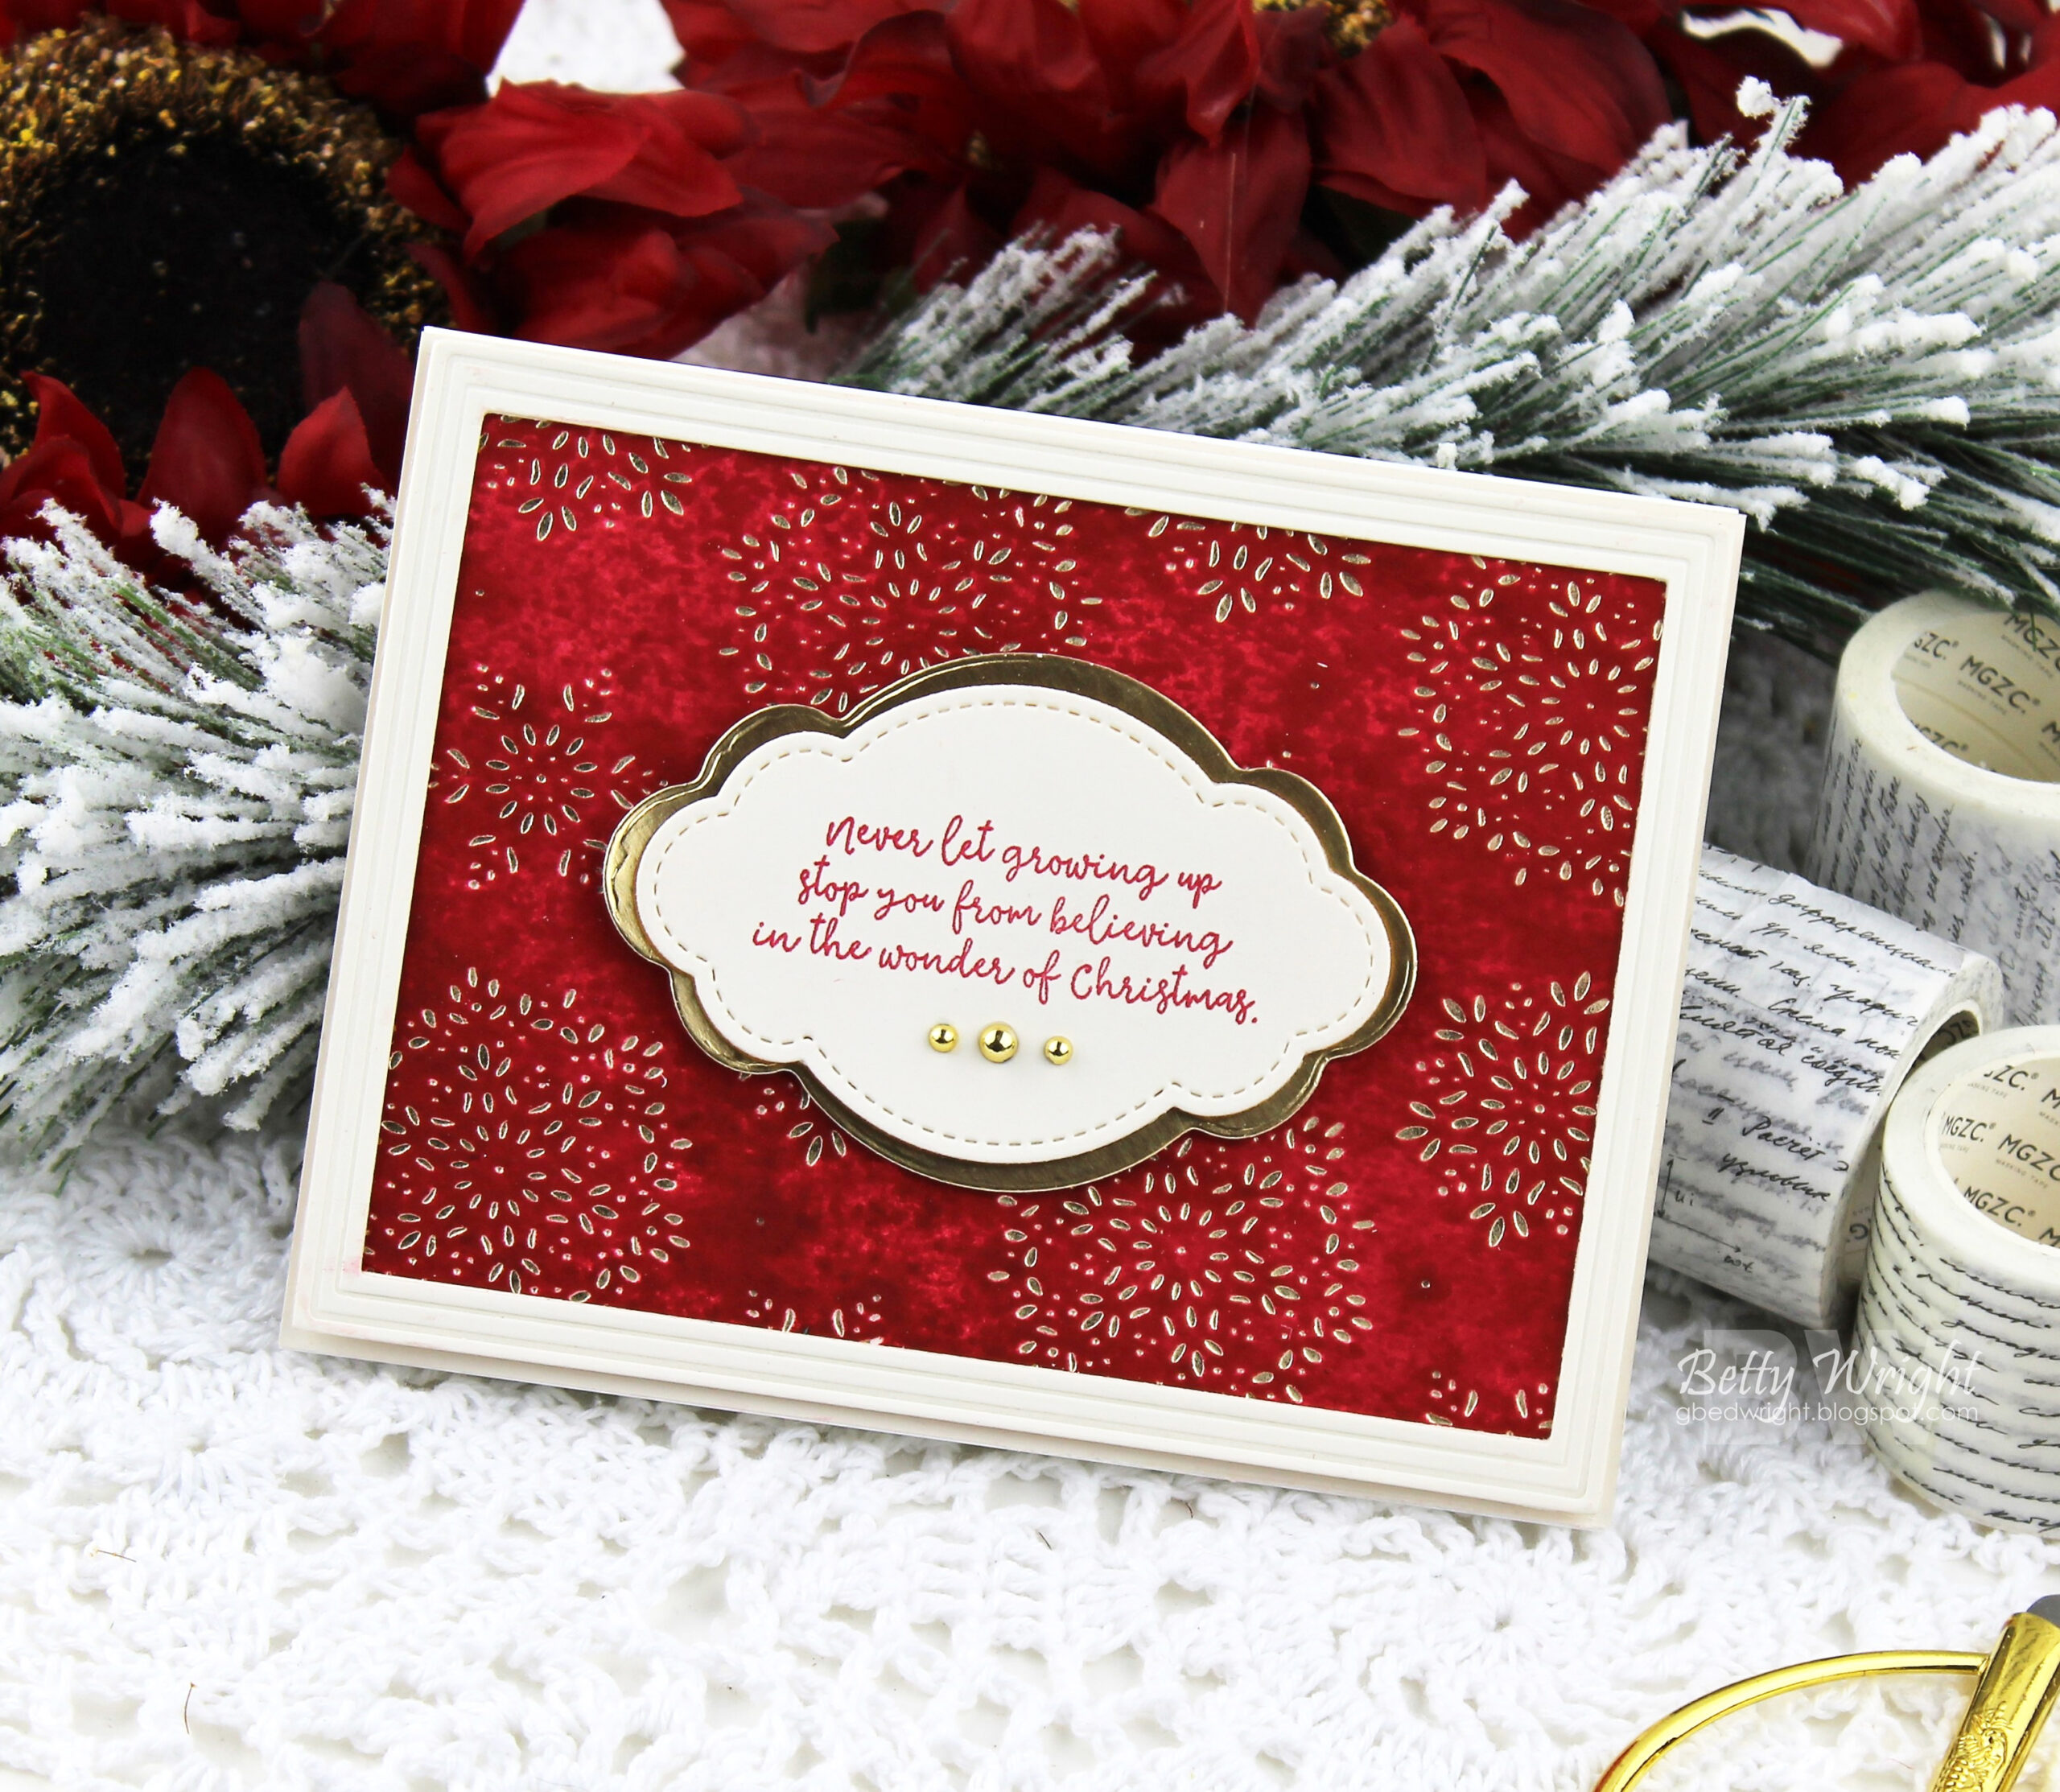
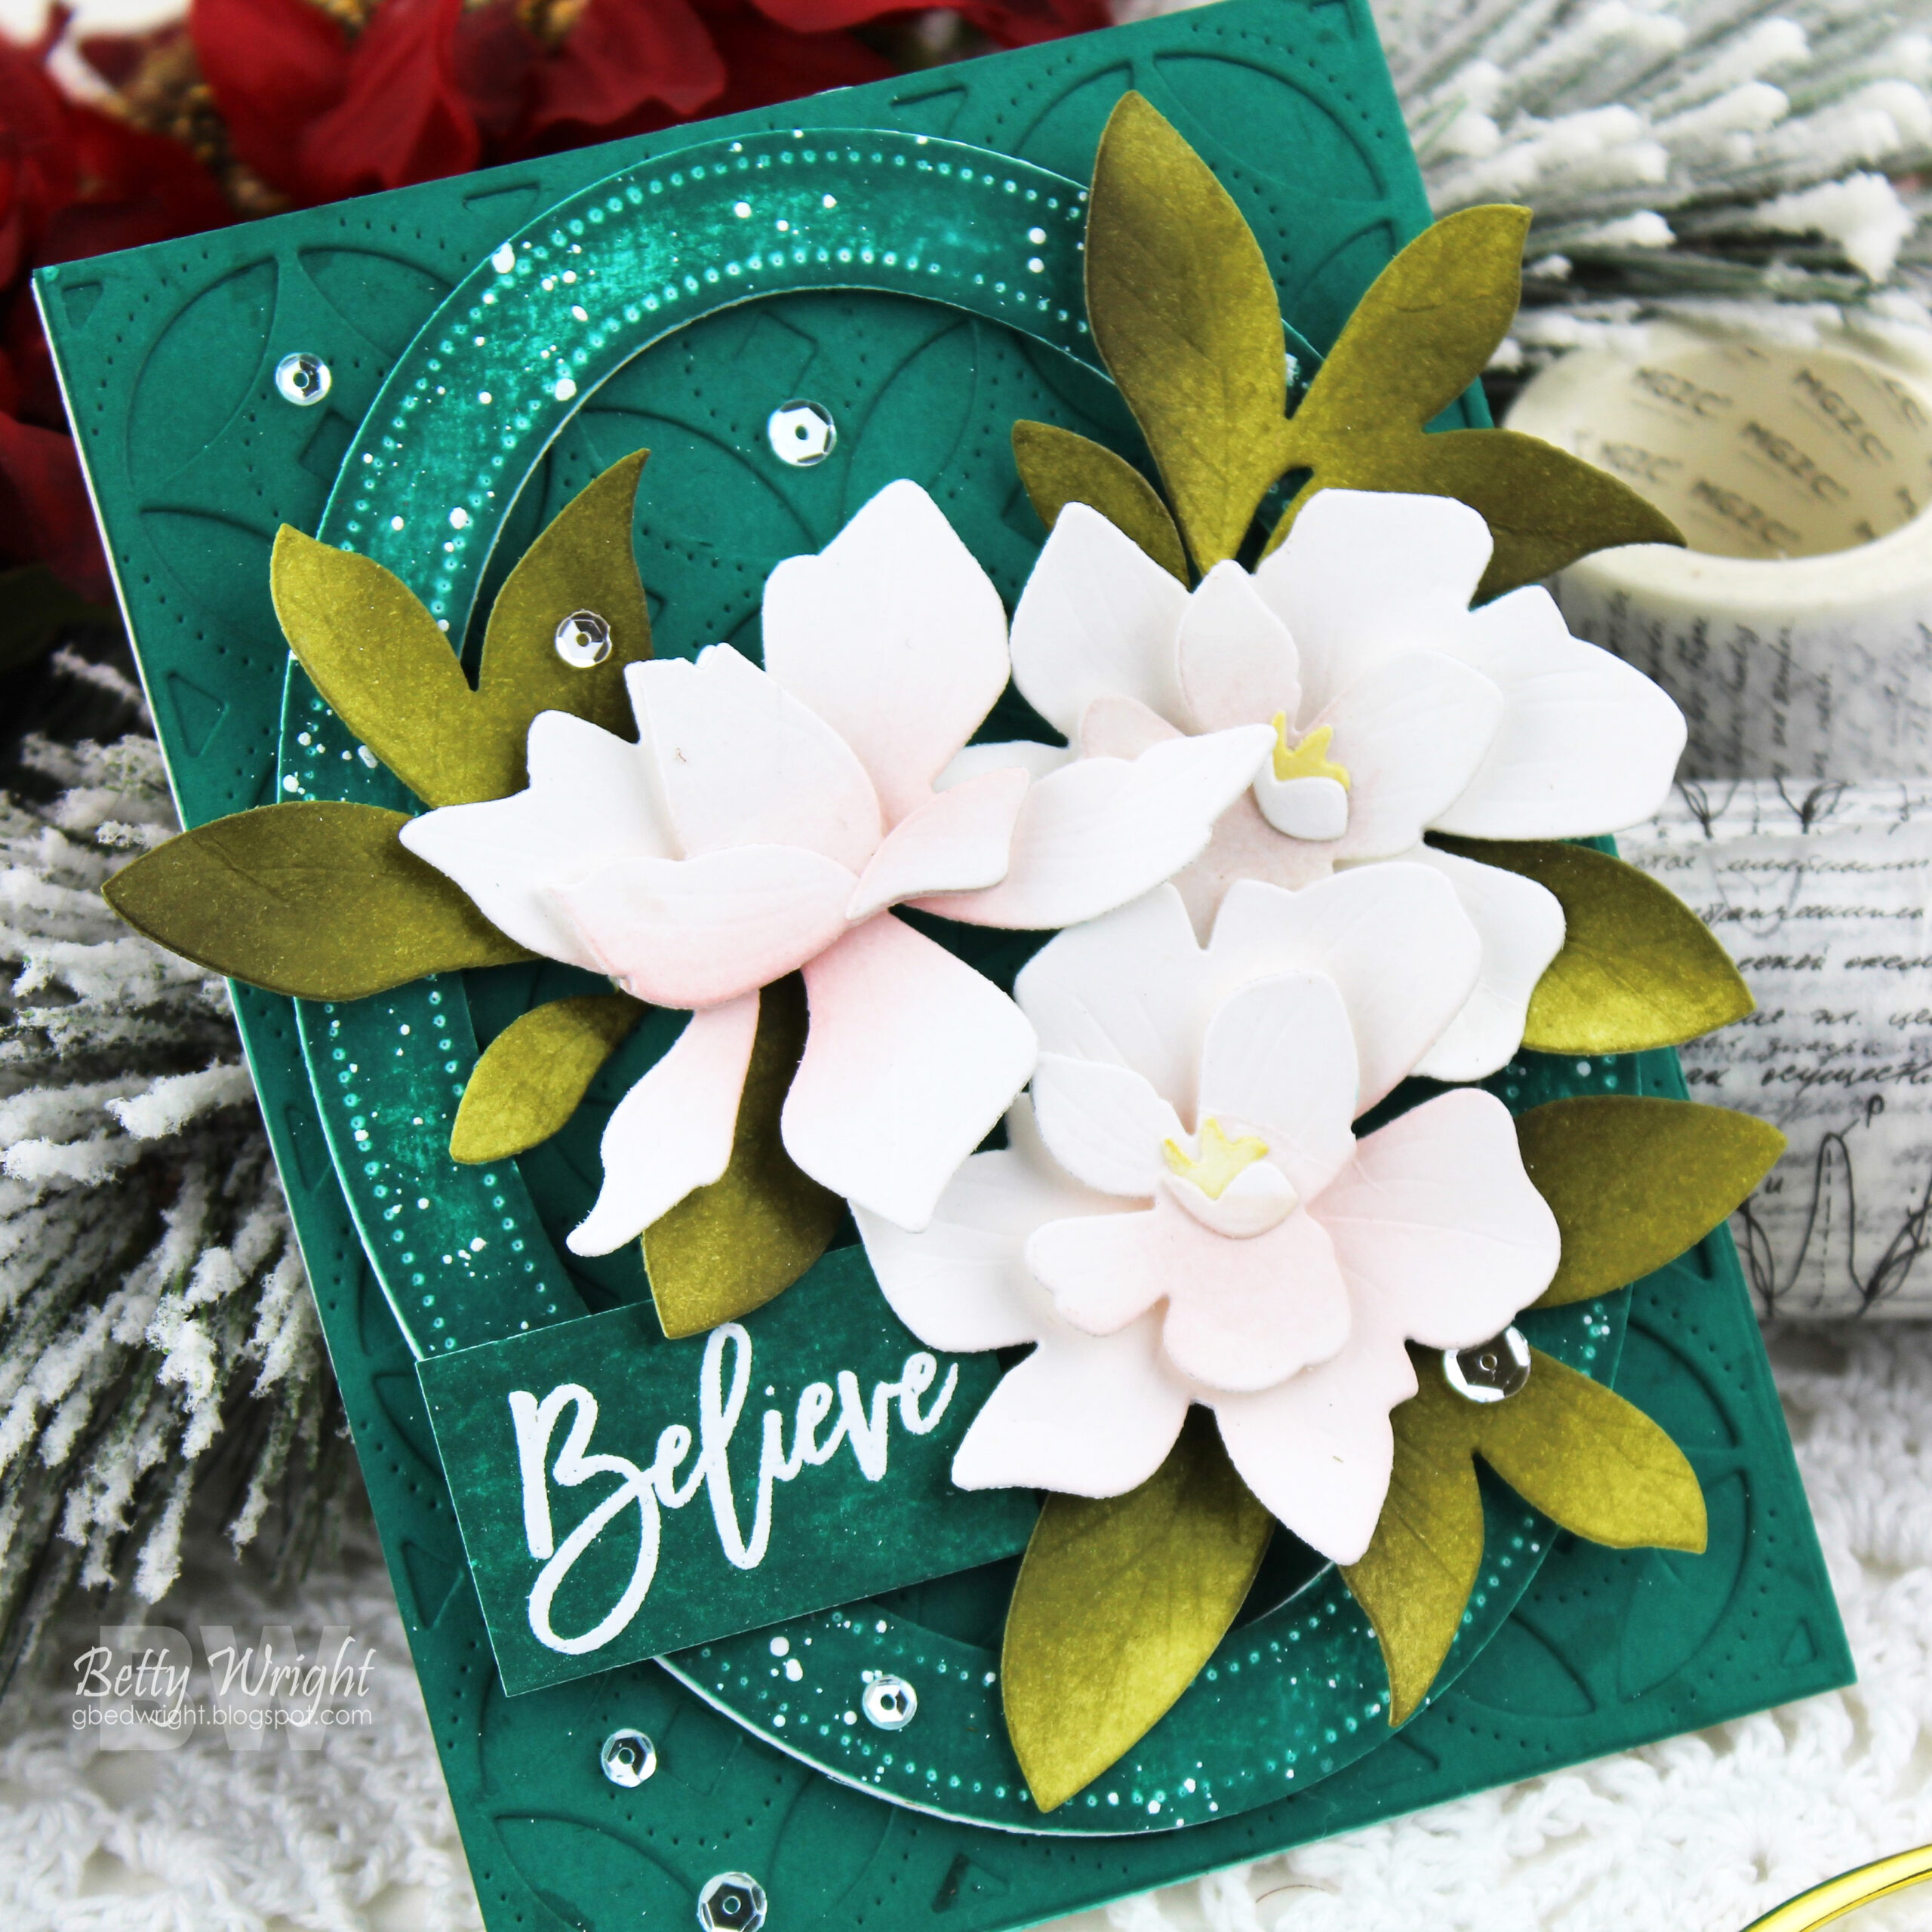
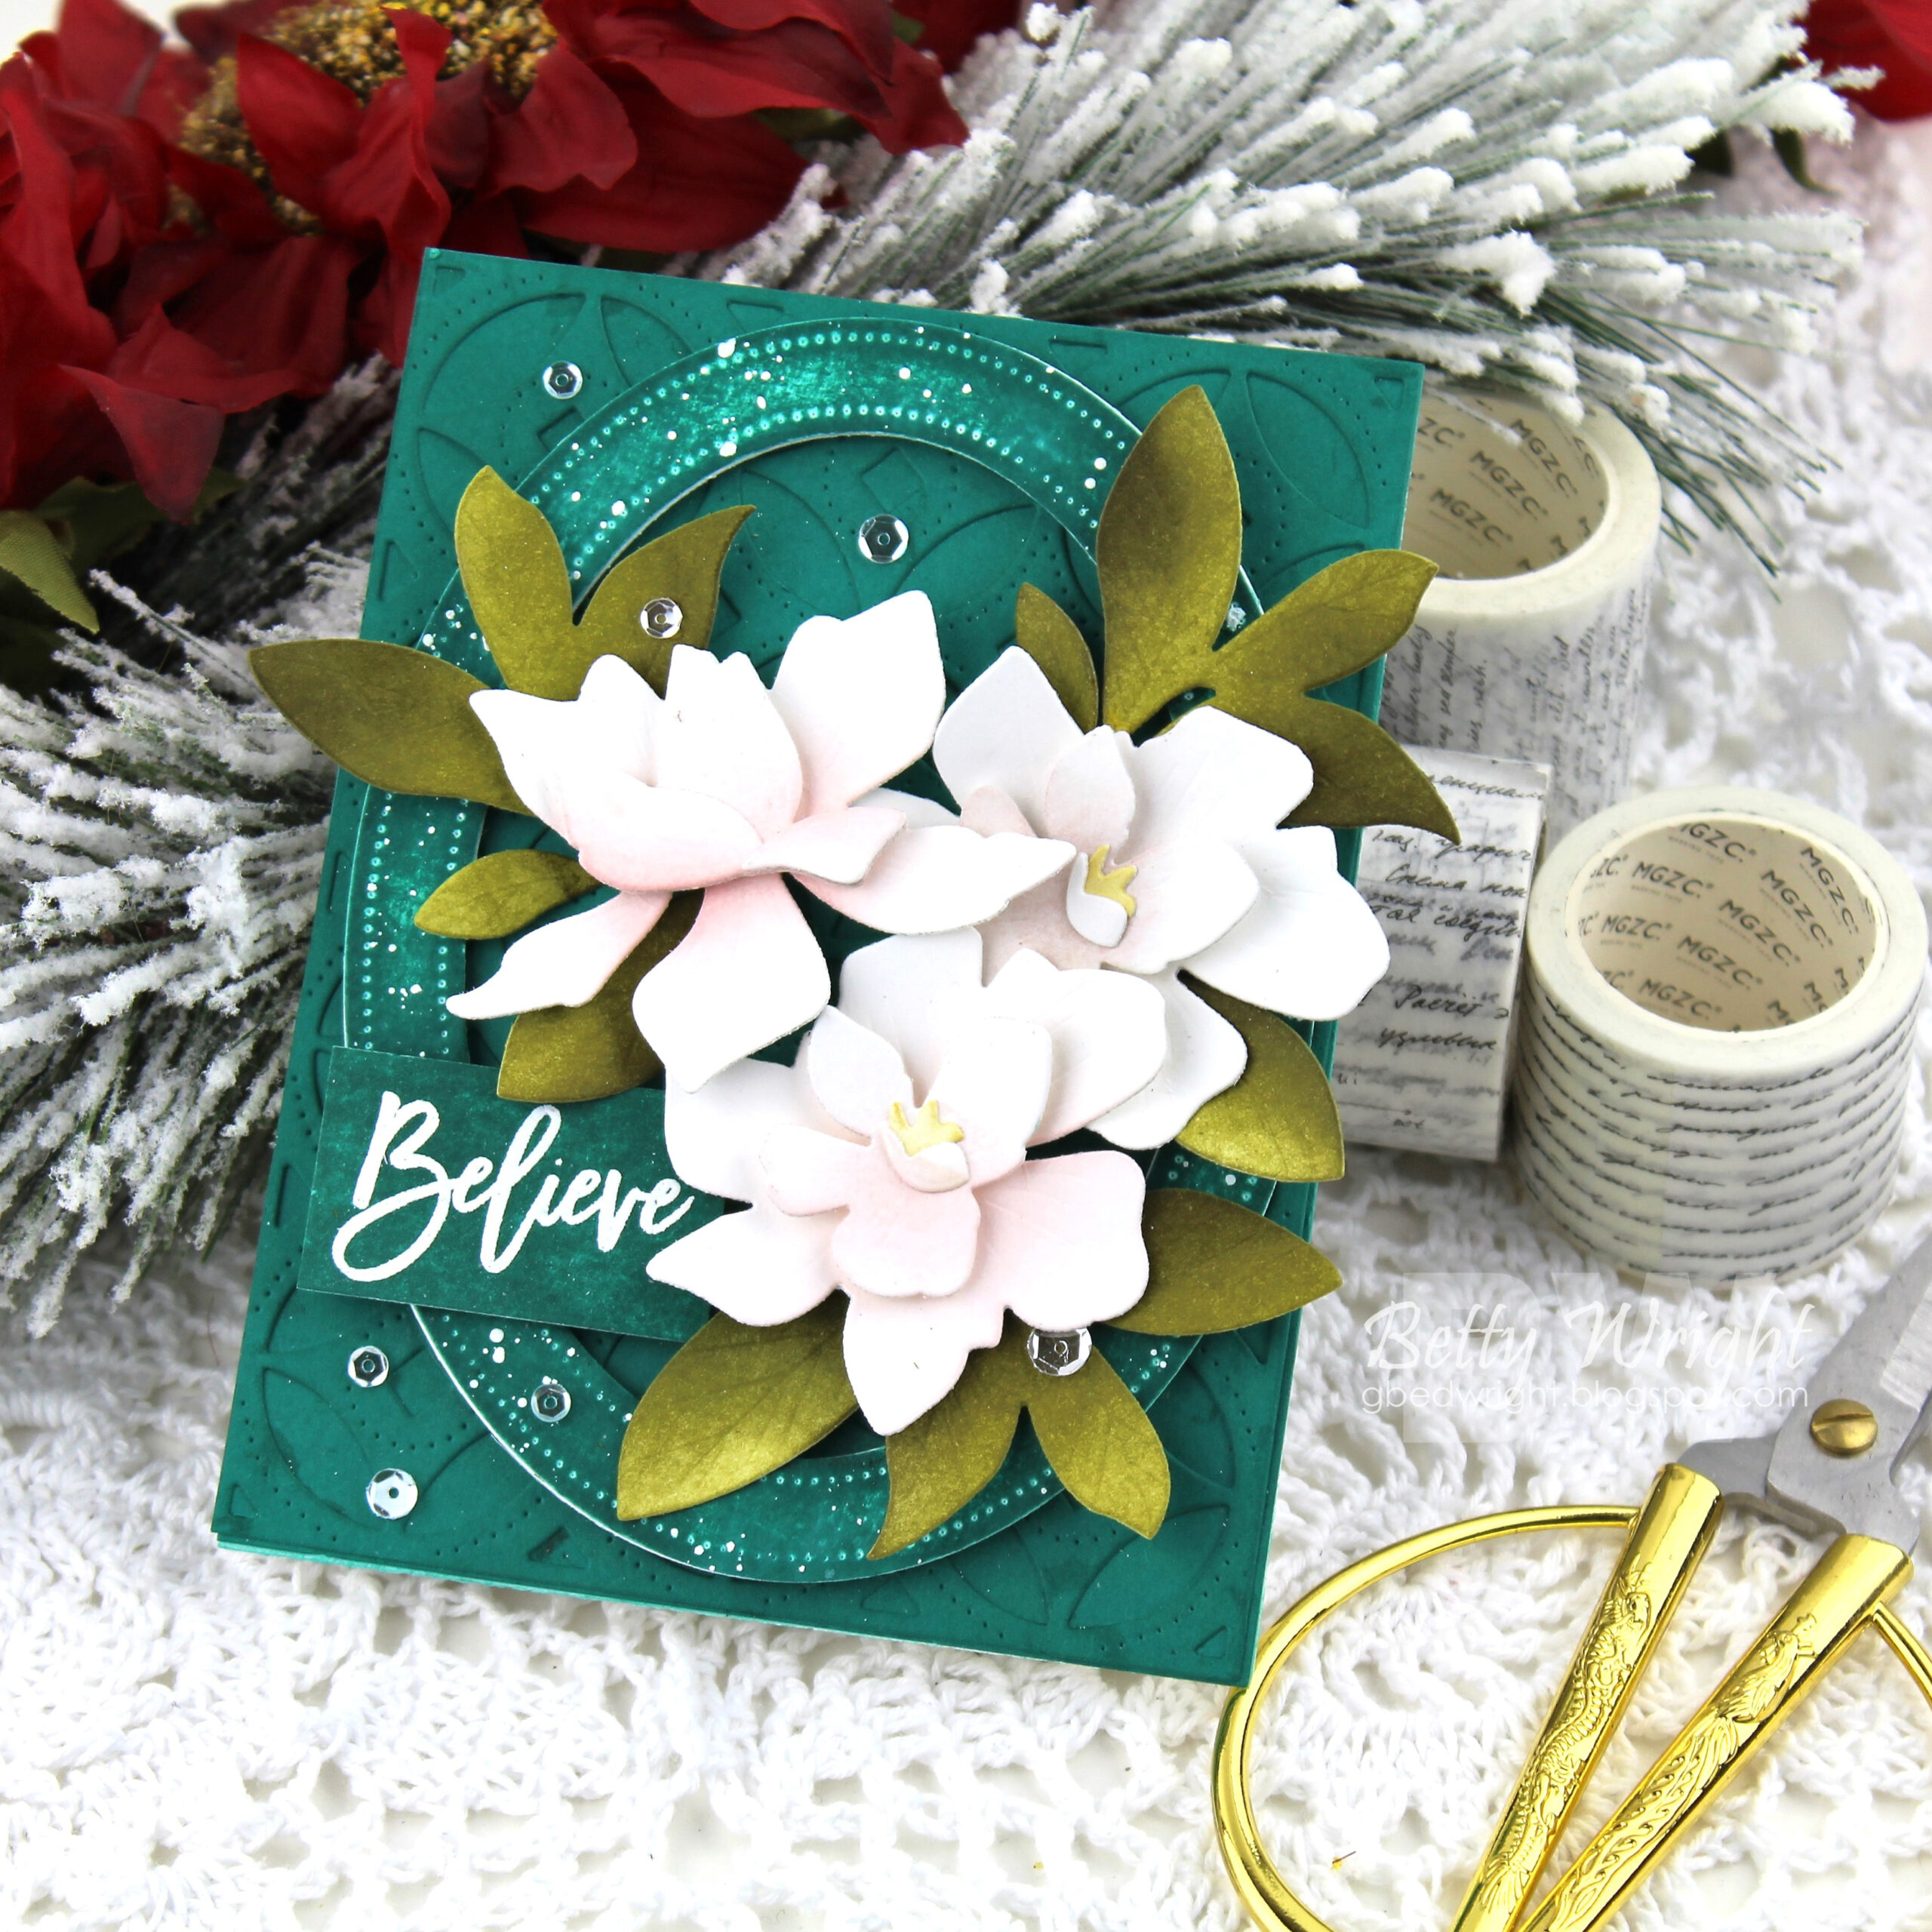
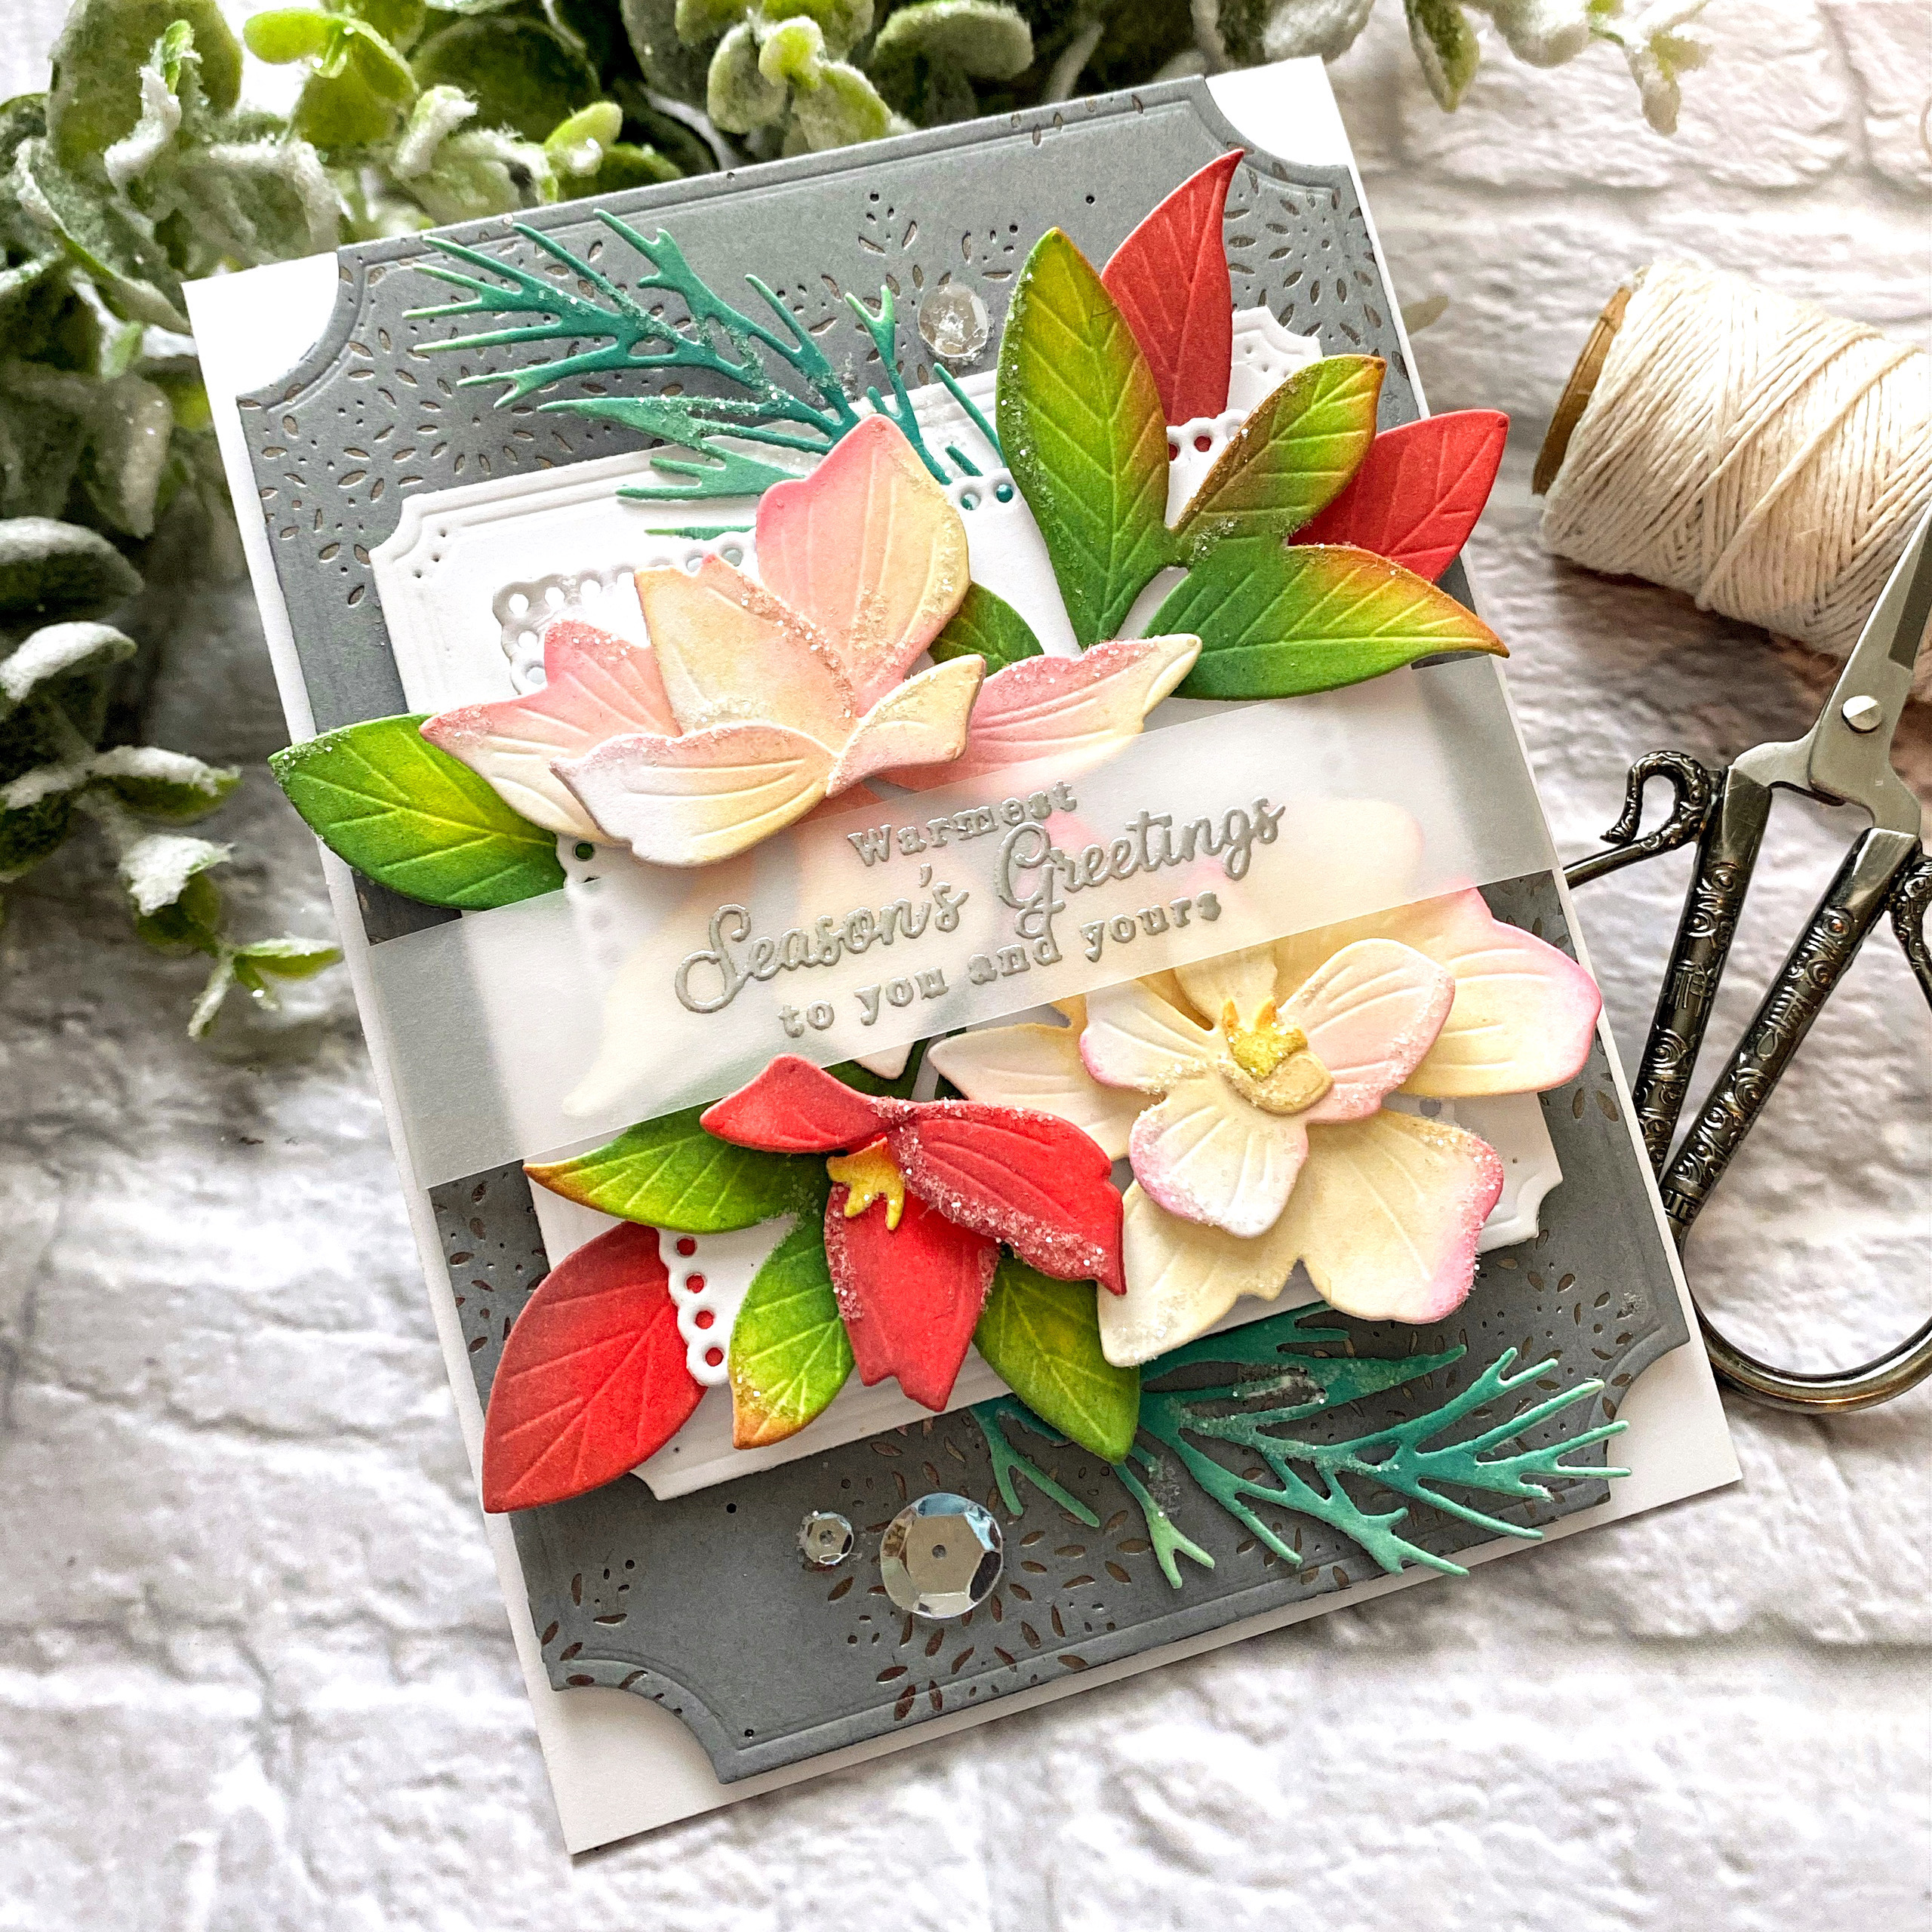
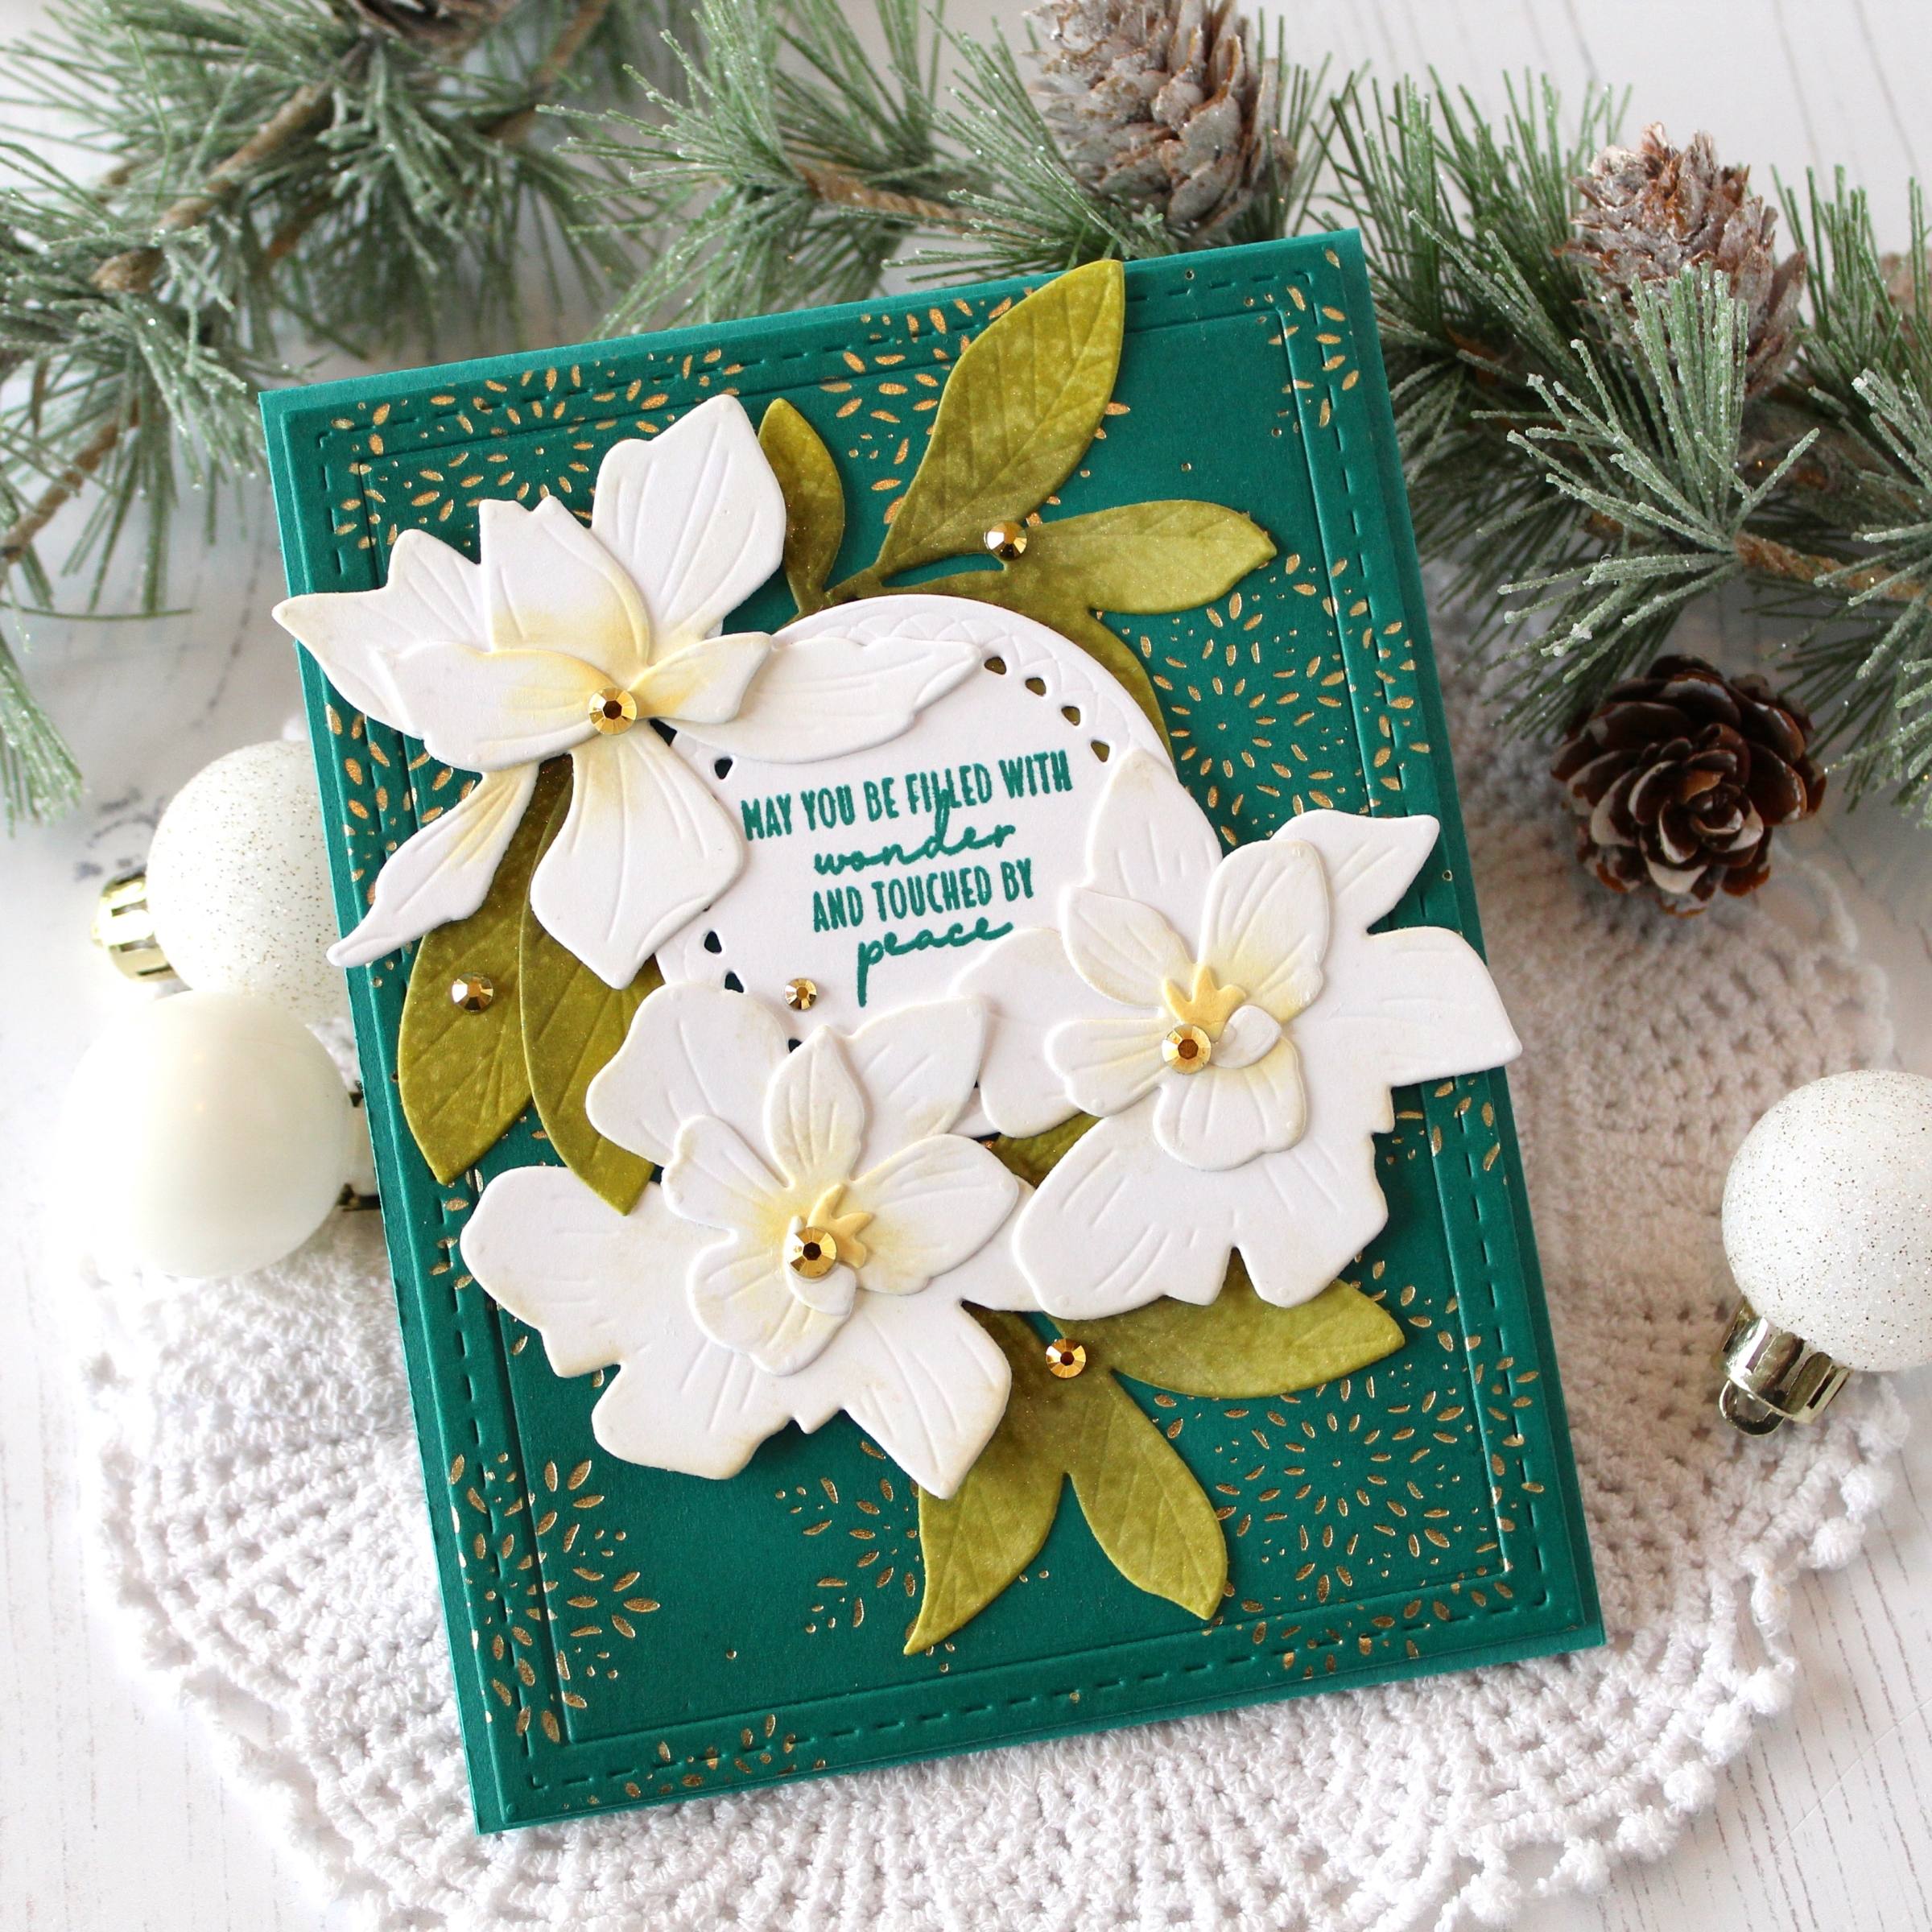
Hot Foil Plate lovers….these are just for you! We’ve got two new Hot Foil Plates to share with you this month. I have used the Fanciful Snowflakes Hot Foil Plate on this card which consists of one, large, gorgeous snowflake you can apply to the center of your card or use in any number of ways, as you’ll notice our designers have done.
I used silver foil over Aqua Mist cardstock and love the softness this combo adds. I love that our Hot Foil Plates not only create shimmer and shine but also embossing. If you run your finger across the surface area, you can feel the texture of the lovely snowflake and it adds so much interest. I combined a woodgrain paper from the Basket of Blossoms paper set across the bottom of my card and then added in my blooms and sentiment.
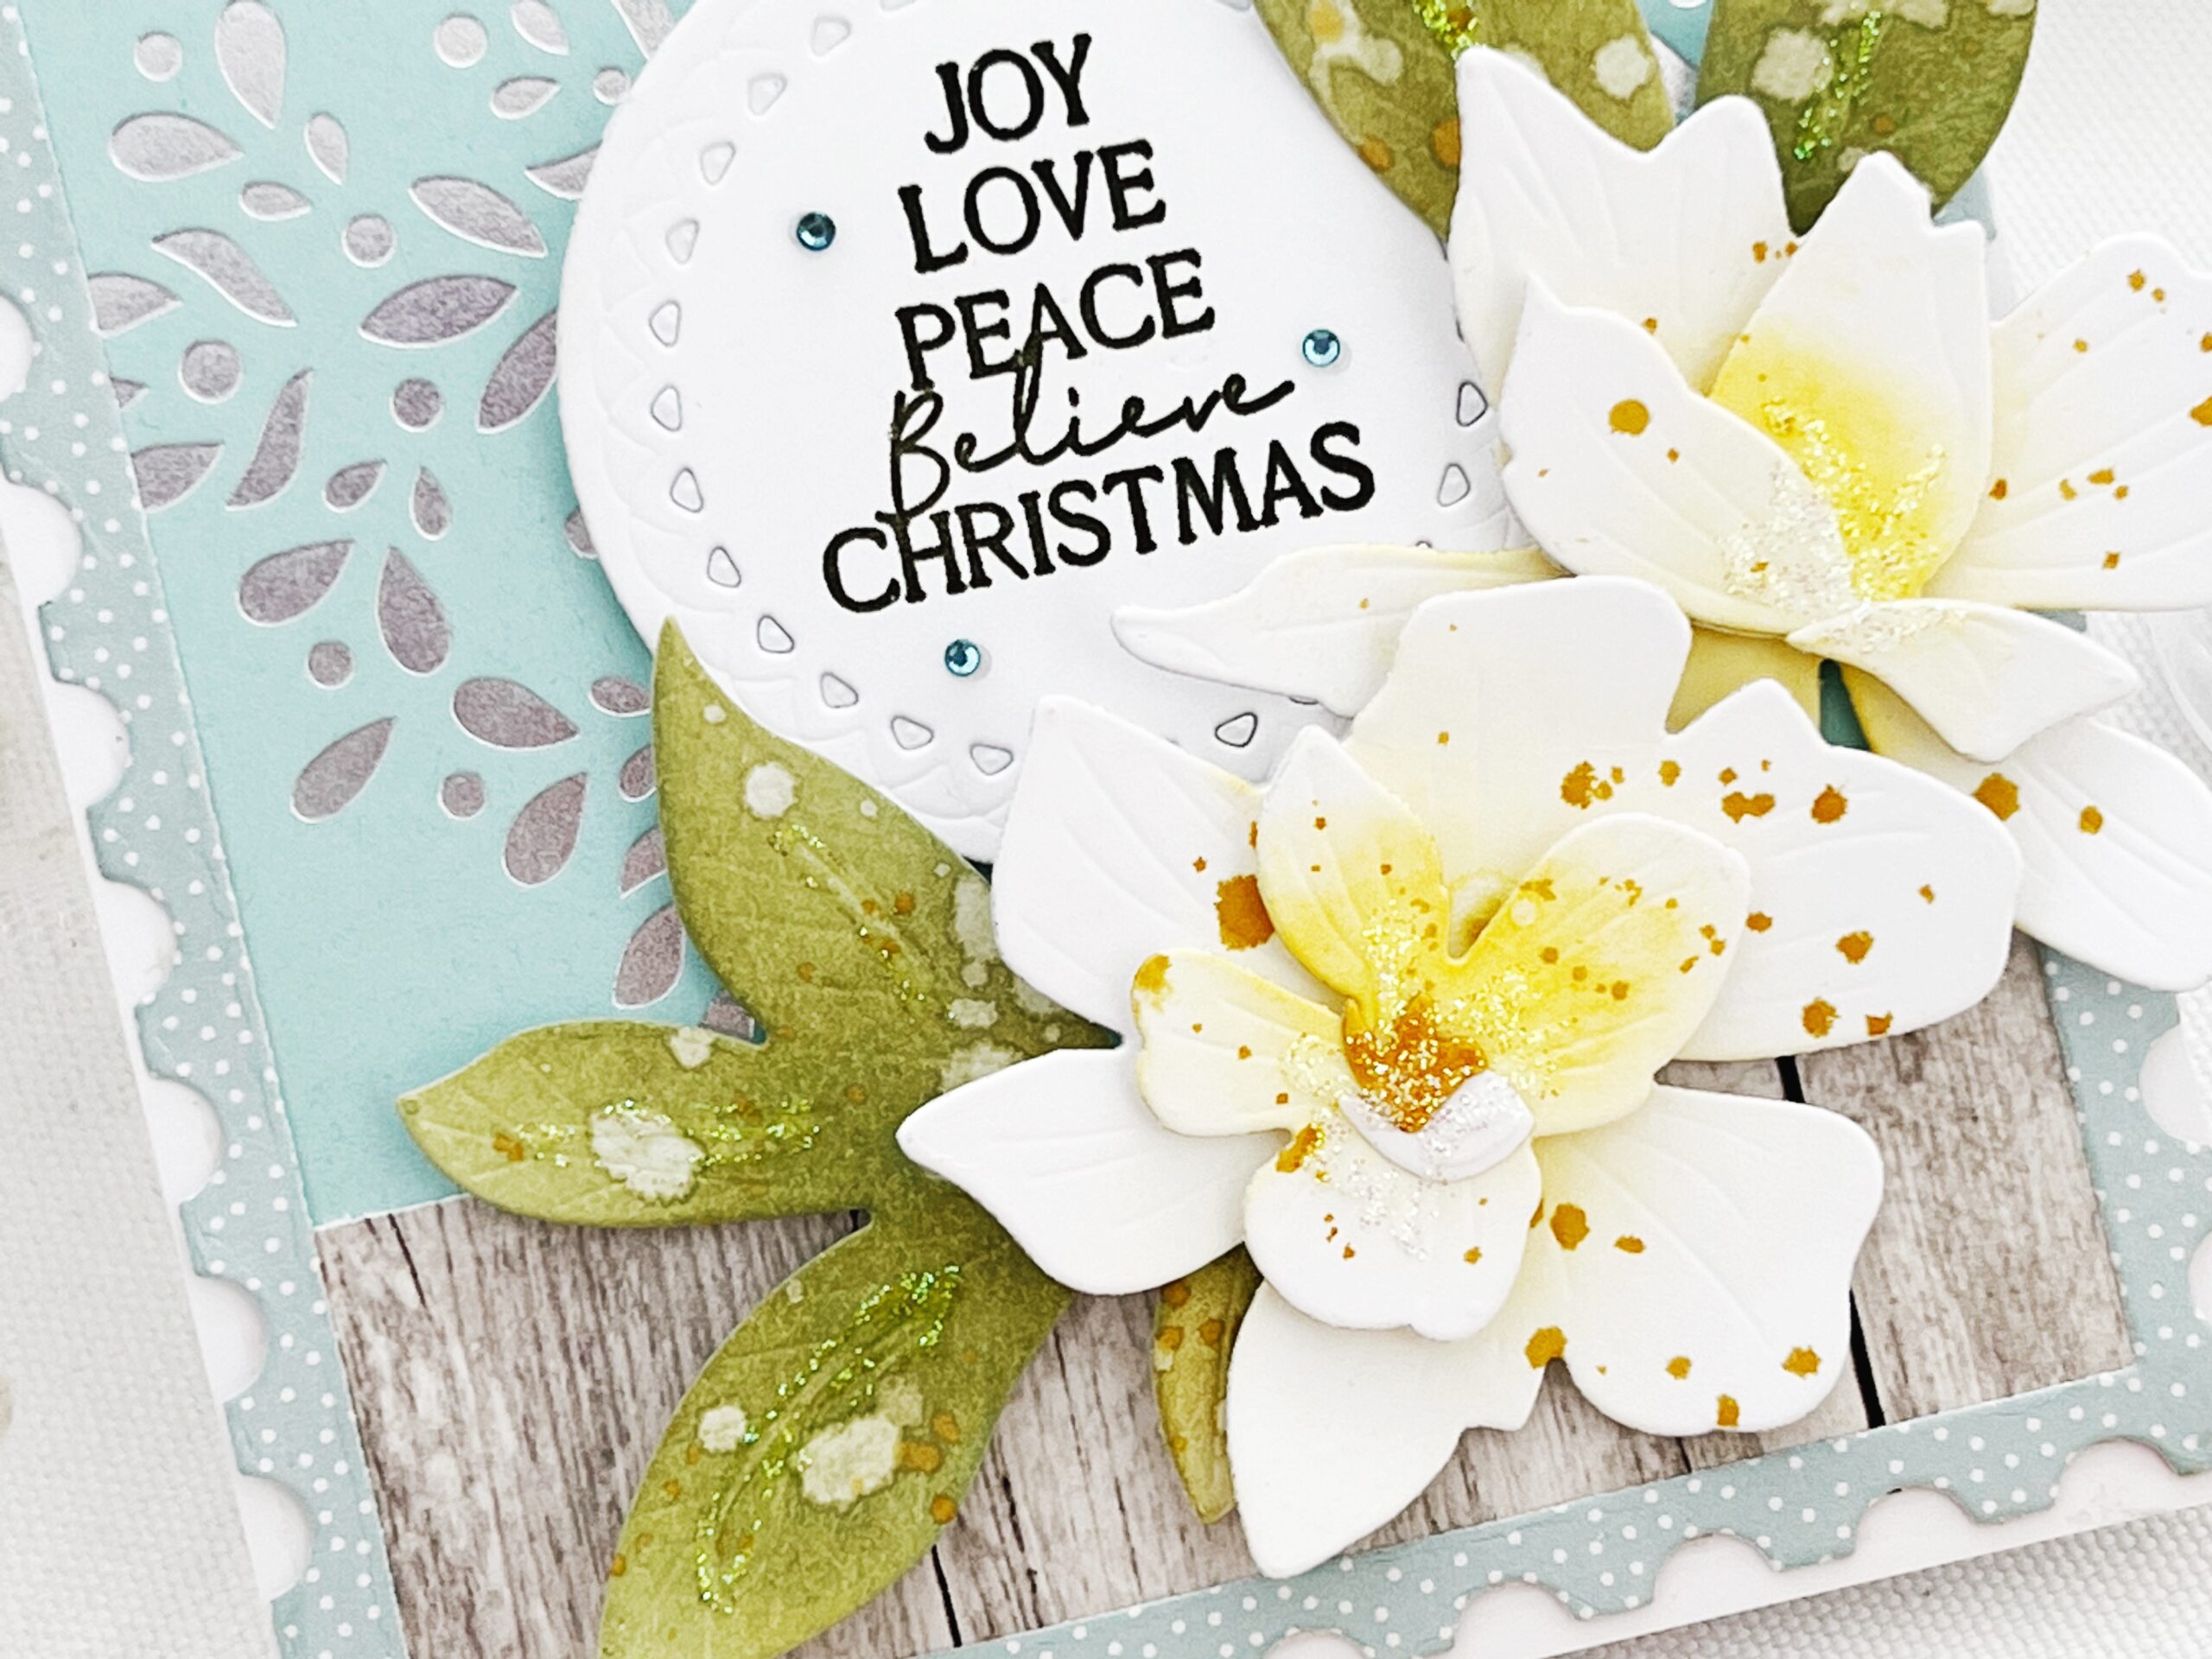
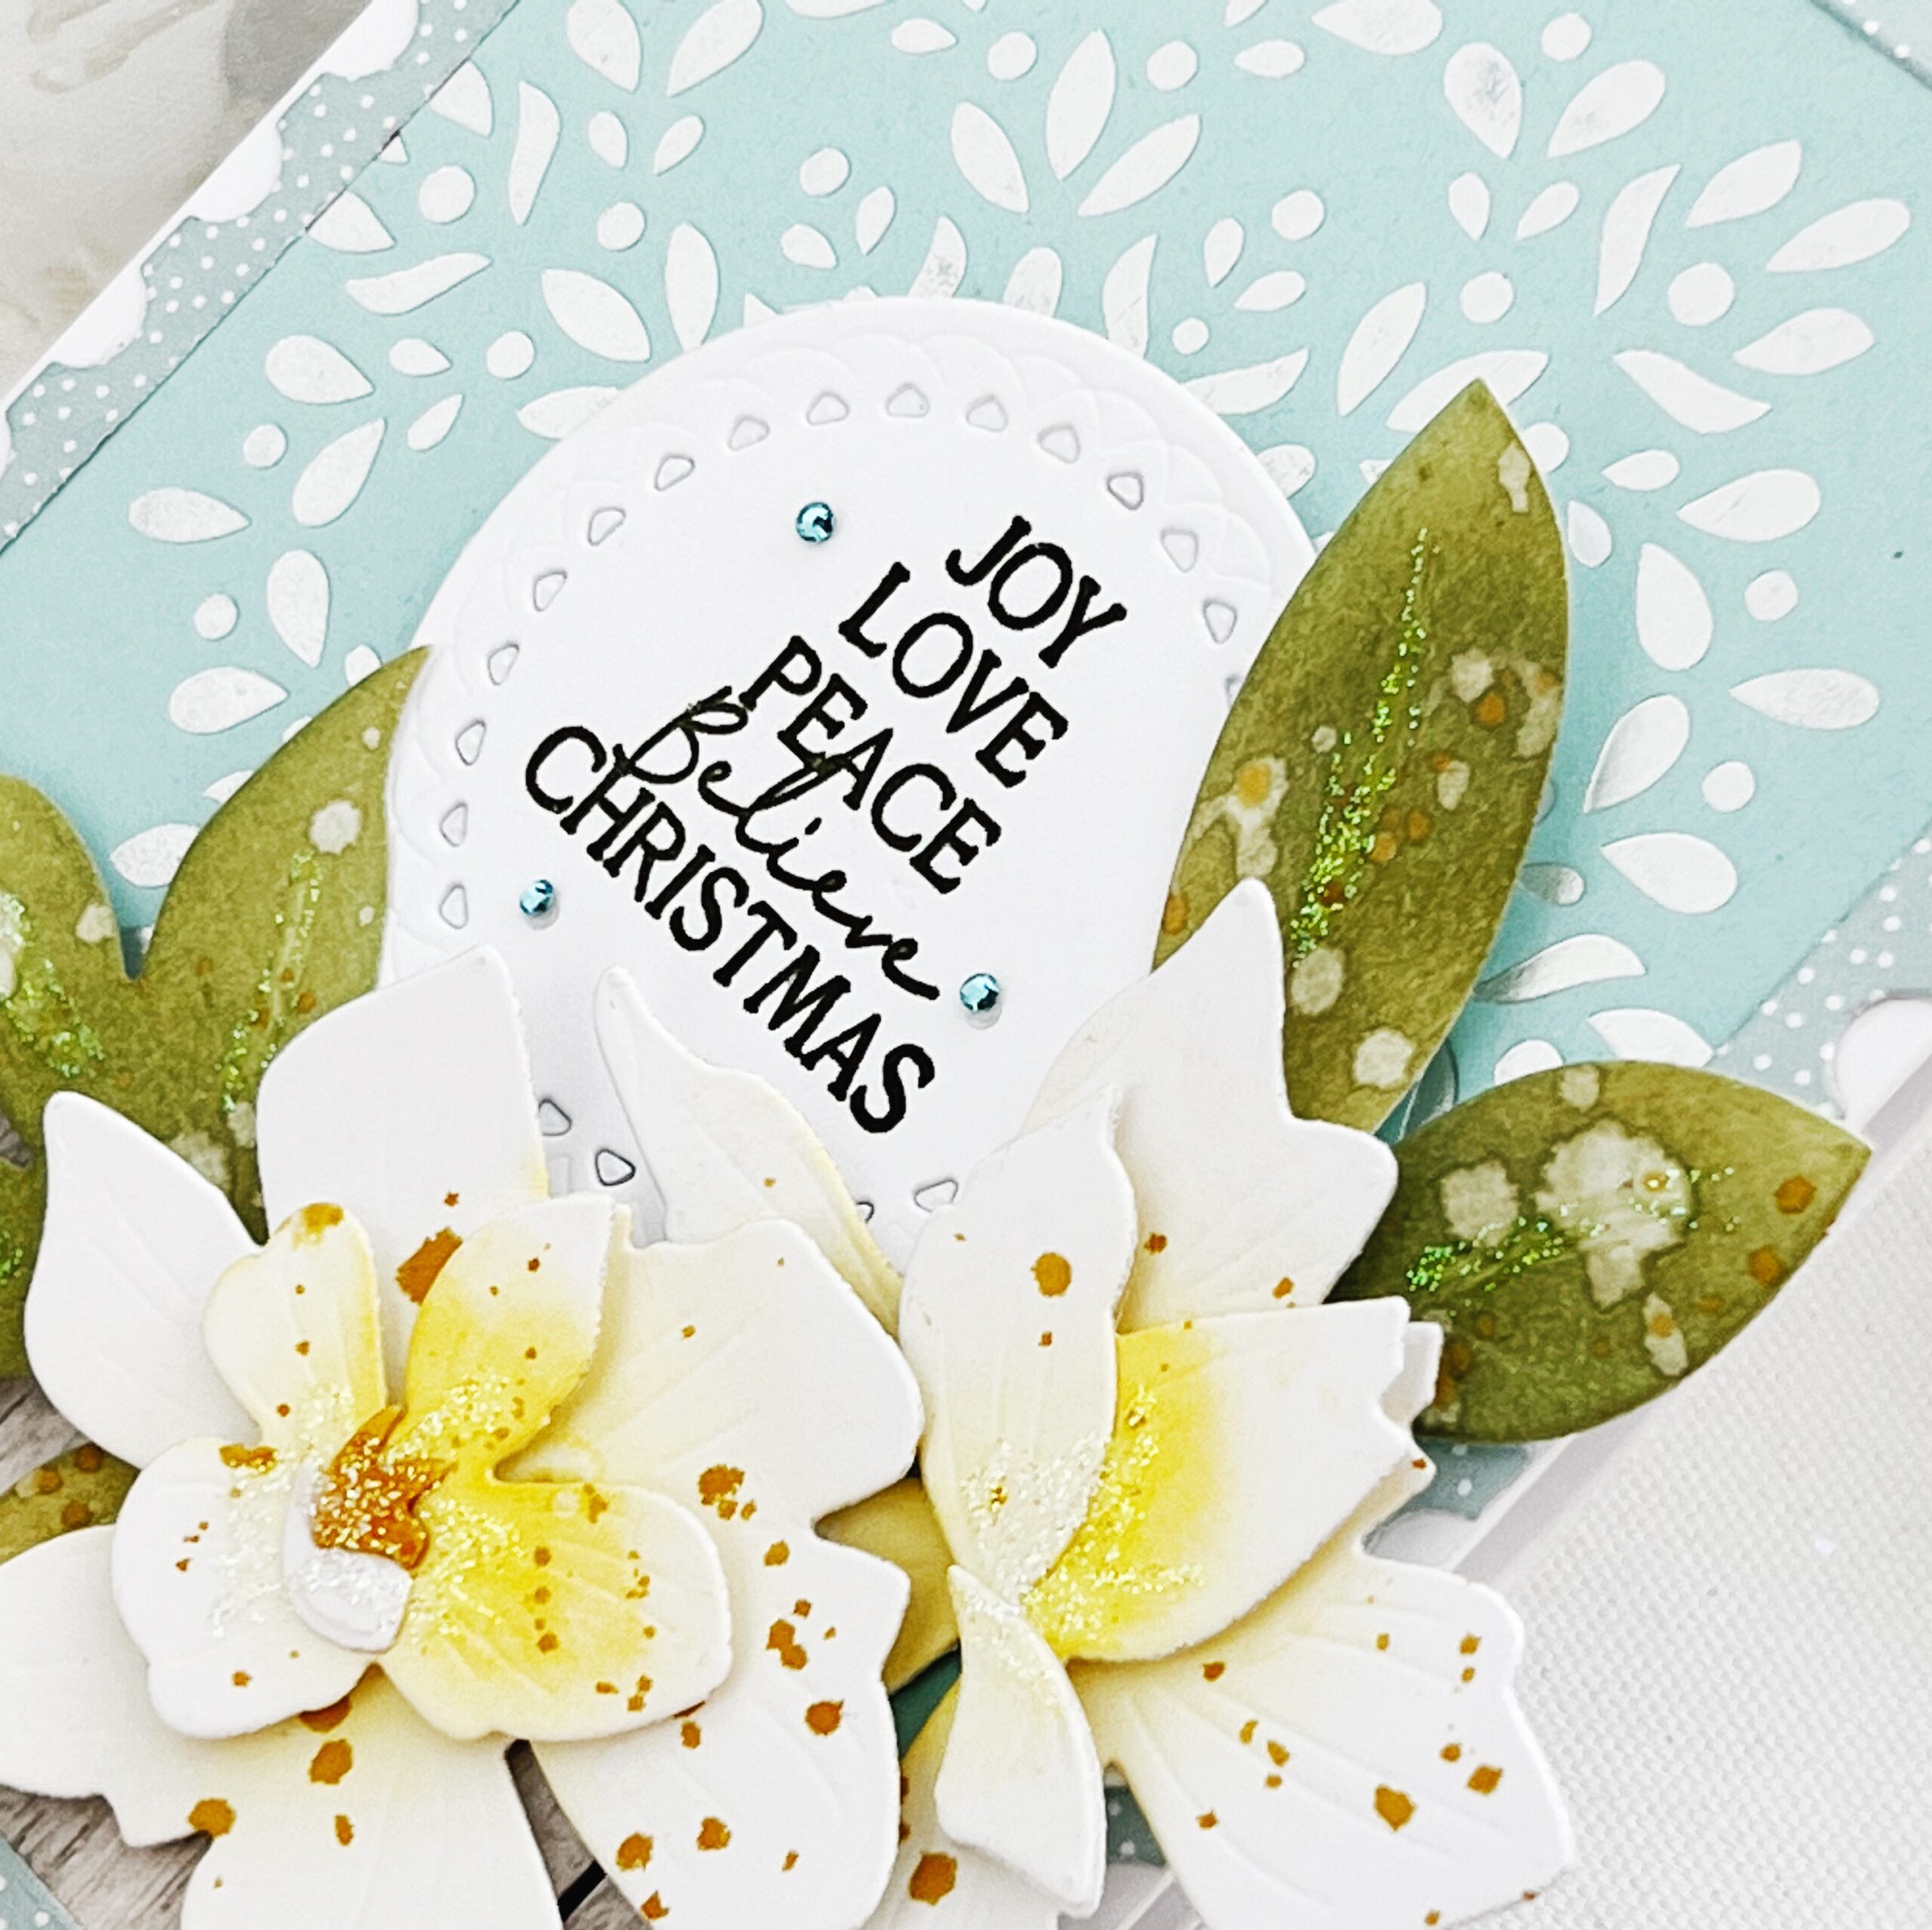
I added in my Into the Blooms: Gardenia blossoms near the lower right corner of the card. I wanted my sentiment and flowers to be slightly off center in order to allow as much of the Hot Foil Plate as possible to show. These gardenias are so easy to assemble. I simply added a bit of Bright Buttercup ink to the centers, added Distress Spray, and colored my leaves. I adore them? The sentiment is from the new Just Sentiments: Believe stamp set and is a favorite of mine…I love how the words form a triangle or tree…fun!
Supplies Used:
STAMPS: Just Sentiments: Believe
INK: Bright Buttercup, Honey Nut, Ripe Avocado, Olive Twist
PAPER: Aqua Mist, Stamper’s Select White, Basket of Blossoms
DIES: Fanciful Snowflakes Hot Foil Plate, Into the Blooms: Gardenia, Border Bling: Skinny Postage Frames, Love to Layer: Scalloped Circles
OTHER: Silver foil, adhesive gems, Distress Spray, patterned paper

TIPS:
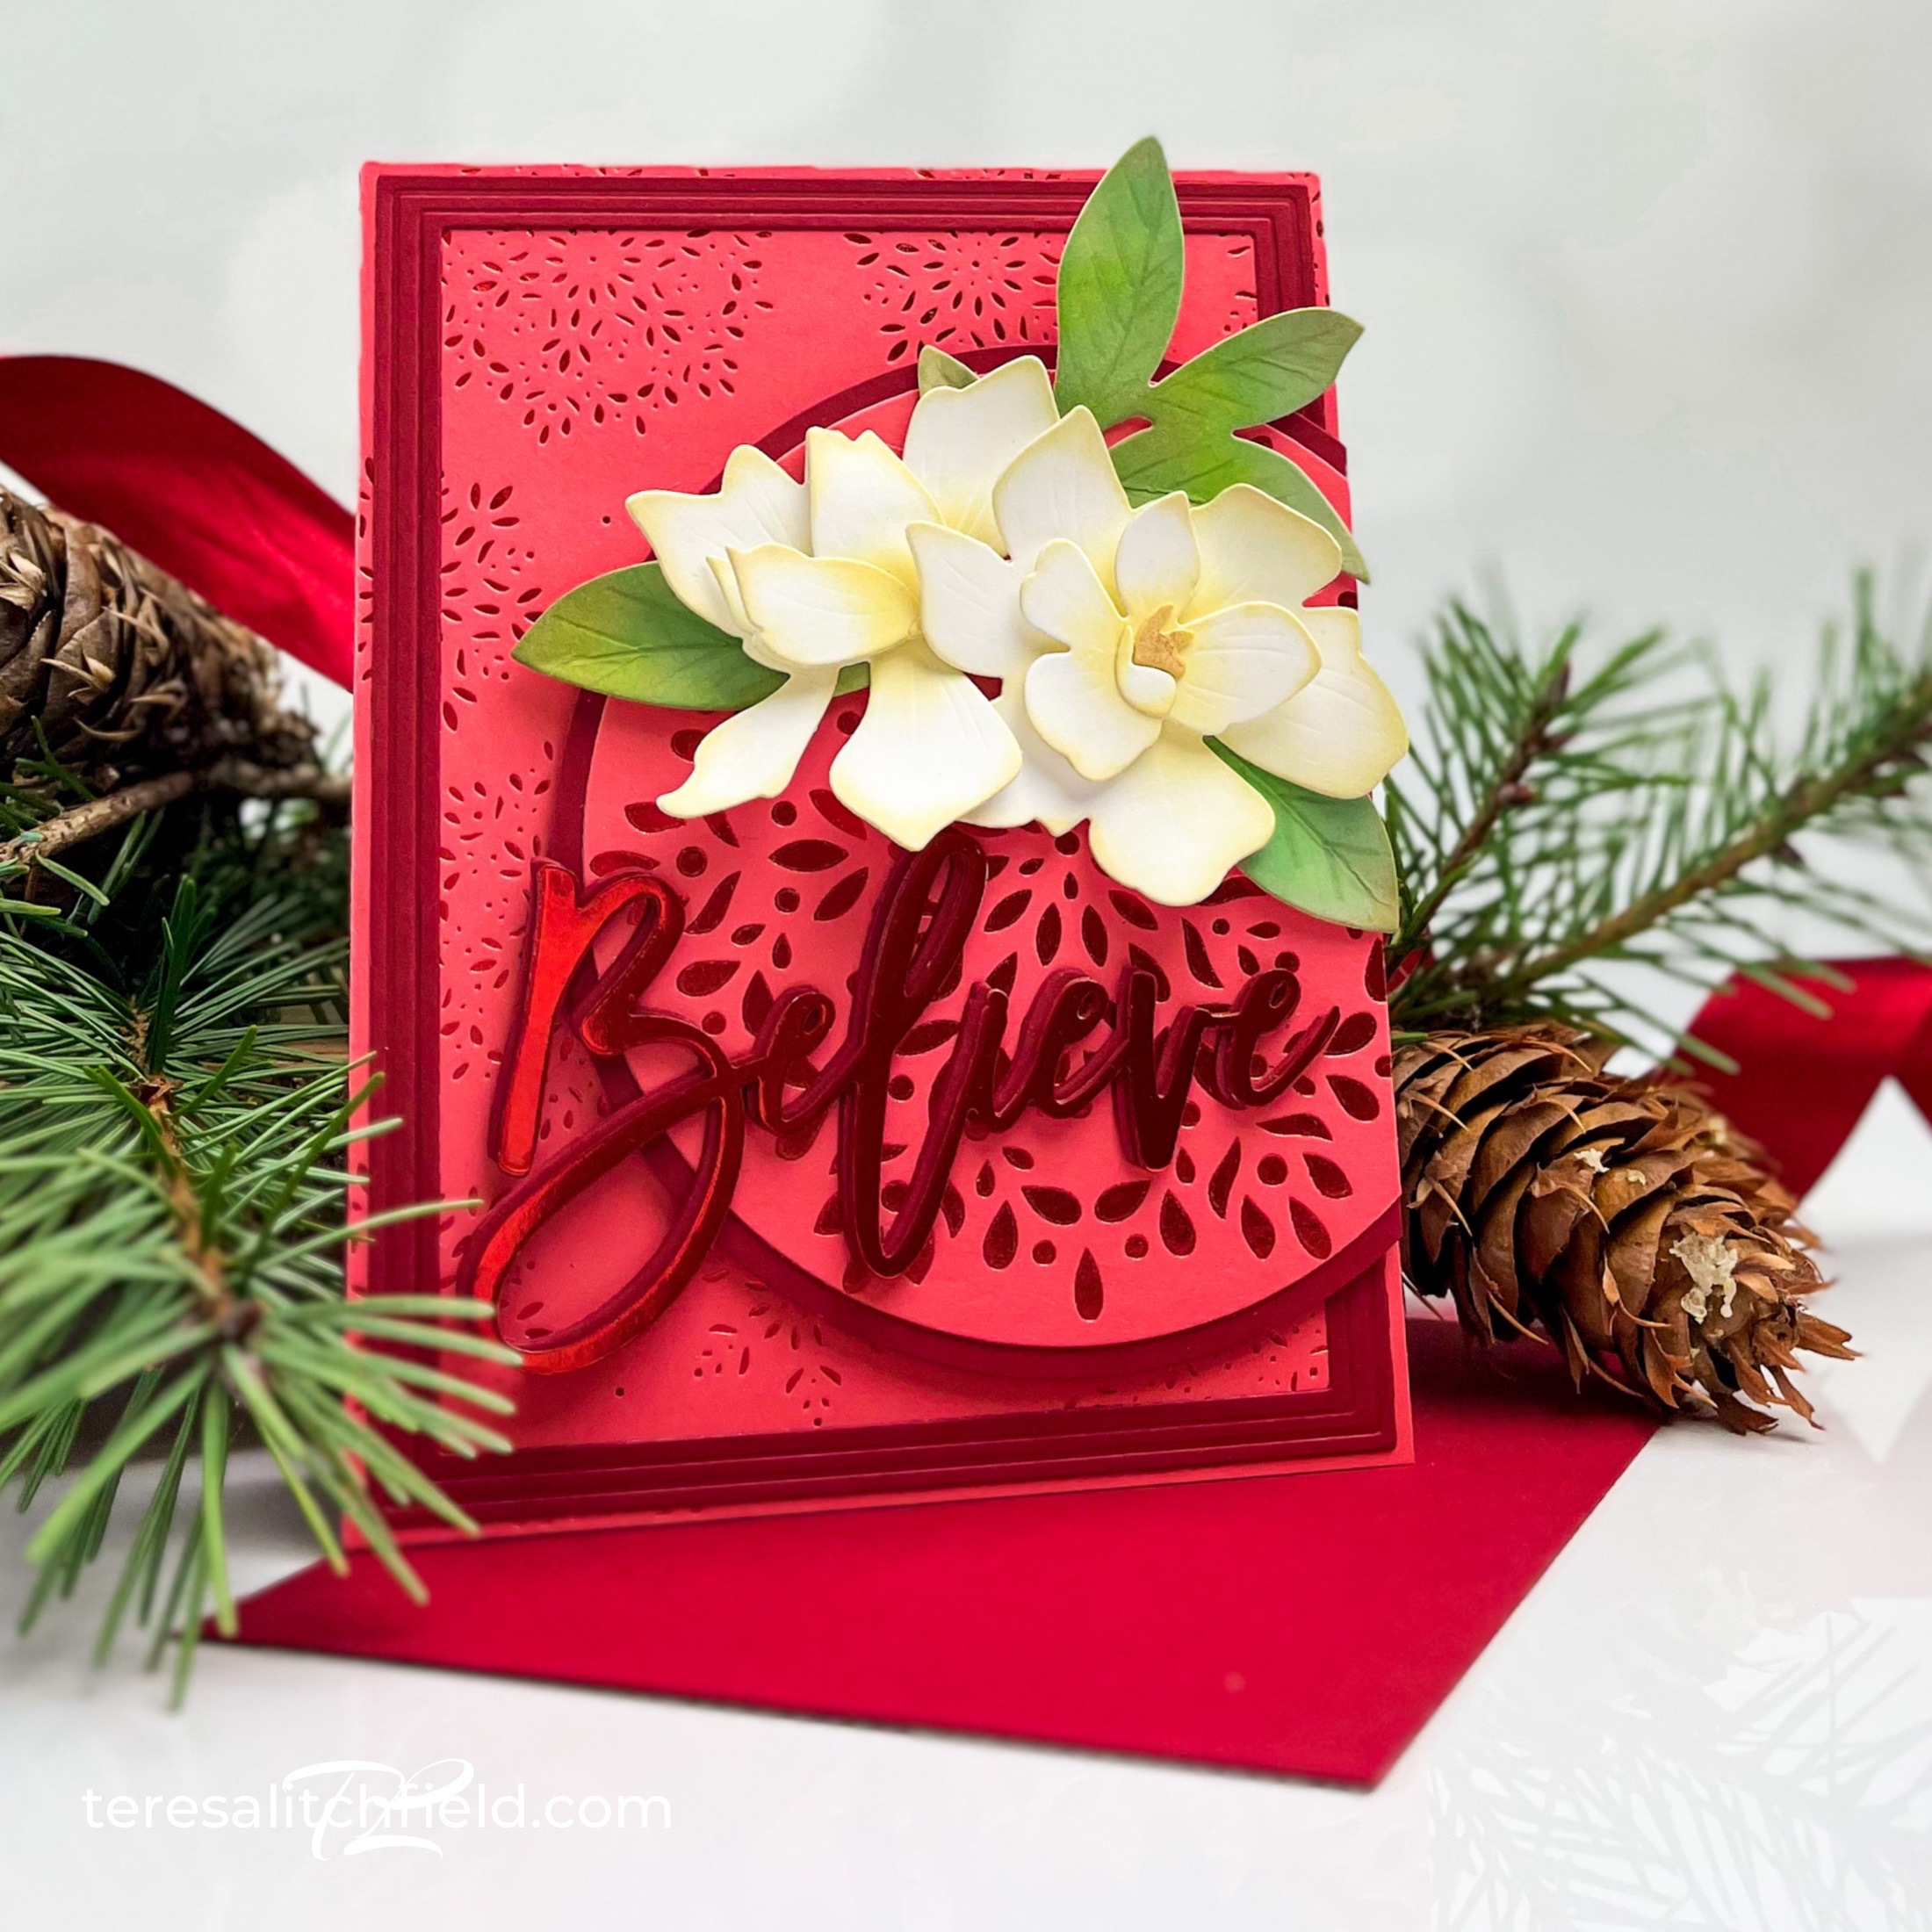
- Die cut the word die directly out of the foiled image
- Layer card stock behind the word die for added dimension
- Layer the completed foiled white panel with a vintage cream panel for a subtle contrast


TIPS:
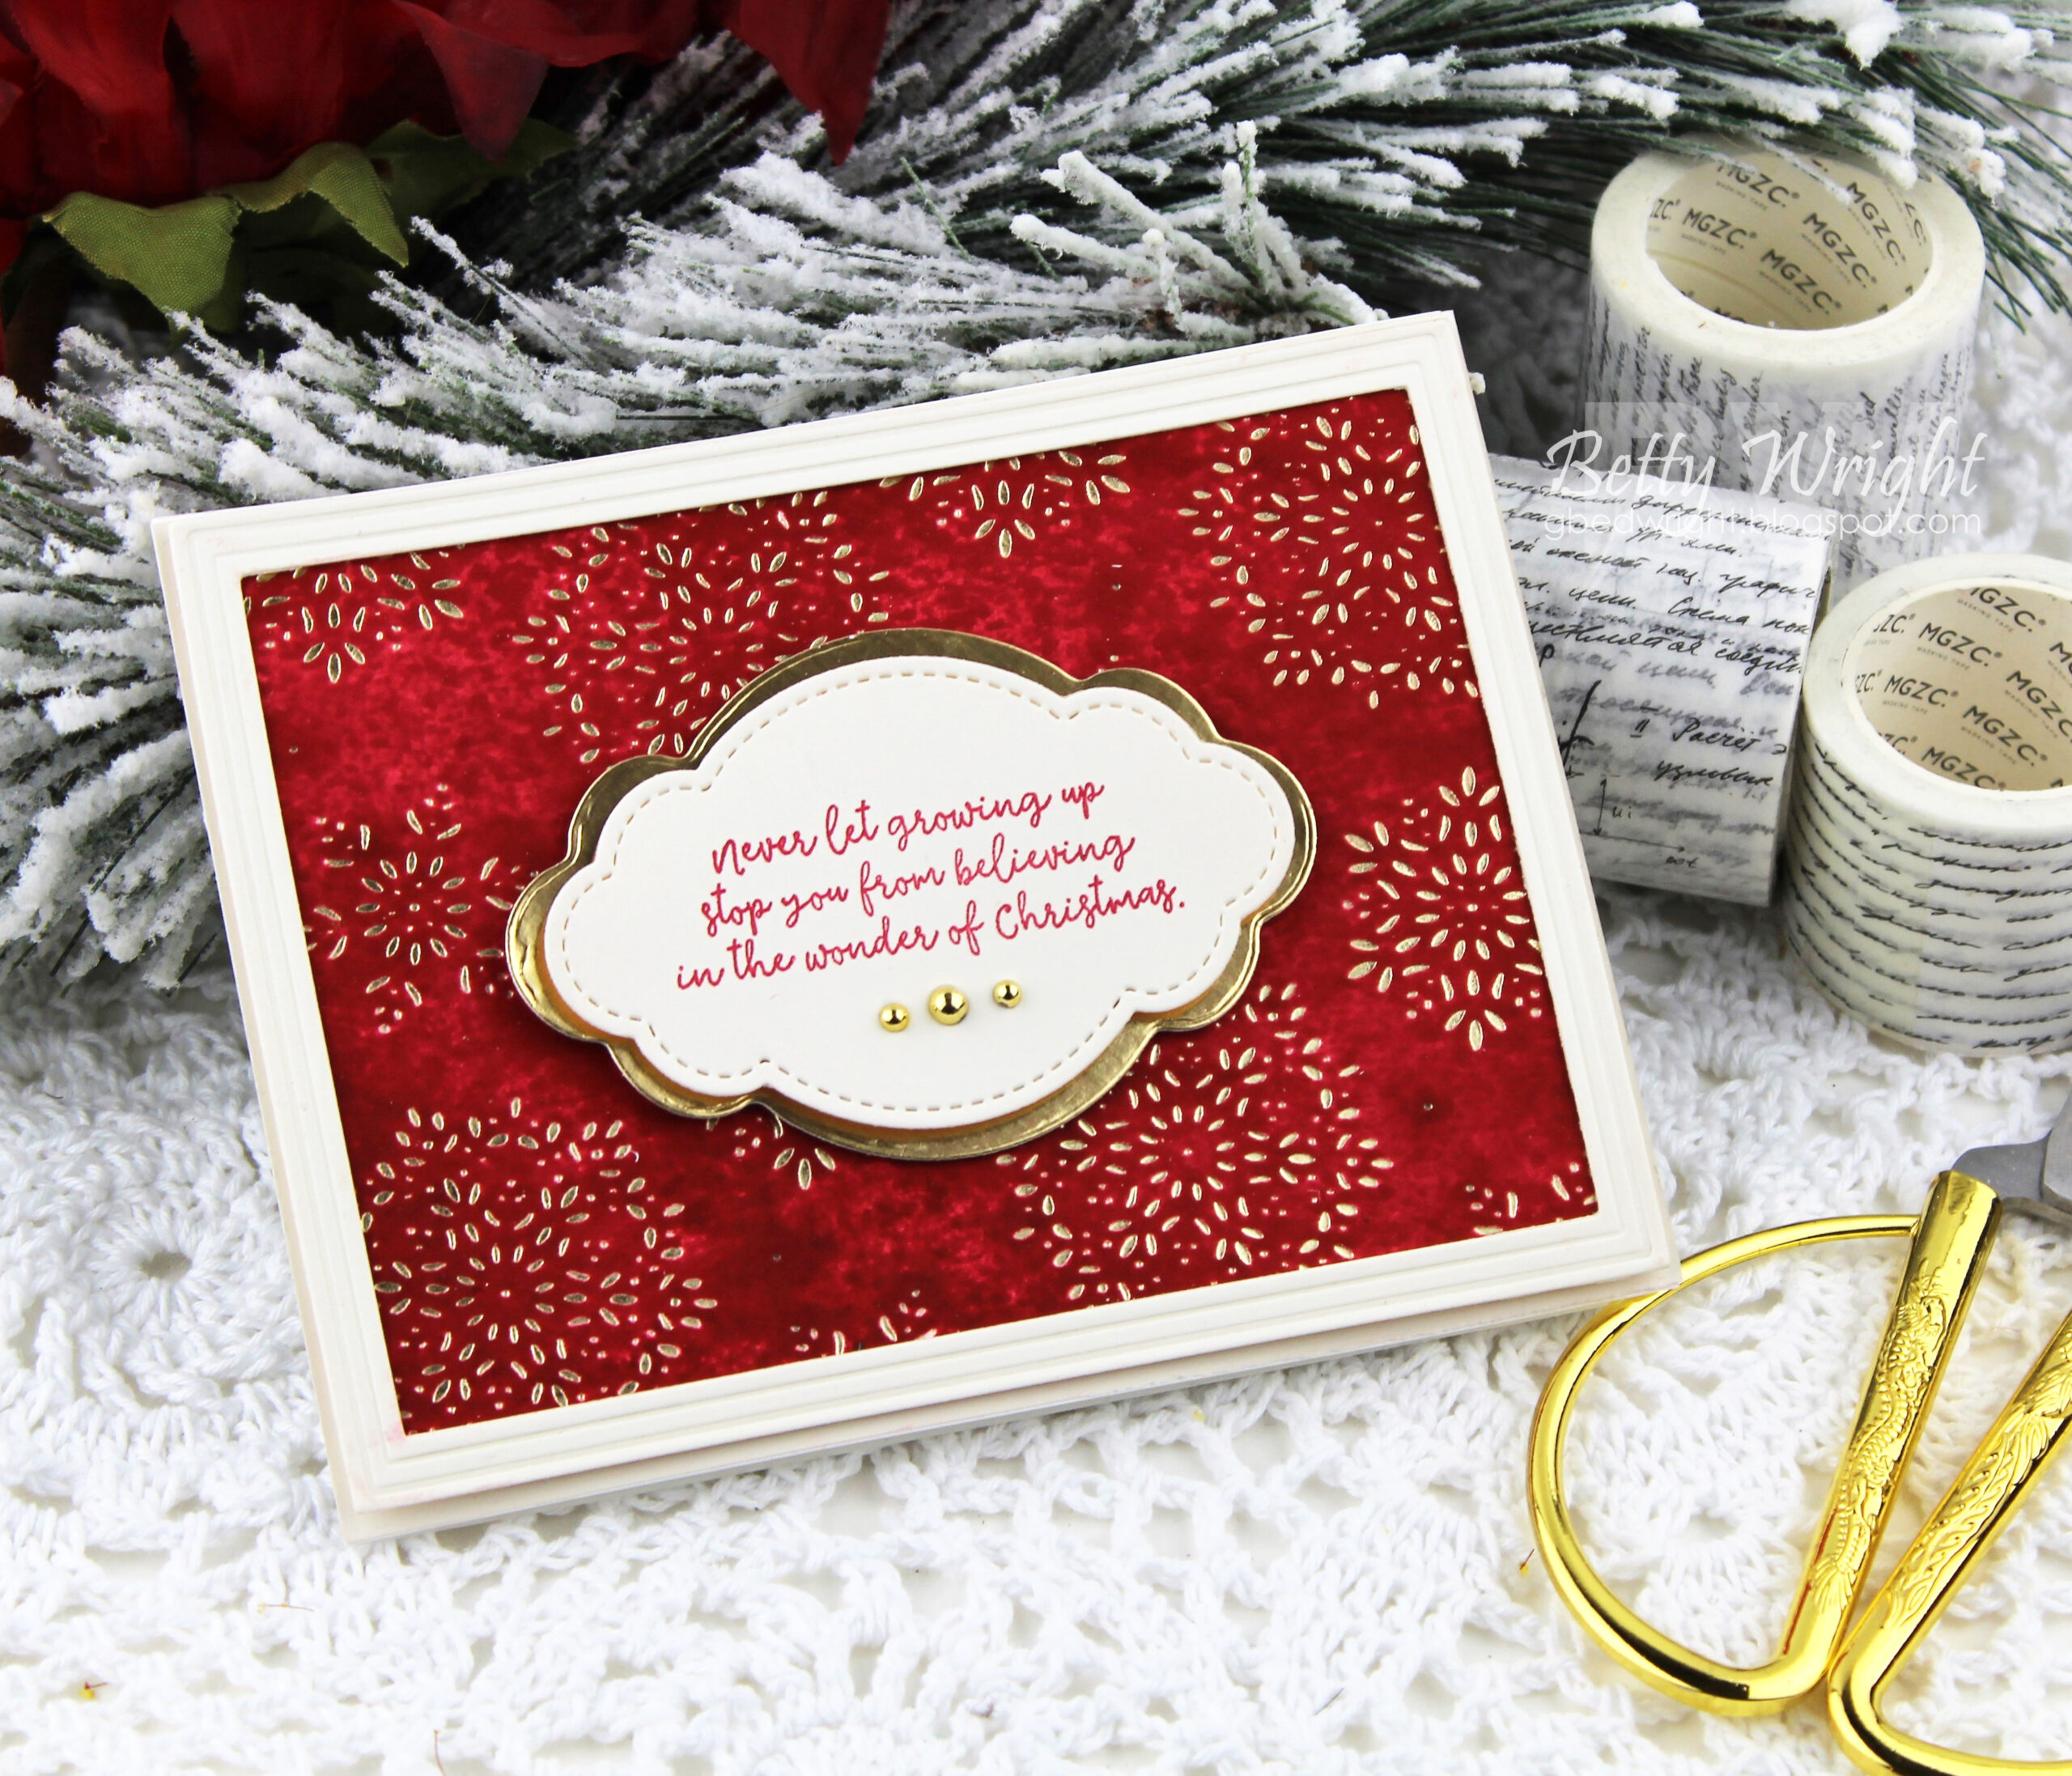
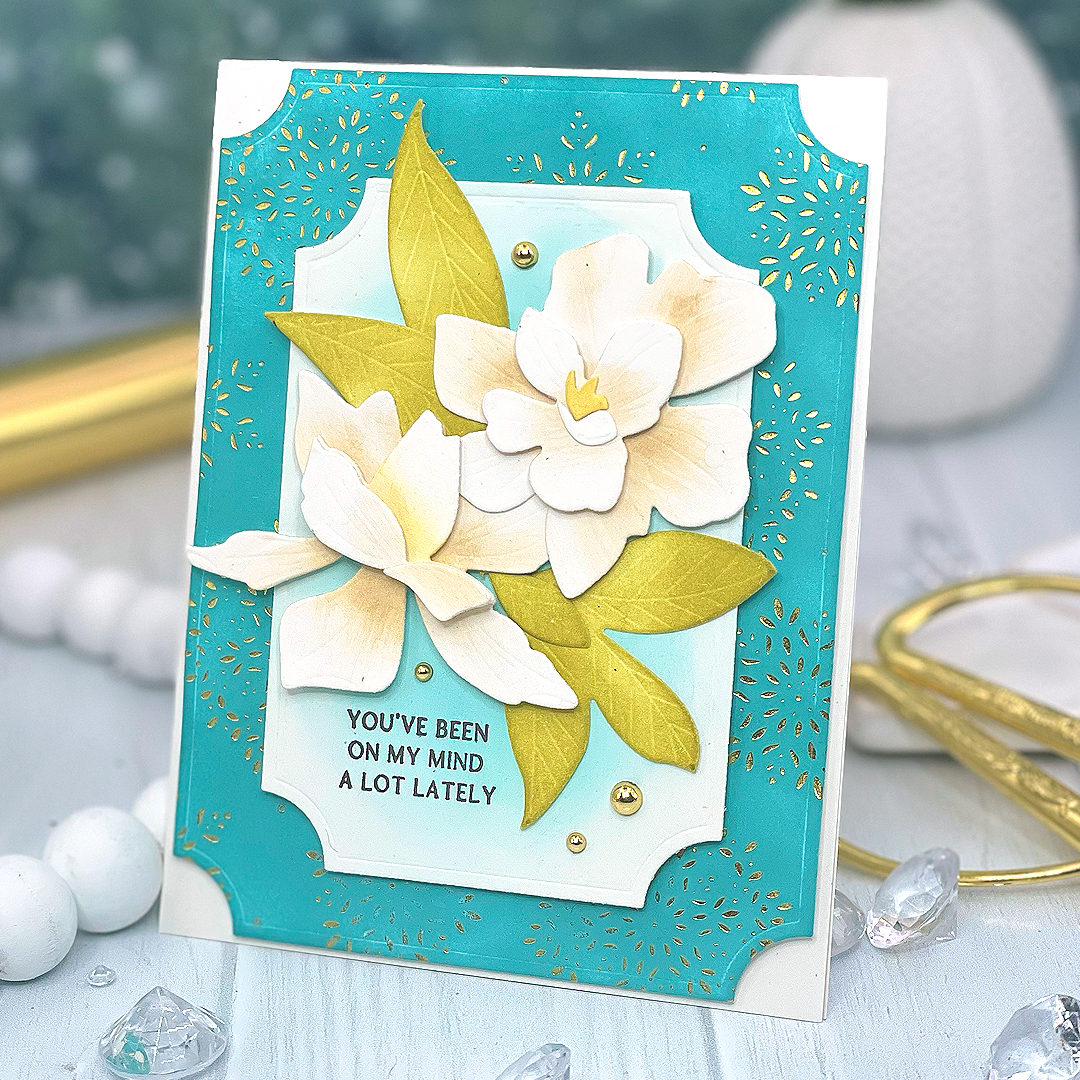
- Inkblend color to a hot foiled panel after the hotfoiling
- Wipe any excess ink away to reveal a cleaned foiled design
- Allow the background to be the focal point by framing the panel and adding a sentiment to the center

TIPS:
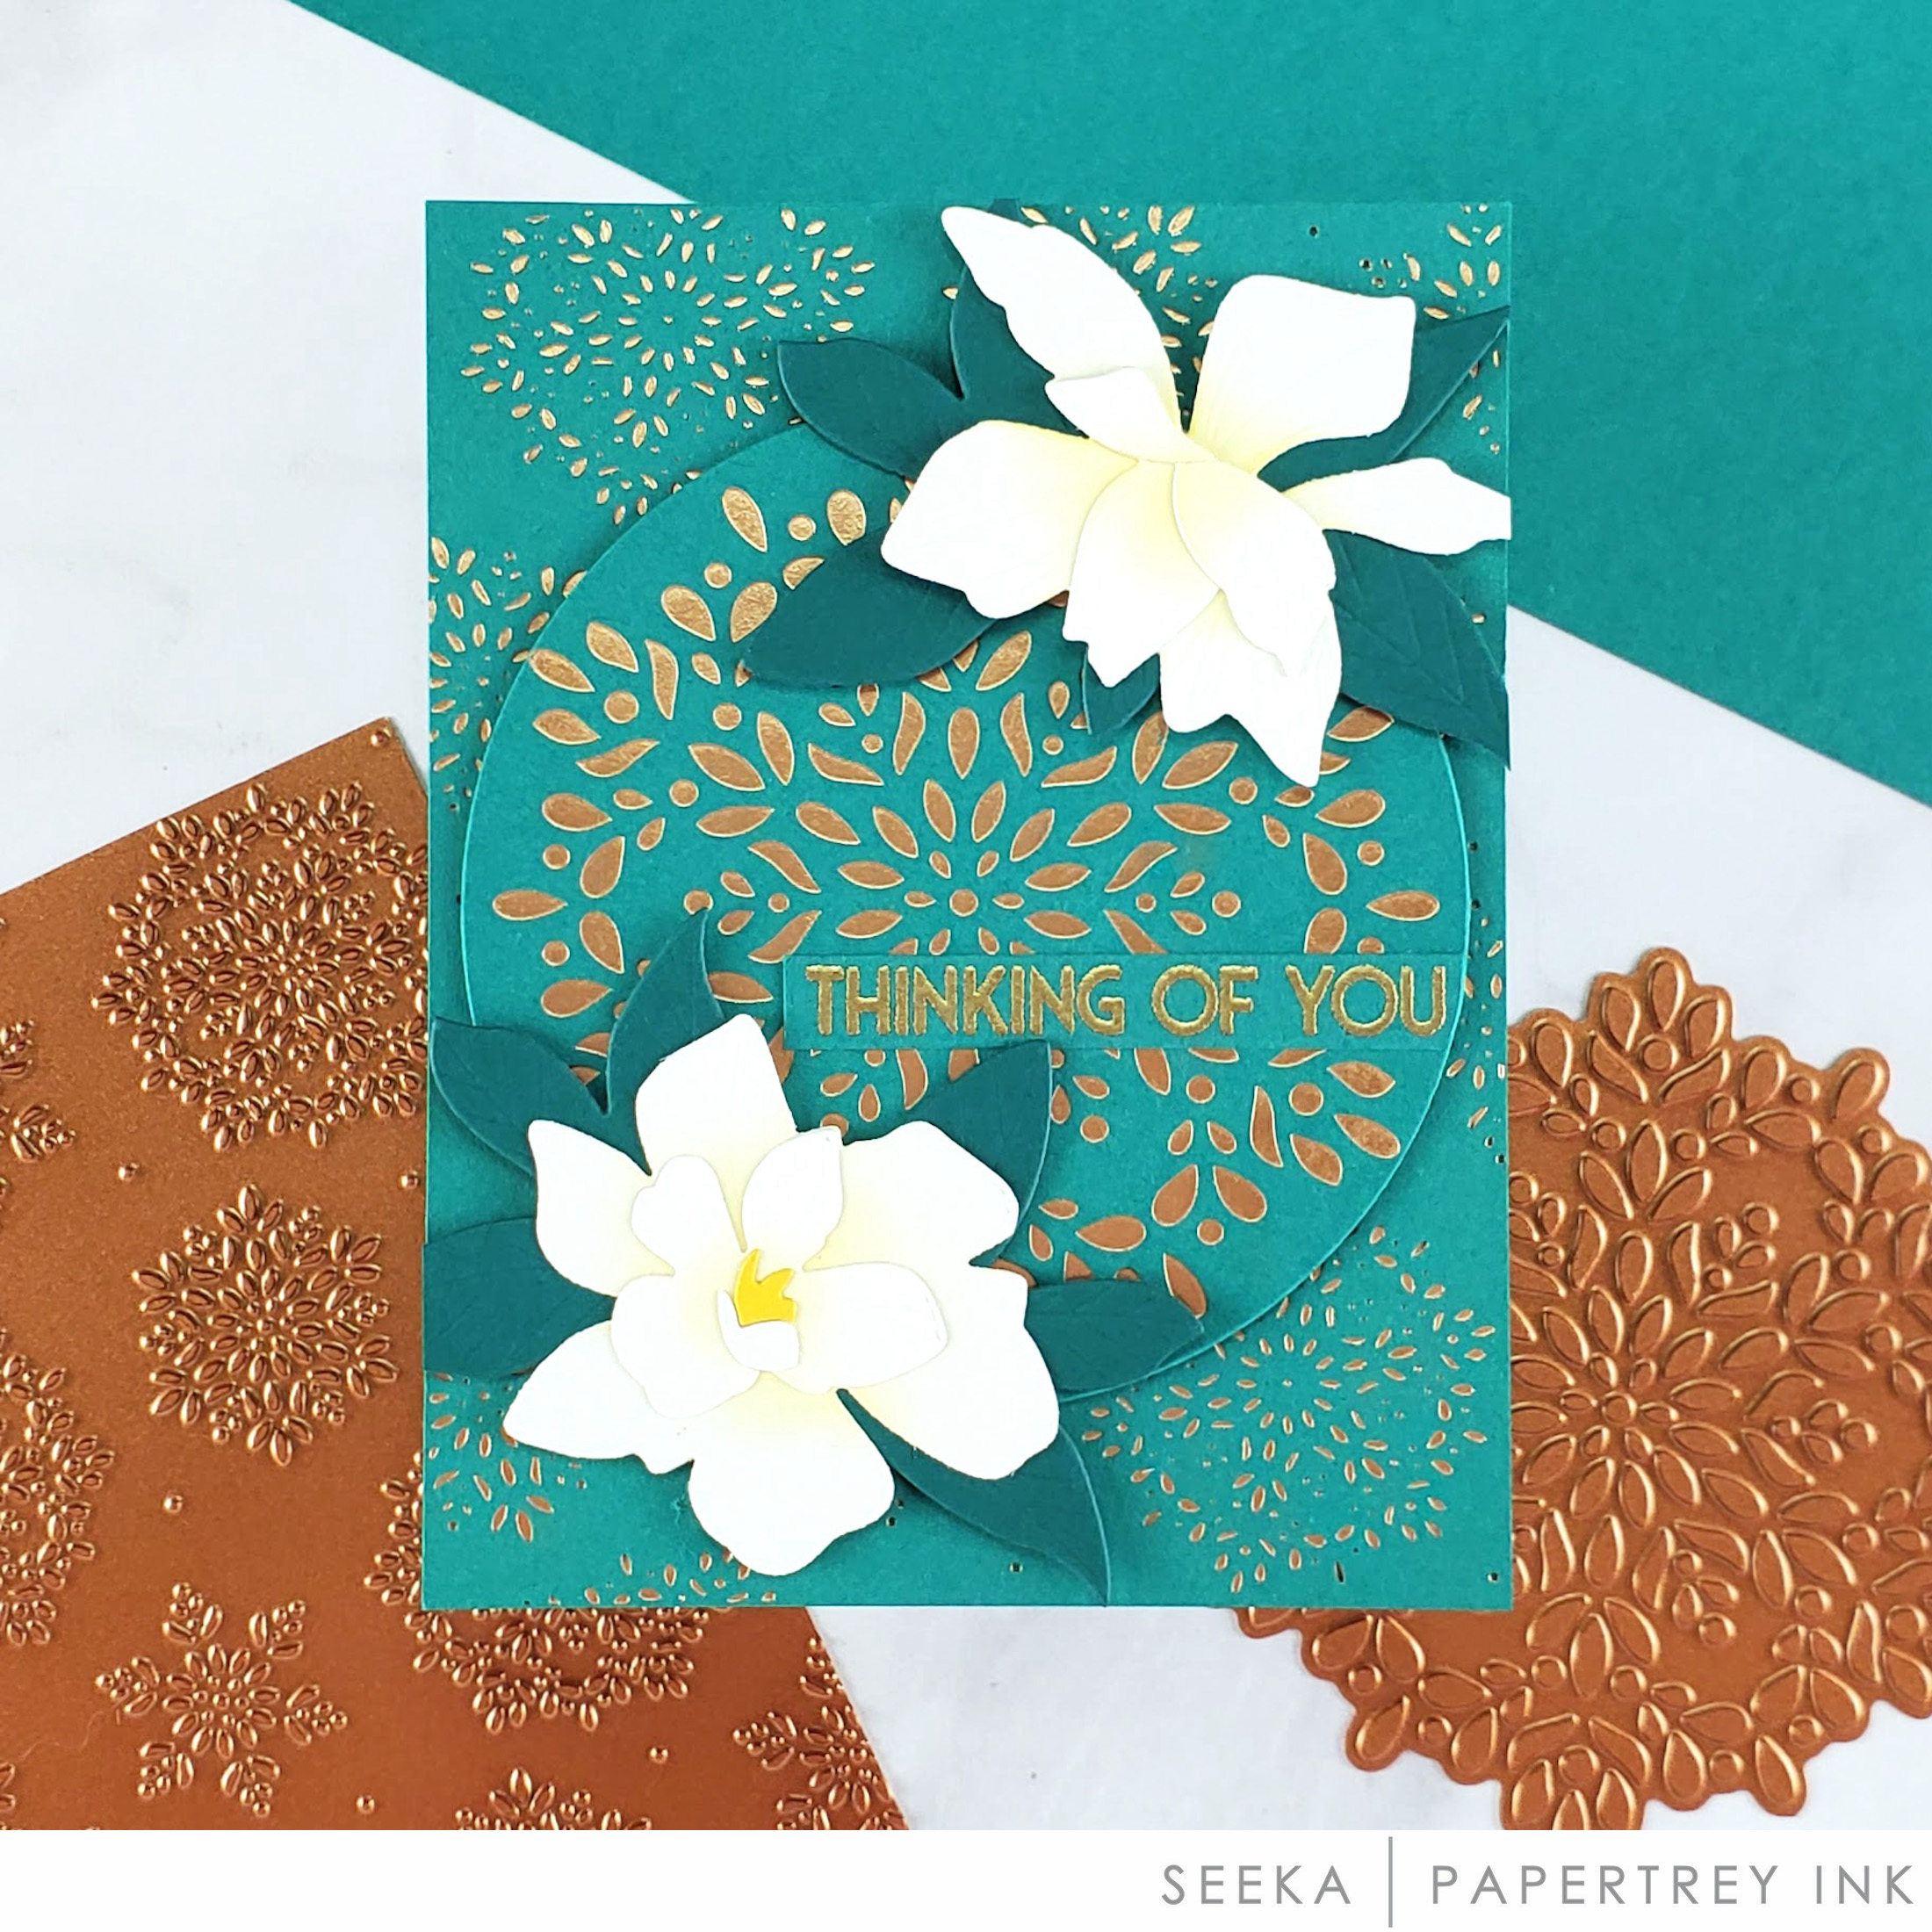
- Create a layered, textured background using the same colors
- Add ink to one of the layers using direct to paper to create some variation
- Add subtle color to the centers of white flowers to create depth
We hope you have enjoyed all the beautiful projects that we have shared with you today! We would love to hear what you think of everything we have introduced! Please leave a comment on this post to tell us what you like the most and why, and you will be eligible to win big!

Leave a comment today and you will be automatically entered to win a $50 Papertrey Ink gift certificate! You have until 7am ET, October 18th to leave your comment and be eligible to win. Only one comment per person please. One randomly selected winner will be posted on the October Release Winners Page by 11 PM ET on October 20th.


Leave a Reply