


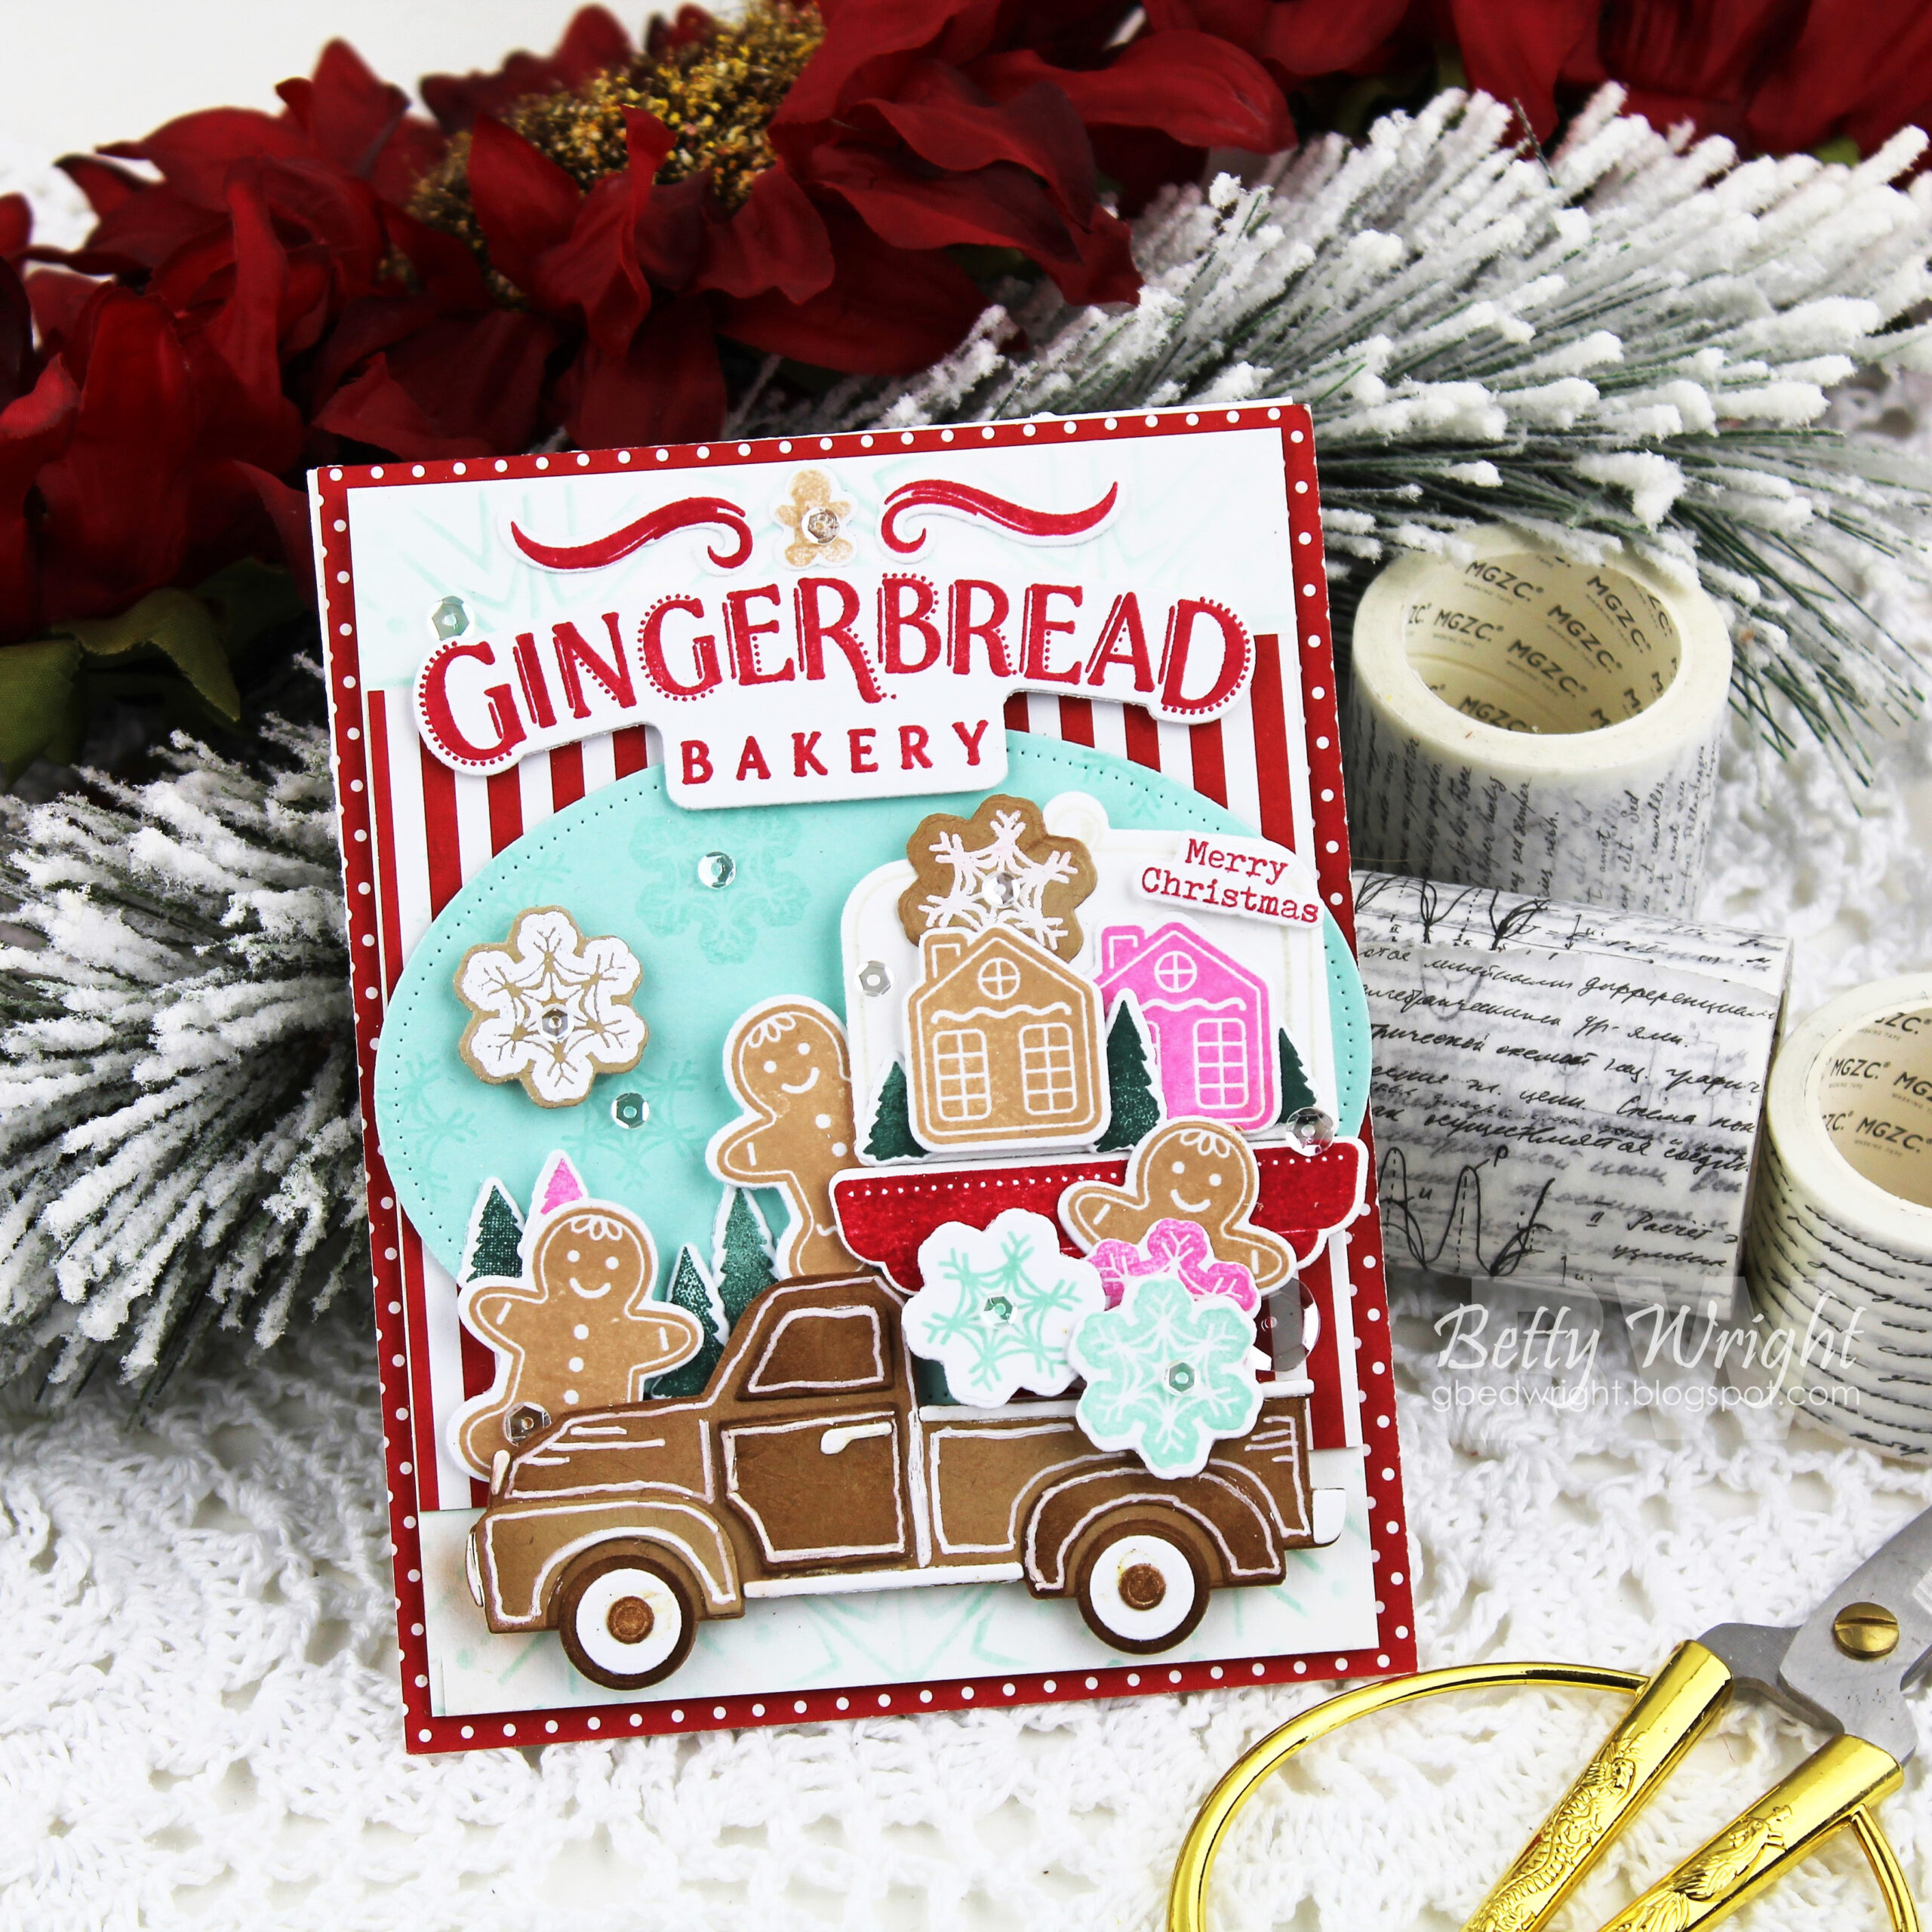
We’ve got something extra sweet for you today…are you ready? Introducing the new Gingerbread Bakery stamp set and dies. We’ve got your darling bakery covered when it comes to all things gingerbread. Let’s jump right in to the projects!
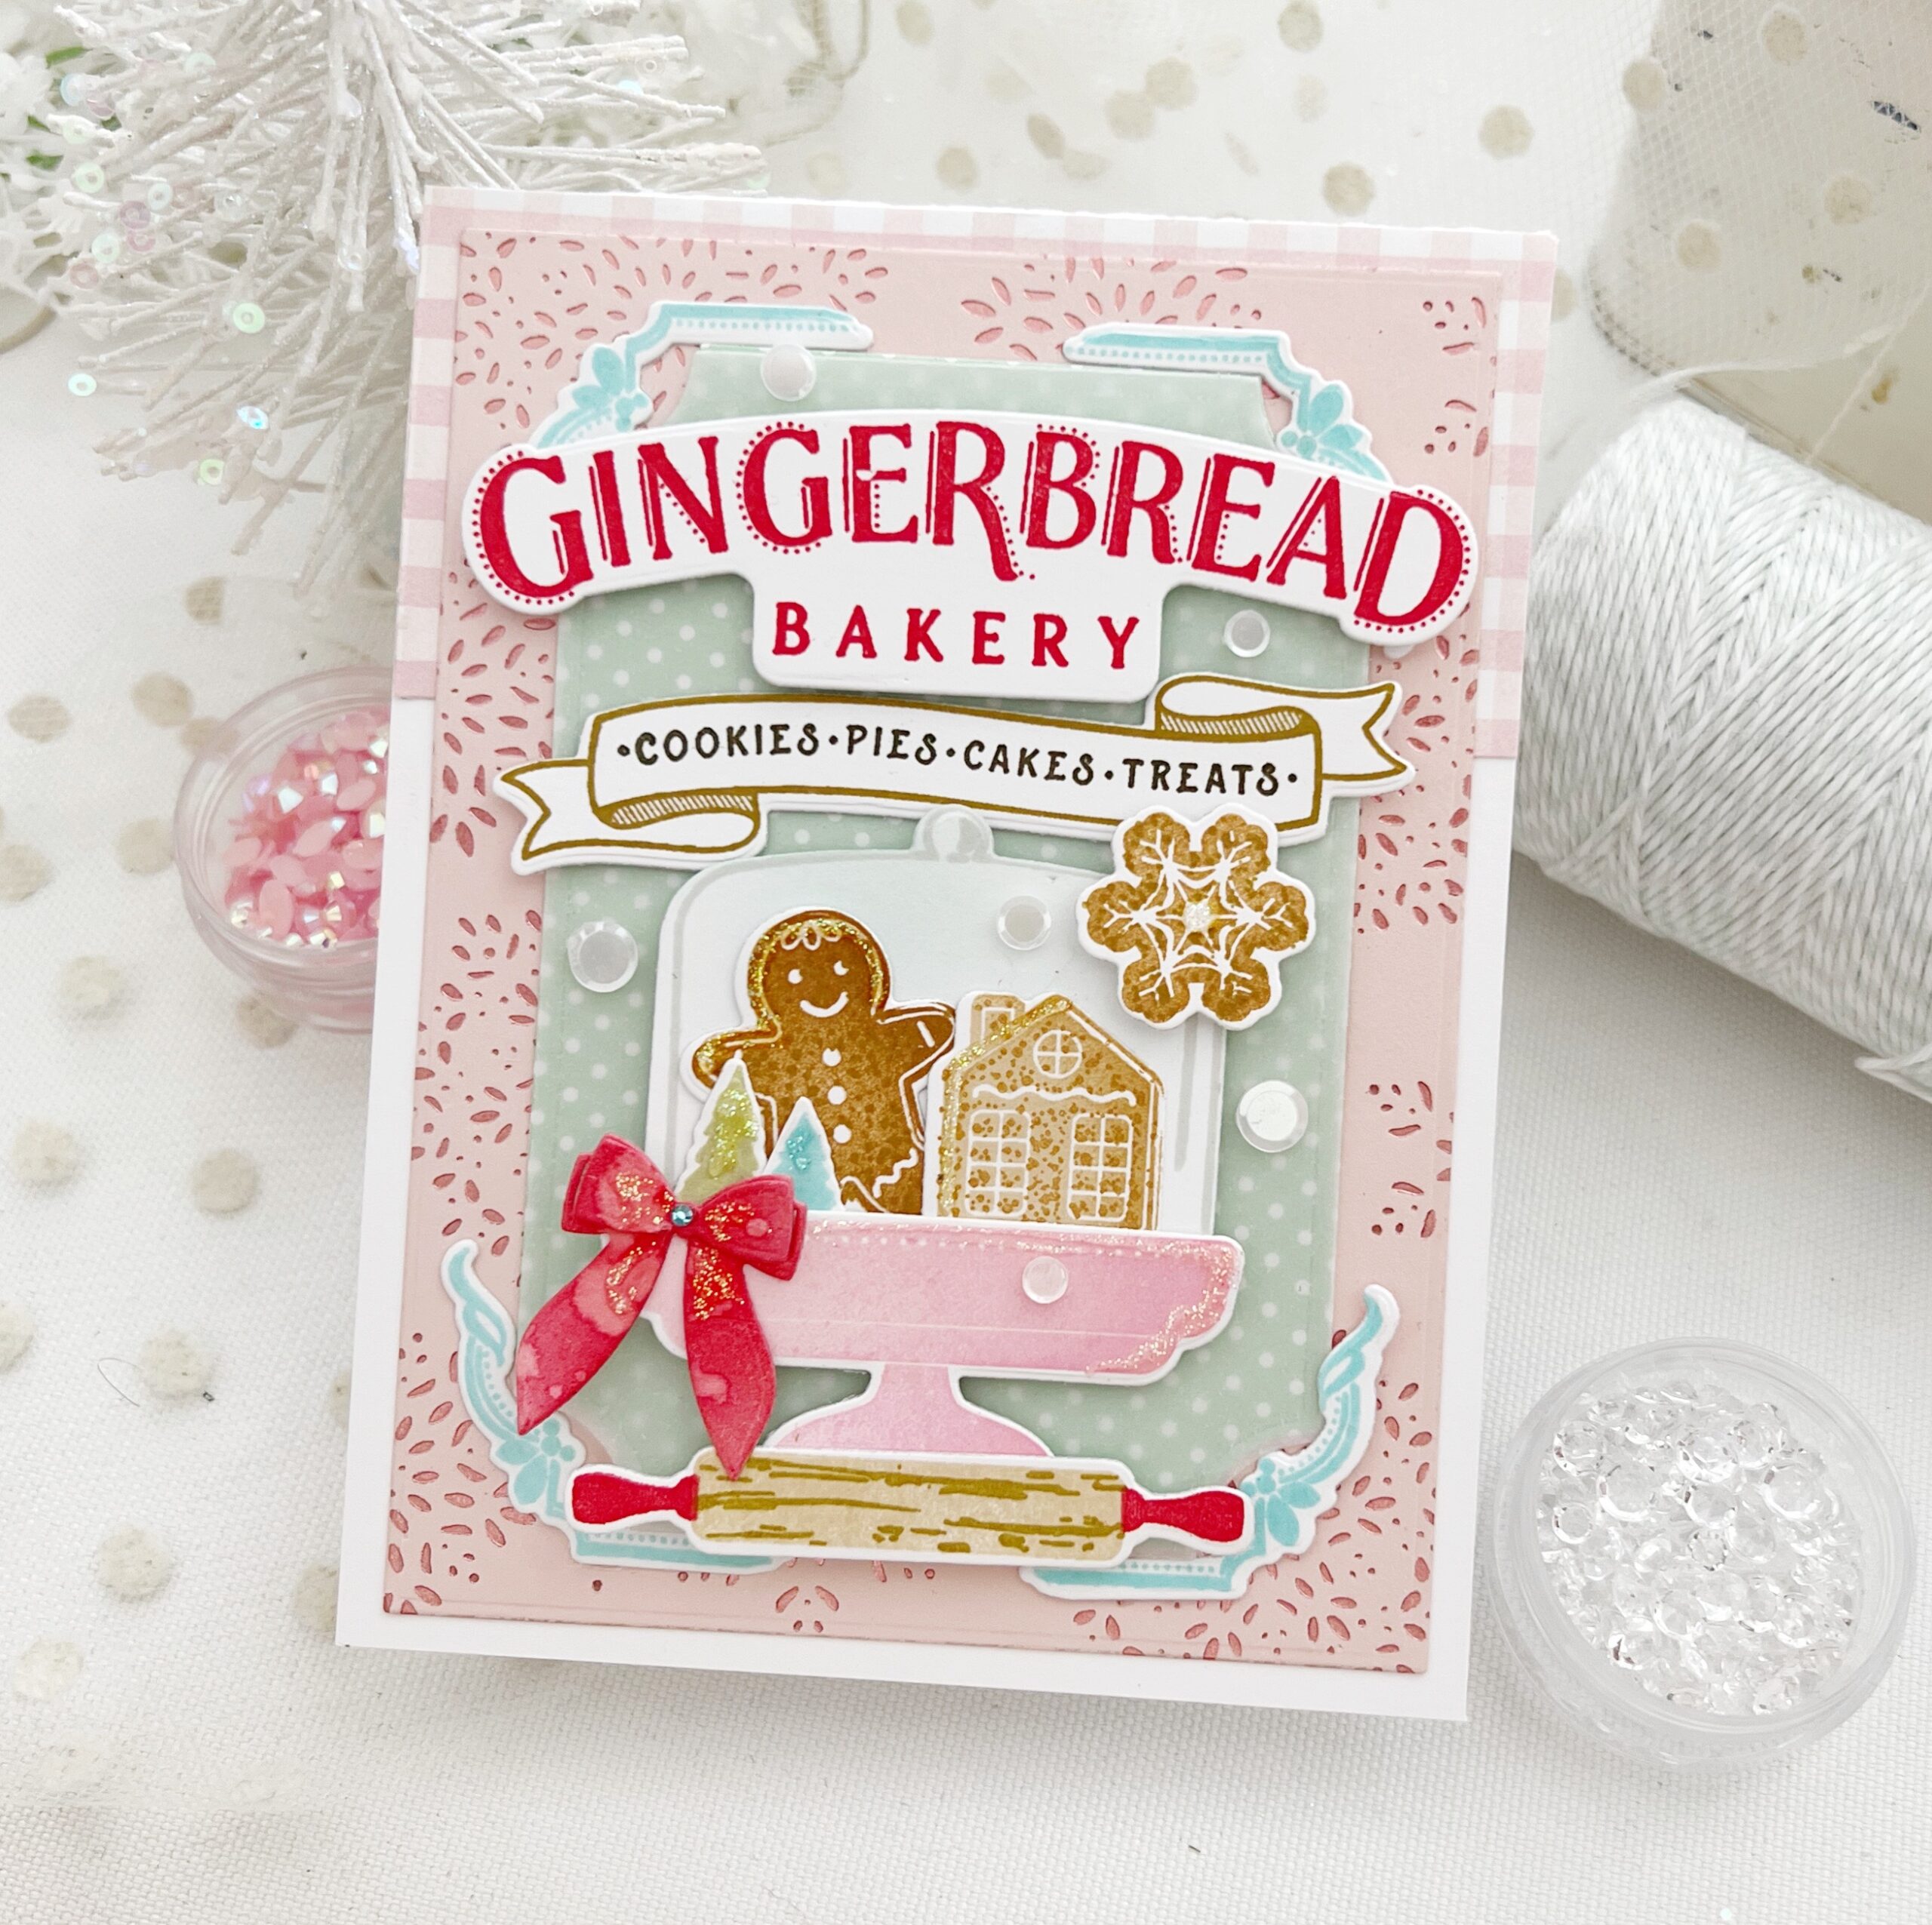
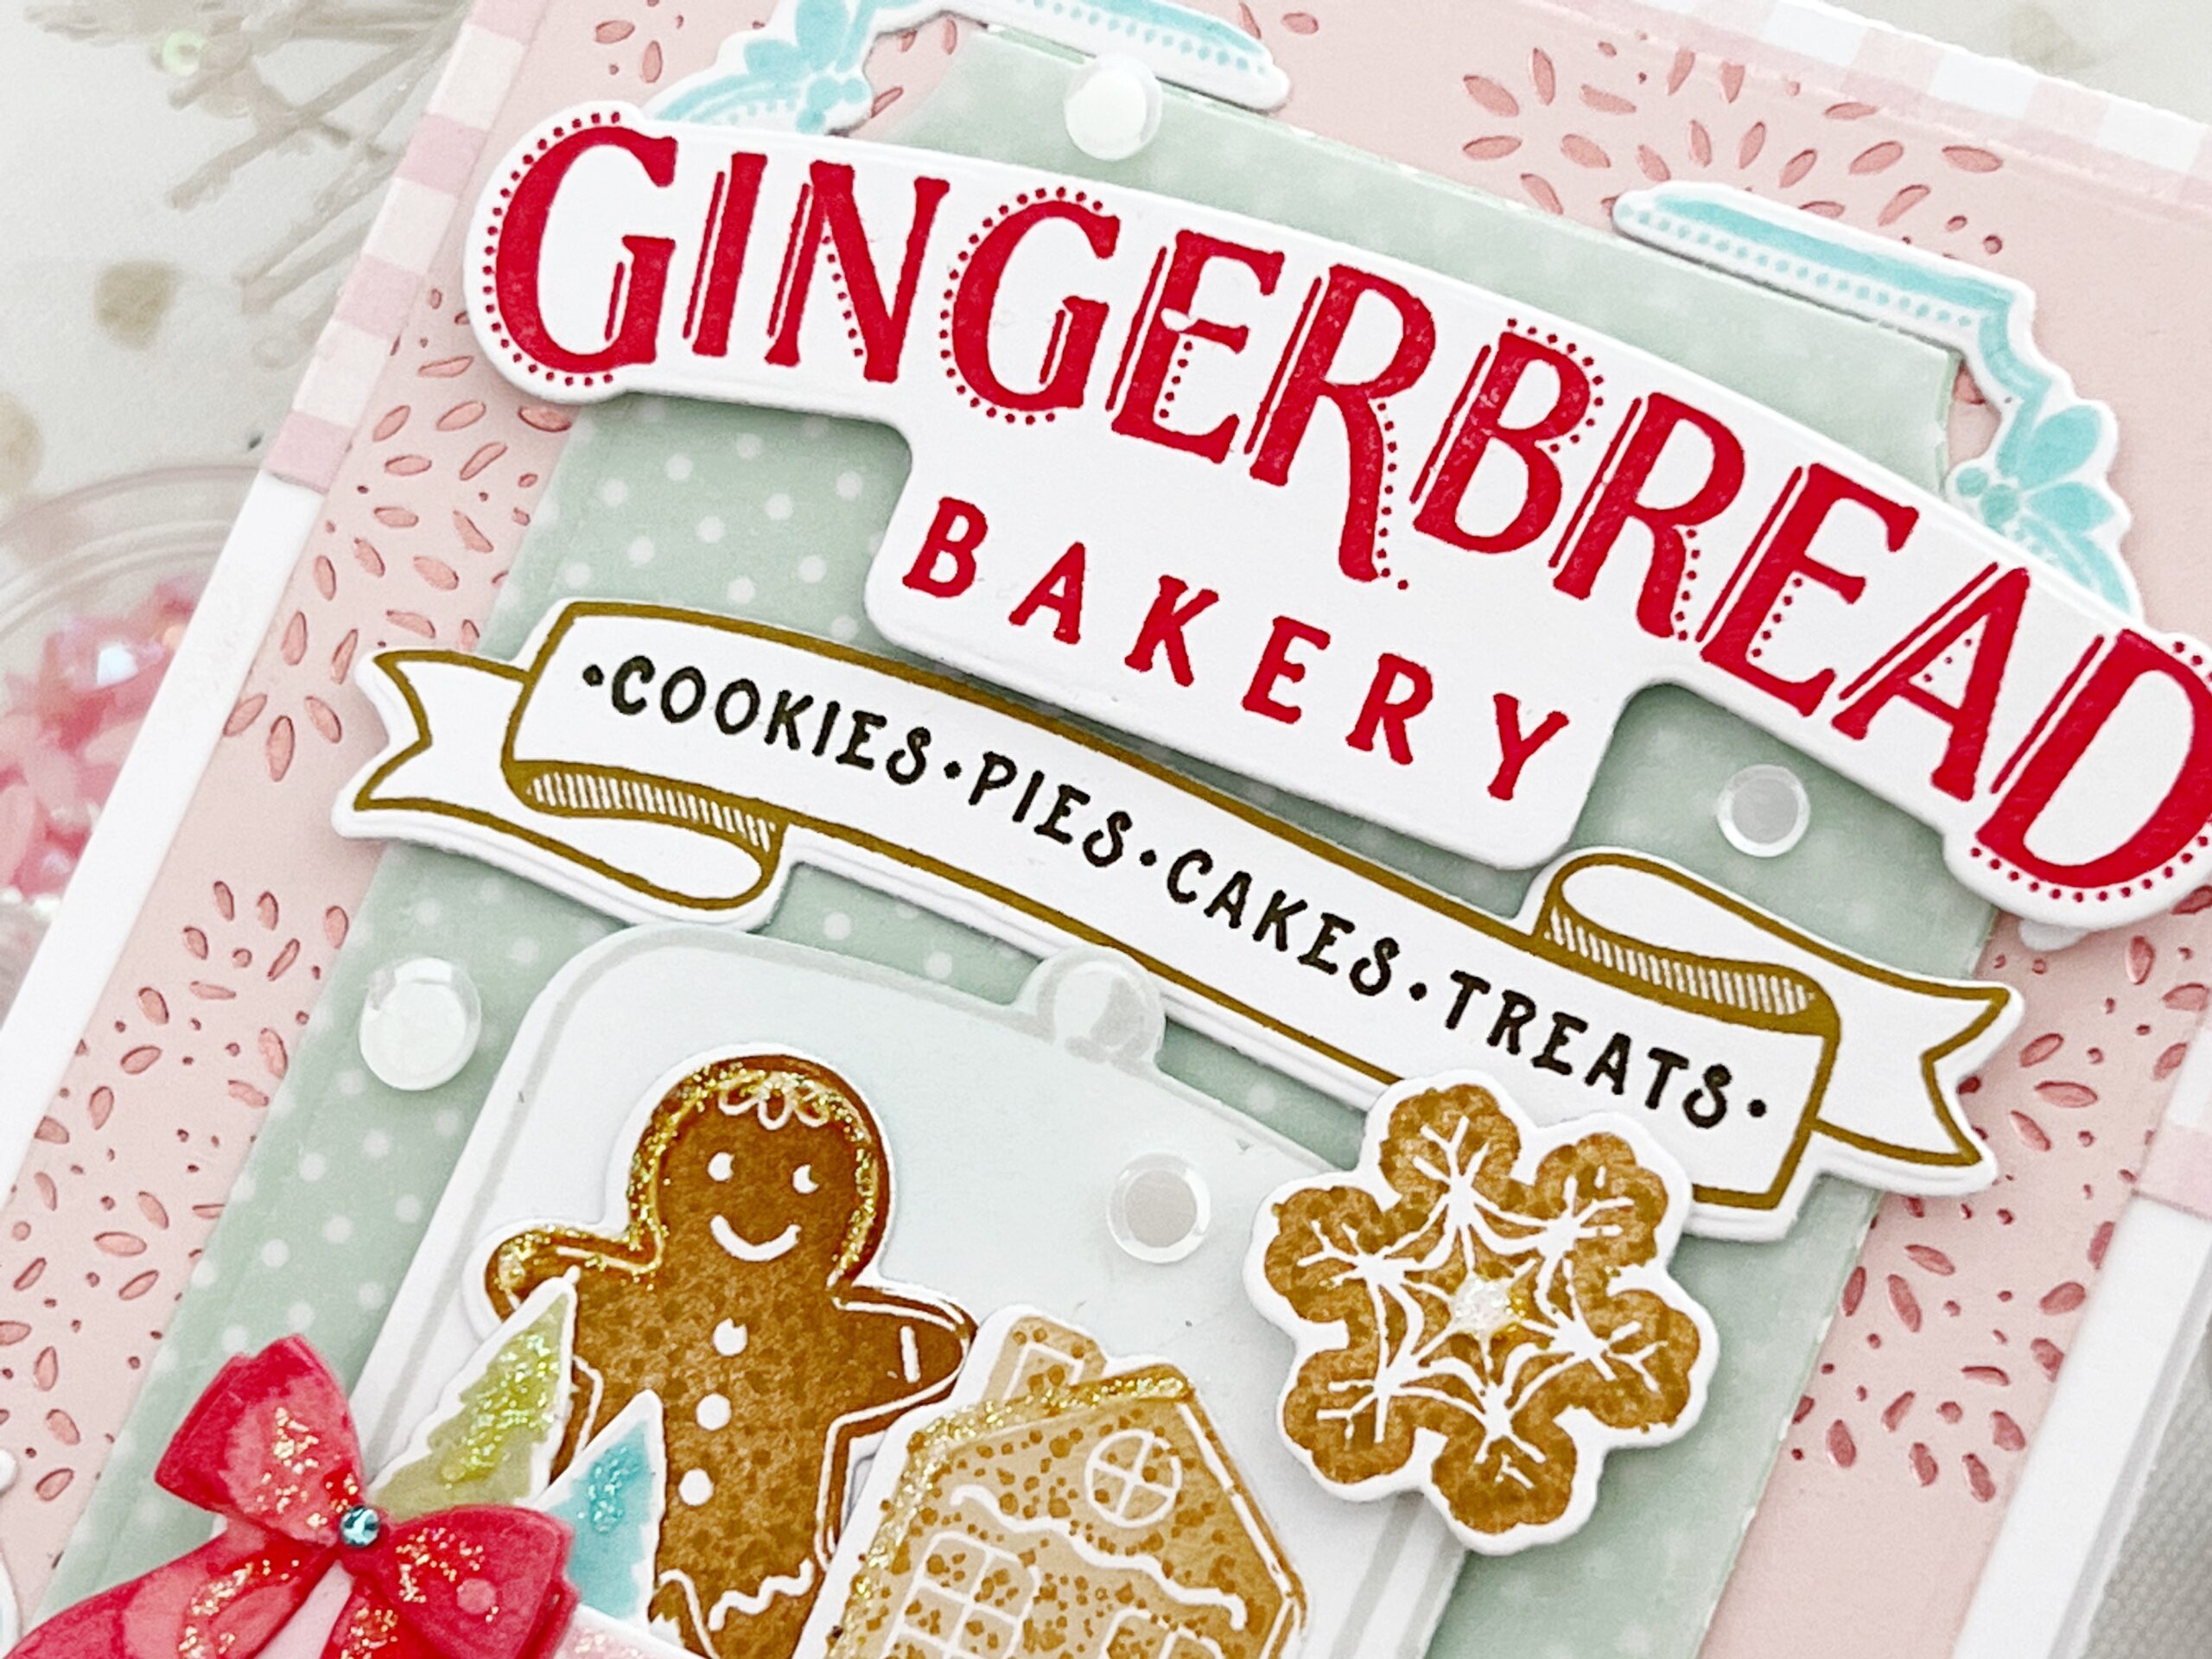
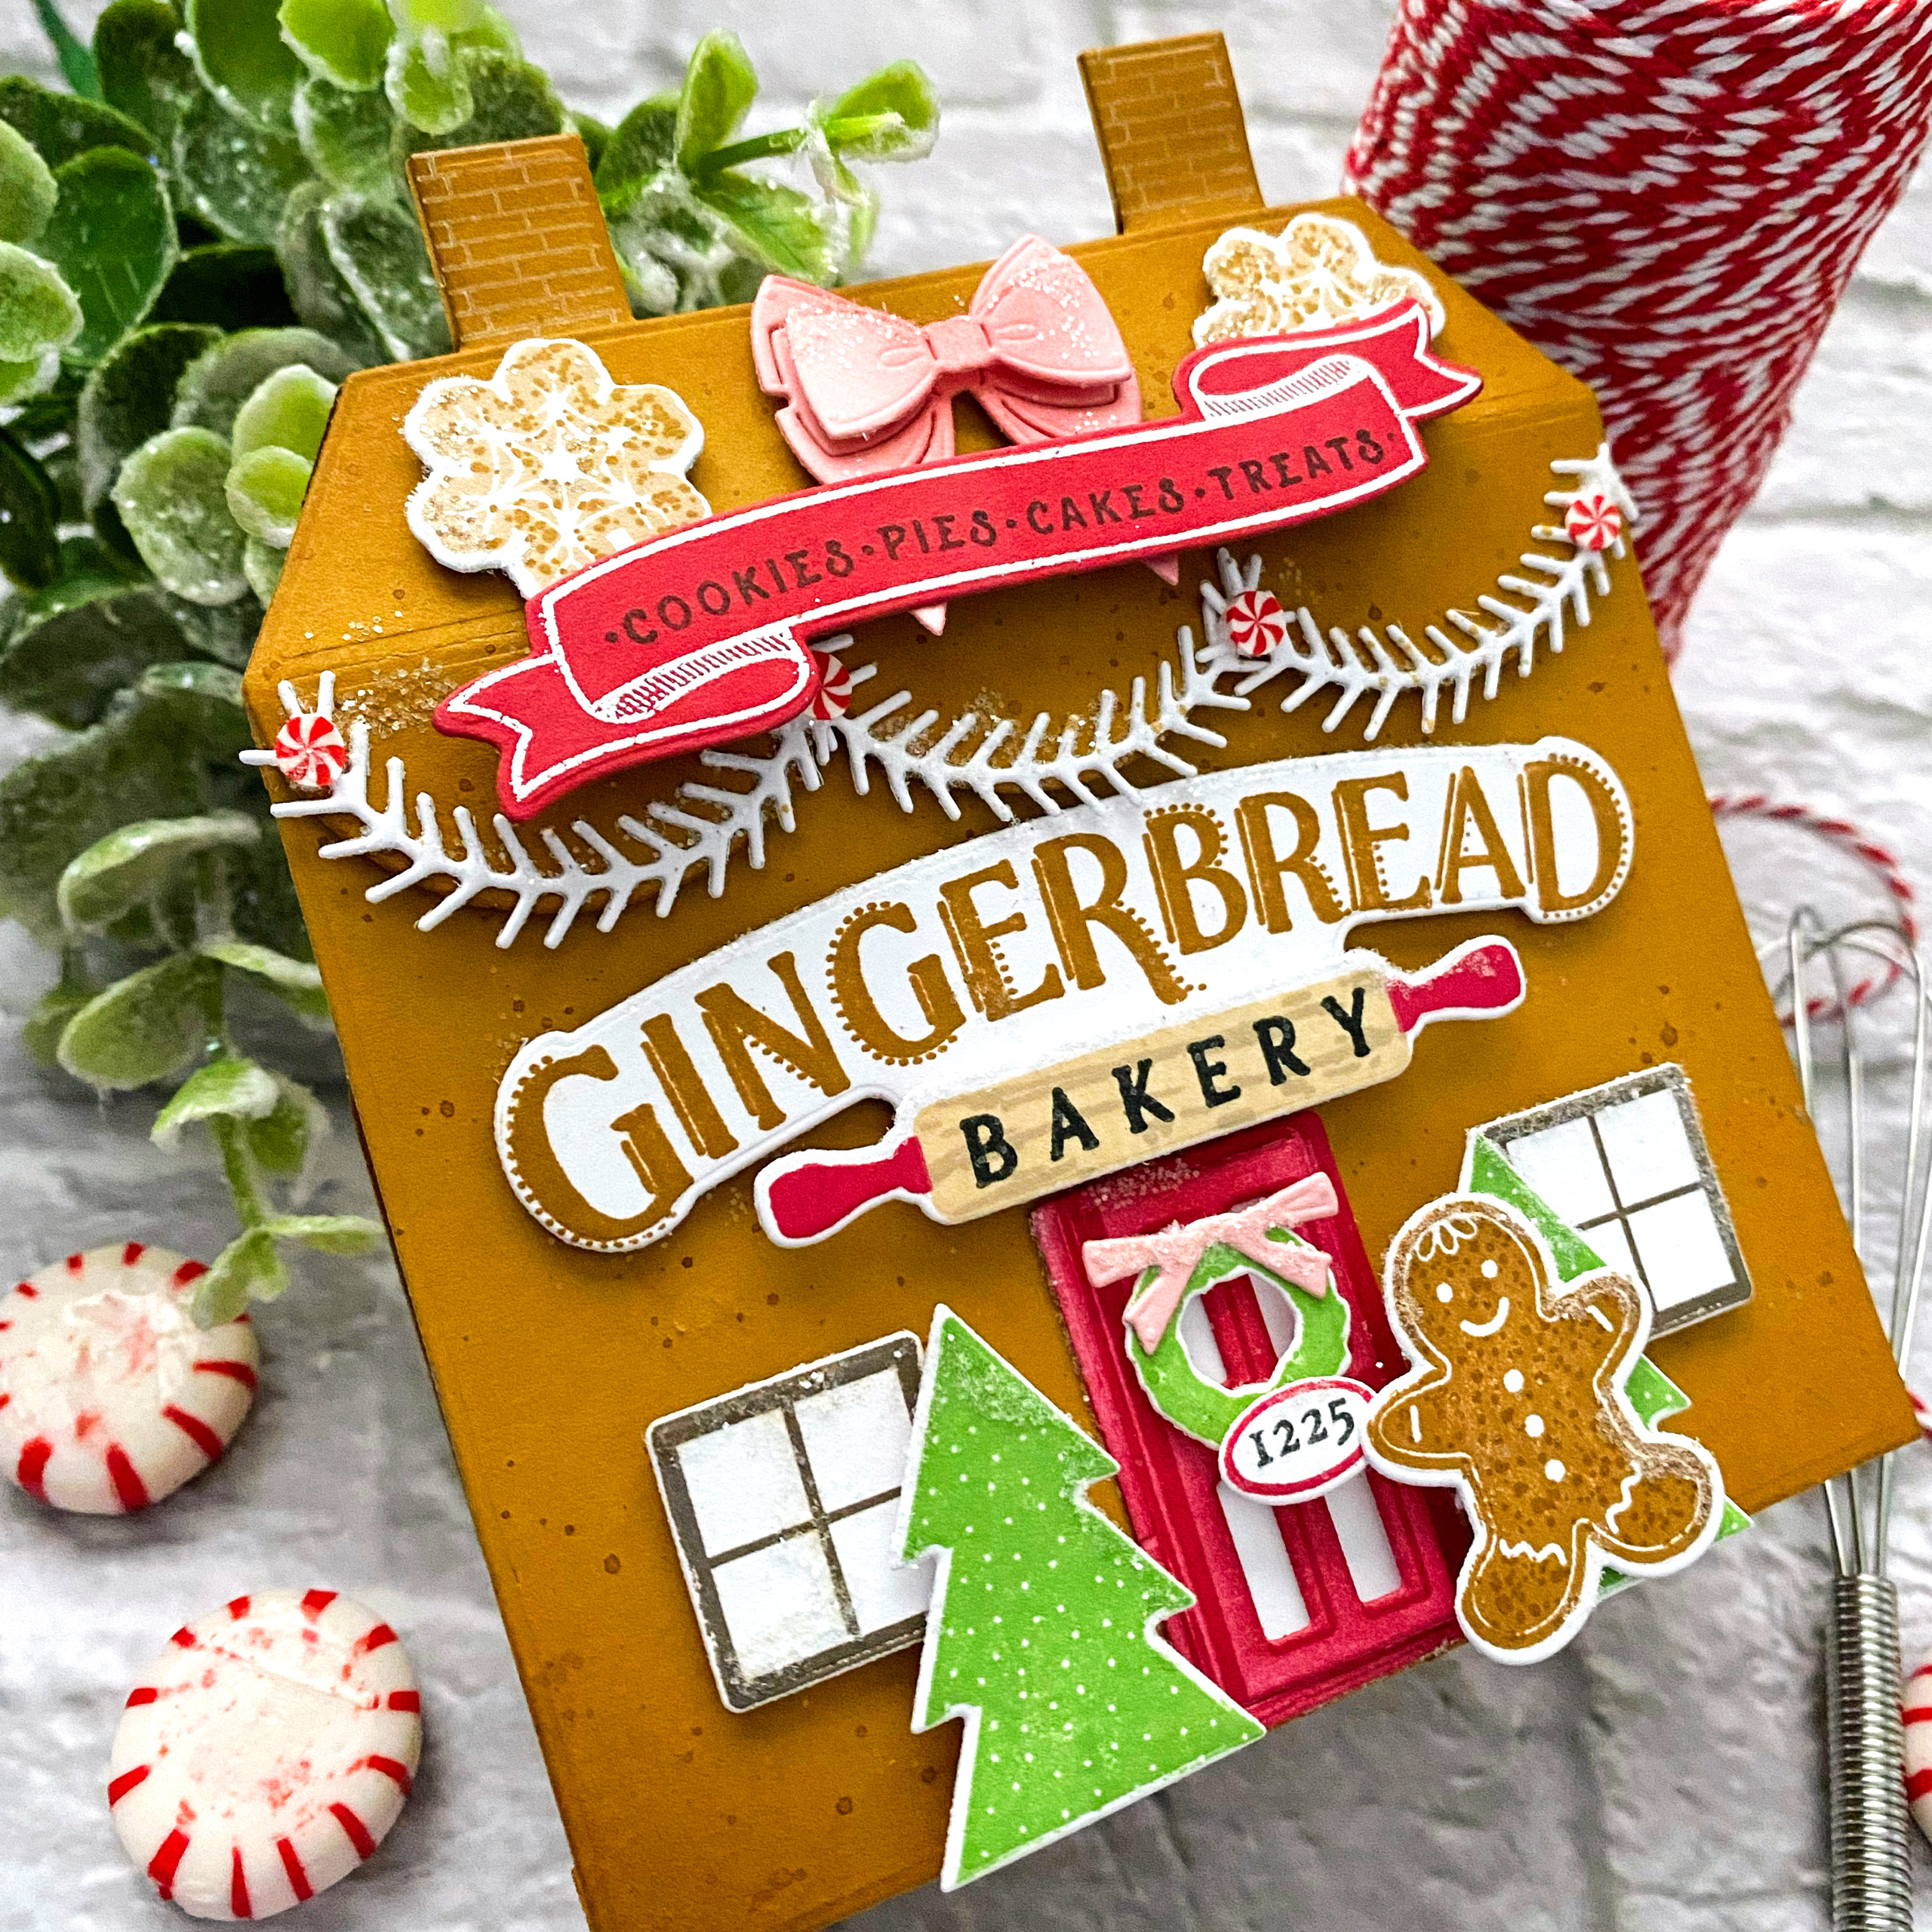
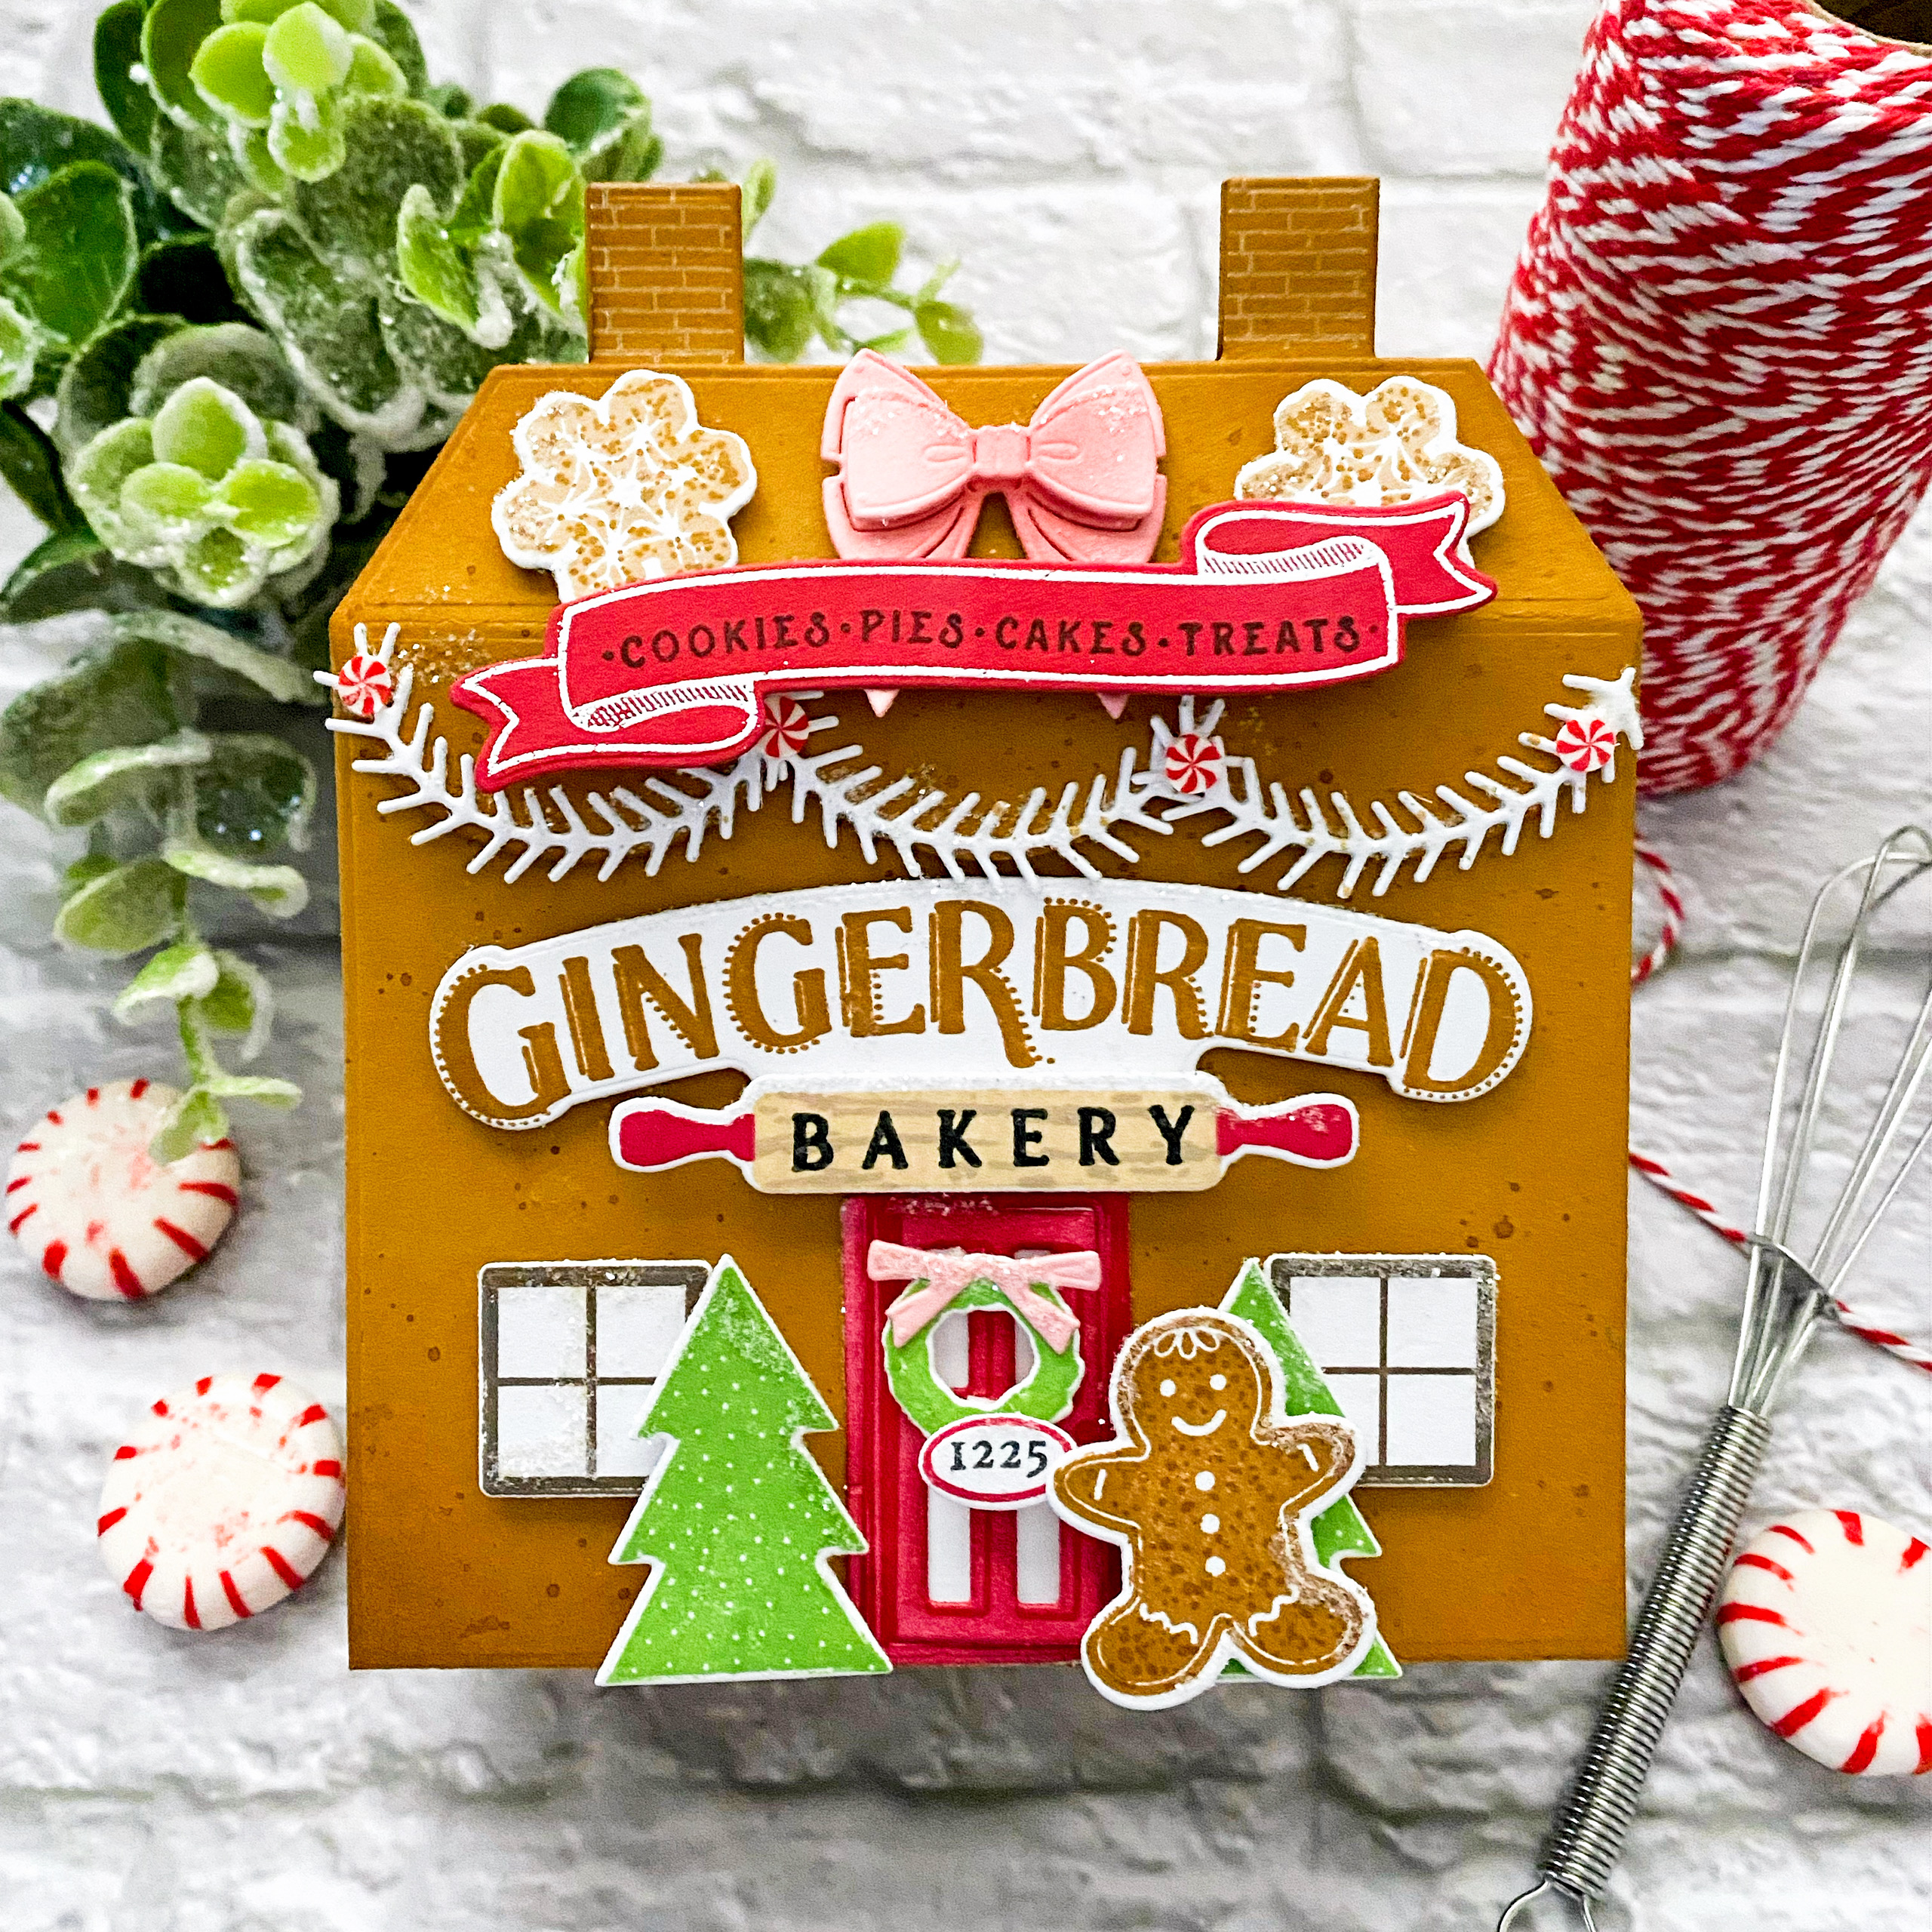
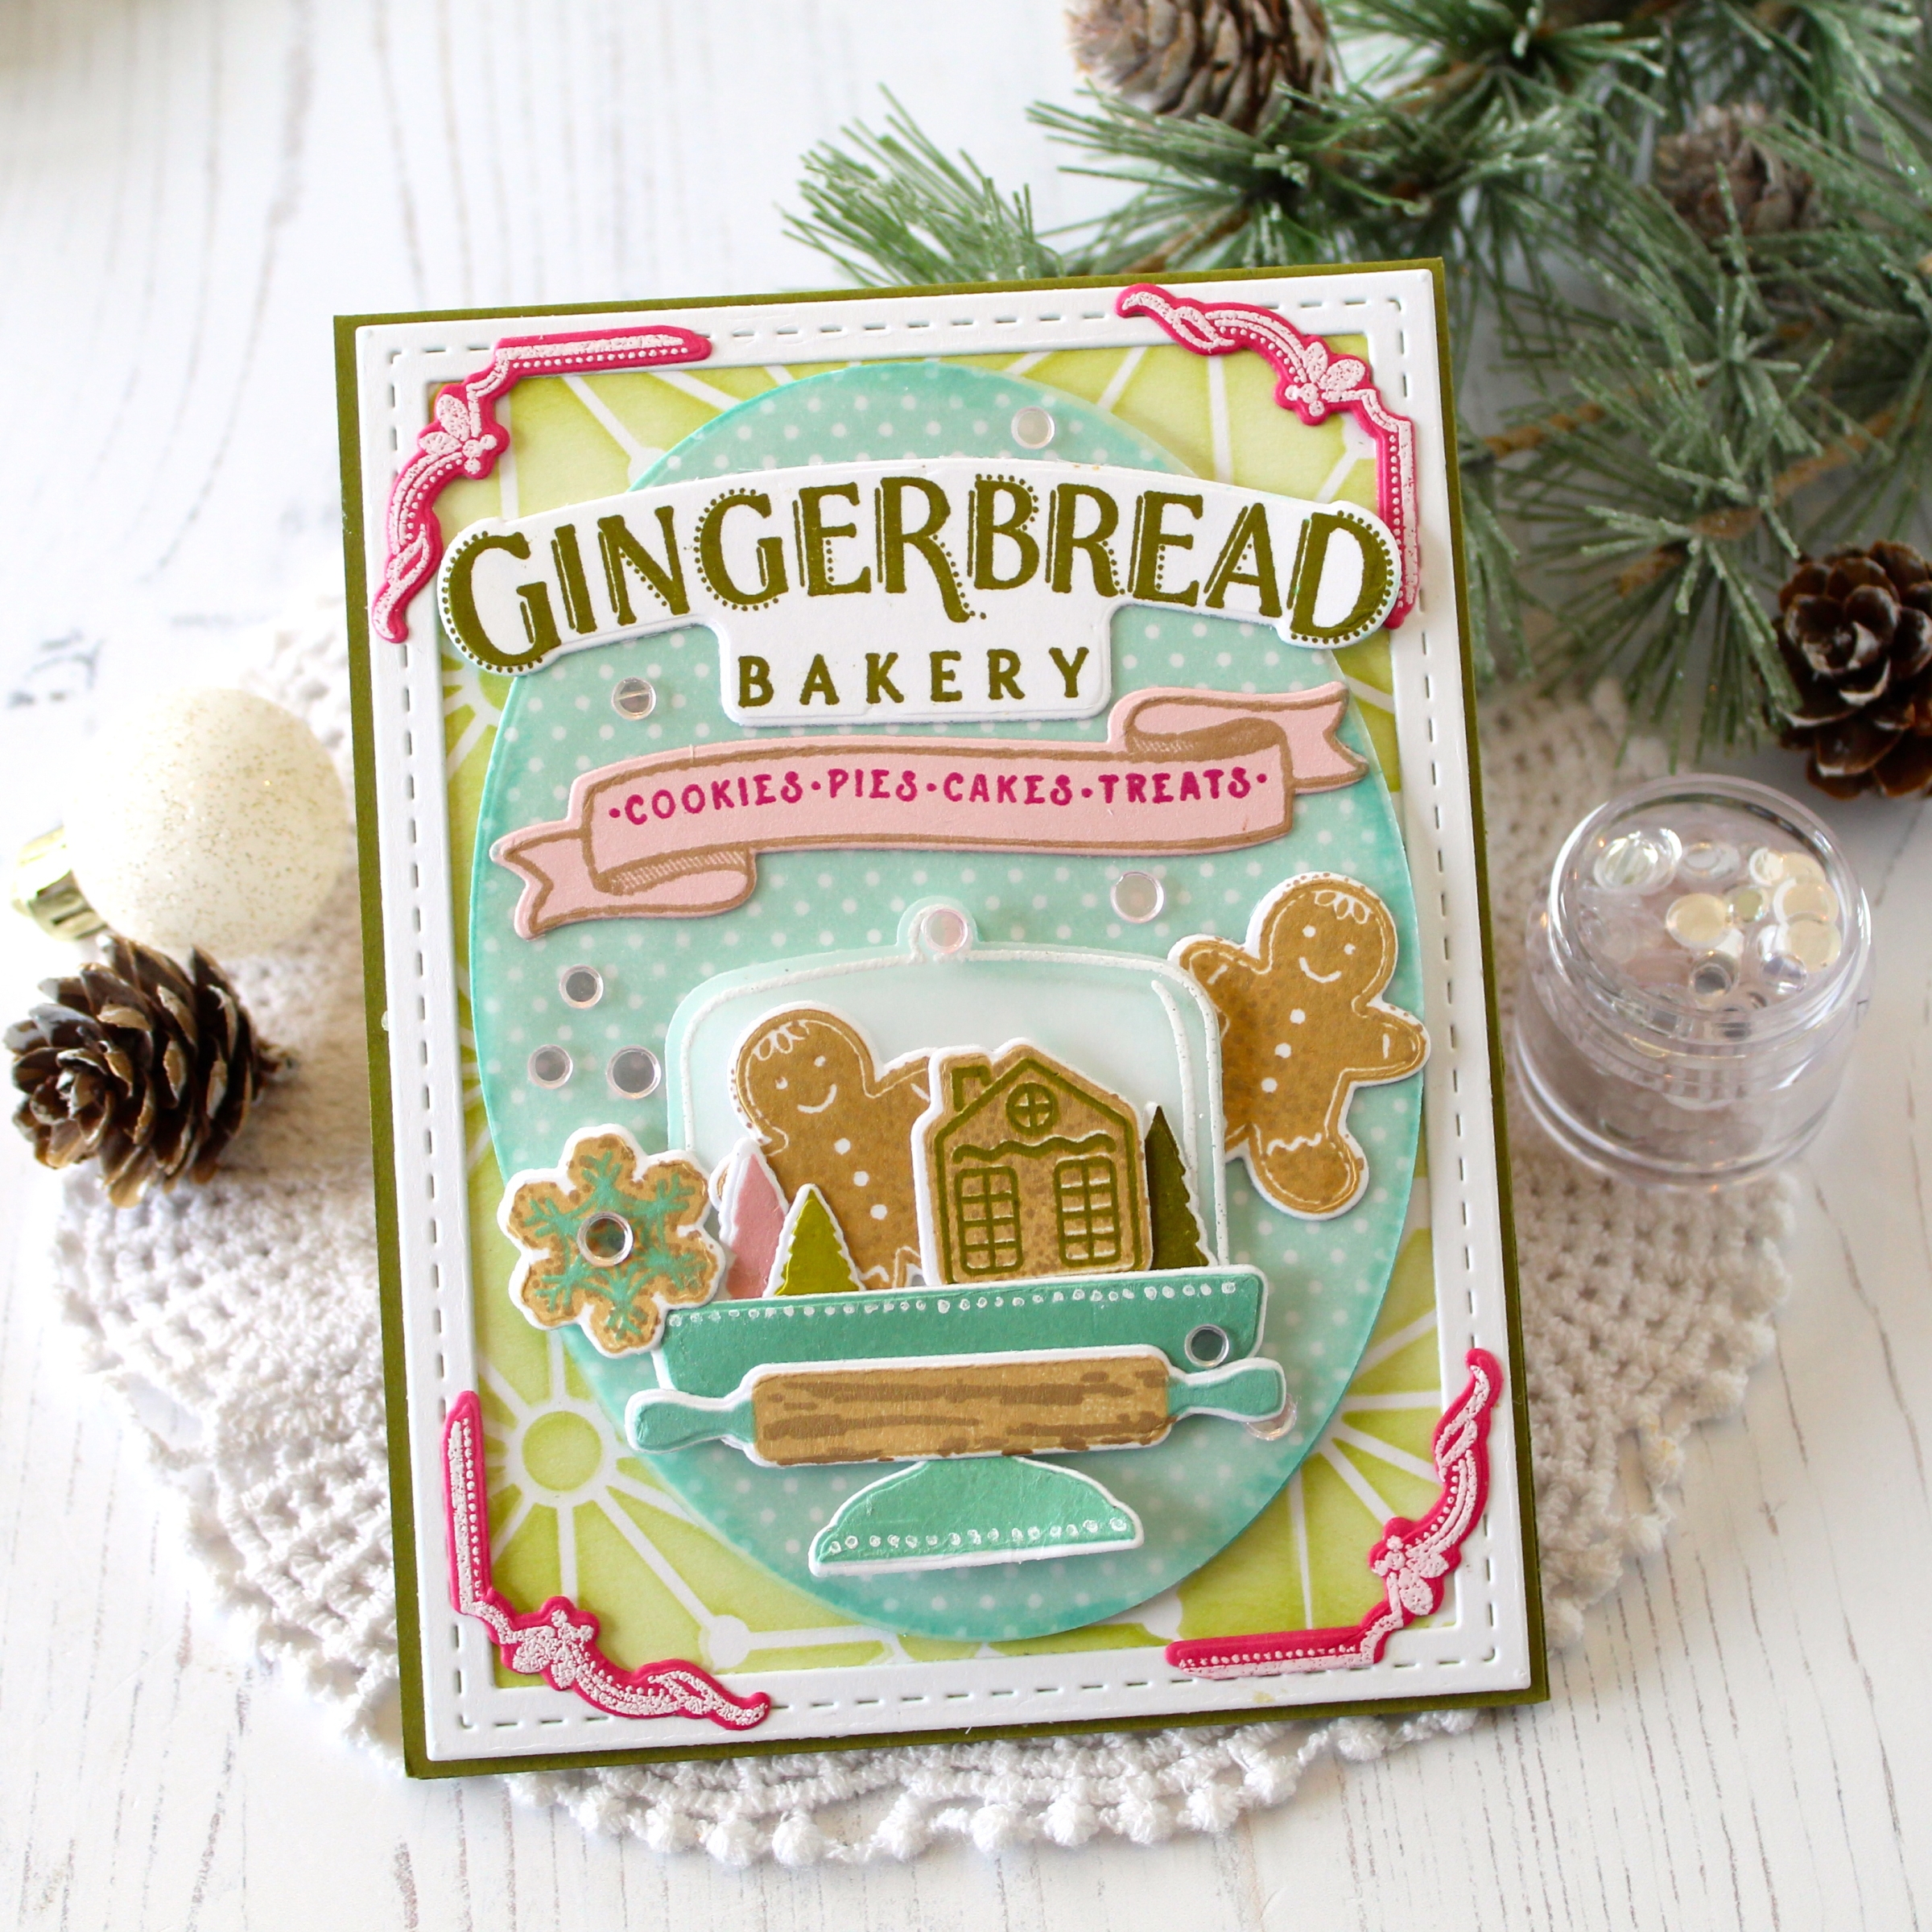
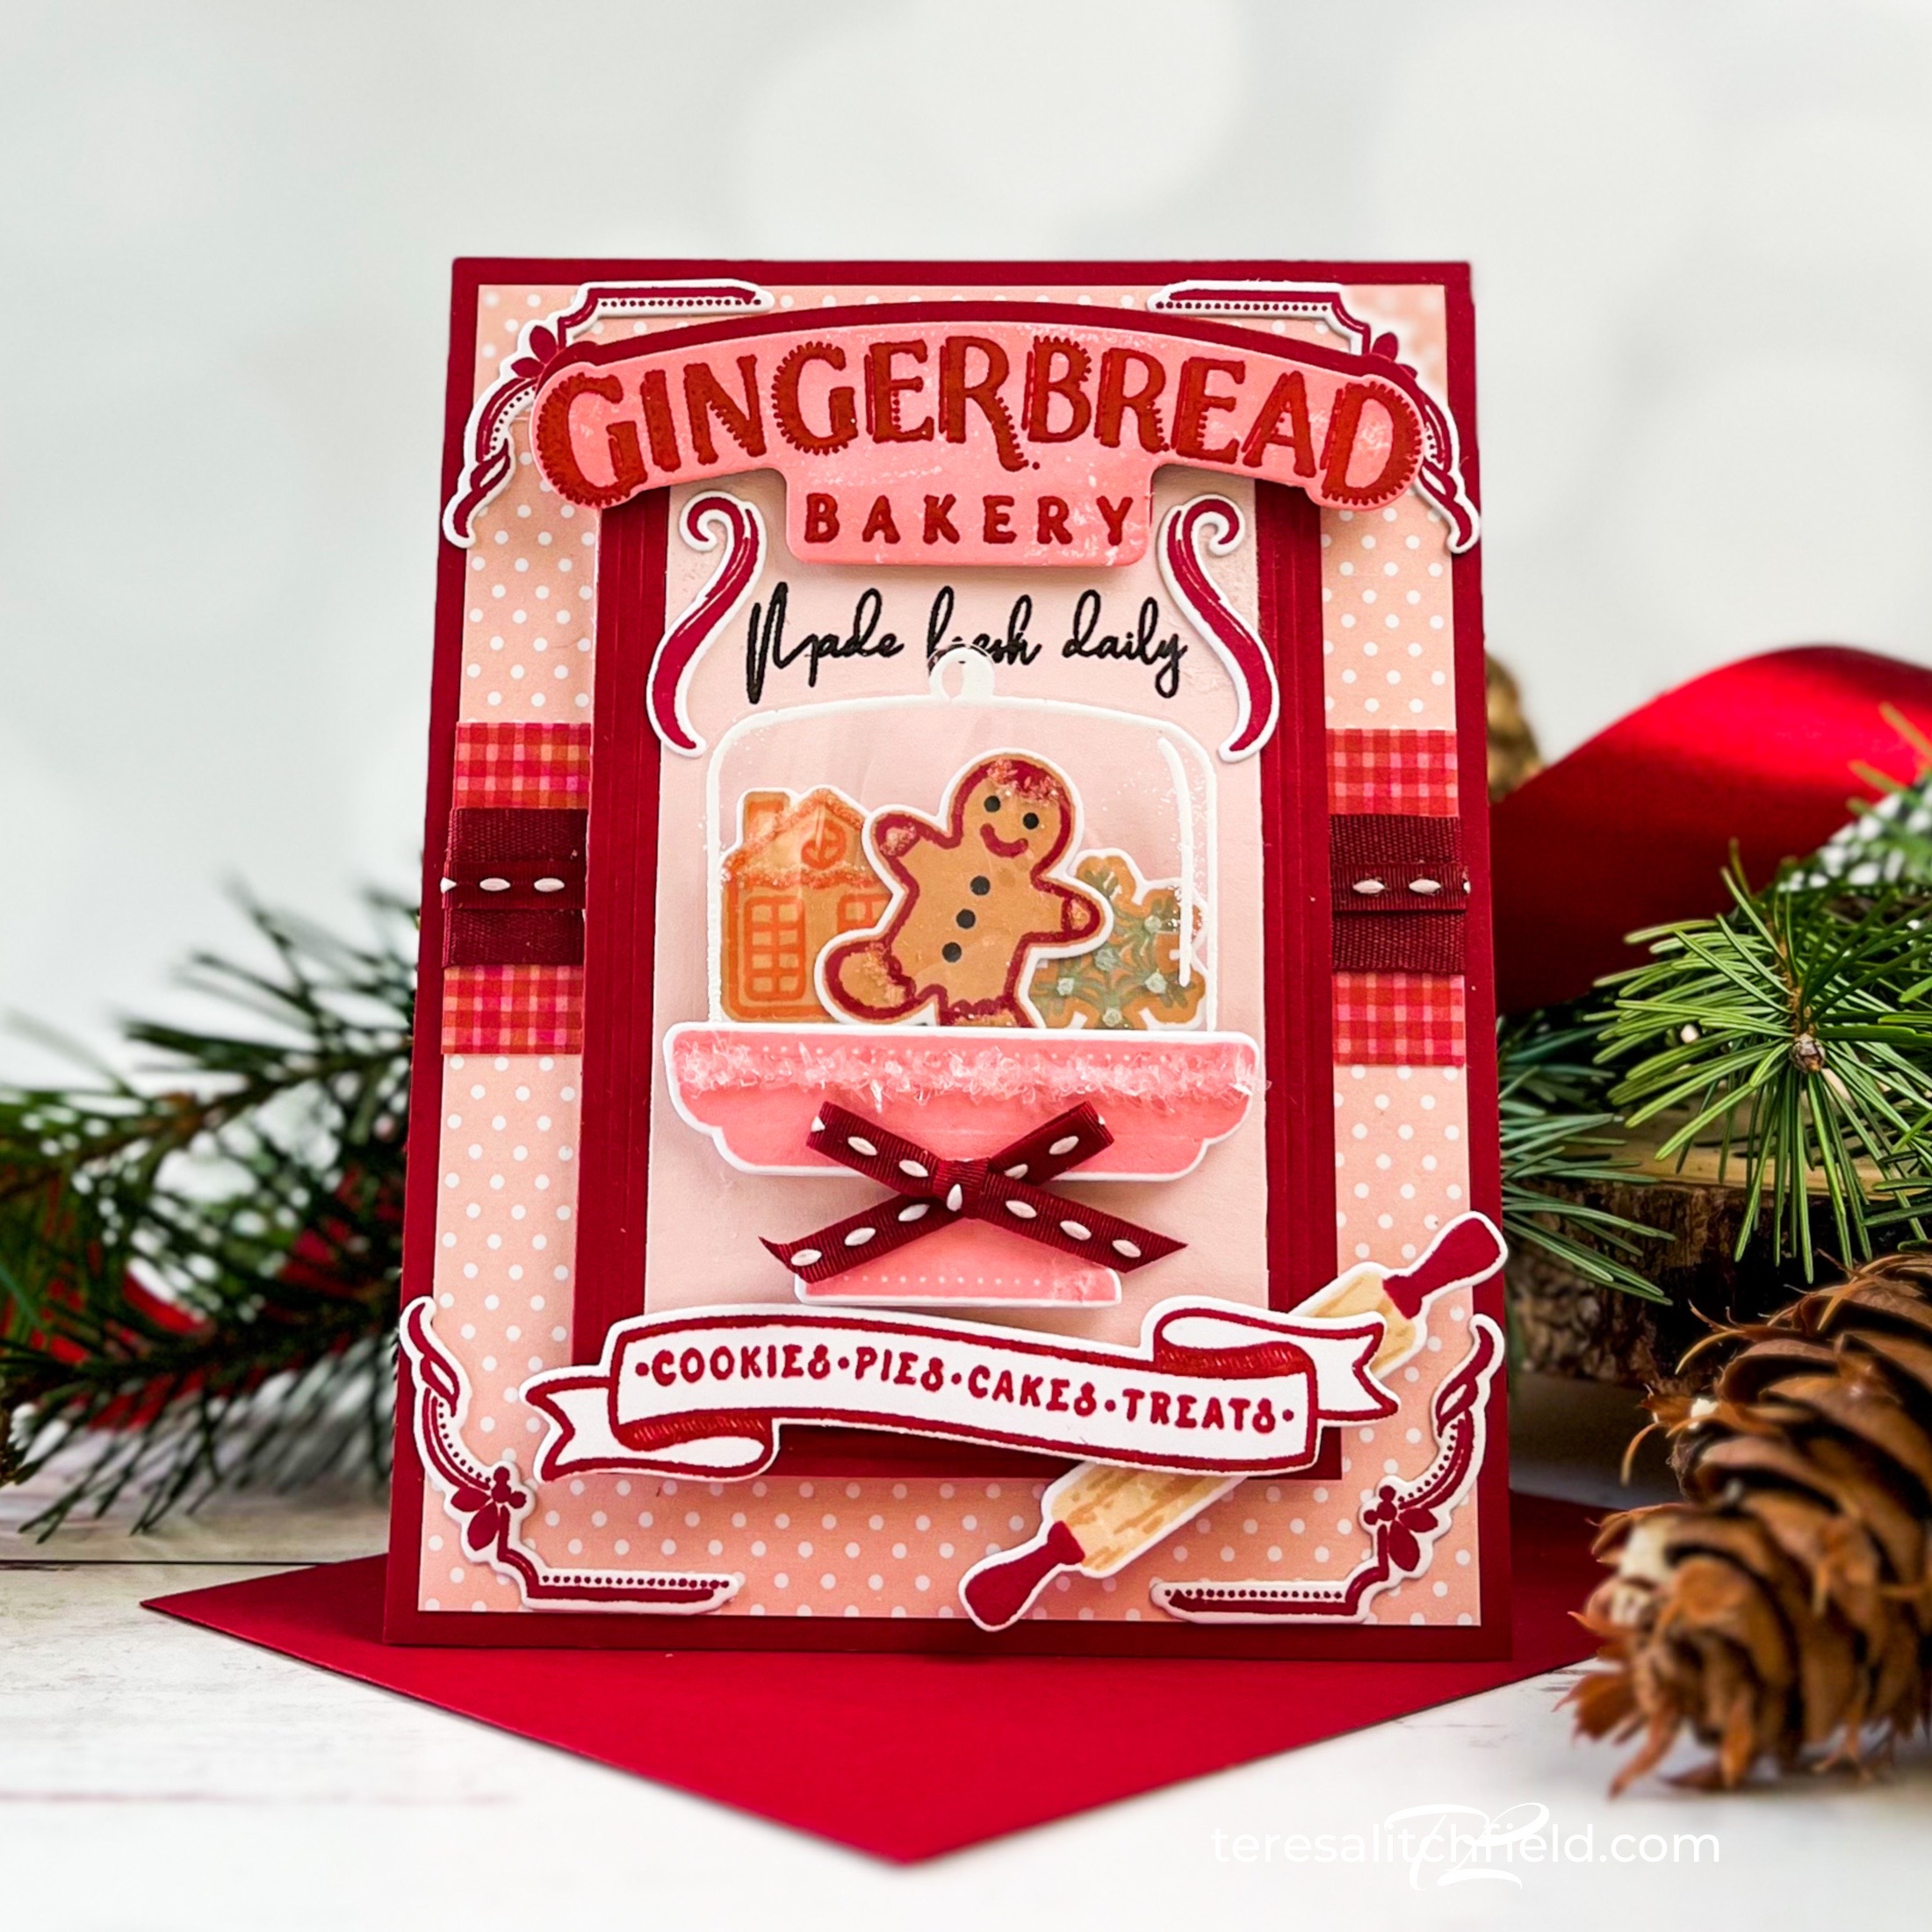
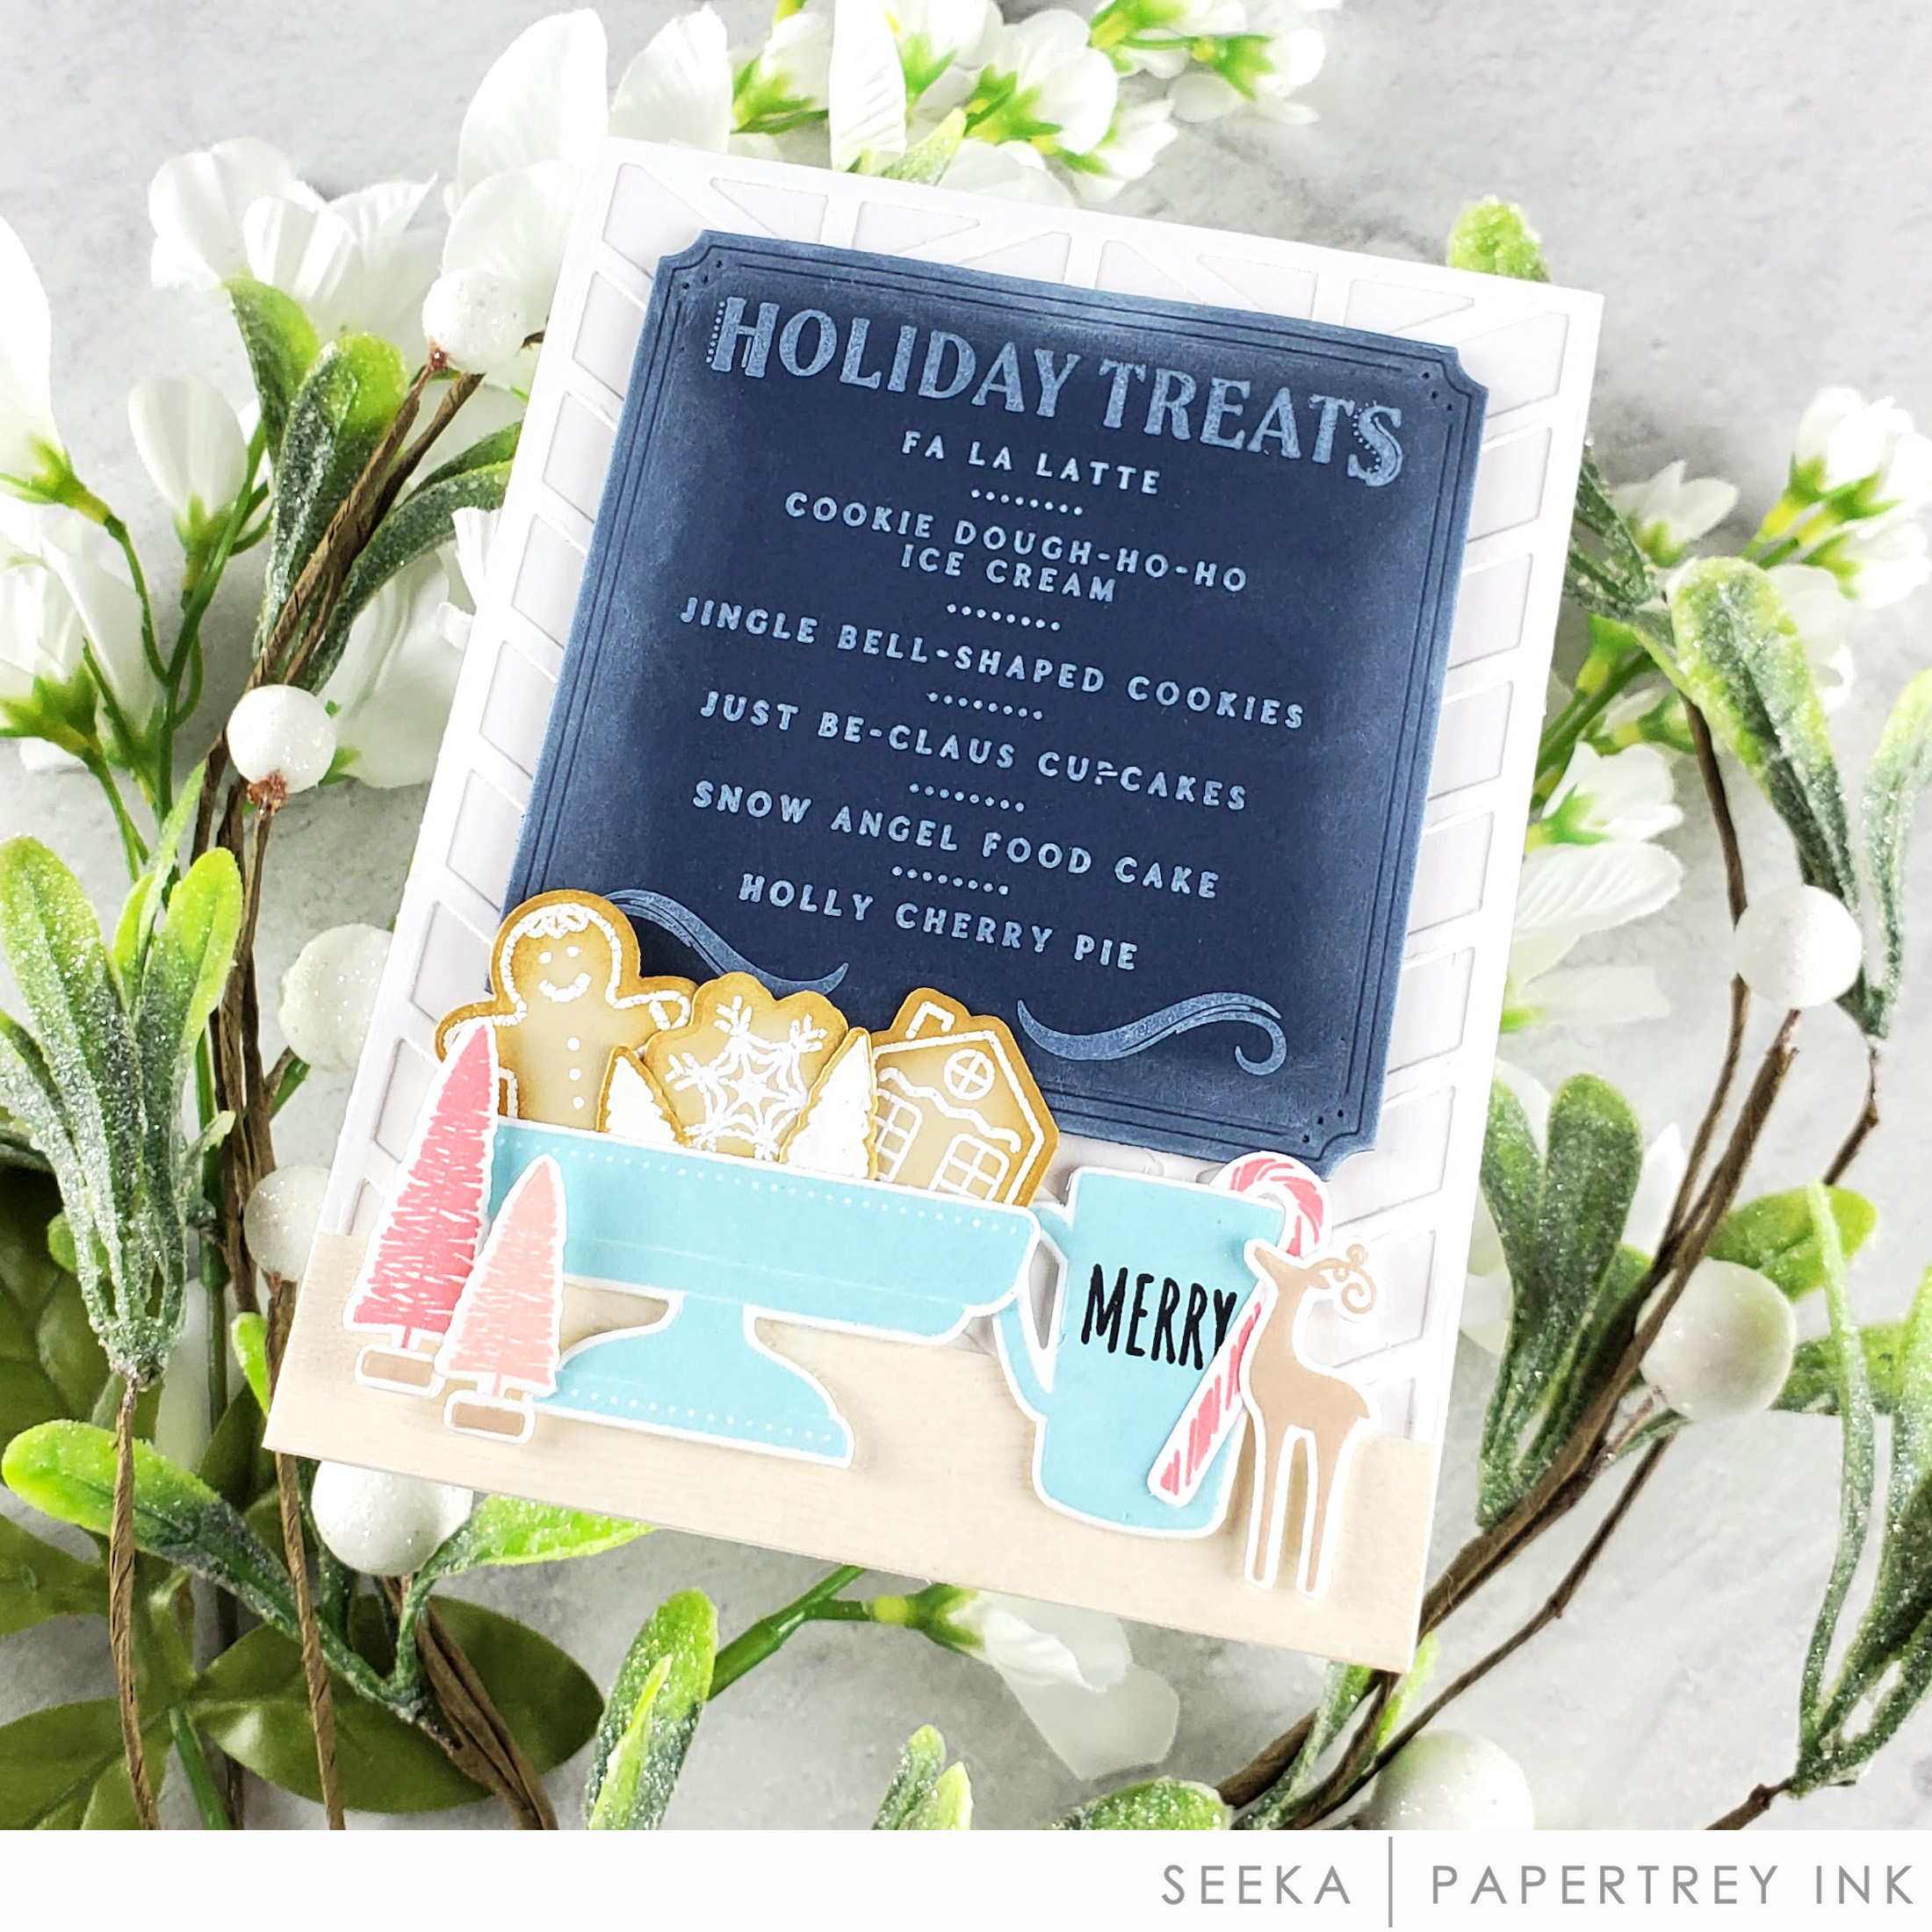
Our sweet Gingerbread Bakery comes complete with a glass covered cake plate that is the perfect place to store and display your sweet treats. Also, a rolling pin, corner flourishes, a darling and tasty menu, tiny bottlebrush trees, a gingerbread man, house, snowflake, and more!
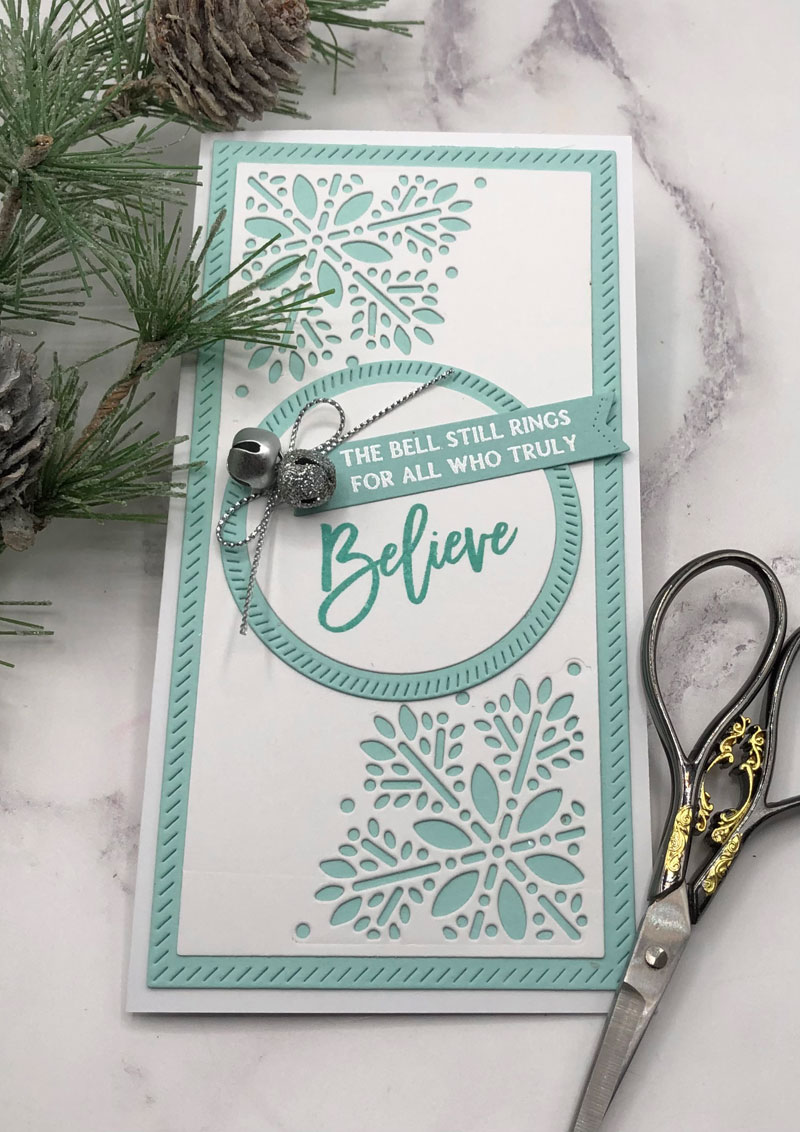
I used the lovely Fanciful Snowflakes Background Hot Foil Plate to create a soft background on my card. I began with Sweet Blush cardstock and foiled with pink foil. I love the tone on tone look and feel and thought it would be perfect for my bakery.
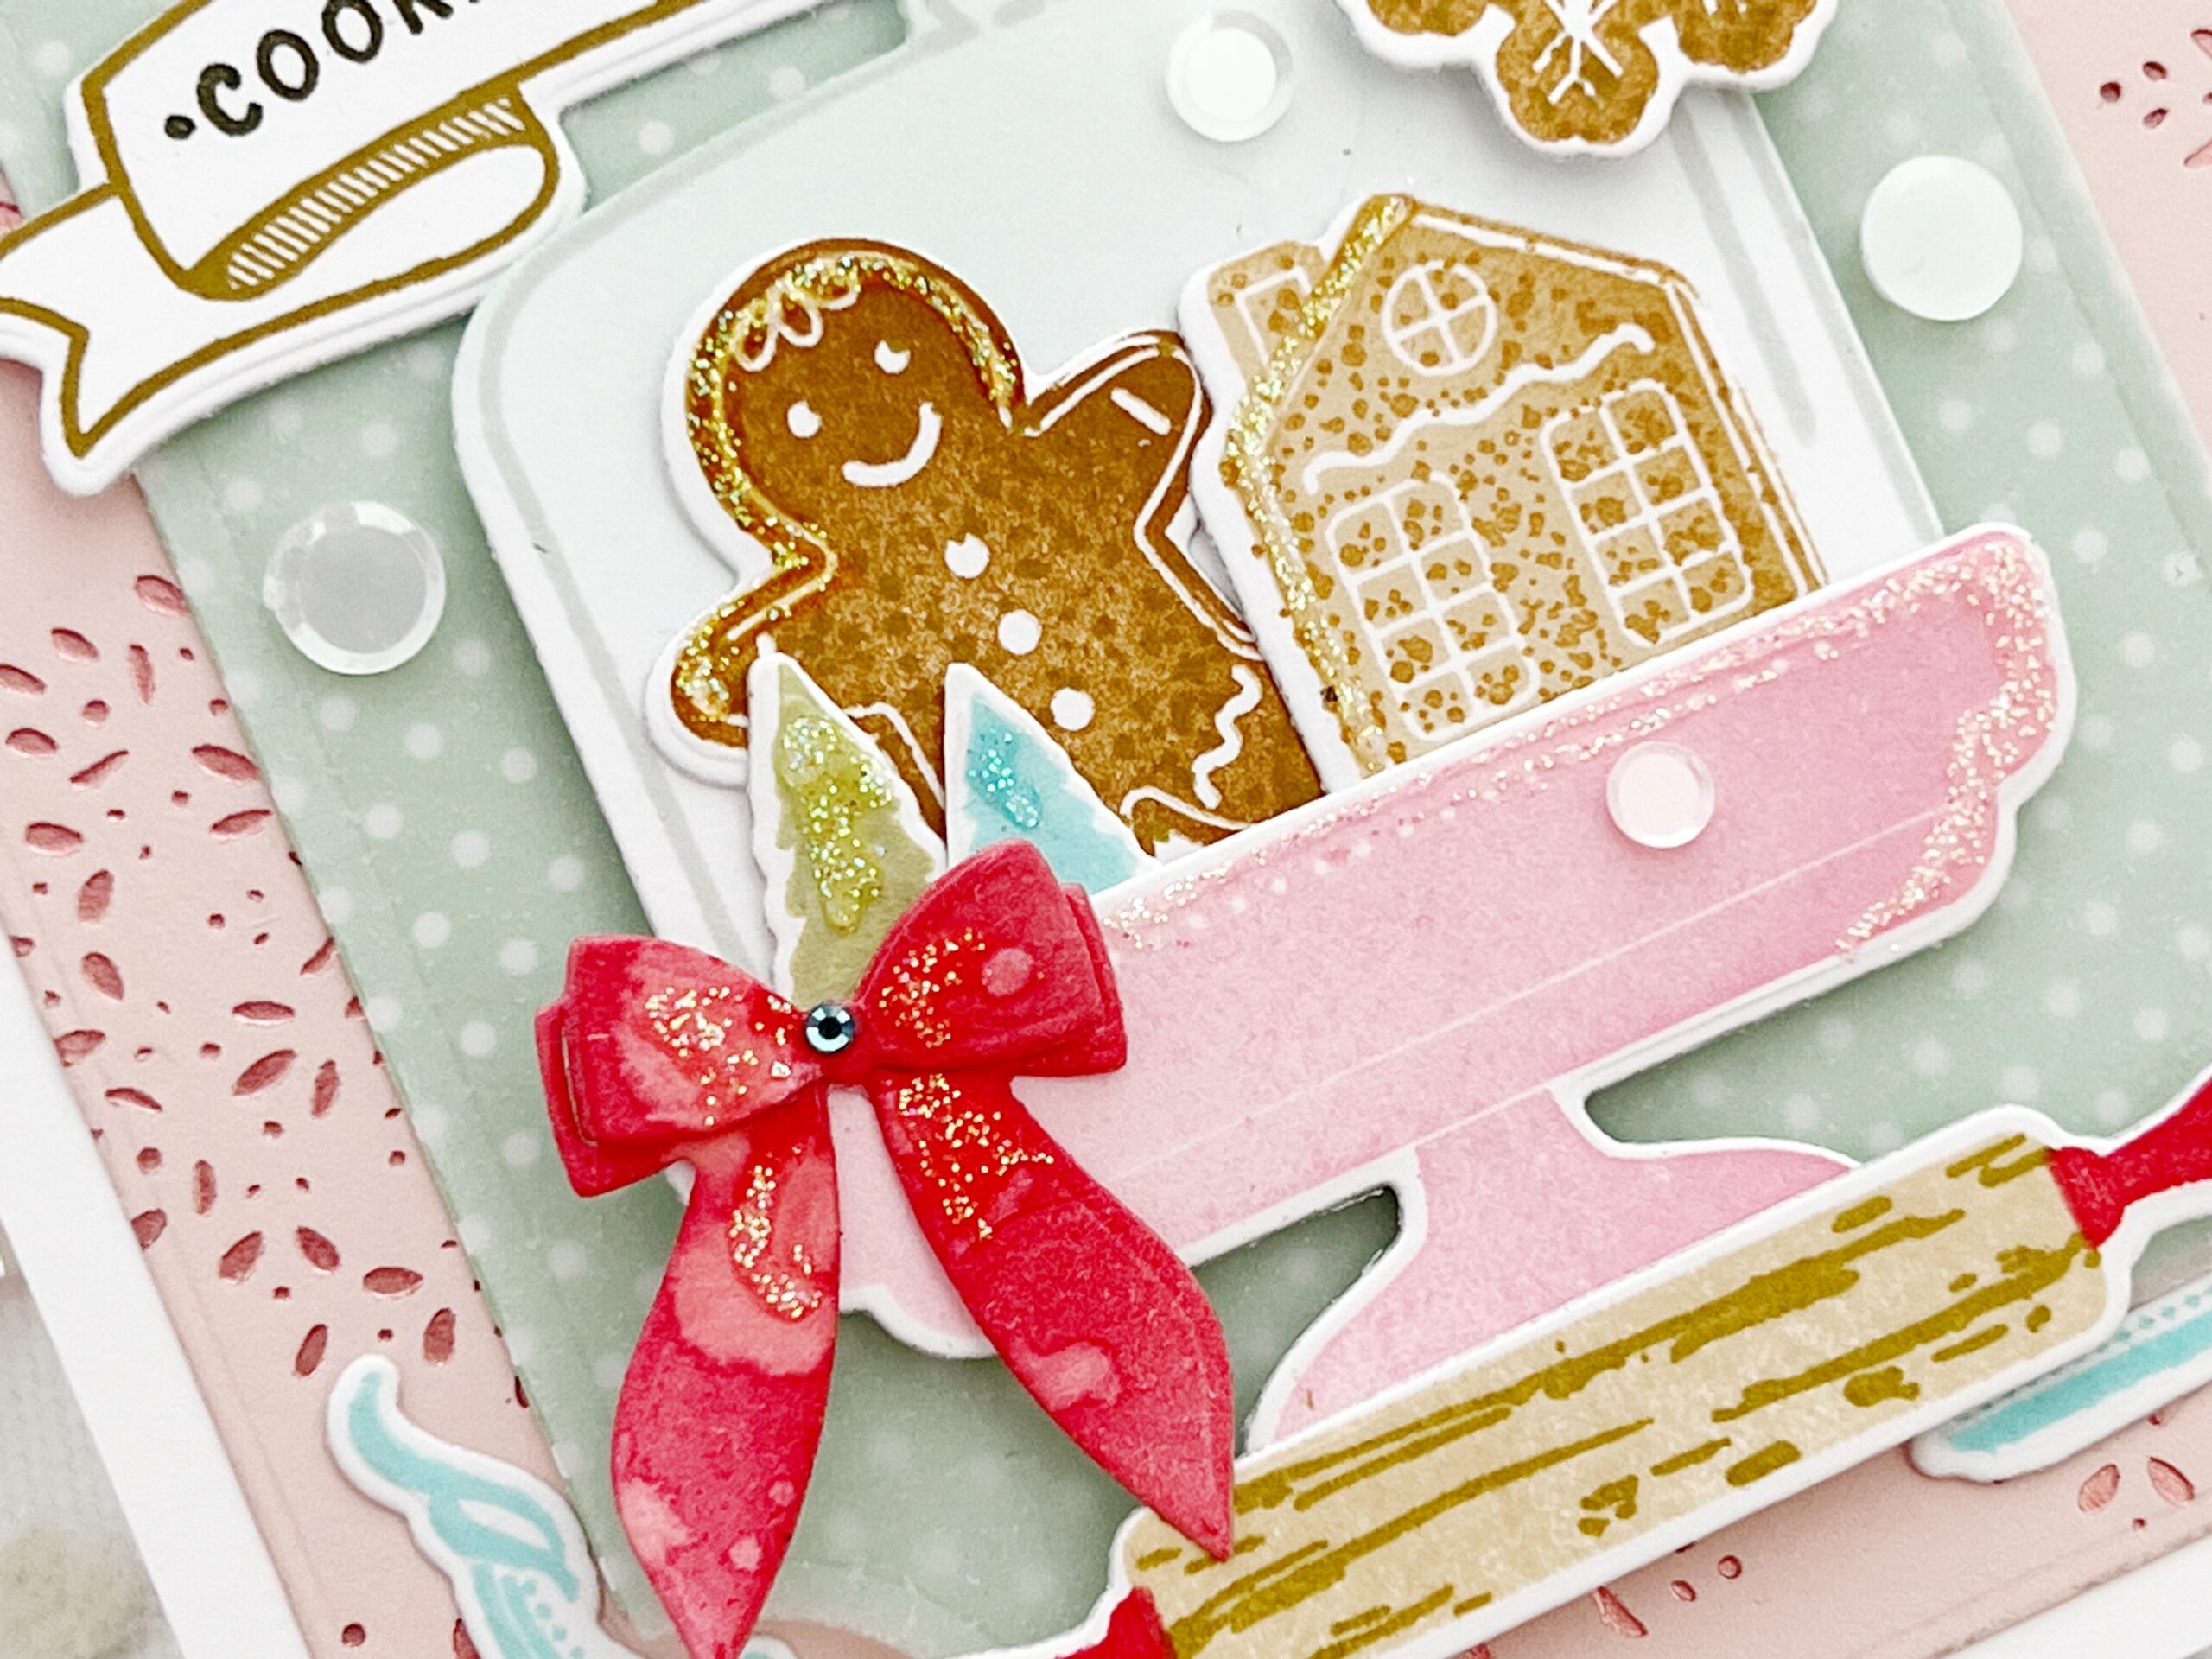
You’ll love the delightful four-step gingerbread images in this set. Stamp your outline, your solid image, frosting, and then speckles….I adore the speckles…they bring these cookies to life! Create a gingerbread bakery menu or let your cake plate and cookies be your focal point. However you choose to use this darling set will be sure to please the recipient.
Just wait until you see what our designers have done with this set…jaw dropping!
Supplies Used:
STAMPS: Gingerbread Bakery
INK: Saffron Spice, Hibiscus Burst, Pure Poppy, Olive Twist, Fine Linen, Honey Nut, Spring Moss, Aqua Mist, Hawaiian Shores, Soft Stone
PAPER: Stamper’s Select White, Sweet Blush
DIES: Gingerbread Bakery, Love to Layer: Notched, Fanciful Snowflakes Background Hot Foil Plate, Bows Galore
OTHER: patterned paper, Moonshine sequins, Stickles glitter, pink foil


TIPS:
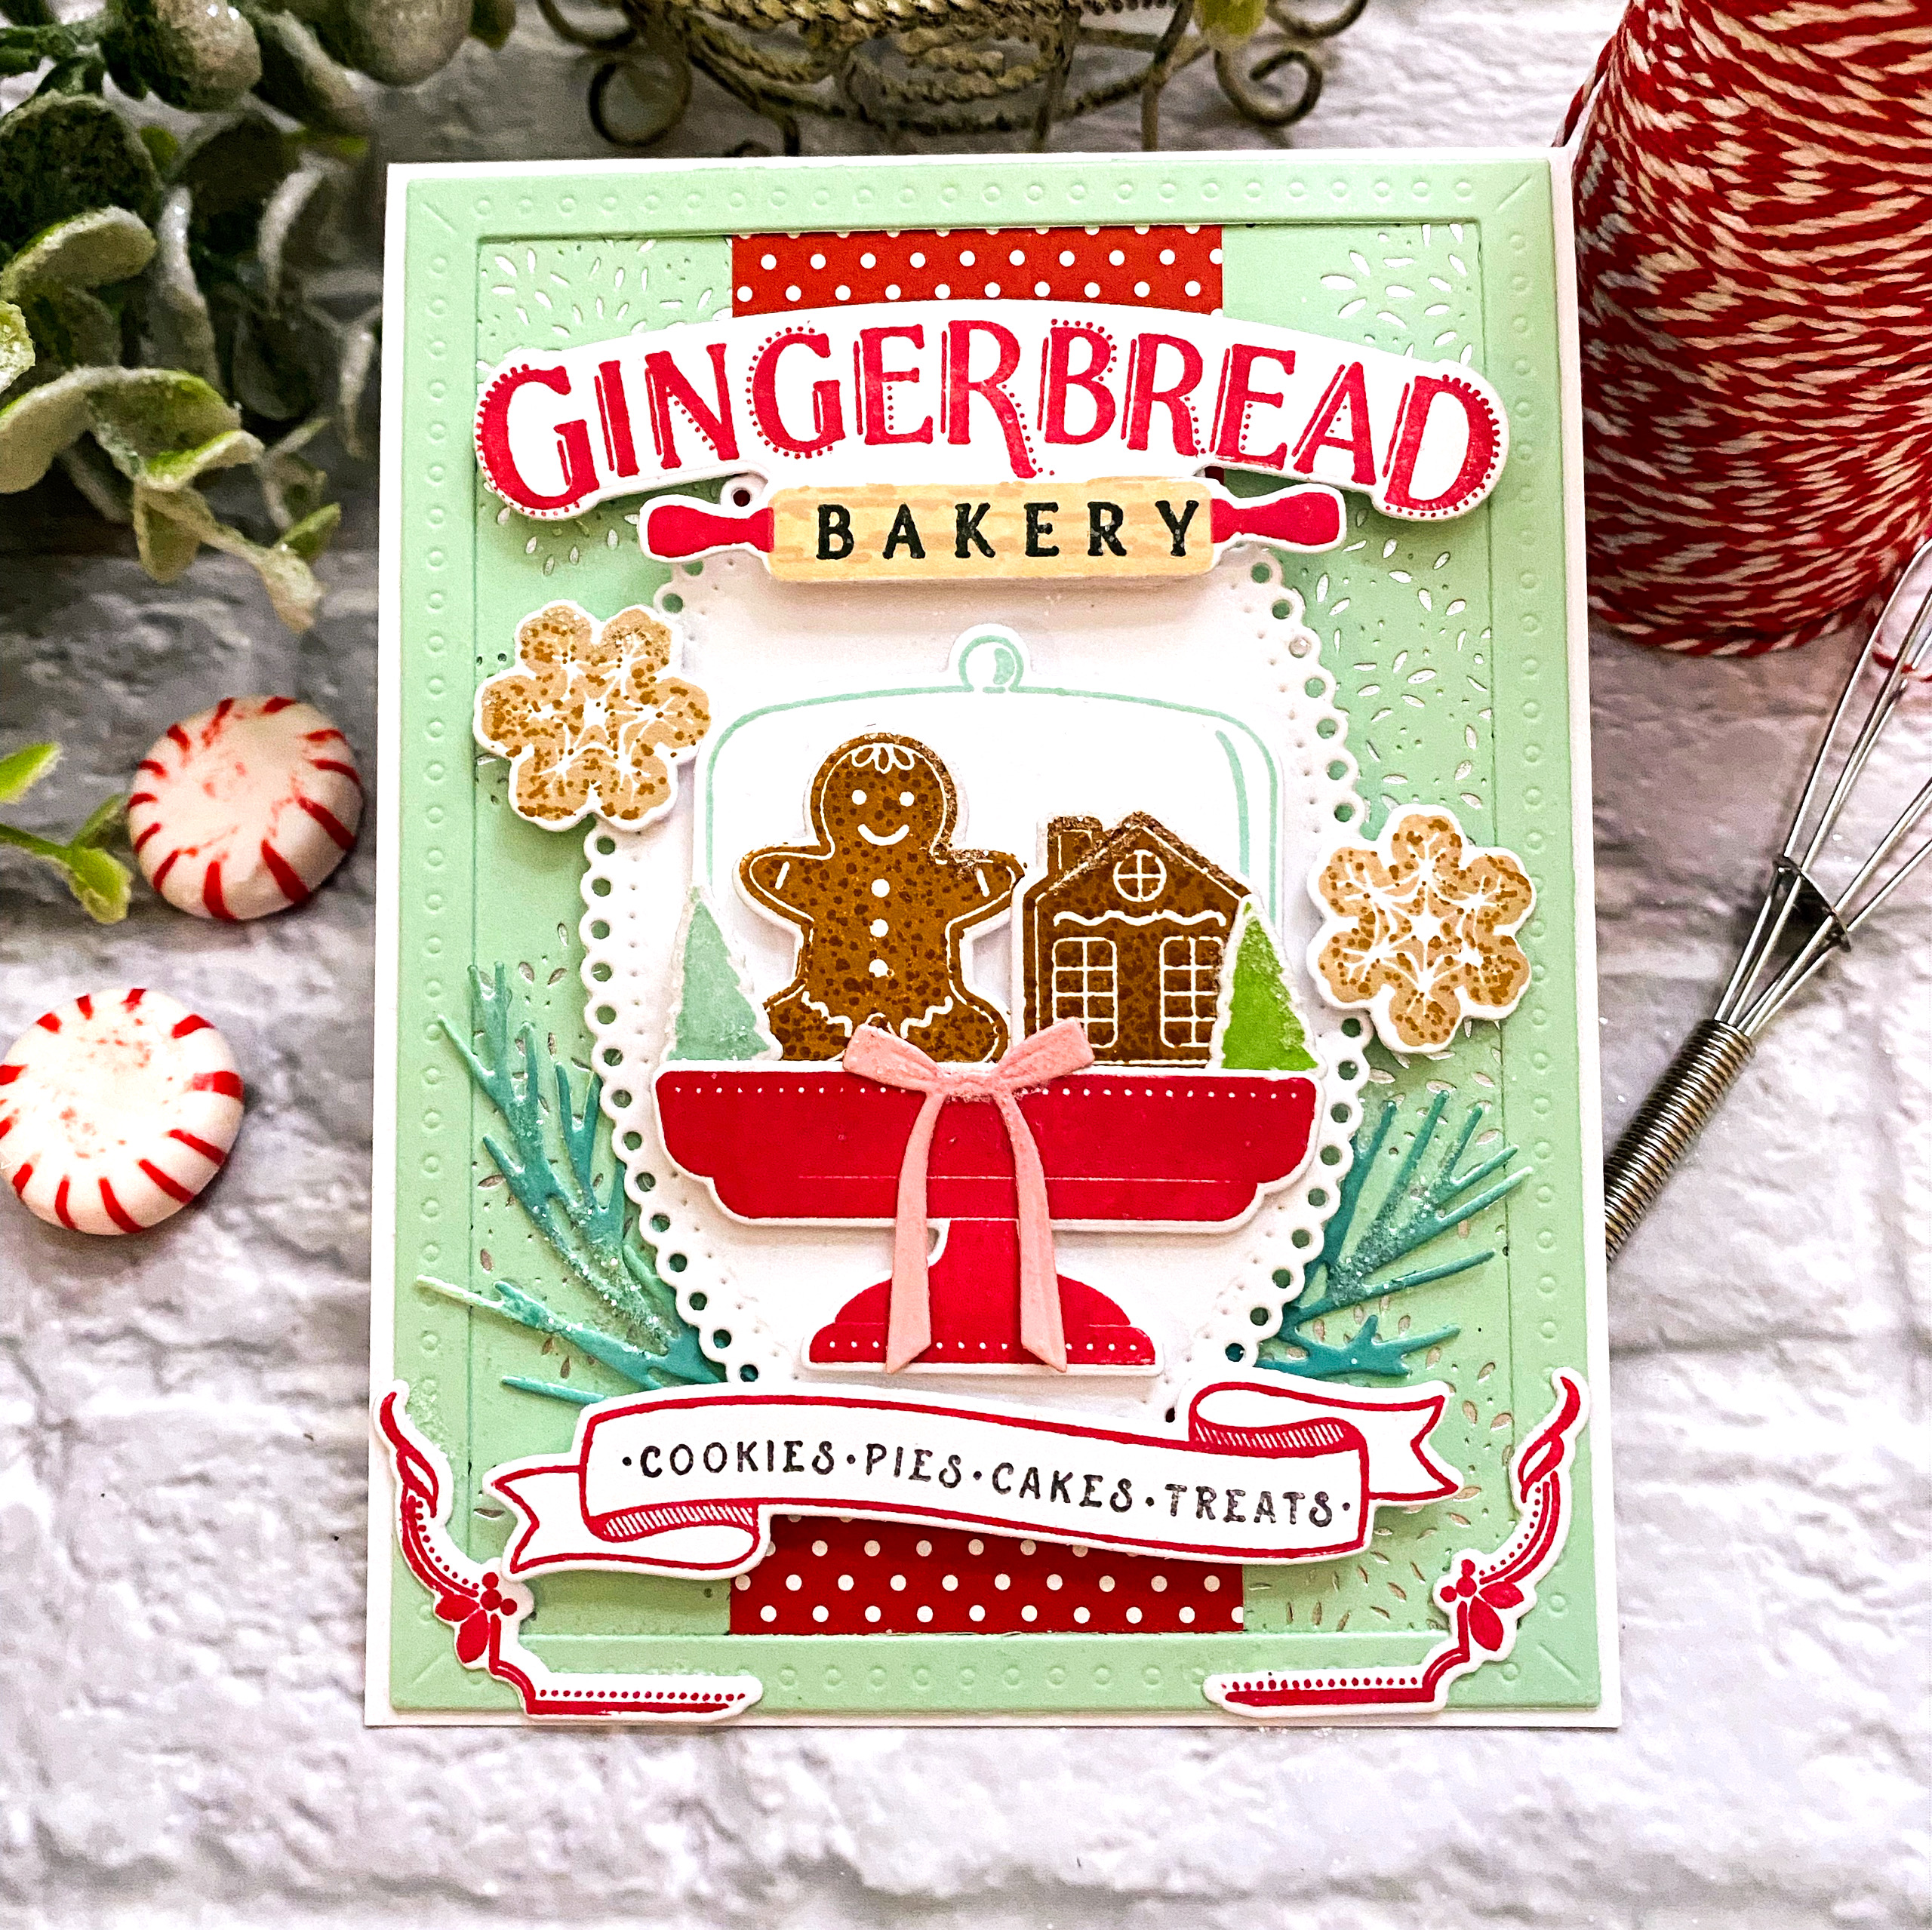
- Add a few pine sprigs for a holiday touch.
- Use a skinny frame die to frame the scene
- Use a pop of pattern paper for a playful look

TIPS:
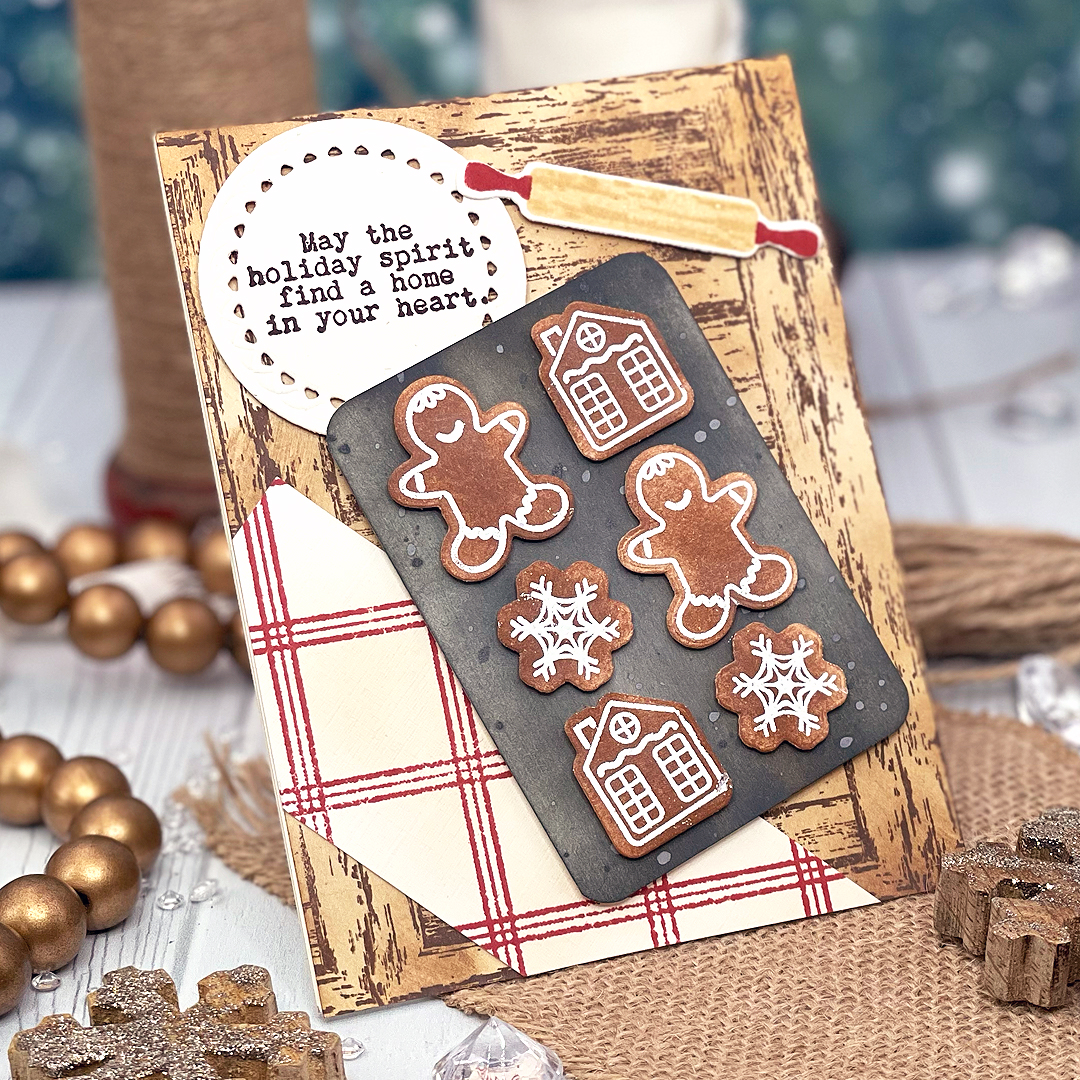
- Use your Holiday House dies to create a gingerbread bakery!
- Add some Honey Nut ink splatter to the Honey Nut cardstock to make it look like a spiced gingerbread cookie!
- Add a generous sprinkling of glitter for a “sweet” finishing touch!
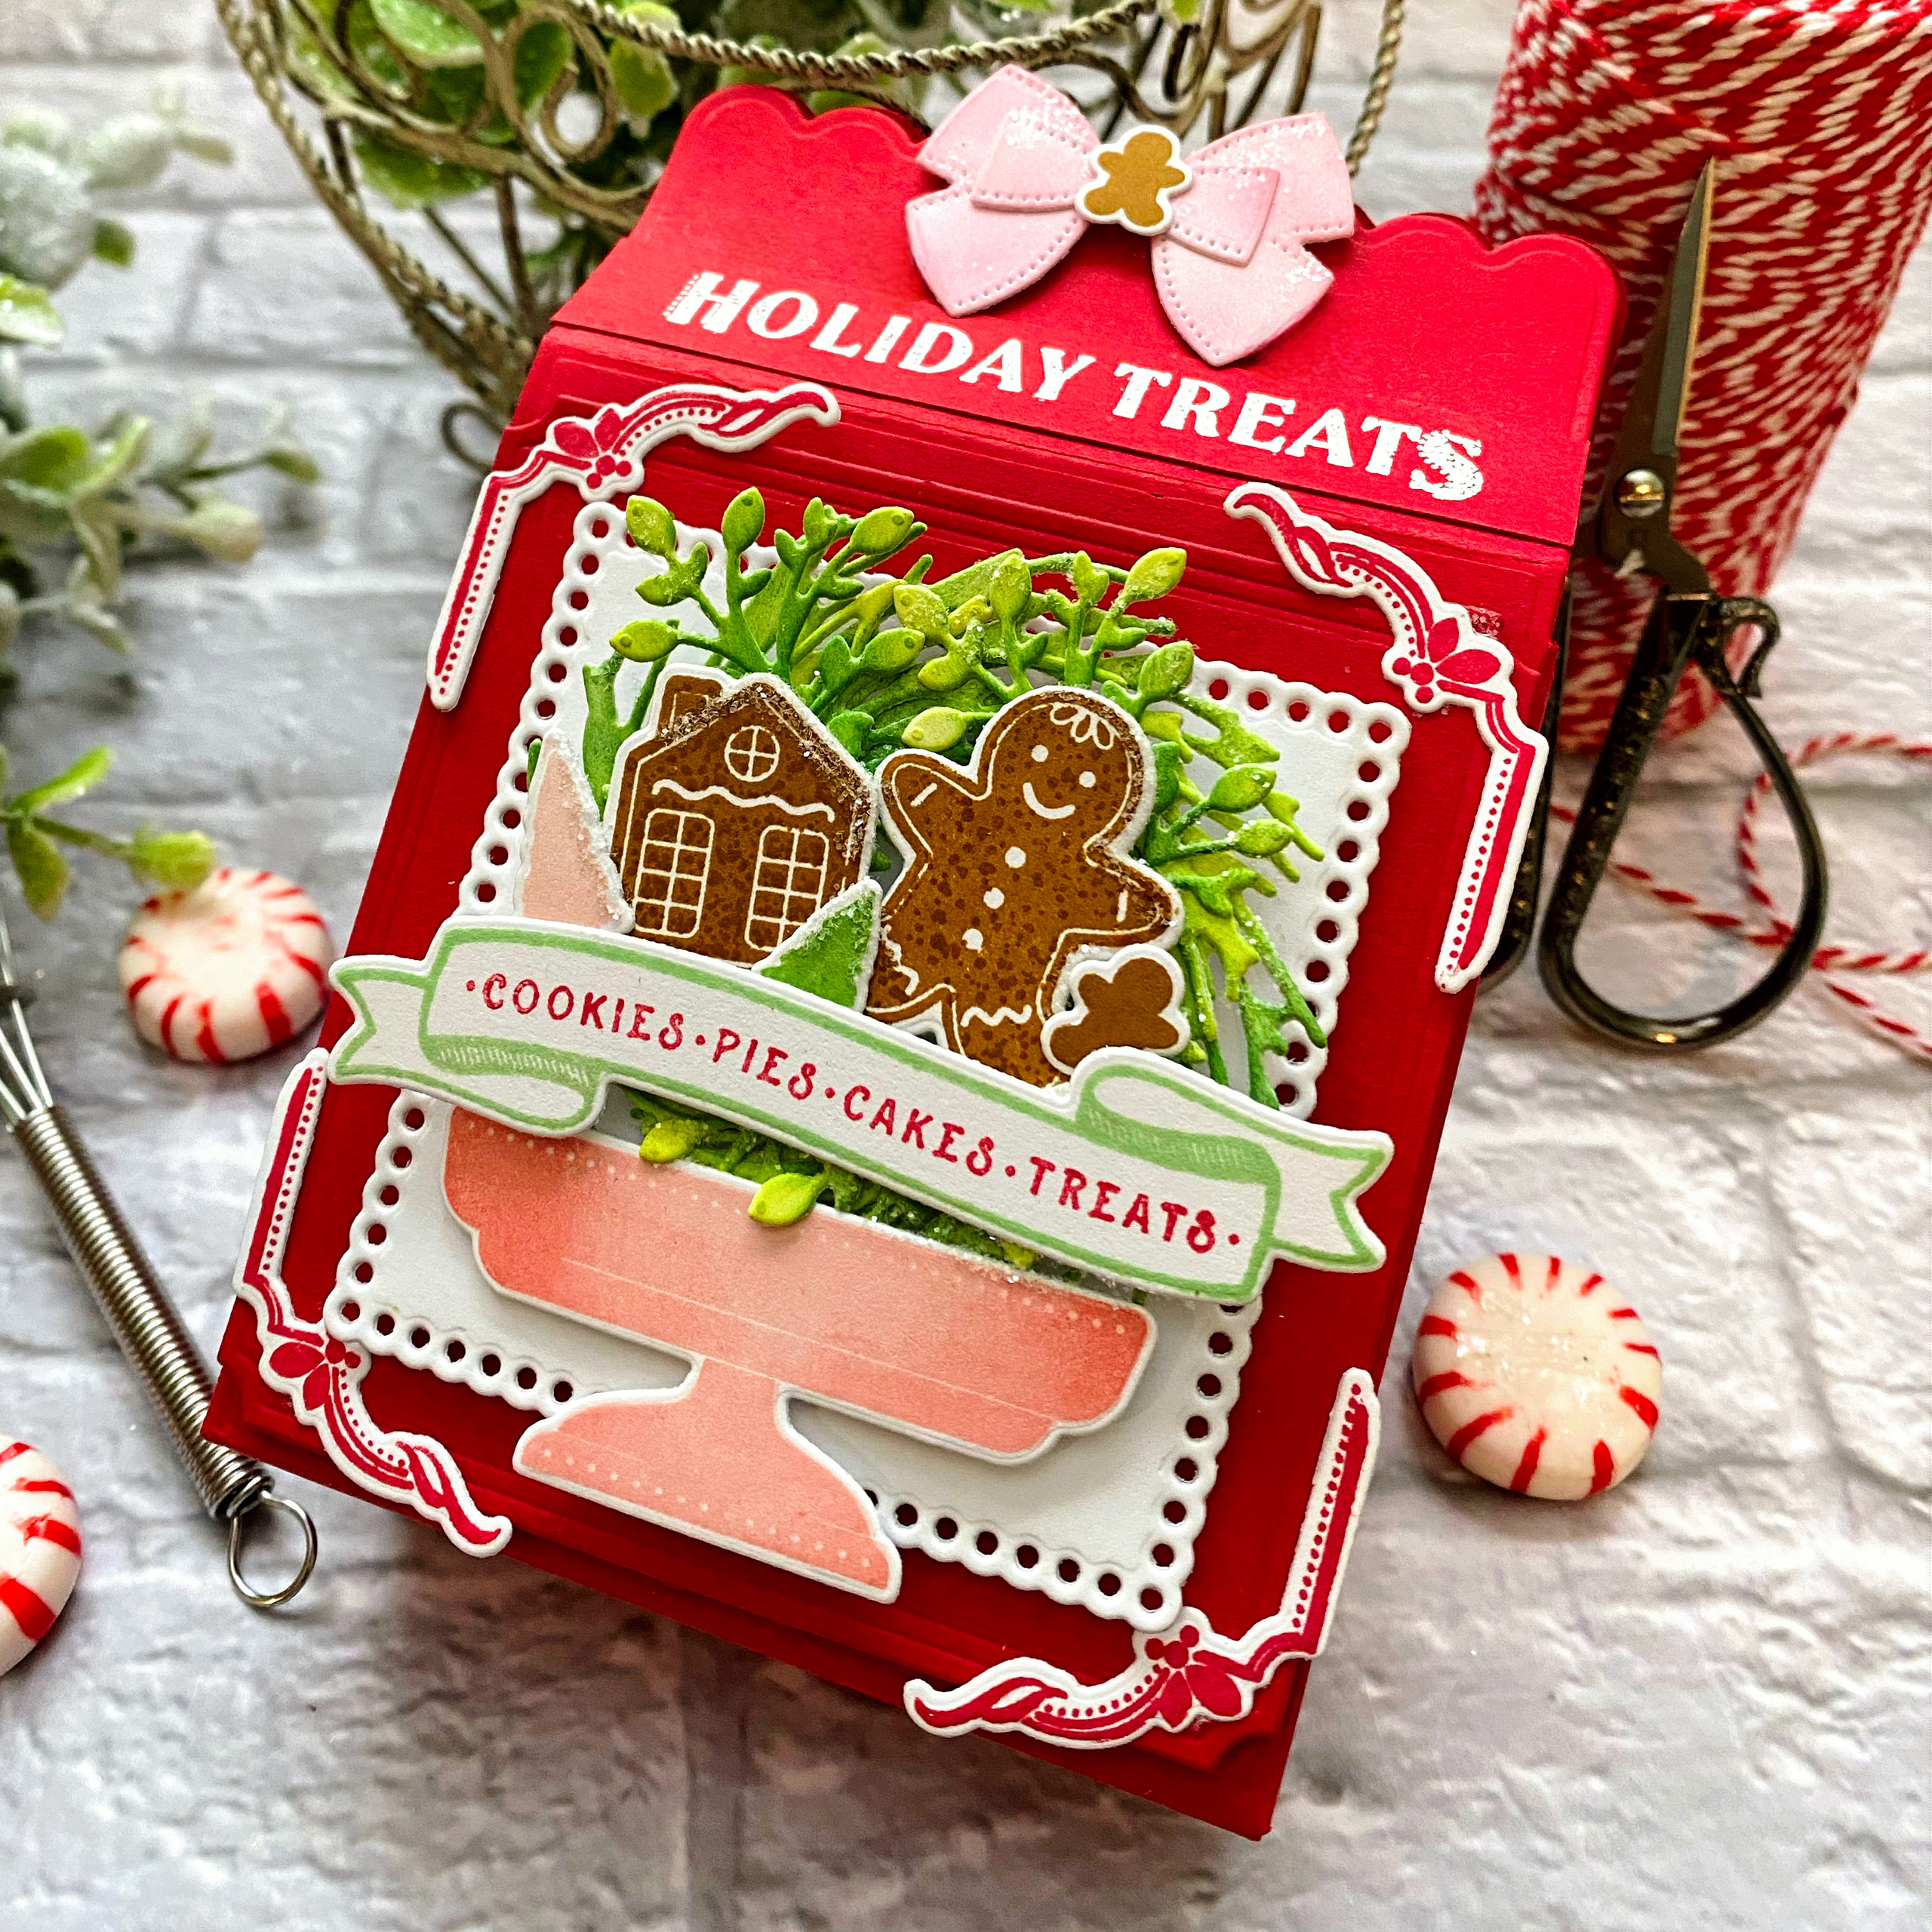
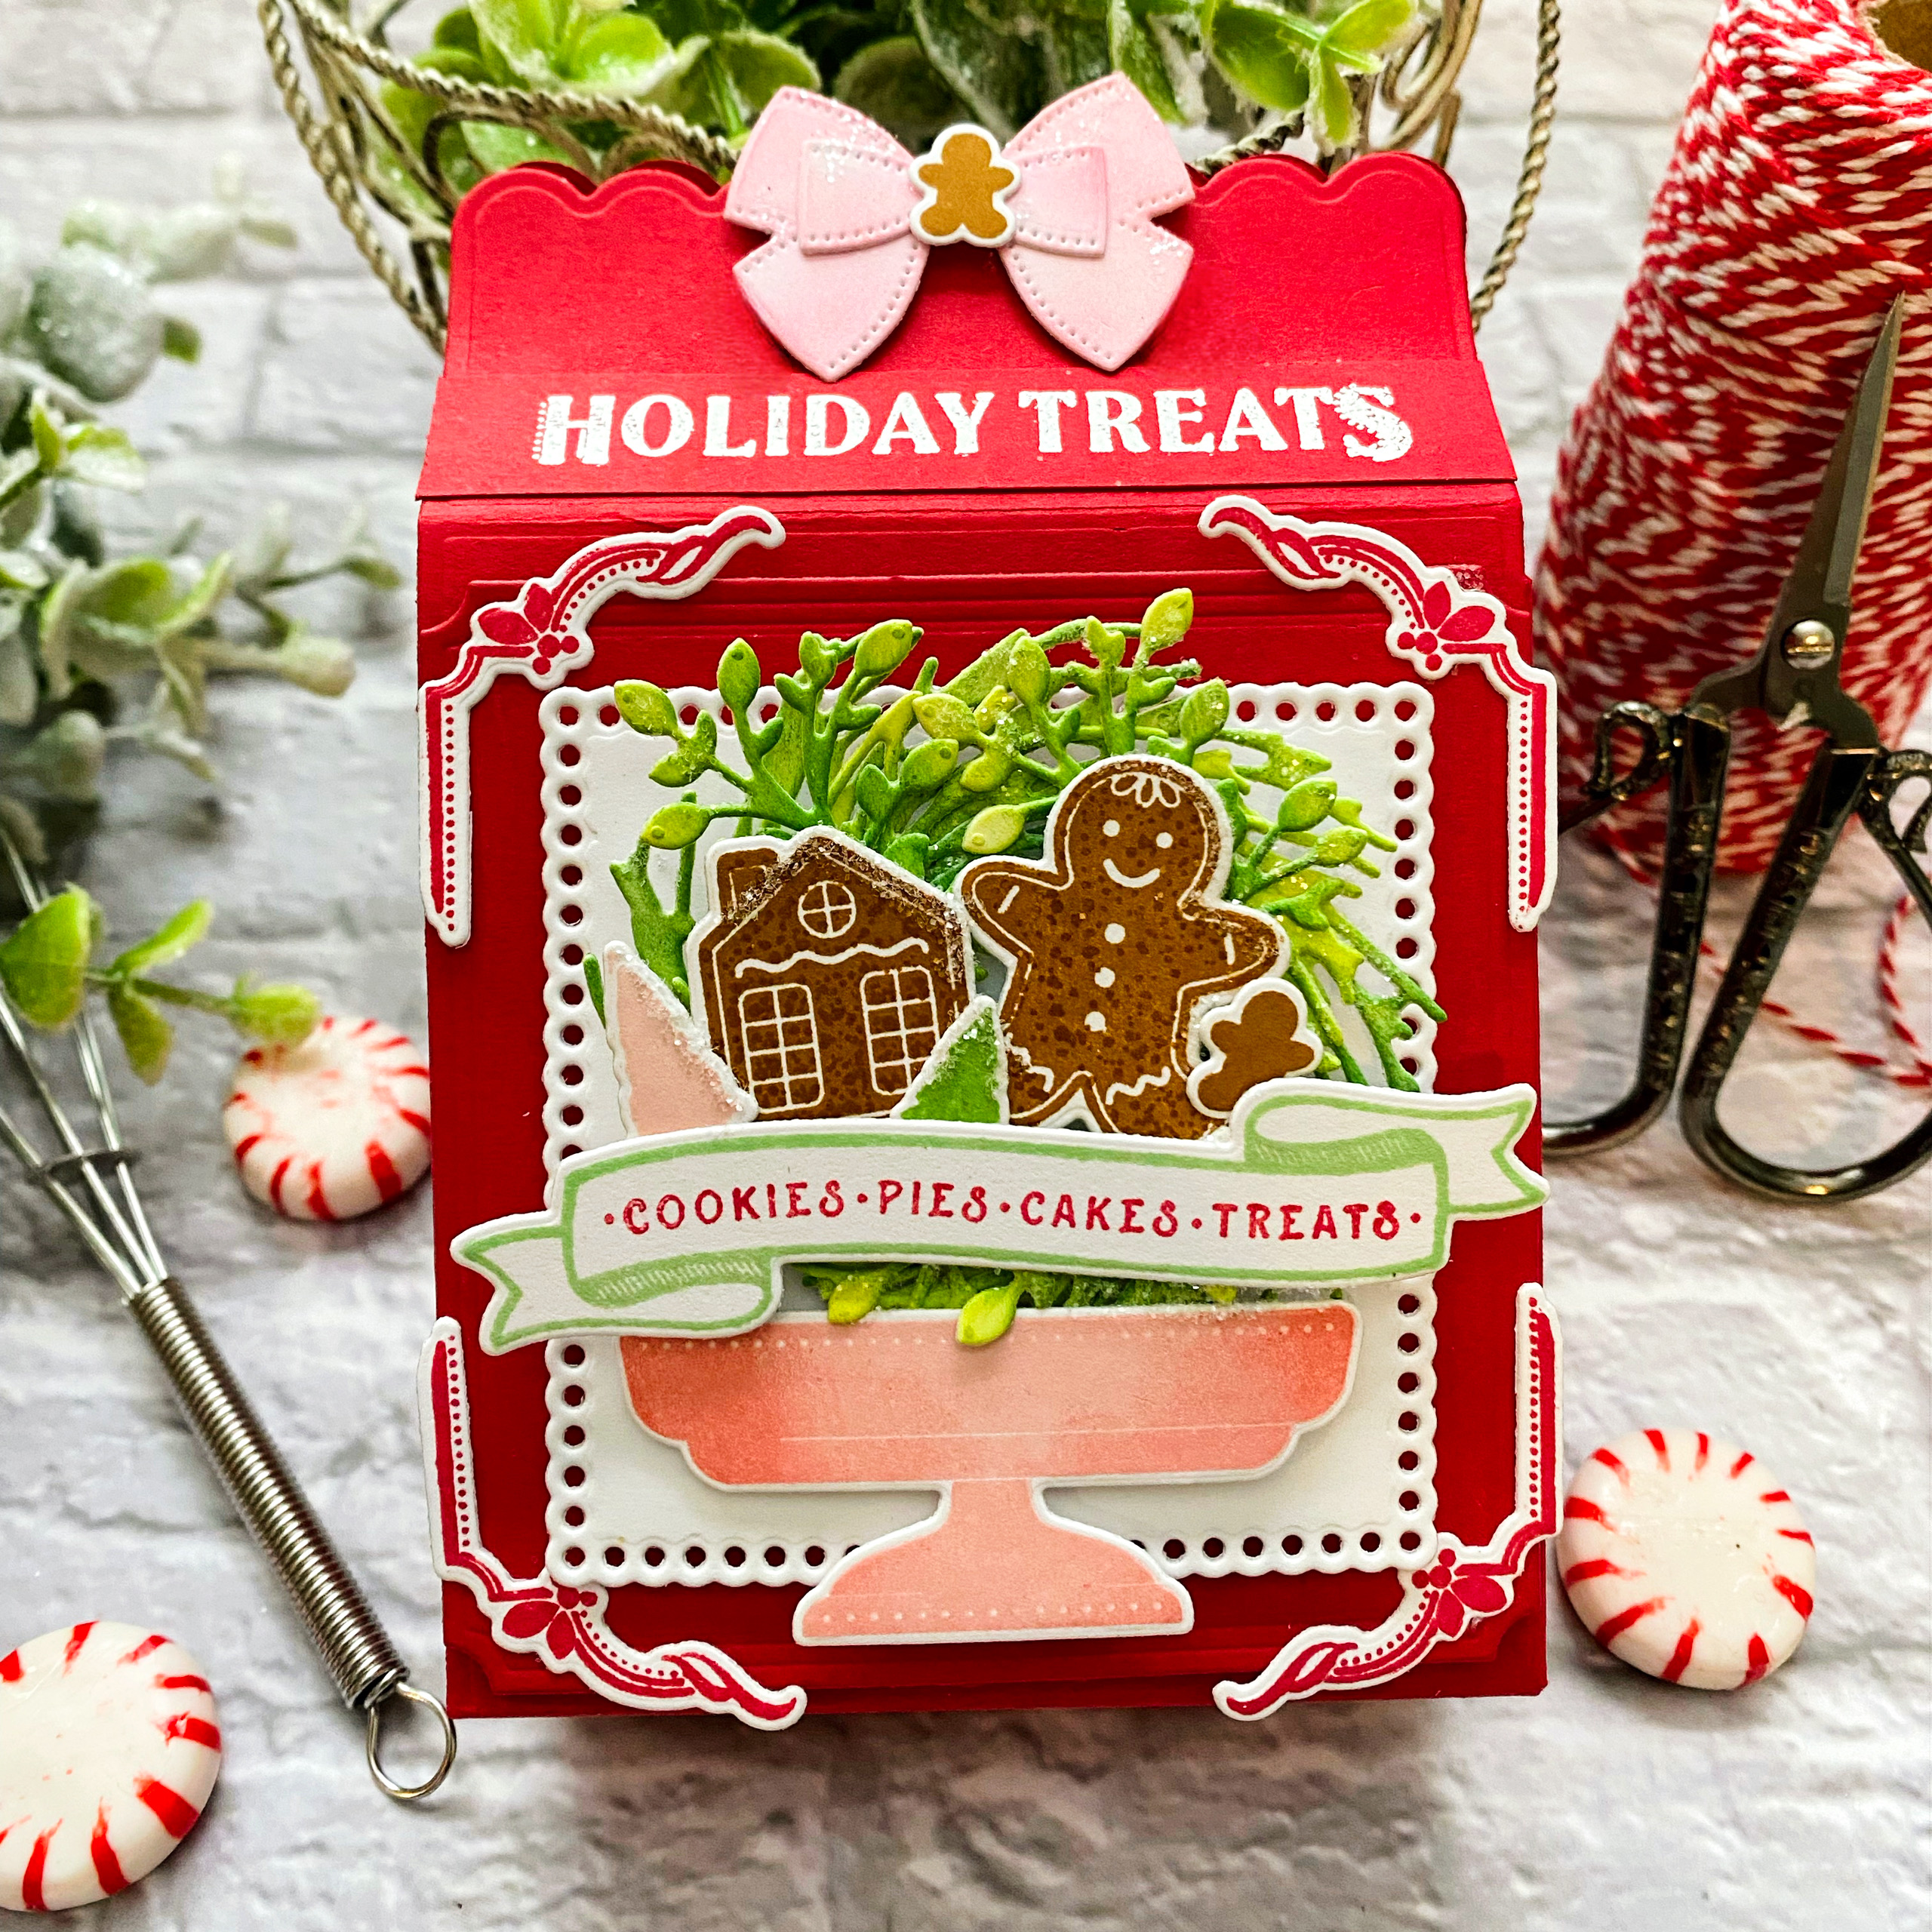
TIPS:
- Use the wreath as a backdrop for the gingerbread confections
- Frame the focal piece with the stamped scrolled images
- Use a Velcro dot to secure the top of the box rather than using a tie or bow
Next up today are the adorable, new Trees of Cheer dies, Spectacular Snowflakes Stencils, and Cornered Snowflakes dies. So much to love and create with and all so unique and special.
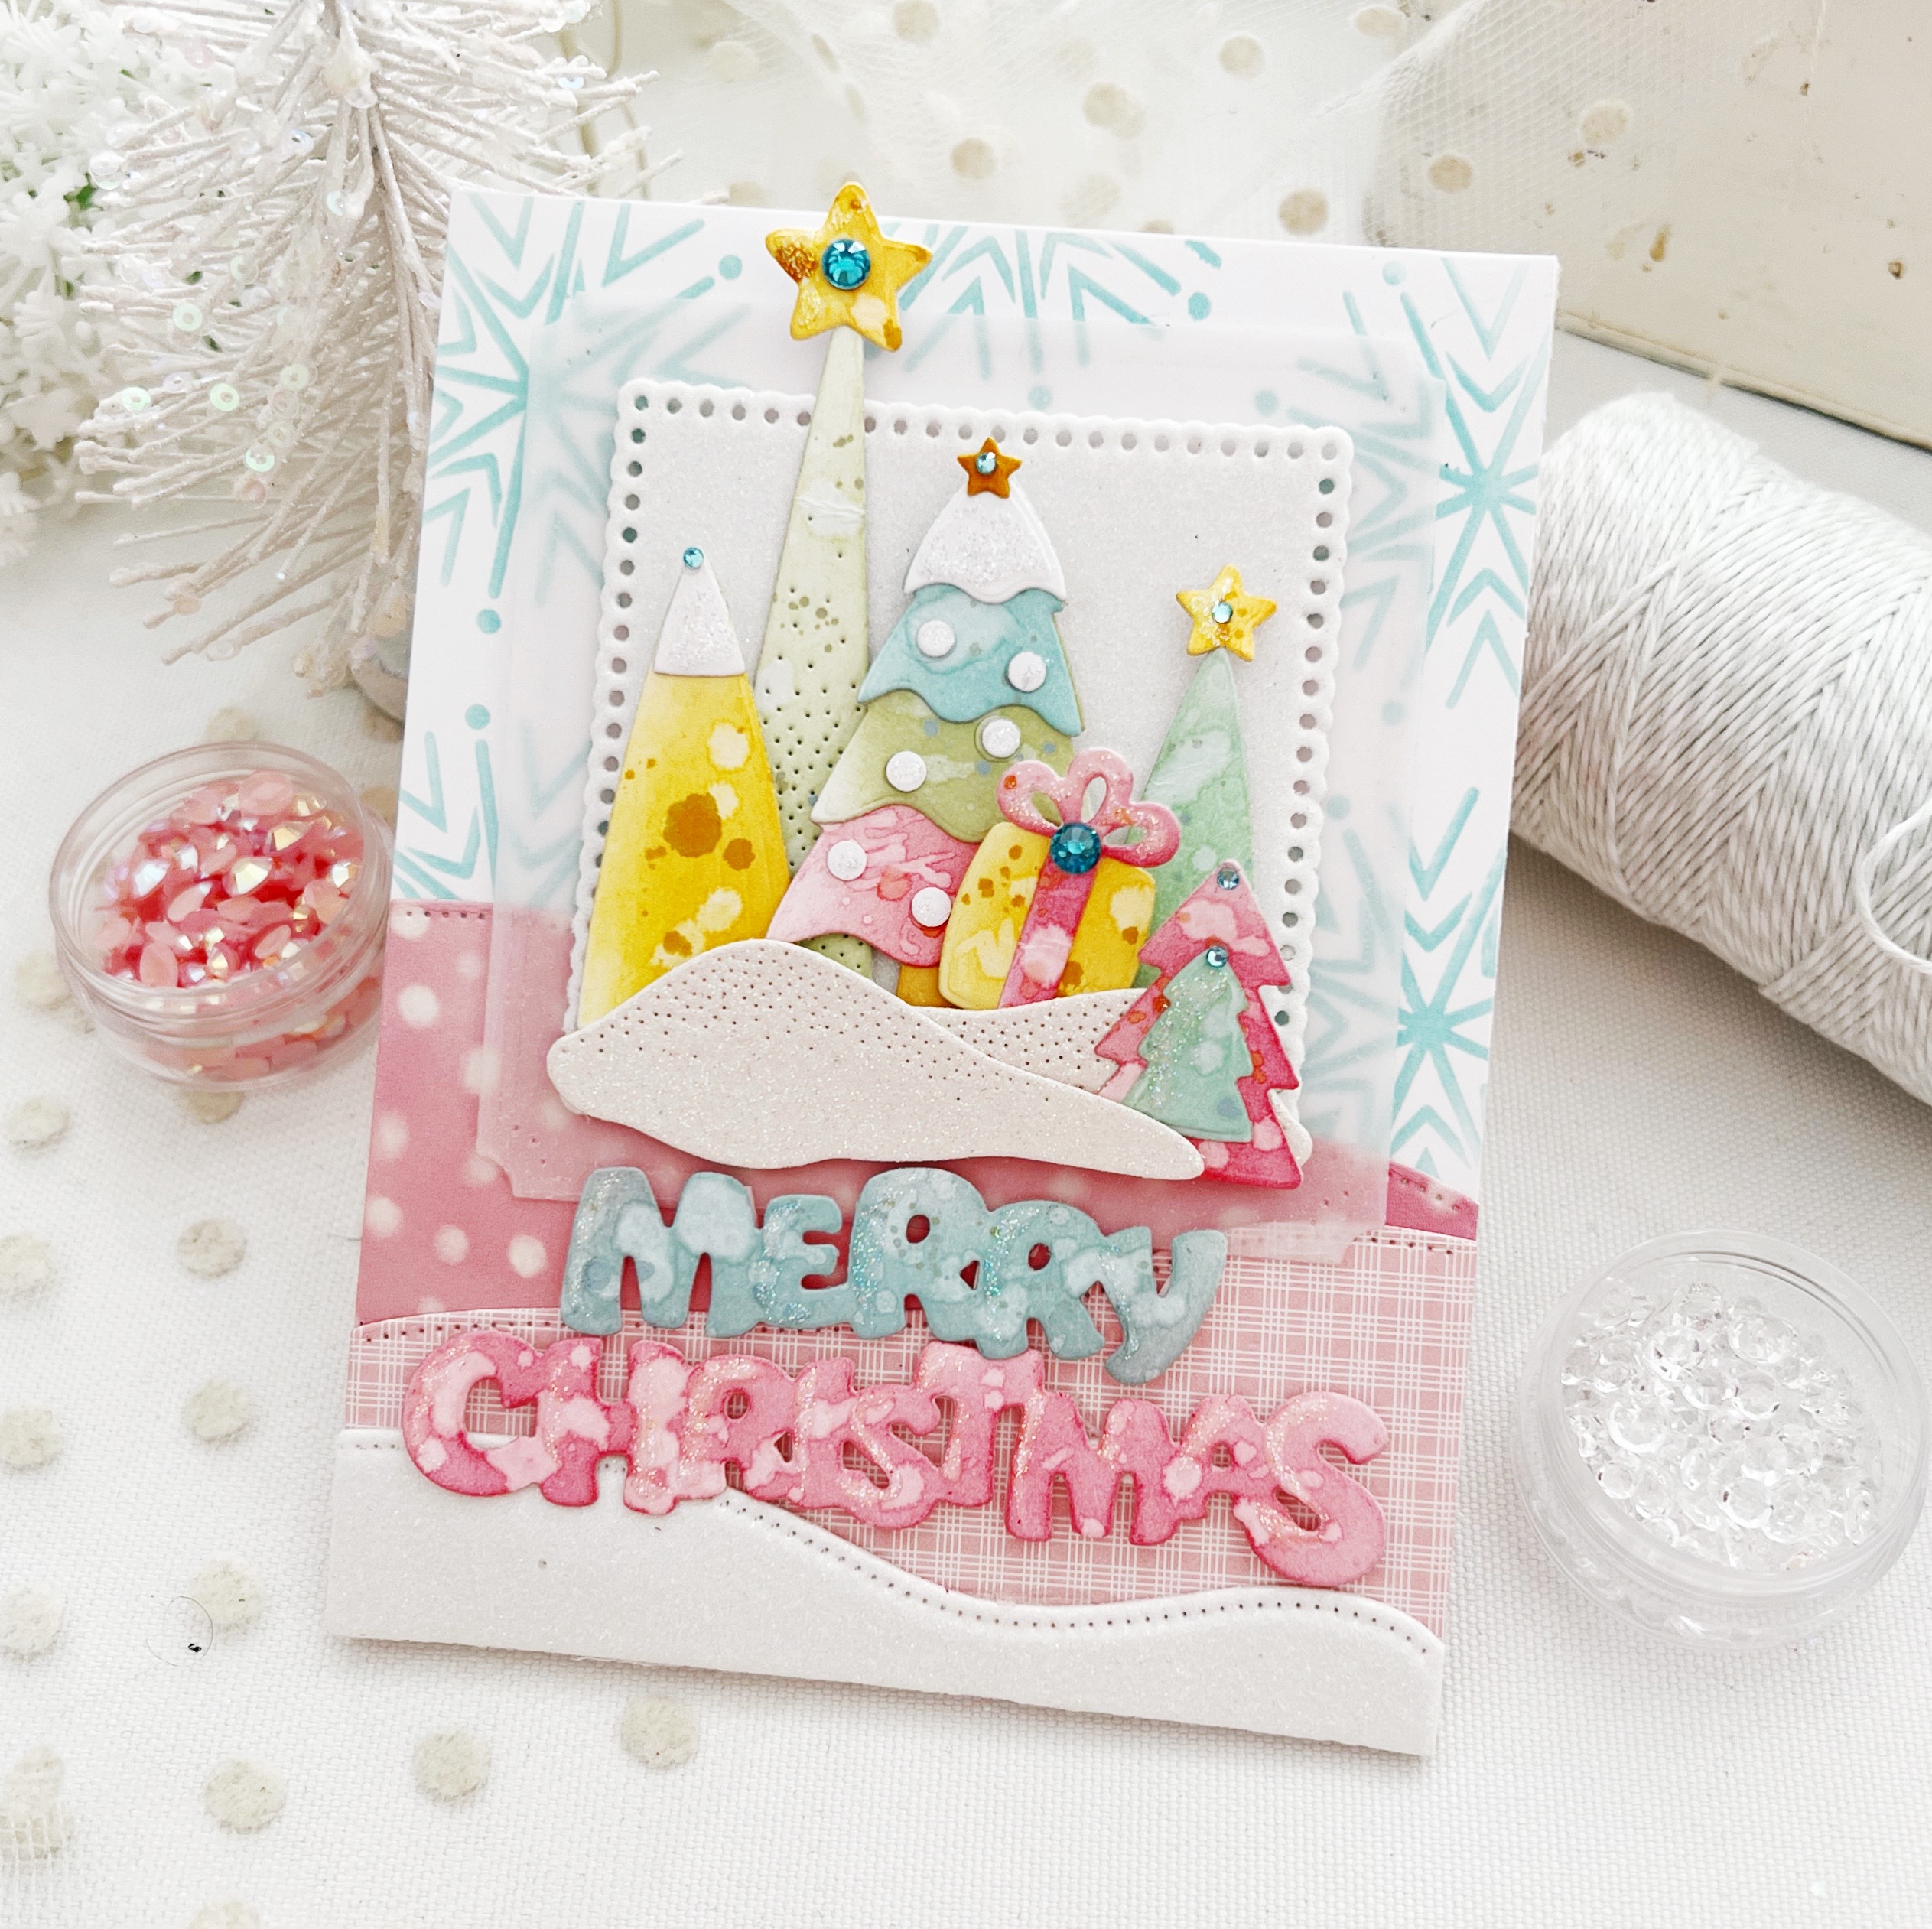
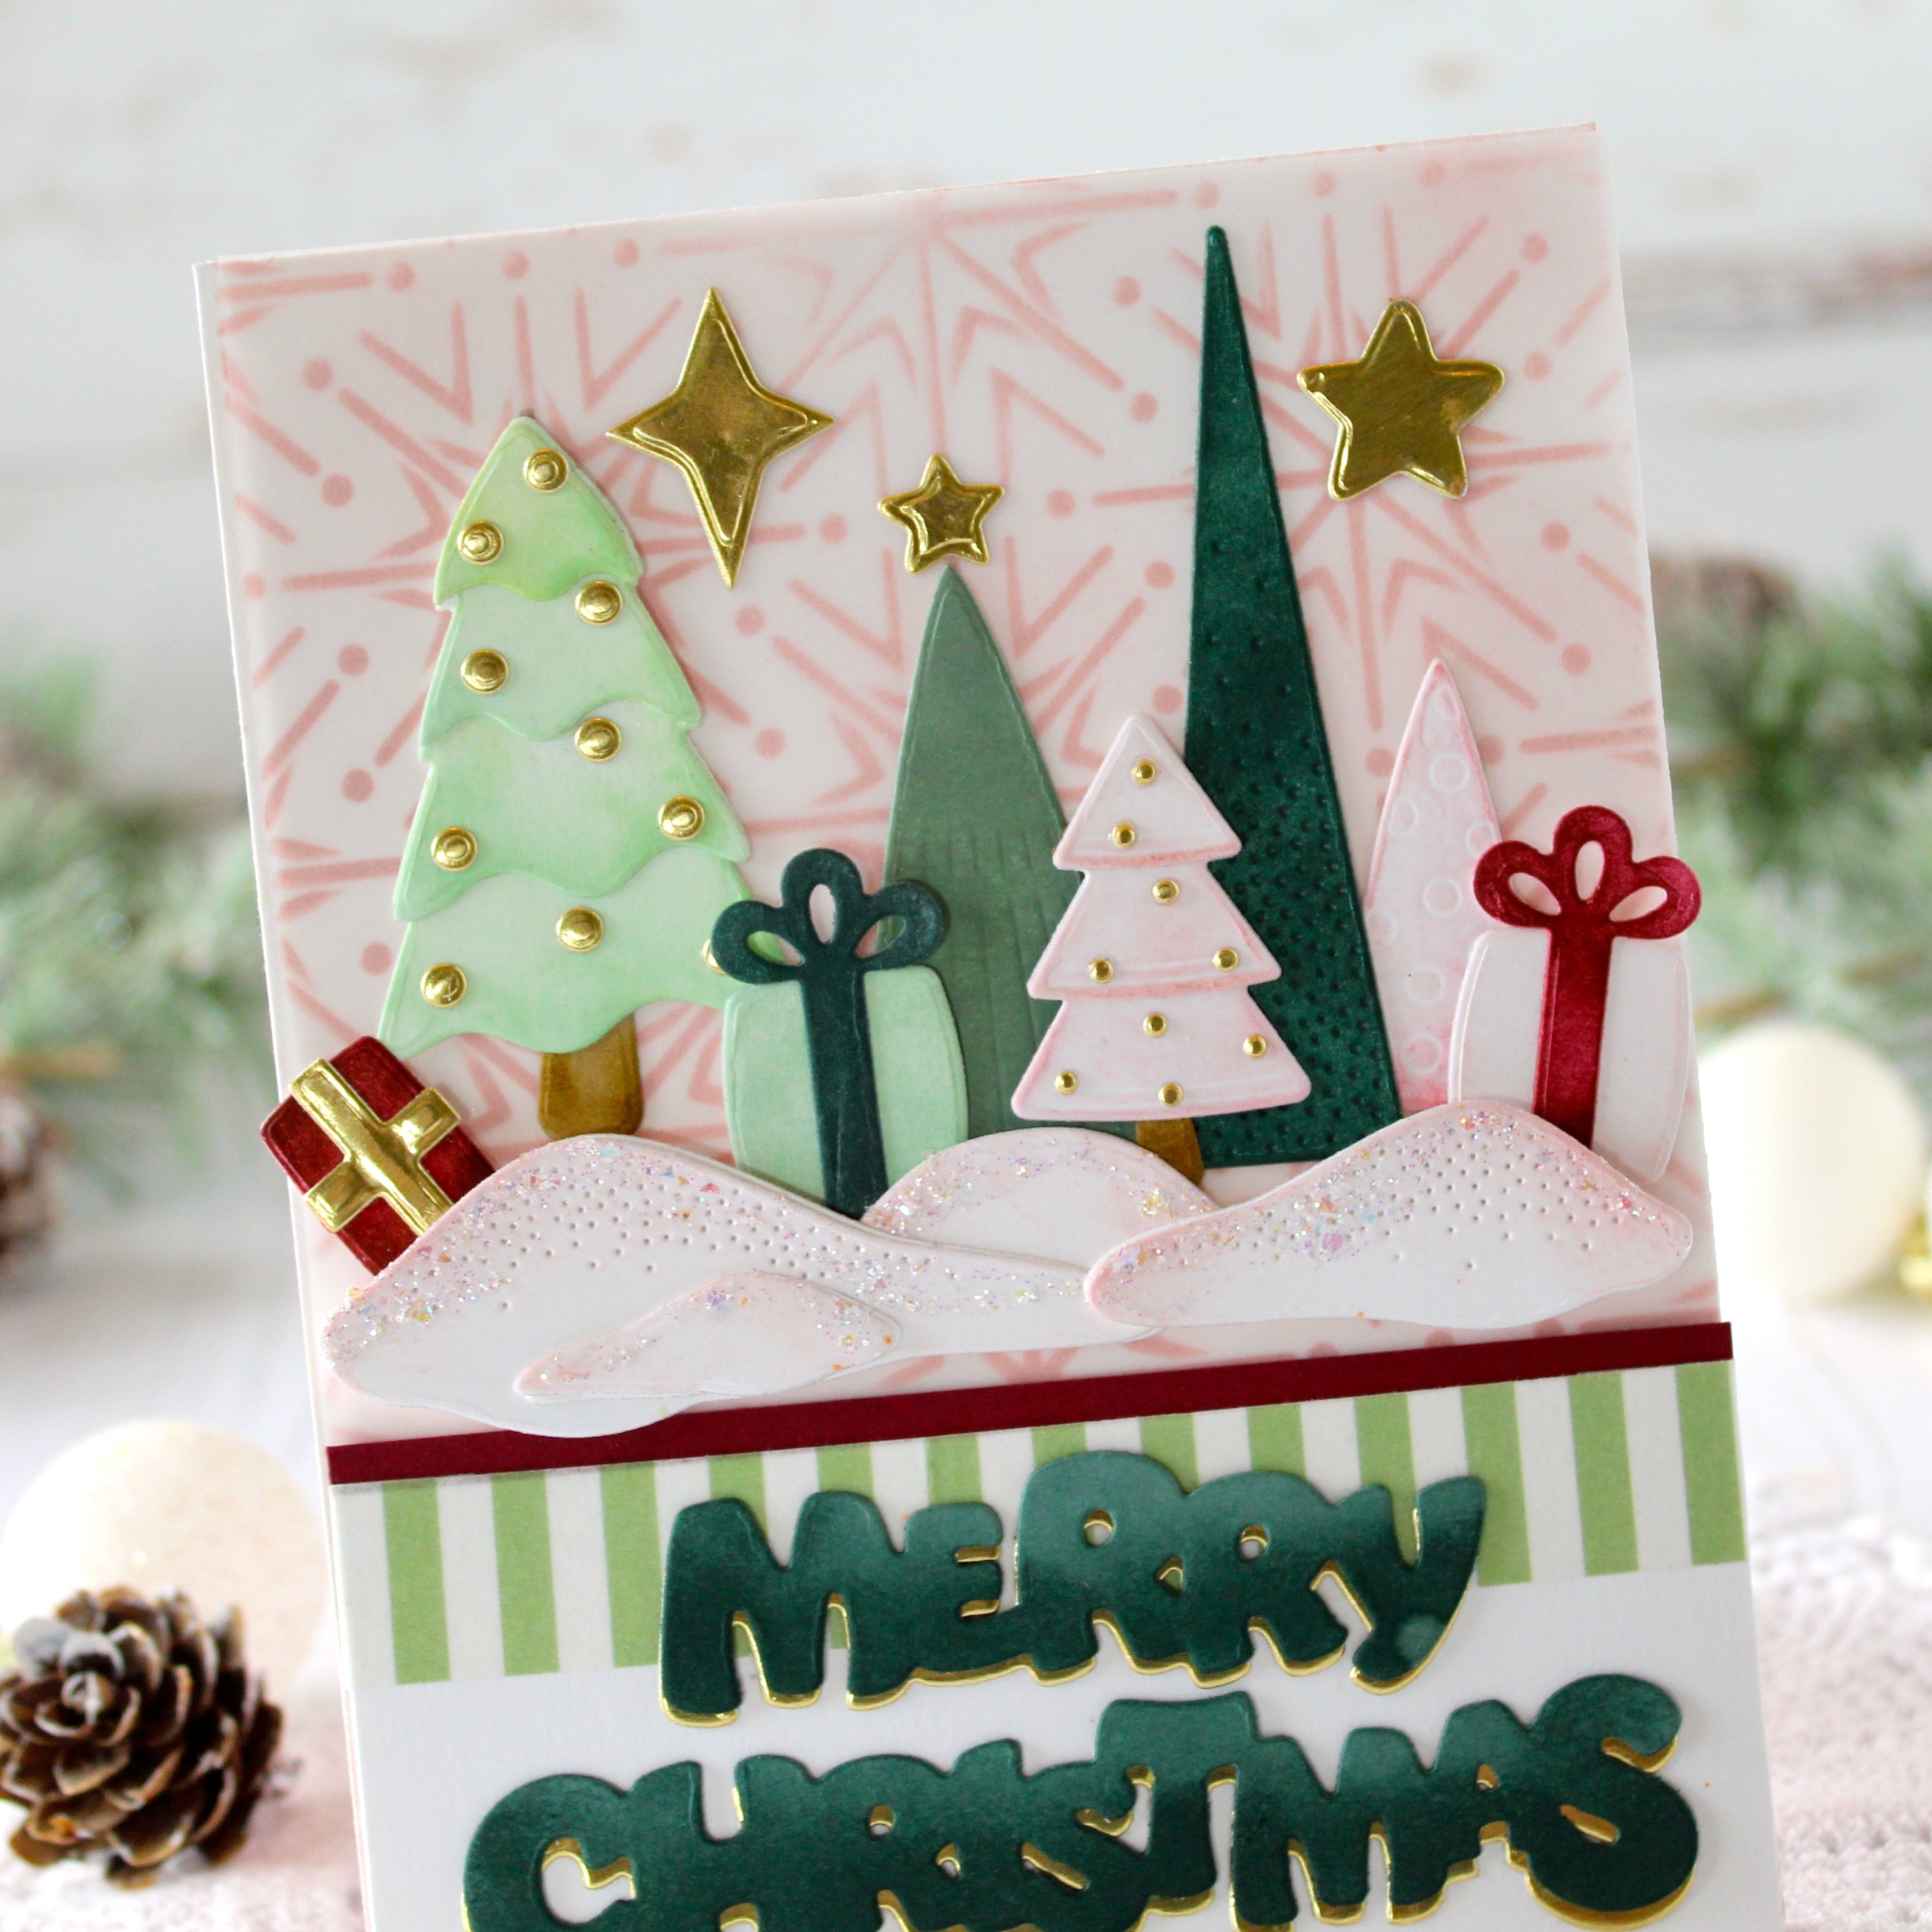
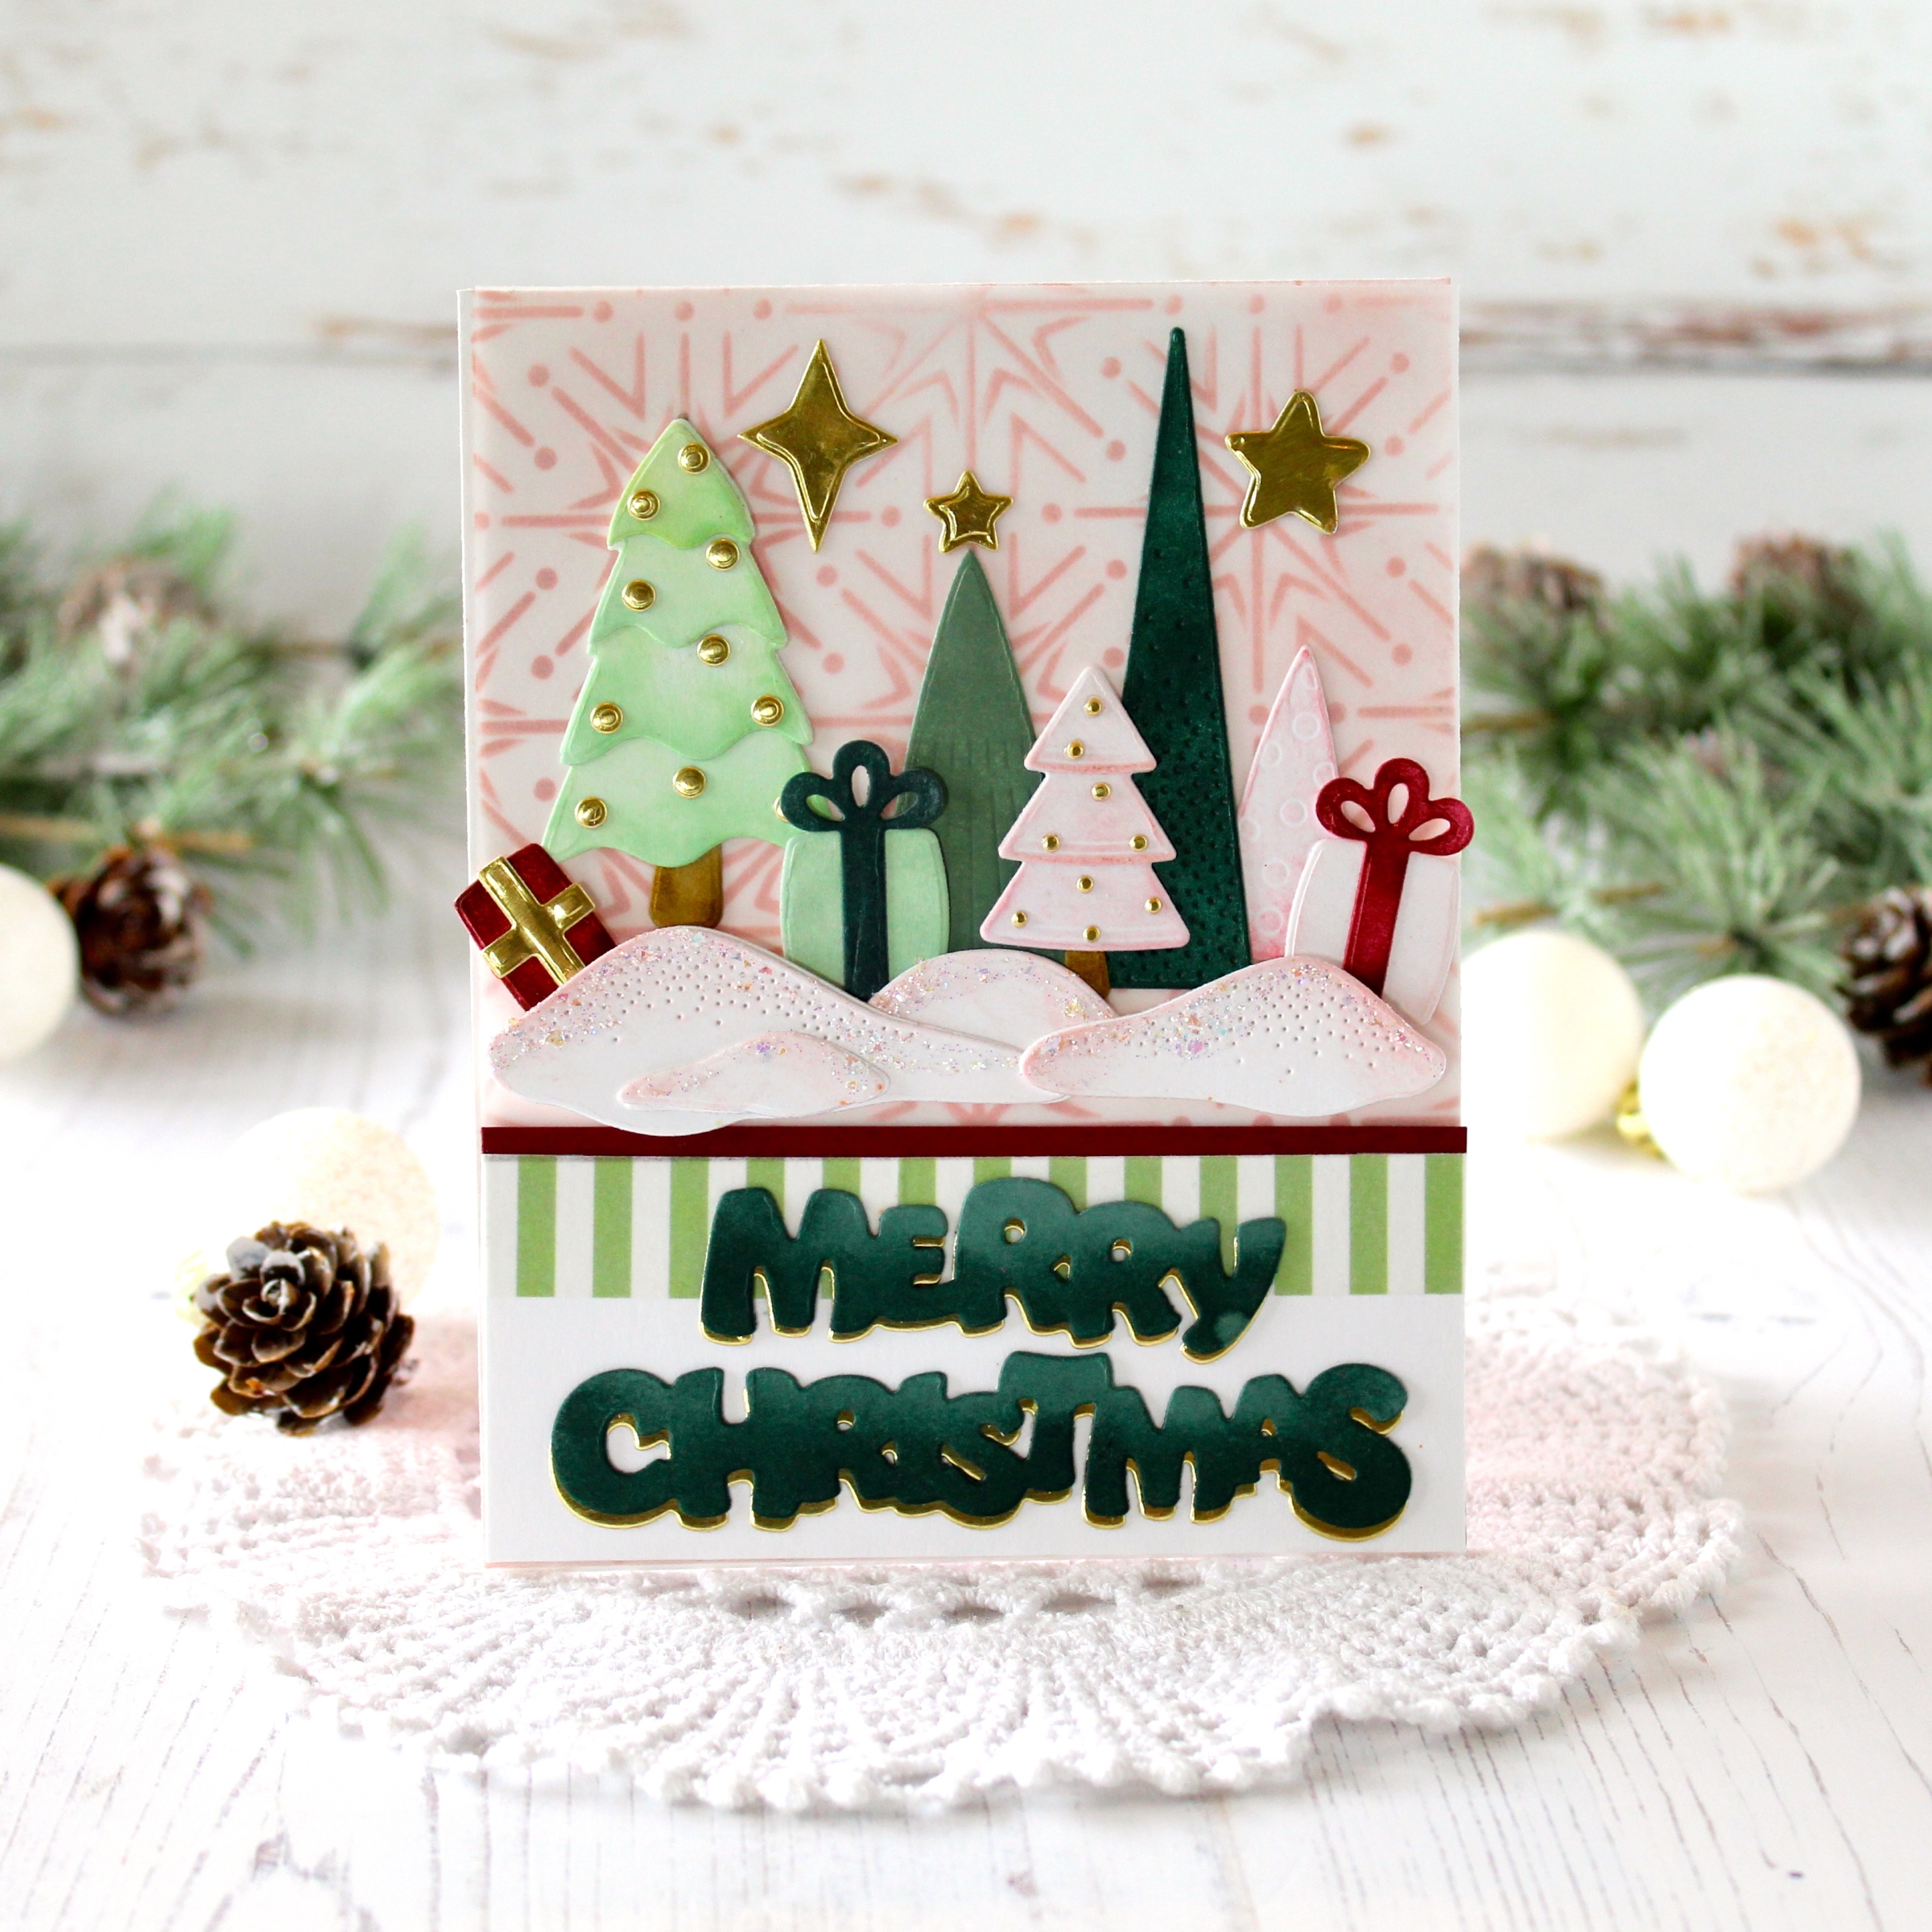
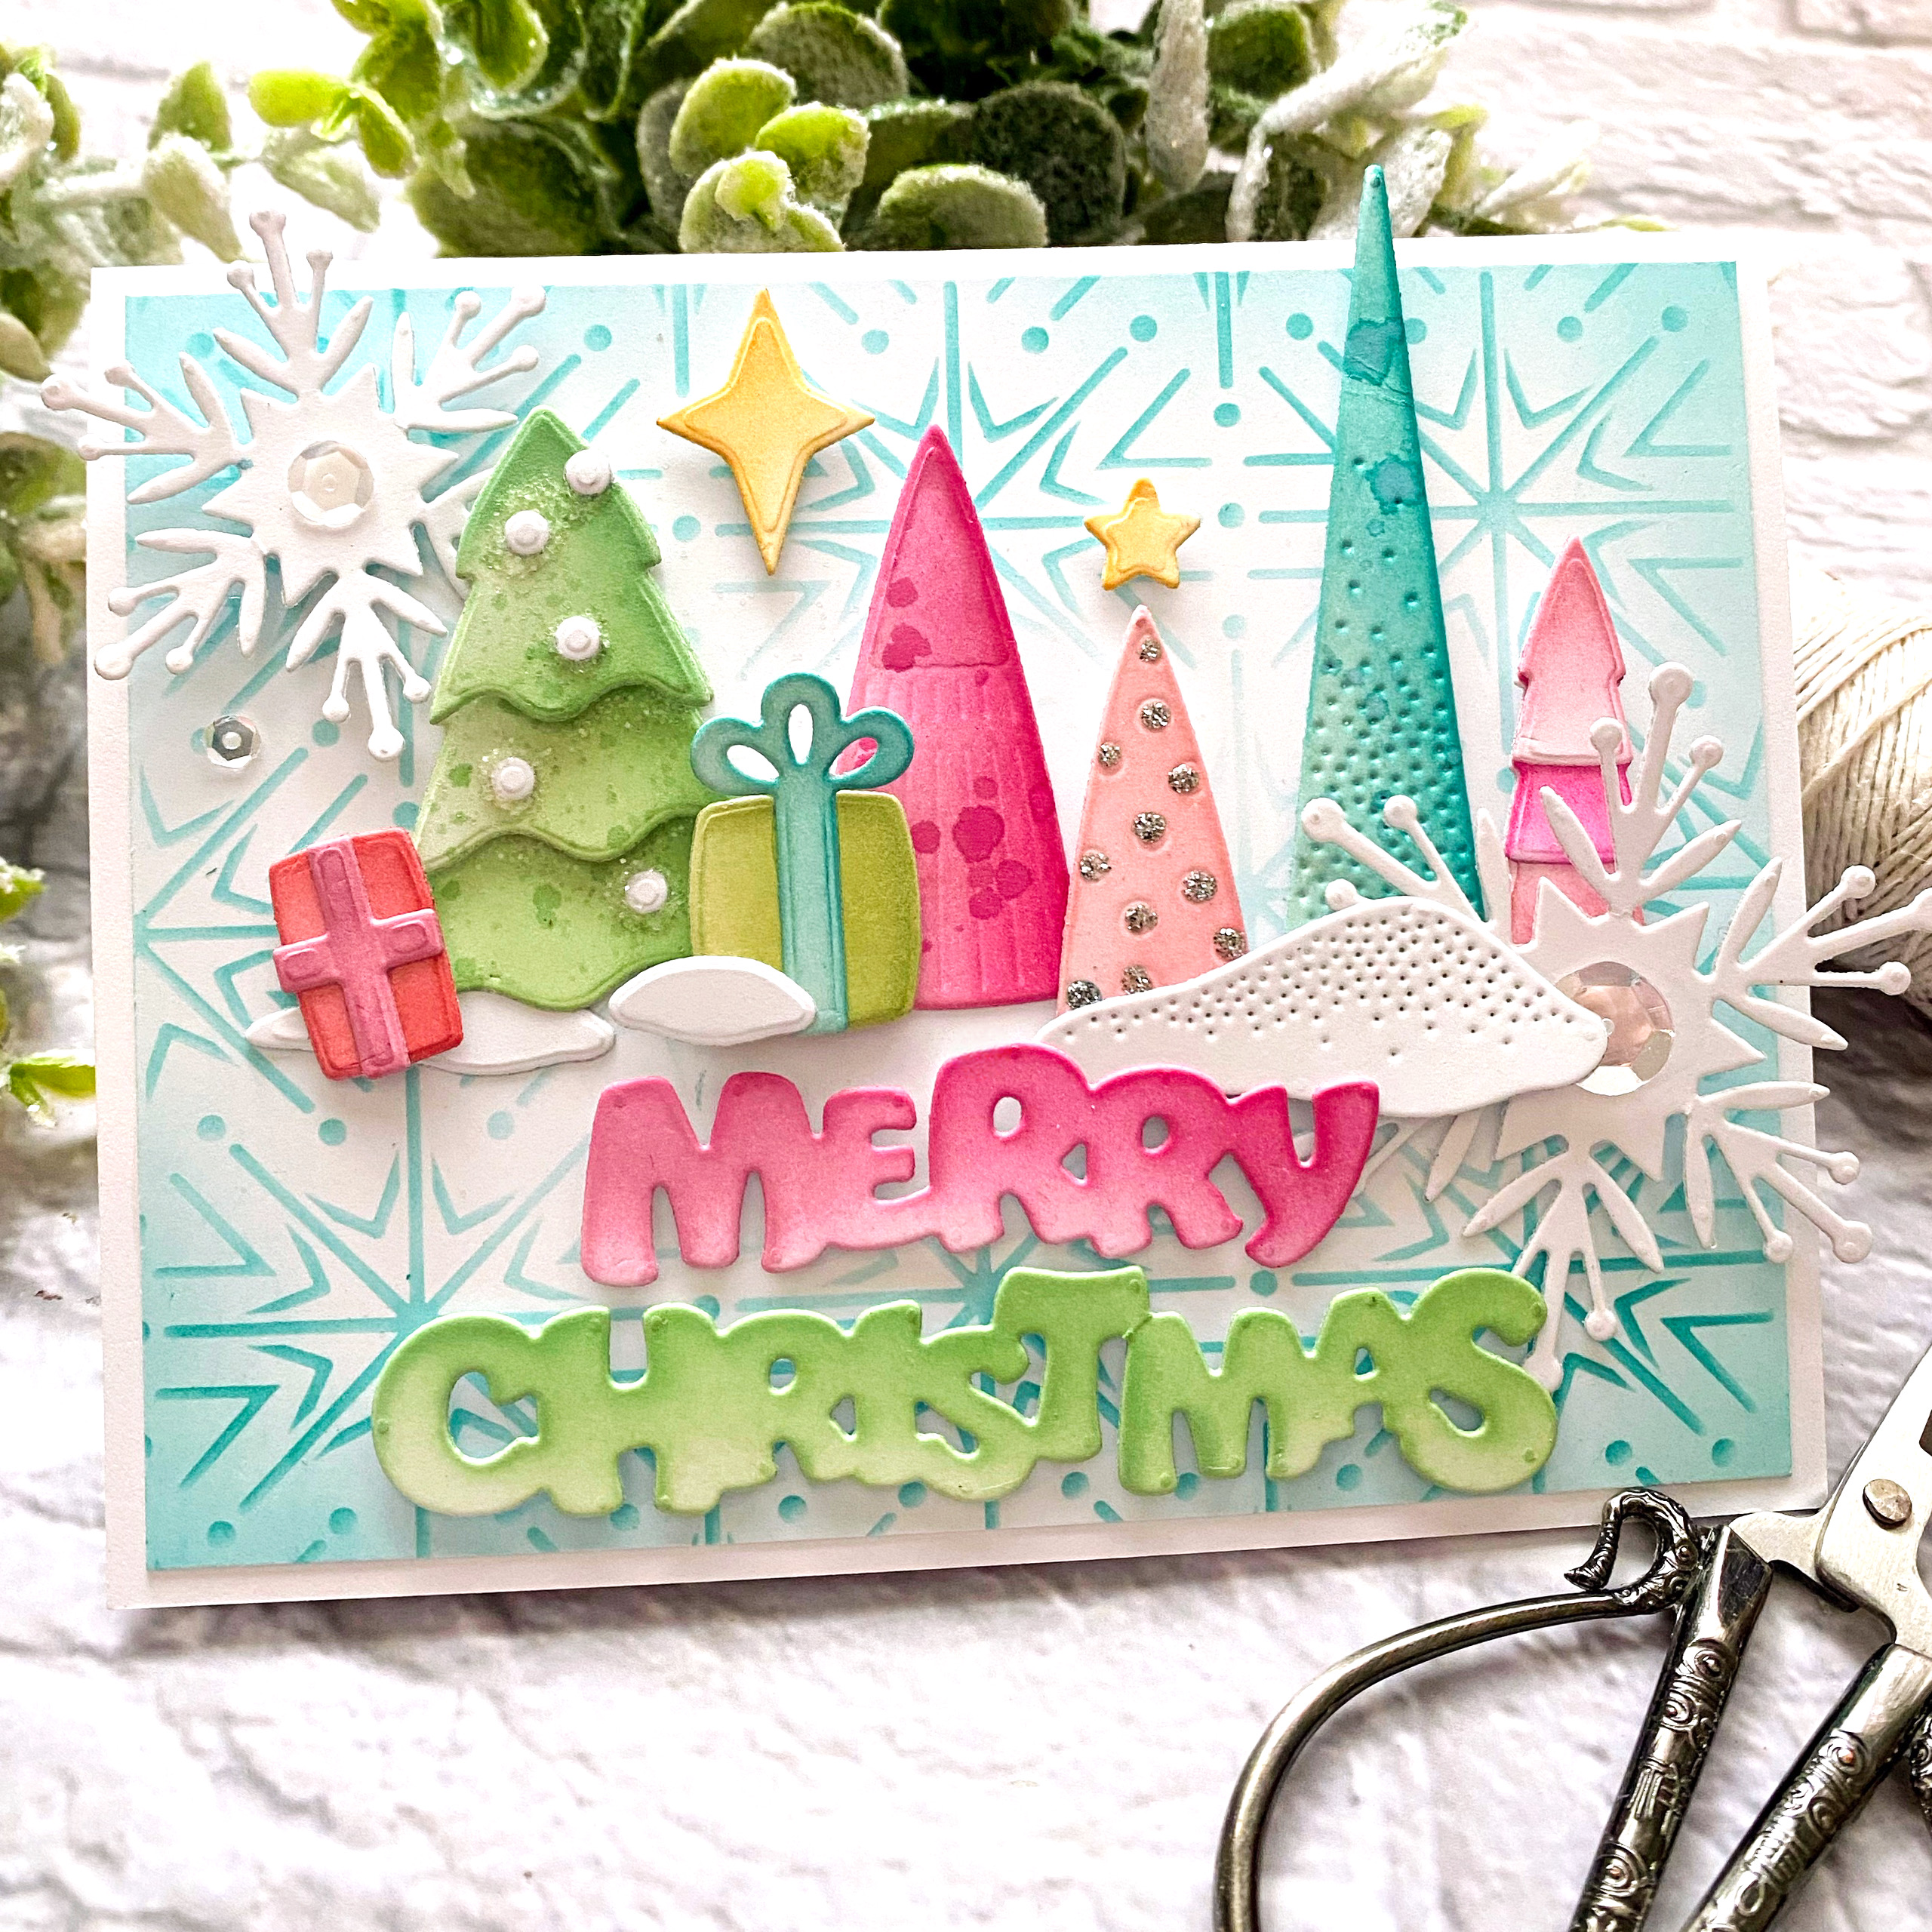
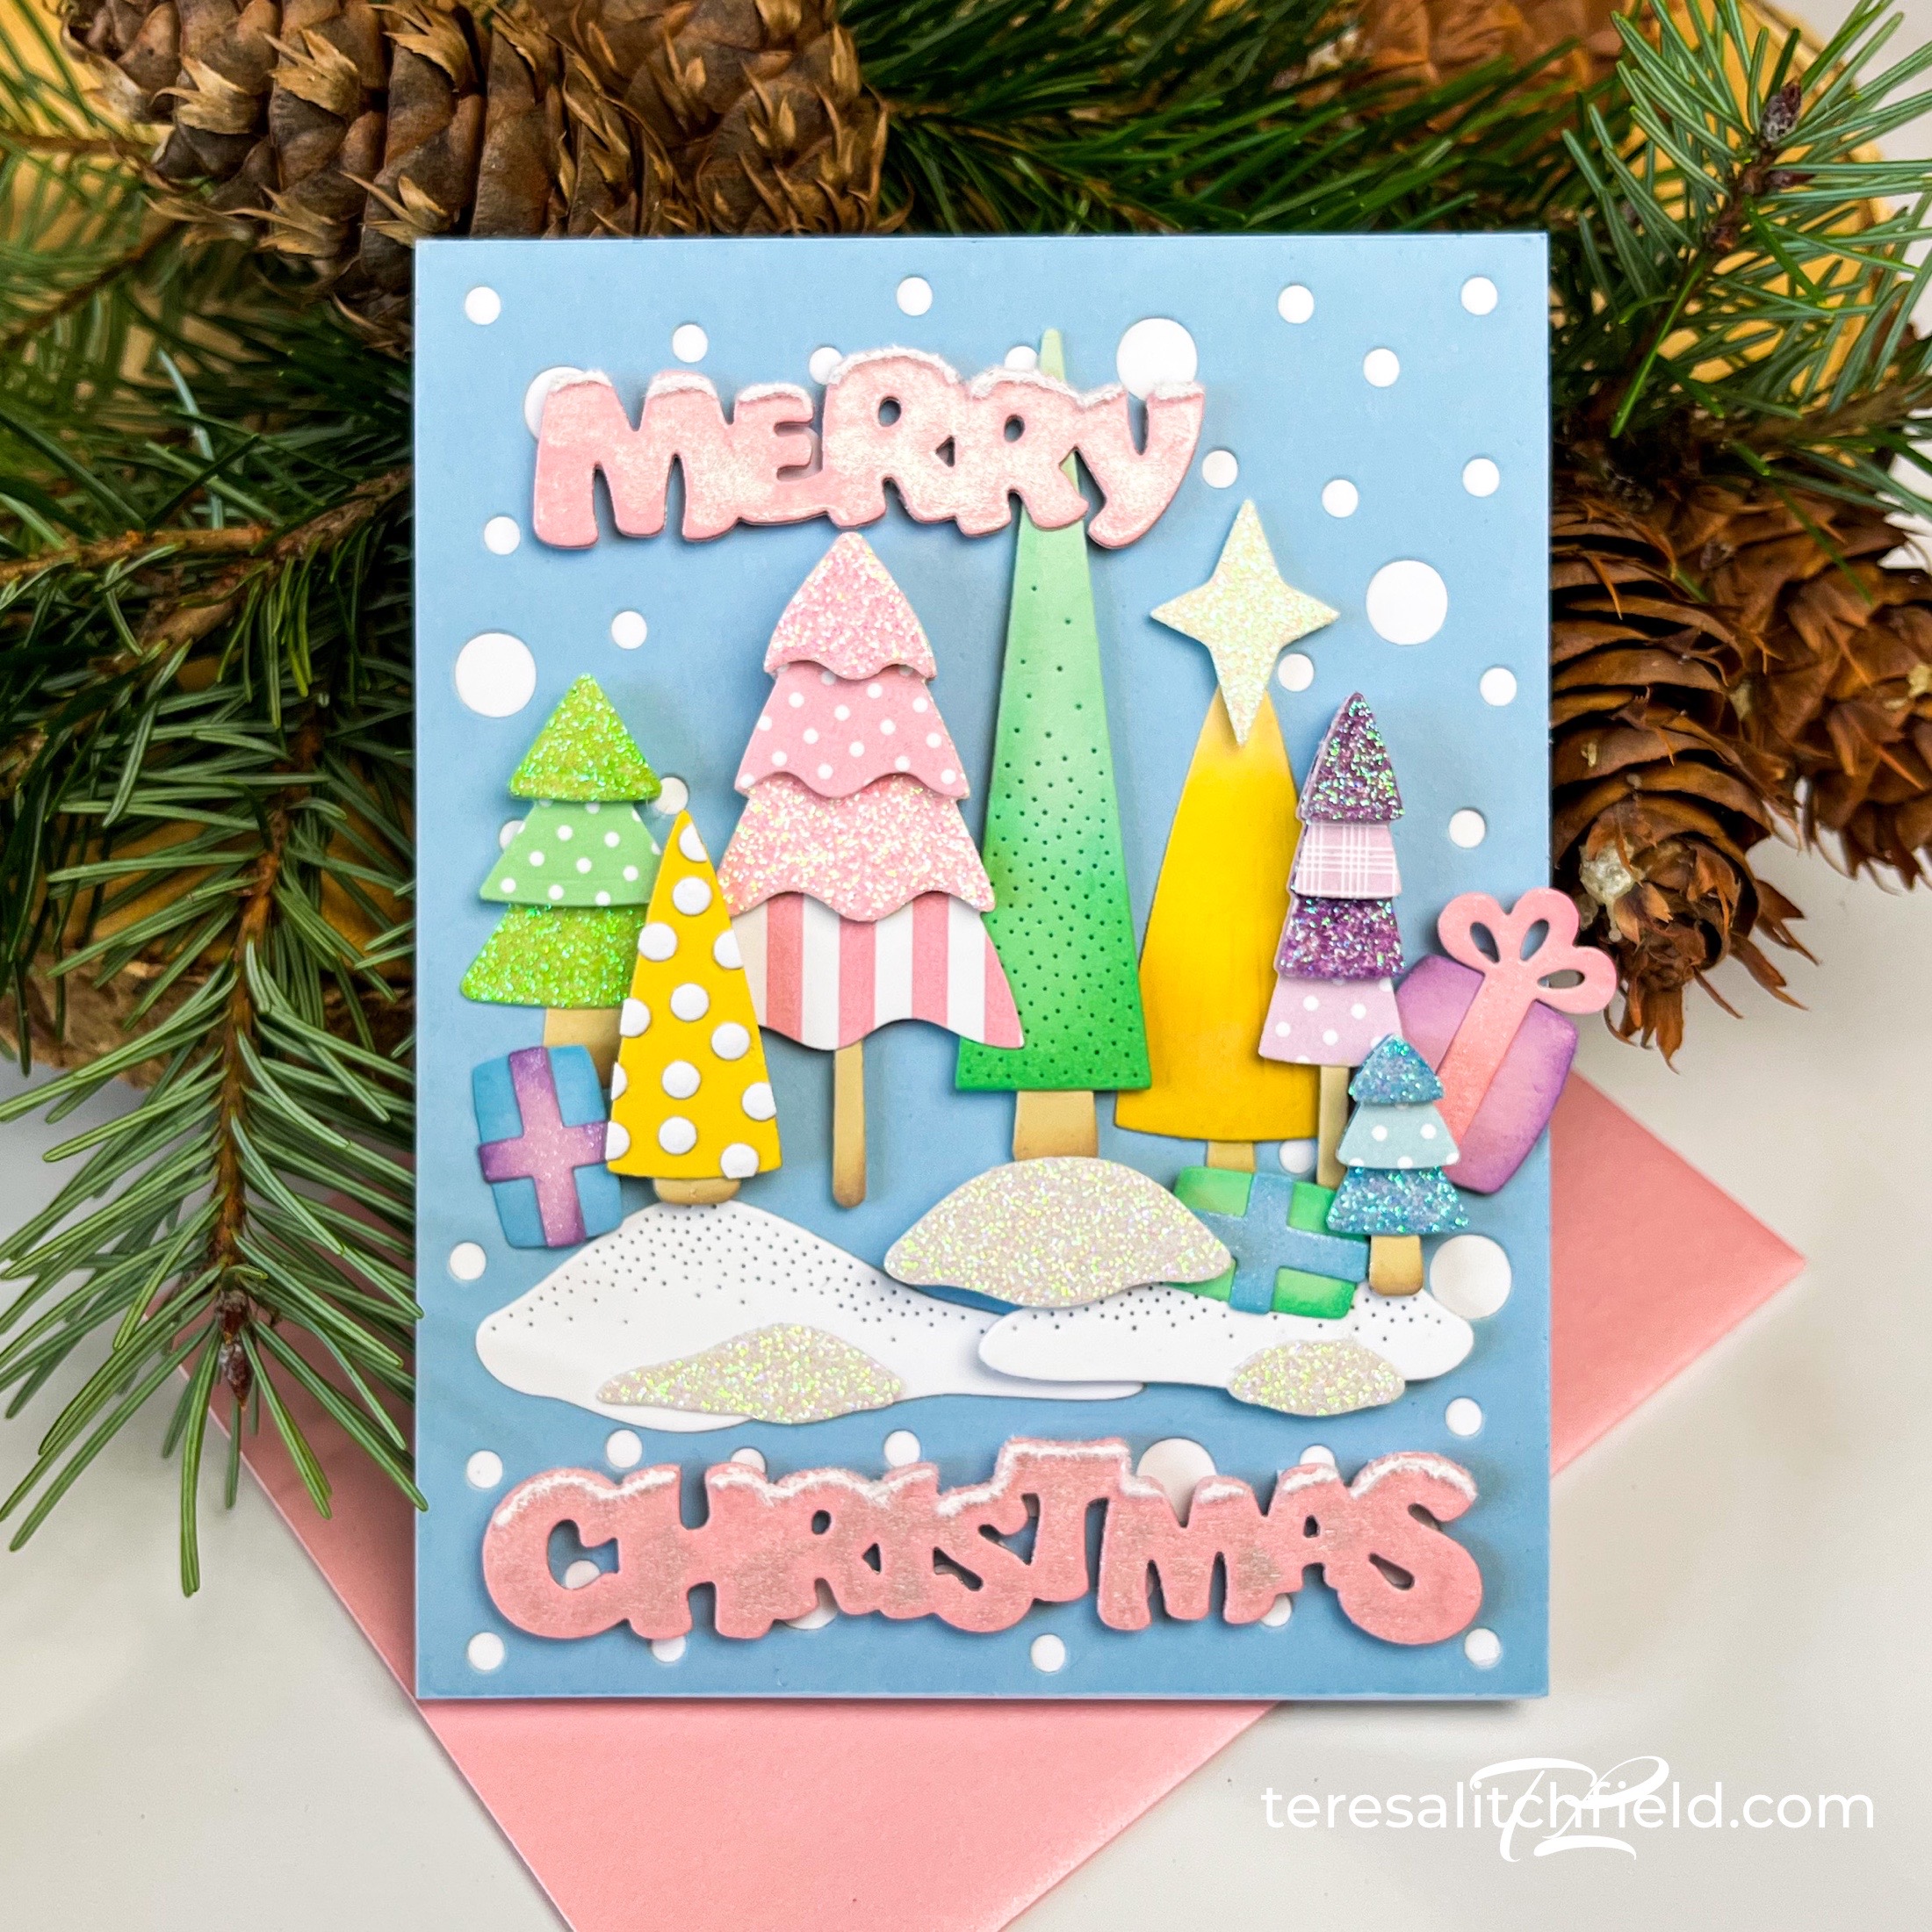
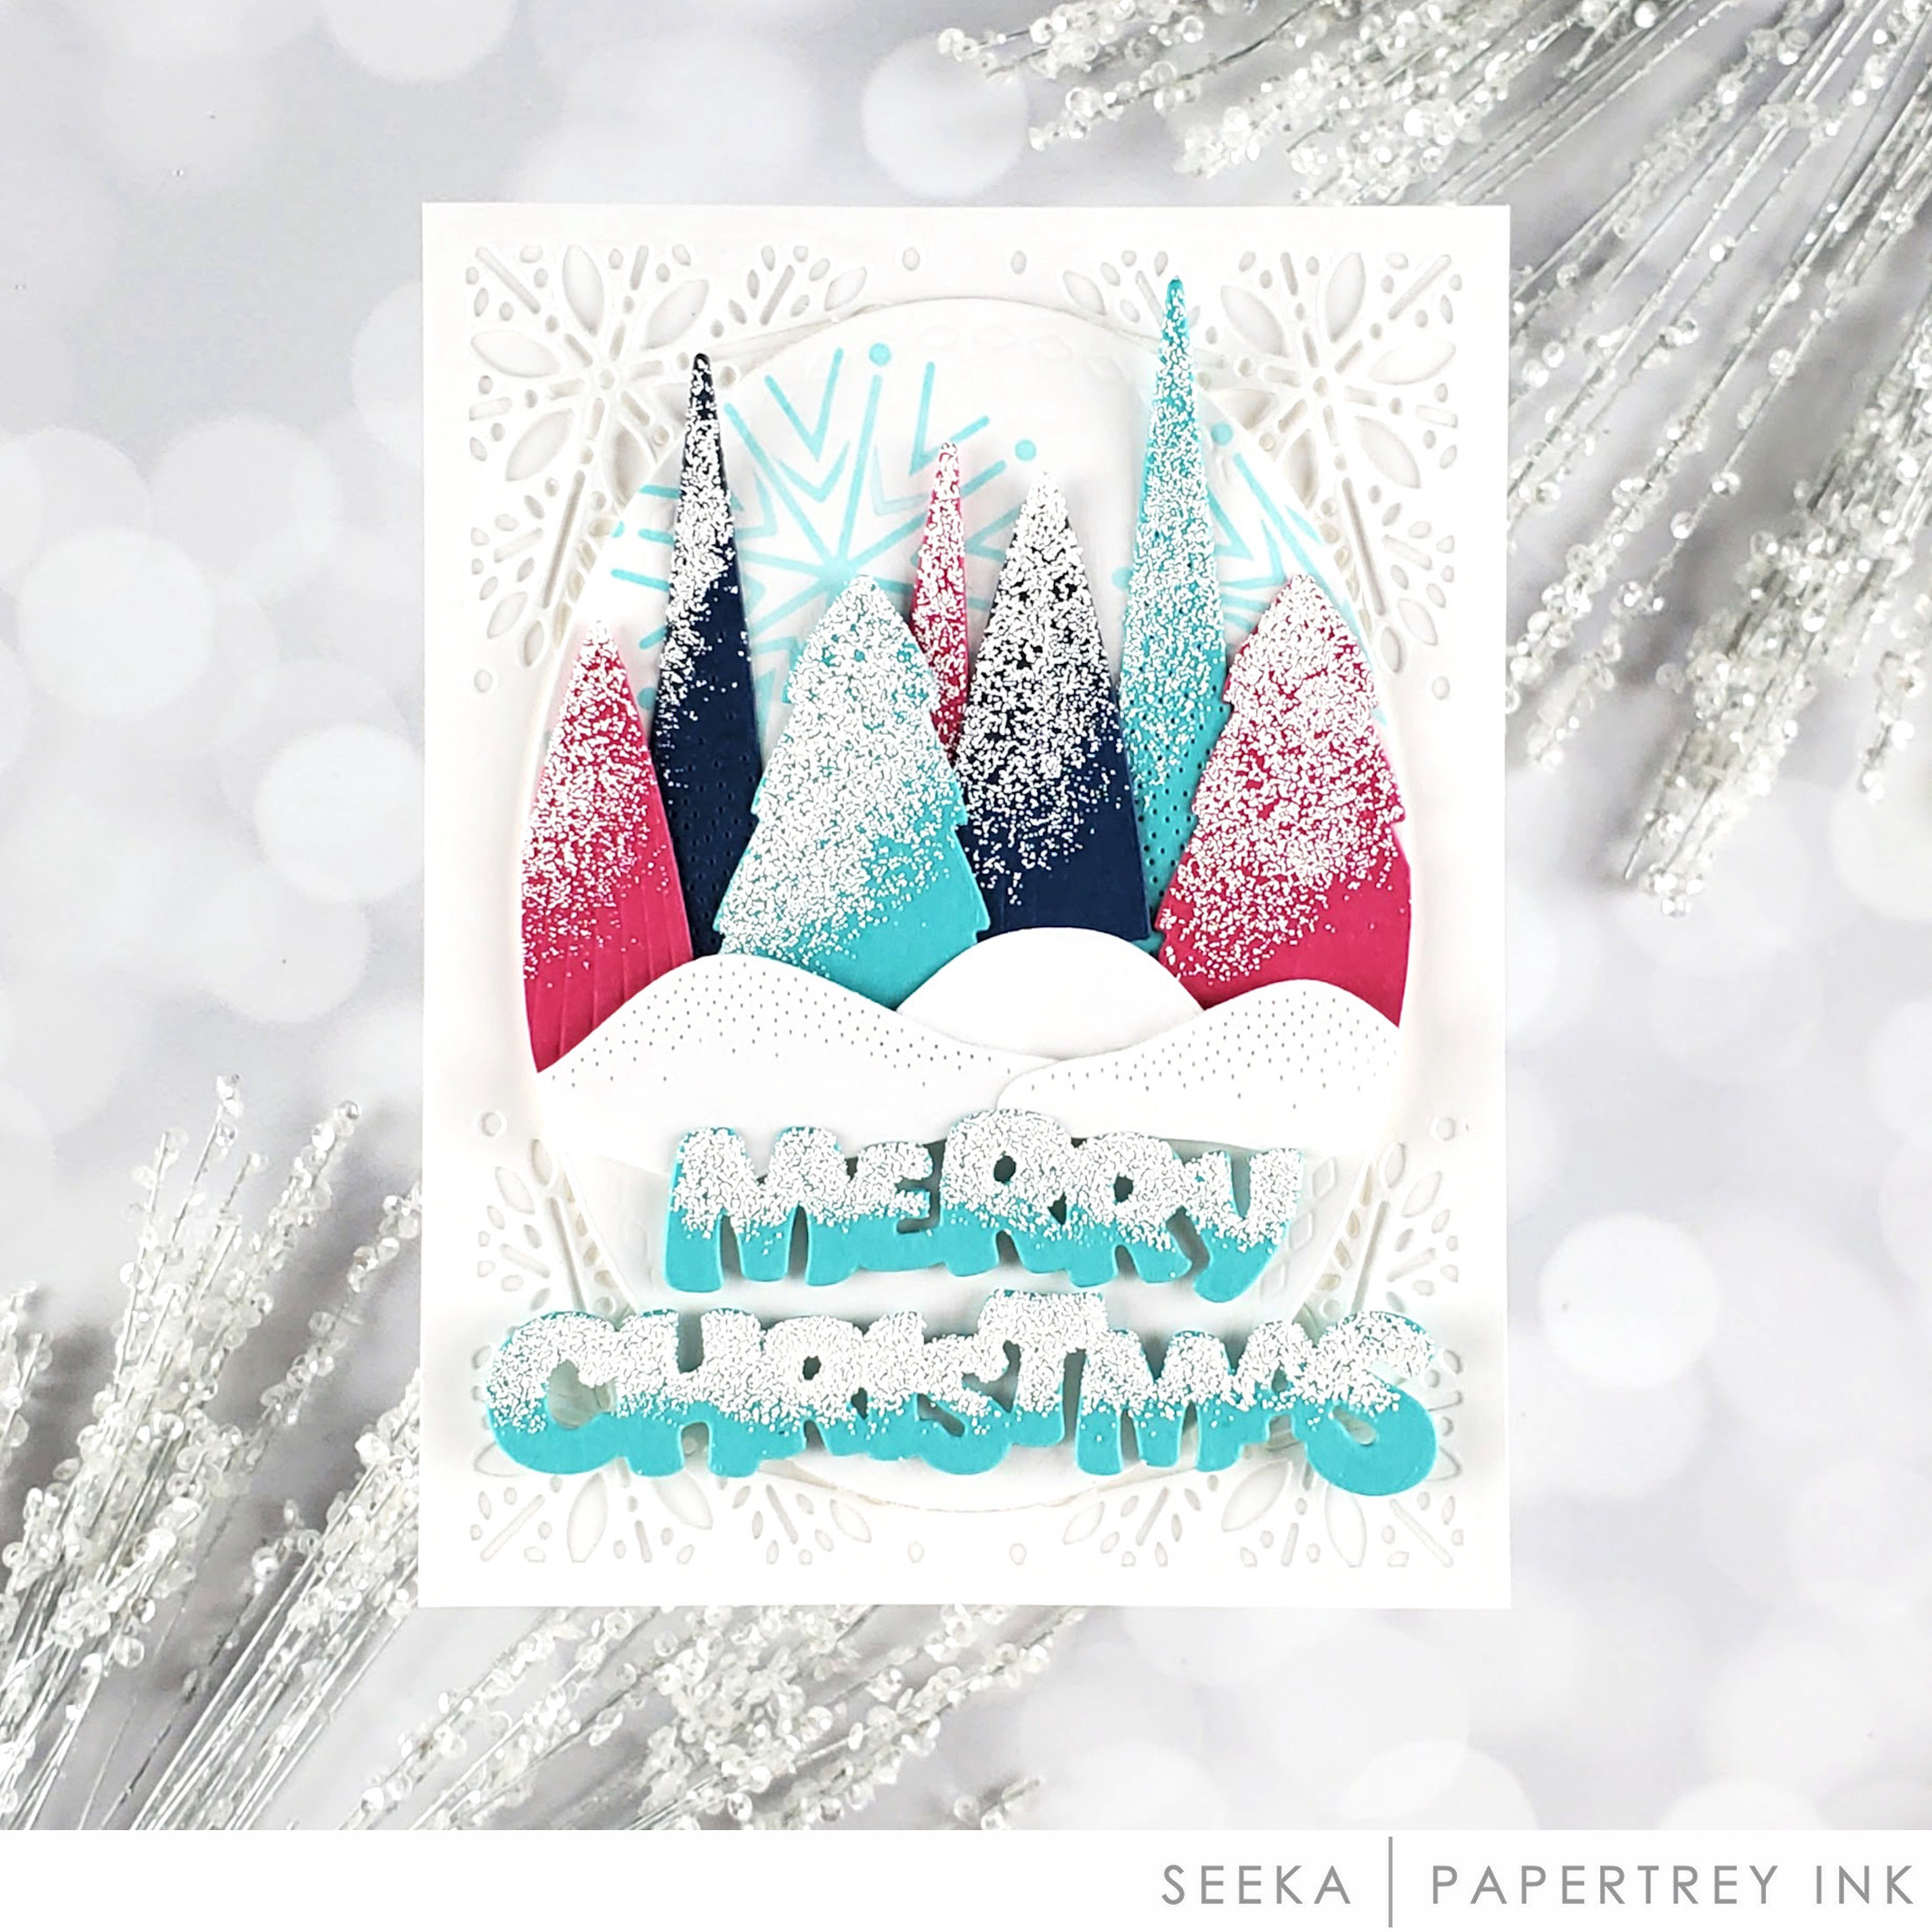
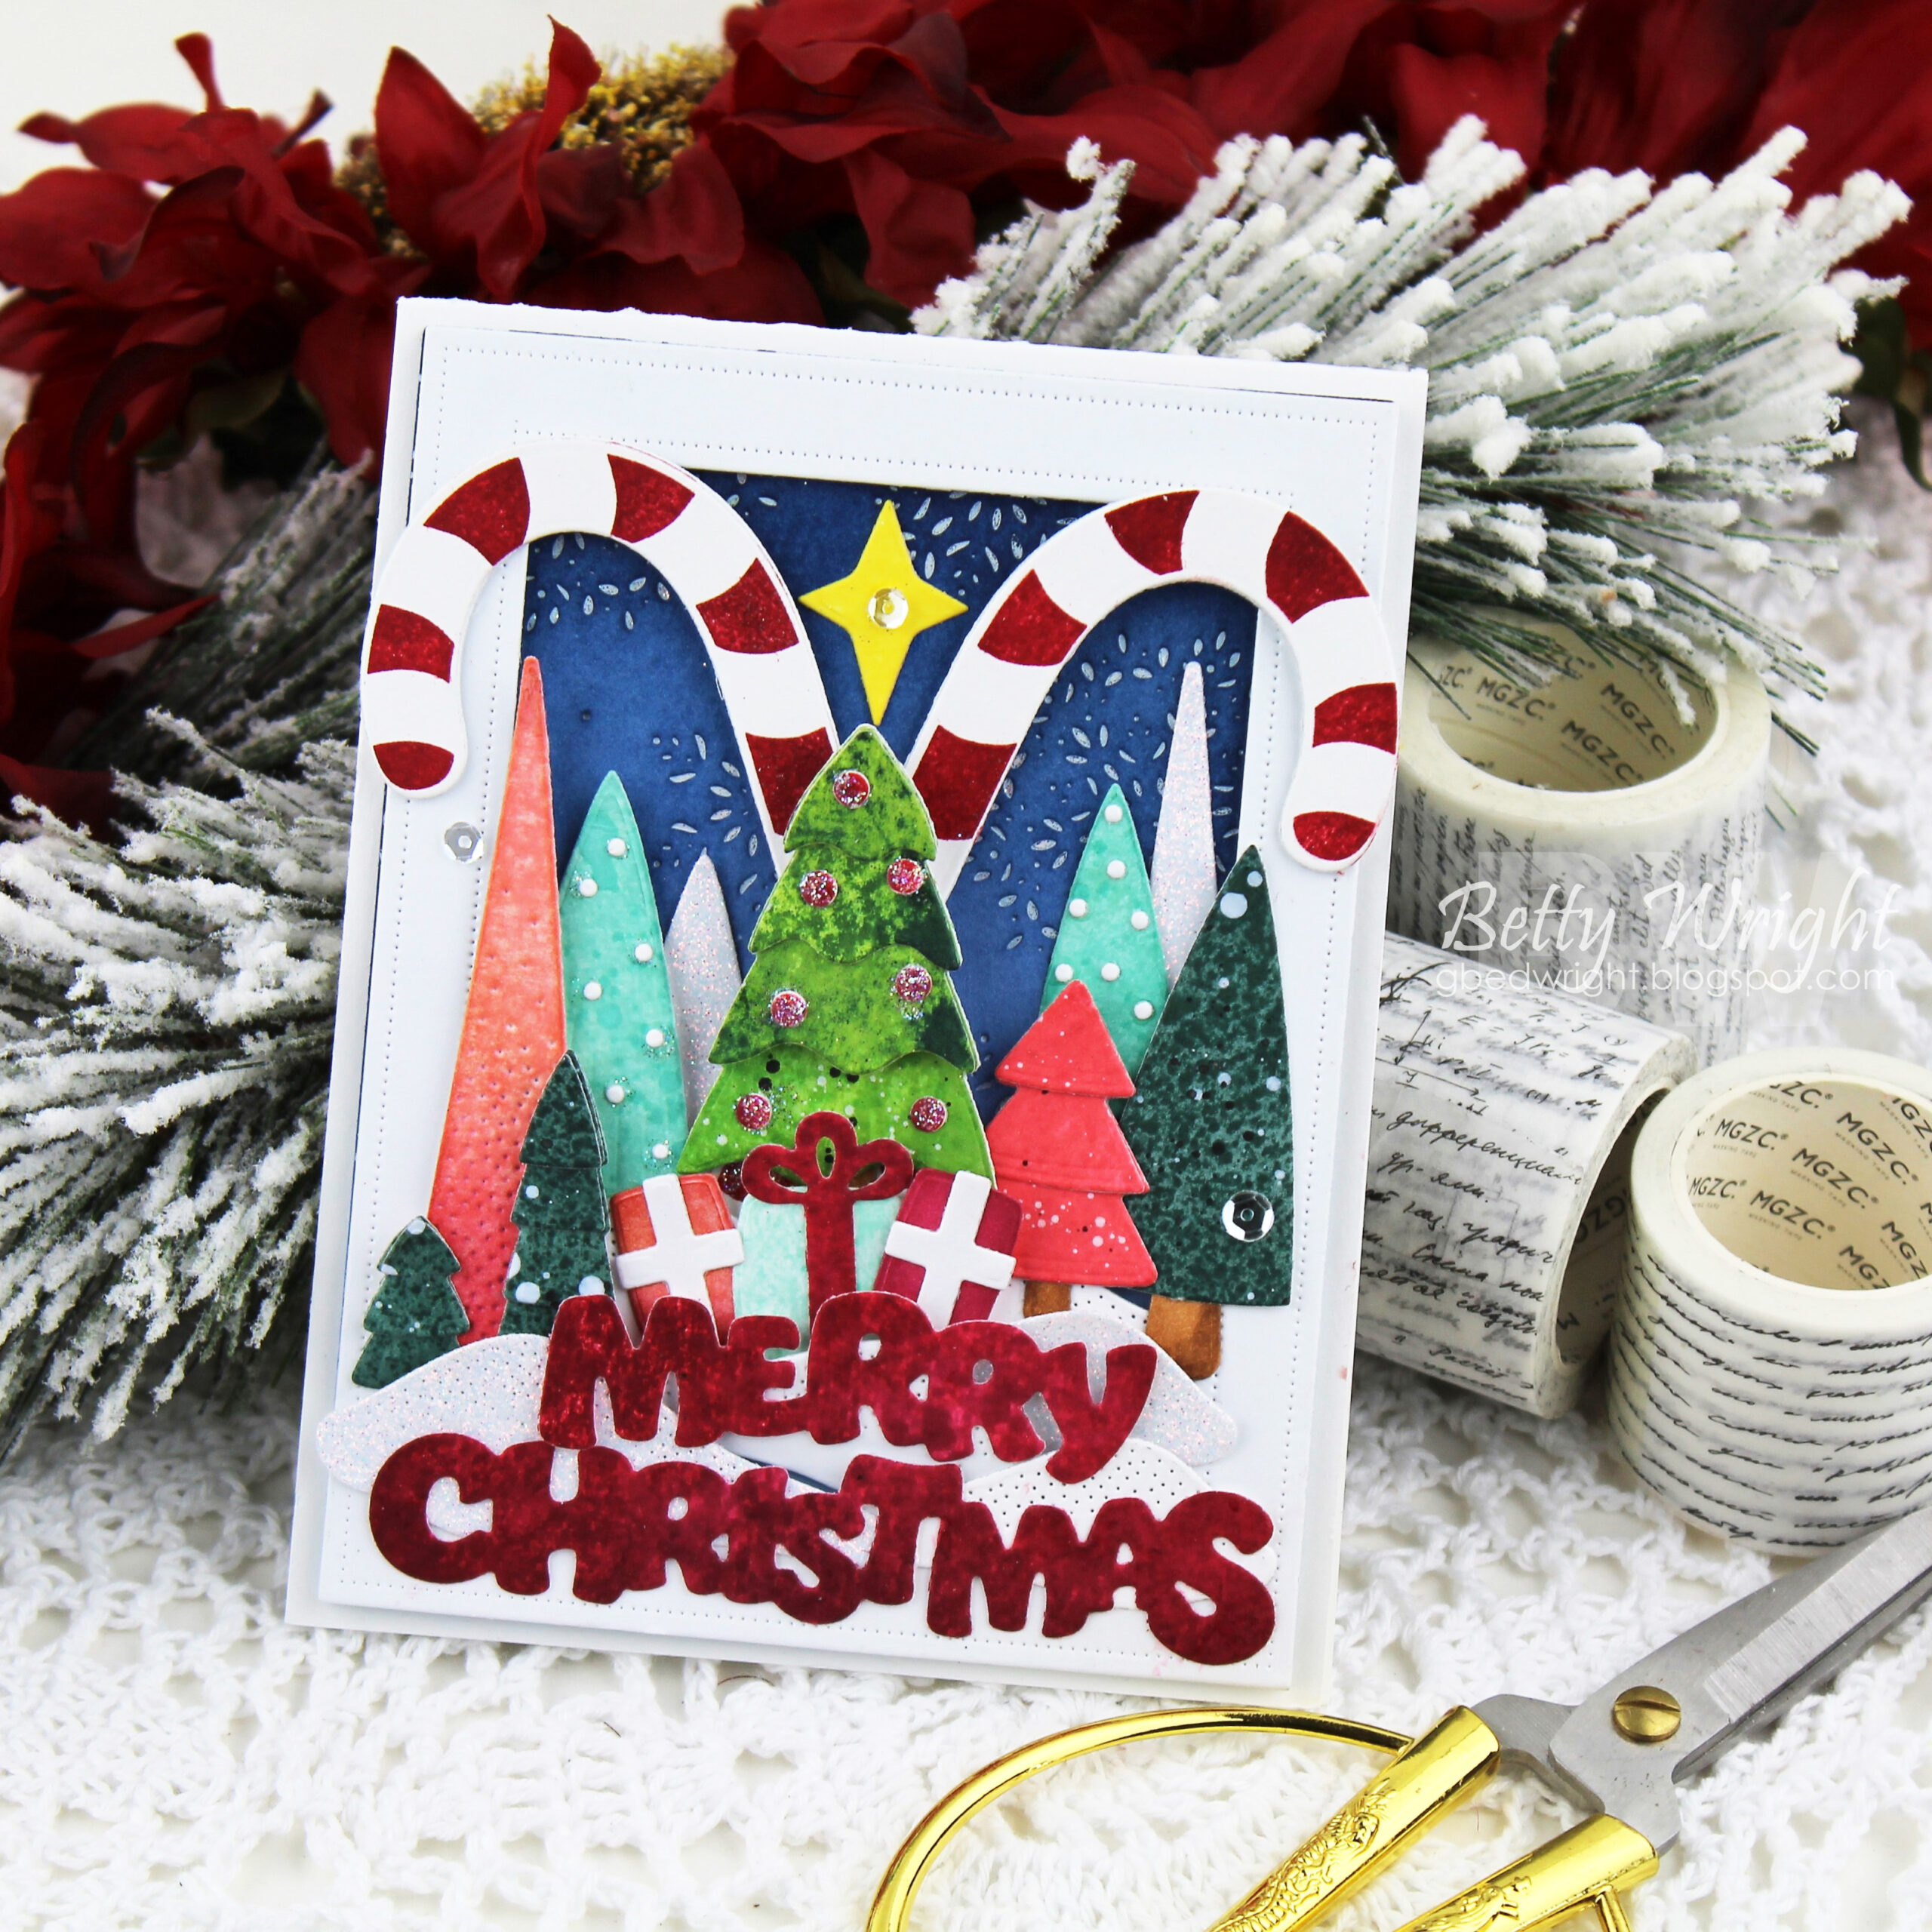
Our new Trees of Cheer dies were inspired by a fun “Claymation” image we found and couldn’t resist. This die set takes the images that represent Christmas and gives them all soft, rounded edges. Trees, bows, stars, gifts, snowdrifts, etc. Such a unique set of dies just bursting with possibilities.
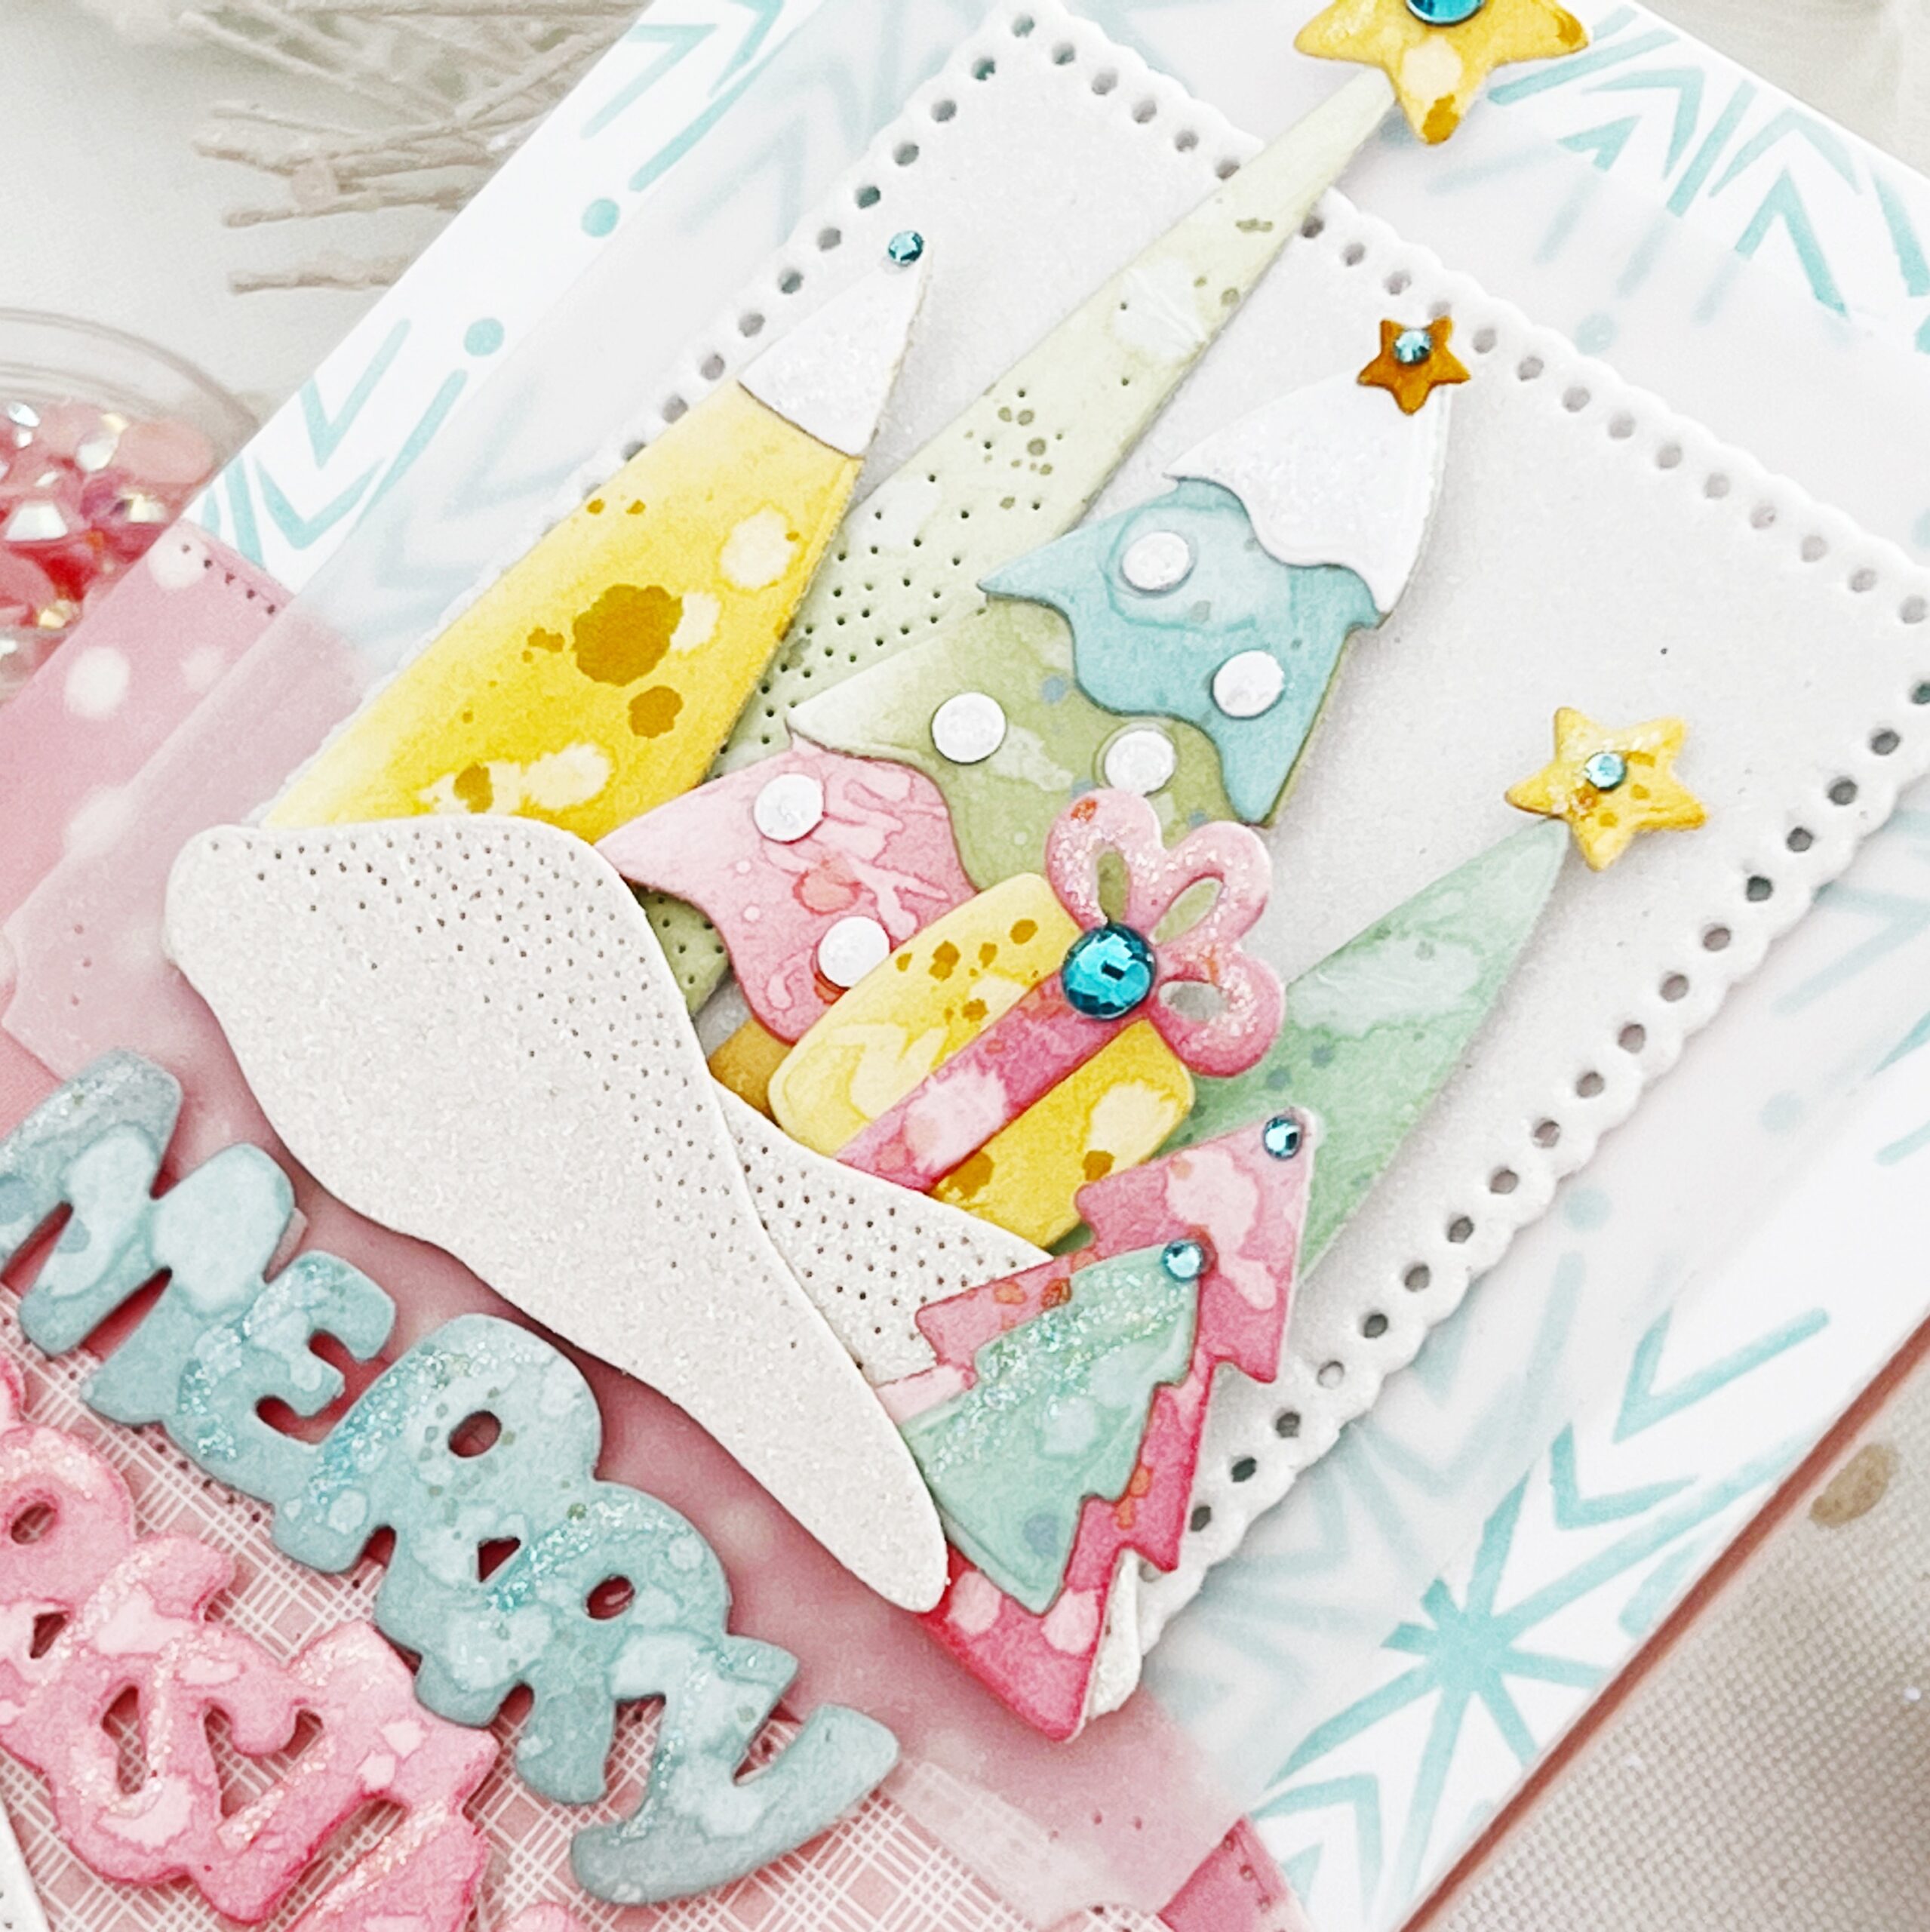
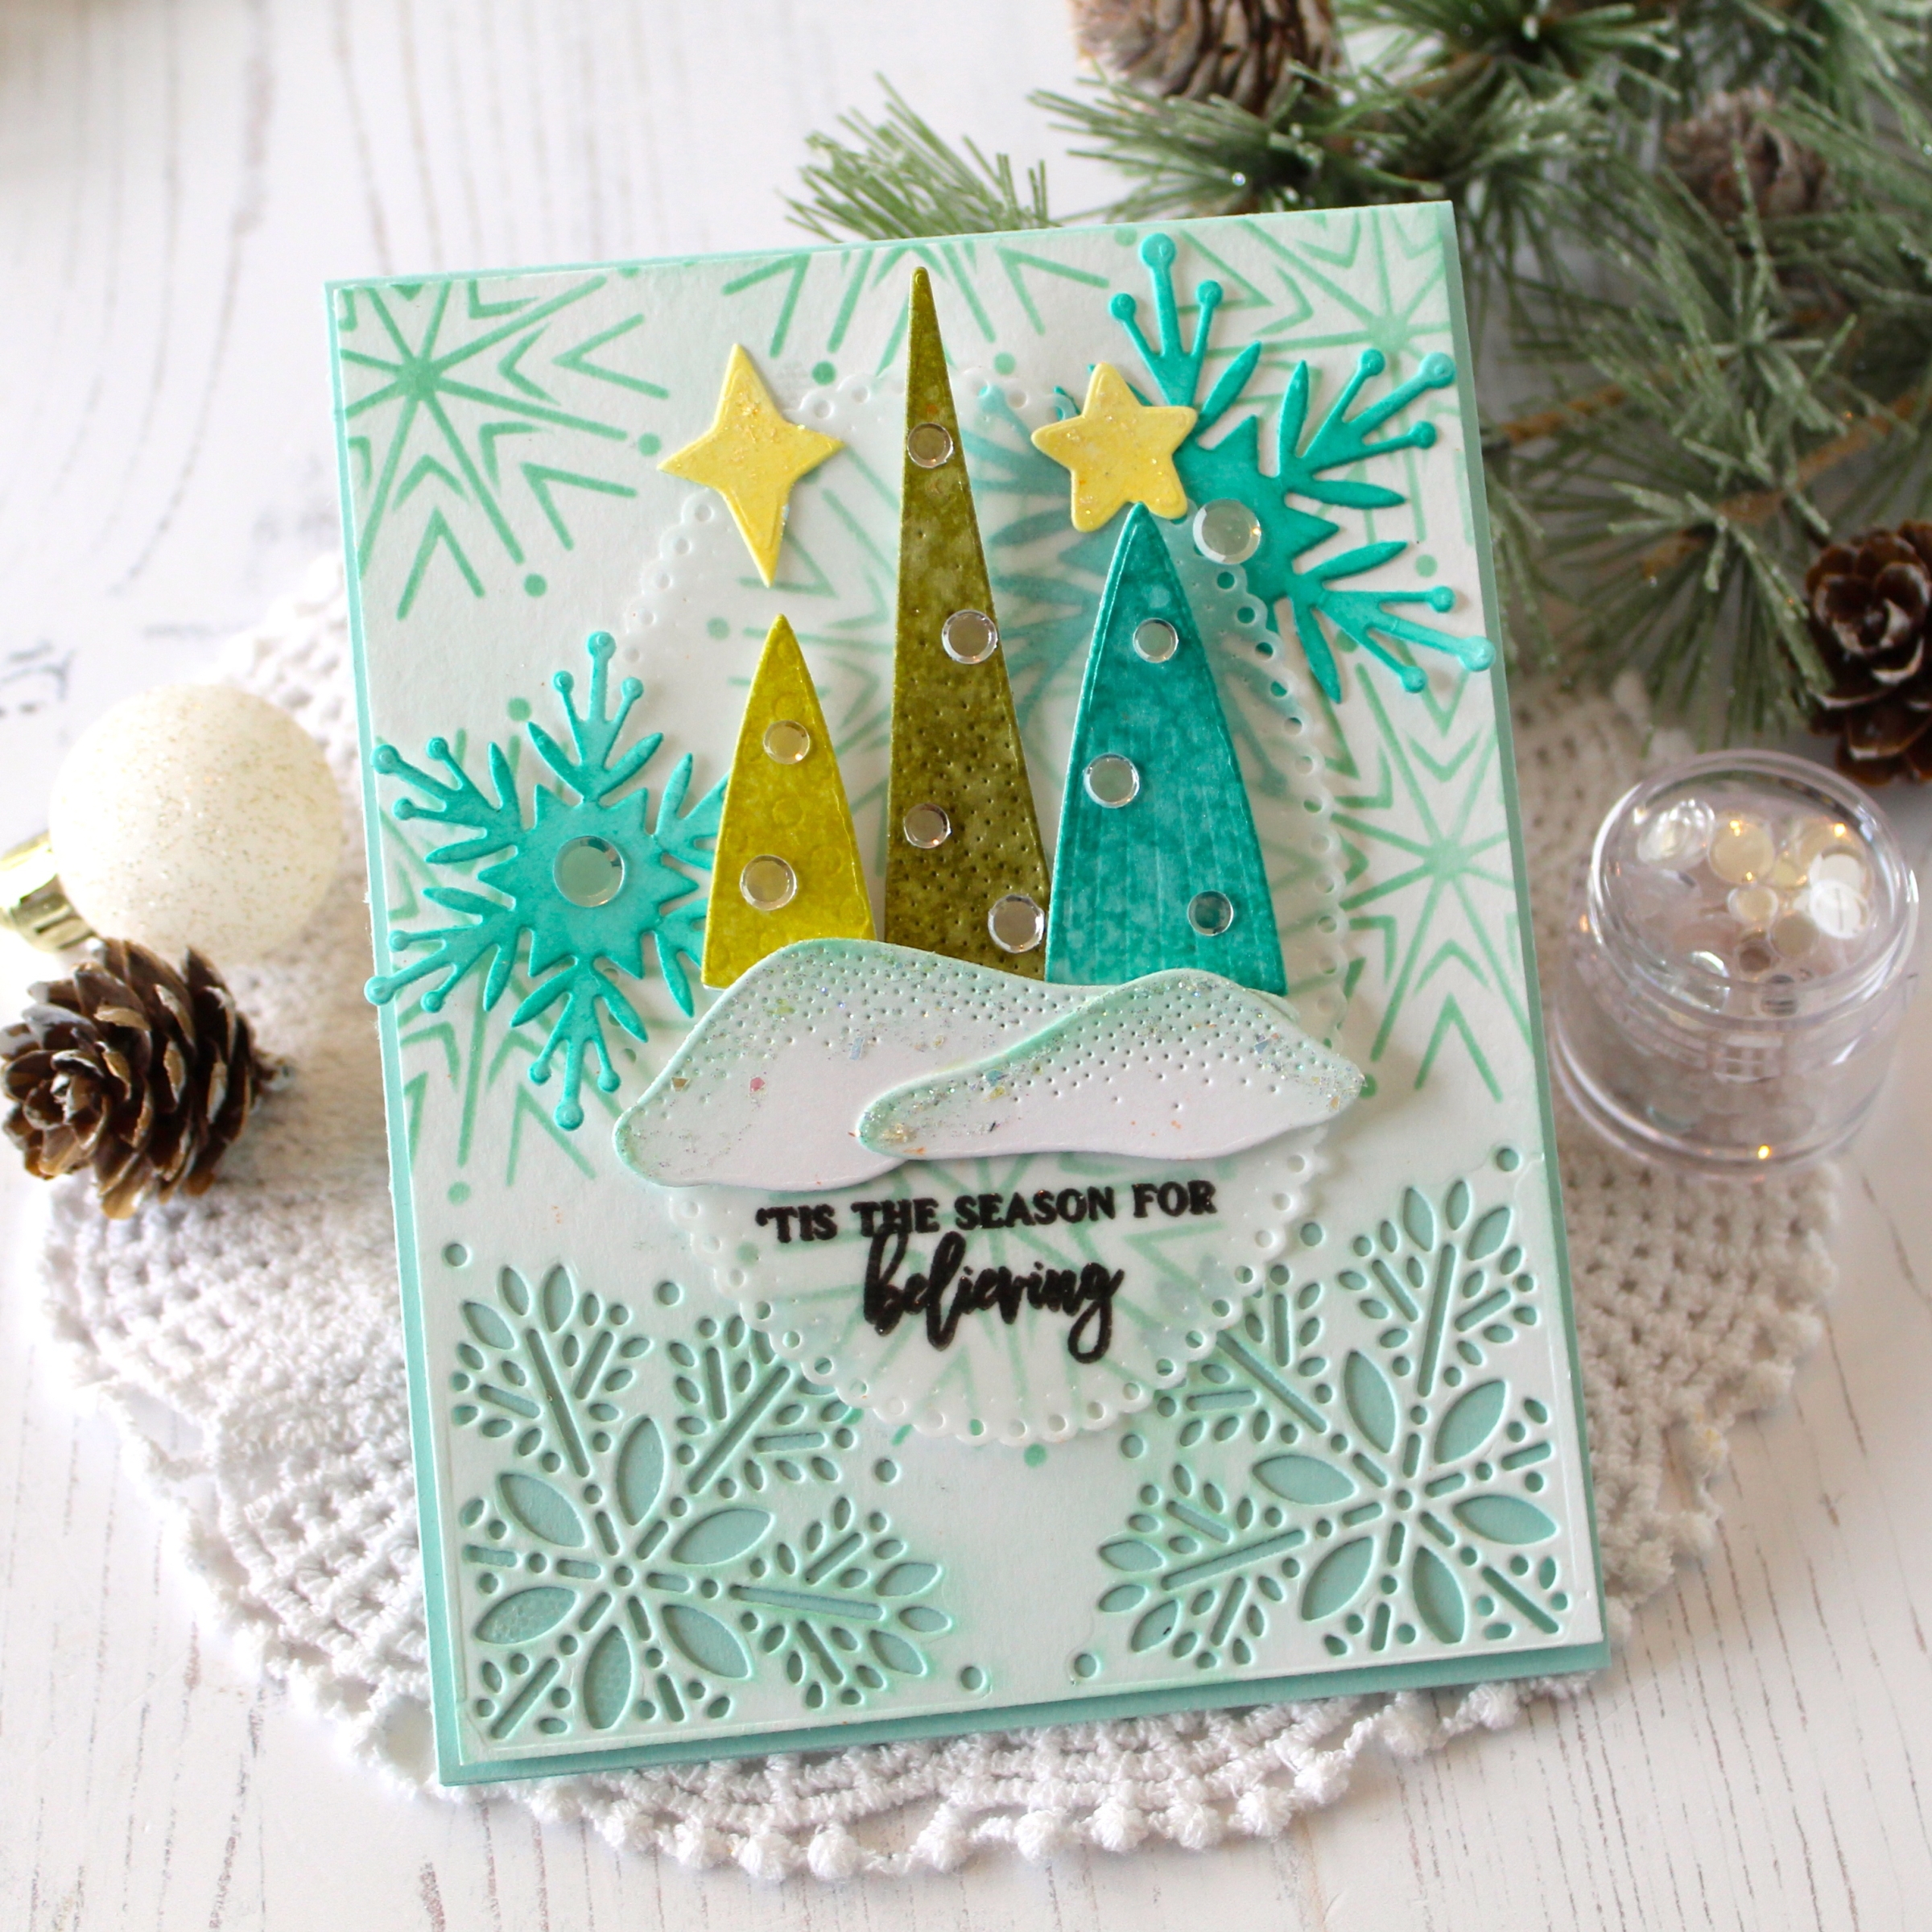
I began by using the new Spectacular Snowflakes Stencils to create my background, creating a soft and sparkly base for my card. I used white cardstock and stenciled in Hawaiian Shores ink. My soft, snowy scene was created on die cut Love to Layer: Square. Each of my Trees of Cheer dies were cut and then colored using the ink blending technique, water, and Distress Spray. I love the soft, watercolor feel combined with these curved images.
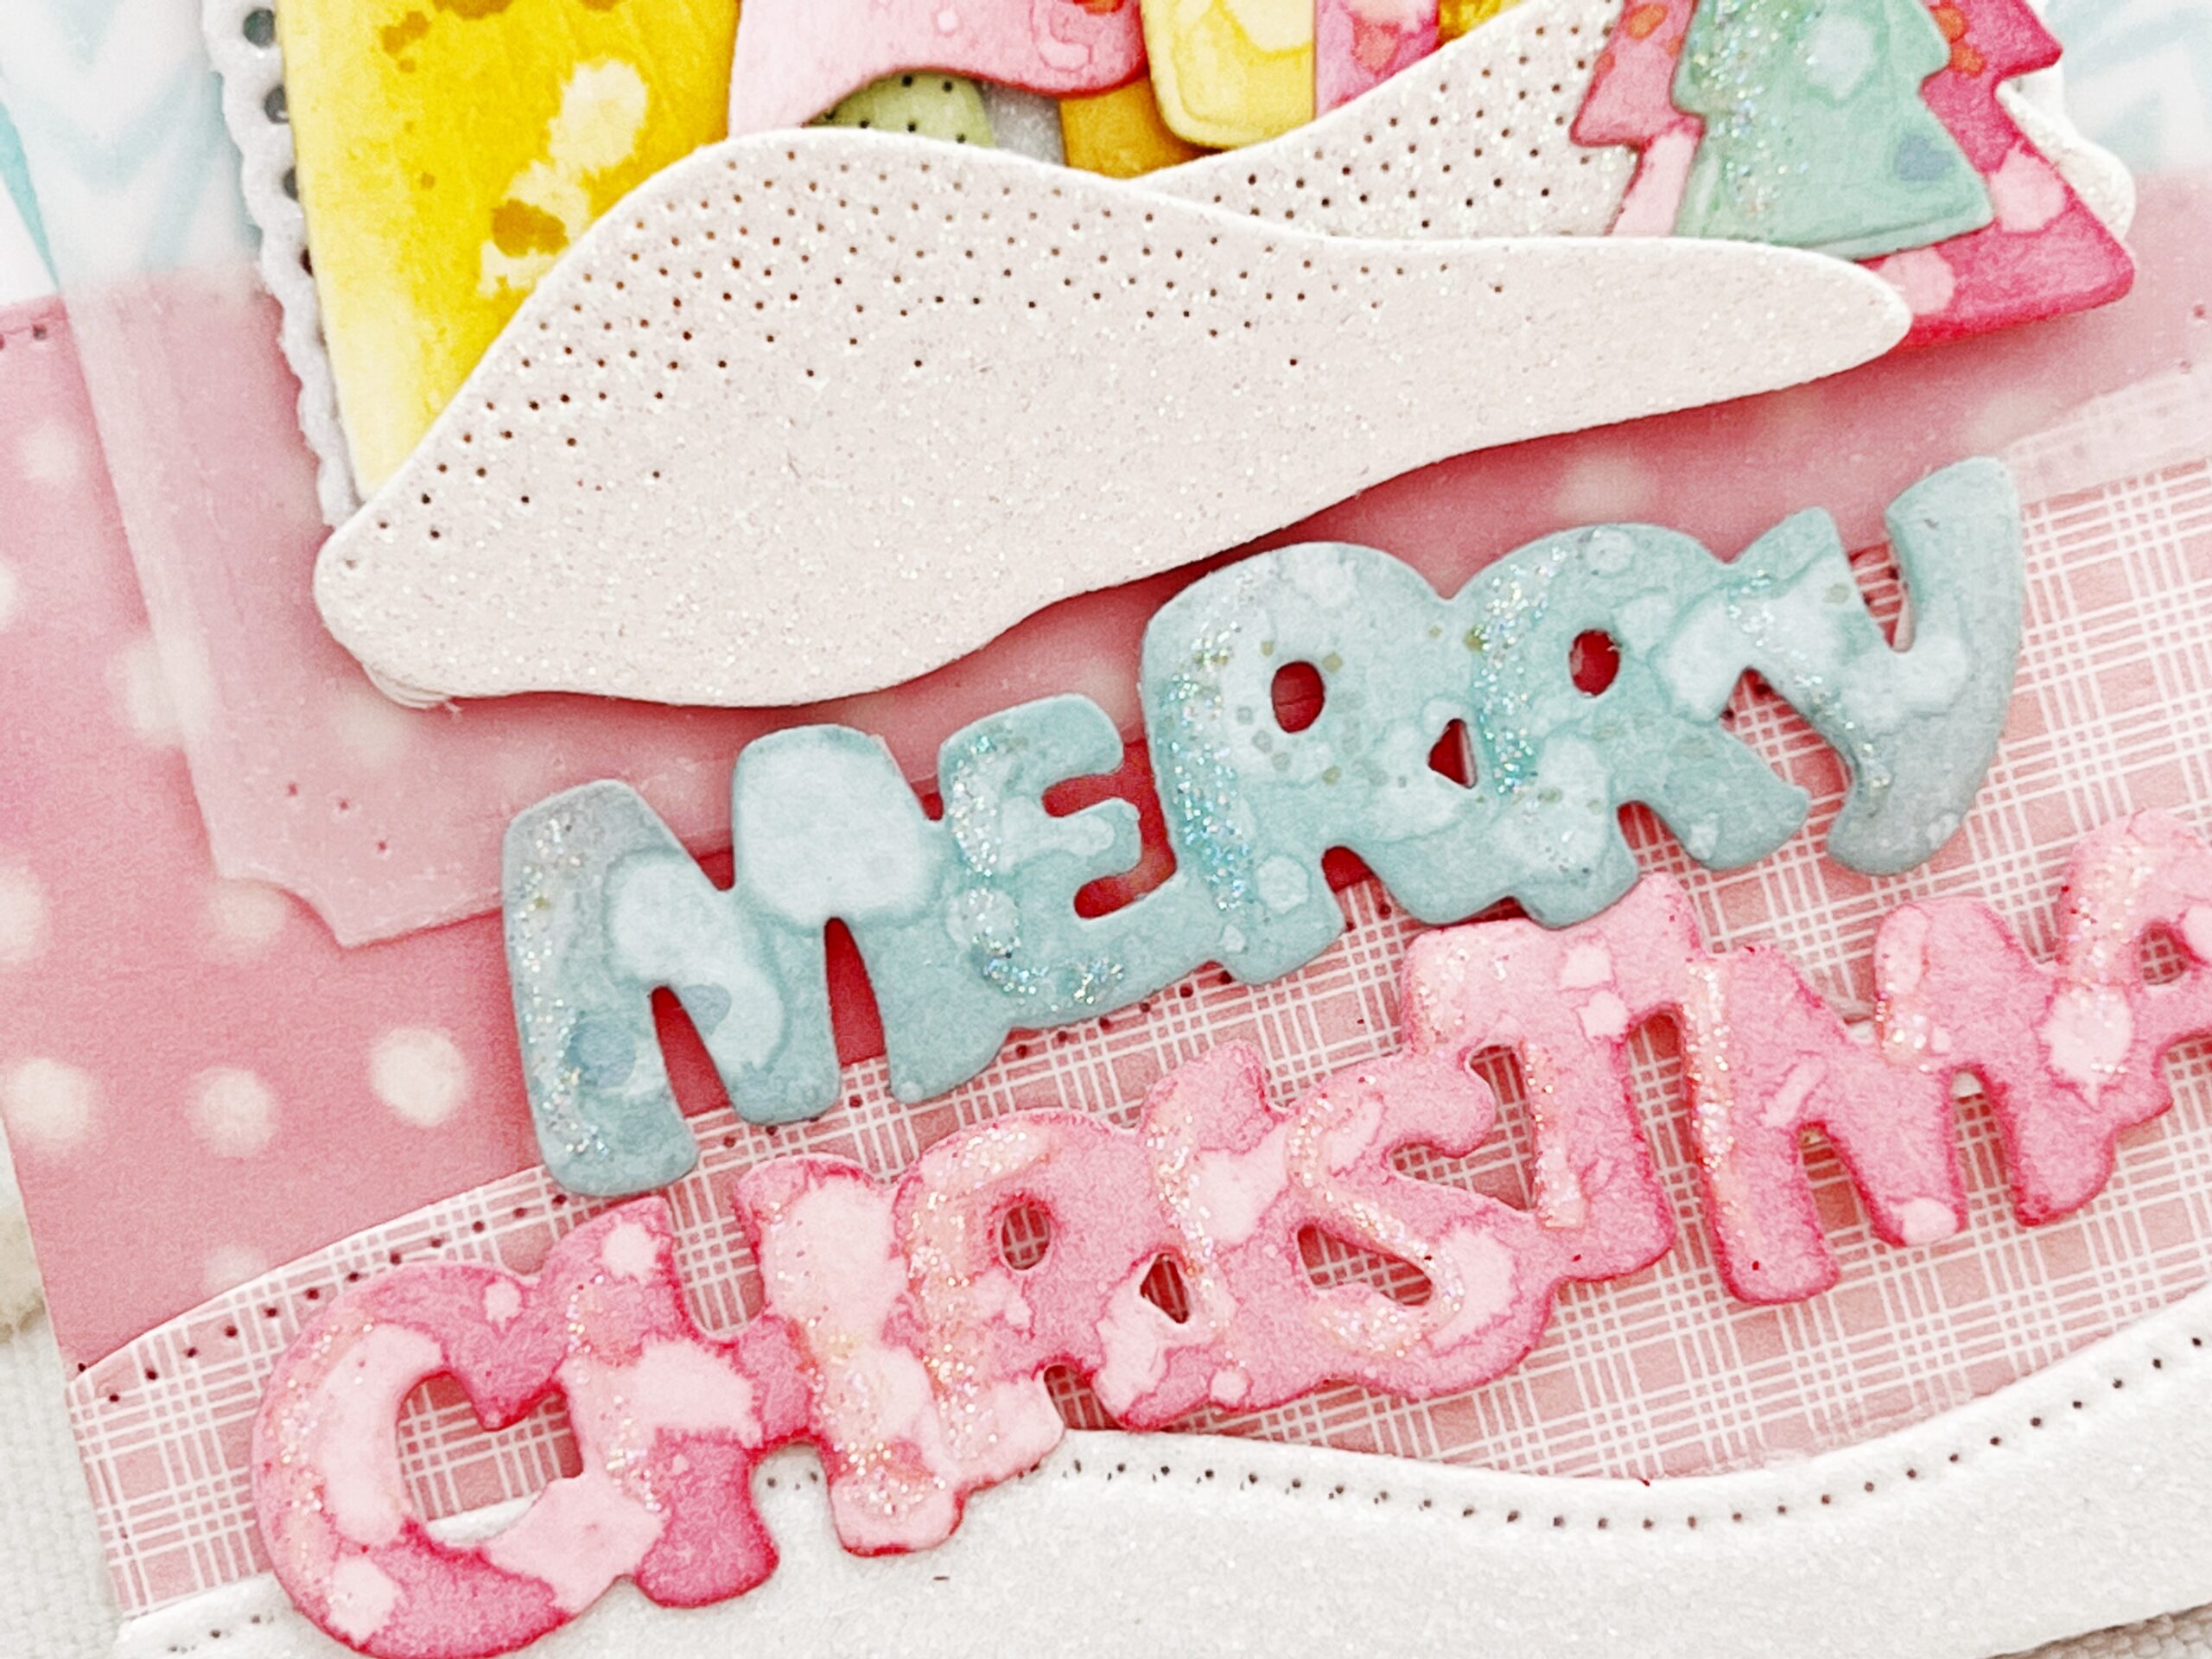
The snowy hills from the Bringing Home the Holidays dies were the perfect addition to the base of my card where I added my Merry Christmas sentiment from Trees of Cheer. Don’t you love it when your favorite Papertrey Ink products work perfectly together?
Supplies Used:
INK: Hibiscus Burst, Bright Buttercup, Aqua Mist, Hawaiian Shores, Spring Moss, Mint Julep
PAPER: Stamper’s Select White, Sheer Basics Vellum, Bitty Big Sweet Blush, Basket of Blossoms
DIES: Trees of Cheer, Love to Layer: Squares, Bringing Home the Holidays
OTHER: Spectacular Snowflakes Stencils, glitter foam, Stickles glitter, adhesive gems


TIPS:
- Add vellum over stenciled background to soften the look
- Add Stickles to the edges of the snow
- Use foam tape to pop up the snow so you can added the trees behind the snow.


TIPS:
- Blend Aqua Mist Ink on the edges of the hills of snow and add Stickles for glistening snow
- Use a stencil to add pattern to the background
- Die cut the corners with the Cornered: Snowflake Dies for added texture and detail
We hope you have enjoyed all the beautiful projects that we have shared with you today! We would love to hear what you think of everything we have introduced! Please leave a comment on this post to tell us what you like the most and why, and you will be eligible to win big!

Leave a comment today and you will be automatically entered to win a $50 Papertrey Ink gift certificate! You have until 7am ET, October 19th to leave your comment and be eligible to win. Only one comment per person please. One randomly selected winner will be posted on the October Release Winners Page by 11 PM ET on October 20th.


Leave a Reply