


Welcome to Day 1 of our September Countdown! I am so excited for this month…it’s all about the holidays and have we ever got some beautiful, new products to get you in the holiday, card-making spirit! Let’s get started with the darling Festive Birds and Into the Blooms: Pine dies.

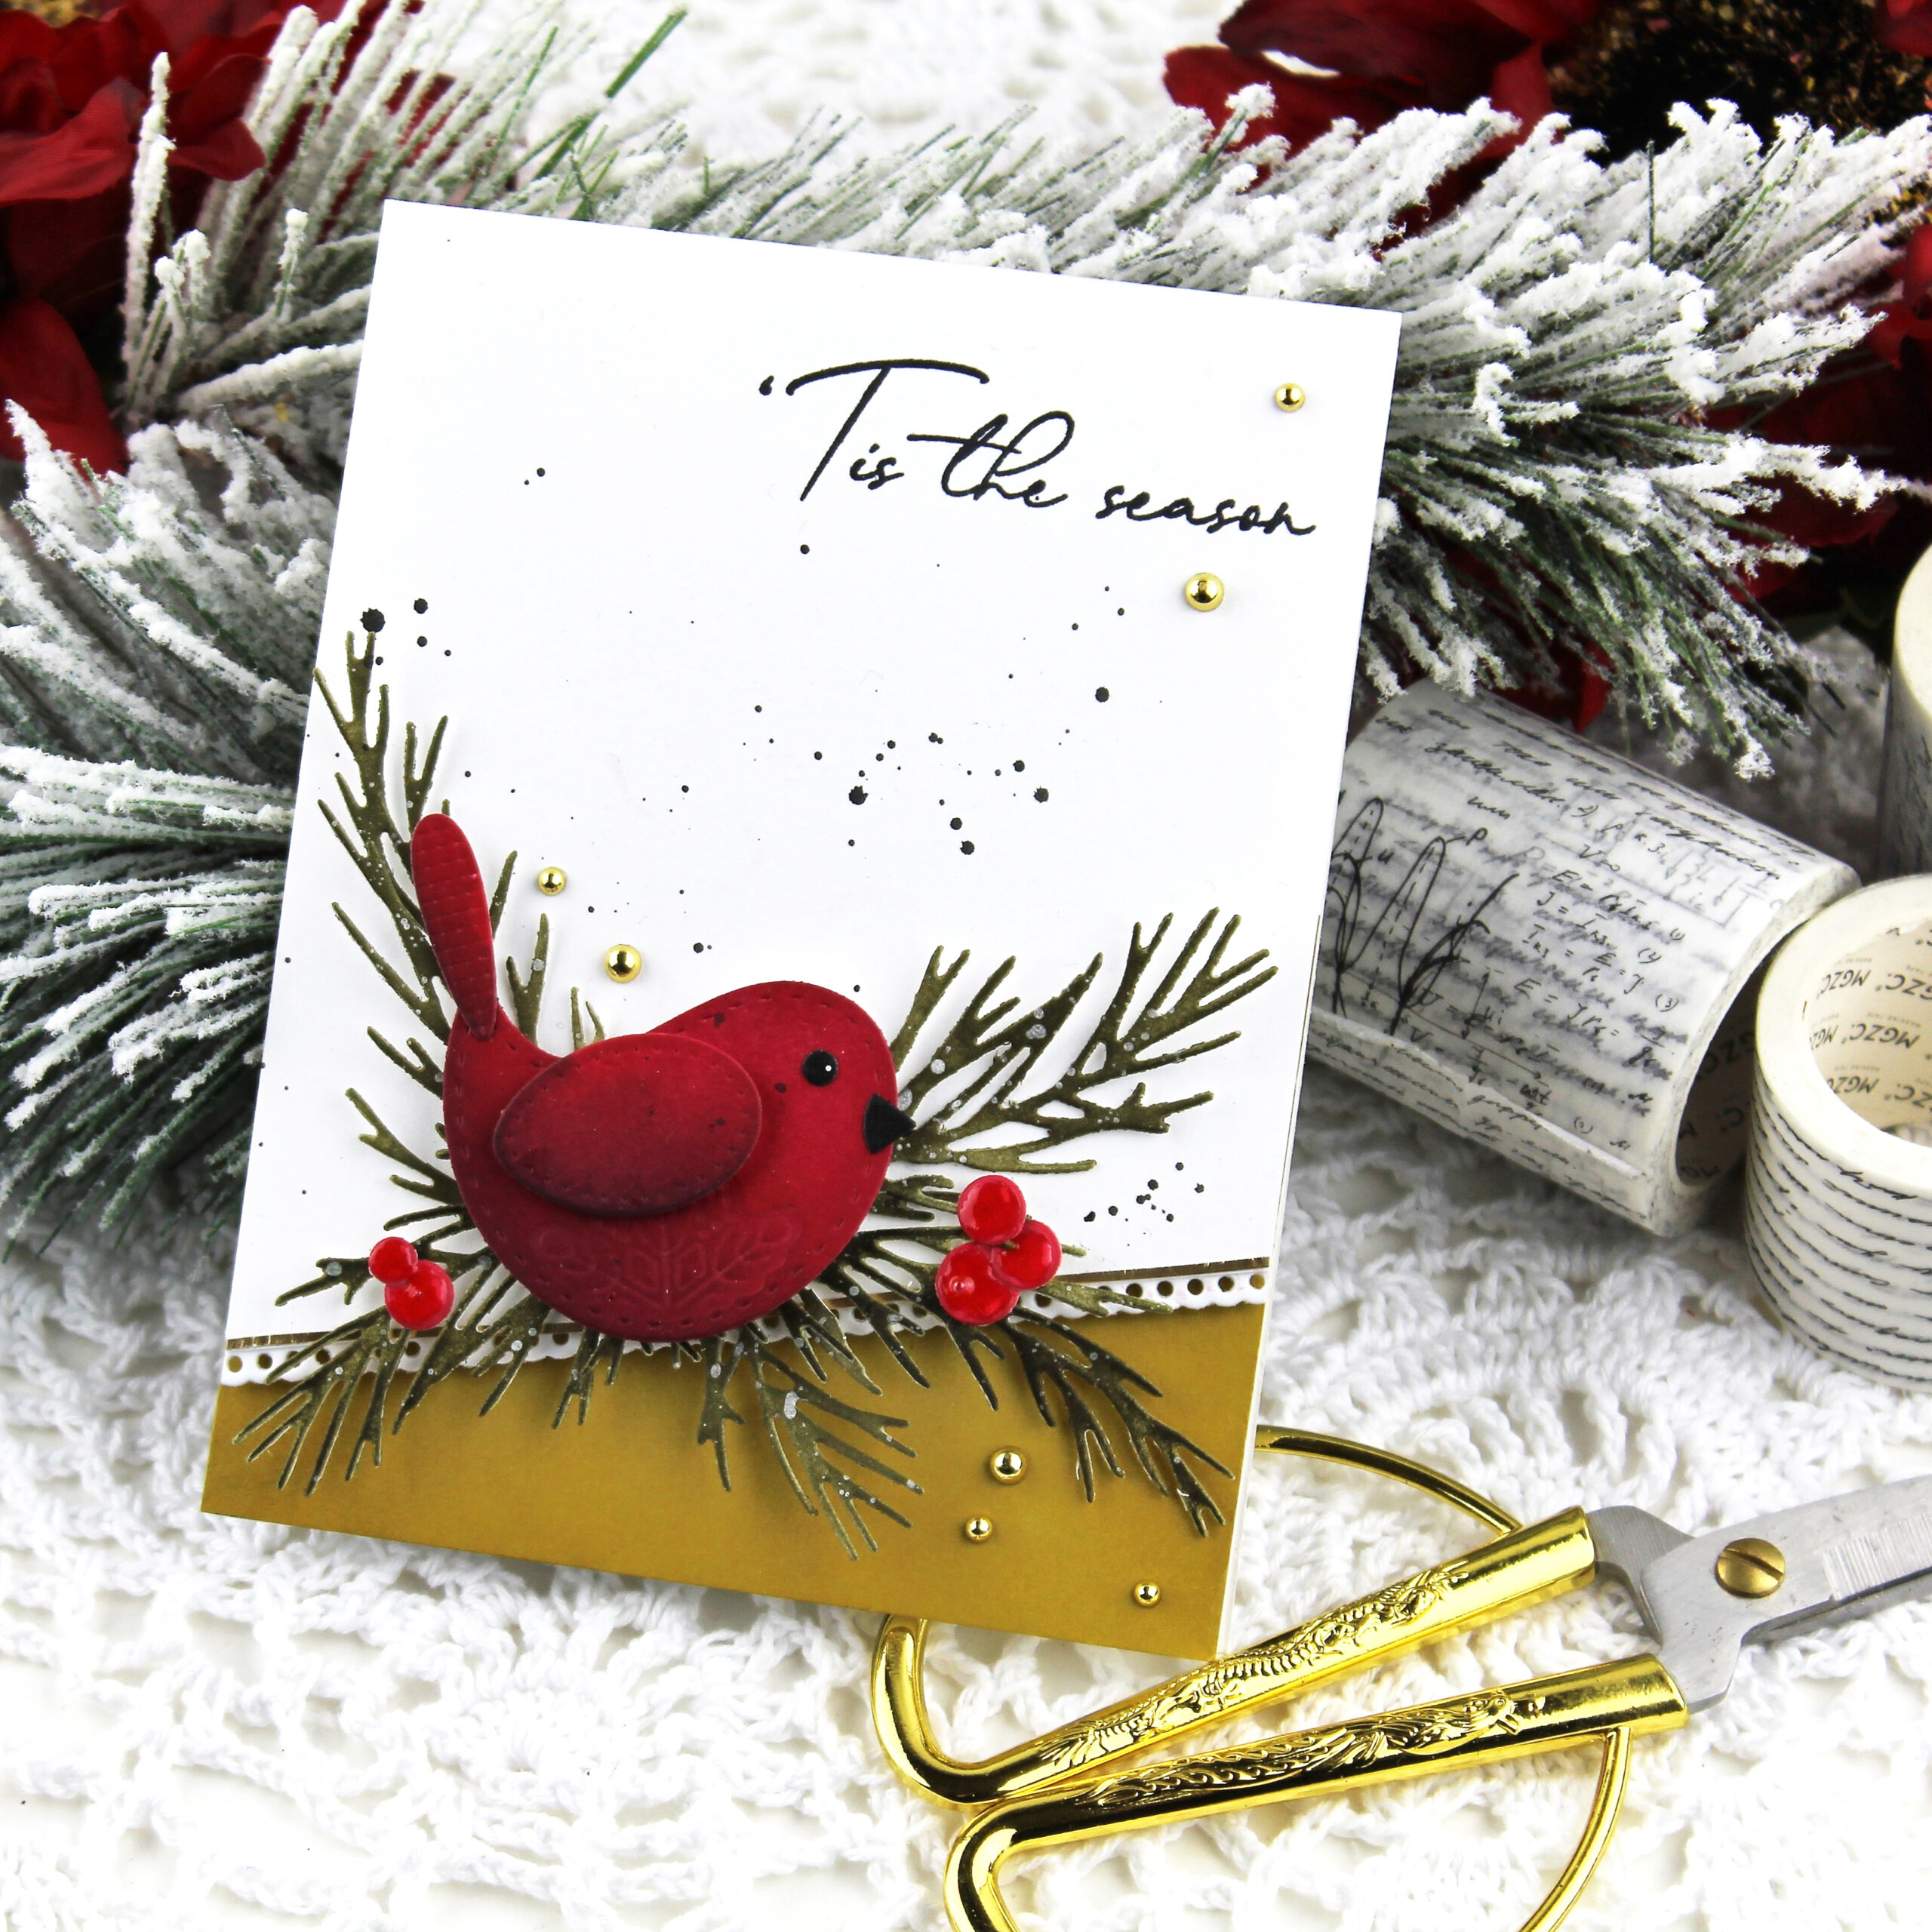
I absolutely adore the sweet and chunky birds in the Festive Birds die collection. You’ll find two different sizes of birds, a large and small. They come with a variety of different accessories to dress them up and give them character and personality. Think tail feathers, wings, buttons, a bow, top notch, and more.

I die cut my Festive Bird from patterned paper…a red gingham for the body, and a floral for the wings and tail feathers. You could also die cut your birds from cardstock and sponge on color, cut them from felt, cardboard, vellum, etc. The possibilities with these cuties are endless. I love the layered die cut button option you can use to attach the wings. I used a wooden button on this first bird, but you’ll see more of the die cut buttons in my next card today.
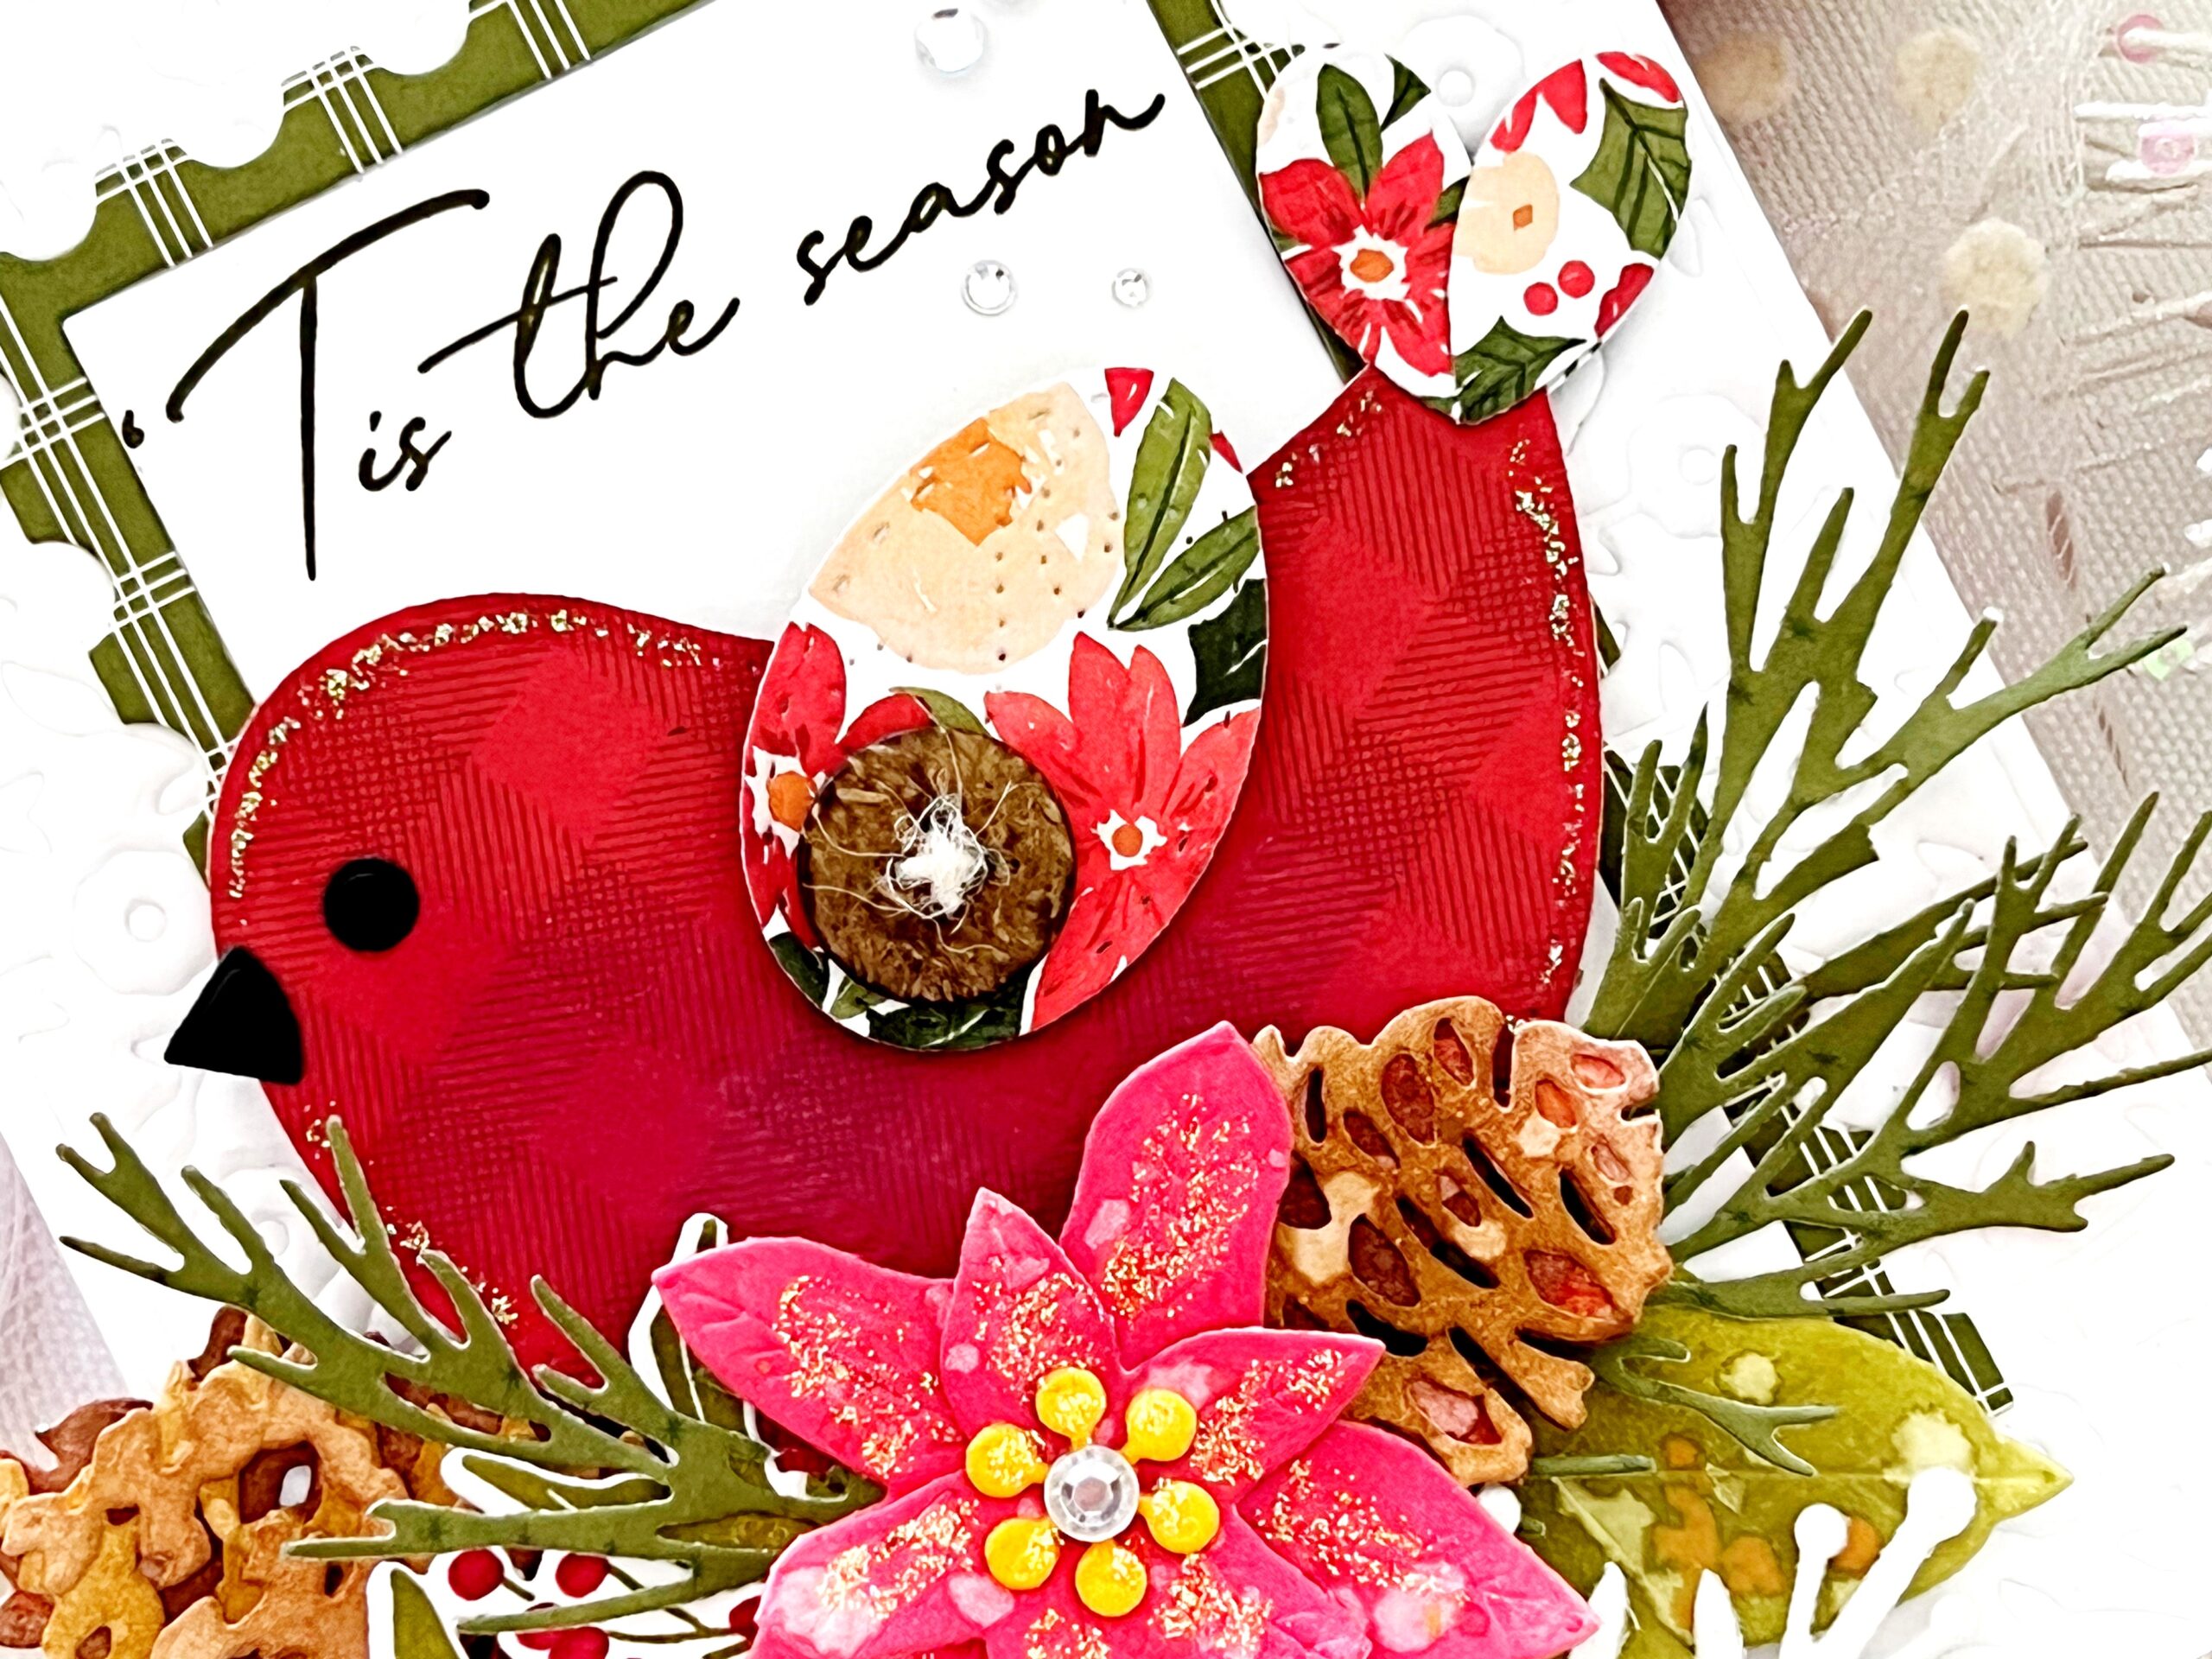
Our new Into the Blooms: Pine dies are drop dead gorgeous! Our Festive Bird die looks perfectly at home, nested on the pine sprigs and pine cones. You’ll love these new dies and adding touches of them to your holiday cards. Whether you use the pine cones as the focal point, such as many of our designers have shown, or use them as accents, they really add so much to your cards. I die cut mine from white cardstock and then added ink blending in Dark Chocolate and Honey Nut to add color. I also added in some Sprigs & Sprays: Winter and a poinsettia from the Go-To Gift Card Holder: Mitten die to create a perfect nest for my sweet, chubby bird. Don’t you love the beautiful scripted font on the sentiment? This is from the new Very Berry Mistletoe stamp set, which we’ll get to next!
Enjoy these gorgeous cards the designers have ready to share with you!
Supplies Used:
STAMPS: Very Berry Mistletoe, Sprigs & Sprays: Winter
INK: Olive Twist, Pure Poppy, Scarlet Jewel, Ripe Avocado, Summer Sunrise, Dark Chocolate, Honey Nut, Saffron Spice
PAPER: Stamper’s Select White
DIES: Festive Birds, Into the Blooms: Pine, Go-To Gift Card Holder: Mitten, Sprigs & Sprays: Winter, Border Bling: Skinny Postage Frames, Layered Snowflakes: Crystal, Border Bling: Dainty Deliveries Frame
OTHER: Patterned paper, Stickles glitter, adhesive gems, glitter foam, wood button, twine


TIPS:
- Add Nuvo Crystal Glaze to the bird’s beak and eye for realistic shine
- Die cut all of the pieces for the birds from white cardstock and then color them with ink
- Add wintery sparkle to the greenery by adding glitter


TIPS:
- Add a white dot to the center of the bird’s eye using a gel pen; it really adds character!
- Use varying shades of brown ink on the pine cone die cuts for added realism
- Overlap the birds for a cozy look


TIPS:
- Use gold hot foil on light cardstock for a soft look
- Use pine boughs to frame the sentiment
- Use pattern, texture, and shine to add interest
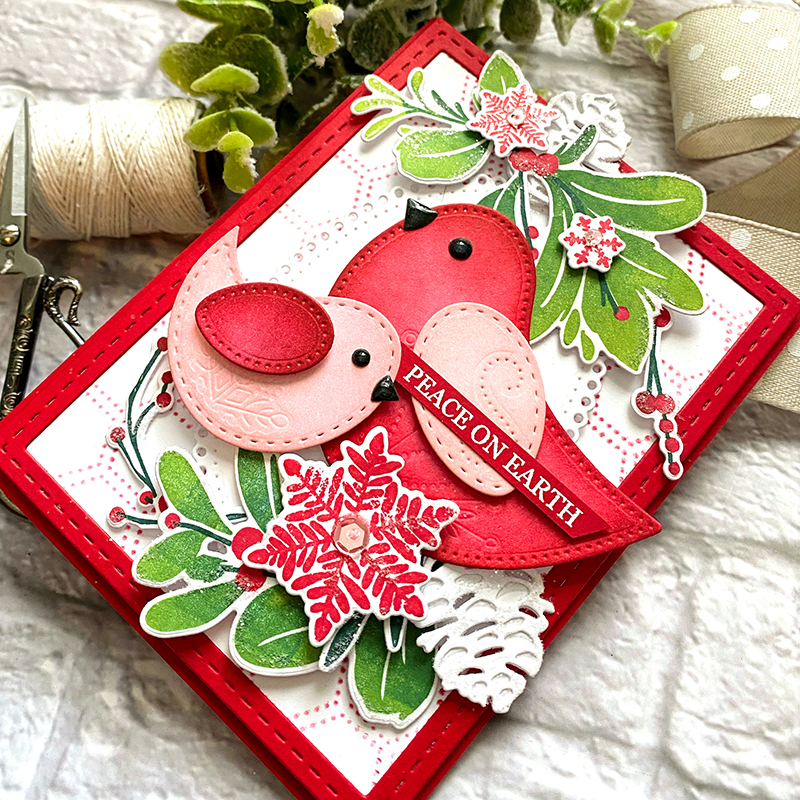
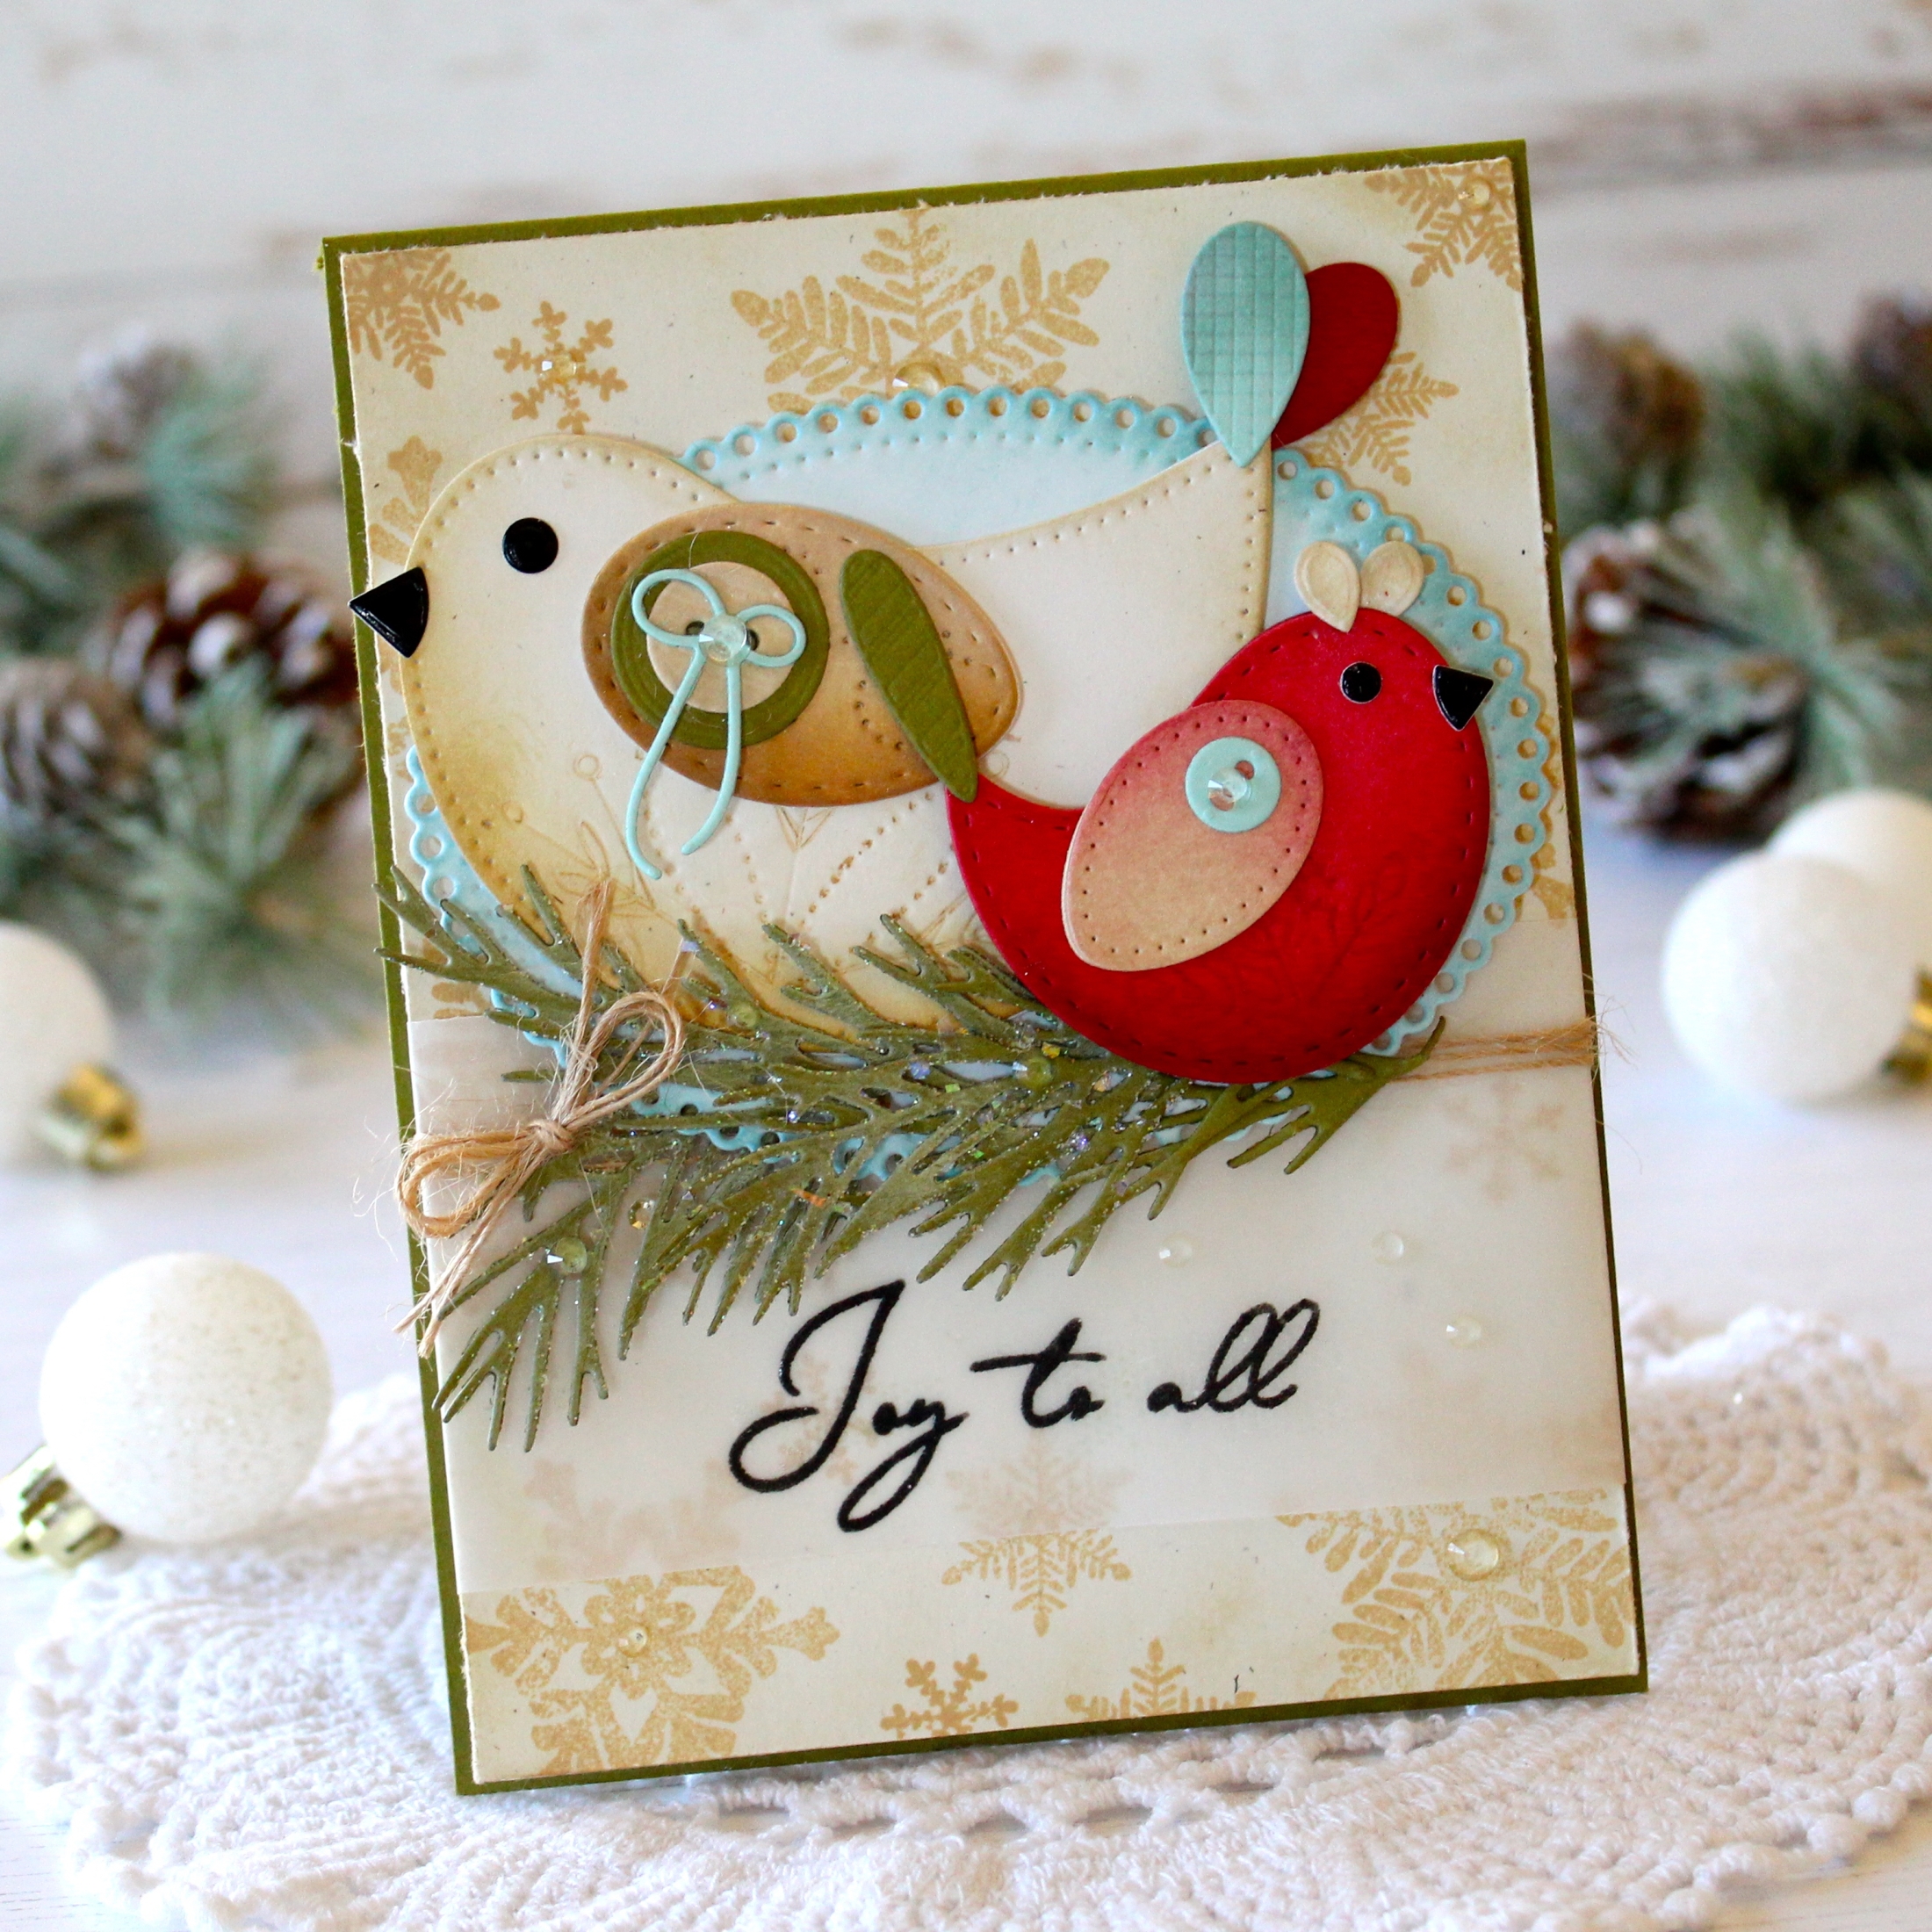
I’ve used the smallest Festive Bird die on this next card and mixed in our new and oh, so shabby and sweet Let it Snow stamp set and dies and Very Berry Mistletoe stamps and dies. There are so many fun things you can do with these creative new sets. I absolutely love them!

My Festive Bird on this card was colored using Distress Spray. I then sponged Pure Poppy ink over her belly to bring in a bit of shading. The bird’s tiny tail feathers, top notch, and buttons were colored using ink blending as well. I die cut the wing from patterned paper and added a die cut bow to the button layers. Isn’t the bow the cutest? I wanted to add my bird to a wreath for the holidays, so I used the Wreath Favor Box Sentiments stamp set and dies. It’s a perfect fit for this little bird!

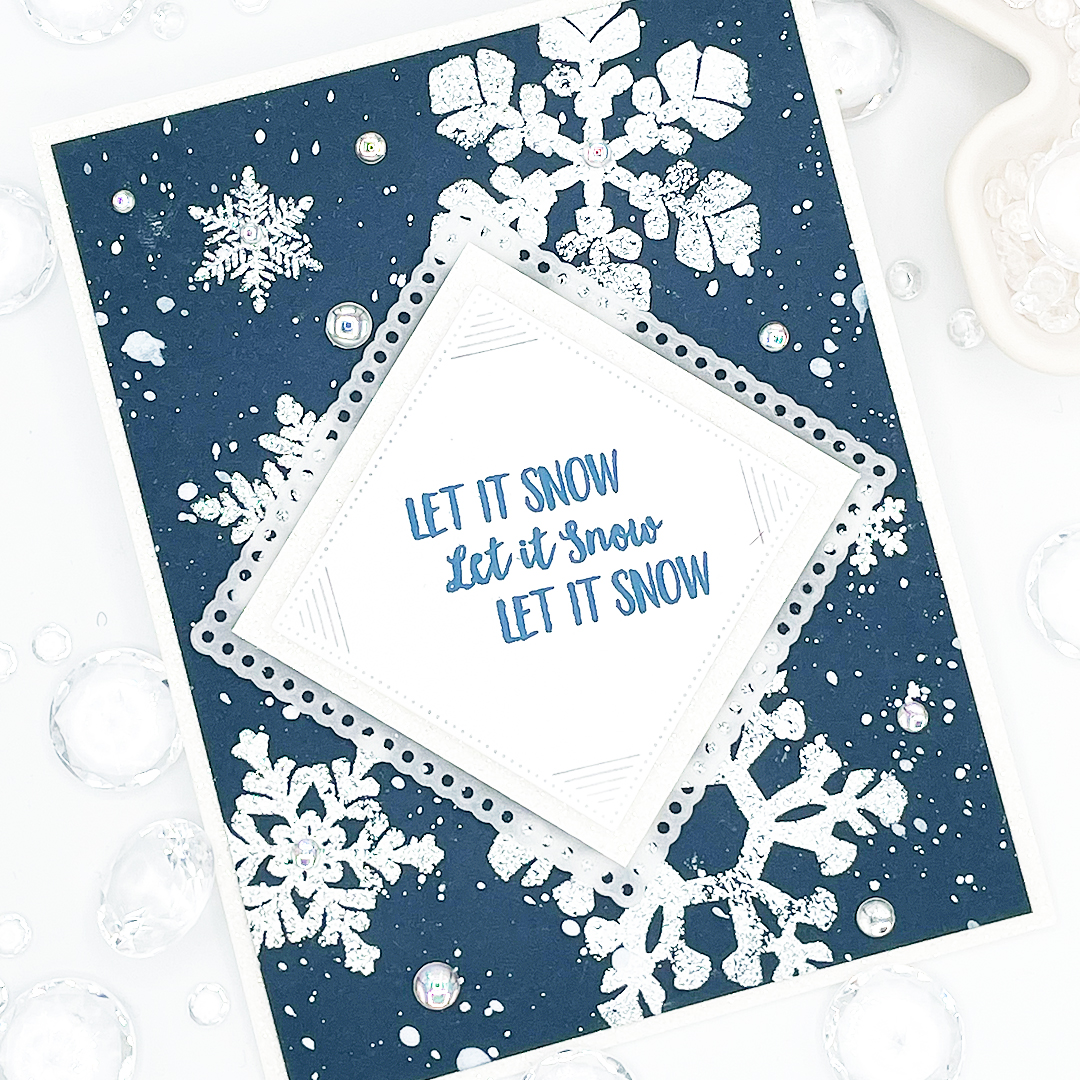
The new Let it Snow stamp set and dies are all about snowflakes and you’ll love the distressed, weathered look of these snowflakes. They come in a variety of shapes and sizes and are just so endearing. I die cut mine from cardboard and heat embossed each using Shabby Ivory Embossing Enamel. I also used Let it Snow snowflakes images to create my background…these flakes make gorgeous backgrounds, as you’ll see many of our designers used this set for.

The Very Berry Mistletoe stamps and dies are so versatile and creative. You’ll find lovely, leafy images, and fun, twiggy images, such as I’ve used on this card. I surrounded my Festive Bird using the darling berries and twigs found in this set. They’re a perfect pair, I’d say! I love that the sentiments in the Let it Snow stamp set have a coordinating die, so you can cut the sentiment out and then apply it to you cards…so helpful and fun!
Supplies used:
STAMPS: Very Berry Mistletoe, Let it Snow, Wreath Favor Box Sentiments
INK: Fine Linen, New Lear, Ripe Avocado, Pure Poppy, Berry Sorbet, Olive Twist, Dark Chocolate
PAPER: Stamper’s Select White, Sheer Basics Vellum, Pure Poppy
DIES: Festive Birds, Very Berry Mistletoe, Wreath Favor Box Sentiments, Let it Snow, Border Bling: Skinny Postage Frames, Love to Layer: Scalloped Circles
OTHER: Cardboard, Stickles glitter, Moonshine sequins, embossing enamel, patterned paper

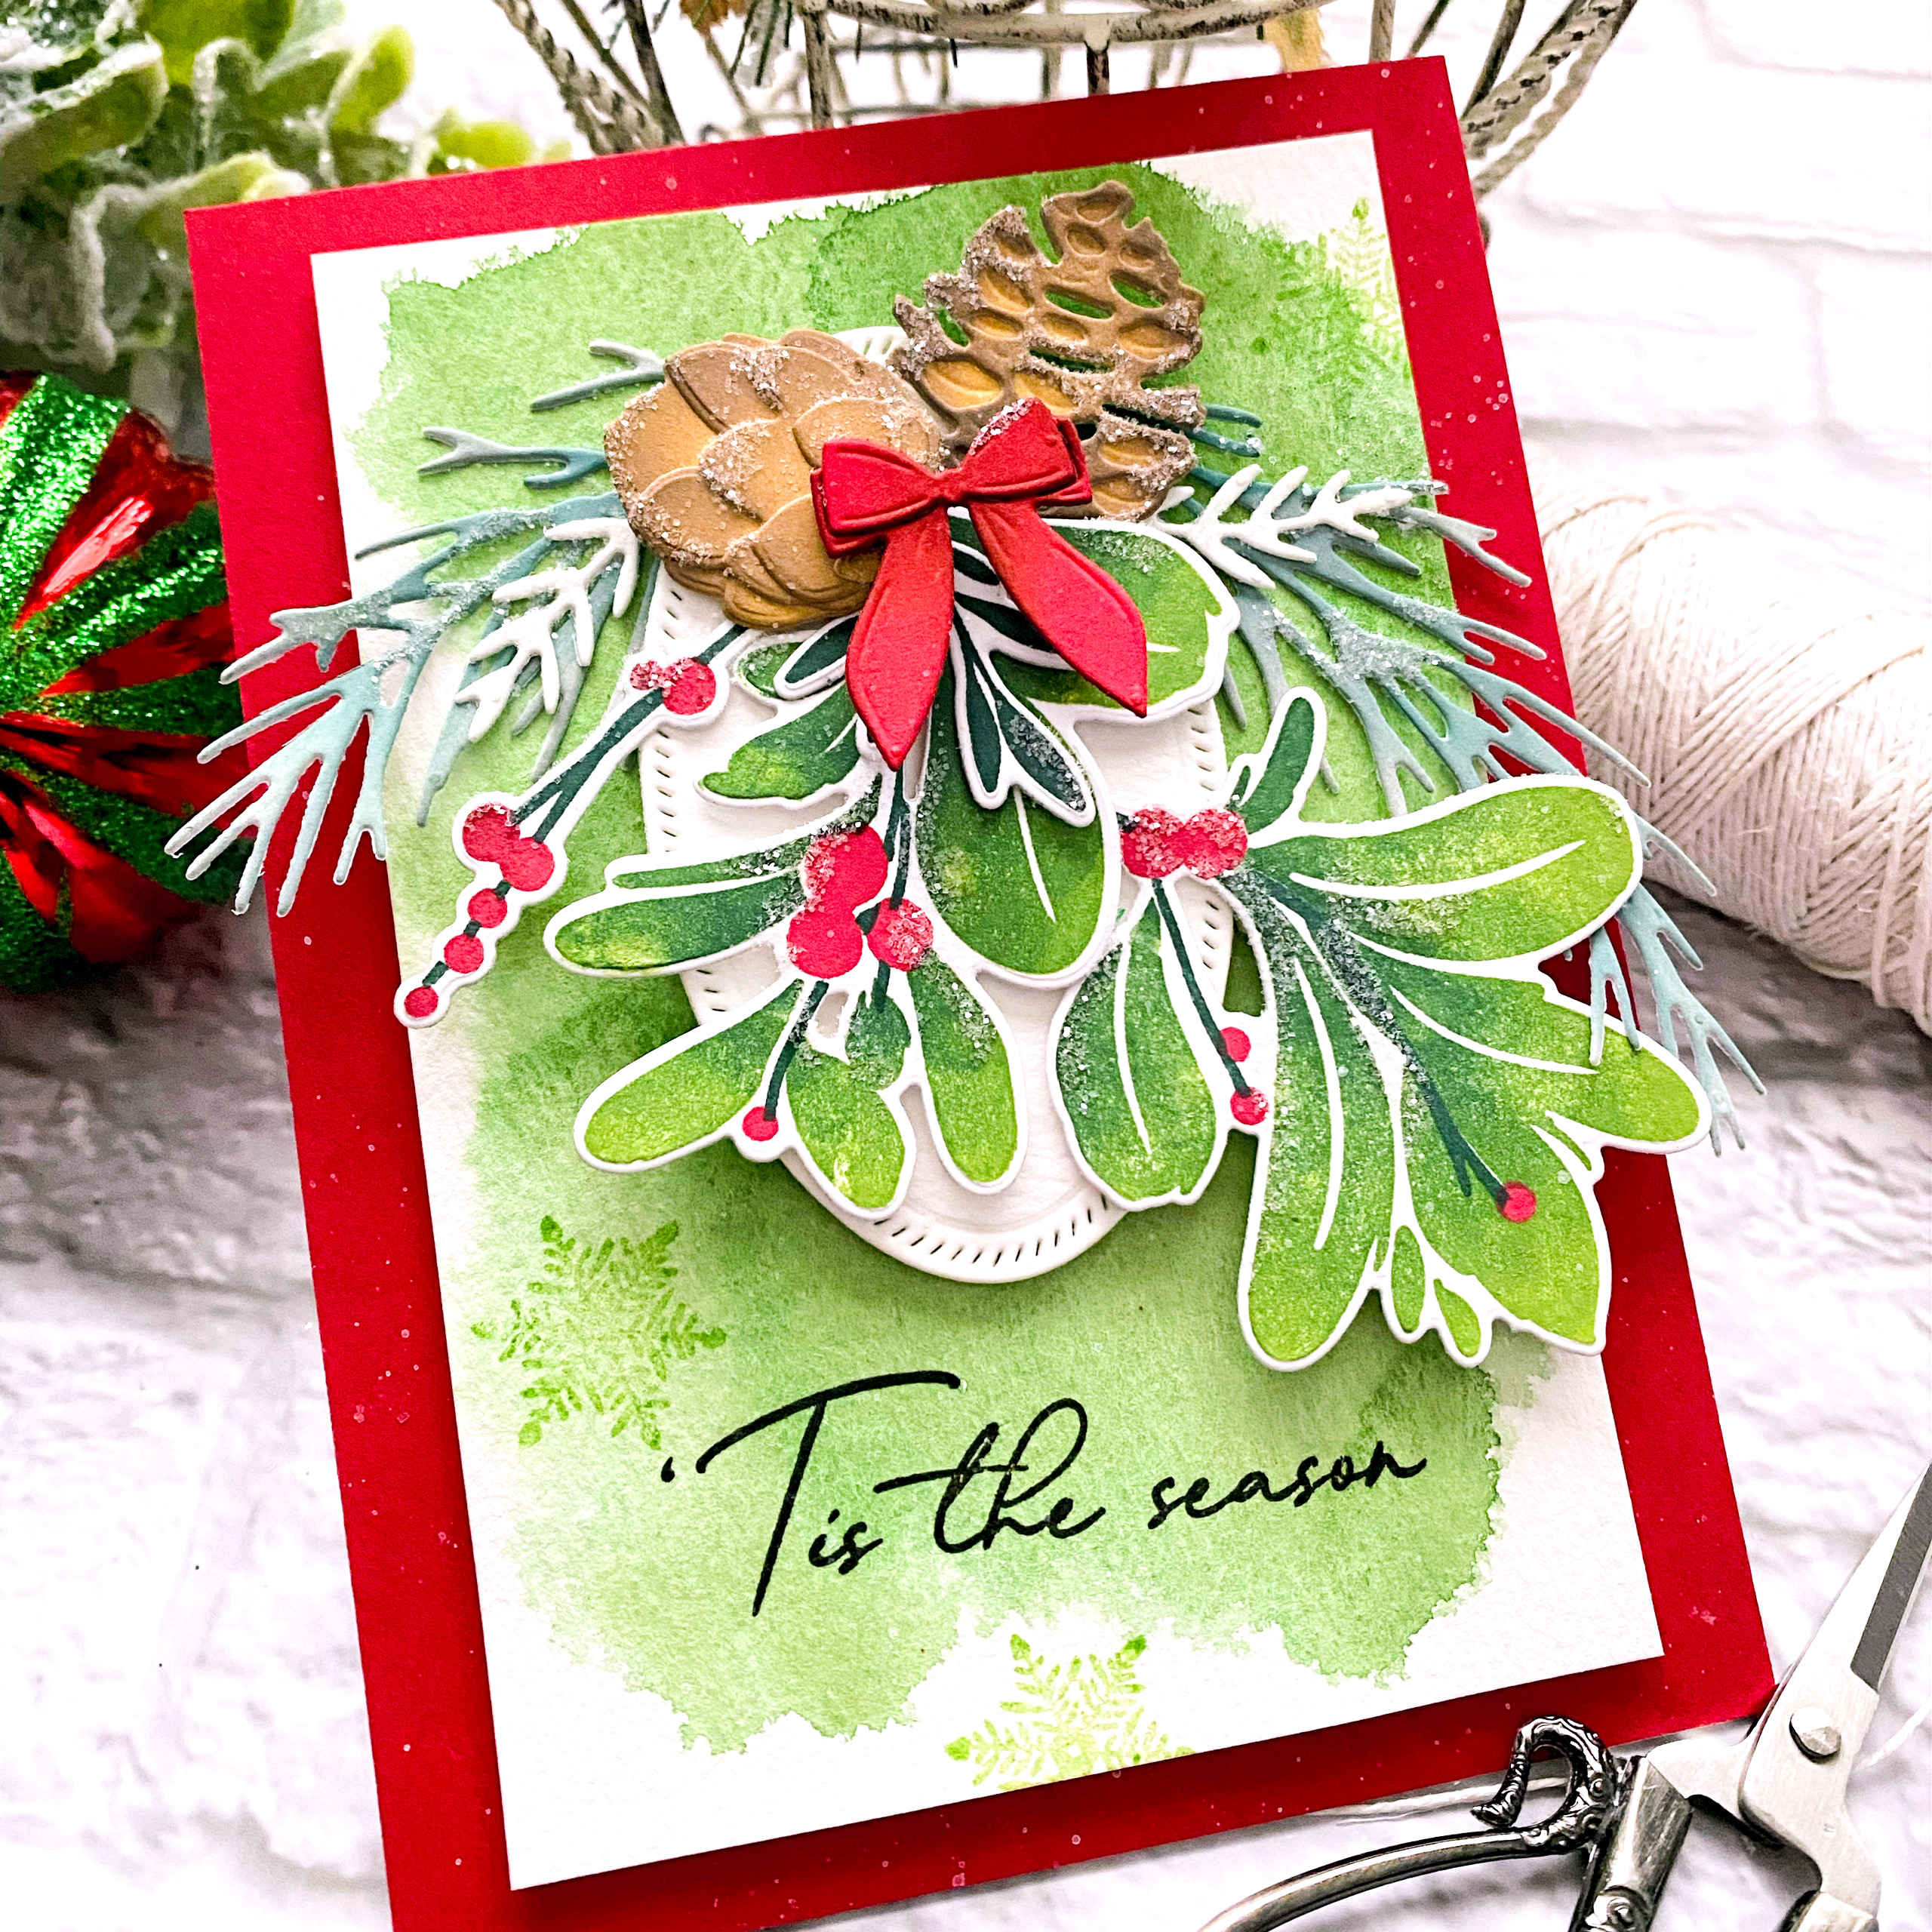
My next card uses the beautiful, new Elegant Edges: Holly Berries die along with the Very Berry Mistletoe stamps and dies.

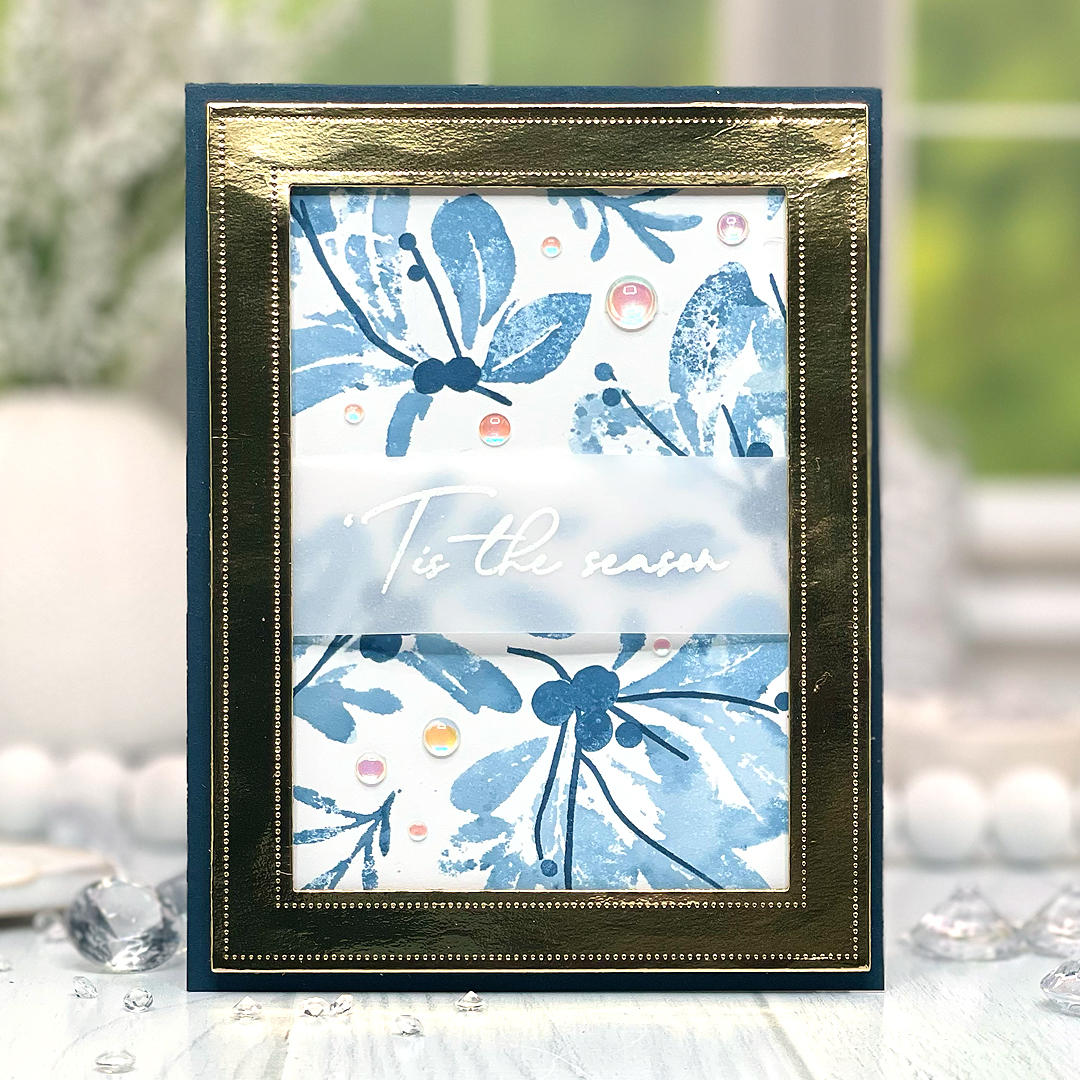
Isn’t this new Elegant Edges beautiful? I think it might just be my favorite…talk about creating classic, timeless holiday cards…this die set is magical! I die cut the top layer from white cardstock and then used patterned paper in a green plaid for my base layer. I love the fun pattern showing from beneath the elegant edge.

I then added a strip of red gingham just above the elegant edge and then a coordinating green, floral paper across the top. I stamped my sentiment (from the Very Berry Mistletoe stamp set) on a die cut It’s A Sign: Hanging Frames Layers and It’s A Sign: Hanging Frames: Stitched Layers and added it to the center of my gingham strip. I accented by using sprigs of the new Very Berry Mistletoe and die cut Into the Blooms: Pine and Into the Blooms: Poinsettias. Don’t these products work so perfectly together. I love mixing and matching!
Now sit back and enjoy these next project from our Design Team…they’re sure to please!
Supplies used:
STAMPS: Very Berry Mistletoe
INK: New Leaf, Pure Poppy, Ripe Avocado
PAPER: Stamper’s Select White
DIES: Very Berry Mistletoe, Into the Blooms: Pine, Into the Blooms: Poinsettia, Elegant Edges: Holly Berries, It’s A Sign: Hanging Frames Layers, It’s A Sign: Hanging Frames: Stitched Layers
OTHER: Stickles glitter, patterned paper, velvet ribbon, adhesive pearls, Moonshine sequins


TIPS:
-
Mix heat embossing powders for a new look
-
Use white ink when embossing white powder on dark cardstock
-
Use square dies at an angle for a new look


TIPS:
-
Cut the edge die twice to create double-sided die cut
-
Leave a space between the die cut edges to stamp the sentiment
-
Inlay die cut pieces in different colors


TIPS:
-
Use one color for all your stamping for a monochromatic look
-
Use a water pen to apply diluted ink to stamps for a watercolor look
-
Heat emboss your sentiment on vellum to allow the background pattern to show through
We hope you have enjoyed all the beautiful projects that we have shared with you today! We would love to hear what you think of everything we have introduced! Please leave a comment on this post to tell us what you like the most and why, and you will be eligible to win big!

Leave a comment today and you will be automatically entered to win a $50 Papertrey Ink gift certificate! You have until 7am ET, September 26th to leave your comment and be eligible to win. Only one comment per person please. One randomly selected winner will be posted on the September Release Winners Page by 11 PM ET on September 29th.


Leave a Reply