


We’ve saved you the sweetest treat for Day 4 of our August Release. Ready? Introducing the new Pumpkin House dies. Let’s jump right into my project!
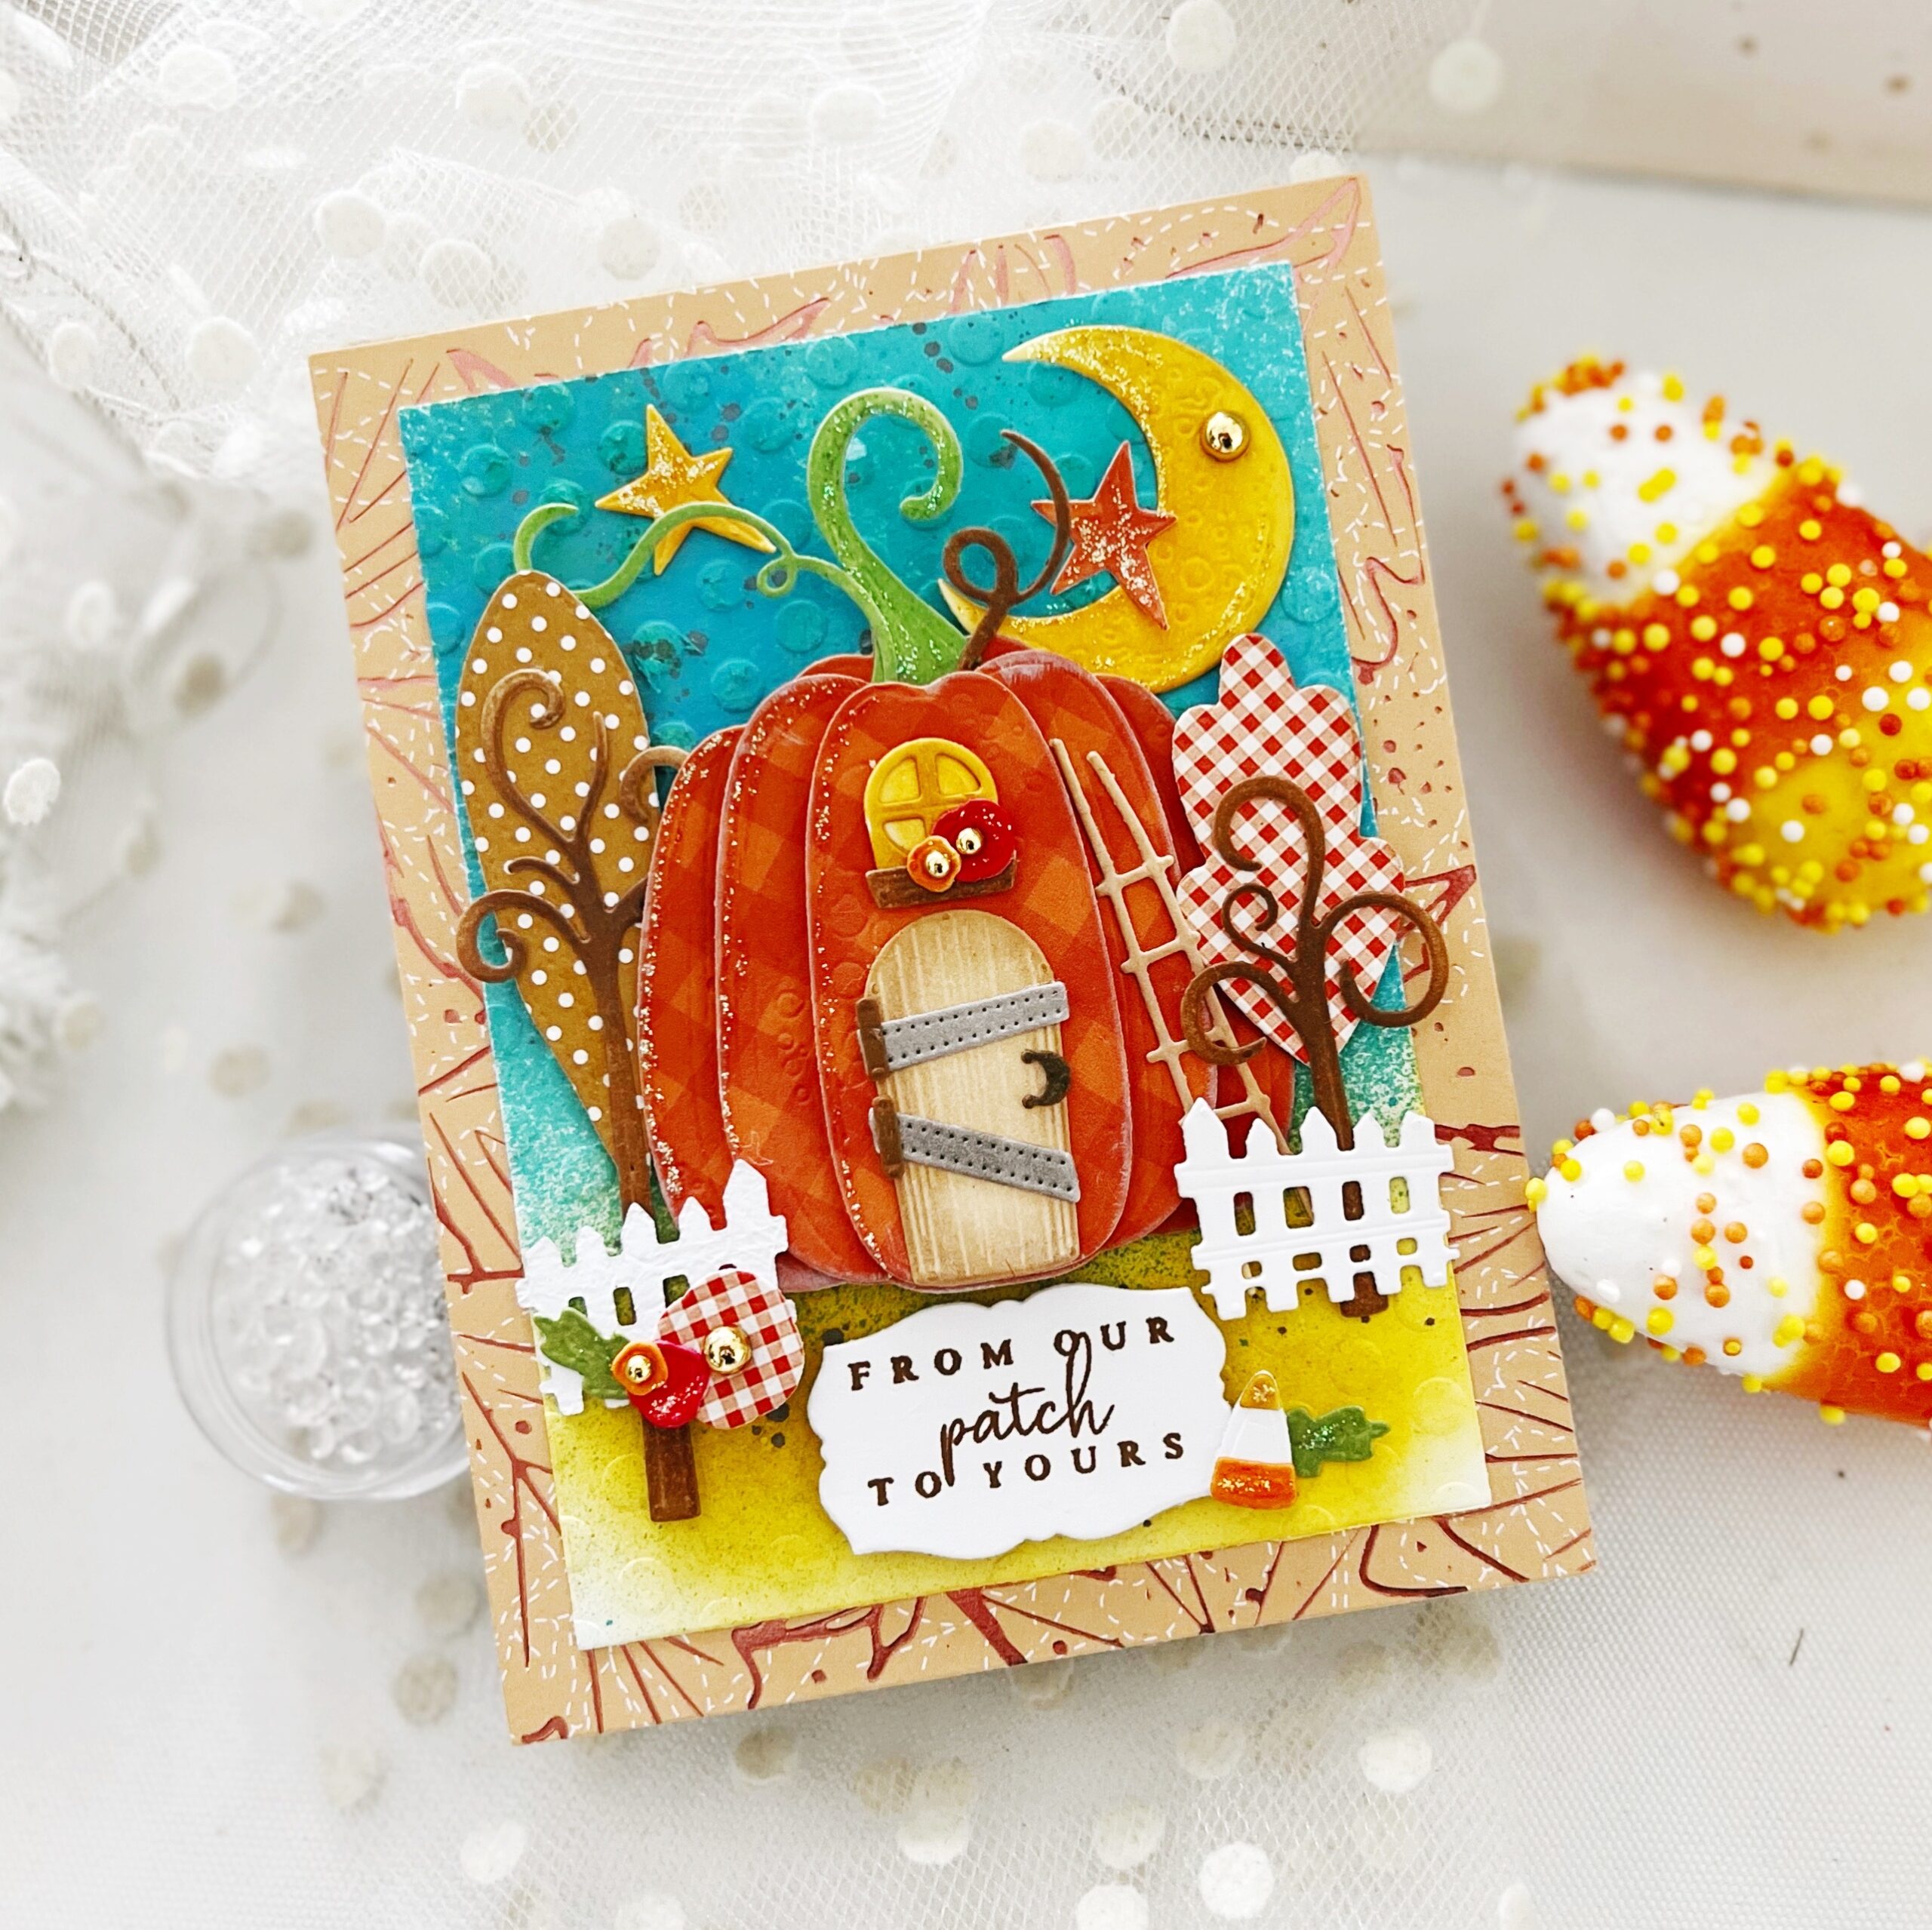
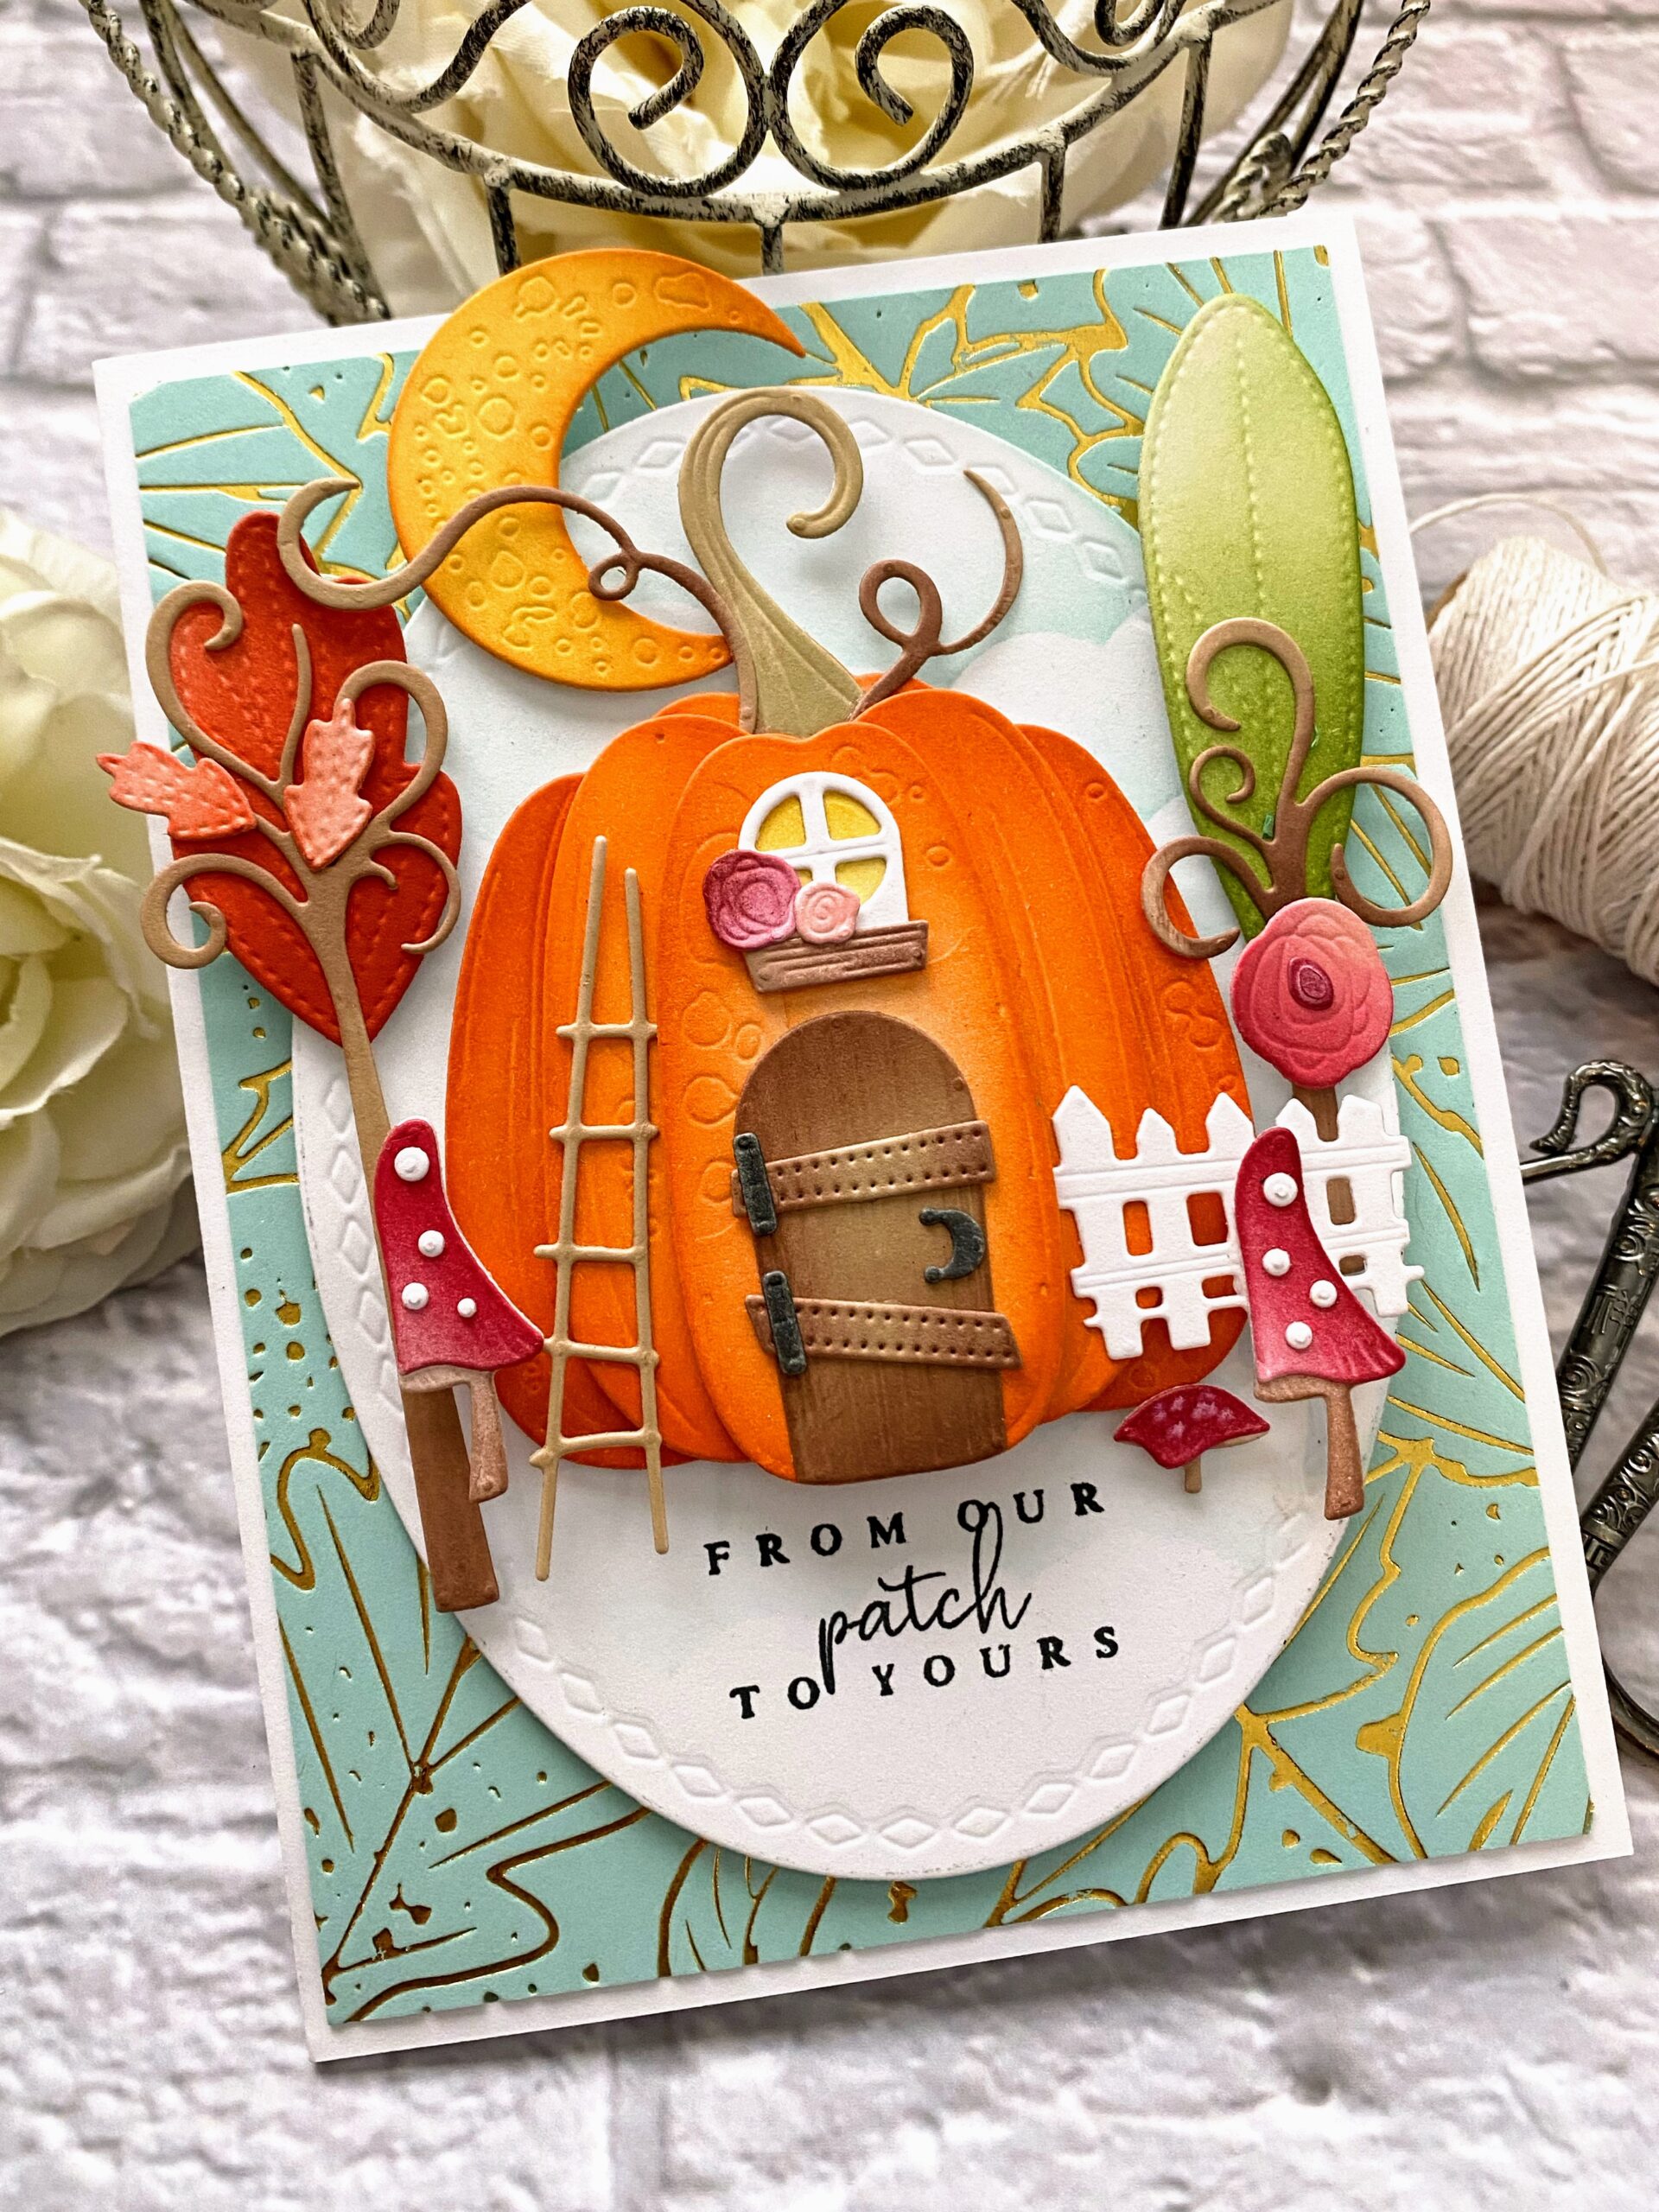
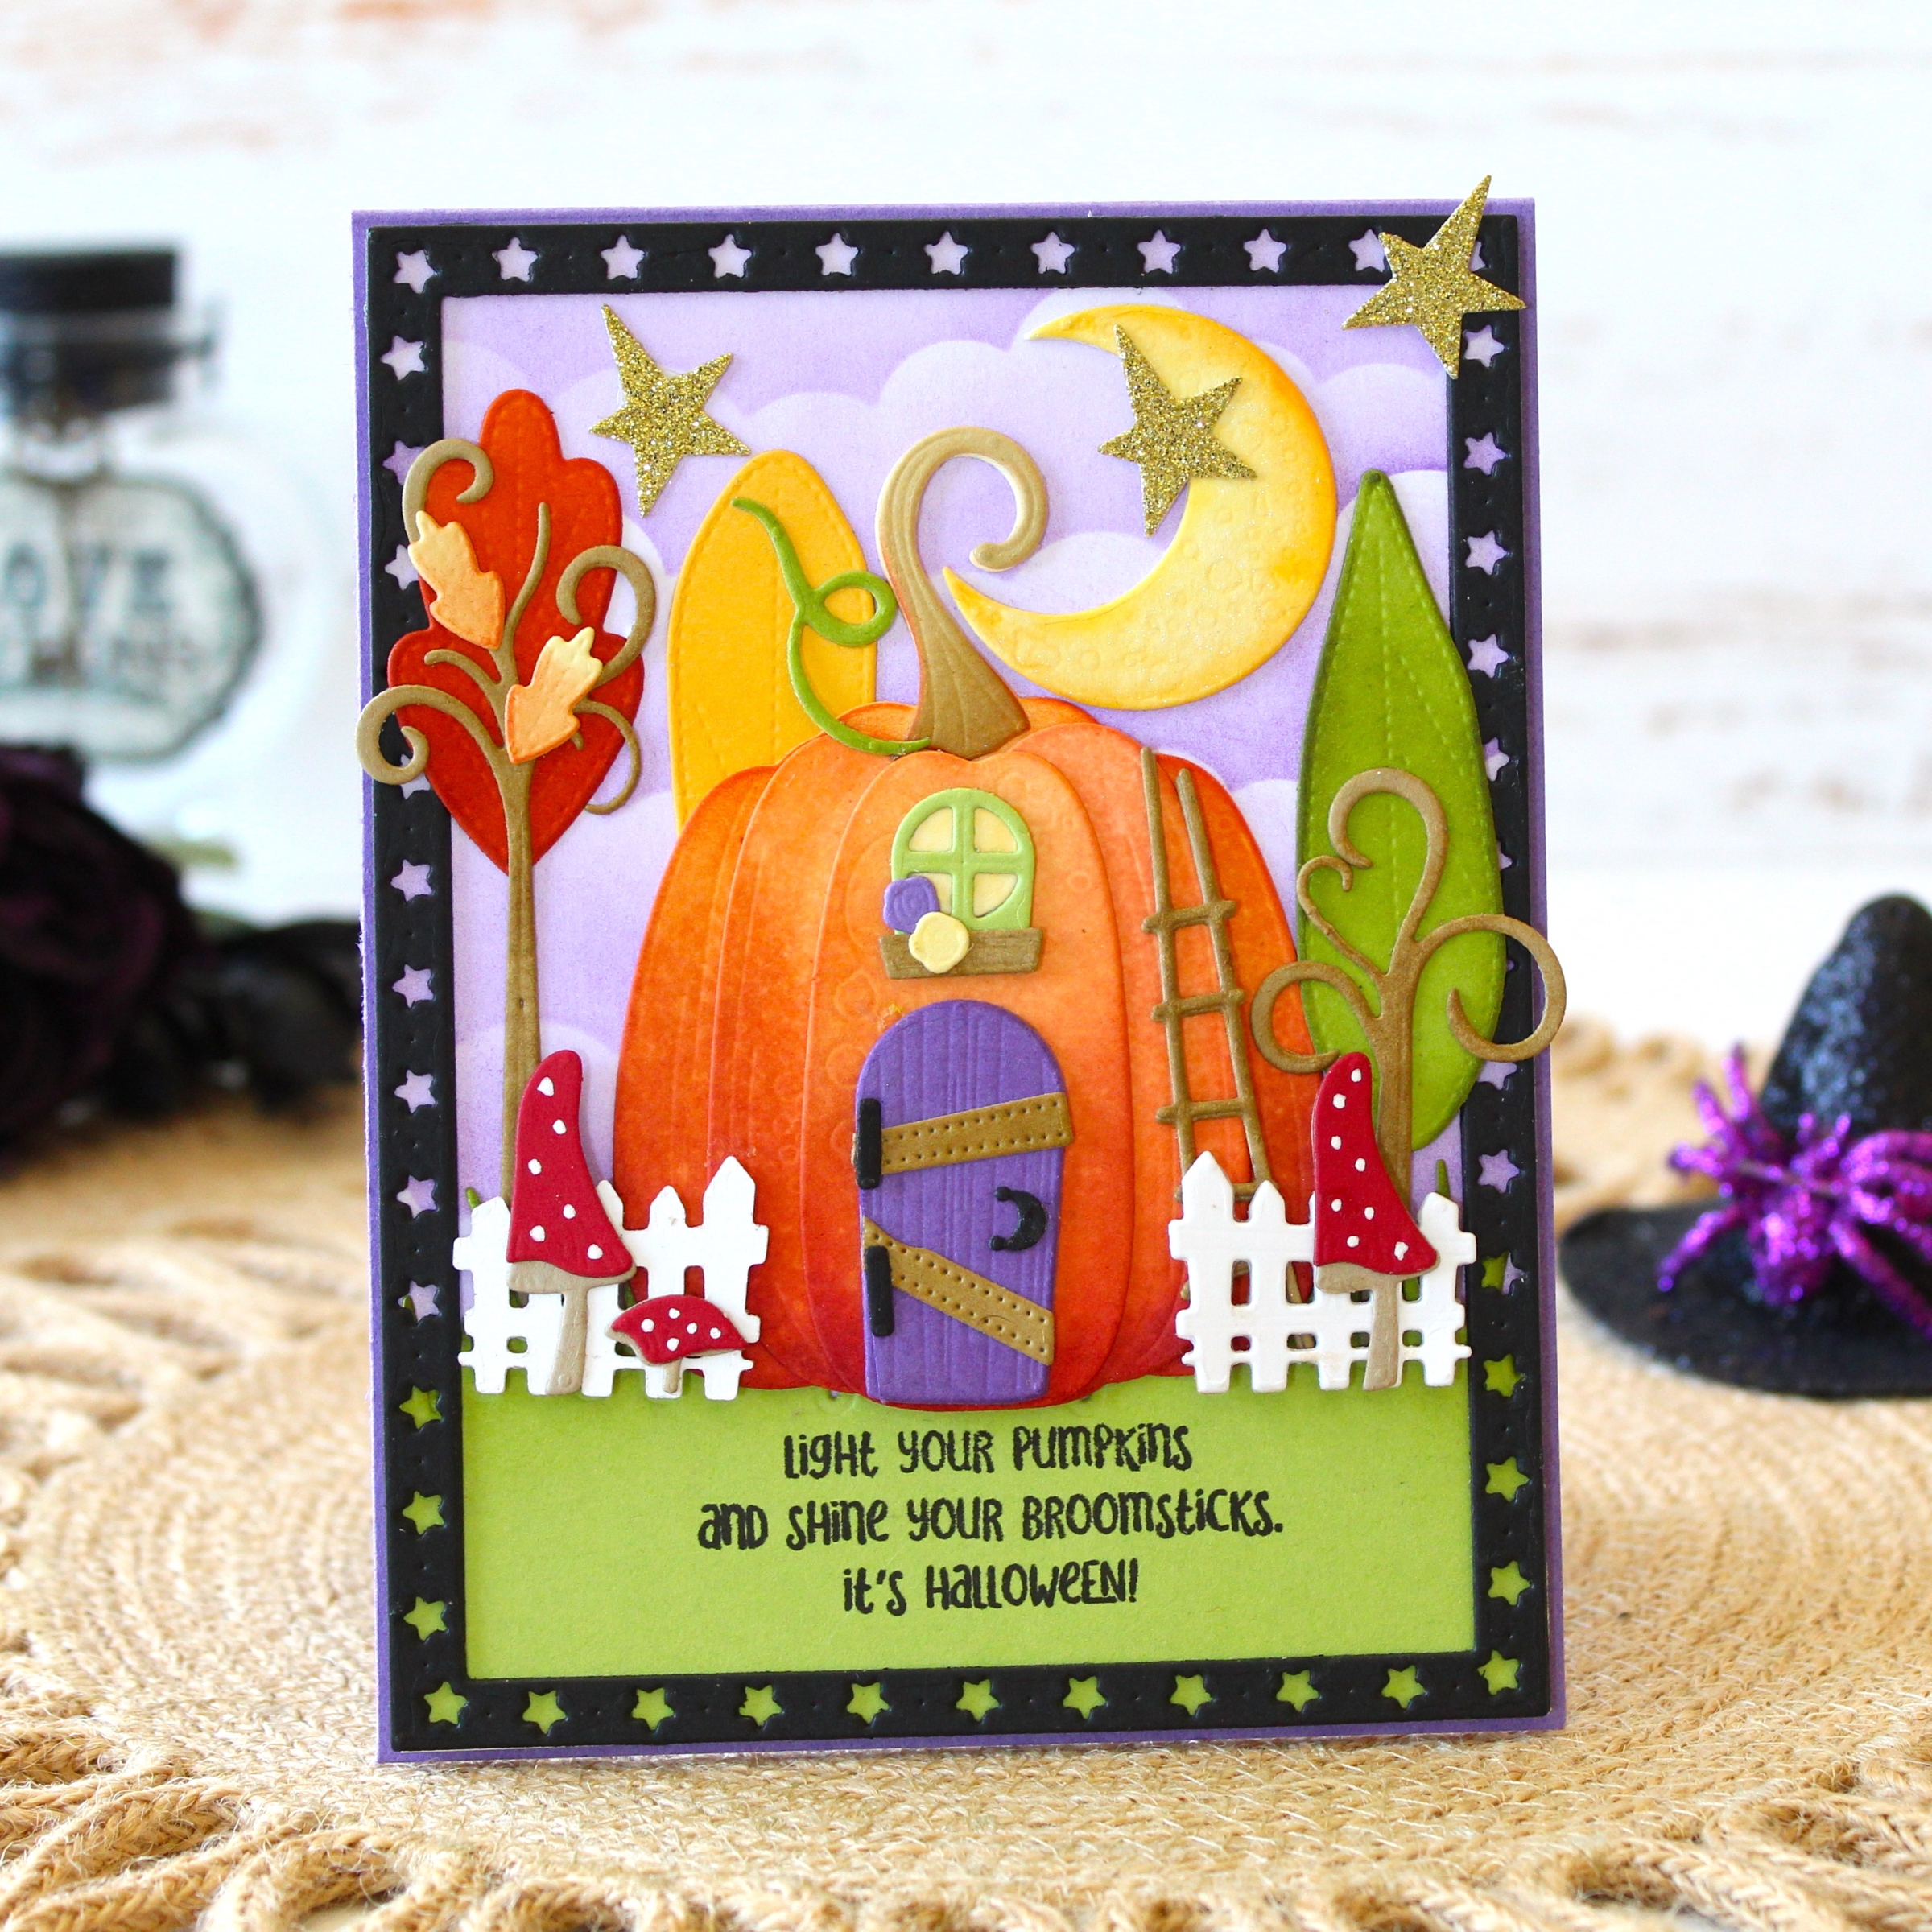
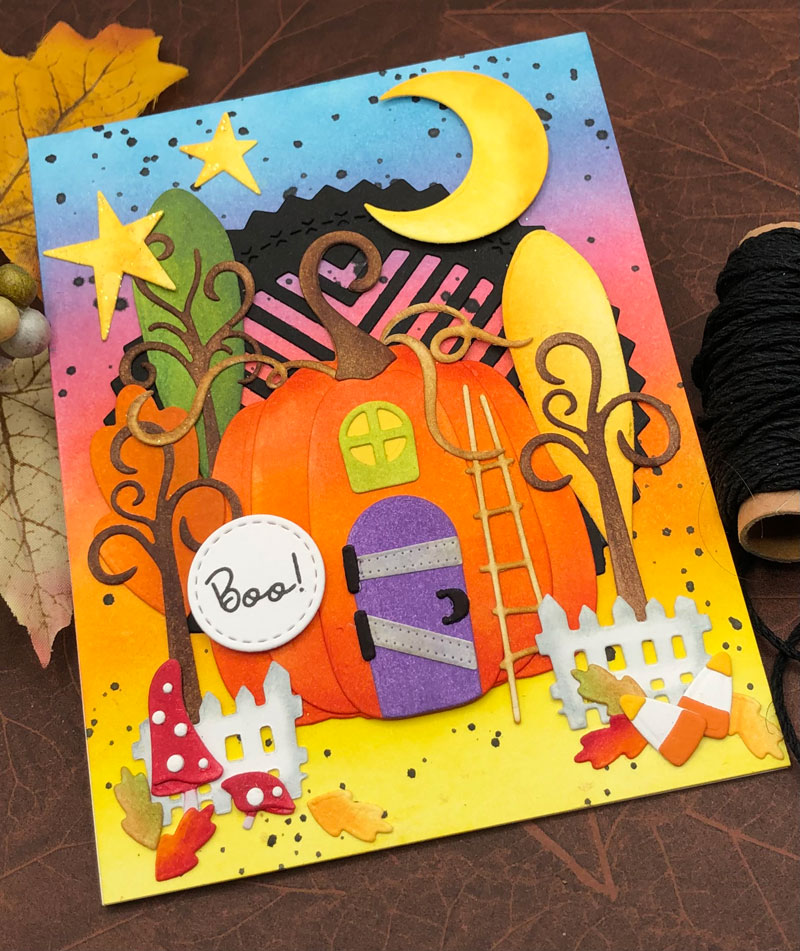
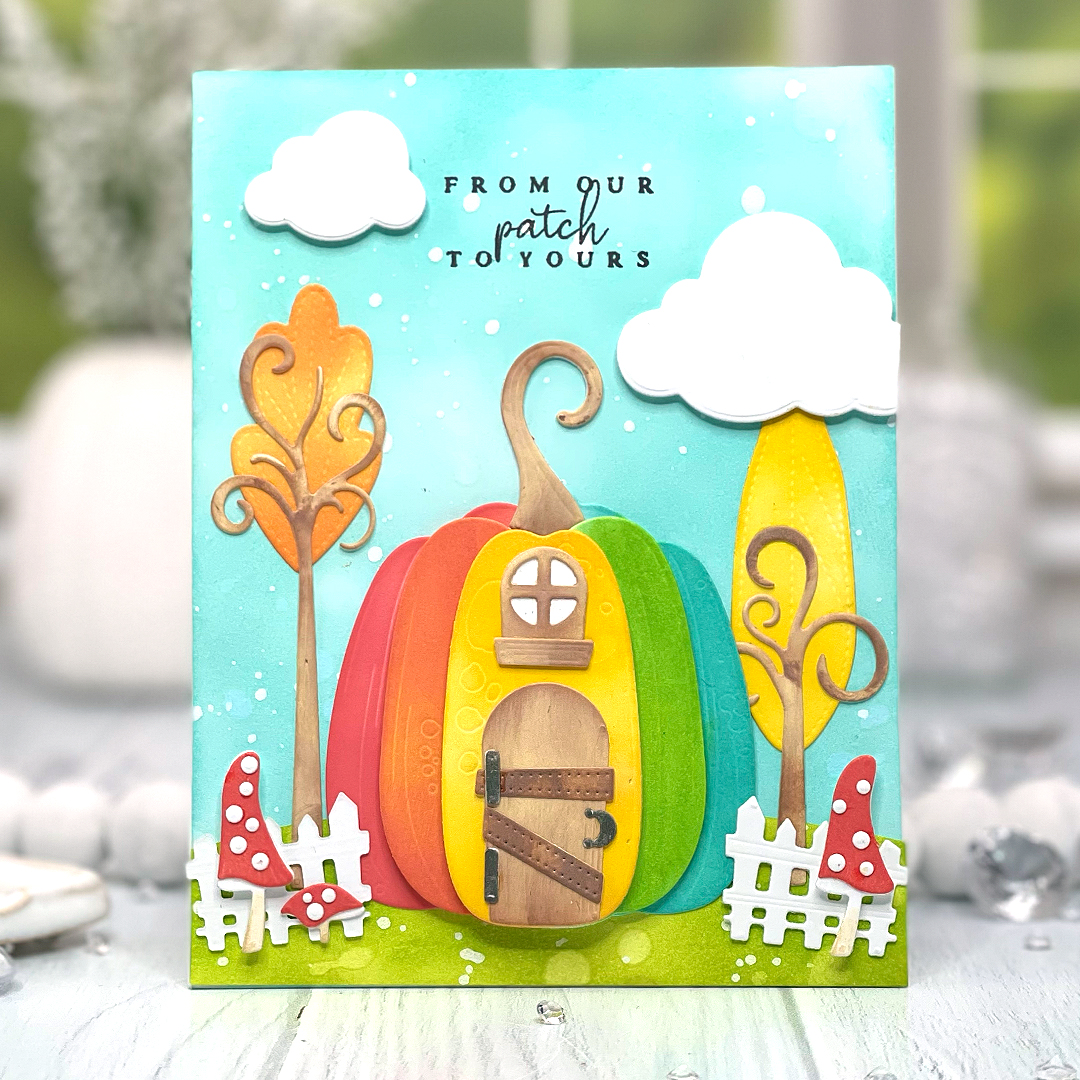
I can’t tell you how crazy I am about our new Pumpkin House dies. This sweet die collection comes with everything you need to create your own, cozy little pumpkin. The pumpkin is assembled in 4 layers and then you’ll add the darling curly stem and vines. Cut yours from cardstock and add color through ink blending, use patterned paper such as I’ve done with mine, or even use felt. Can you imagine how cute a warm, felt cut pumpkin would be? Once your pumpkin is assembled, it’s time to add the accessories.
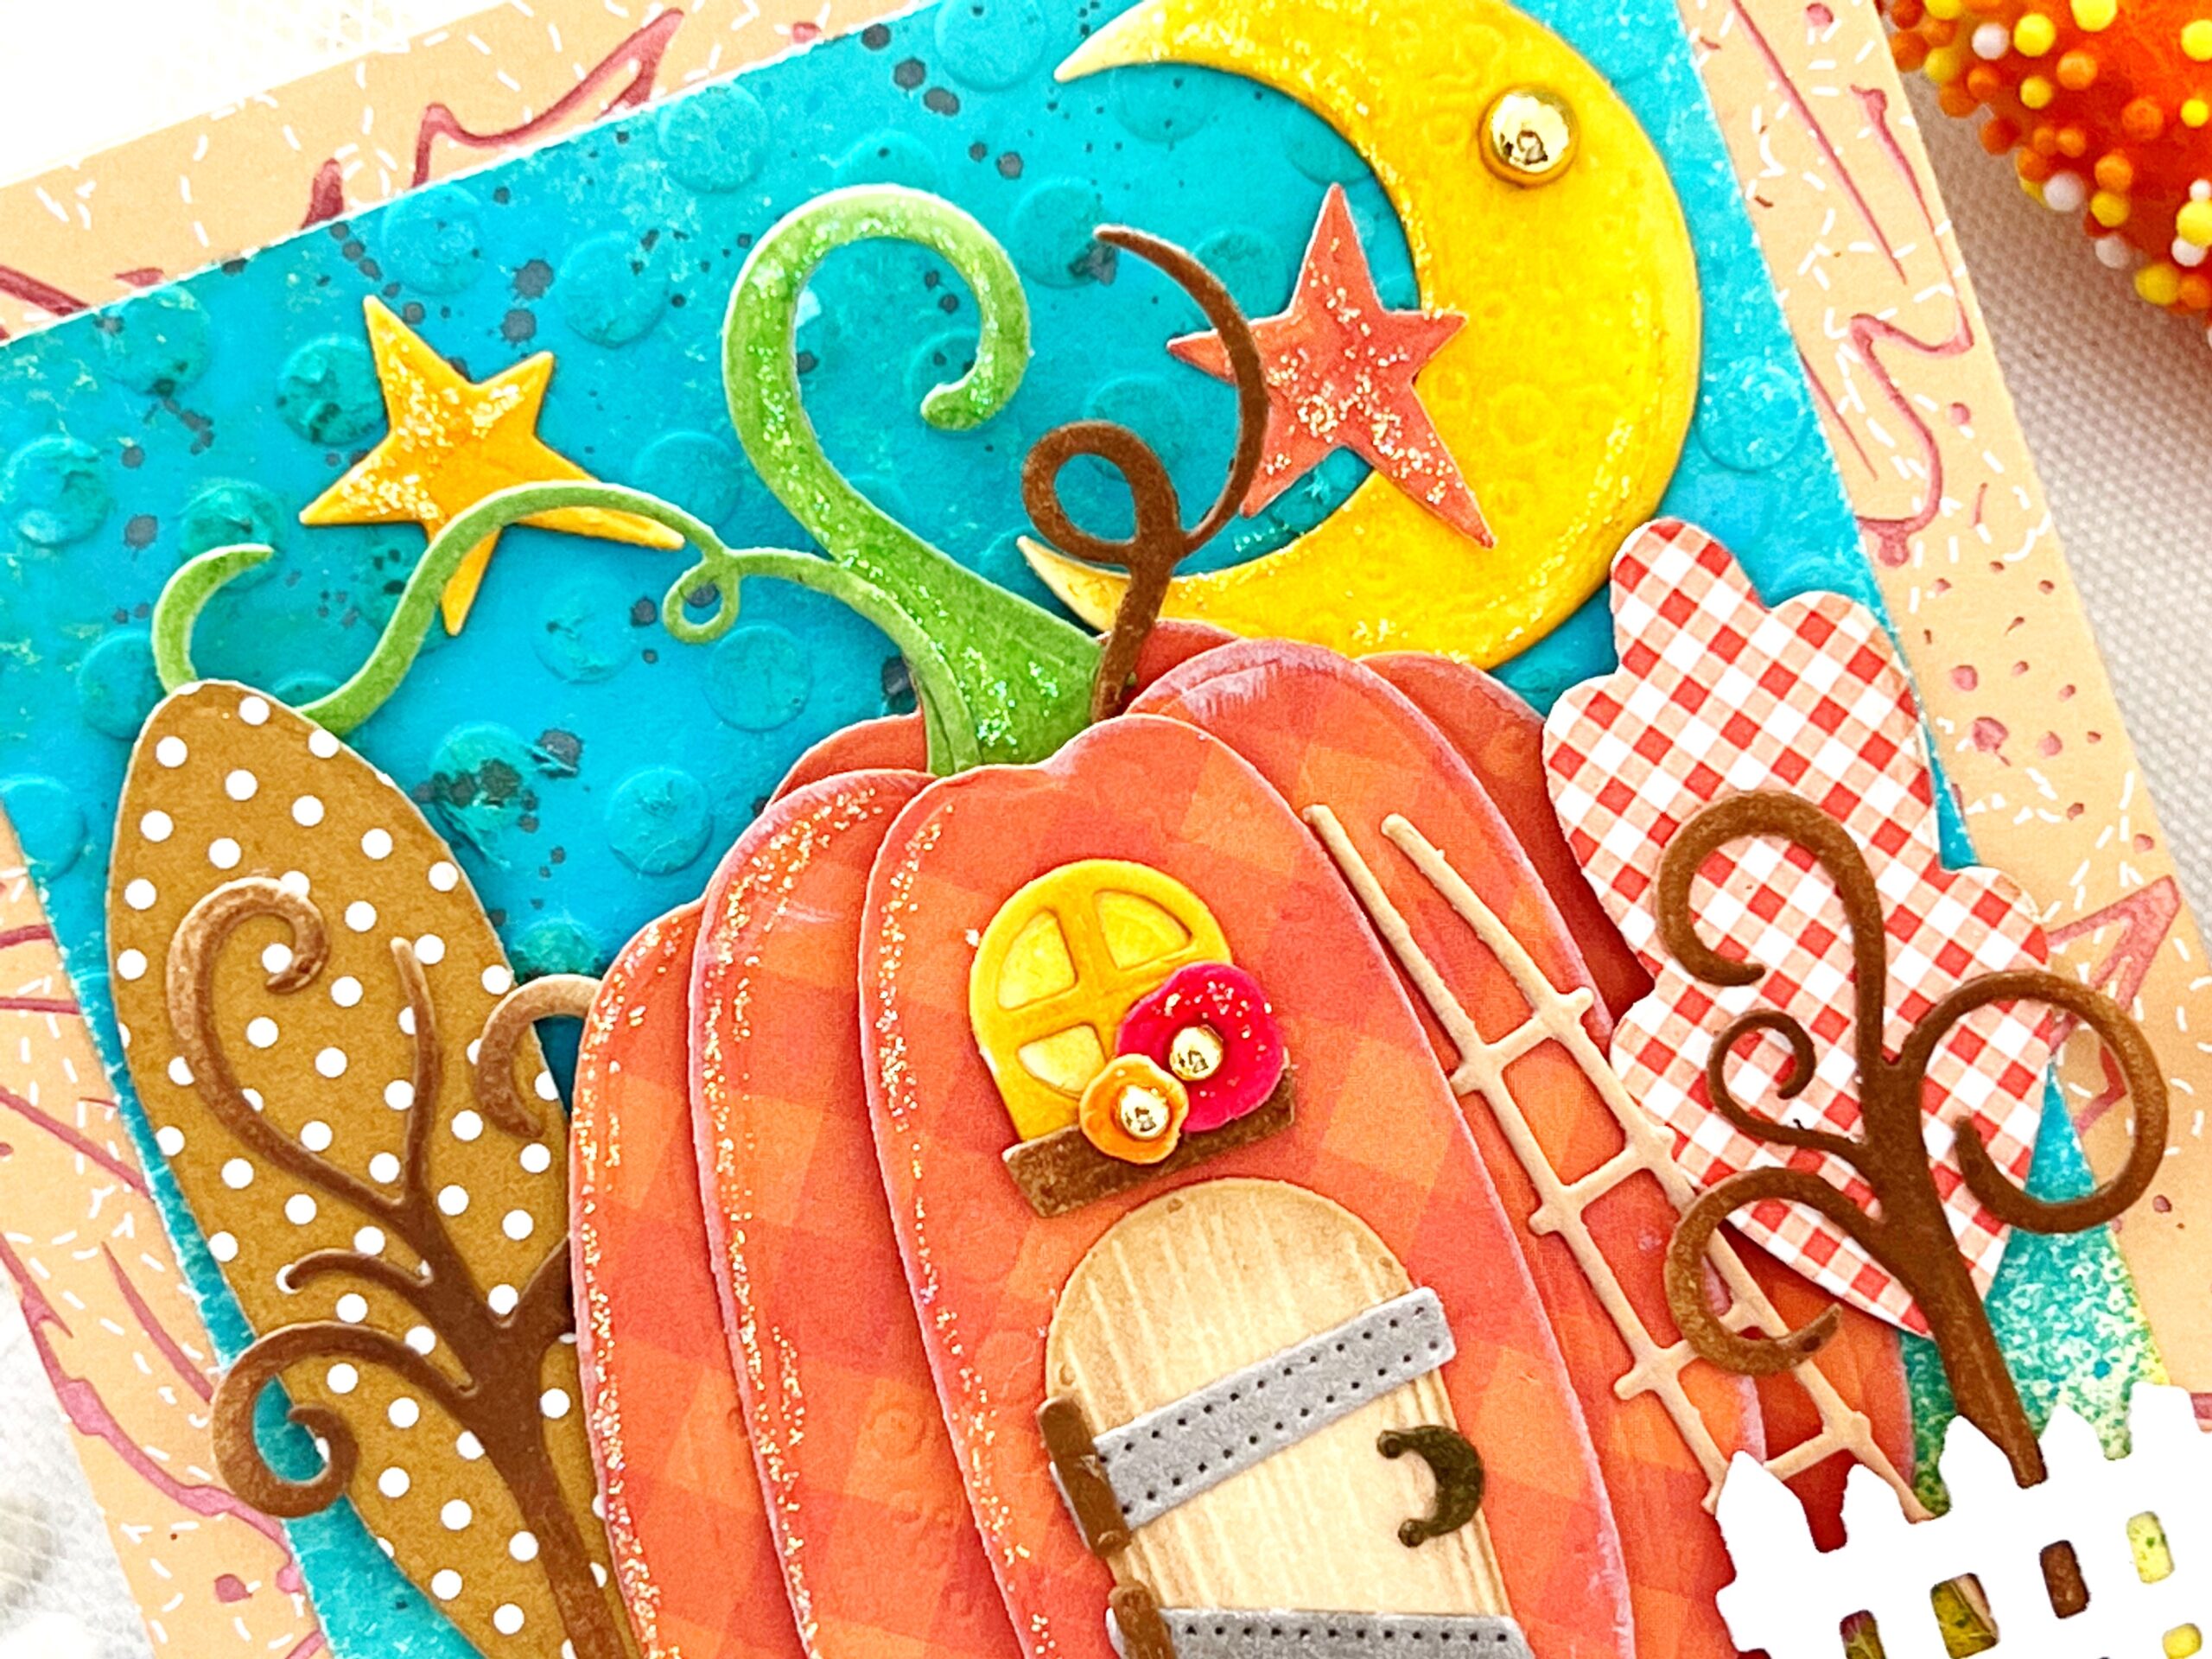
The tiny, wooden door is arched at the top and creates such a homespun feel with its shabby slats that go across the front. I adore the happy, circular window that goes above the door. I added sponging in yellow behind it to light it up from the inside. It even comes with a flower box you can attach below and fill with darling posies in a variety of sizes.
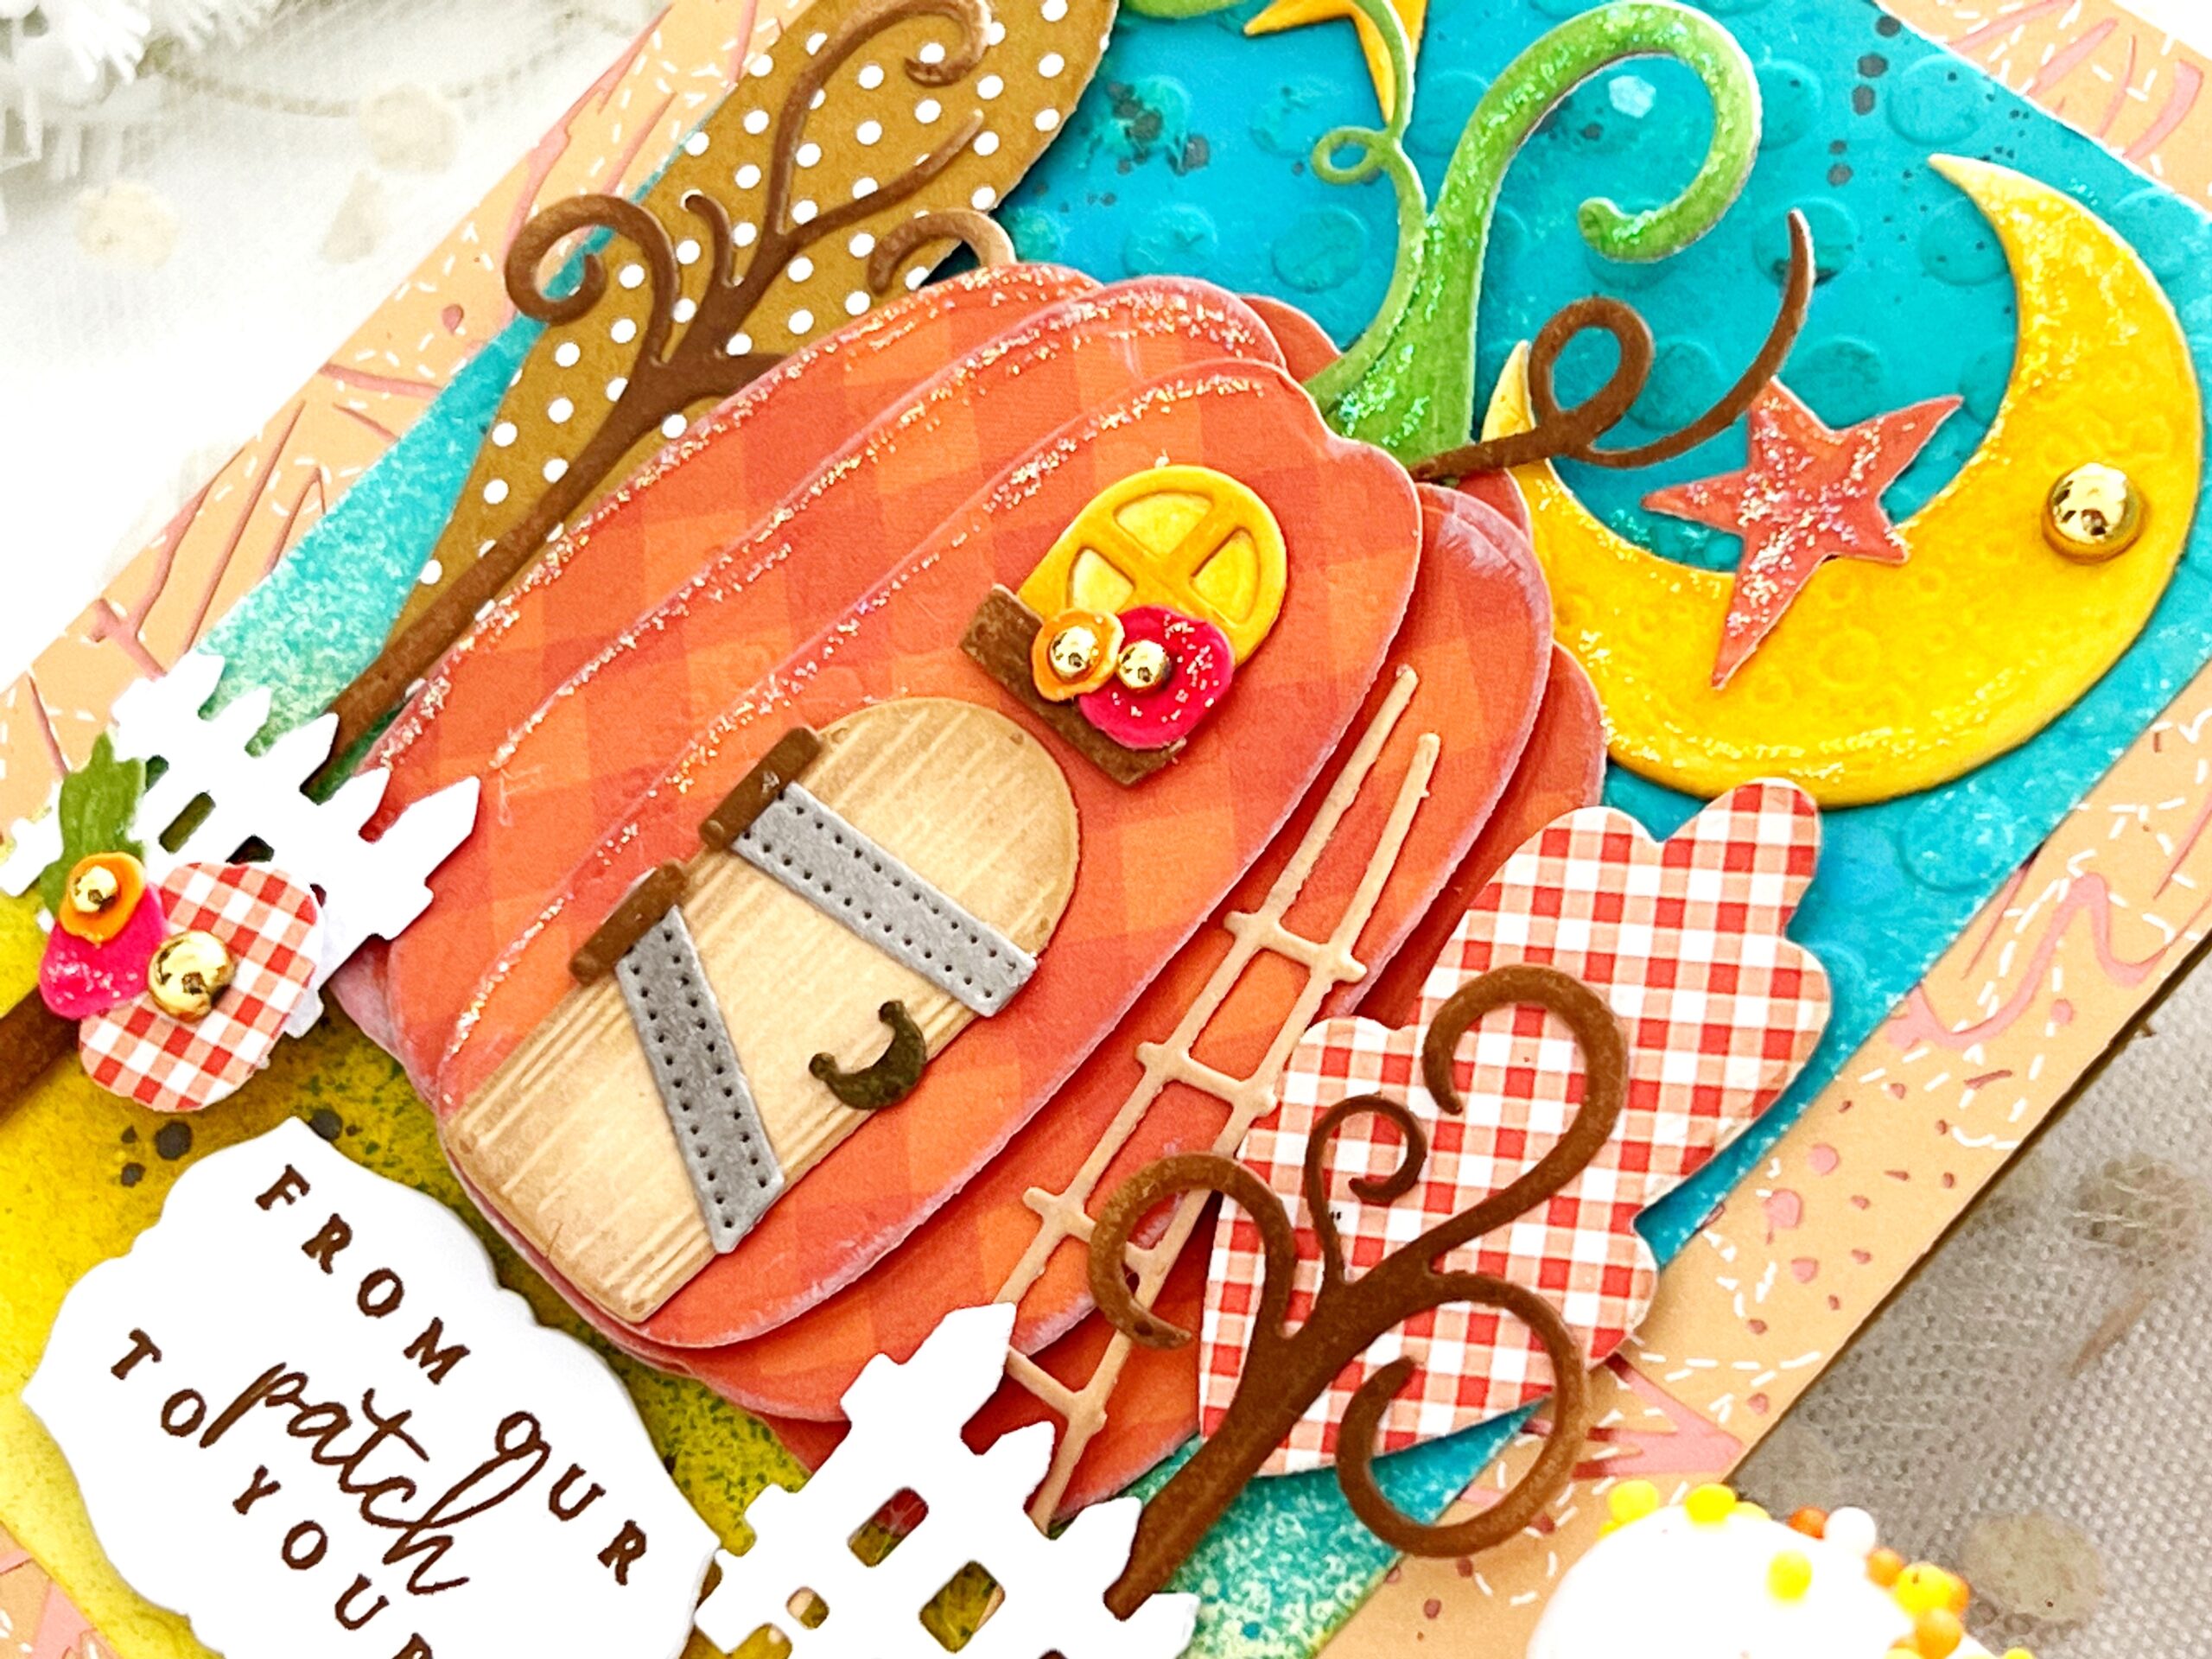
I embellished my starry sky with the plump moon and primitive stars that come in the die collection. I die cut my trees from patterned paper as well…loving the pattern they bring in. You can sponge ink on your trees or cut them from cardstock or felt too. Experiment and see how different medium change the look and feel of your scene. The wispy, curly trunks and branches just warm my heart.
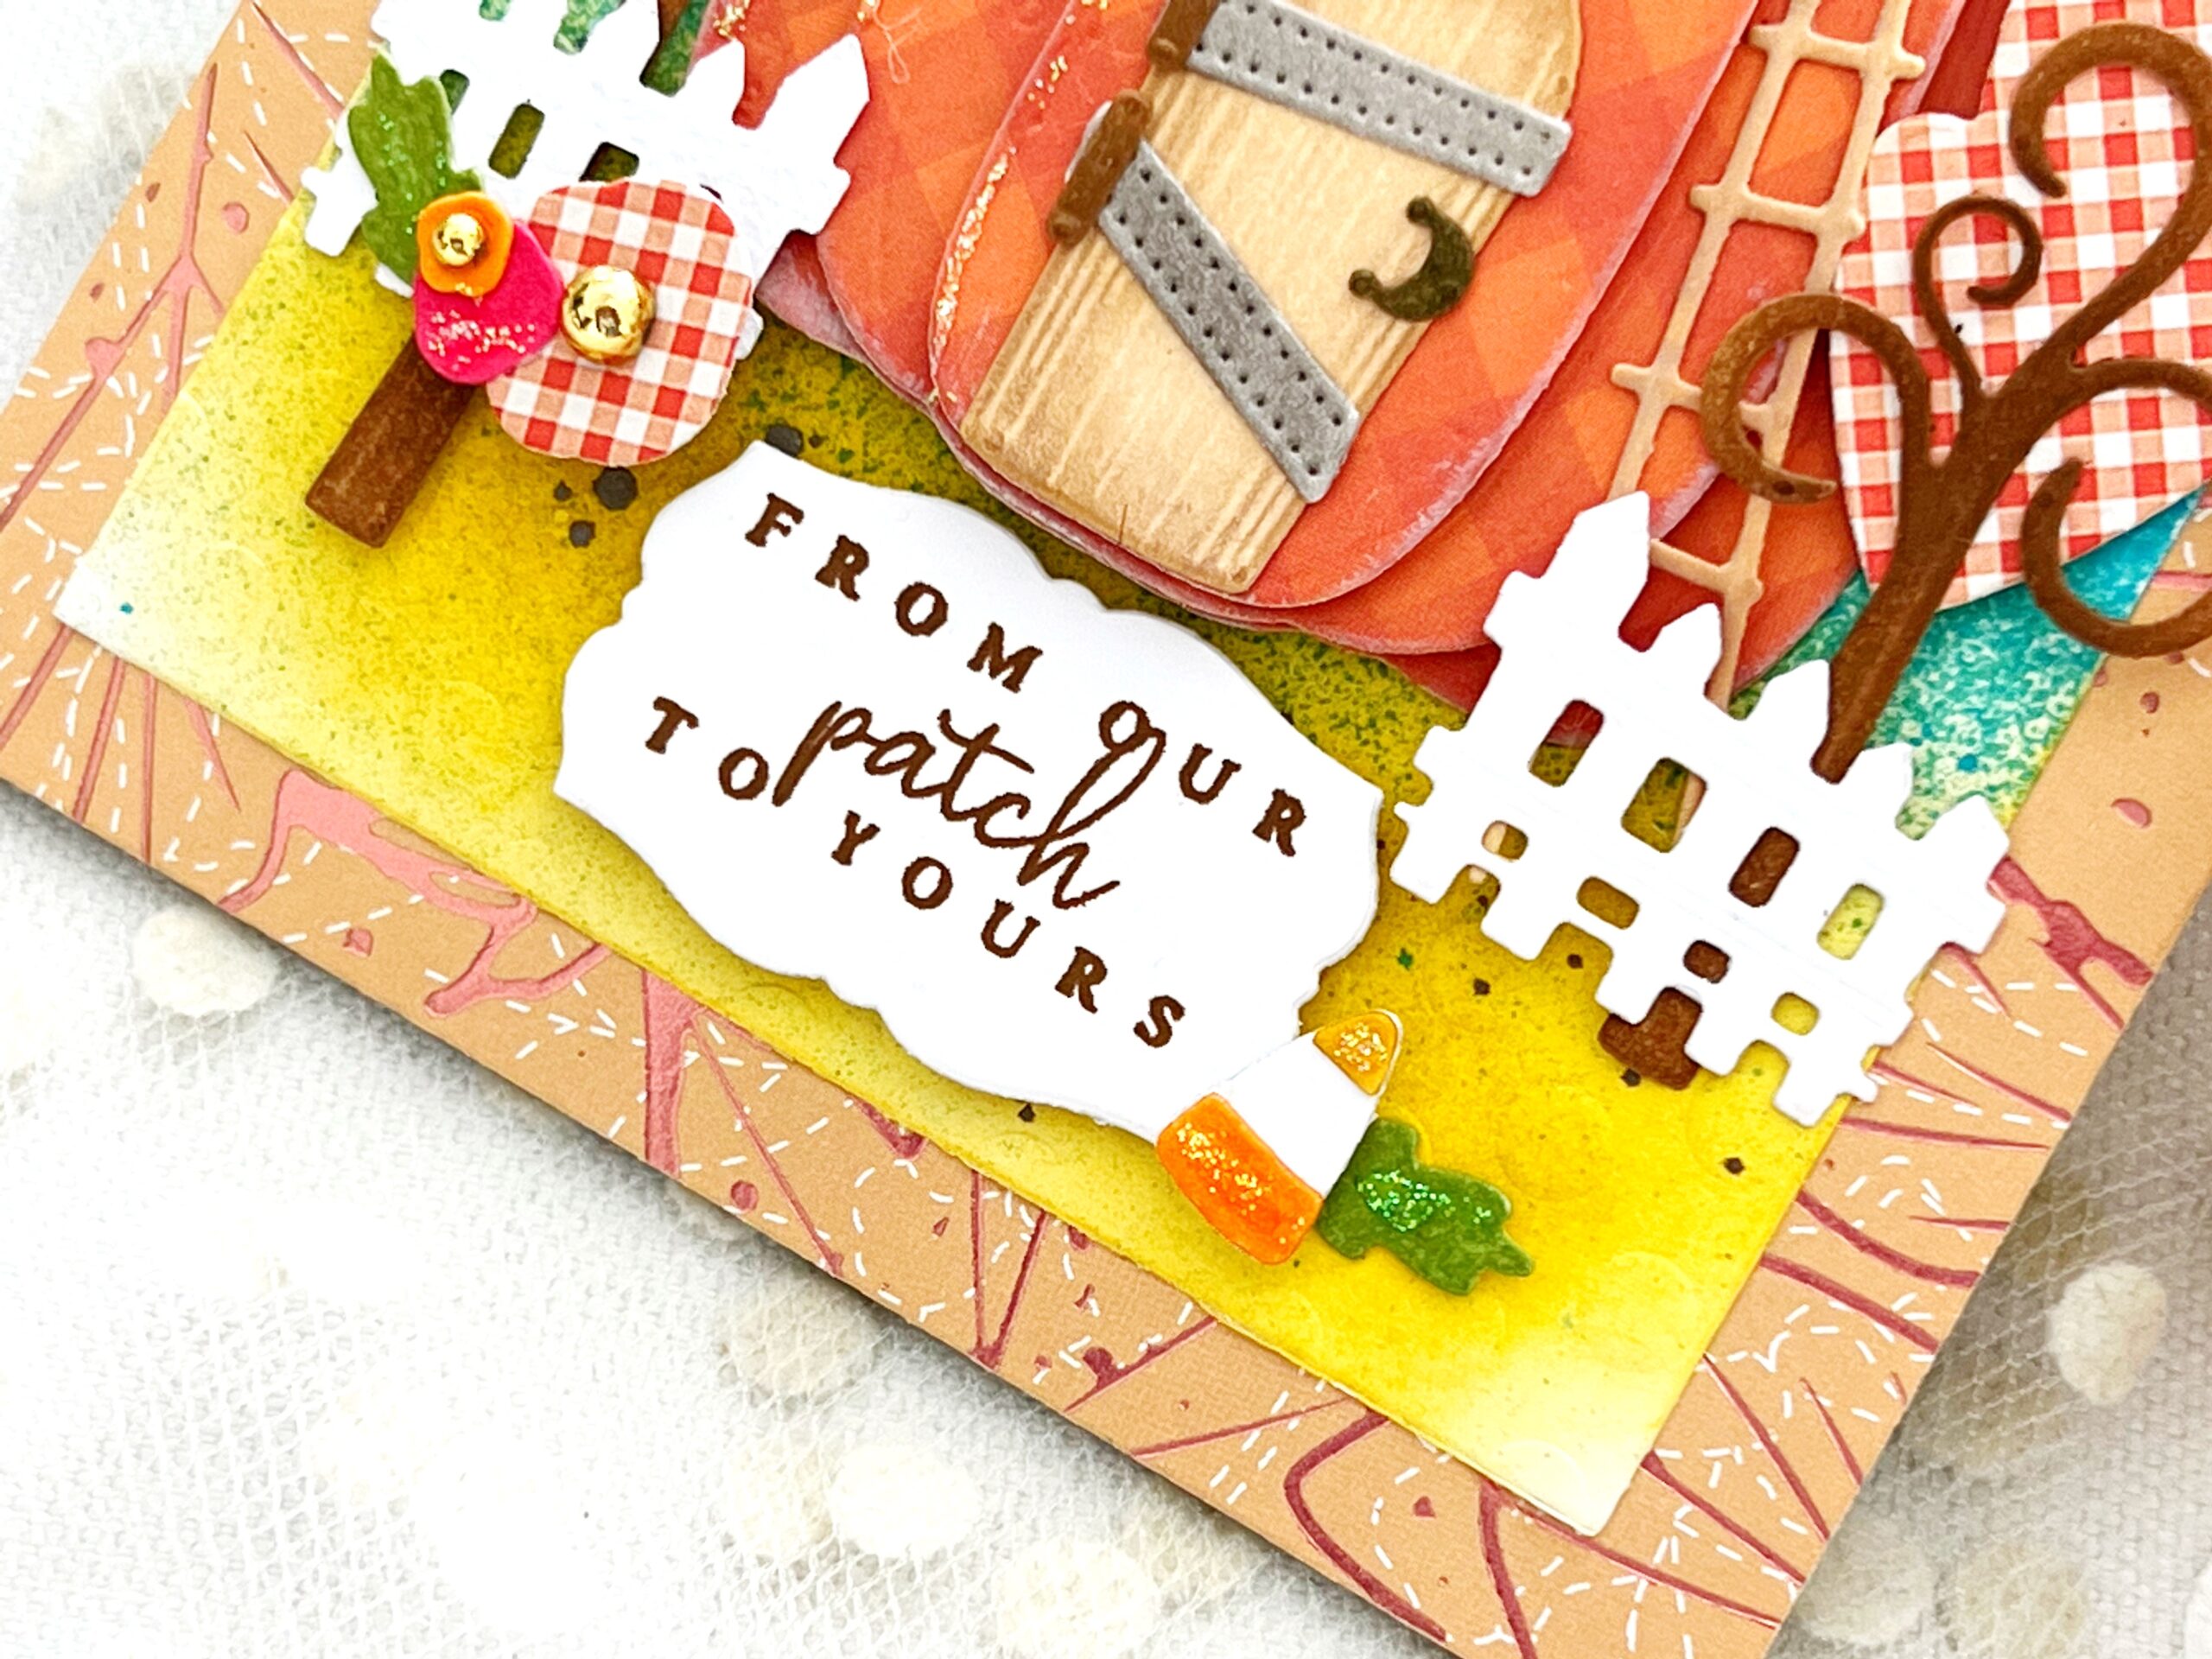
The tiny picket fence is absolutely adorable! It finishes off things at the base of your pumpkin house so perfectly. I also added tiny die cut candy corn, and more flowers. You’ll love the cute mushrooms that are also included in this set….irresistible! I added a sentiment from the new Just Sentiments: Spooky stamp set. This is one of my most favorite sentiments from this fab set.
Now, sit back and enjoy these ultra adorable Pumpkin Houses from our designers. You’re in for such a delightful treat.
Supplies used:
STAMPS: Just Sentiments: Spooky
INK: Classic Kraft, Honey Nut, Orange Zest, Dark Chocolate, Bright Buttercup, Summer Sunrise, New Leaf
PAPER: Stamper’s Select White, Bottles & Blooms, Bitty Big Honey Nut
DIES: Pumpkin House
OTHER: Falling Leaves: Hot Foil Plate, Distress Spray, Distress Ink, Stickles glitter, patterned paper, adhesive gems


TIP:
- Die cut all of the pieces from white card stock and then color them with blender brushes or finger Dobbers in the desired colors
- Frame the scene in the oval
- Use the sentiment as the grounding point for the pumpkin house

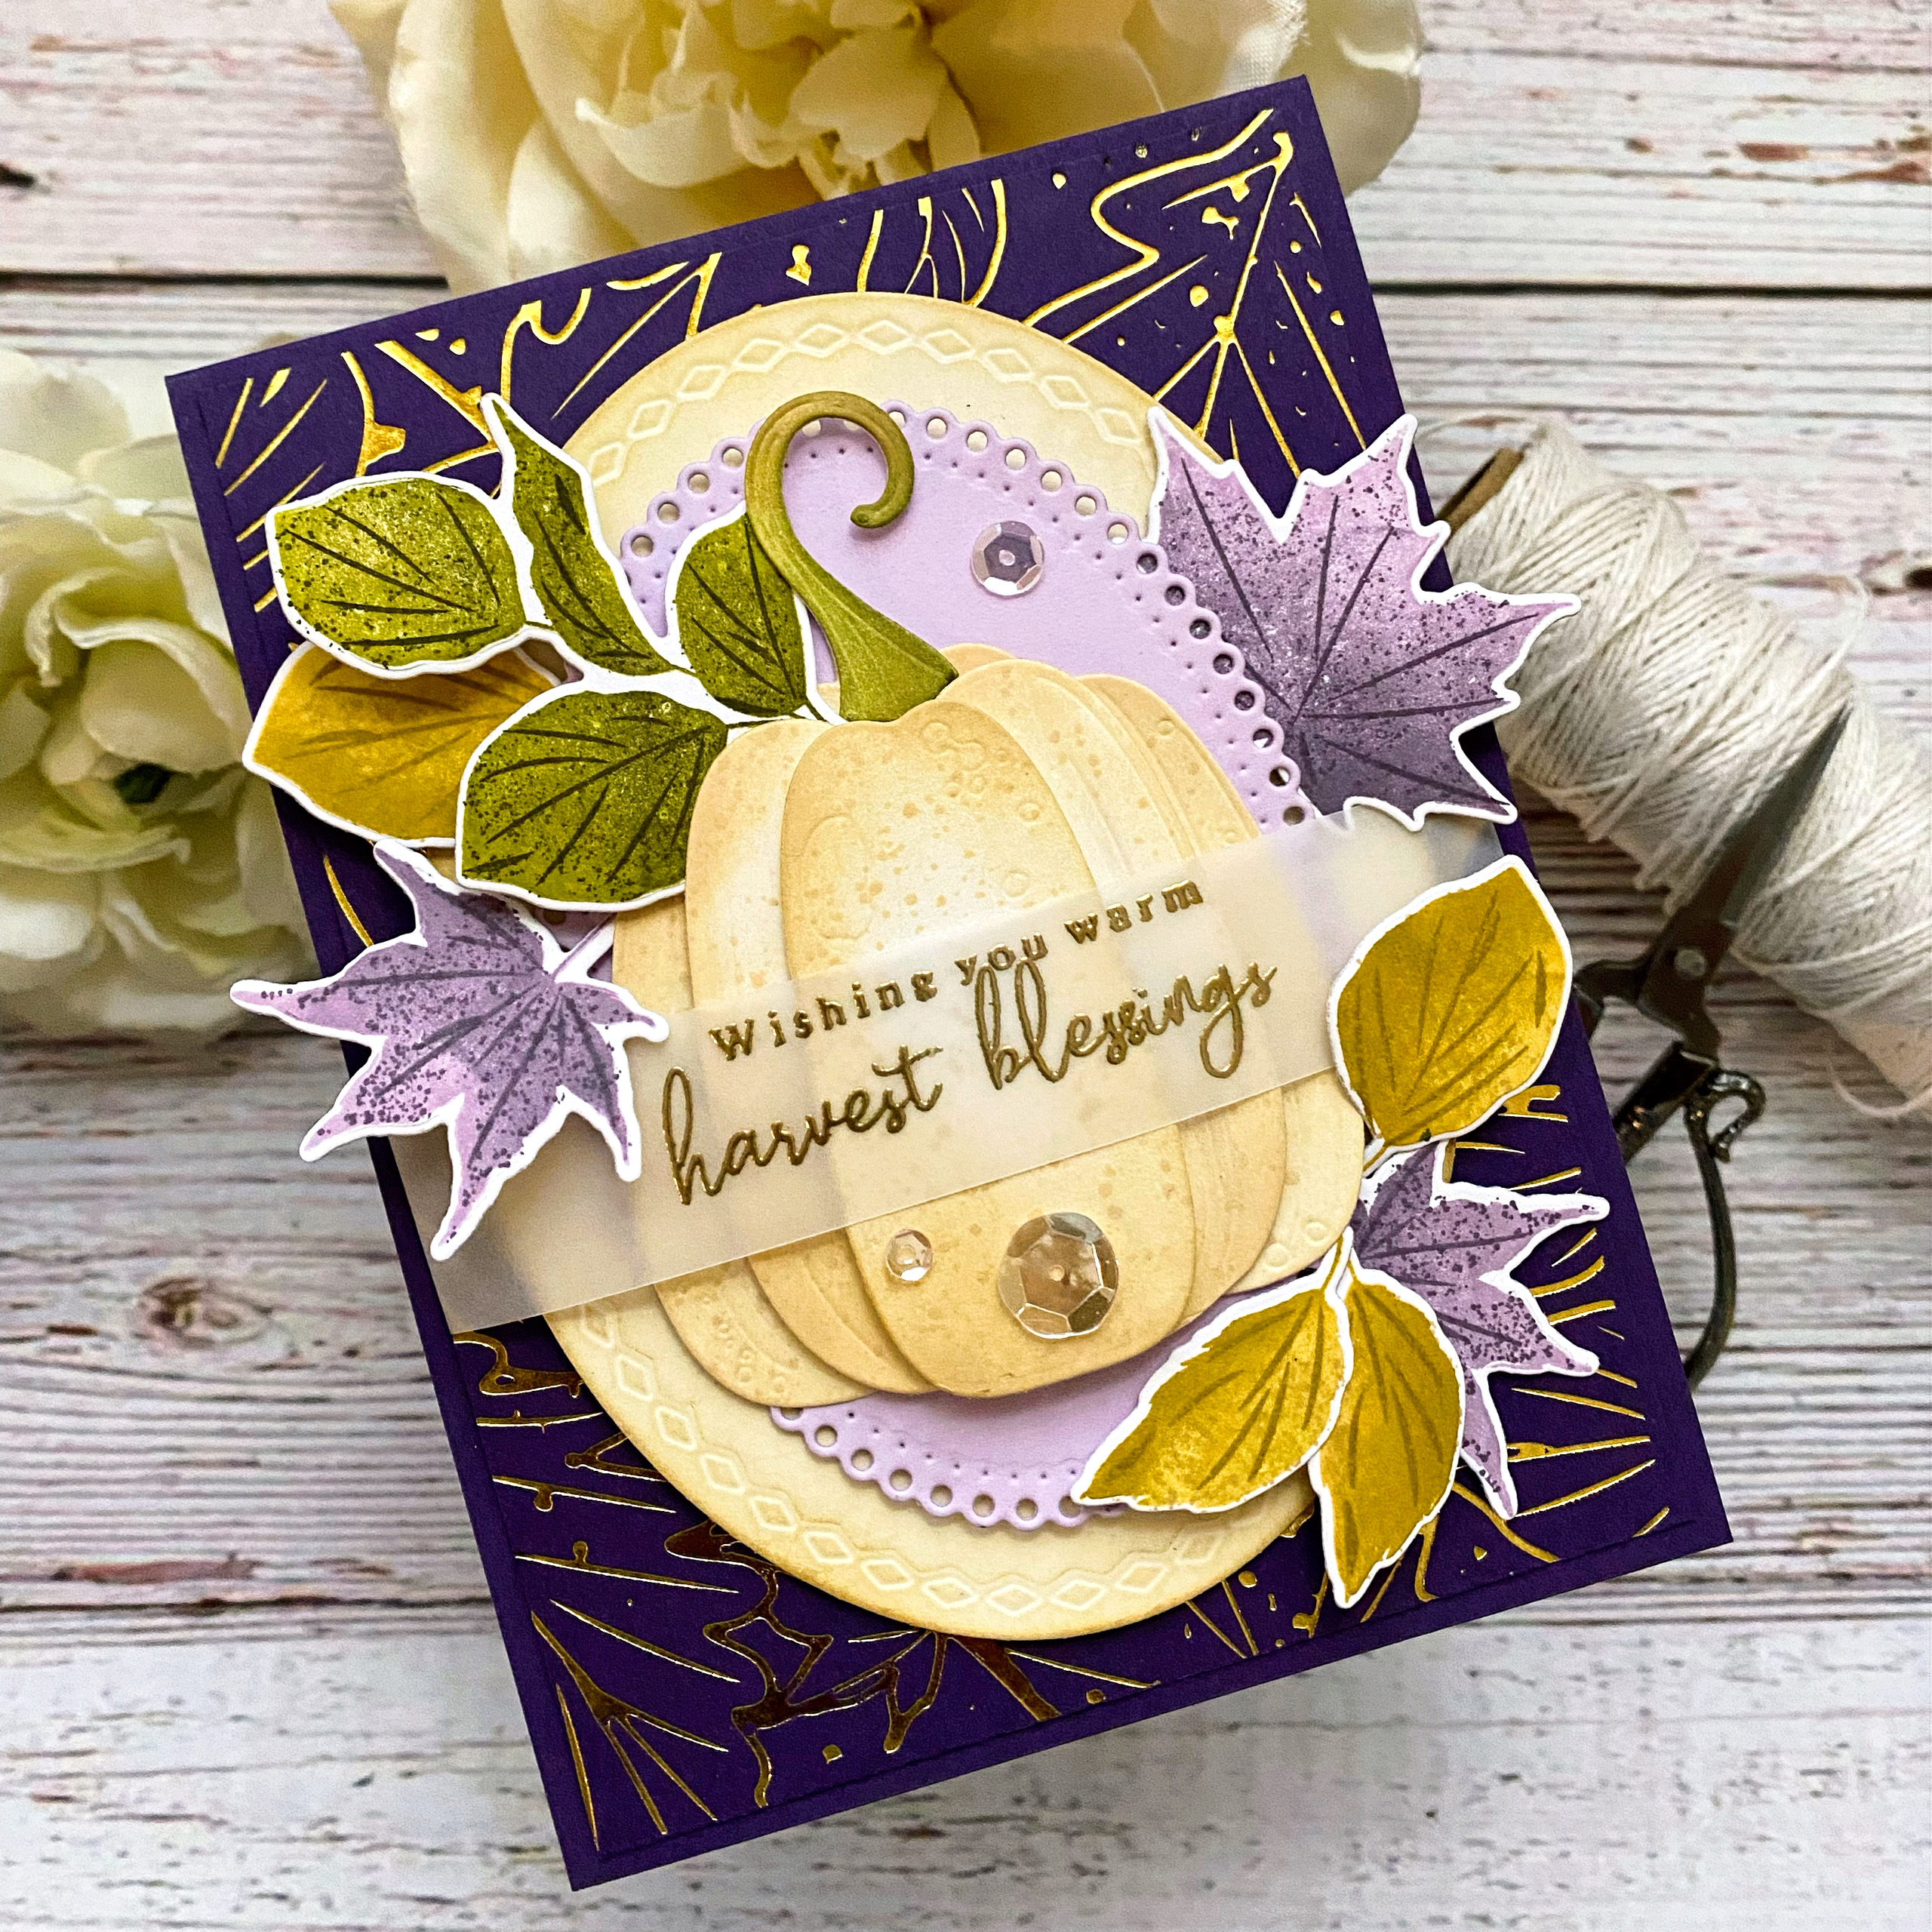
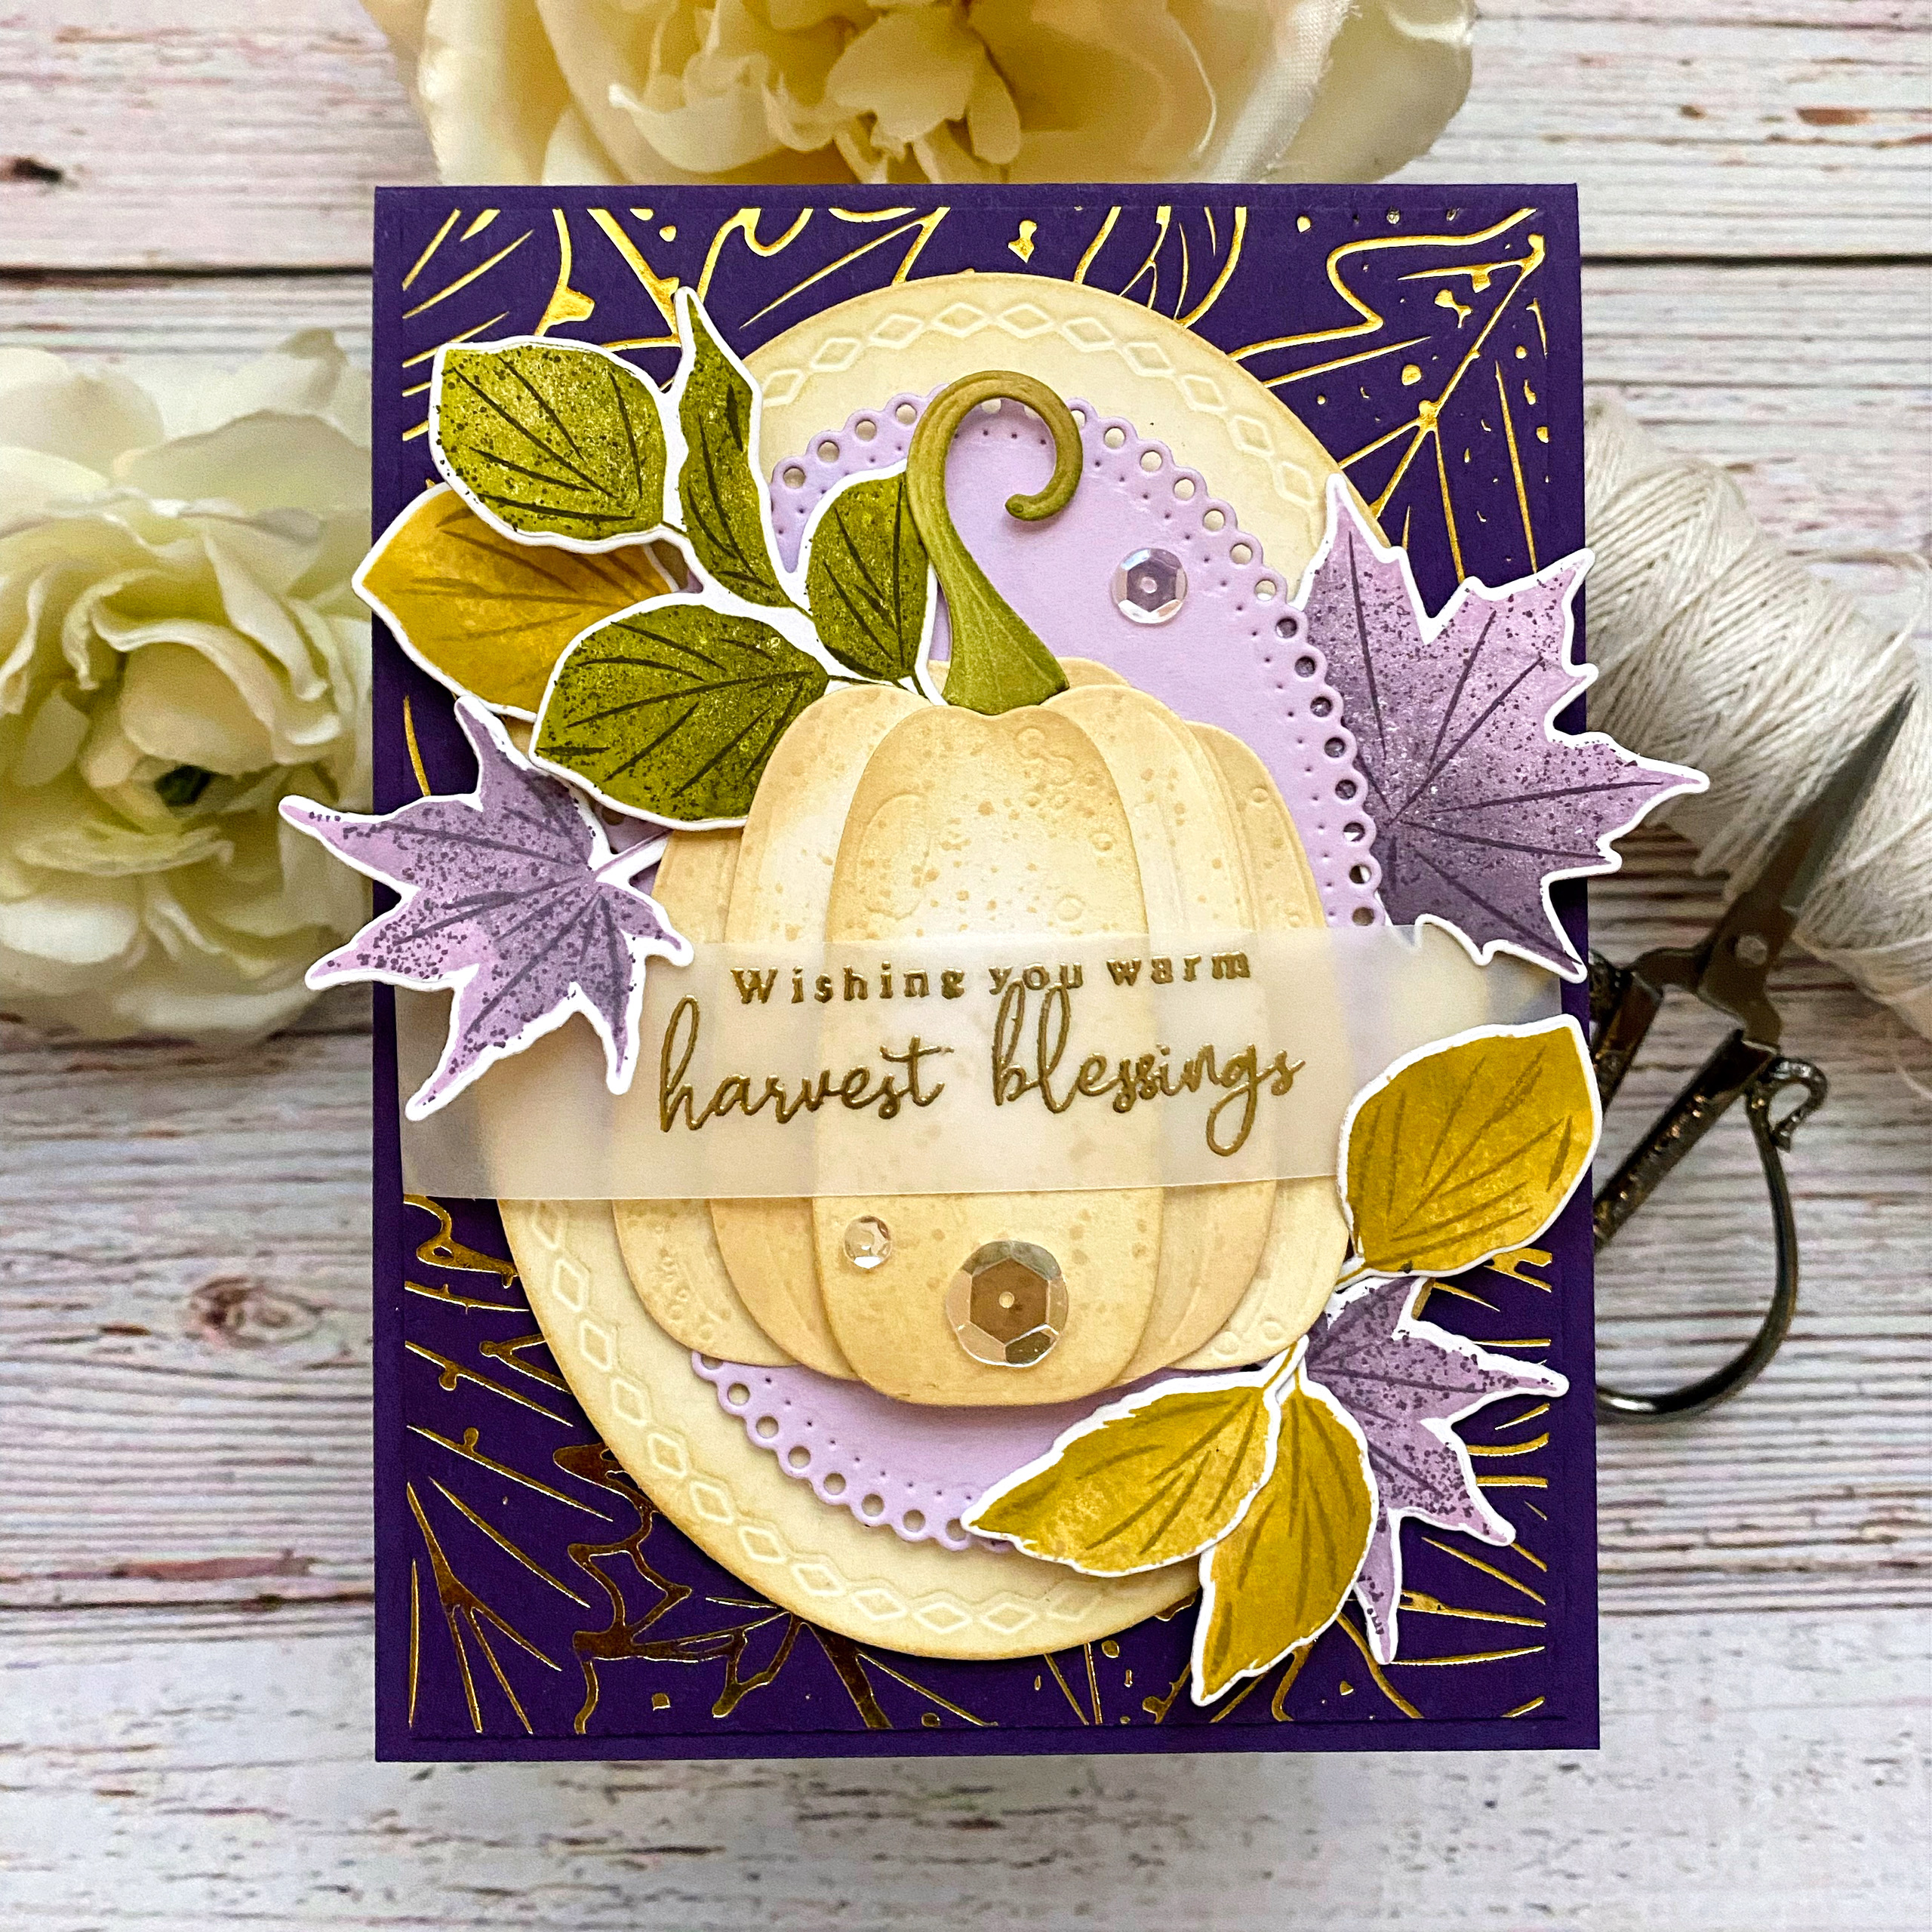
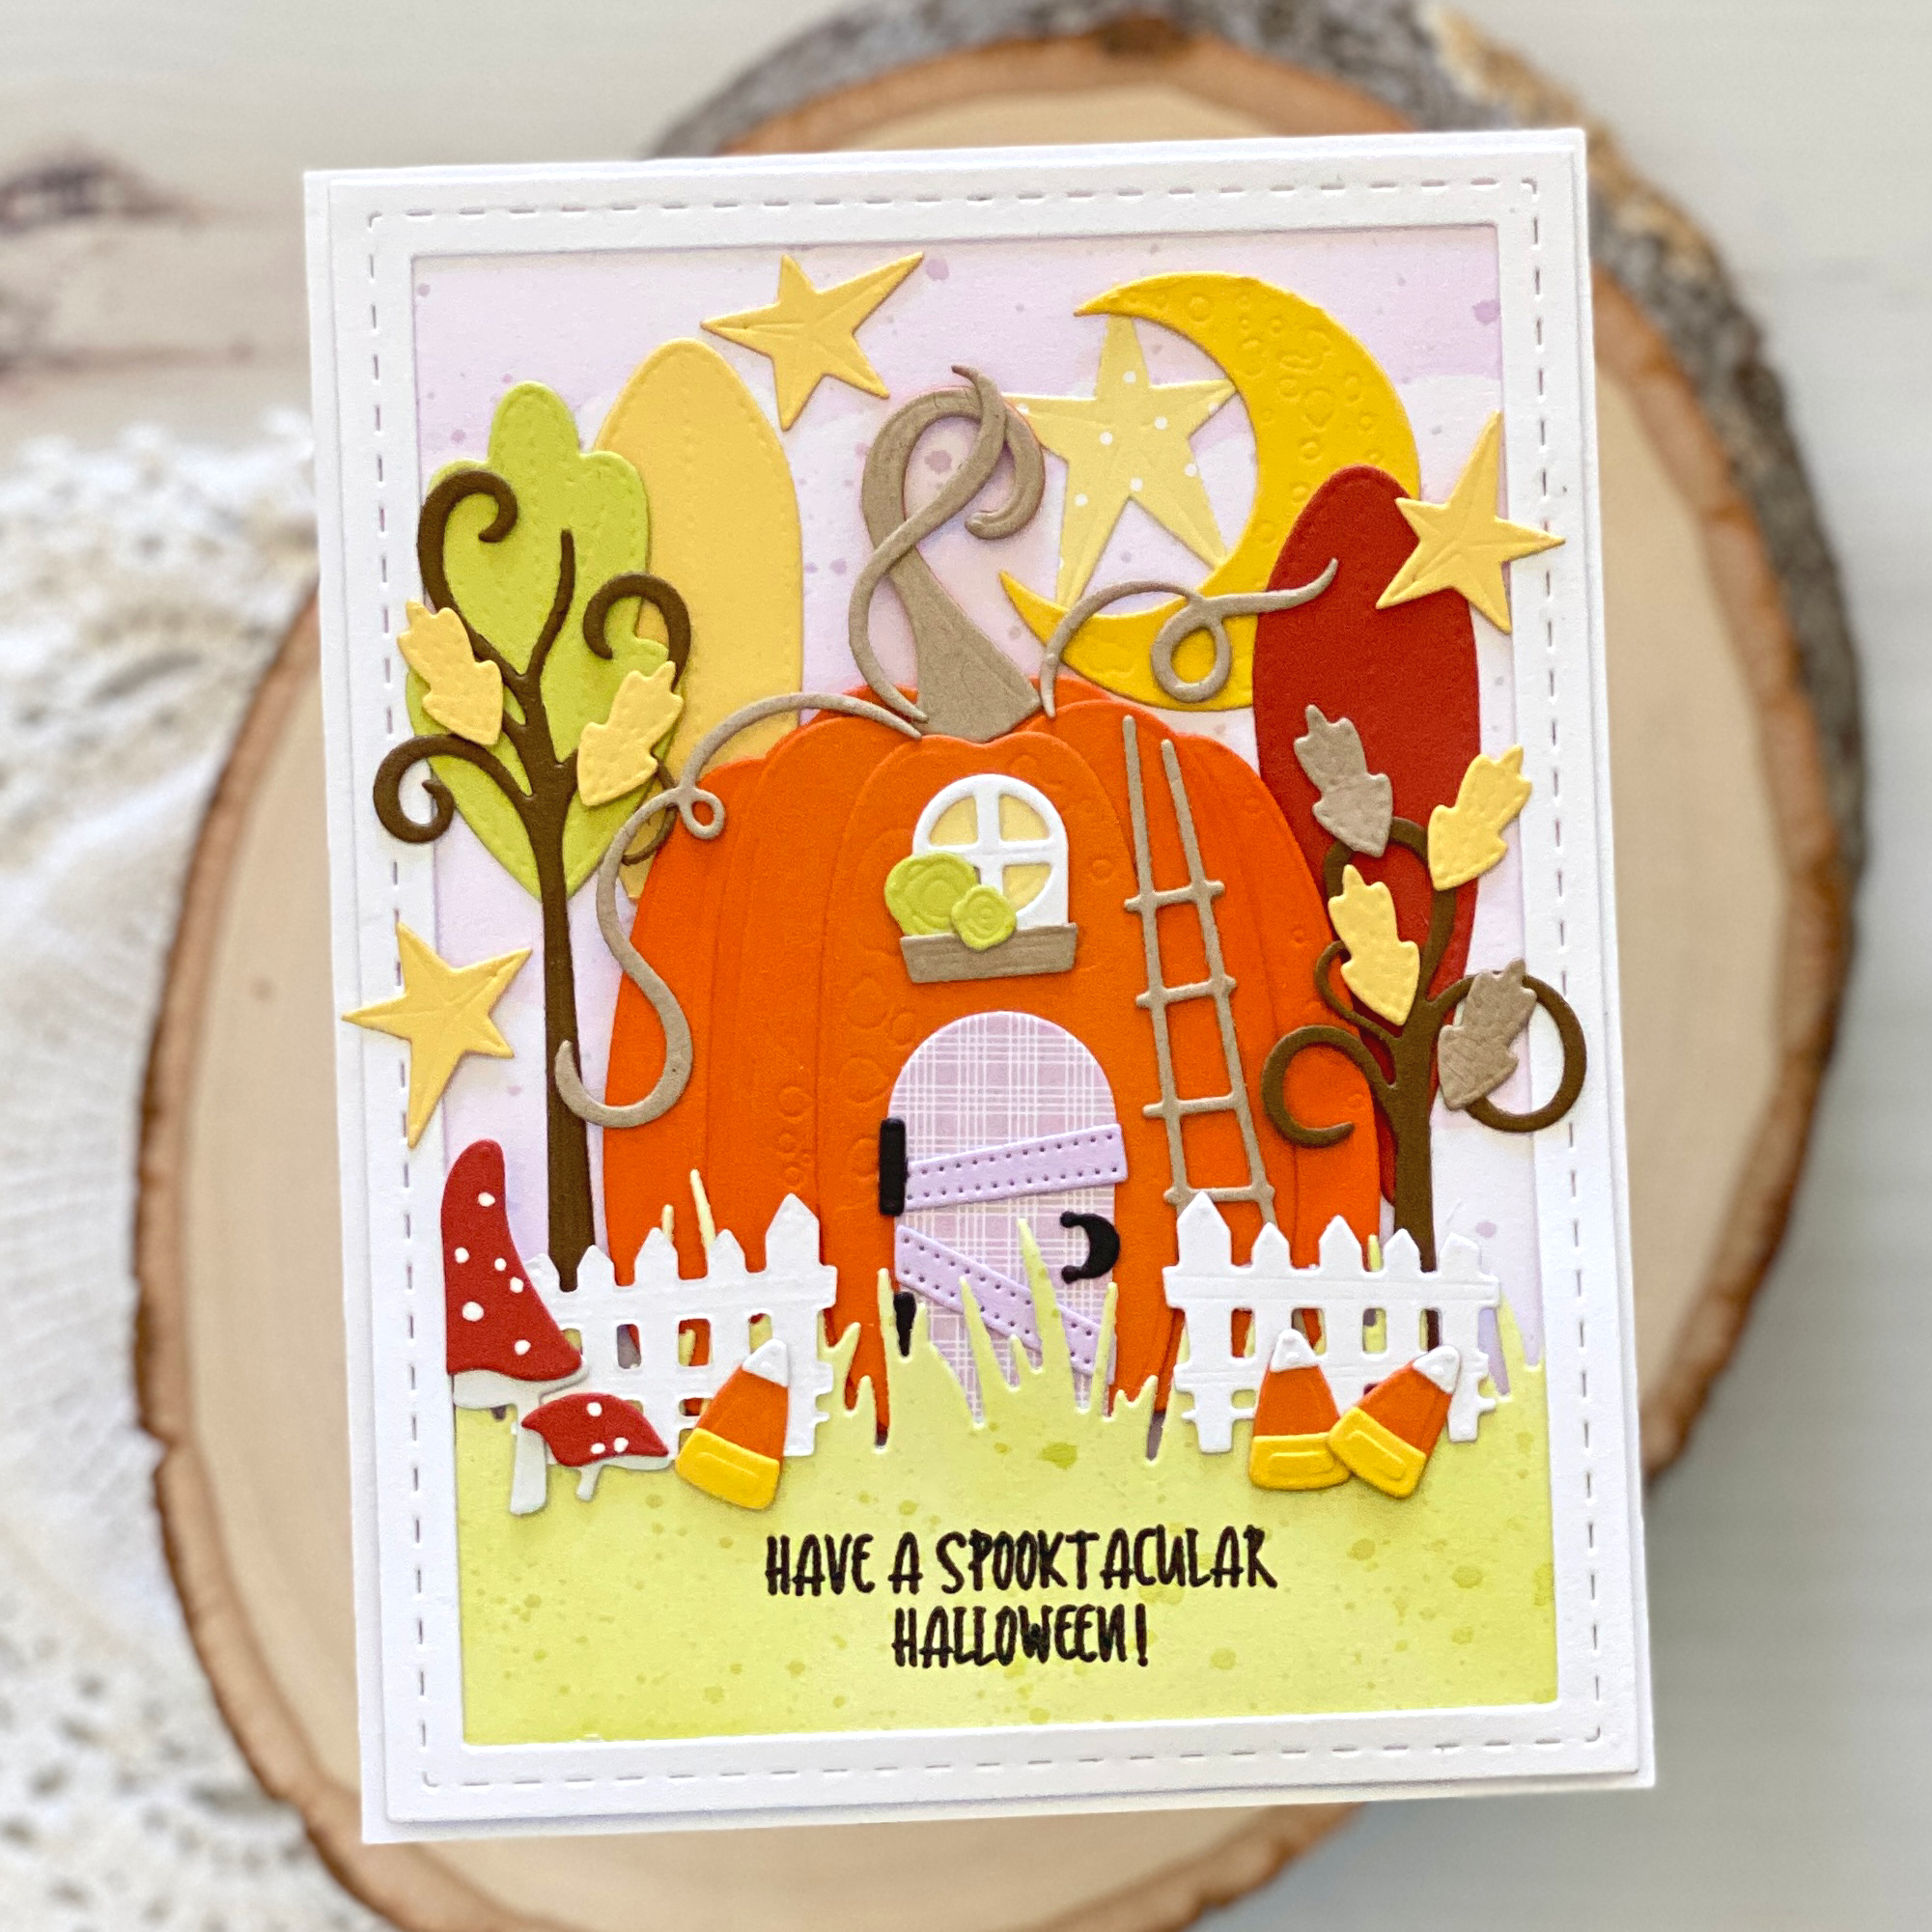
TIPS:
- Use the main pumpkin die as a focal point for any fall card; It doesn’t always have to be a house!
- Mix and match different fall leaf stamp sets to accent the pumpkin
- Use gold foil on dramatic cardstock for a wow factor!

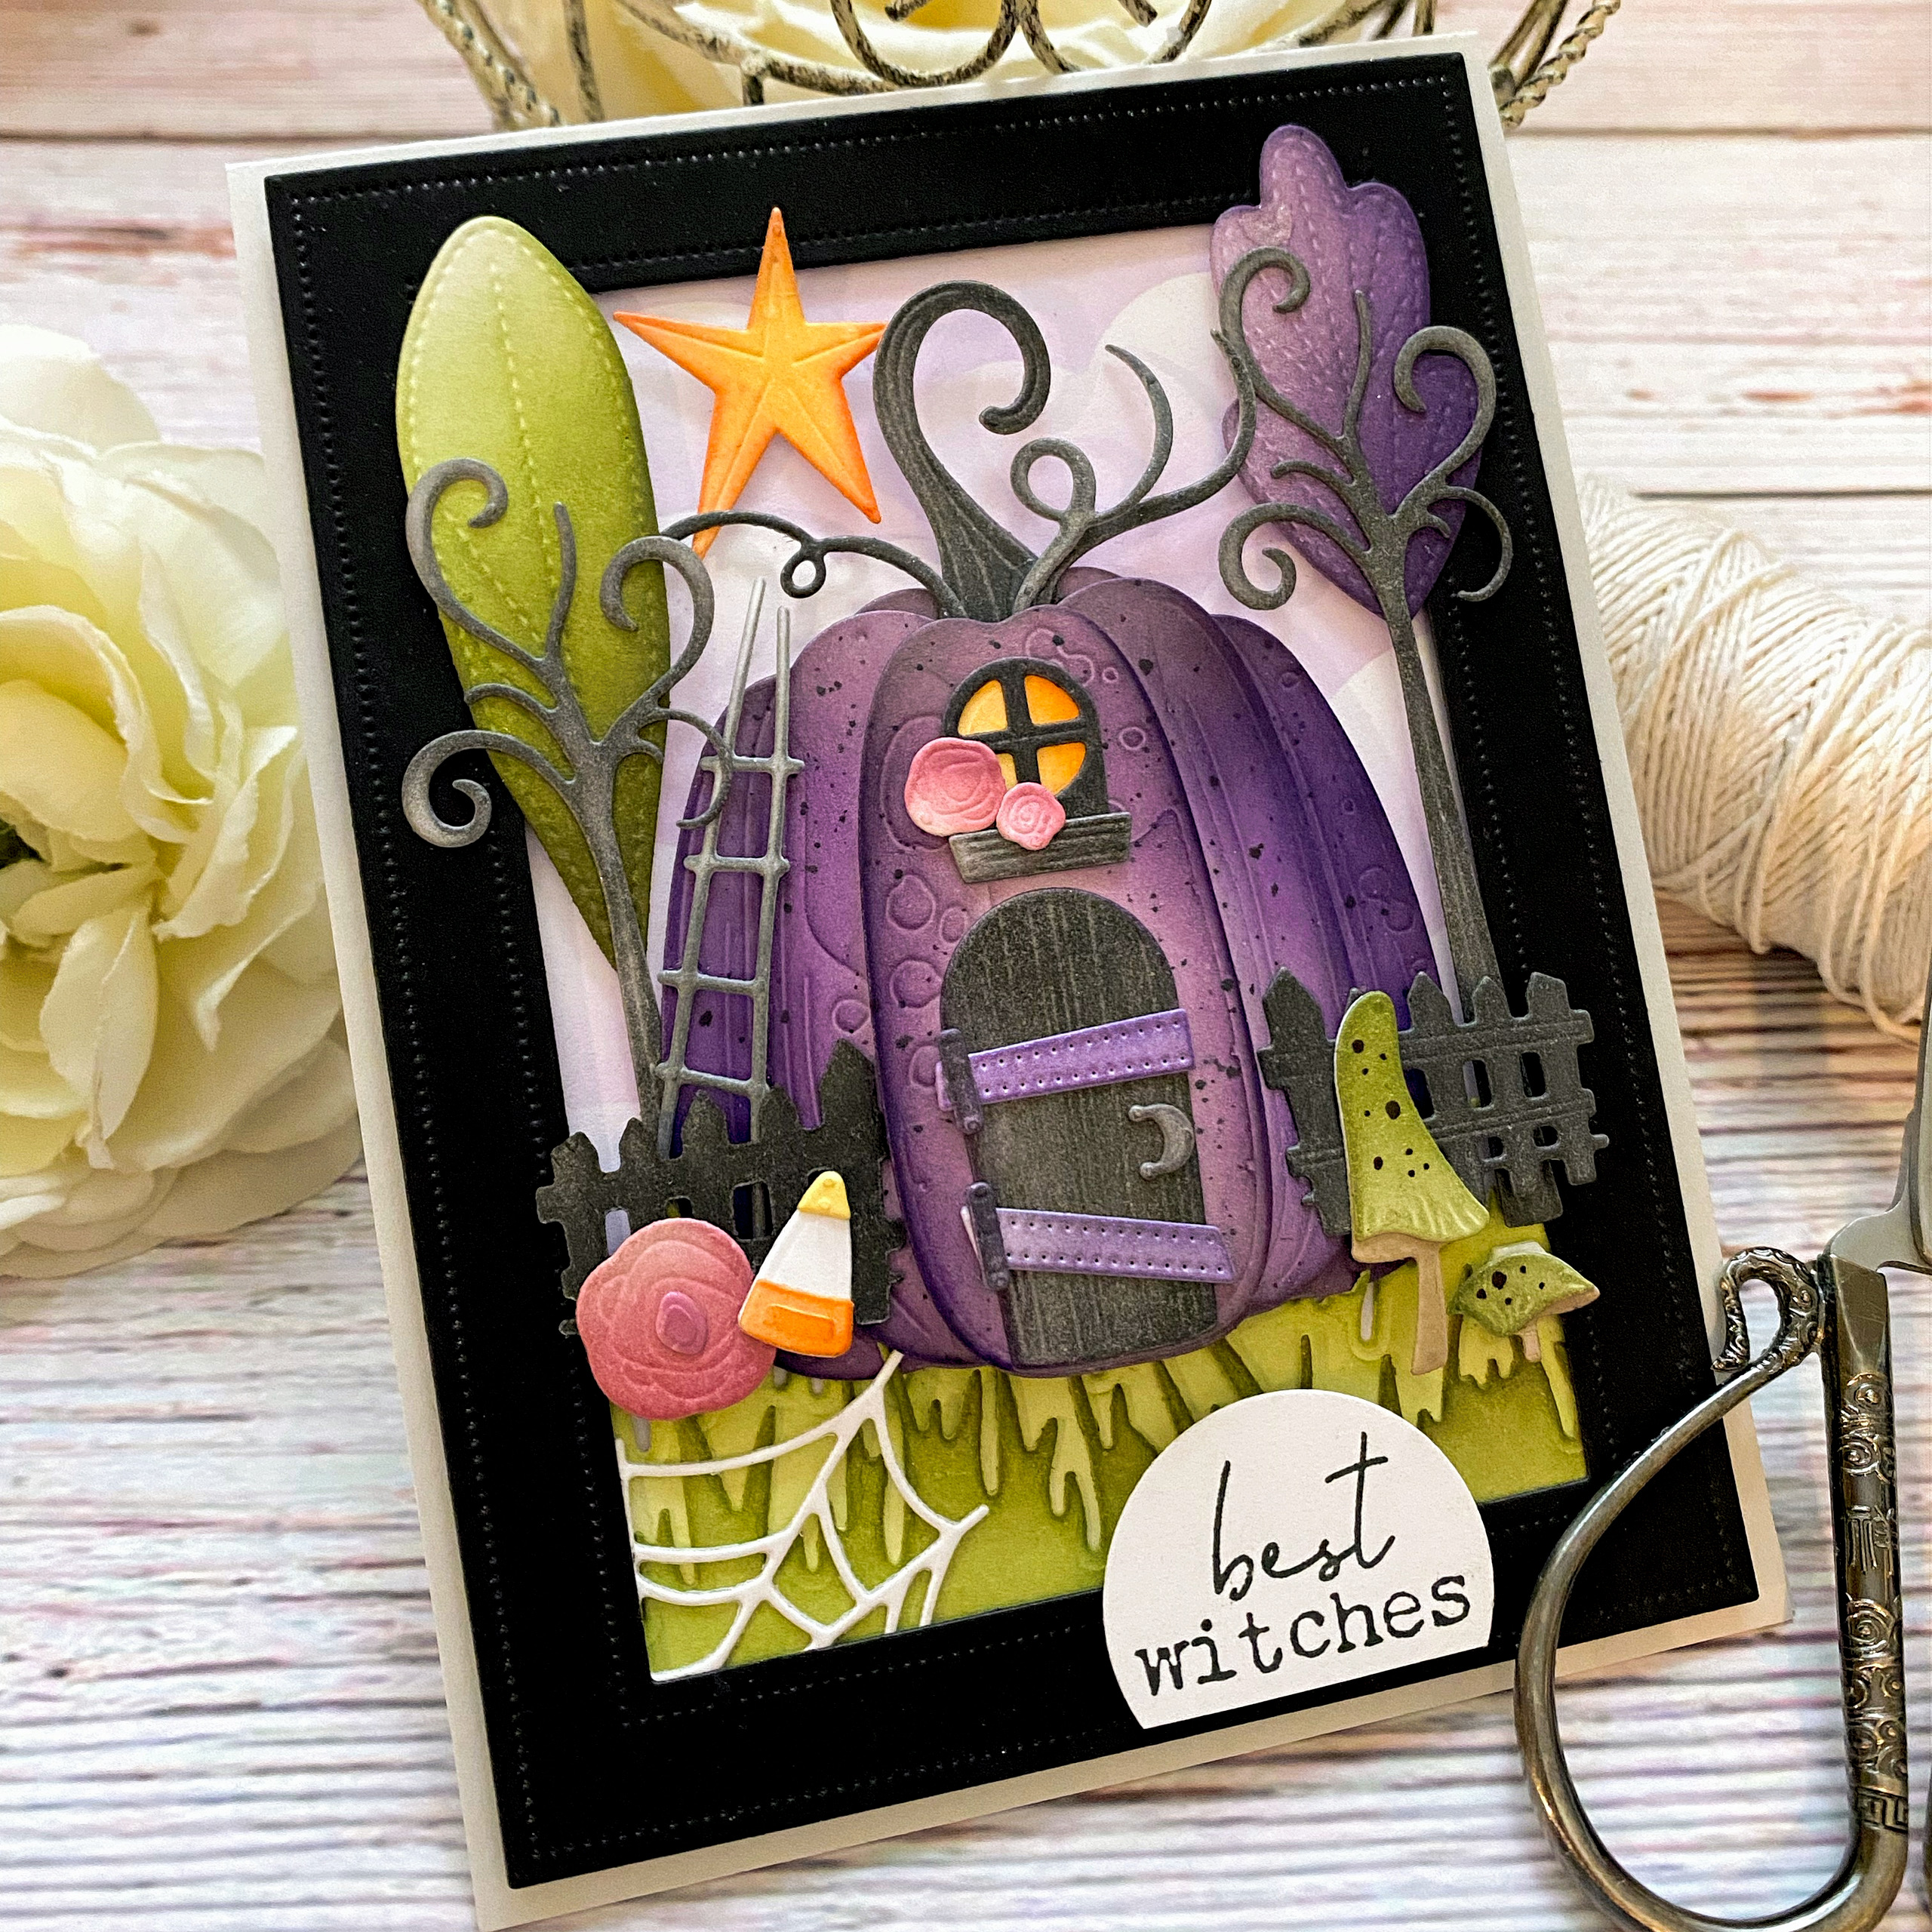
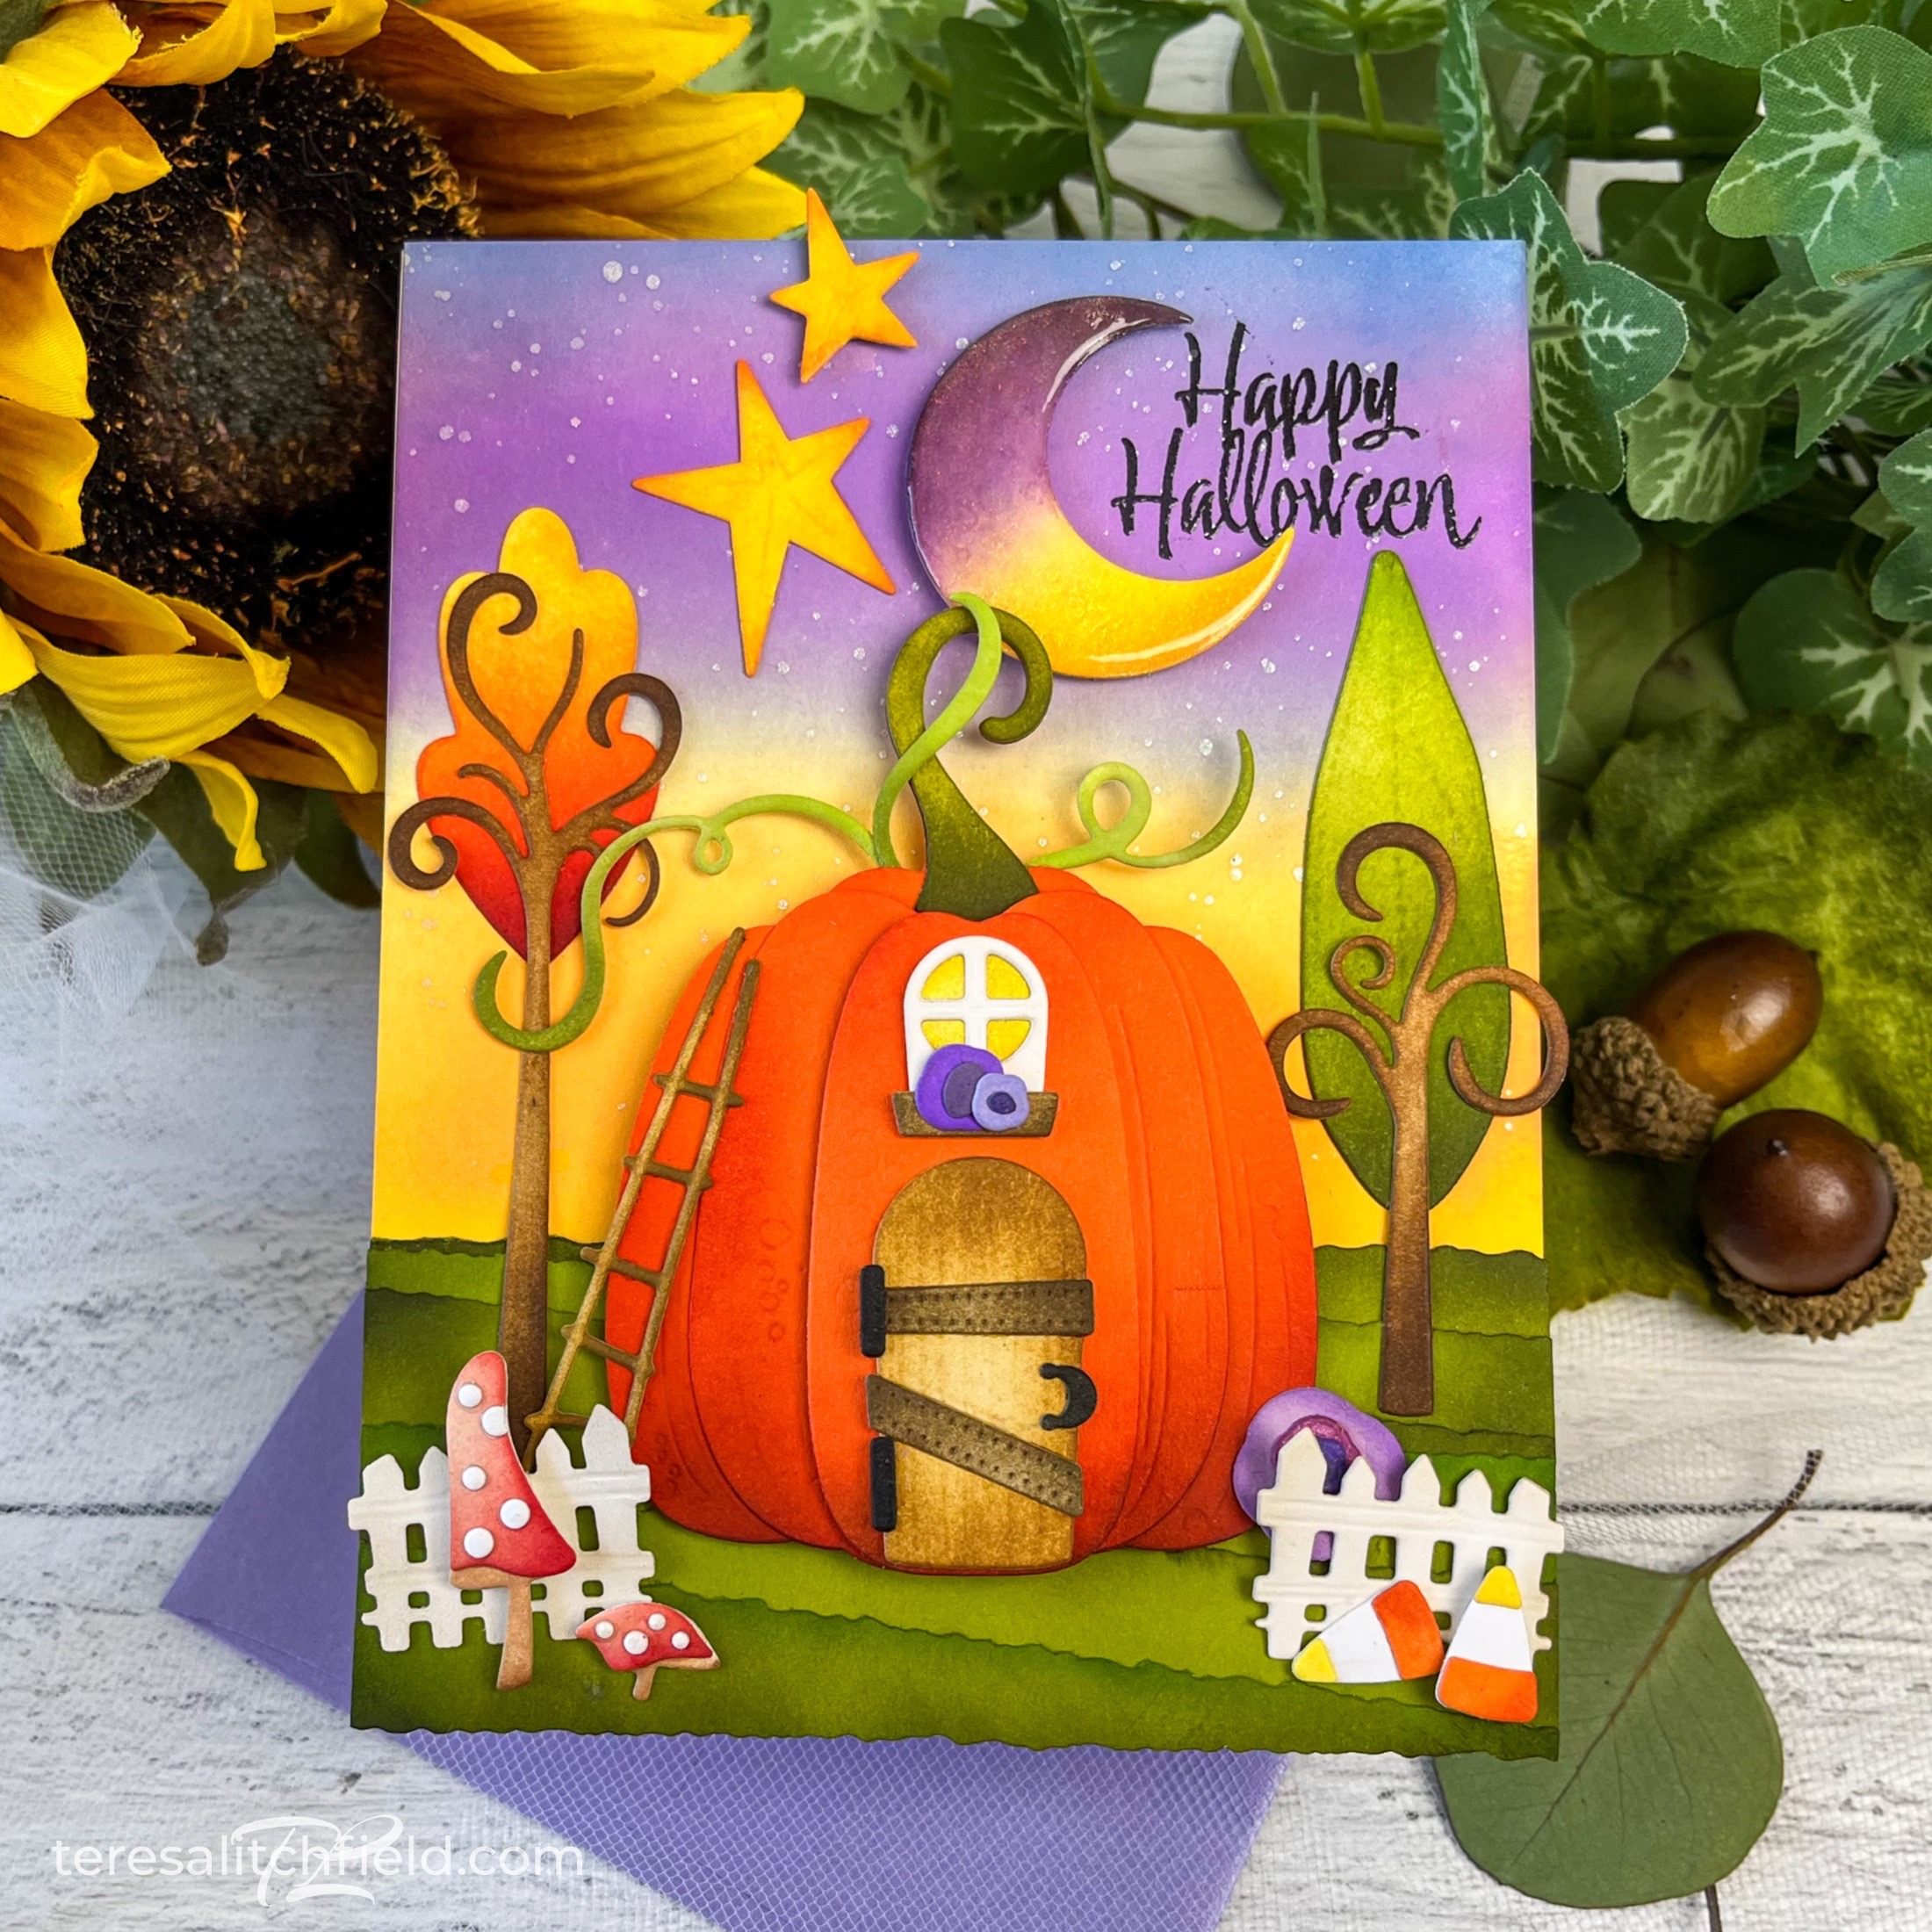
TIPS:
- Don’t hesitate to make your pumpkin house a little spooky!
- Use a circle punch for your sentiment and then cut it straight underneath for a different look
- Use foam squares between each layer of the pumpkin to give it more dimension so it looks like a house
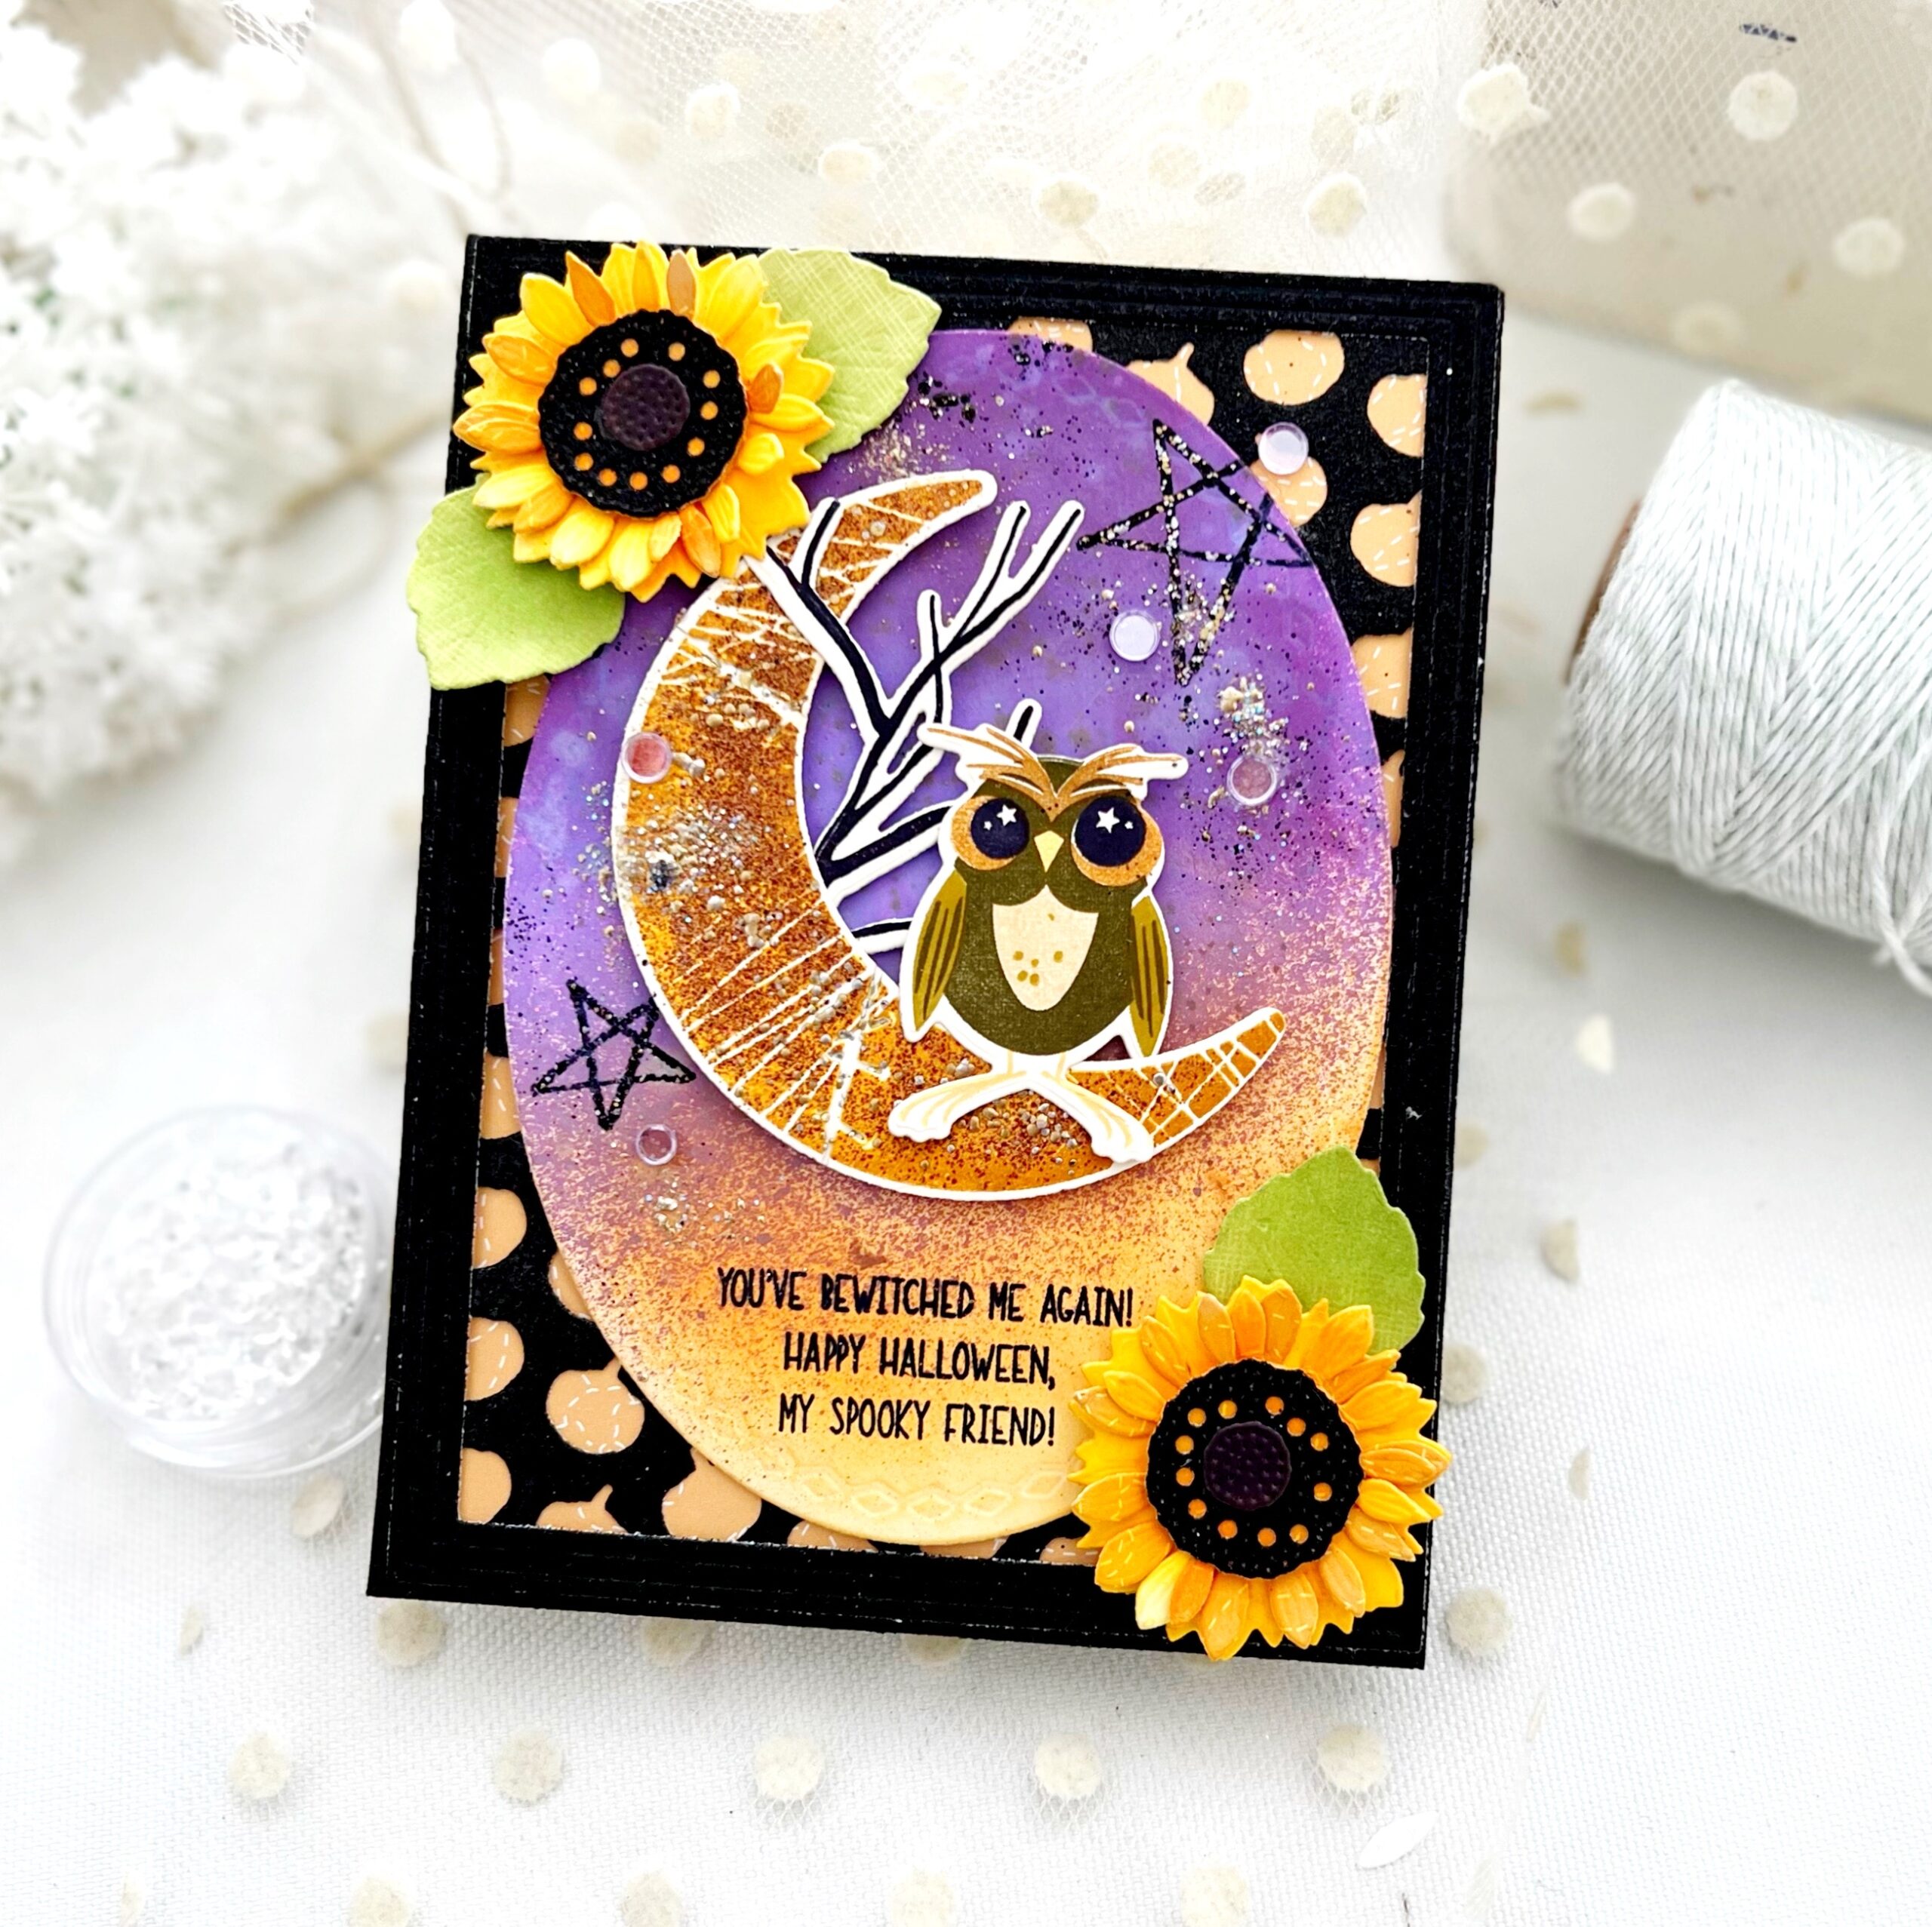
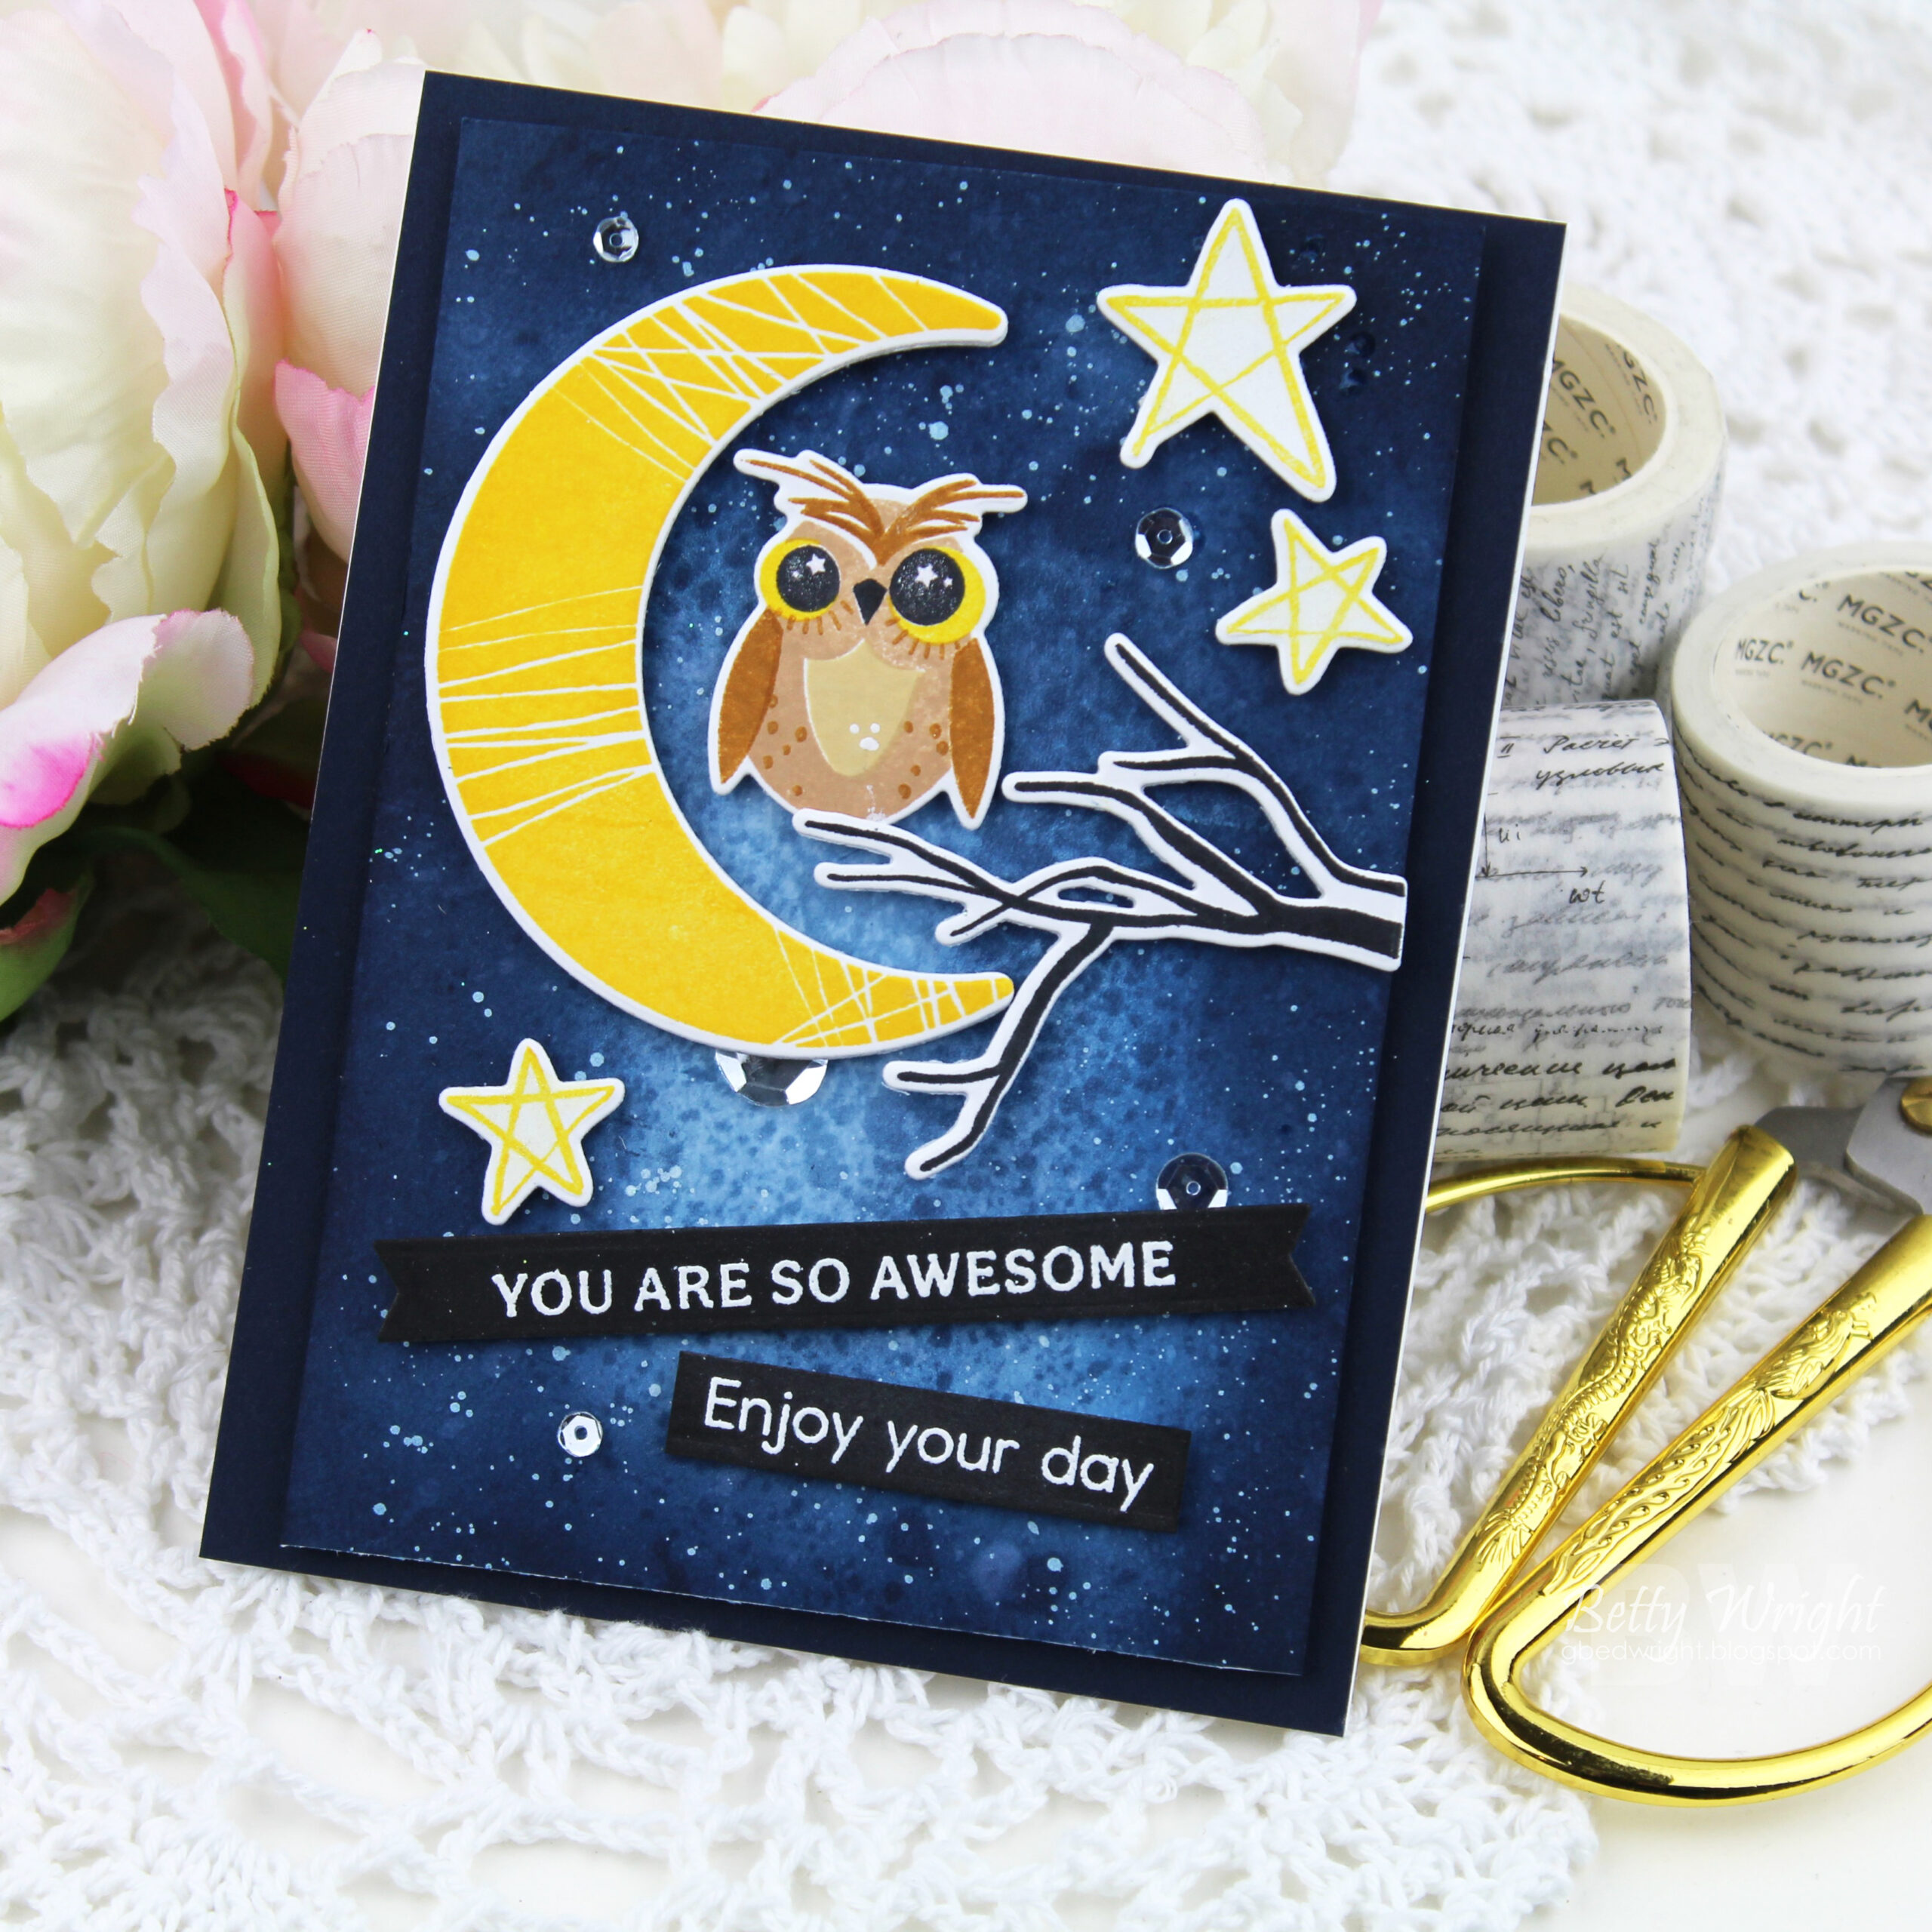
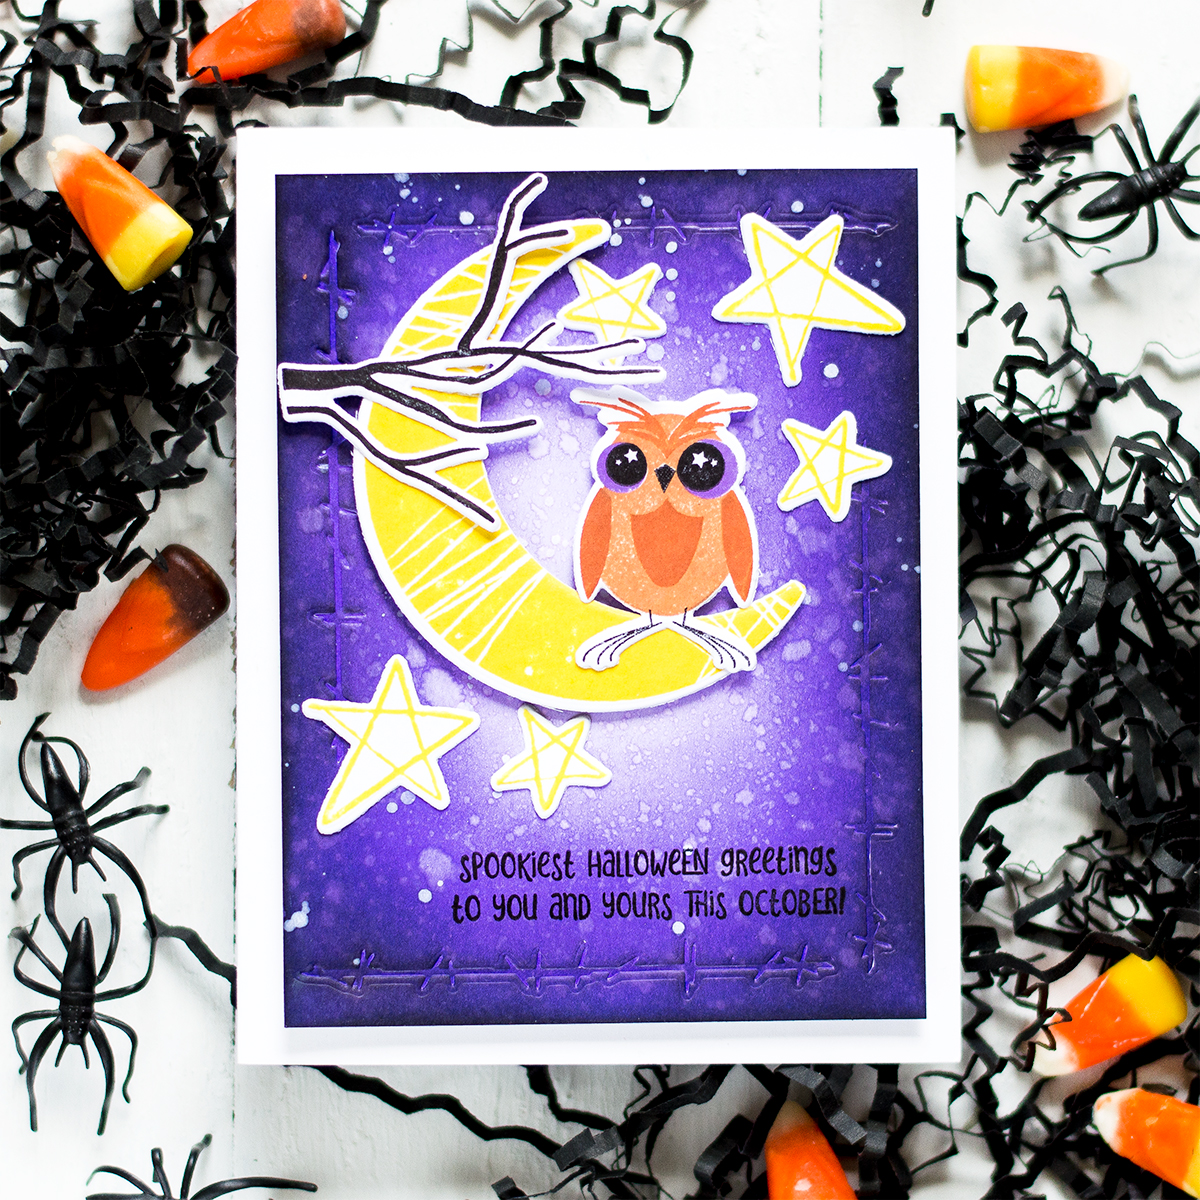
Our last products to introduce you to for our August Release is the delightful Happy Owl-O-Ween stamps and dies and Inside Greetings: Spooky stamps. You’ll fall right in love with two, sweet, little owls that accompany this new set.

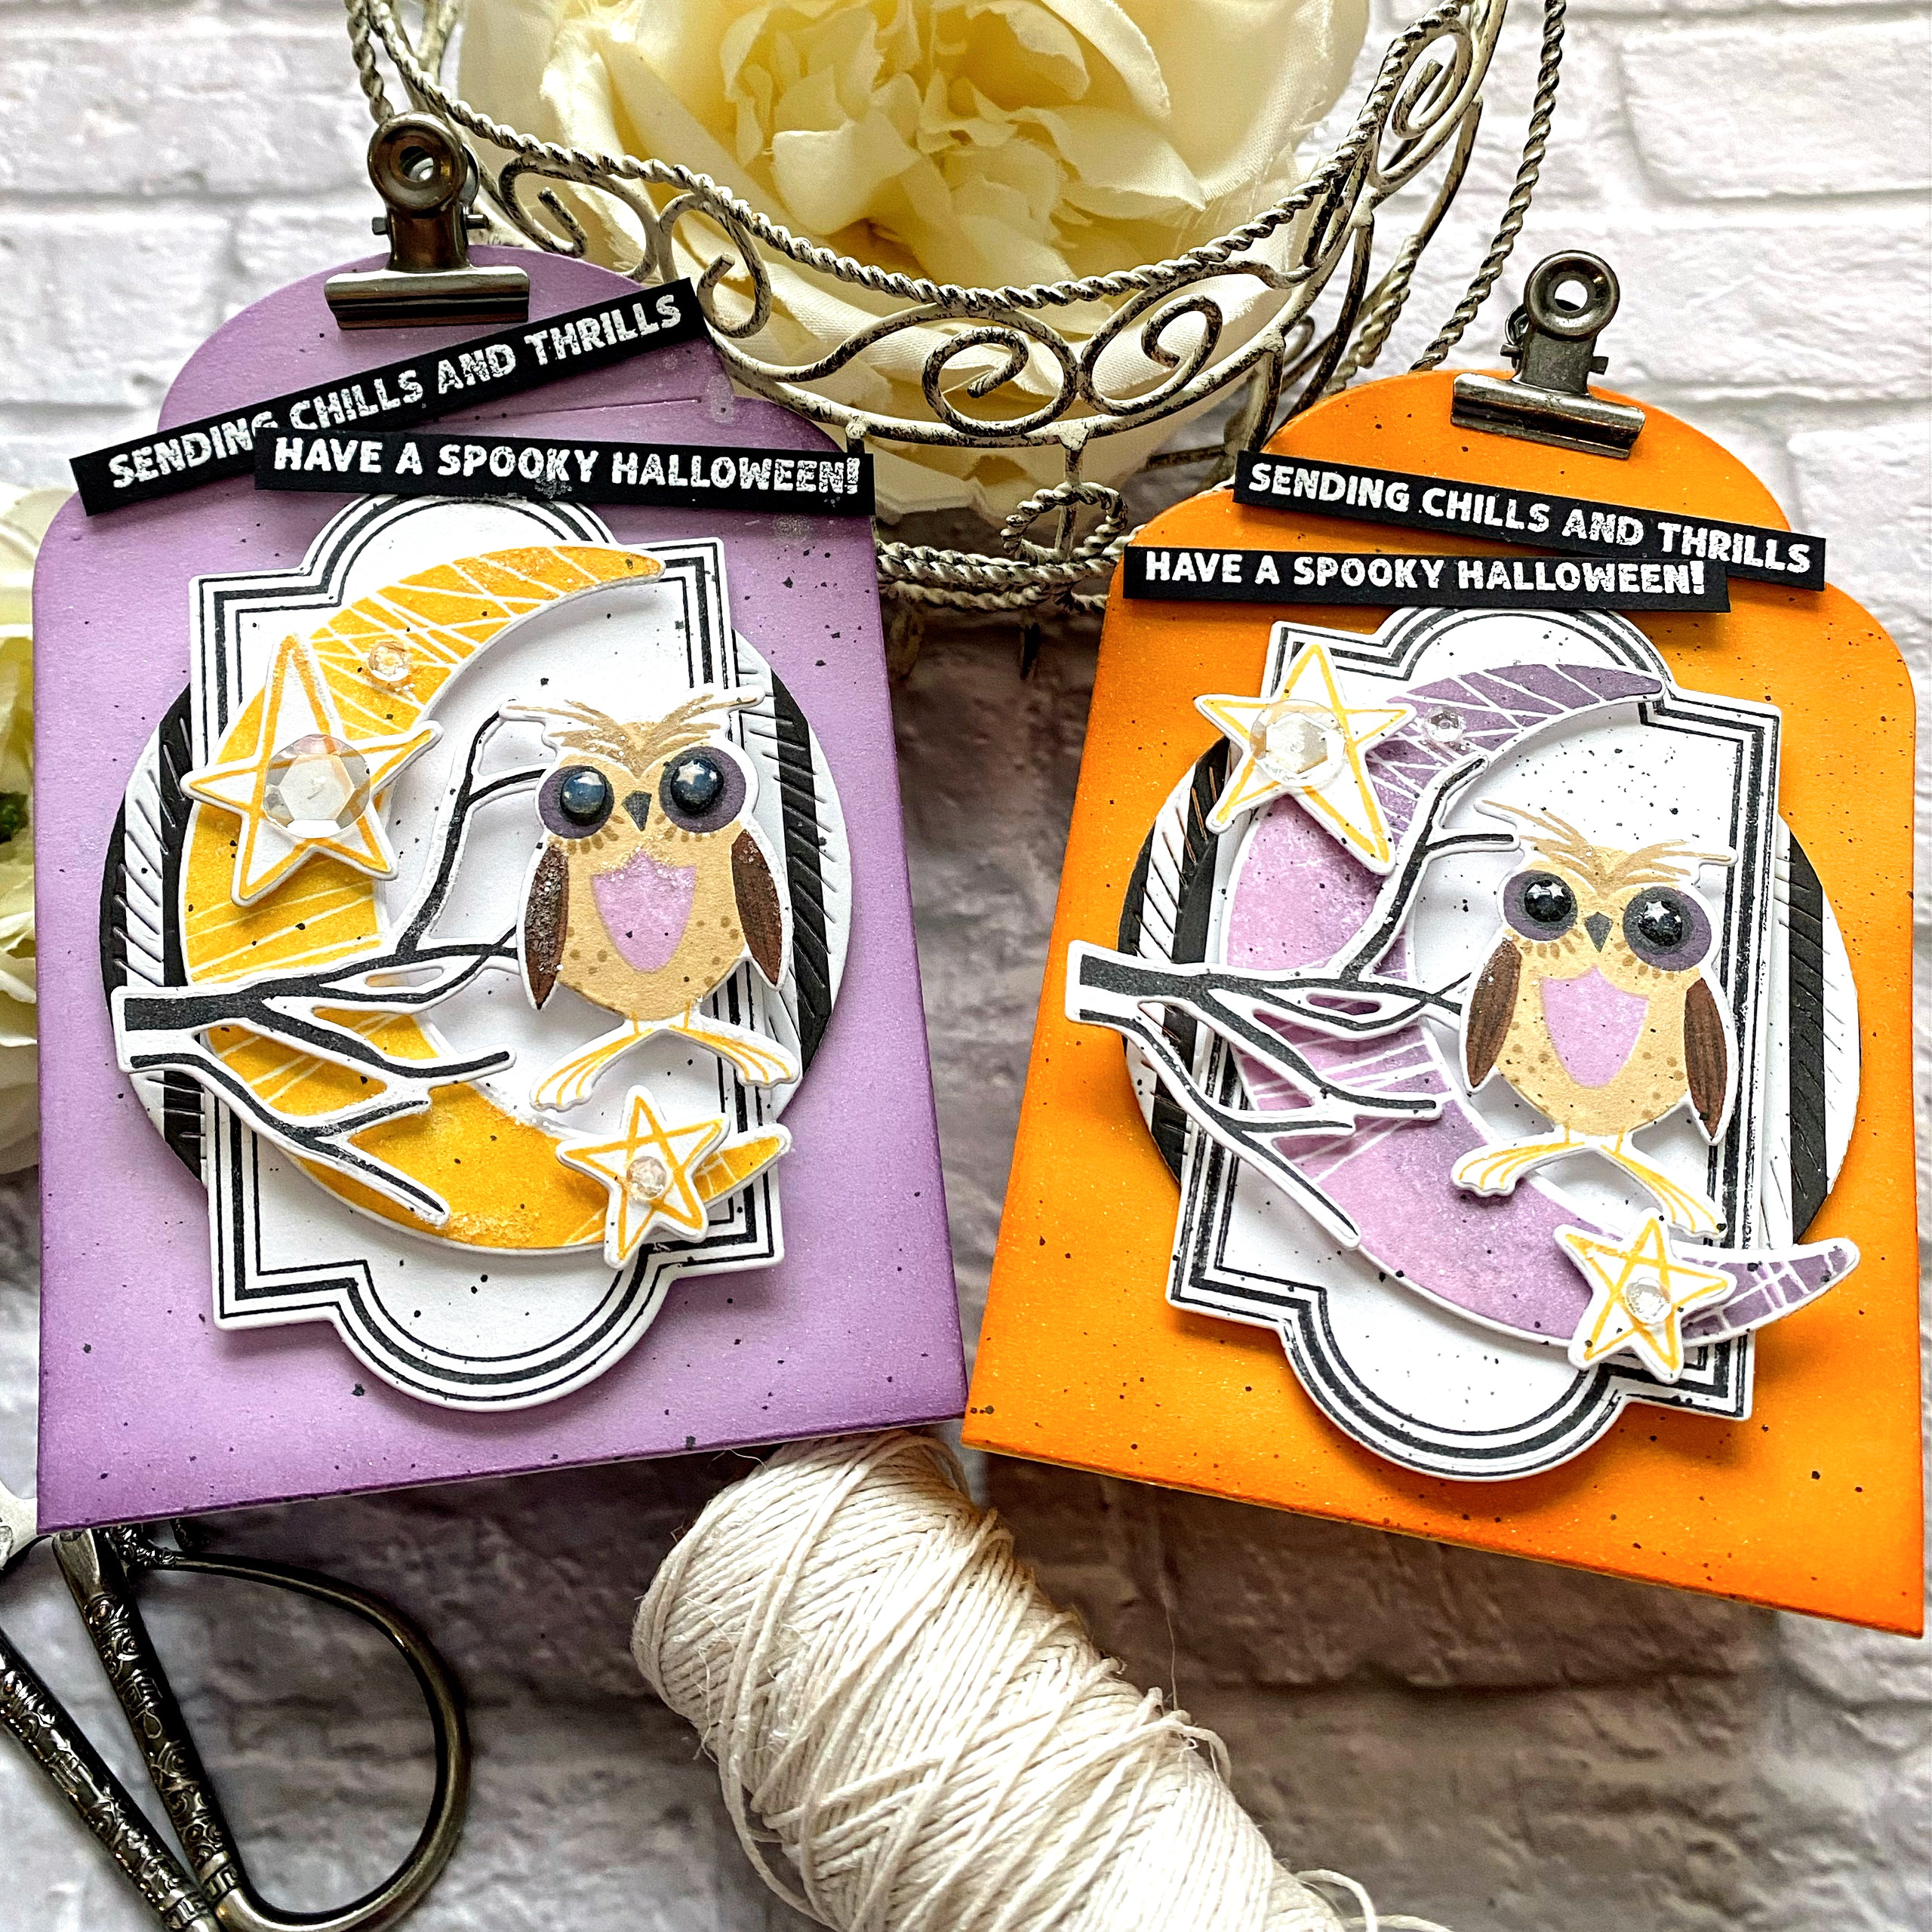
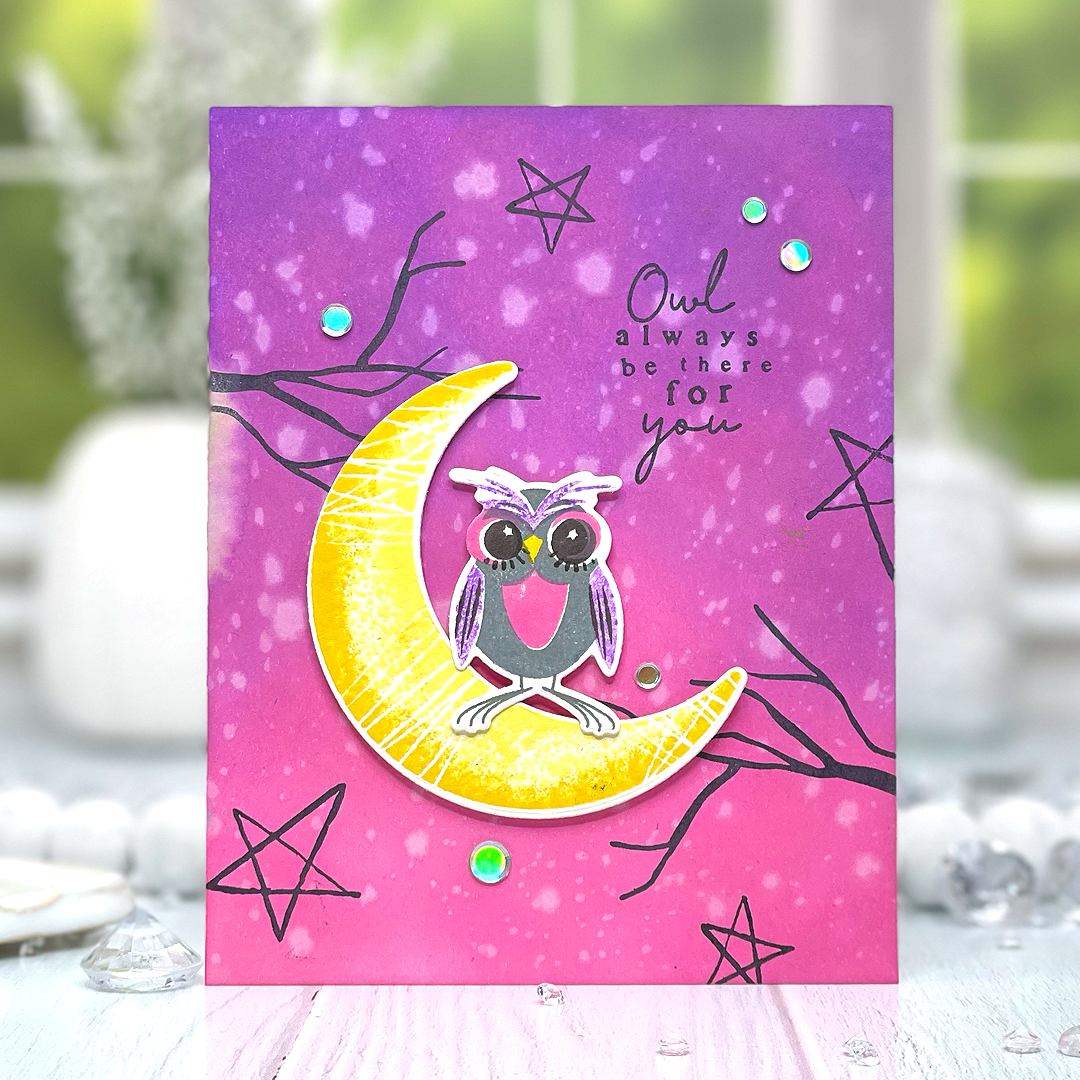
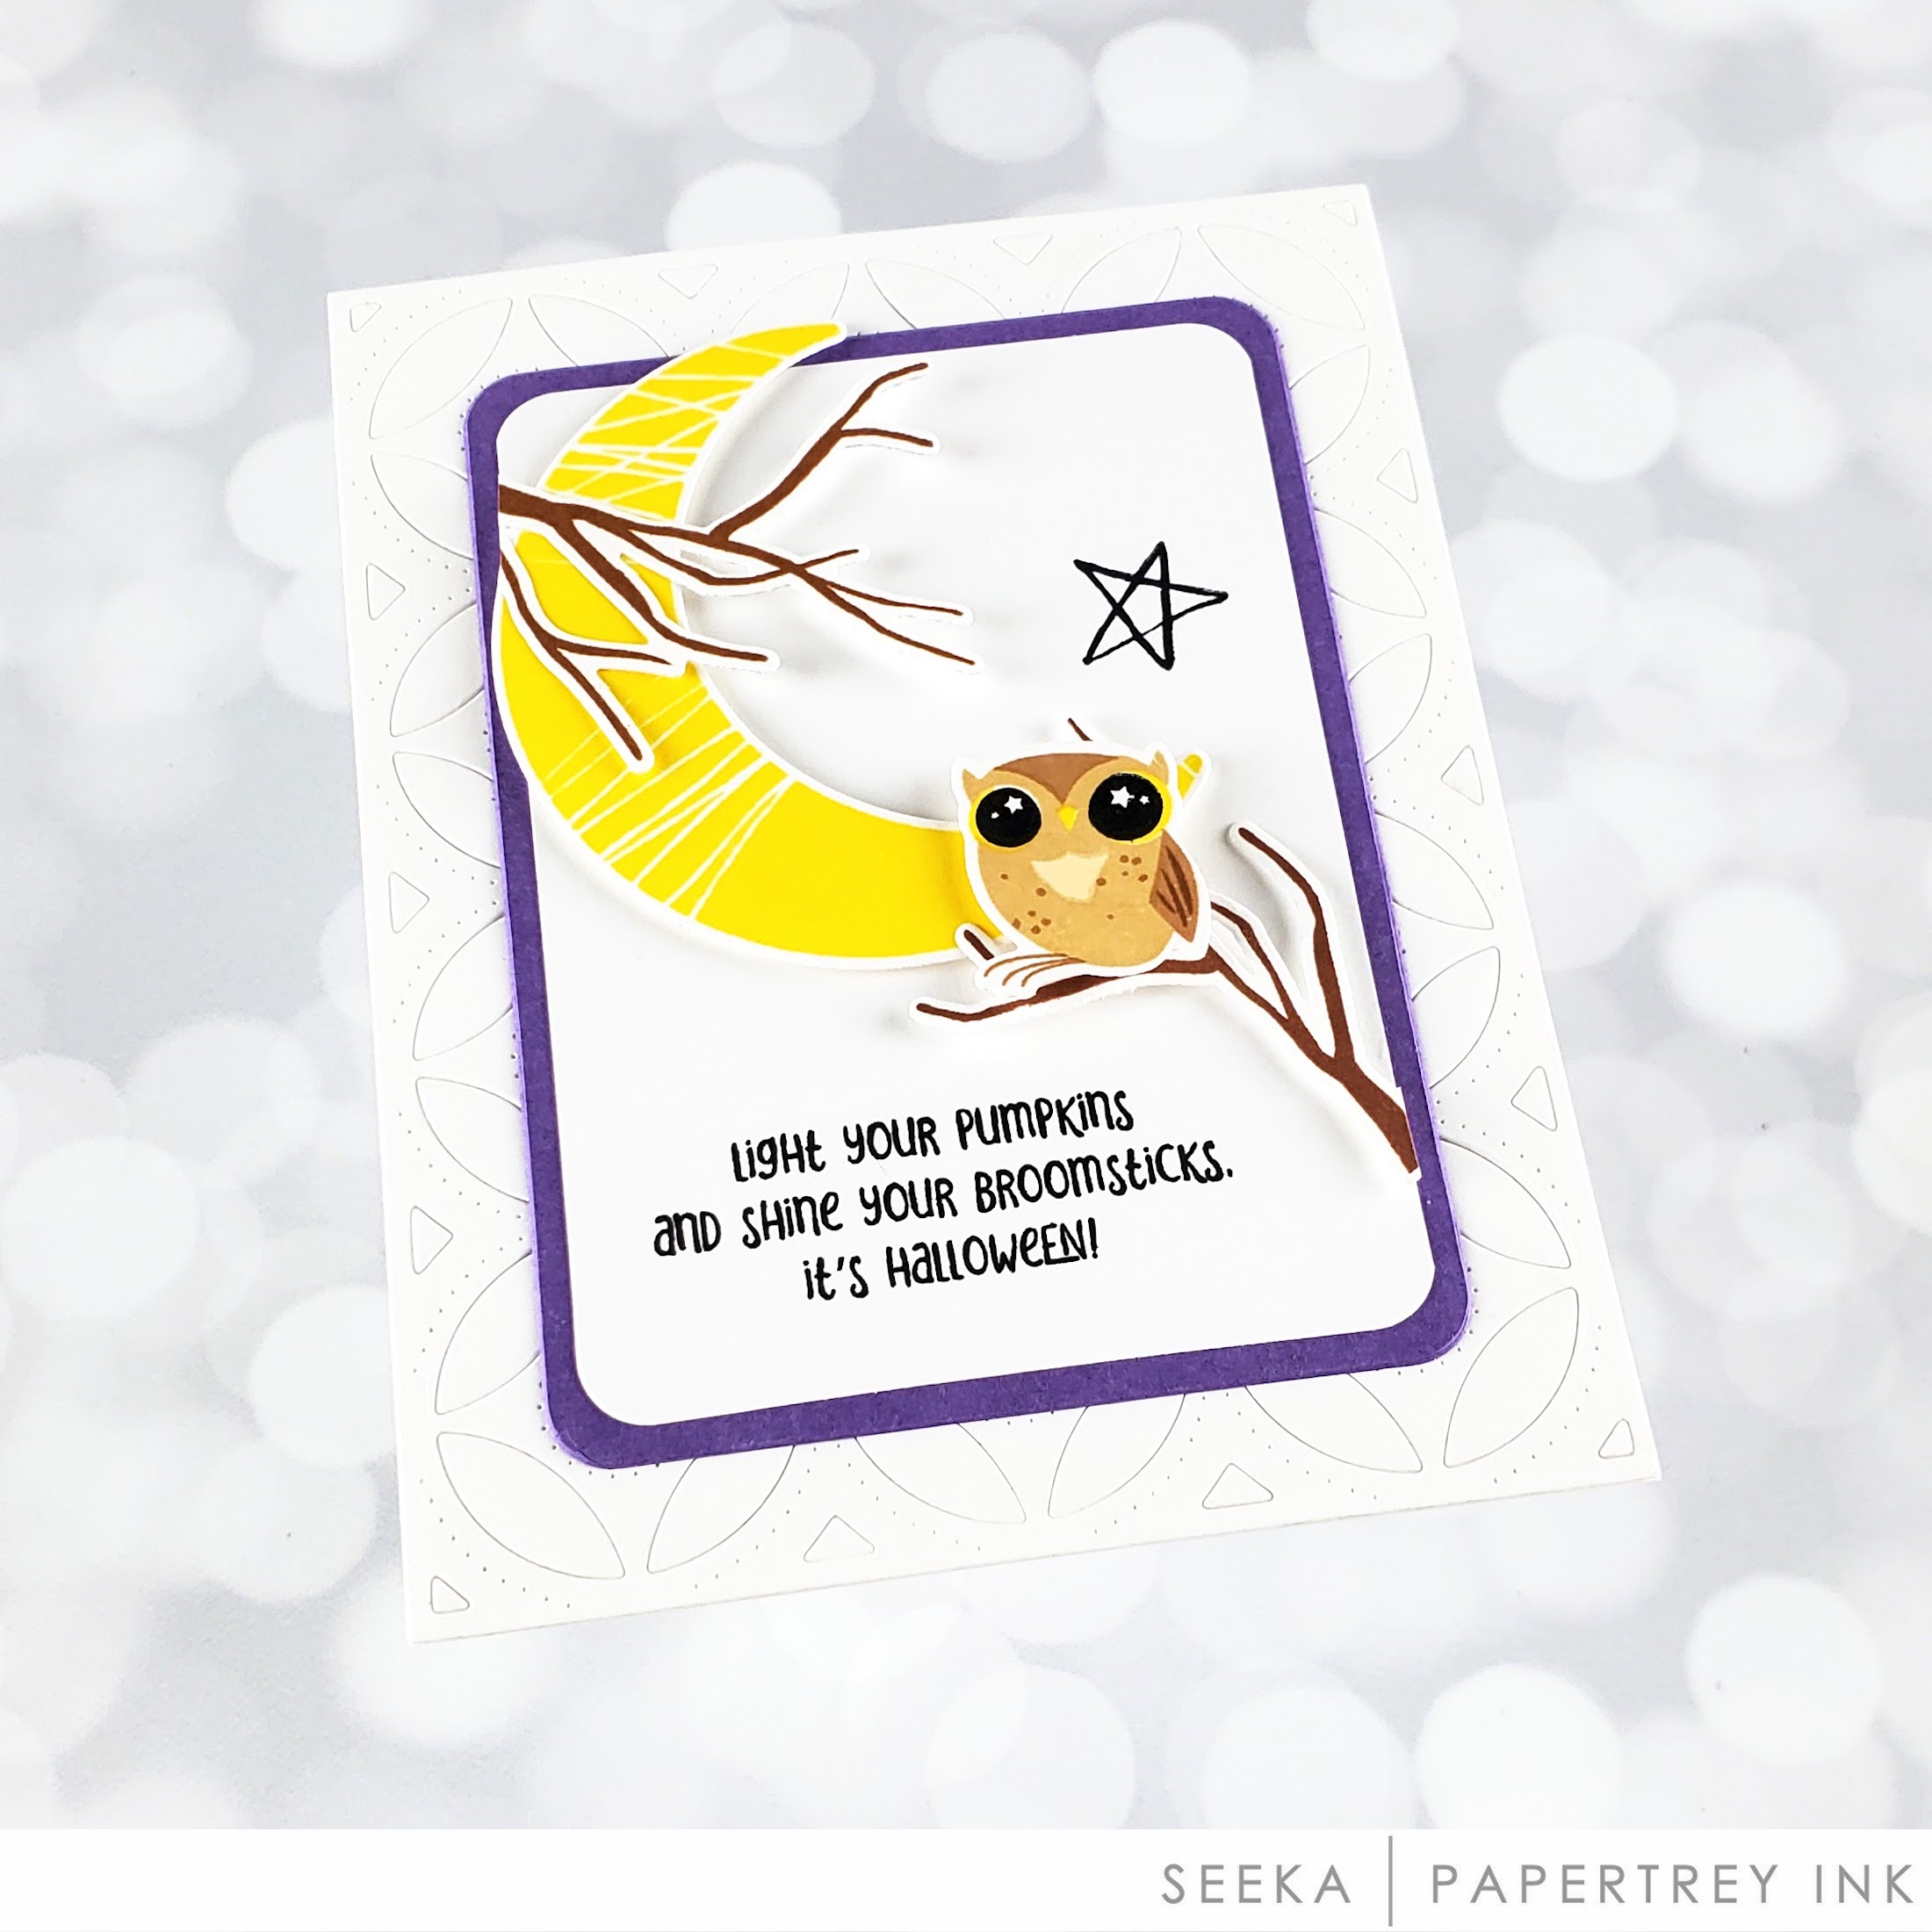
Happy Owl-O-Ween is made up of the cutest sliver of a moon, stars, creepy, twiggy, branches, the sweetest sentiment, and two darling owls. I used the bigger of the two owls on my card, perching him at the bottom point of the moon. This moon has my heart! I love the primitive, whimsical look to it. The die collection comes with a variety of stitches you can add to your moon to give it a pieced together feel. Adorable!
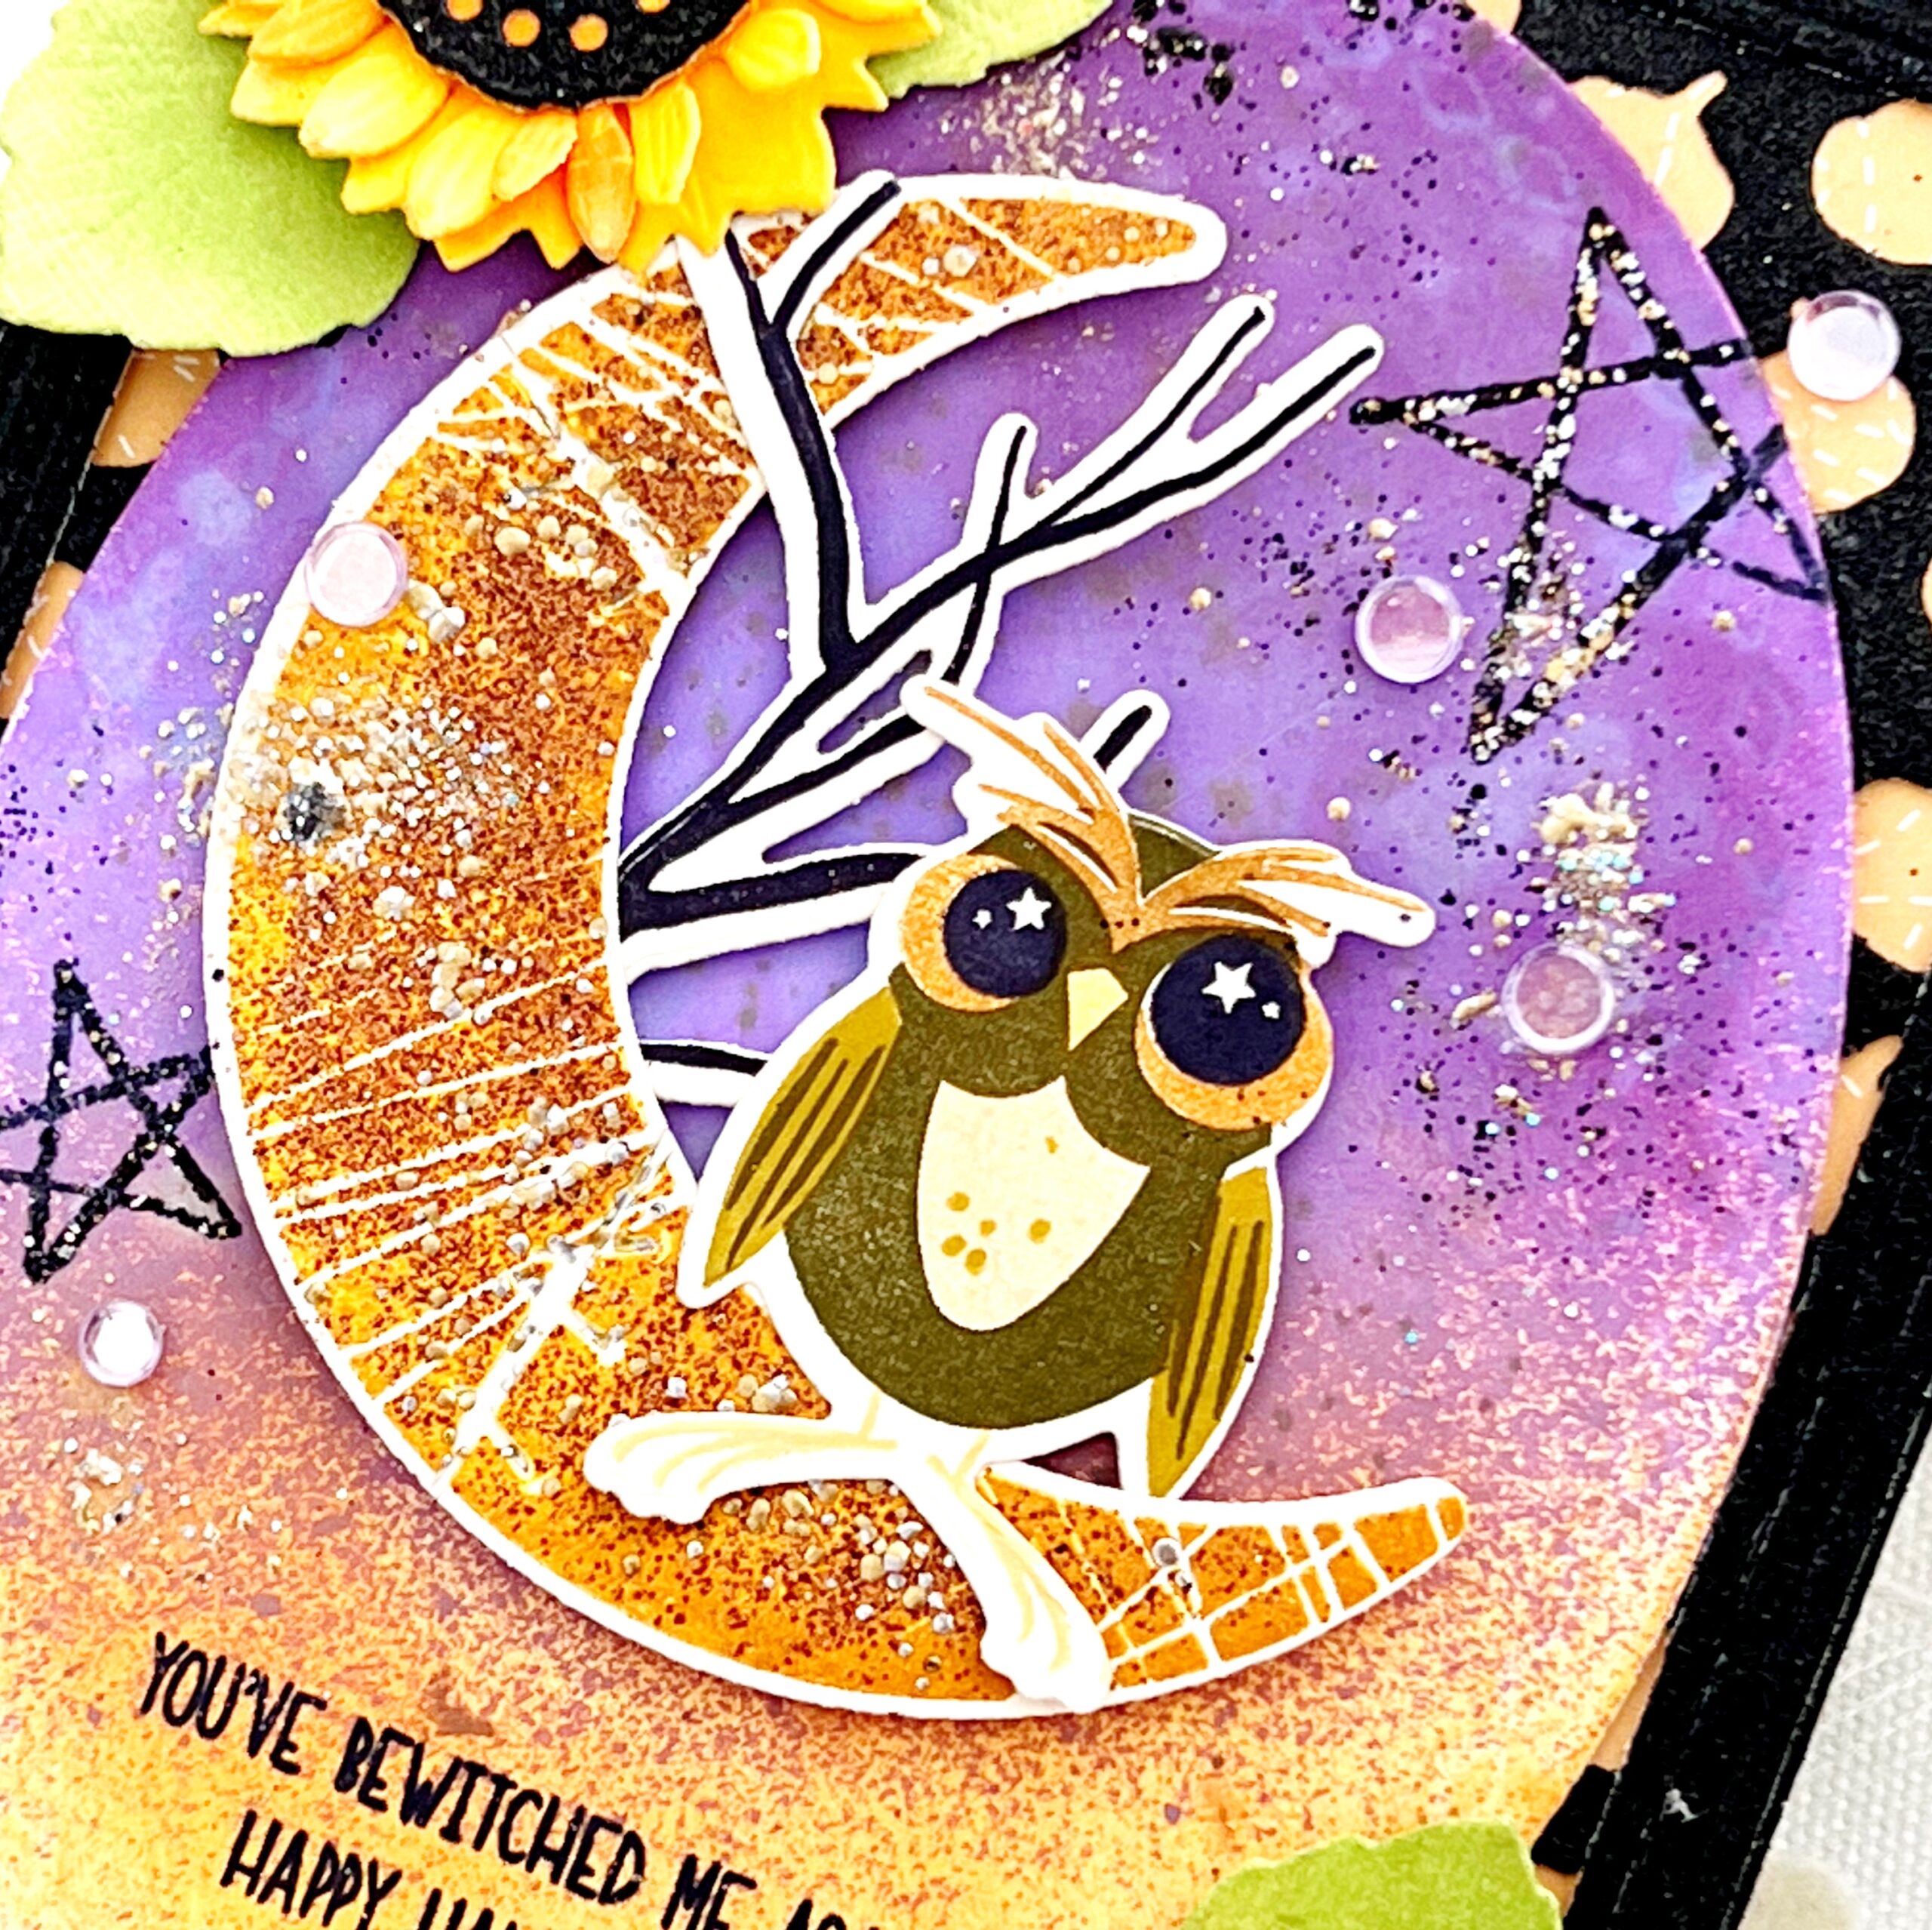
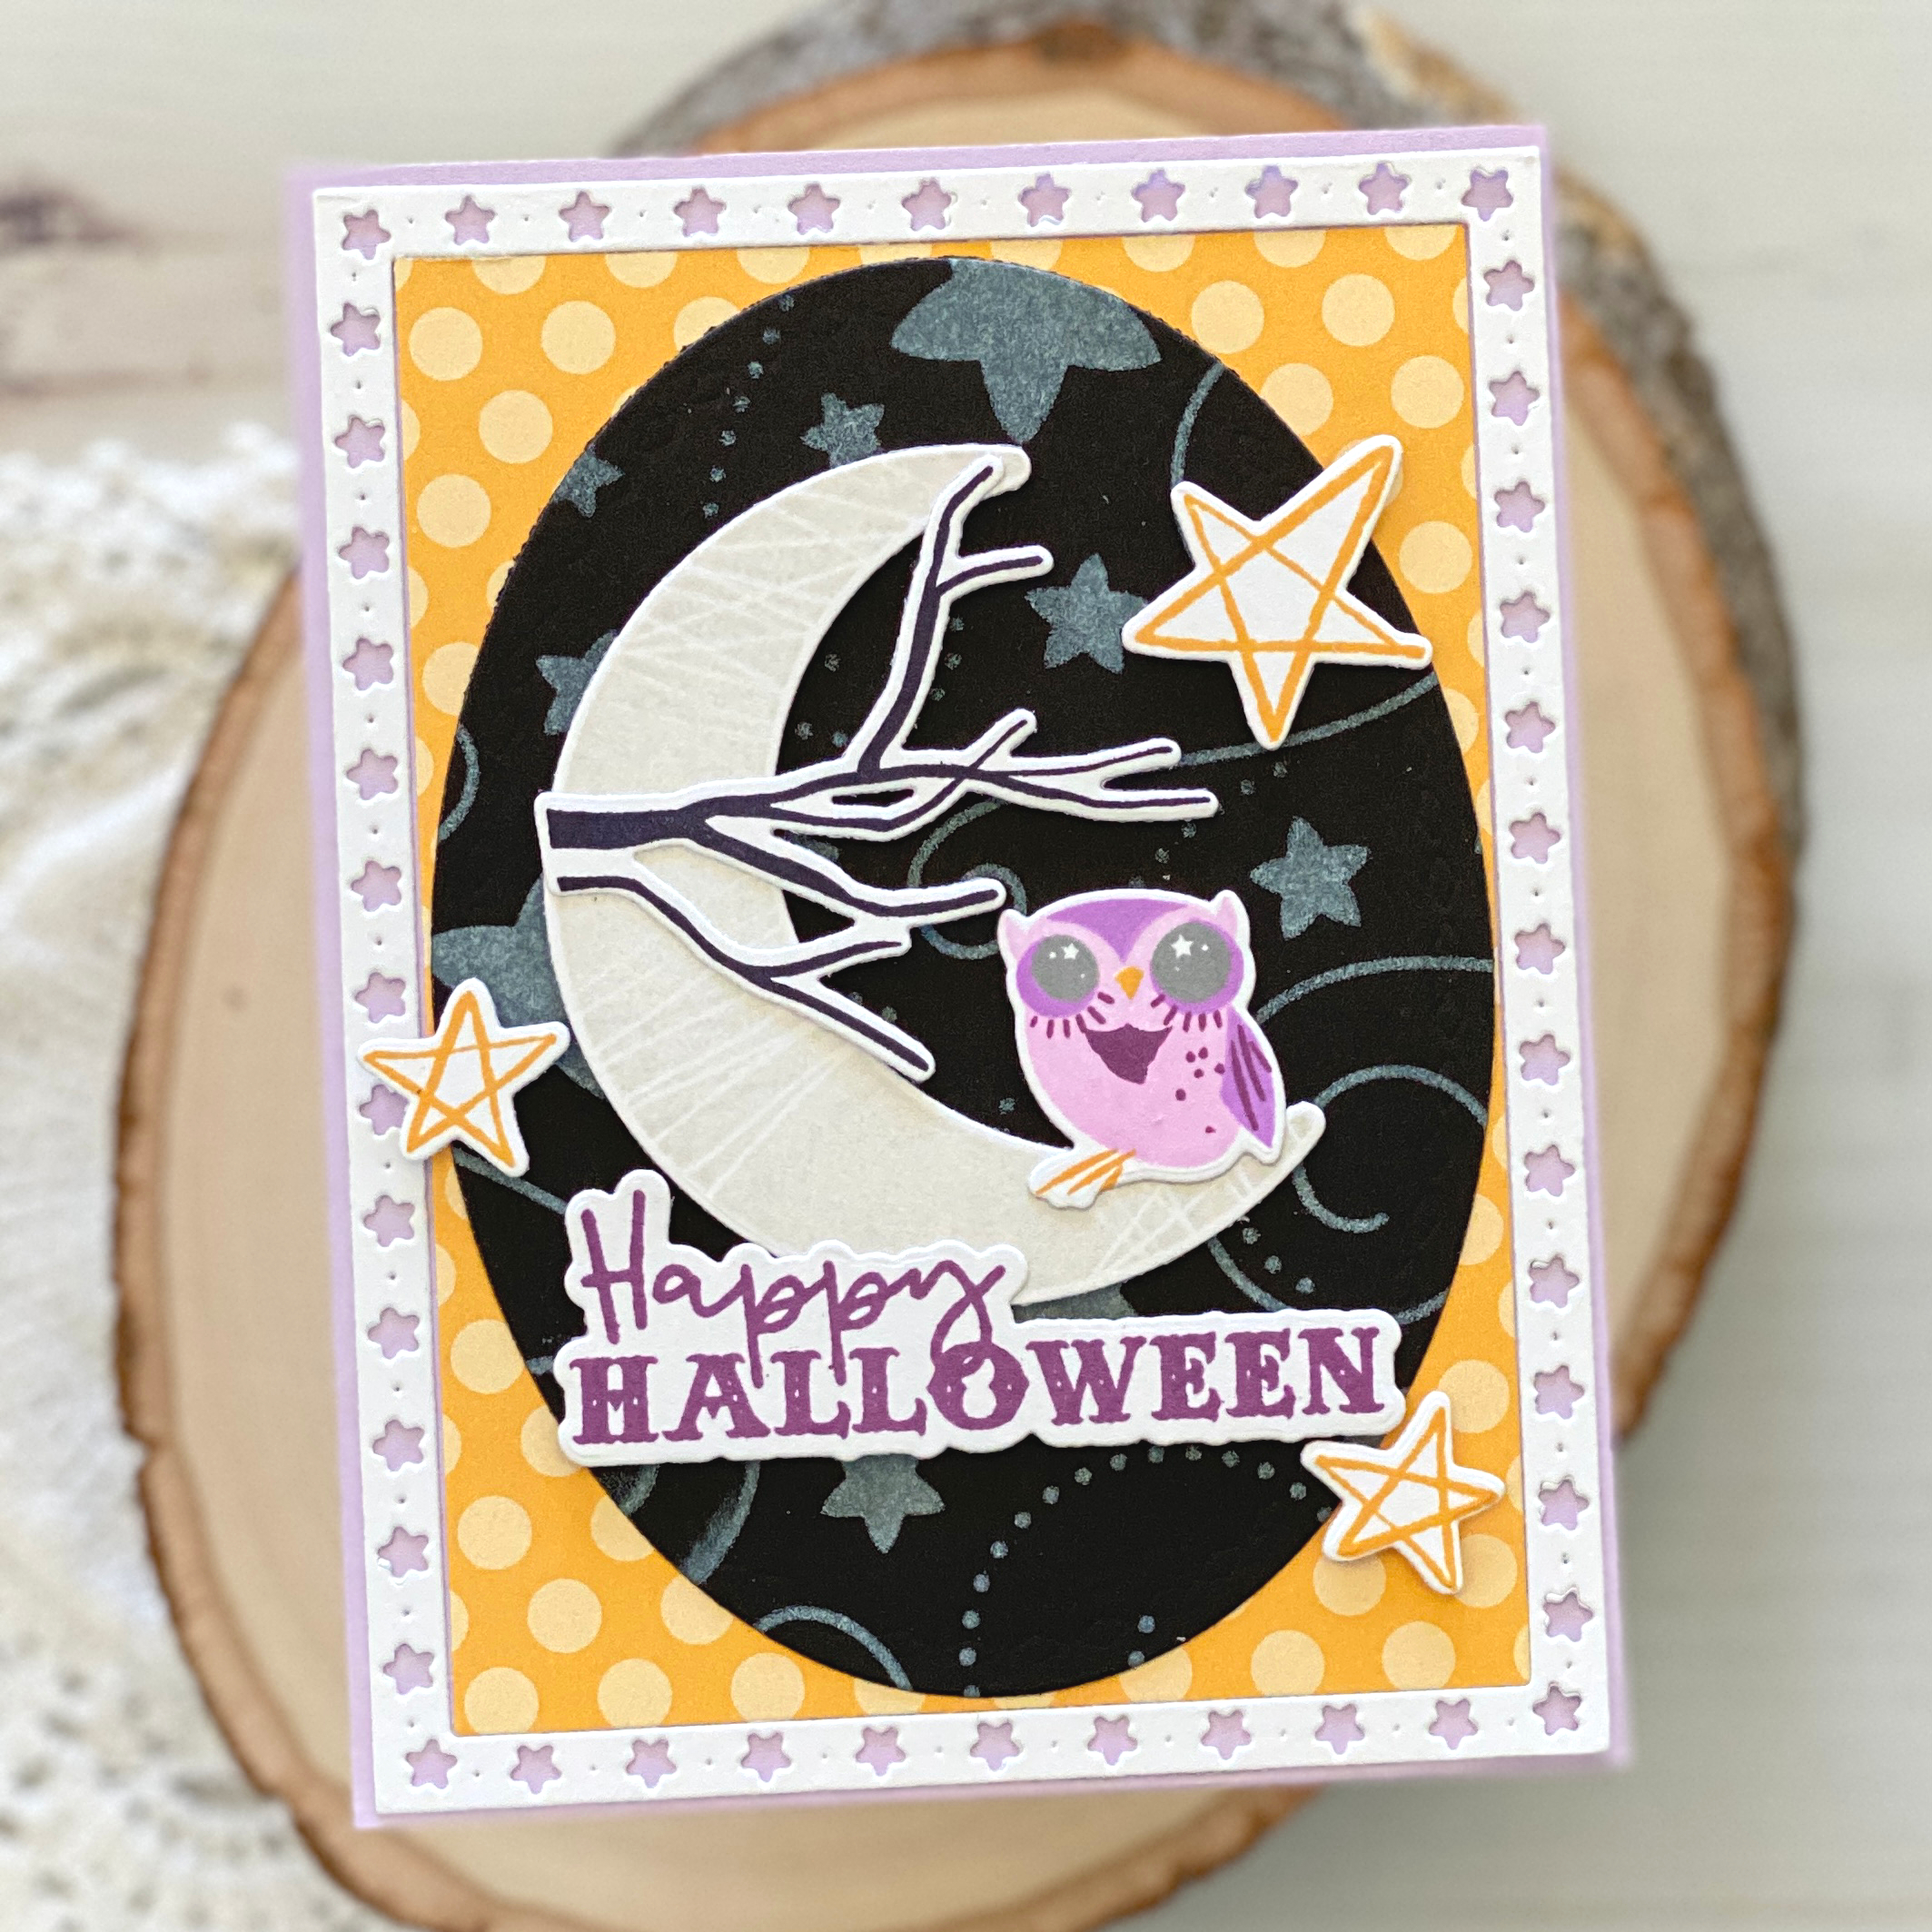
I wanted the background to cast an eerie, spooky glow behind my moon, and allow the perfect space at the bottom for my Inside Greetings: Spooky sentiment. I began with a Love to Layer: Ovals die and sprayed it with Distress Oxide sprays in purples. I then sponged ink in Summer Sunrise across the bottom. I added glimmer and sparkle by heat embossing my stars using black metallic embossing powder.

I layered my oval over a die cut Cover Plate: Pumpkins die, cut from black glitter cardstock. To finish, I added some bold, bright sunflowers cut using the new Into the Blooms: Sunflowers dies. Want to know my most favorite thing about this card? The stars that are in the eyes of both owls. What a sweet addition! This creates such an endearing feel to this whole set….love it!
Thanks so much for joining us this month. It sure has been a special treat. Enjoy the remaining projects prepared for you by our design team.
Supplies used:
STAMPS: Happy Owl-O-Ween, Inside Greetings: Spooky
INK: Summer Sunrise, Bright Buttercup, Olive Twist, True Black, Saffron Spice, Dark Chocolate, Fine Linen, Honey Nut
PAPER: Stamper’s Select White, Bottles and Blooms
DIES: Happy Owl-O-Ween, Into the Blooms: Sunflowers, Love to Layer: Ovals, Cover Plate: Pumpkins, Border Bling: Skinny Embossed Frames
OTHER: Black glitter cardstock, silver, gold, and black metallic embossing powder, Moonshine sequins, Distress Spray


We hope you have enjoyed all the beautiful projects that we have shared with you today! We would love to hear what you think of everything we have introduced! Please leave a comment on this post to tell us what you like the most and why, and you will be eligible to win big!

Leave a comment today and you will be automatically entered to win a $50 Papertrey Ink gift certificate! You have until 7am ET, August 18th to leave your comment and be eligible to win. Only one comment per person please. One randomly selected winner will be posted on the August Release Winners Page by 11 PM ET on August 18th.


Leave a Reply