


I’m so happy to kick off our June Countdown with you today! You’ll love what we have in store each day of our countdown. There’s something for everyone this month! Let’s get started with Day 1 goodies, including the new Graceful Butterflies stamp set and dies and Script Background Stencils.
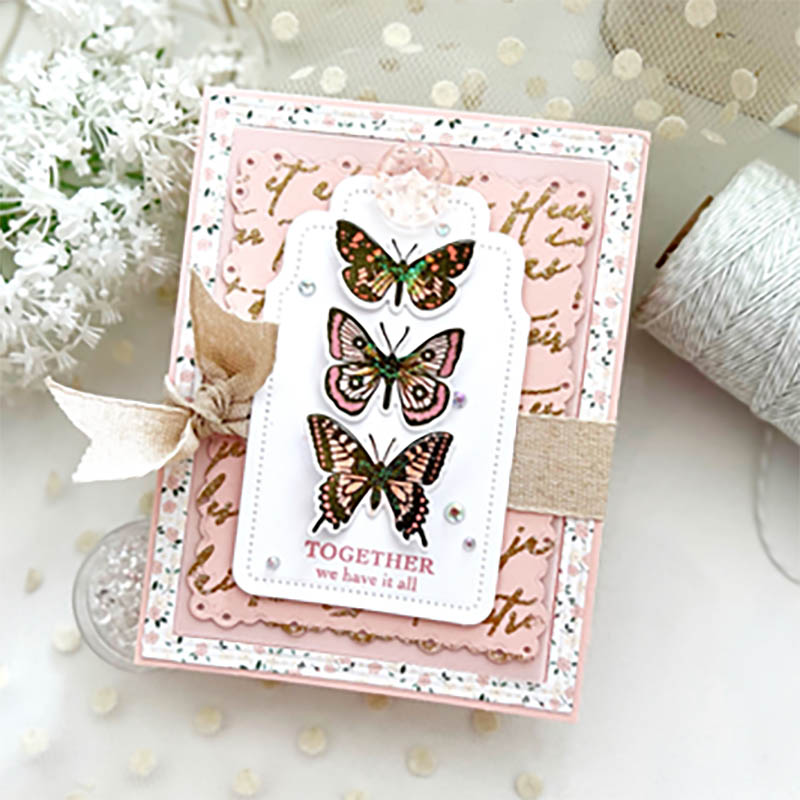
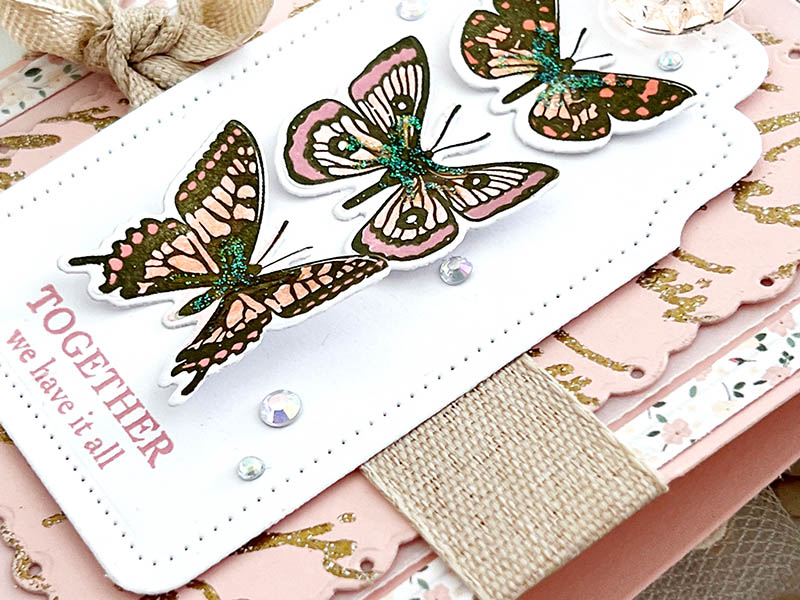
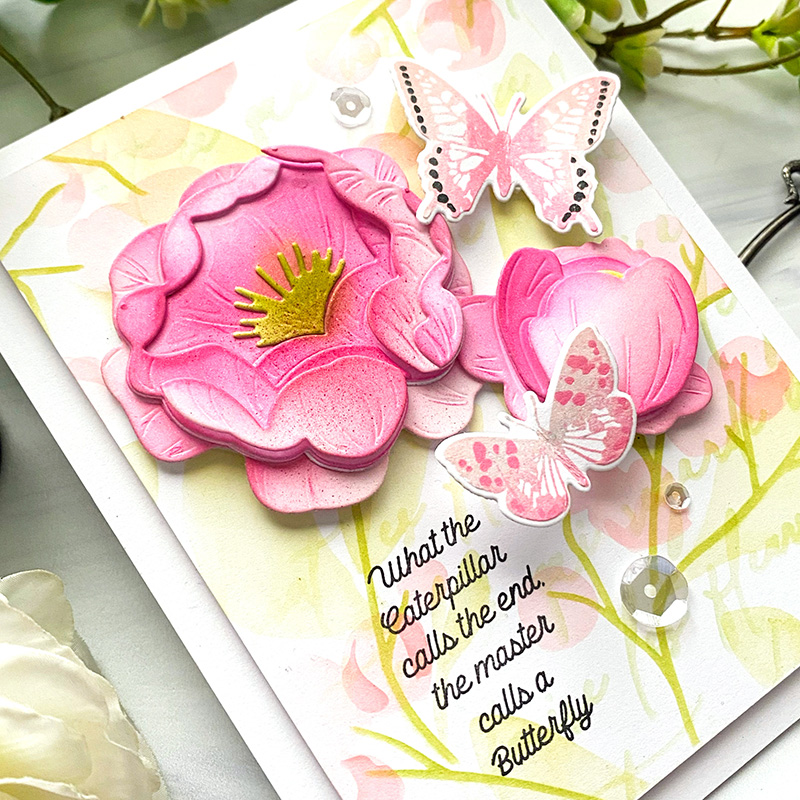
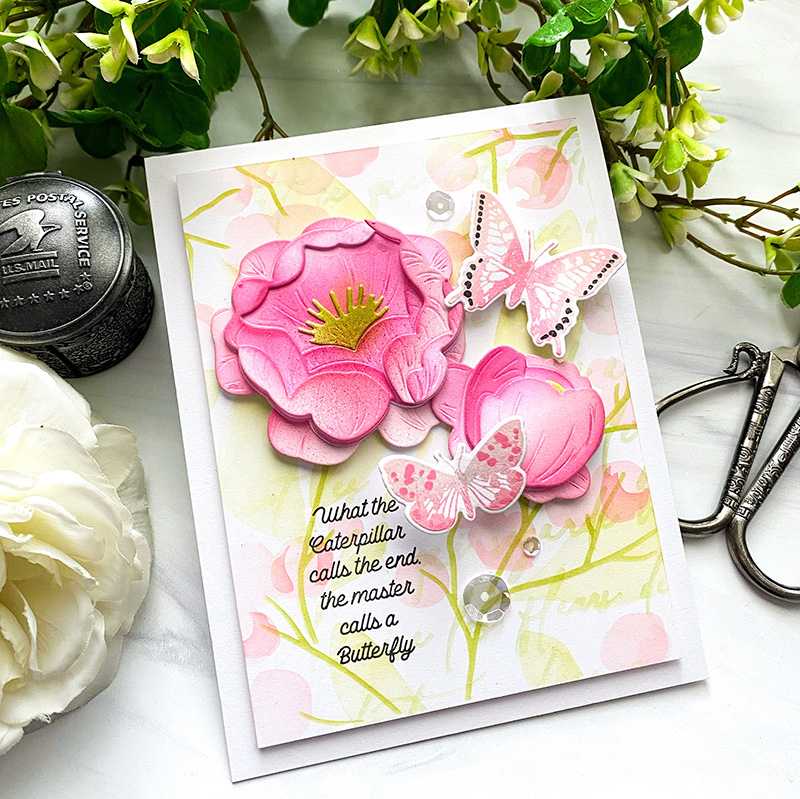
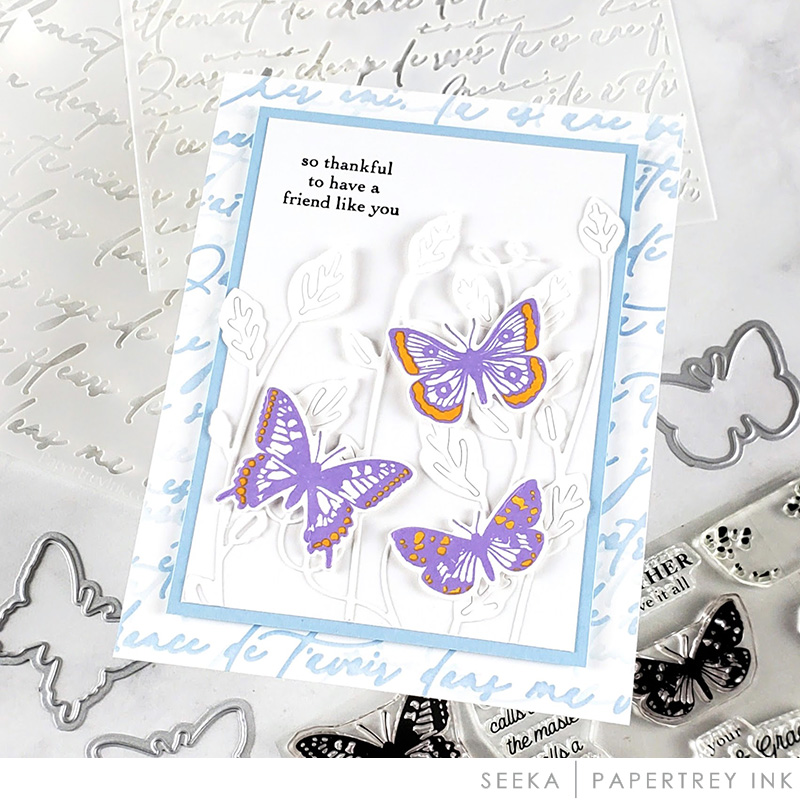
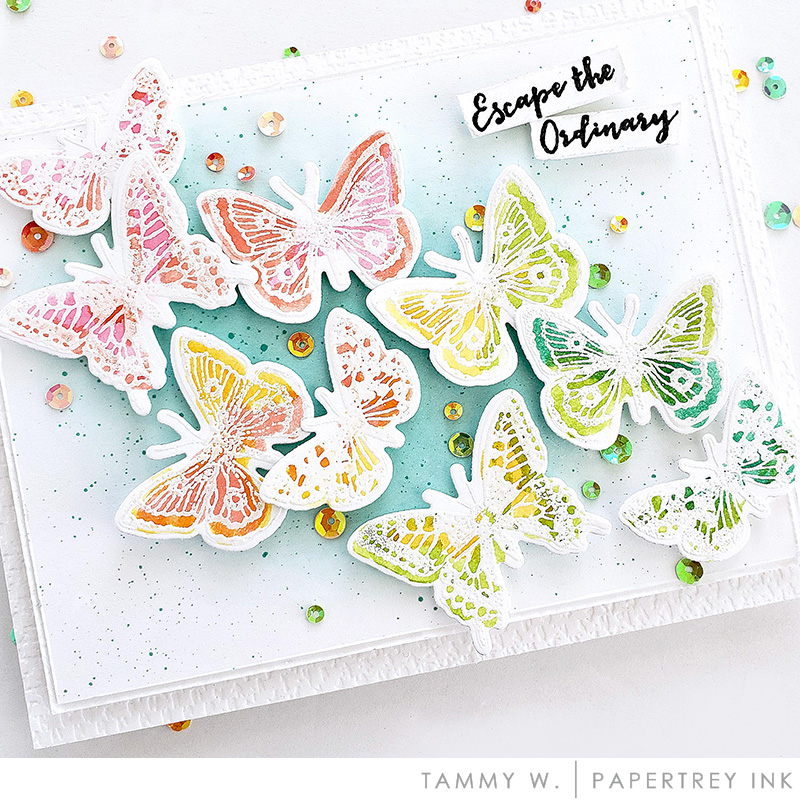
Do you love butterflies? I love how no two butterflies are the same and they are intricate and detailed in such a delicate nature. The images in the new Graceful Butterflies stamp set are truly remarkable. I can’t get enough of them. And since, I couldn’t choose just one butterfly to use on my card, I lined up a trio of them, and love how they look together. Grouping elements is a really fun and effective way to showcase your favorite images, such as I’ve done here.
Our new Script Background Stencils are a perfect match with our Graceful Butterflies stamps. I heat embossed my background on pink cardstock using gold embossing powder. I love the combination of pink and gold. I simply sponged on watermark ink over my stencil, removed the stencil, coated the inked area with gold embossing powder, removed the excess powder, and used my heat gun to set the embossing powder. So simple and a fun way to use your stencils.
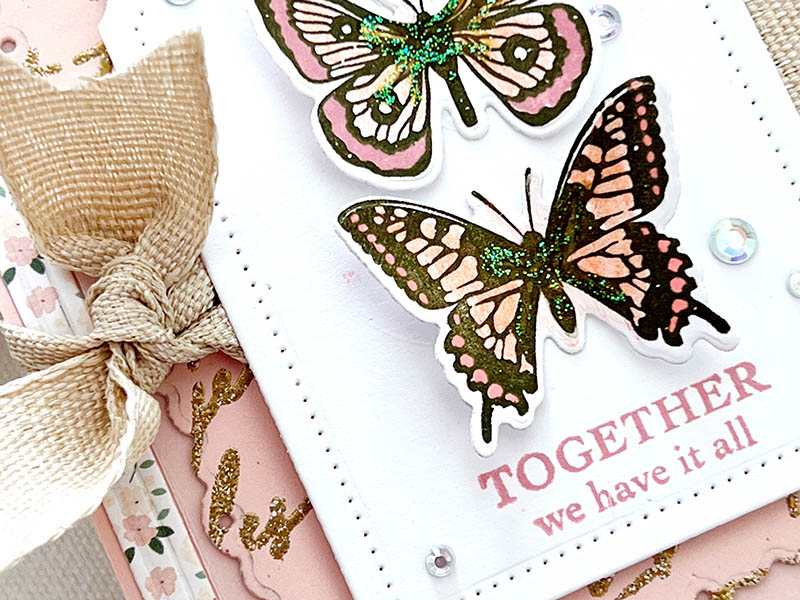
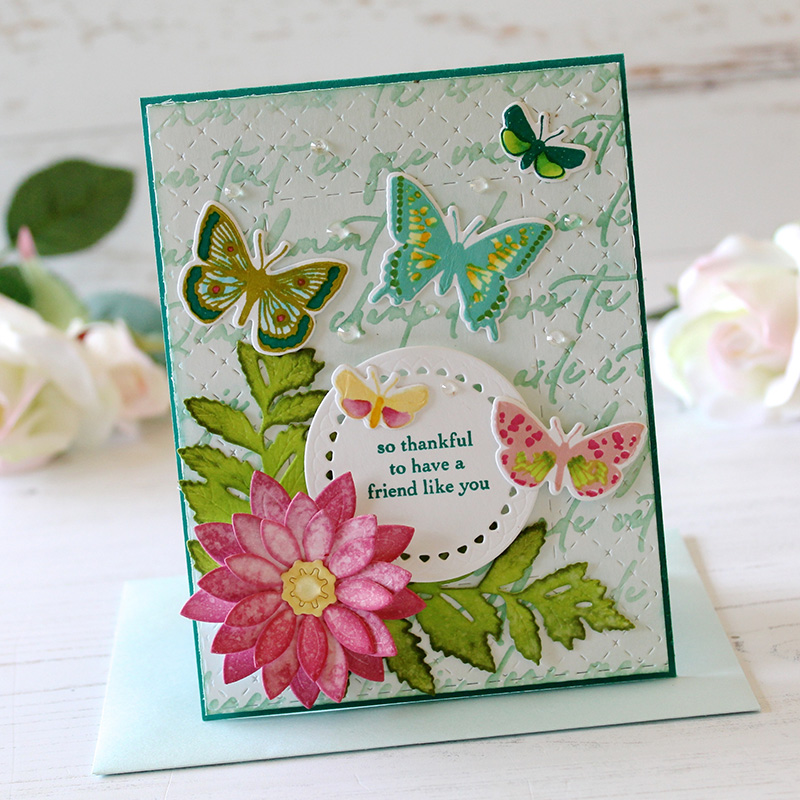
There’s so much to love about Graceful Butterflies. All but one of the butterflies are a two-step stamp, so you can add color to the details in the each butterfly. The sentiments are plentiful and just as unique as the butterflies, with mixed fonts in a variety of gorgeous options.
You’ll fall in love with these new products as you get to see what our designers have created using them. Sit back and enjoy!
Supplies used:
STAMPS: Graceful Butterflies
INK: Olive Twist, Raspberry Fizz, Autumn Rose
PAPER: Sweet Blush, Stamper’s Select White, Sheer Basics Vellum
DIES: Graceful Butterflies, Mix & Mat: Confetti, Border Bling: Embossed Skinny Frames, Charming Tags 1
OTHER: Patterned paper, adhesive gems, ribbon, button


TIPS:
- Use a large assortment of butterflies for a big impact
- Create and interesting background by combining stencils and penciled outline stamps
- Bend the butterfly wings upward to create the illusion of flight

TIPS:
- Rip the ends of the sentiment strip for a different look
- Create a tone on tone background by layering different die cuts
- Create visual movement by staggering design elements

TIPS:
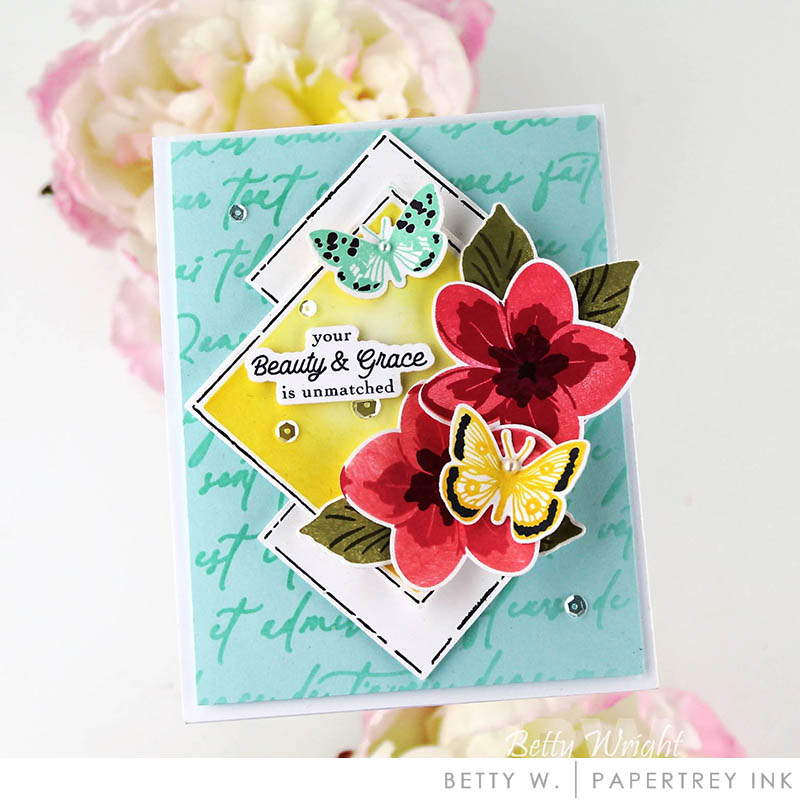
- Layer two different stencil patterns for depth
- Add die cut flowers to the stenciled pattern for a unique look
- Try using multiple colors of ink on the base layer of the butterflies for added visual interest
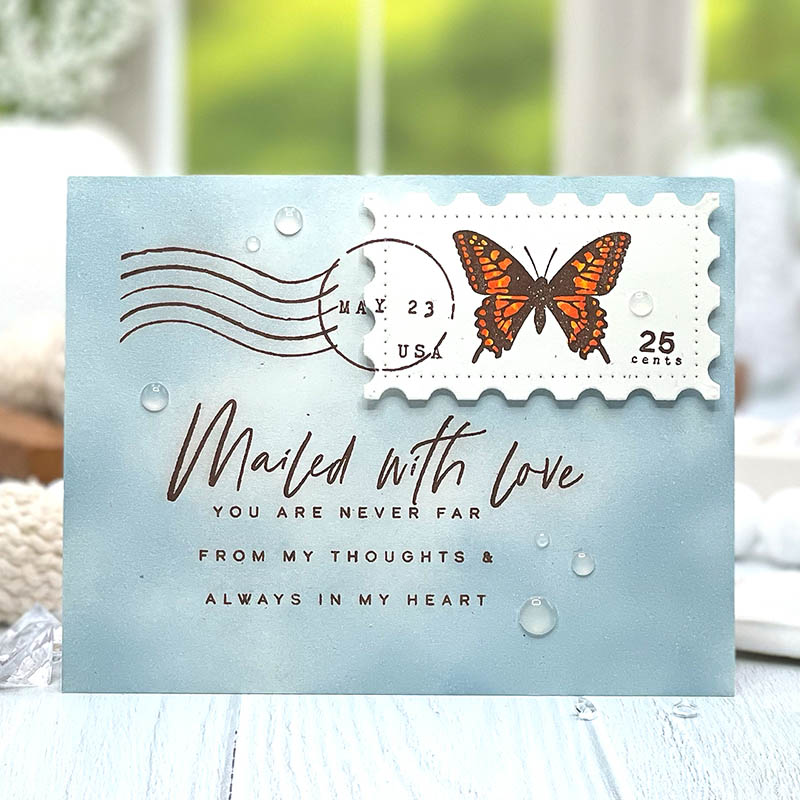
Next up I today, I’m happy to share with you the new Vintage Postage and Penciled Outlines stamp sets and dies. They go together so beautifully and are gorgeous additions to your stamping arsenal. From shabby chic to elegant and timeless, these new products are heartwarming and so inspiring. Let’s get started with my project.
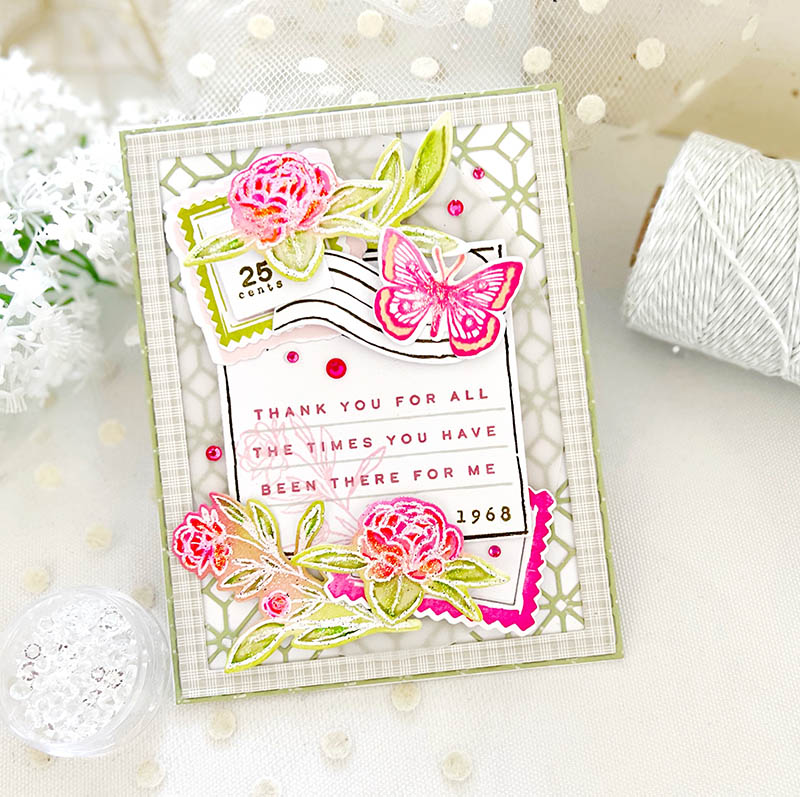
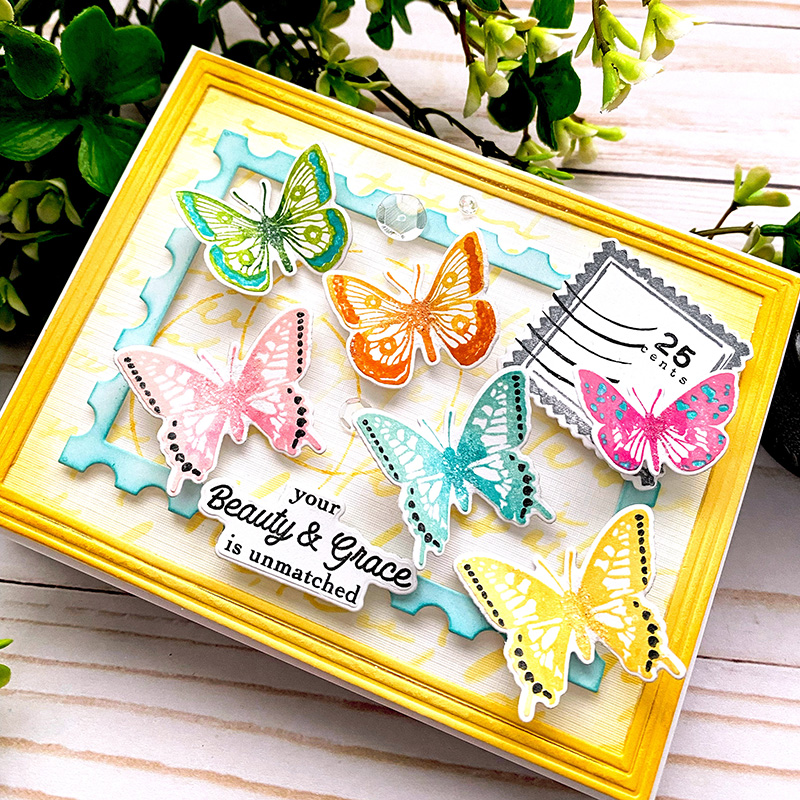
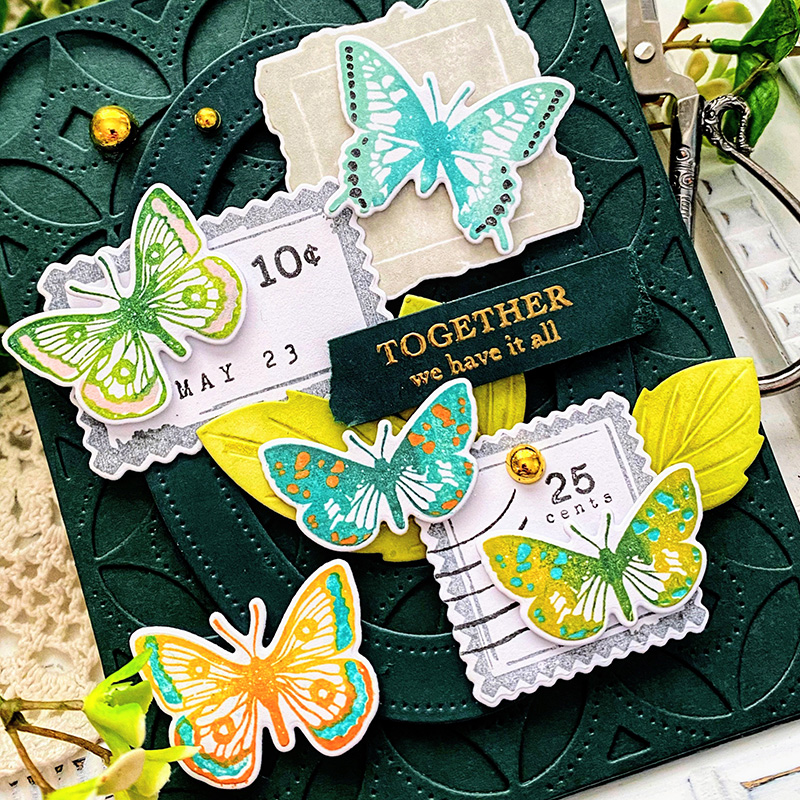
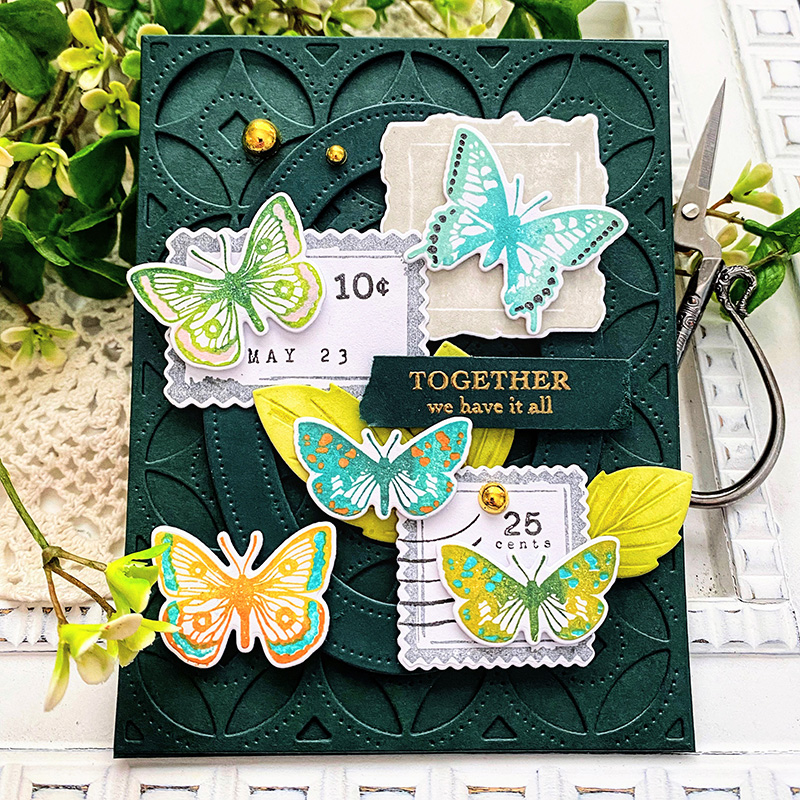
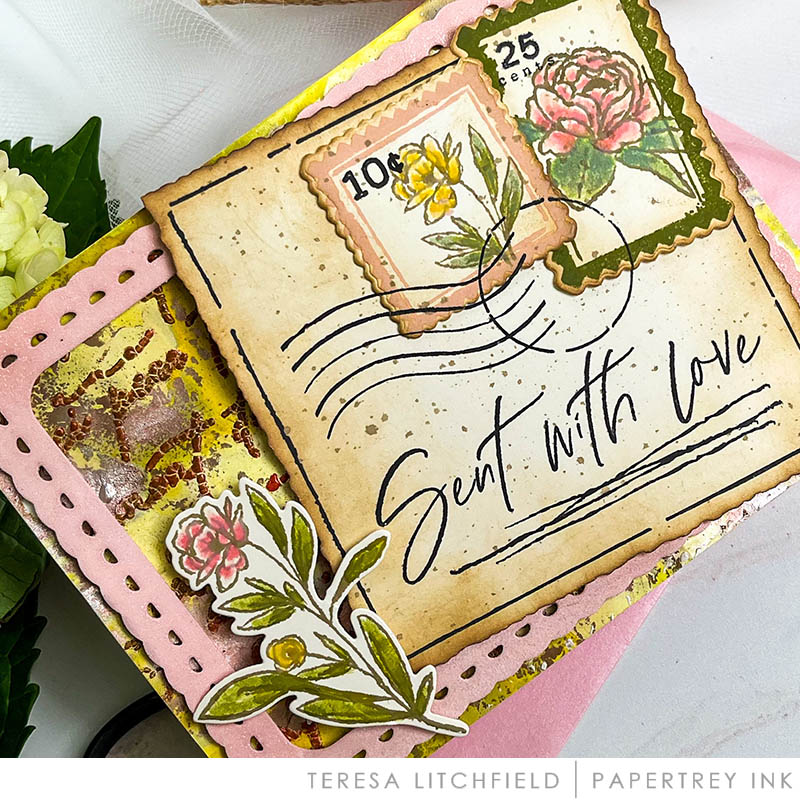
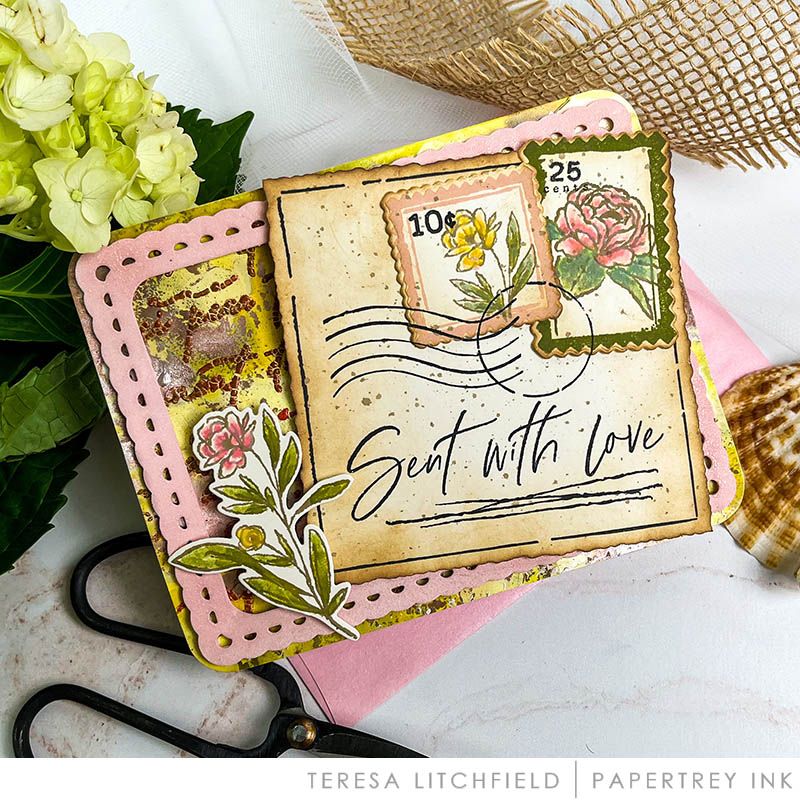
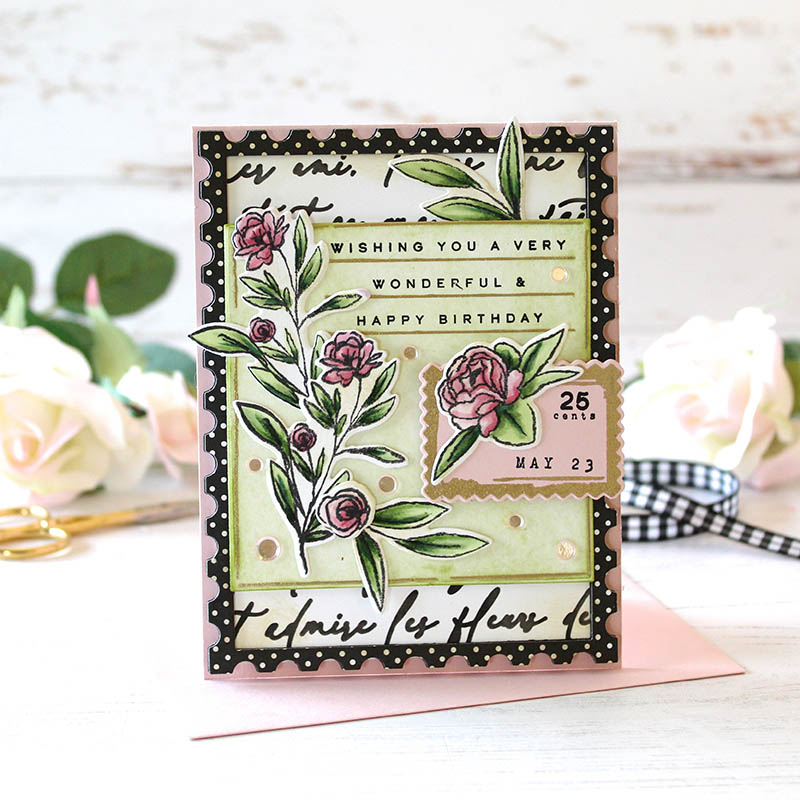
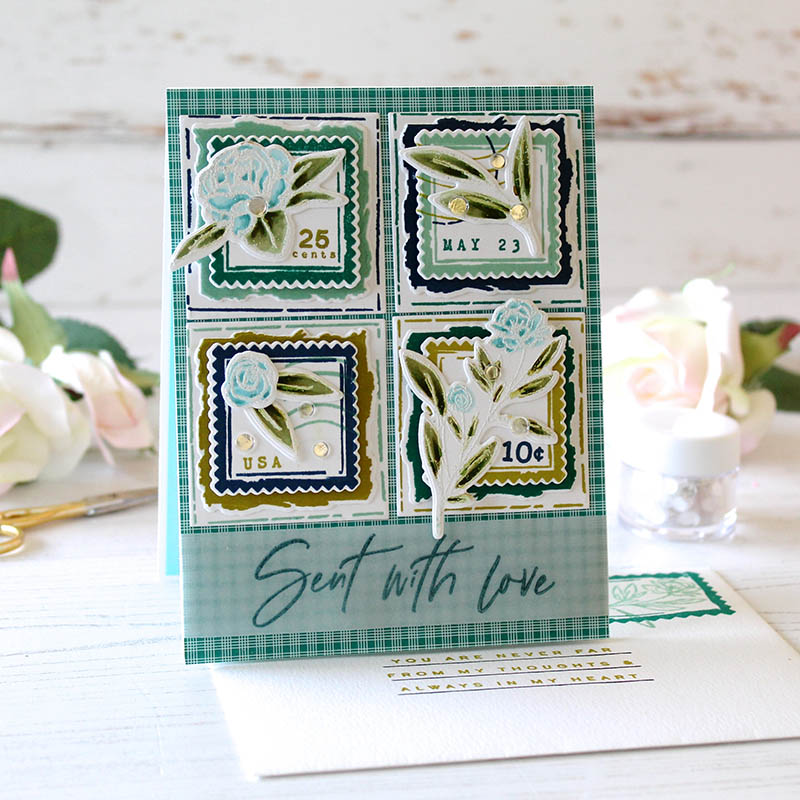
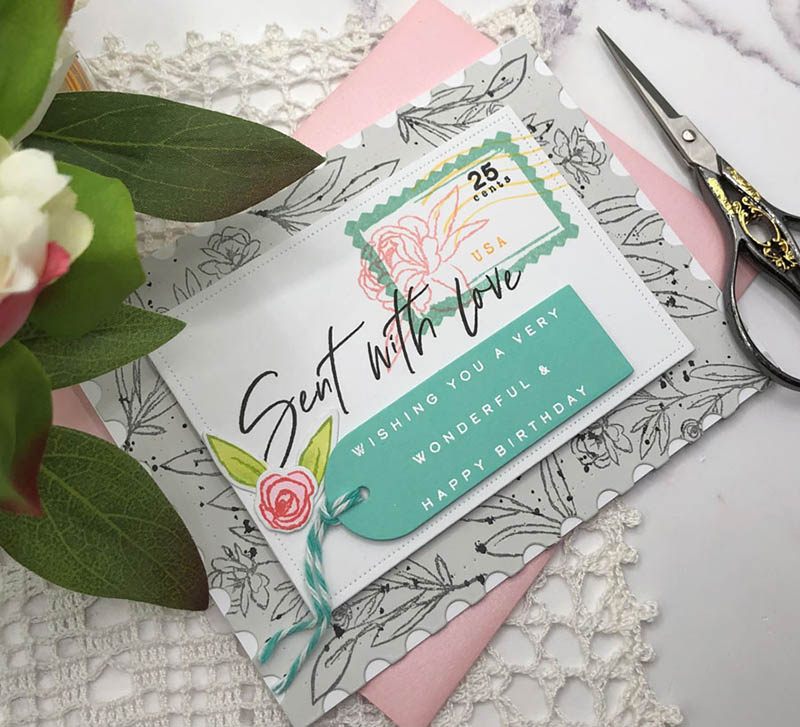
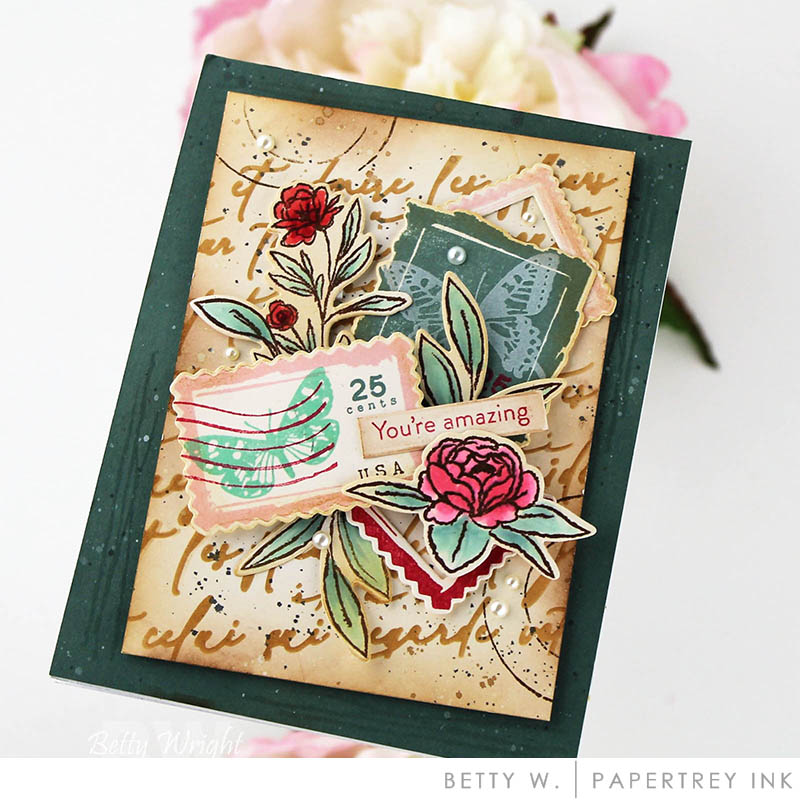
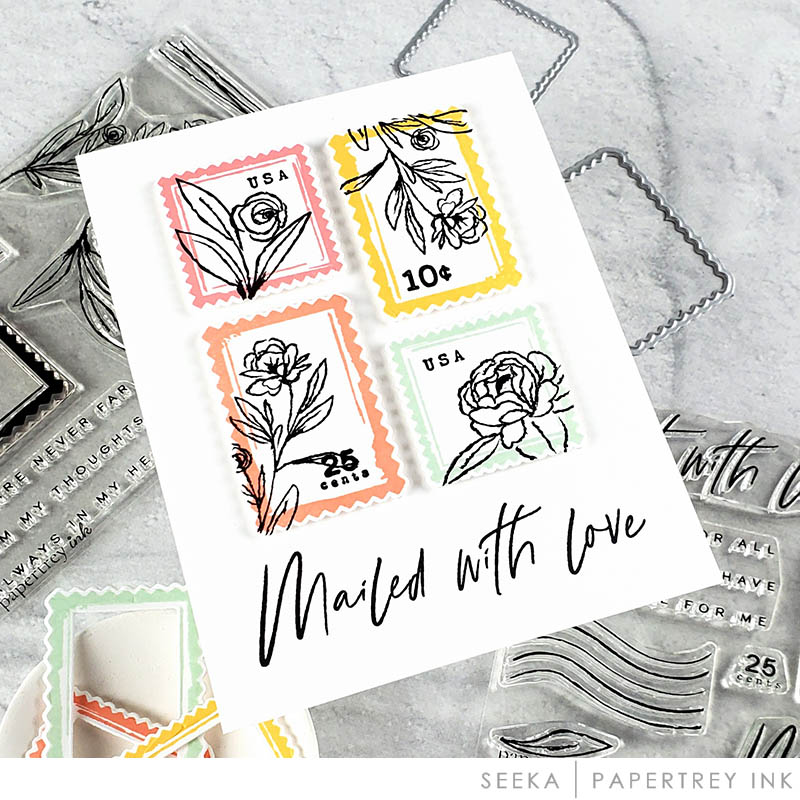
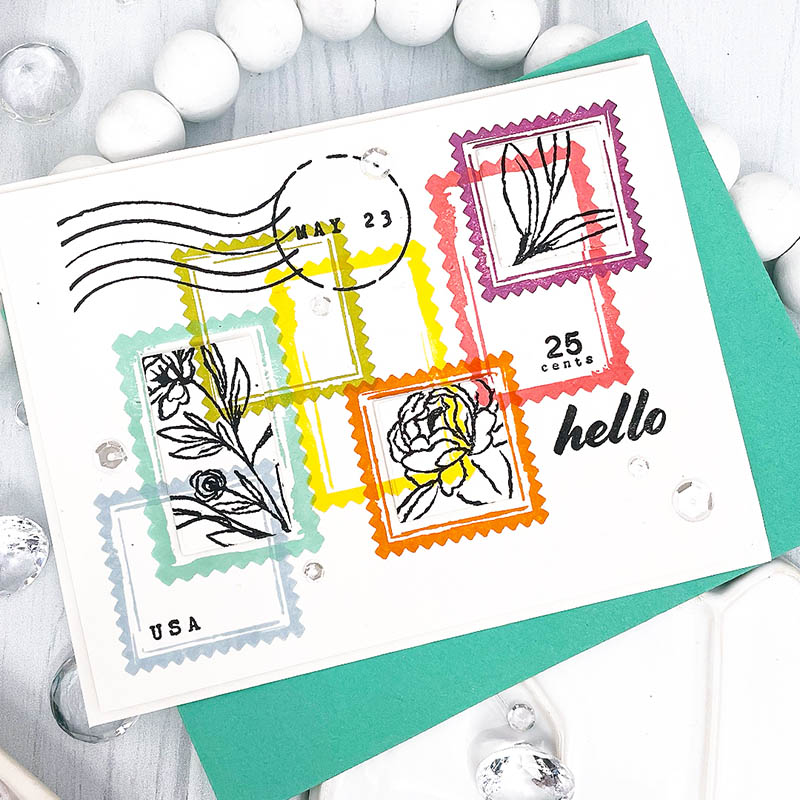
Vintage Postage is delightful, playful, and instantly beautiful. I love an easy to use stamp set, how about you? You know the type of set that creates lovely projects effortlessly? Vintage Postage is that type of set. You’ll love the mix of postage frames in a variety of sizes. Stamp the frame in any color you desire, and add your toppings, complimentary elements, and create your own postage stamps. So much fun!
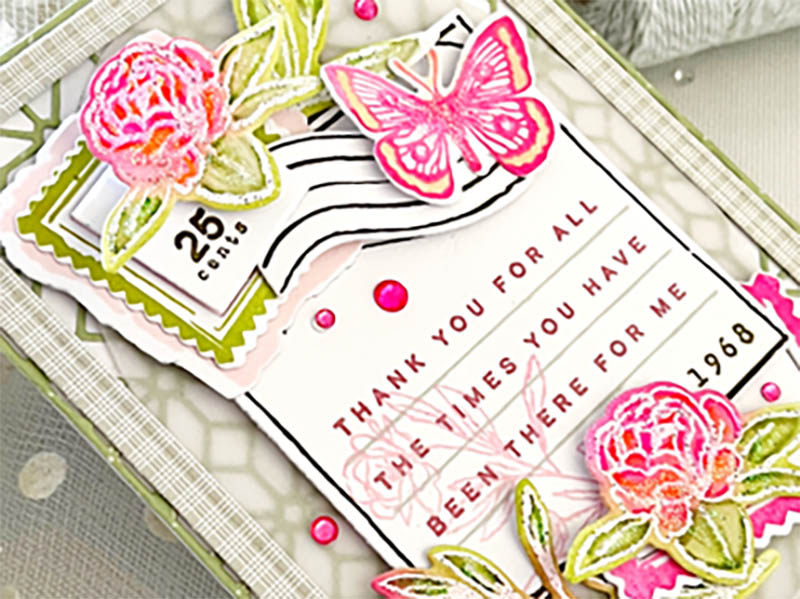
I created two different postage stamps using elements found in this set. I embellished them using florals from this gorgeous set. Yes…this set comes with the most beautiful florals too! I stamped my flowers in watermark ink and heat embossed them using white embossing powder. I then added color using my watercolor markers. Do you love the tiny “1968” and “25 cents” images? You’ll find more just like them in this set. They kind of just push this set over the top, don’t you think?
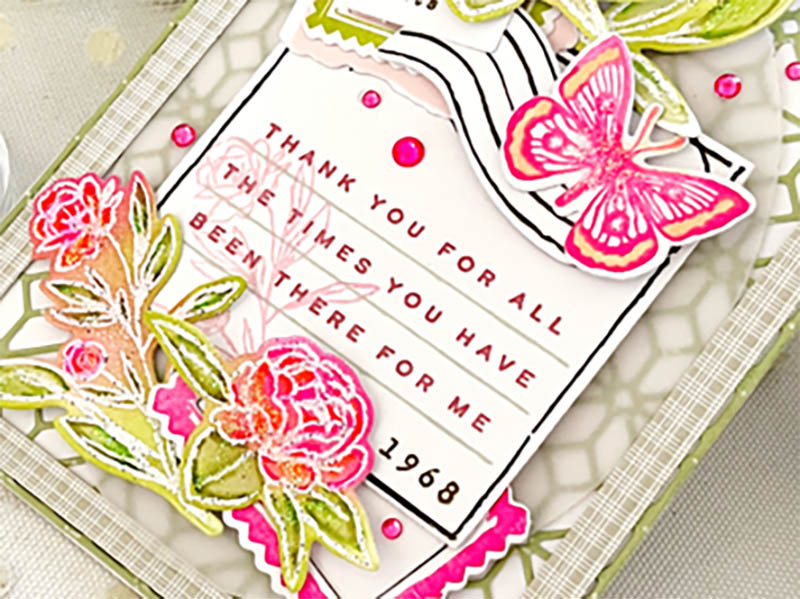
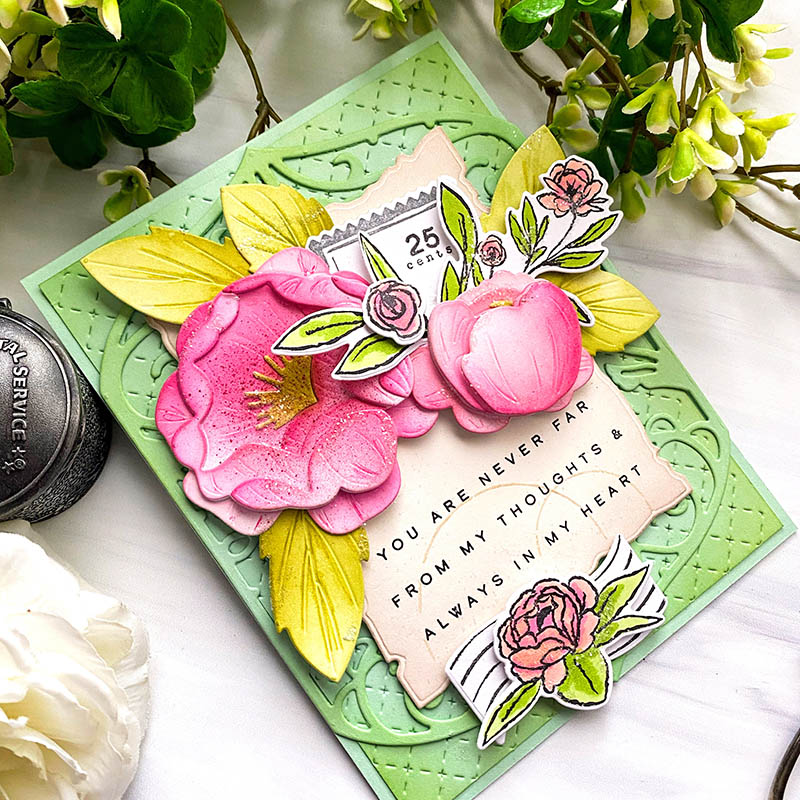
I added my sentiment on my die cut and stamped Penciled Outlines block. This fun set features a variety of different shaped frames or outlines. They’re perfect for creating delicate, sketched images to surround your sentiments, featured elements, focal points, and even sentiments. I used the large square image and stamped my text lines using an image from the Vintage Postage stamp set. I then added my sentiment from the same set, which was designed to line up perfectly with these lines. How clever…resembles an addressed envelope doesn’t it? I even added a Graceful Butterfly to this card, because these sets combine so beautifully together.
How I love these new products. Hope you do too! Enjoy the projects our talented team has prepared for you.
Supplies used:
STAMPS: Vintage Postage, Penciled Outlines, Graceful Butterflies
INK: Raspberry Fizz, Autumn Rose, Hibiscus Burst, Green Parakeet, Olive Twist, Sweet Blush, Soft Stone
PAPER: Stamper’s Select White, Sheer Basics Vellum, Bitty Big Soft Stone
DIES: Vintage Postage, Penciled Outlines, Graceful Butterflies, Border Bling: Embossed Skinny Frames, Cover Plate: Trellis, Nesting Basics: Ovals
OTHER: Watermark ink, Crystal Stickles glitter, adhesive gems, watercolor markers, patterned paper

TIPS:
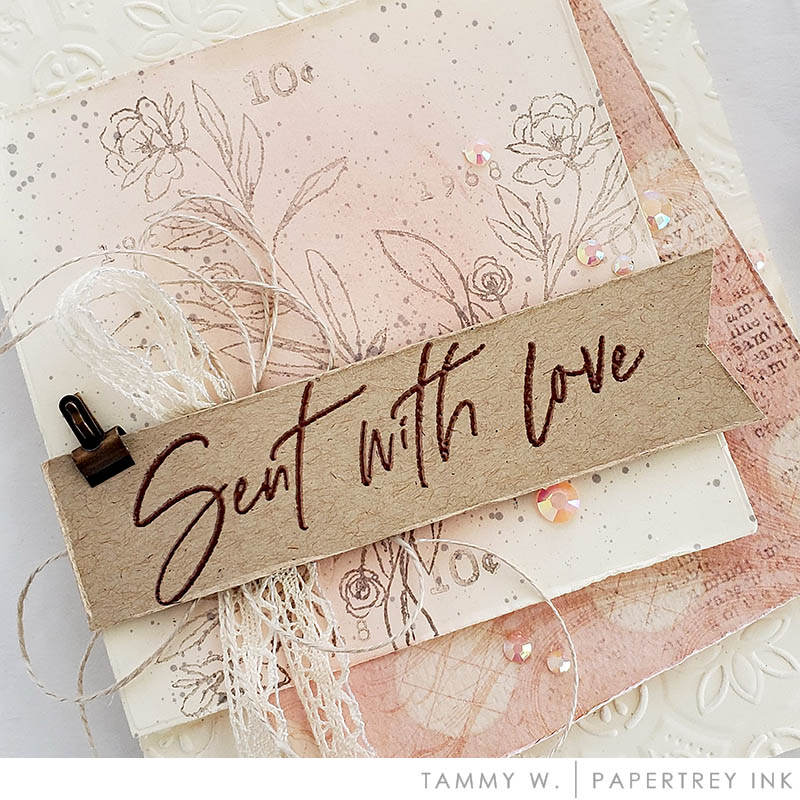
- For a vintage look stamp images on Vintage Cream Cardstock instead of white
- Create a mini postcard with the largest Penciled Outlines
- Watercolor small stamped flowers with your inks
CLICK HERE TO VISIT TERESA’S BLOG
TIPS:
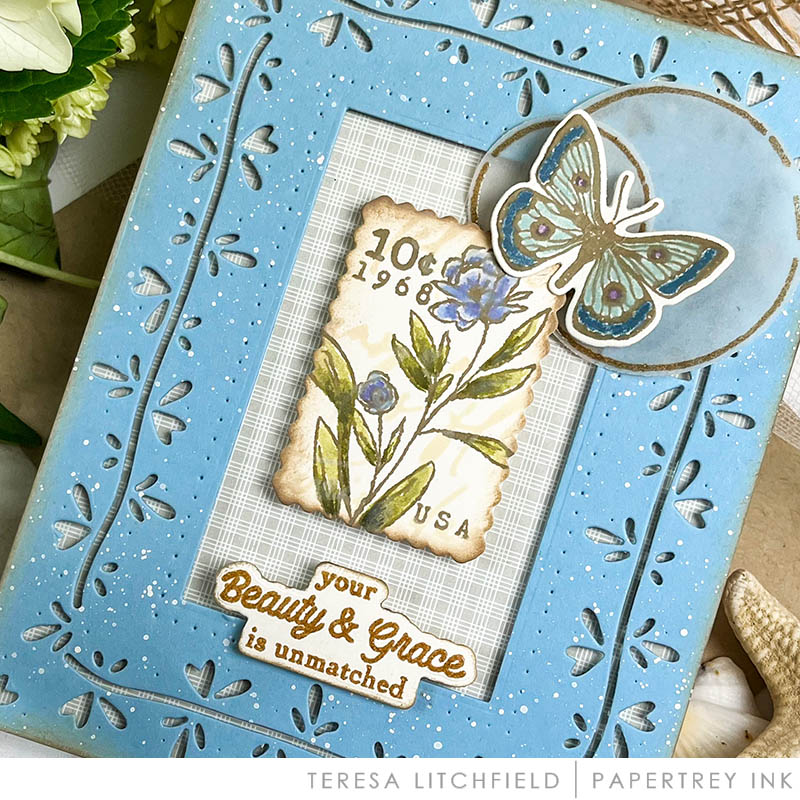
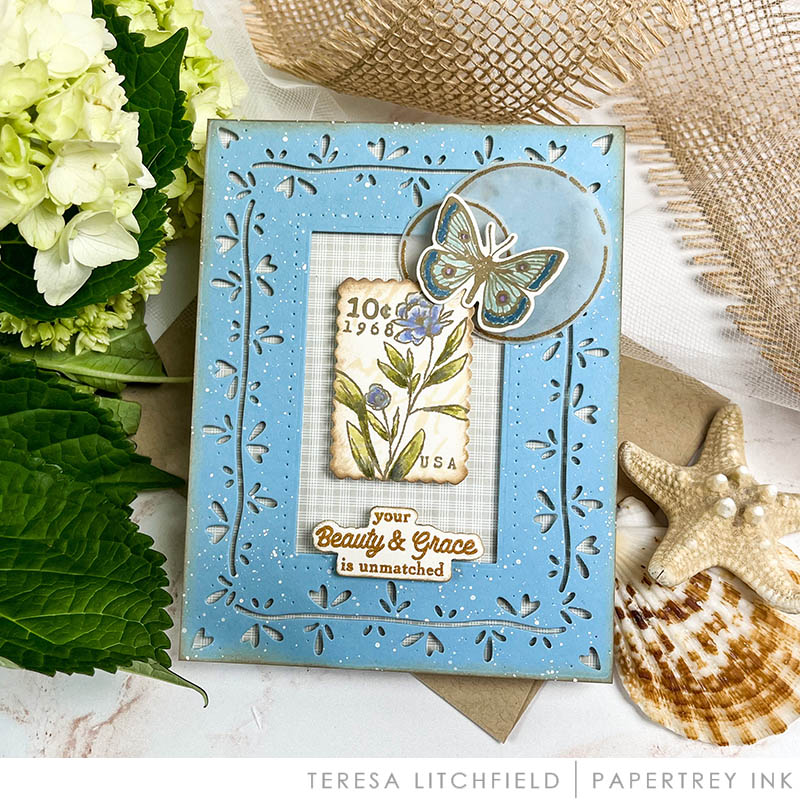
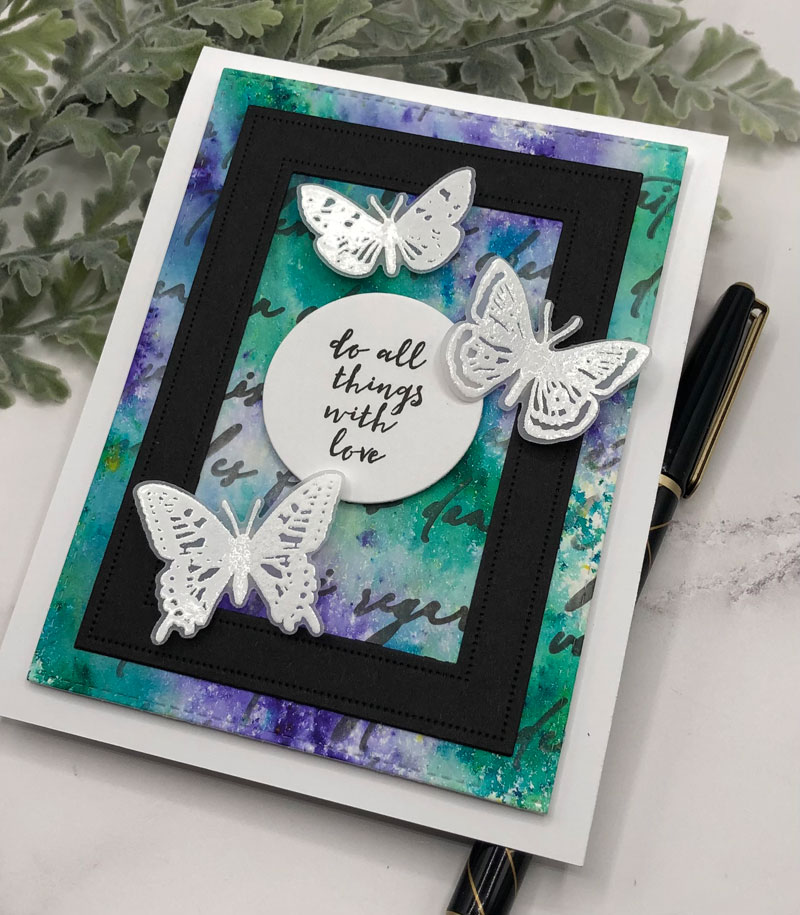
- Cut out center of the Blooming Hearts Frame with rectangle die to create a shadow box and elevate your focal image with foam tape.
- Use patterned paper behind focal image.
- Stamp circles from Penciled Outlines set with Embossing Ink onto Vellum and heat emboss with Embossing Glaze then cut with coordinating dies for an ethereal look.
CLICK HERE TO VISIT TERESA’S BLOG
TIPS:
- Use a stencil to create an easy background
- Cut the postage frame twice and glue the two layers to add depth to the frame.
- Use gold embossing powder and sequins to add interest to the card.


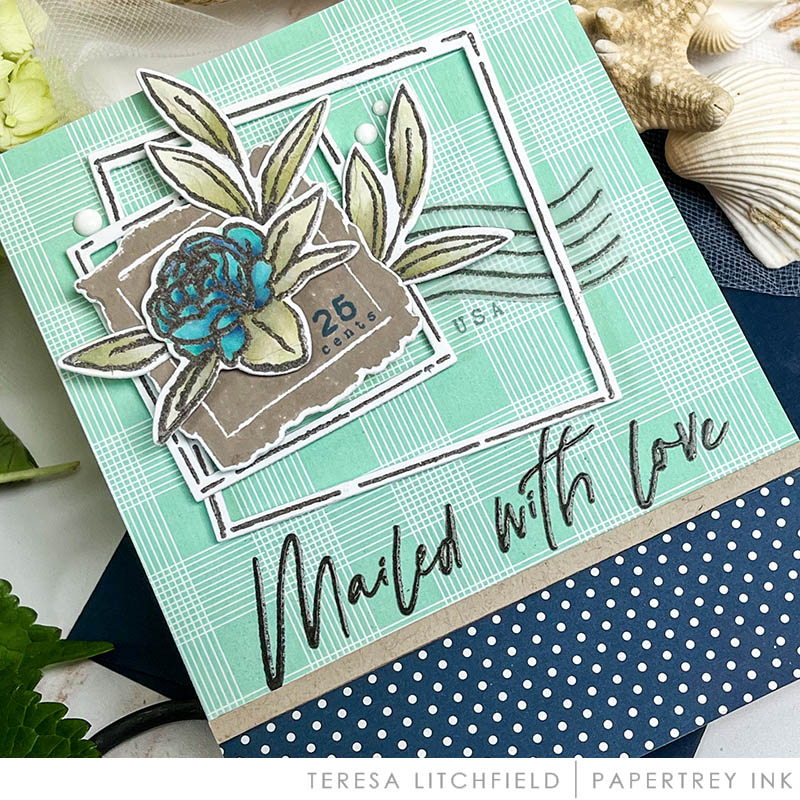
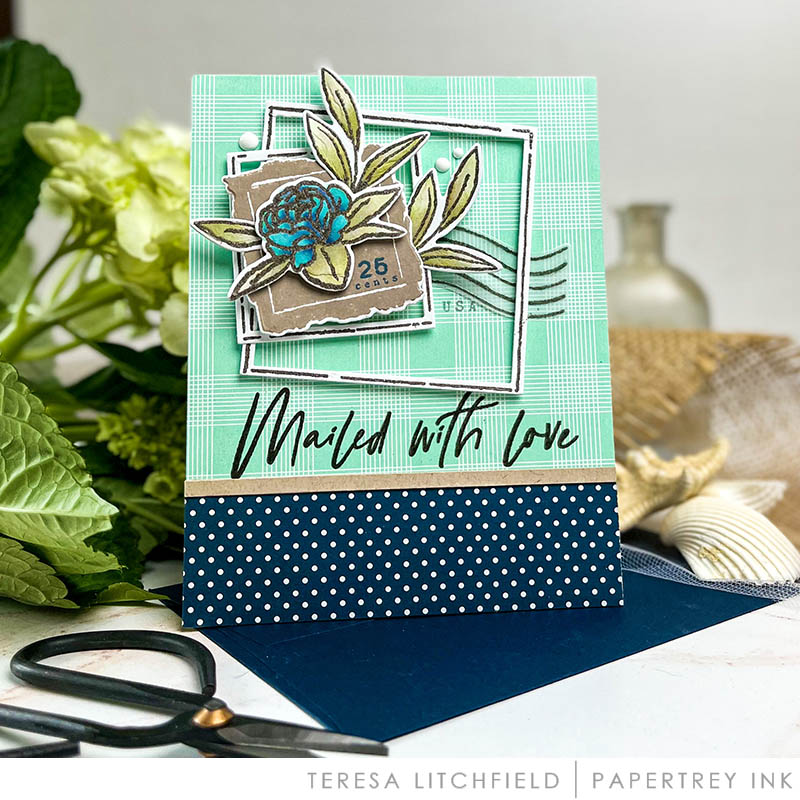
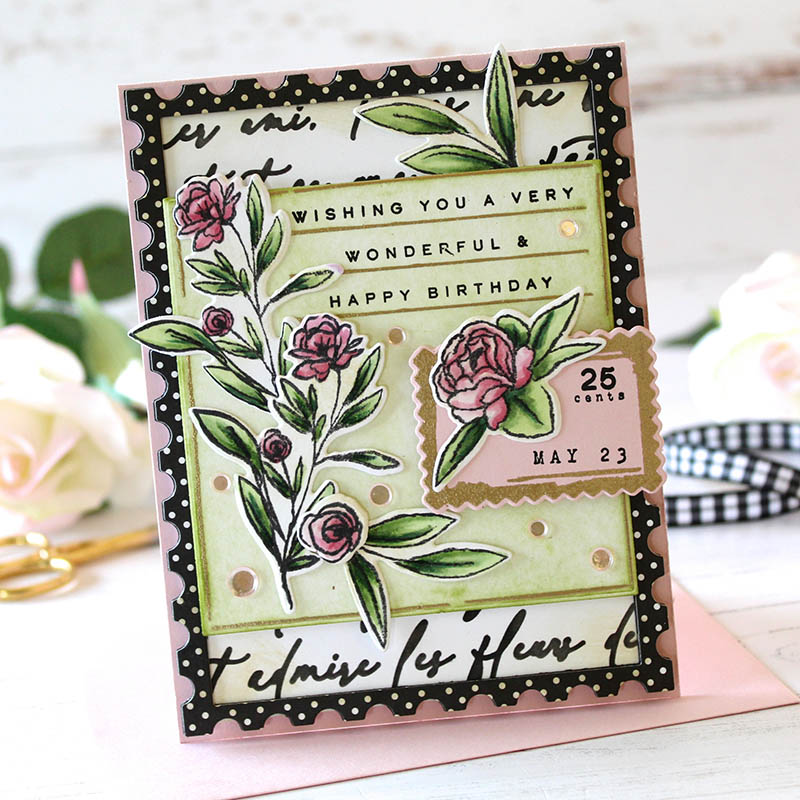
TIPS:
- Heat emboss with Embossing Glaze before watercoloring.
- Offset Penciled Outlines to frame around focal image.
- Create interest by using multiple patterned paper for the background.
CLICK HERE TO VISIT TERESA’S BLOG
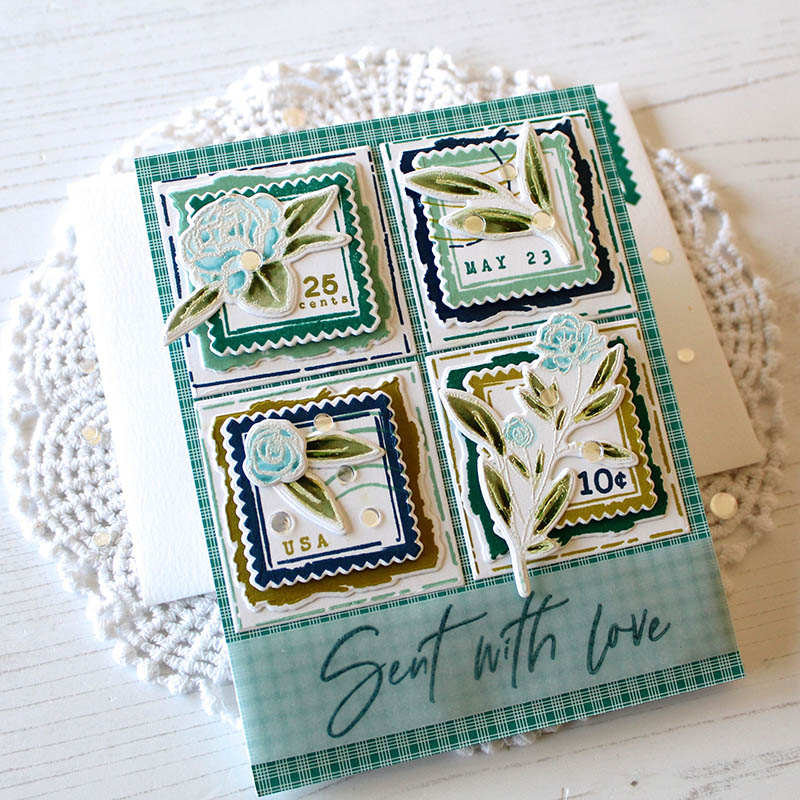
TIPS:
- Stamp the images in Versamark Ink and emboss with white embossing powder and add color with markers, inks, or pencils.
- Attached the postage stamp die cuts with foam tape.
- Wrap the vellum around to the back of the card and then attach. Then you don’t have to worry about adhesive showing through the vellum.
We hope you have enjoyed all the creations that we have shared with you today! We would love to hear your initial thoughts on everything we introduced! Please leave a comment on this post to tell us what you think of the new products, and you will be eligible to win big!

Leave a comment today and you’re automatically entered to win a $50 Papertrey Ink or Ink to Paper gift certificate! You have until 7am ET, June 19th to leave your comment and be eligible to win. Only one comment per person please. One randomly selected winner will be posted on the June Release Winners Page by 10PM ET on June 22nd.


CLICK HERE TO VISIT SEEKA’S BLOG

CLICK HERE TO VISIT TERESA’S BLOG
CLICK HERE TO VISIT BETTY’S BLOG


CLICK HERE TO VISIT BETTY’S BLOG
CLICK HERE TO VISIT SEEKA’S BLOG

Leave a Reply