


It’s the last day of our June Release and I’ve got something extra sweet and incredibly fun to share with you. Introducing the new Border Bling: Lotty Dotty Dies. This delightful border is perfect for so many things, styles, occasions, etc. There are many different ways you can use it…I’ll show you one and the designers have oodles of other options for you too.
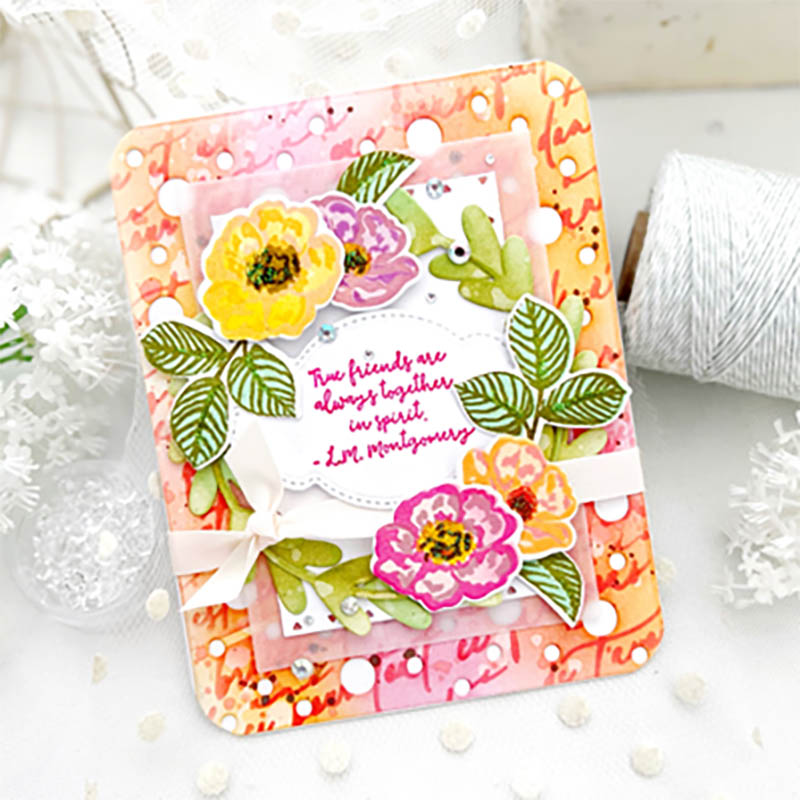
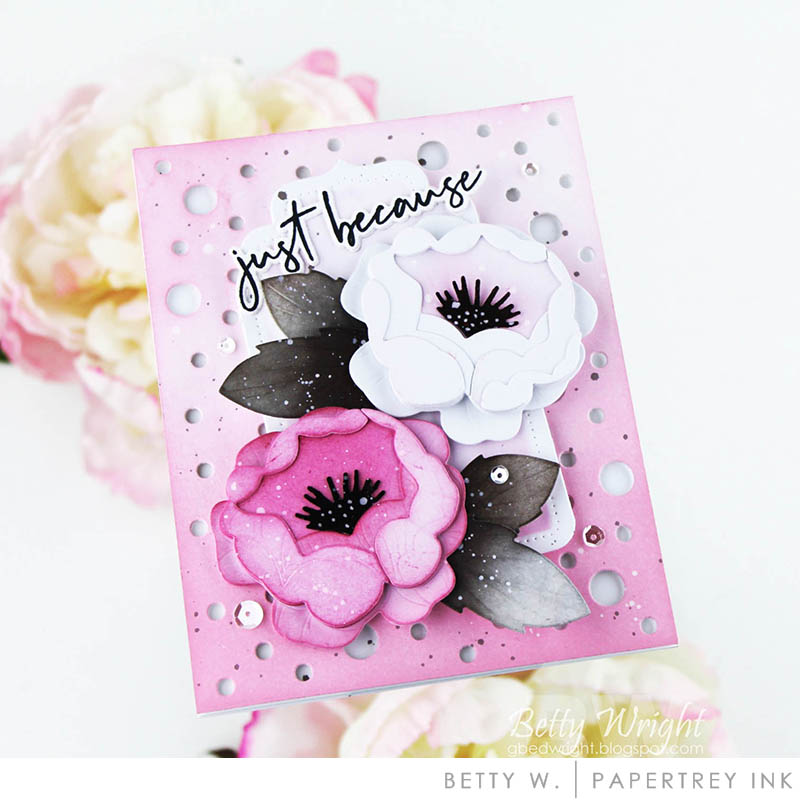
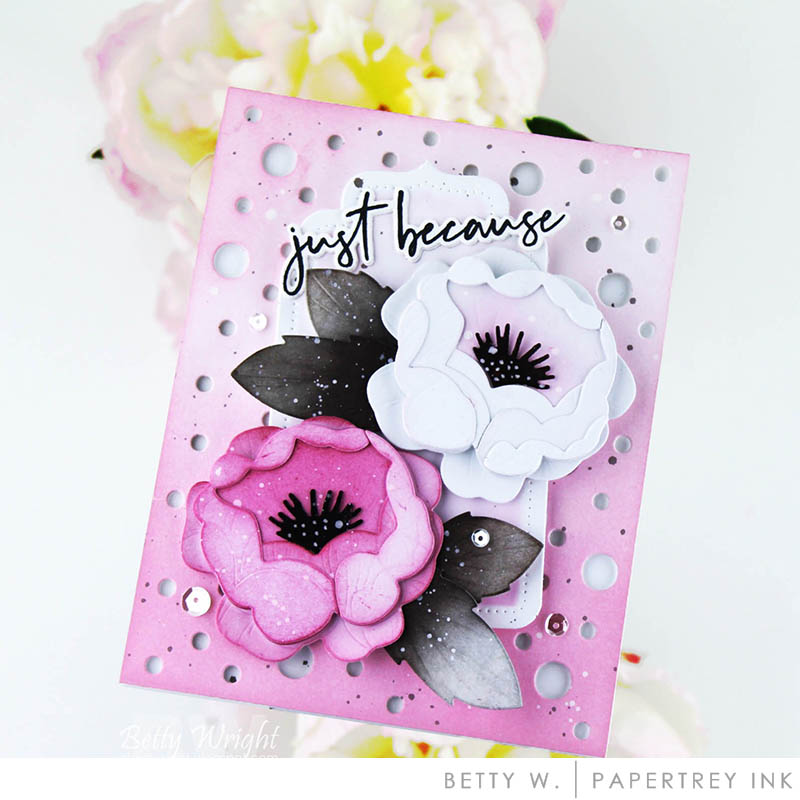
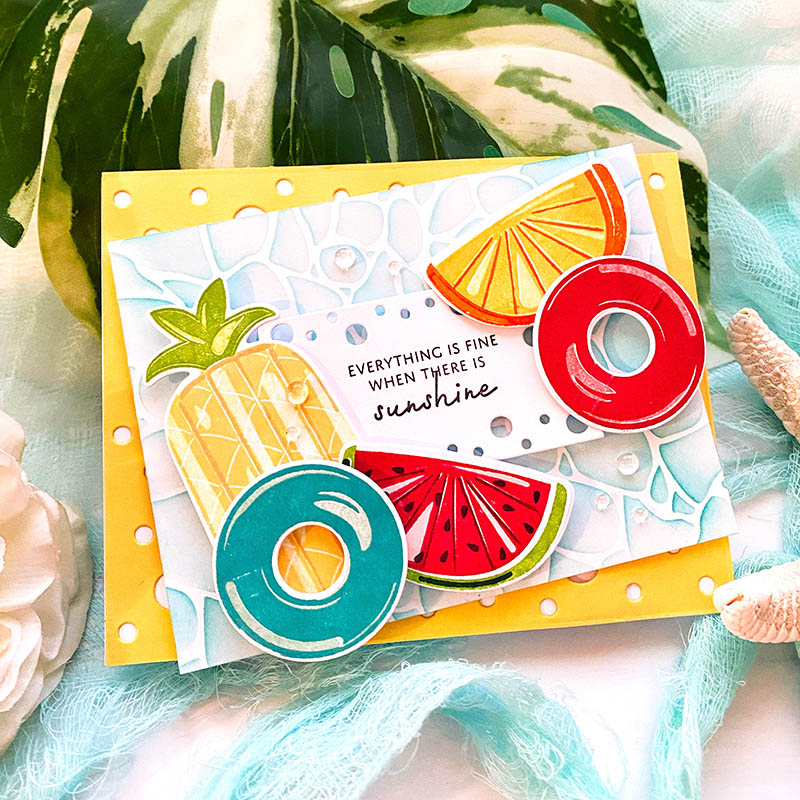
I sponged ink over my Lotty Dotty border, using Lovely Lady, Autumn Rose, Summer Sunrise, Melon Berry, and Limeade Ice. I then spritzed it with water and let it dry. My last step was to stencil on a diagonal, the new Script Background Stencil using Melon Berry ink. I love how it turned out!
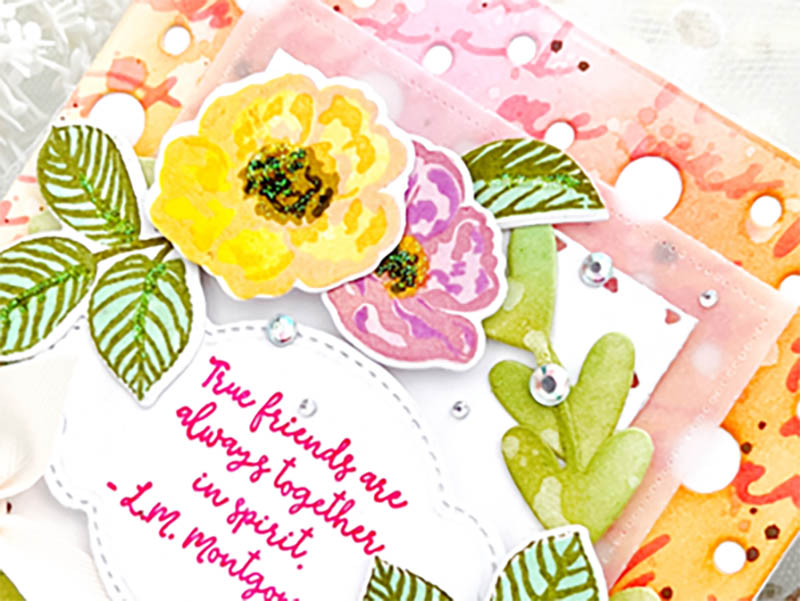
I stamped a variety of Vintage Blooms in a wide array of colors, making sure they coordinated with my background. I then added them to a die cut wreath, made using the XO Heart Frames . I love Vintage Blooms so much and think the playful nature of the Lotty Dotty Border, creates more of a relaxed feel with these blooms. But these are flowers you can certainly dress up and make very elegant…just depends on what you choose to combine them with, colors, accents, etc.
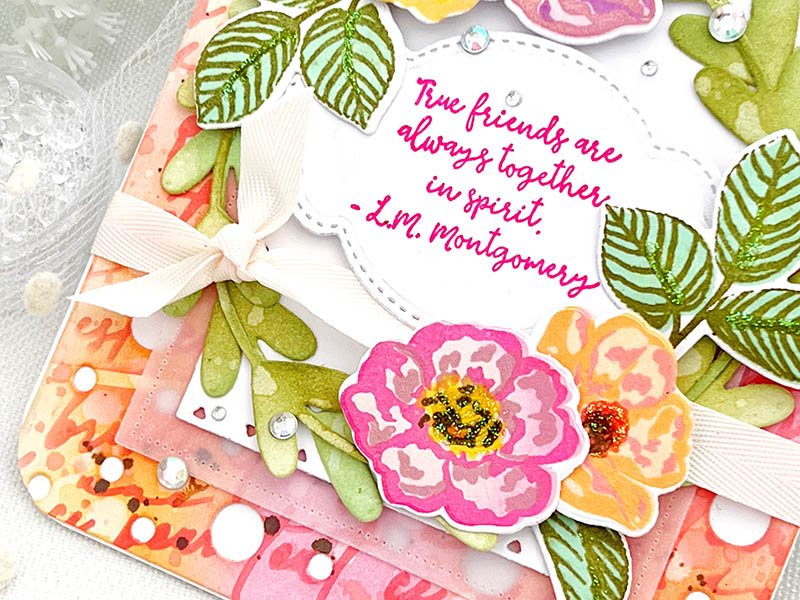
I few things I added to help soften the look and feel of my card are a layer of vellum, Vintage Cream twill, Stickles glitter, and a curvy It’s A Sign: Hanging Frames: Stitched Layers die cut. I love the font used on this sentiment from Inside Greetings: Friendship. It definitely carries with it a soft, feminine look and feel which was the perfect accompaniment for this card.
Isn’t Lotty Dotty adorable? Wait until you see what the designers have created with it. Just like sunshine!
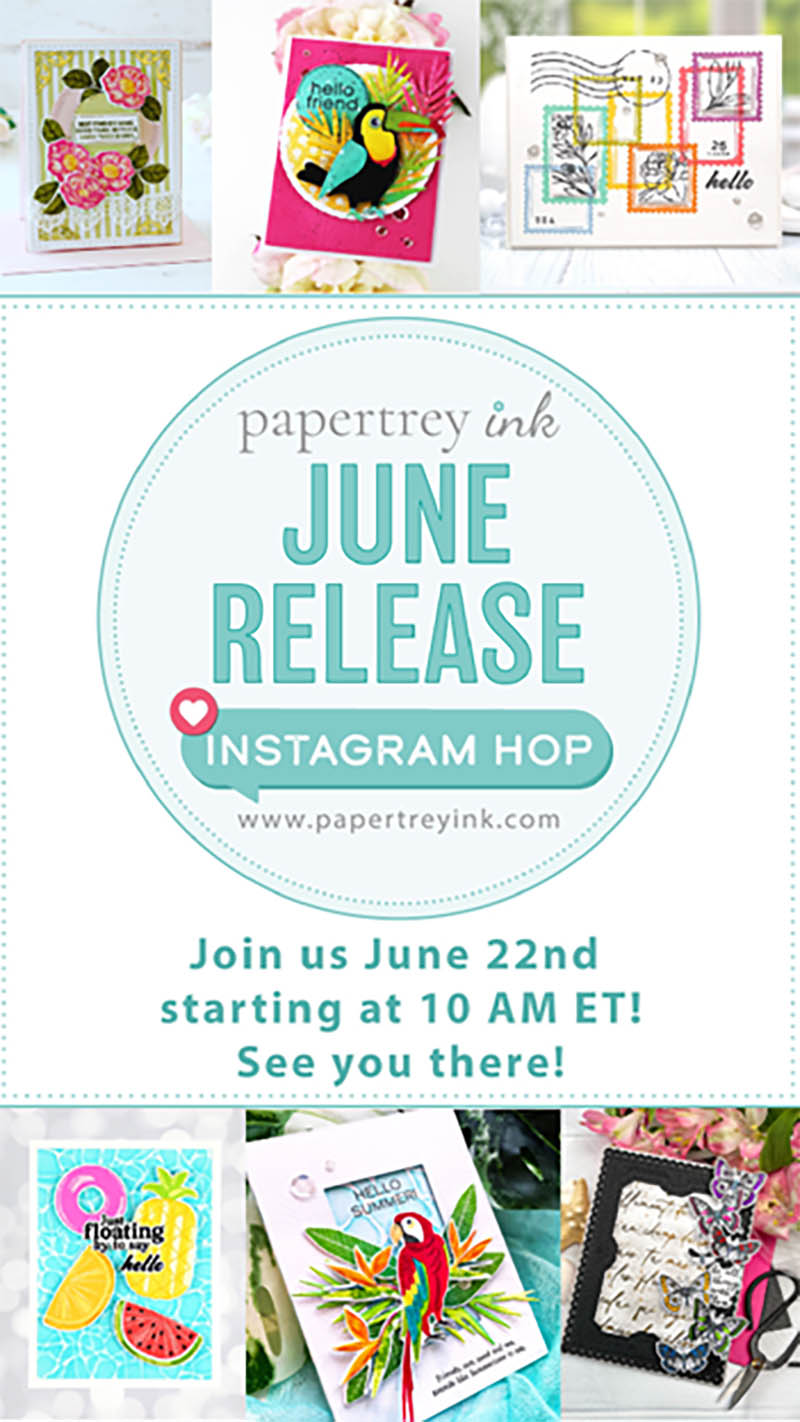
Thanks so much for joining us this month. Hope you’ll join us for our Instagram hop on June 22nd!
Supplies used:
STAMPS: Vintage Blooms, Inside Greetings: Friendship
INK: Lovely Lady, Autumn Rose, Melon Berry, Summer Sunrise, Raspberry Fizz, Bright Buttercup, Saffron Spice, Olive Twist, Mint Julep, Ripe Avocado
PAPER: Stamper’s Select White, Sheer Basics Vellum
DIES: Border Bling: Lotty Dotty, It’s A Sign: Hanging Frames: Stitched Layers, Vintage Blooms, XO Heart Frames, Pierced Feature Frames, Love to Layer: Aztec
OTHER: Script Background Stencils, adhesive gems, Stickles Crystal glitter, Vintage Cream twill

TIPS:
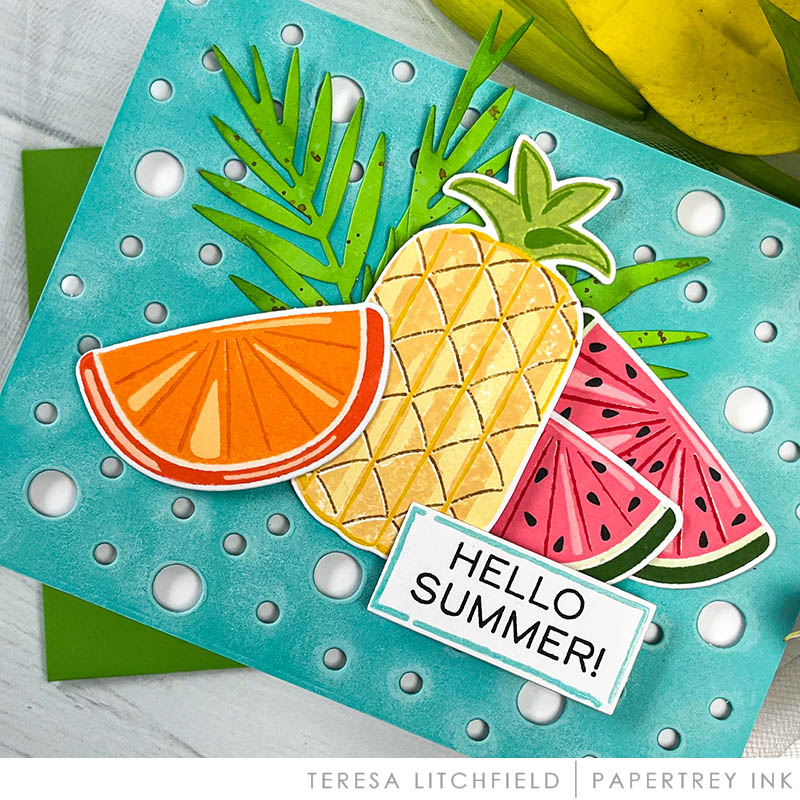
- Ink blend the background panel before you die cut if you want a soft fade. This way the ink is not emphasized in the cut outs.
- If you want definition from the pattern of the die cut, definitely ink it up after you die cut it.
- Die cut your white card with die cut elements. Add ink as you go to create variation and definition.
CLICK HERE TO VISIT BETTY’S BLOG
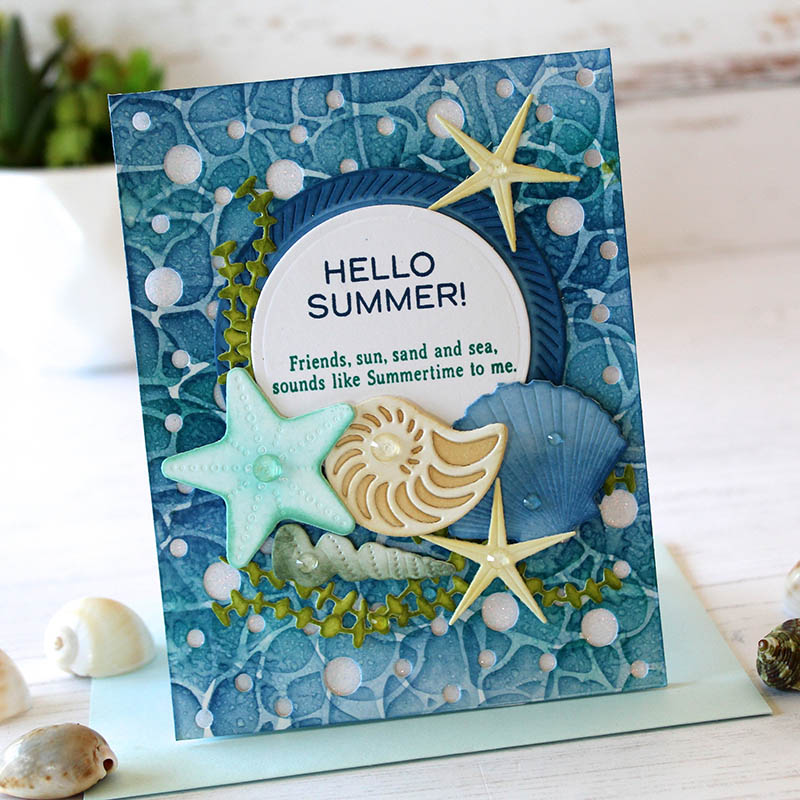
TIPS:
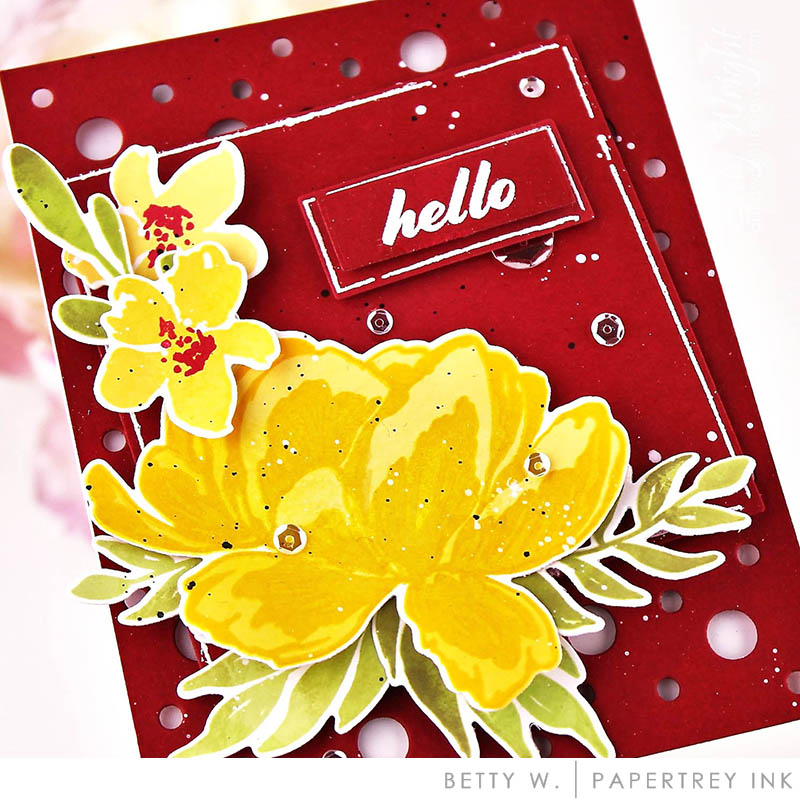
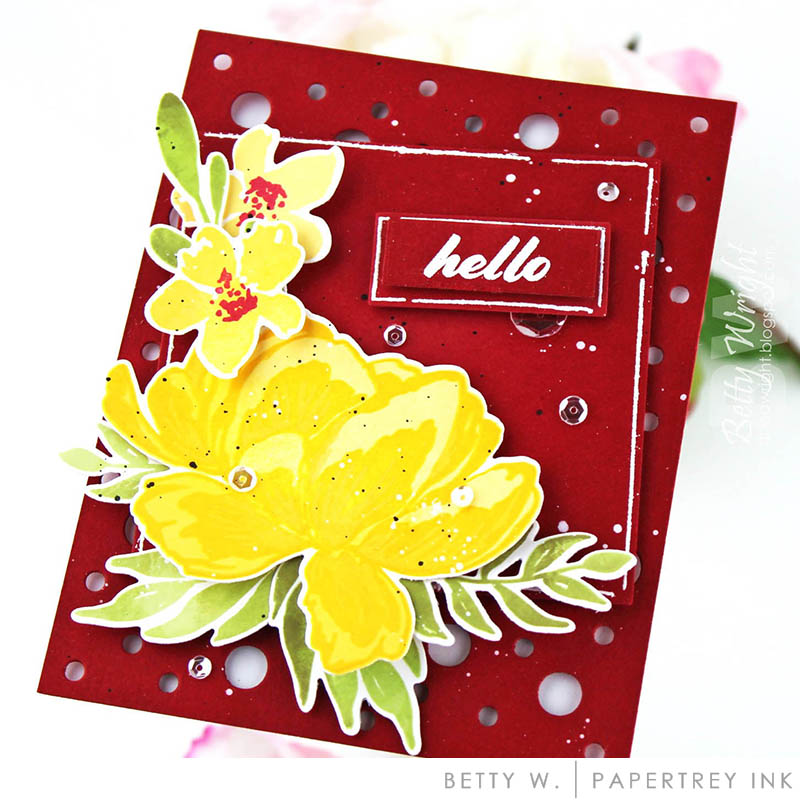
- Don’t be afraid to combine flowers and dies from different stamp sets.
- For the Penciled Outlines, stamp first, then die cut!
- When white embossing onto colored card stock, add some white splatters to the whole card. It makes the embossing powder fallout part of the design!
CLICK HERE TO VISIT BETTY’S BLOG
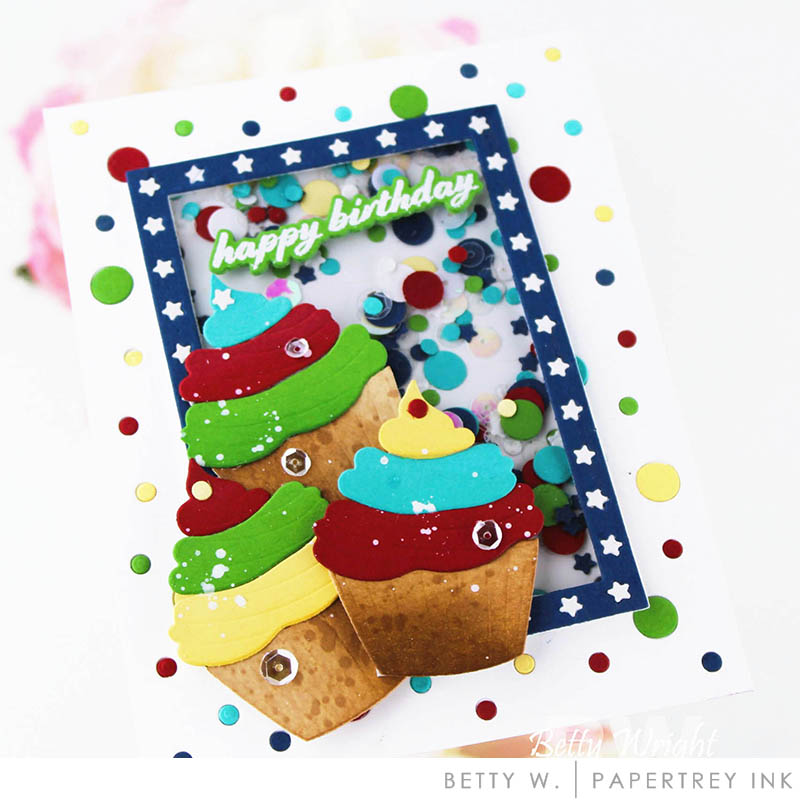
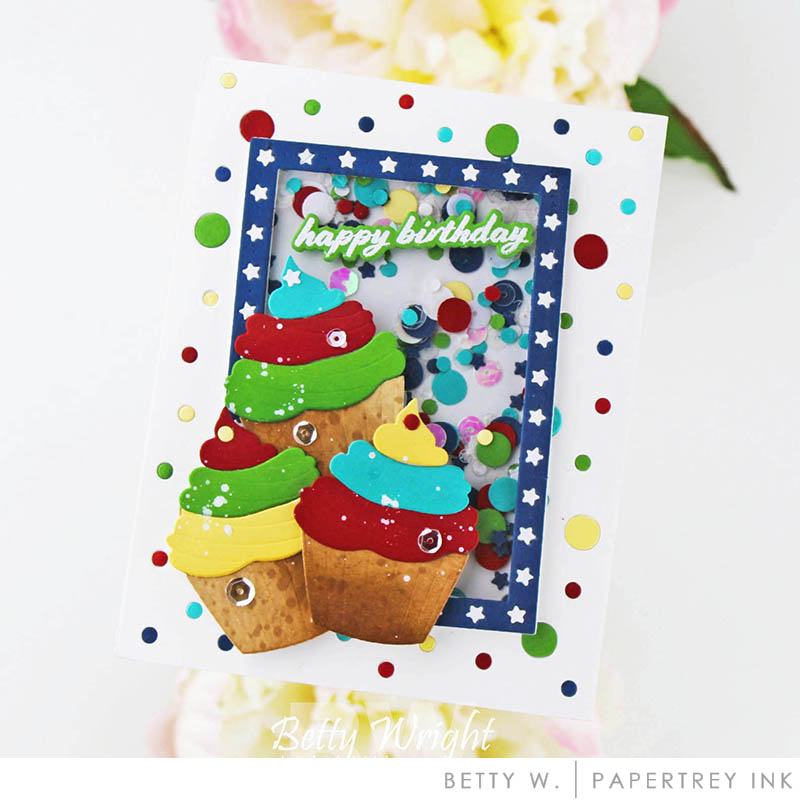
TIPS:
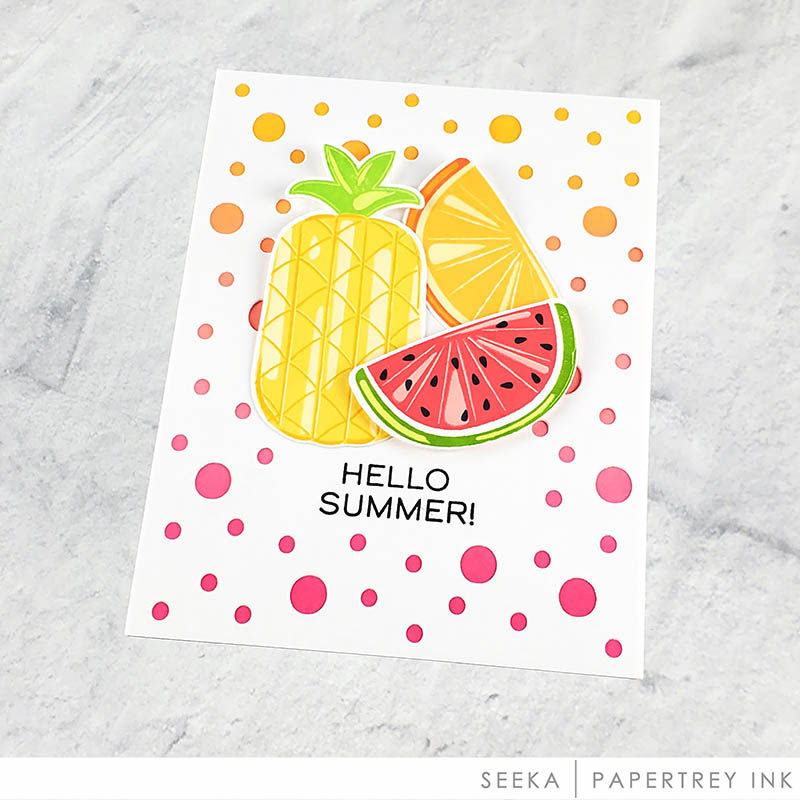
- Use small scraps of card stocks in different colors behind the Border Bling: Lotty Dotty Dies when you run it through your diecutting machine for the inlay technique. You do not need whole panels for this look.
- Use die cut pieces, like the stars and the circles, for added shaker elements!
CLICK HERE TO VISIT BETTY’S BLOG
We hope you have enjoyed all the creations that we have shared with you today! We would love to hear your initial thoughts on everything we introduced! Please leave a comment on this post to tell us what you think of the new products, and you will be eligible to win big!

Leave a comment today and you’re automatically entered to win a $50 Papertrey Ink or Ink to Paper gift certificate! You have until 7am ET, June 22nd to leave your comment and be eligible to win. Only one comment per person please. One randomly selected winner will be posted on the June Release Winners Page by 10PM ET on June 22nd.


CLICK HERE TO VISIT TERESA’S BLOG

Leave a Reply