


Hi everybody, welcome to our next episode of The Great Cover-Up!
Let’s get started!
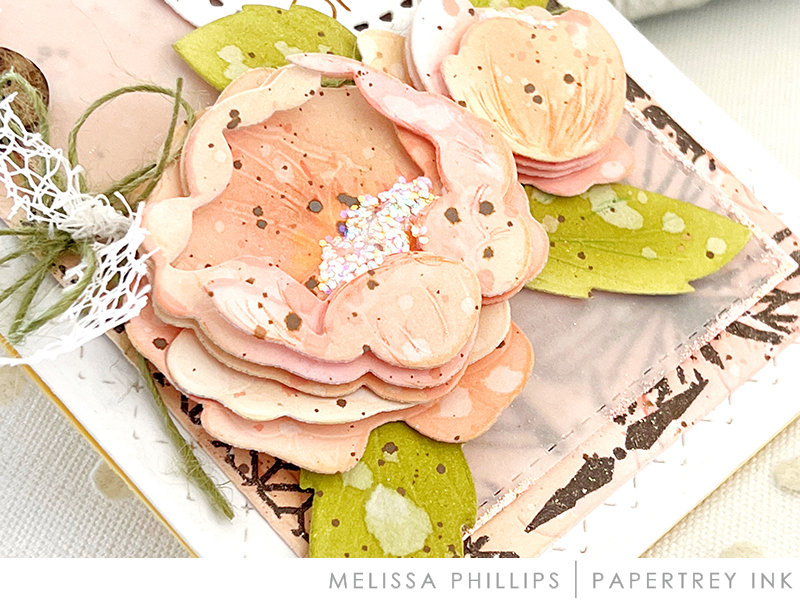
I love trying my hand at a few mixed media pieces. I definitely have lots to learn and can talk myself right out of trying, but it’s important to try, right? I’ll walk you through how I created my card, using the delightful Antique Wishes Background stamp as my inspiration.
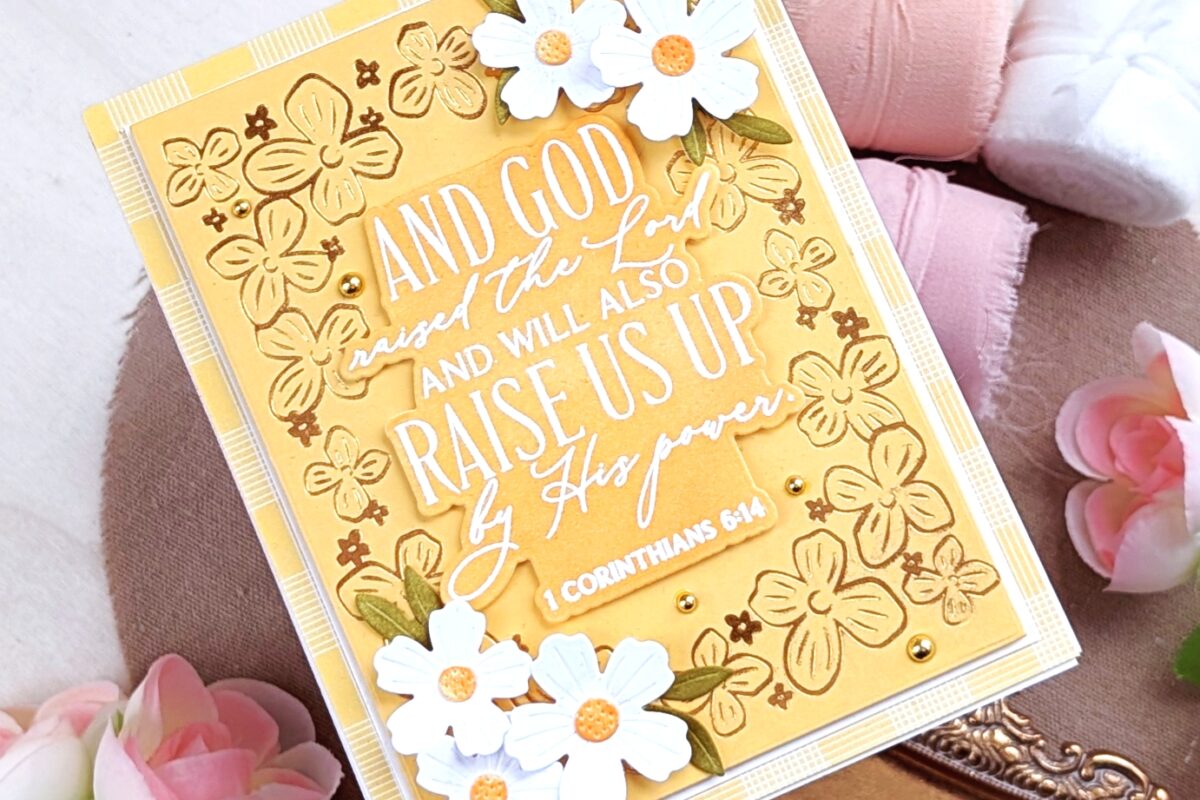
STEP 1: Create your card base using Stamper’s Select White cardstock and the Border Bling Tin Stitch die. Stamp Antique Wishes stamp over a block of white cardstock using watermark ink.
Heat emboss using dark brown embossing powder. Add a bit of soft, pastel ink in Sweet Blush, Melon Berry, and Fine Linen. Spritz with water and allow to dry. Adhere to center of card front. Die cut flowers from white cardstock, sponge with coordinating colors of ink, spritz with water and Distress Spray. Let dry. Assemble, and set aside.
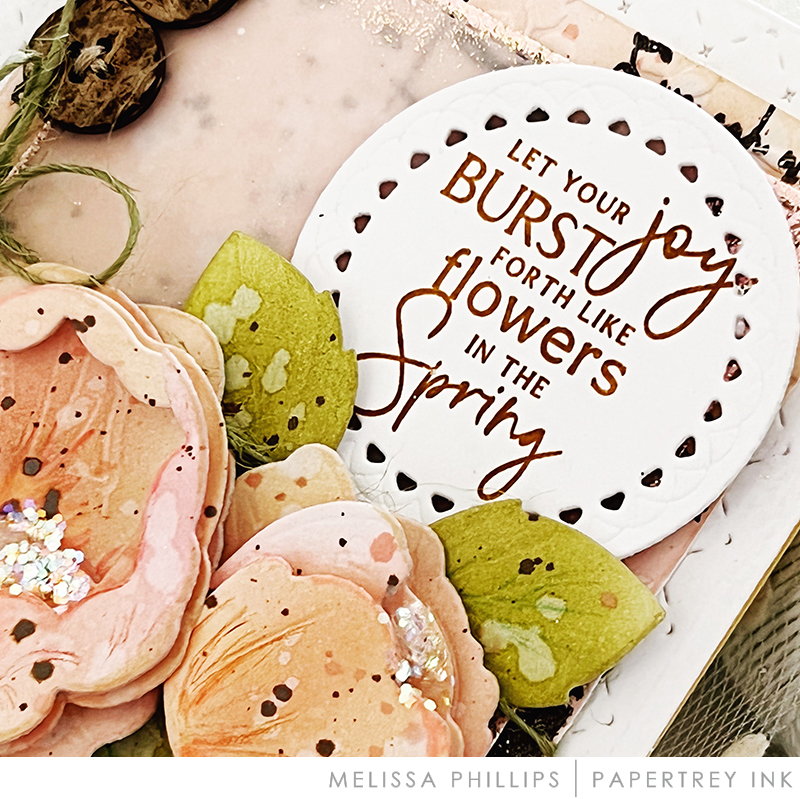
STEP 2: Cut a vellum rectangle, coat edges with watermark ink, sprinkle Shabby Pink Embossing Enamel over inked area and heat emboss. Wrap with dark green twine and tie in a double bow on left. Adhere to center of card. Stamp sentiment on die cut Love to Layer: Scalloped Circles using Honey Nut ink. Adhere near upper right corner of card.
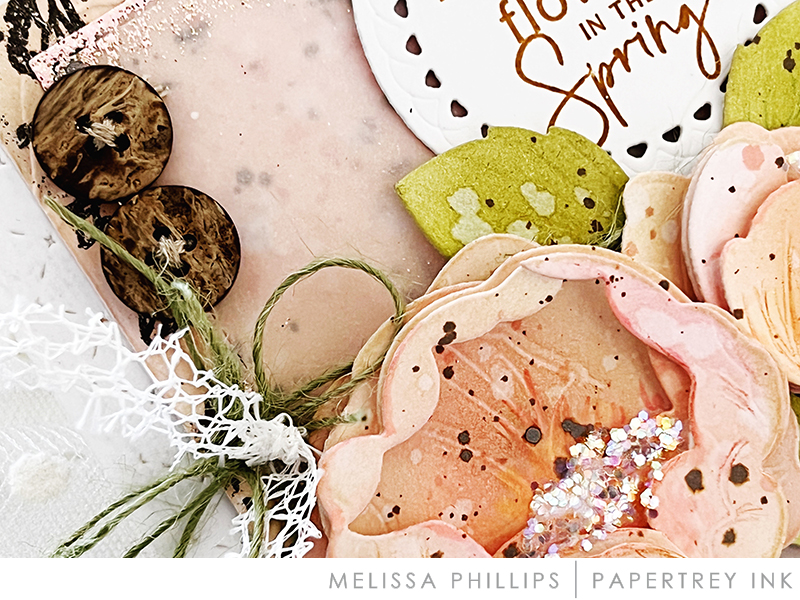
STEP 3: Adhere die cut flowers and leaves near lower left area of card, slightly overlapping sentiment. Embellish with trim, and faux wood buttons tied with string in the upper left area of card.
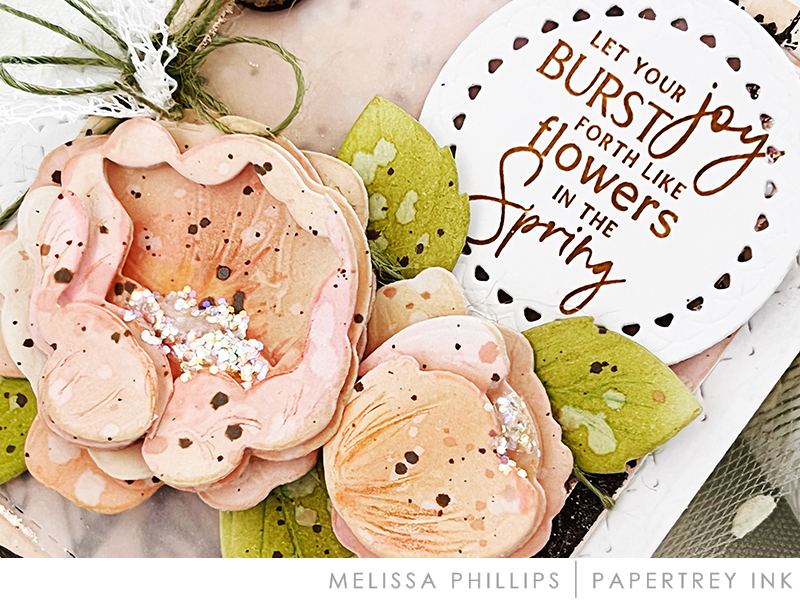
STEP 4: To finish, add a bit of sparkle to center of flowers using chunky glitter. You could also embellish with adhesive gems, Stickles glitter etc. To add a bit of depth to your flowers, consider using colored pencils, watercolor makers, Copic, etc.

STAMPS: Antique Wishes, Just Sentiments: Spring Blessings
INK: Sweet Blush, Melon Berry, Lovely Lade, Fine Linen, Prairie Grass, Green Parakeet, Honey Nut
PAPER: Stamper’s Select White, Sheer Basics Vellum
DIES: Into the Blooms: Dahlias, Border Bling: Tin Stitch, Love to Layer: Scalloped Circles, Noted Simply Stitched A2 Vertical
OTHER: faux wood buttons, chunky glitter, Distress spray, colored pencils, watercolor markers, trim, Shabby Pink Embossing Enamel, brown embossing powder

PRIZE
One winner will be chosen at random to receive a $25 gift certificate.
RULES
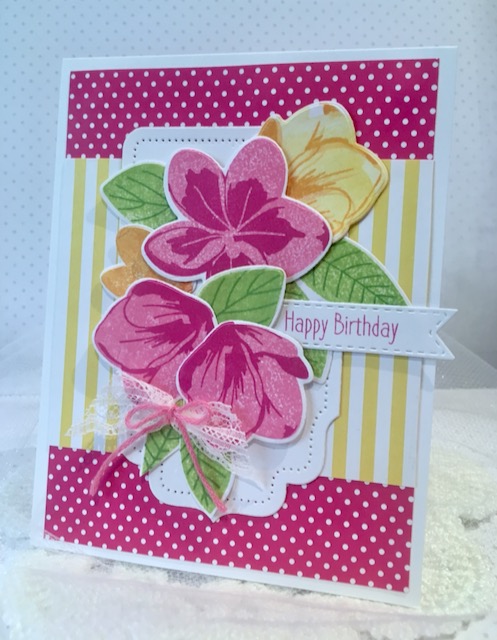
To enter, participants are required to create a Spring card with your choice of Melissa’s embellishment (chunky glitter, wood buttons, etc.) using PTI/Ink to Paper supplies and Melissa’s and technique or your very own! Share your finished project via the link below. We can’t wait to see what you make!
Only ONE entry per person and the deadline is April 13th at 7am. This post will be updated with the randomly selected winner.
CHALLENGE
EDITED TO ADD THE RANDOMLY SELECTED WINNER
Congratulations, Christine Miller! Please send an email to customer service and provide them with your full name and the email address you would like your gift certificate sent to. Thanks so much to everyone for playing along!
Leave a Reply