


Hello, Everyone! Welcome to Melissa’s Fab Friday Feature
_____________________________________________________________________________________________
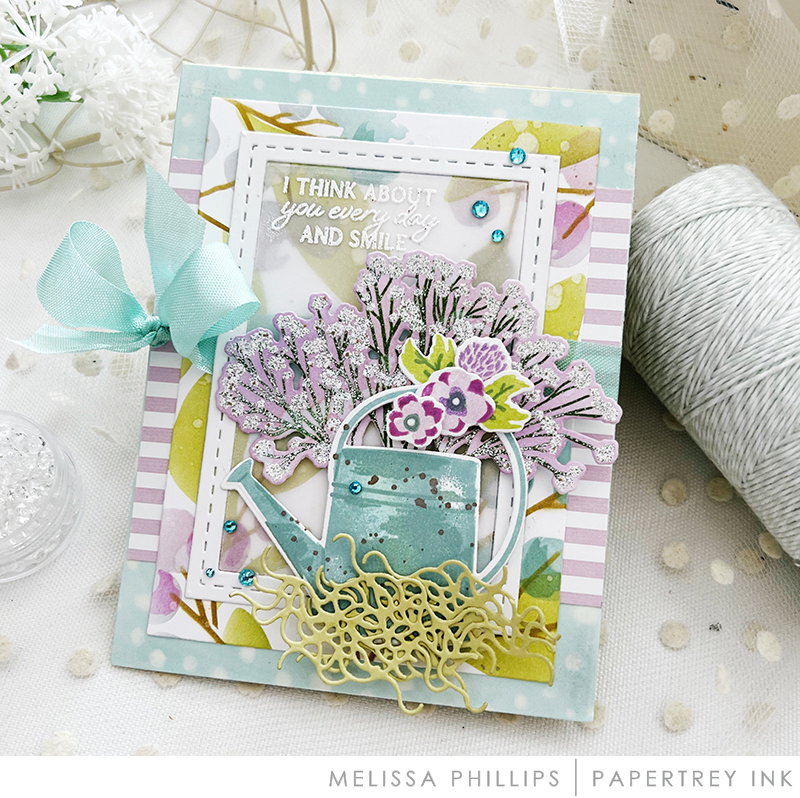
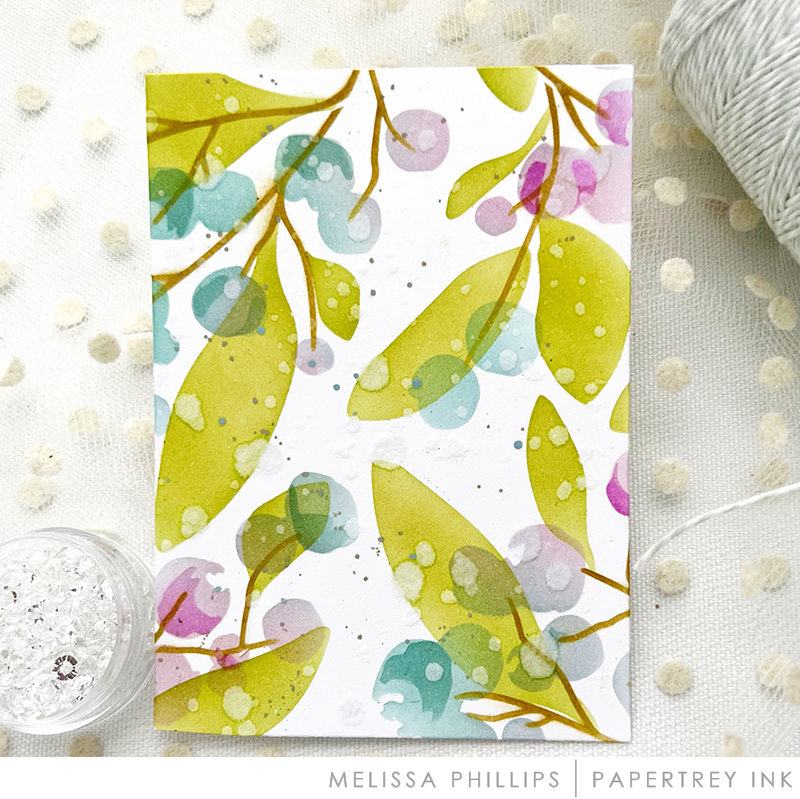
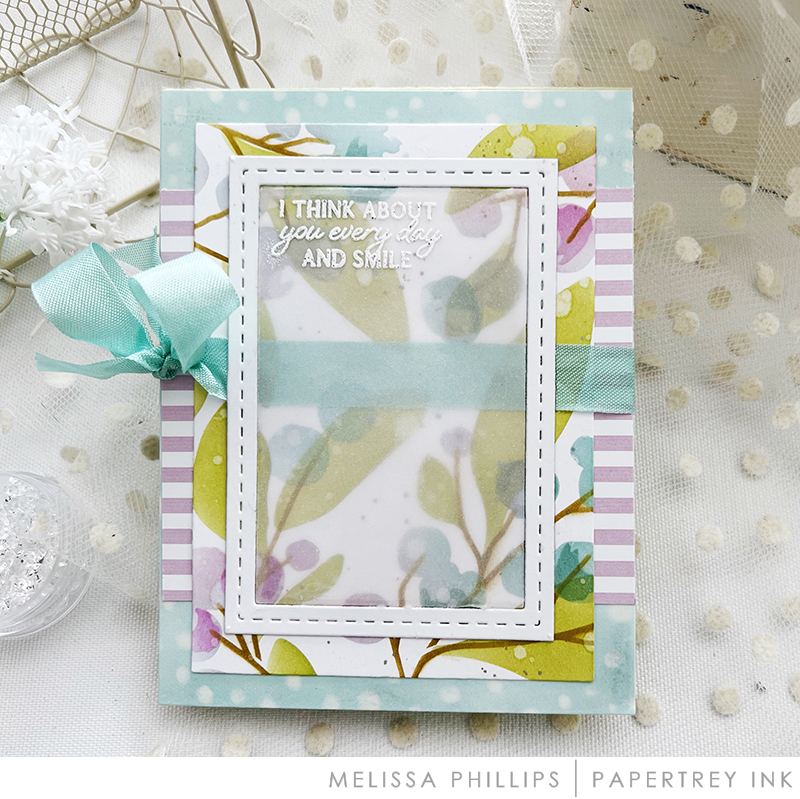
For my Fabulous Friday Featured today, I wanted to focus on the beautiful Berry Branches Stencil Collection. They, themselves, are FABULOUS! And, they are easy to used. Let’s get started recreating this card.
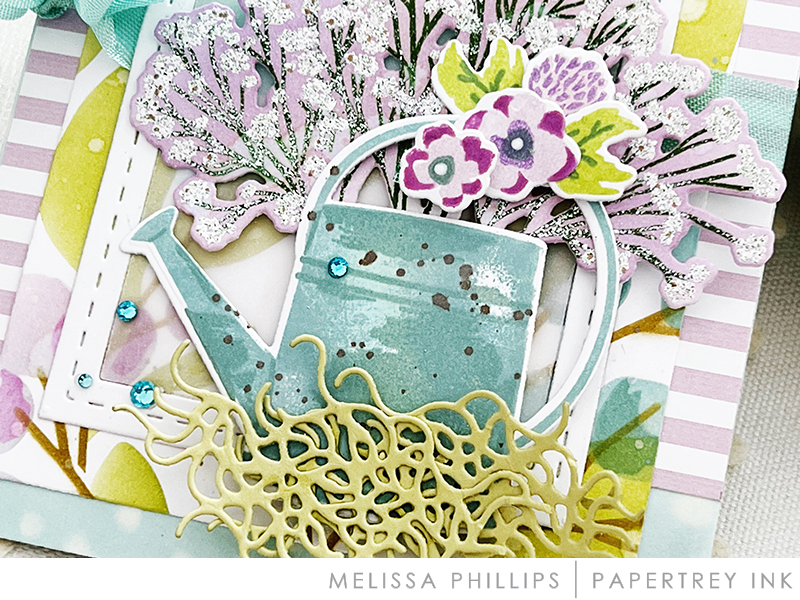
STEP 1: I attached a block of white cardstock to a sheet of grid paper using a bit of Scotch Tape on the bottom side. Grid paper or a mat with a grid, will allow you to line up your stencils in exactly the same spot with each layer you add. I add markings on the outer corner of my base stencil so that I know right where to place the stencils that follow. You’ll notice that at the bottom right corner of each stencil, there is an embossed Papertrey Ink image, so you know which side is up and which direction to lay your stencil. I use a few strips of tape around my stencils to secure them to my grid sheet, so they won’t move while blending my ink over the surface. My first layer consists of Simply Chartreuse followed by a bit of Green Parakeet.
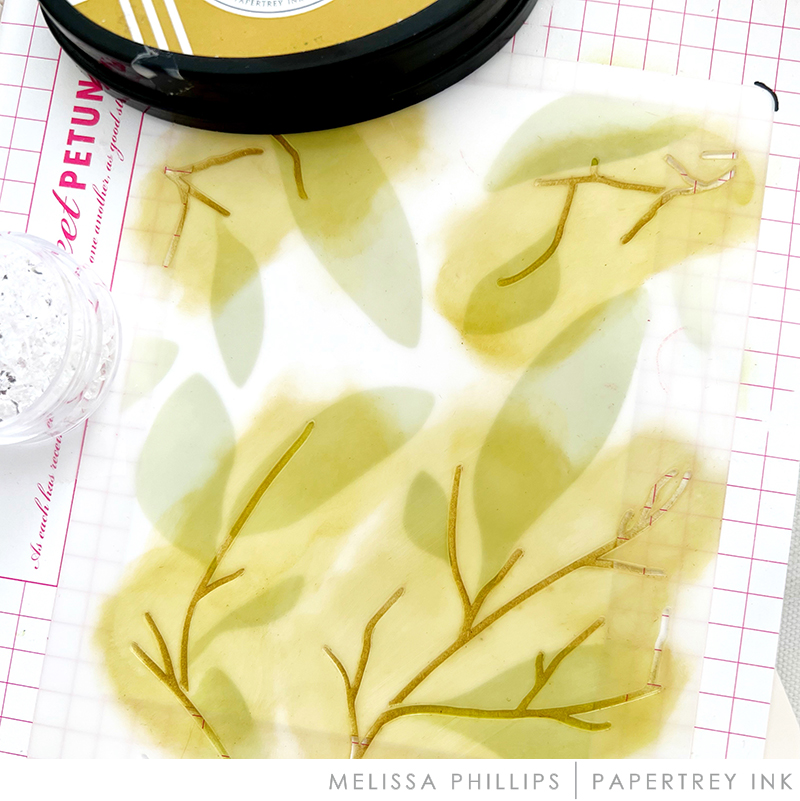
STEP 2: Remove the first stencil and lay the second stencil (branches) the exact same way and process as the first. I used Saffron Spice ink for my branches. Remove the stencil and proceed to step 3.
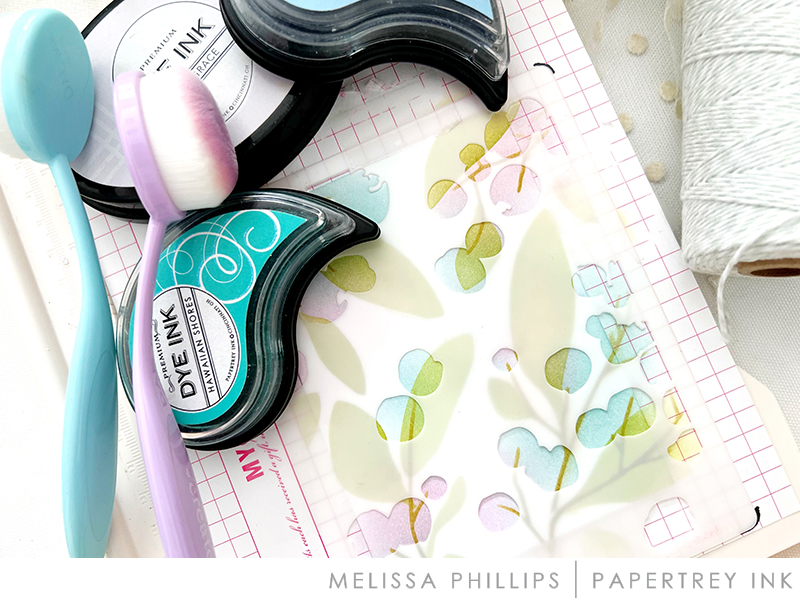
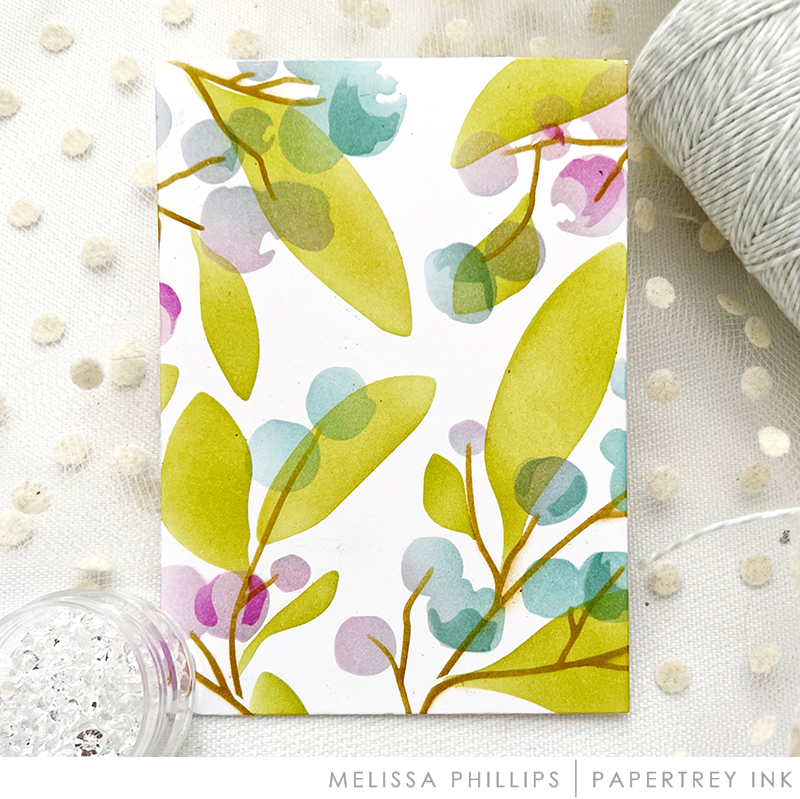
STEP 3: Layer the berries stencil exactly as before and add ink in Spring Rain, Lilac Grace, and Hawaiian Shores. Remove stencil and proceed to step 4.

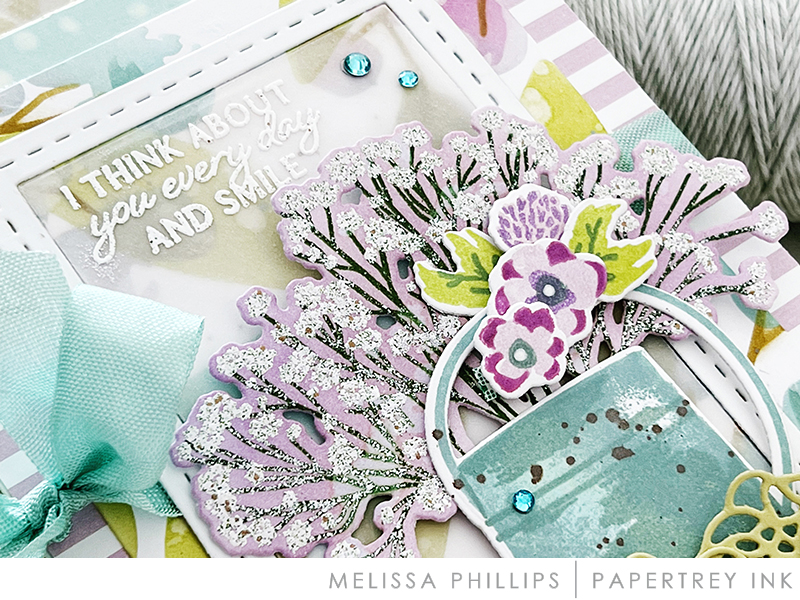

STAMPS: Vase Collection Mini 8, Sprigs & Sprays, Just Sentiments: Wish You Were Here
INK: Saffron Spice, Green Parakeet, Simply Chartreuse, Lilac Grace, Amethyst Allure, Ocean Tides, Hawaiian Shores, Spring Rain, Ripe Avocado
PAPER: Spring Moss, Stamper’s Select White, Sheer Basics Vellum, Bitty Big Lilac Grace, Basket of Blossoms
DIES: Vase Collection Mini 8, Border Bling: Skinny Stitched, Sprigs & Sprays, Weave A Basket
STENCILS: Berry Branches
OTHER: white embossing powder, adhesive gems, seam binding, Speckled Egg Distress Spray

PRIZE
One winner will be chosen at random to receive a $25 gift certificate.
RULES
To enter, participants are required to create a card using your favorite stencil using Ink to Paper/Papertrey Ink products and share it via the link below. We can’t wait to see what you make!
Only one entry per person and the deadline is April 15th at 7am. This post will be updated with the randomly selected winner.
CHALLENGE
EDITED TO ADD THE RANDOMLY SELECTED WINNER
Congratulations, Kathy Mc! Please send an email to customer service and provide them with your full name and the email address you would like your gift certificate sent to. Thanks so much to everyone for playing along!
Leave a Reply