


Hi everybody, welcome to our new feature What do I do with this? For this challenge our designers will get to try out some of these new tools and share the projects they created using them. We’ve got some fun, new things coming to the Papertrey Ink store and our designers will show you how to use them so you’ll be comfortable incorporating them into your card-making and gift-giving. Stay tuned for exciting and creative things coming your way! We want to share what our designers love with you, and this gives you a first-hand look into their crafty-faves!
Let’s get started!
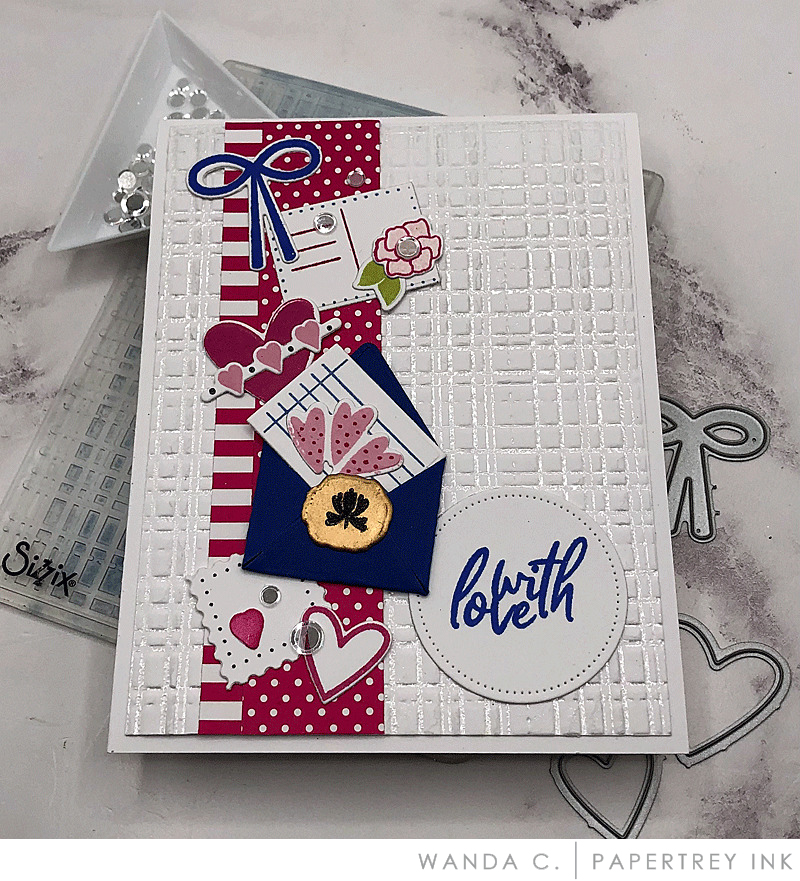
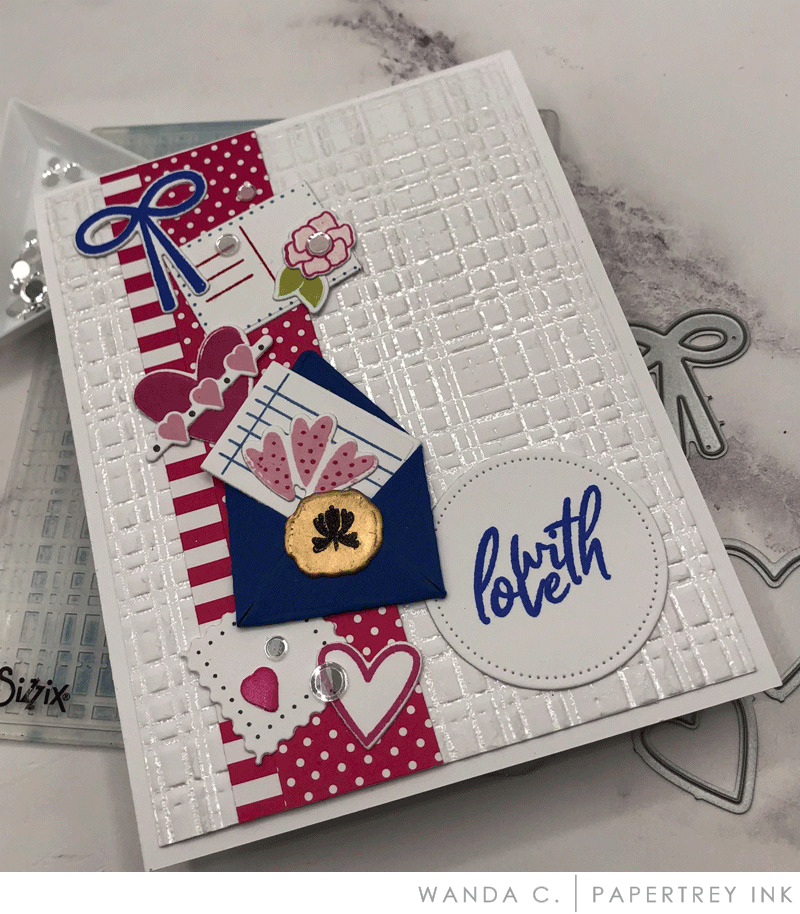
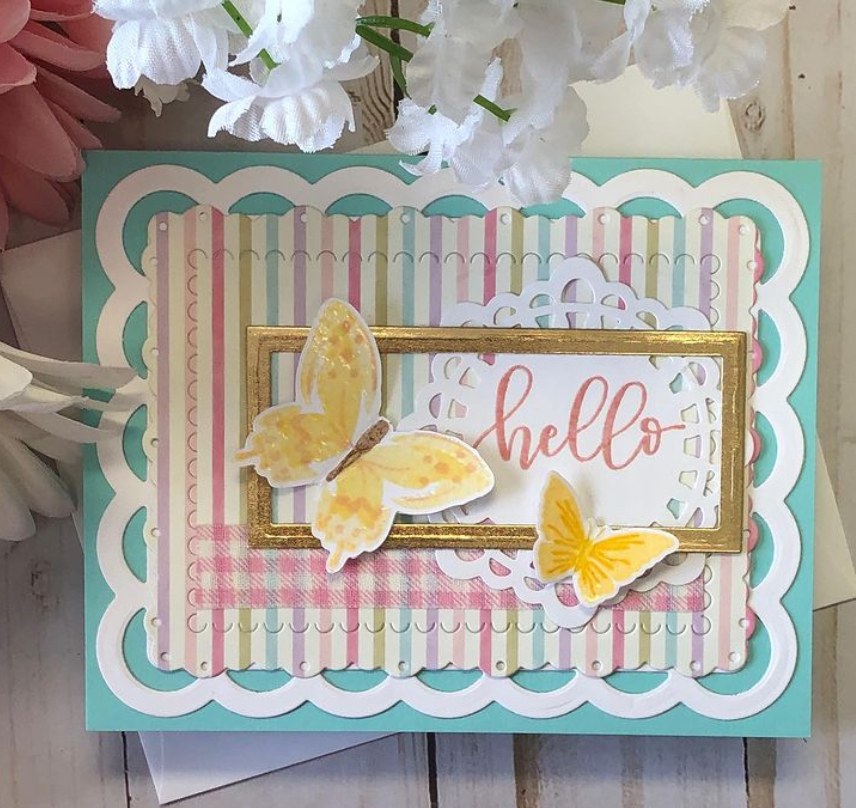
I don’t know about you, but I have quite a stash of embossing folders and rarely use them anymore. Here is how you can use embossing folders along with embossing powders to create some unique backgrounds for your cards. It’s the last day of the love month (as I like to refer to February), so I wanted to create yet another card using the fun “With Love” set released in January.
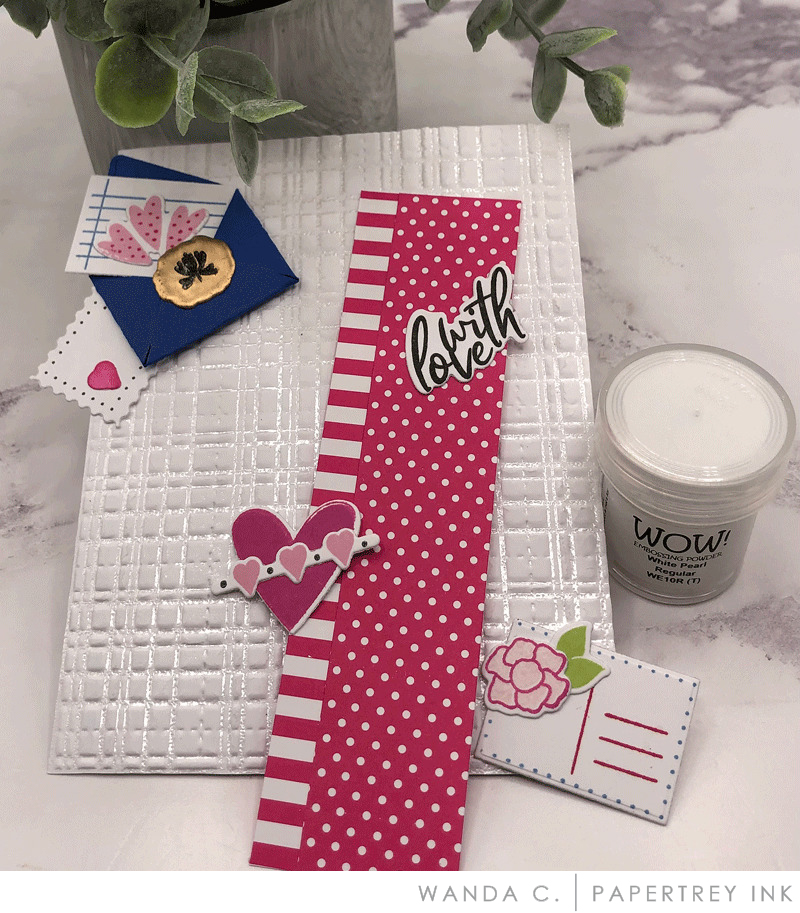
FYI: The gold “wax seal” element on the envelope was created by layering multiple layers of gold embossing powder (4 or 5). Be sure to let the layers cool between applications.
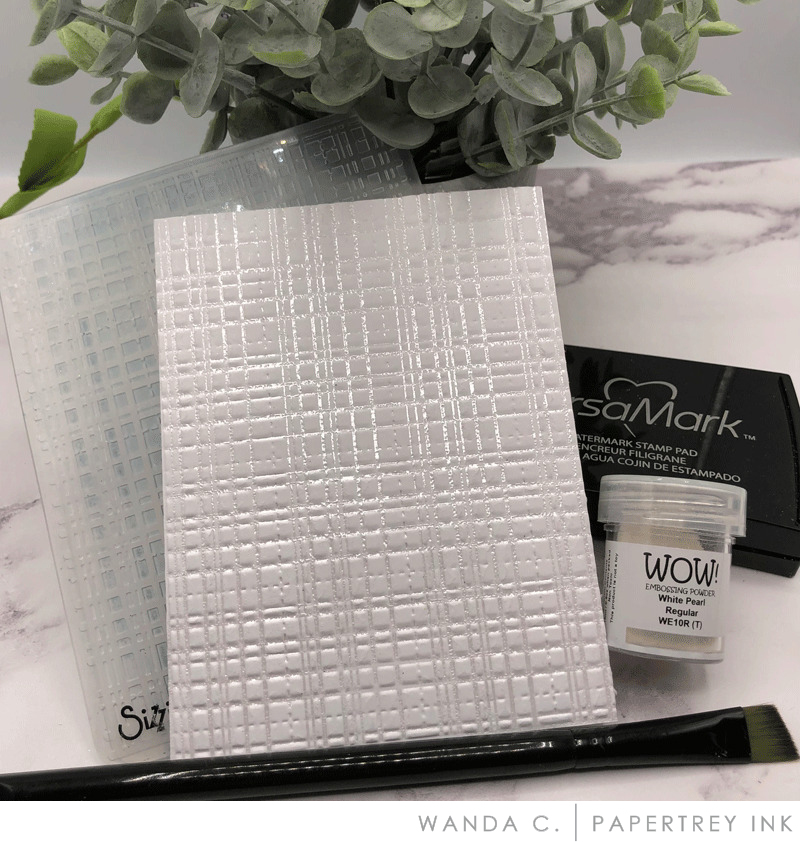
Step 1: Start by wiping a card stock panel with anti-static powder and lay it to the side.
Step 2: Lightly swipe your Versamark ink pad over one side of the embossing folder. You tend to get better results if you use the side with the raised portions of the design.
Step 3: Lay the card stock panel over the inked side of the embossing folder, close it up and run it through your die cutting machine.
Step 4: Remove the panel from the folder and immediately cover it with embossing powder. Shake off excess and if needed, use a dry brush to get rid of powder that is sticking to areas where you don’t want it to be.
Step 5: Use heat tool to melt powder.
This is a fun technique with endless ways to combine different powders with different colors of card stock!

INK: Sweet Blush, Raspberry Fizz, Enchanted Evening, Green Parakeet, Lovely Lady, True Black
PAPER: Bitty Big: Raspberry Fizz, White, Enchanted Evening
DIES: With Love
OTHER: Moonshine sequins, Gold embossing powder, Pierced circle die, WOW! White Pearl Regular embossing powder
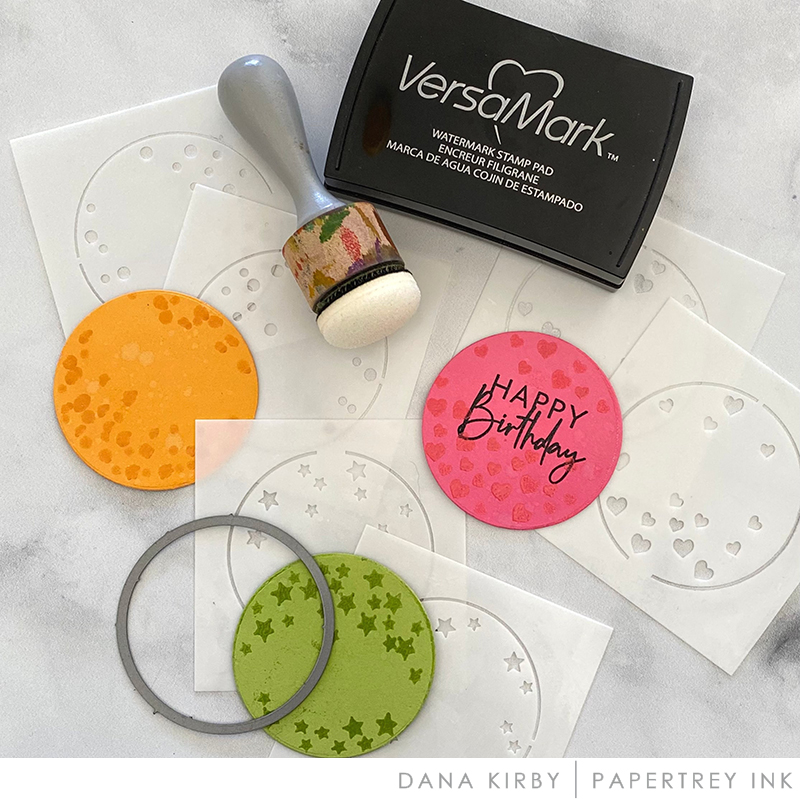
Hello! It’s Dana here today with this week’s What Do I Do With This challenge. This week Wanda and I are challenging you to use embossing powder. I am using embossing powder with a stencil to create a fun and unique texture on my card. Let’s get started…
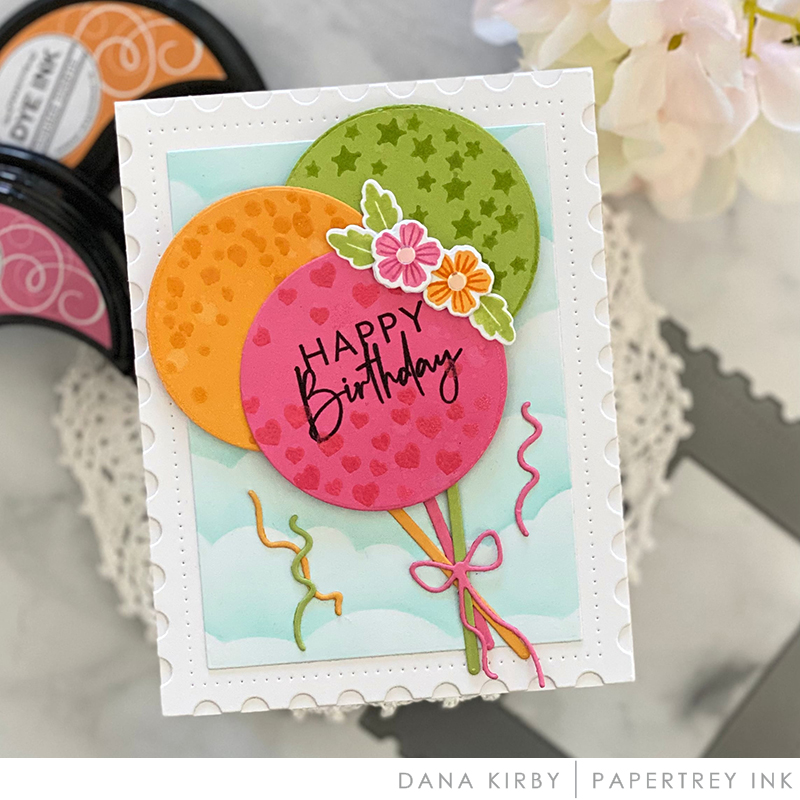
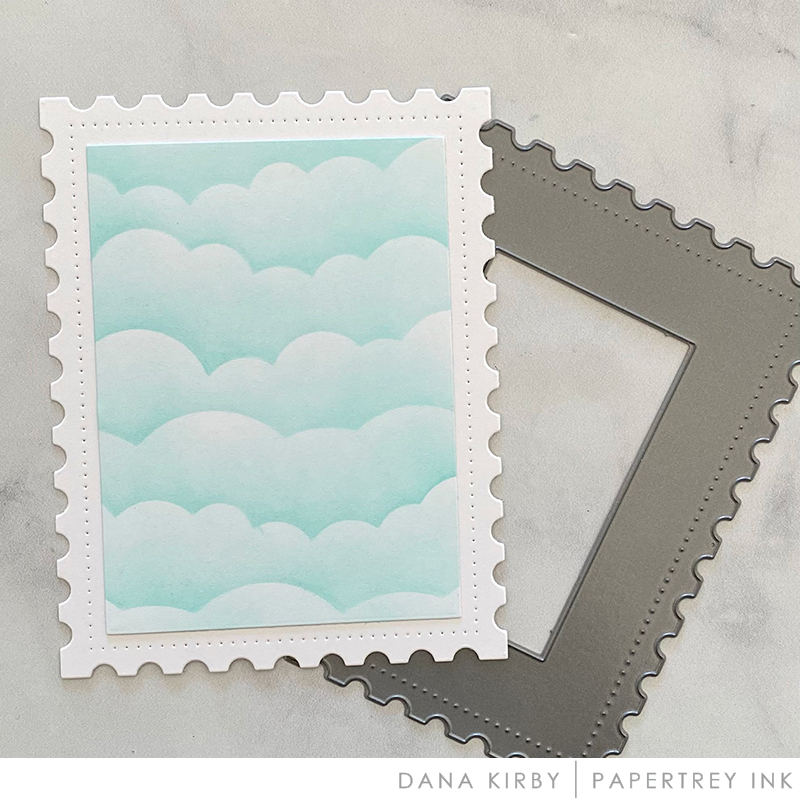
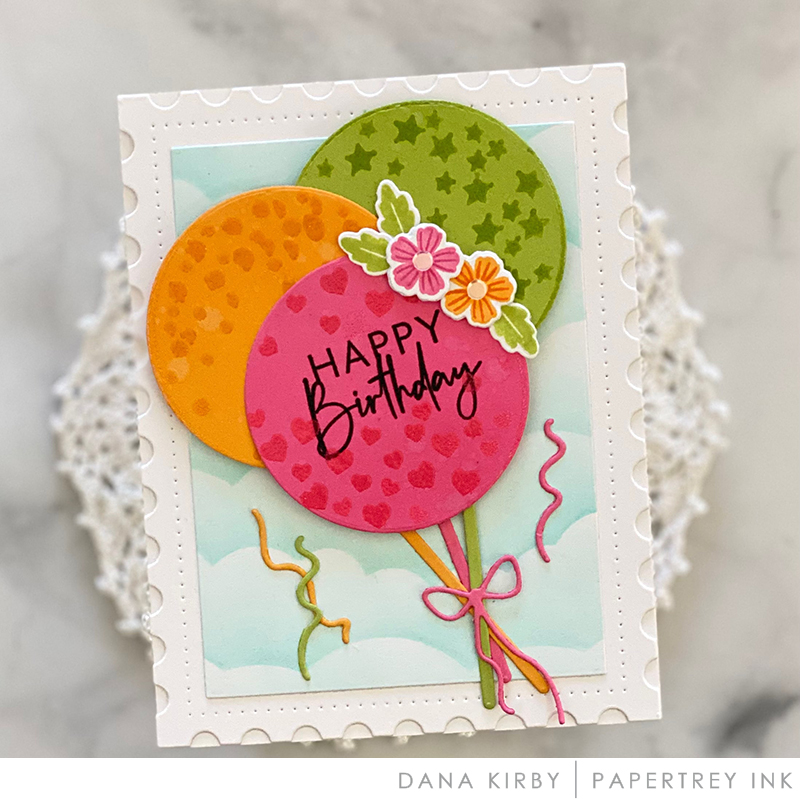
DIES: Big Balloon, Border Bling: Postage Frame
INK: VersaMark, Hibiscus Burst, Raspberry Fizz, Summer Sunrise, Orange Zest, Green Parakeet, Hawaiian Shores, True Black
PAPER: White, Hibiscus Burst, Summer Sunrise, Green Parakeet
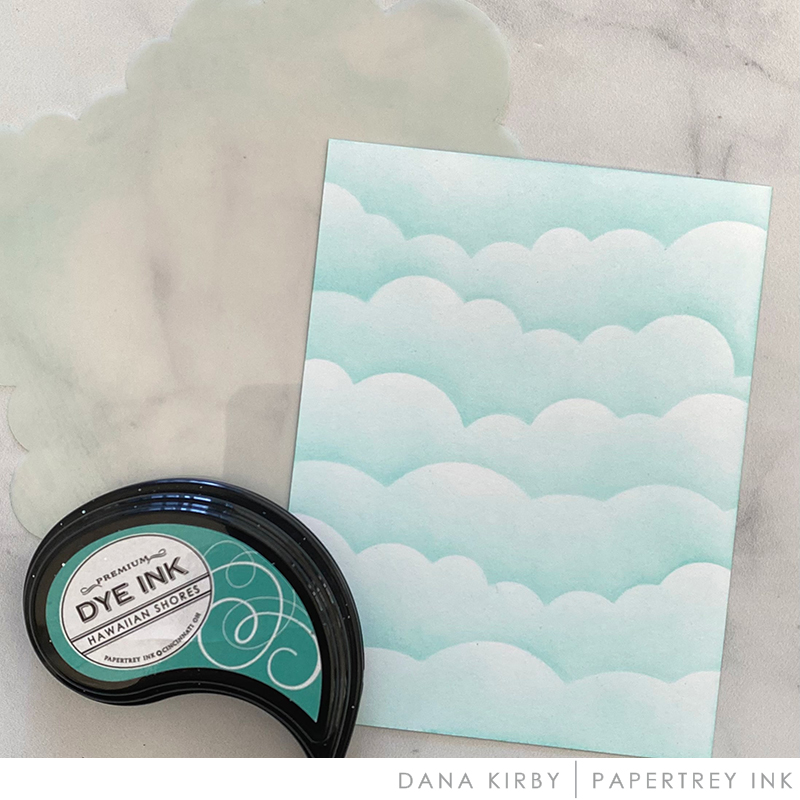
OTHER: Clear Embossing Powder, Big Balloon Stencils, Moonshine Sequins, Cloud Stencil

PRIZE
One winner will be chosen at random to receive a $25 gift certificate.
RULES
To enter, participants are required to create your own card using embossing powder using PTI/Ink to Paper supplies and Wanda’s or Dana’s technique or your very own. Share your finished project via the link below. We can’t wait to see what you make!
Only one entry per person and the deadline is March 7th at 7AM. This post will be updated with the randomly selected winner.
CHALLENGE
EDITED TO ADD THE RANDOMLY SELECTED WINNER
Congratulations, Joan K! Please send an email to customer service and provide them with your full name and the email address you would like your gift certificate sent to. Thanks so much to everyone for playing along!
Leave a Reply