


Welcome to Day 1 of our January Release! I’m so glad you’re here and very excited to start introducing you to our beautiful, new products.
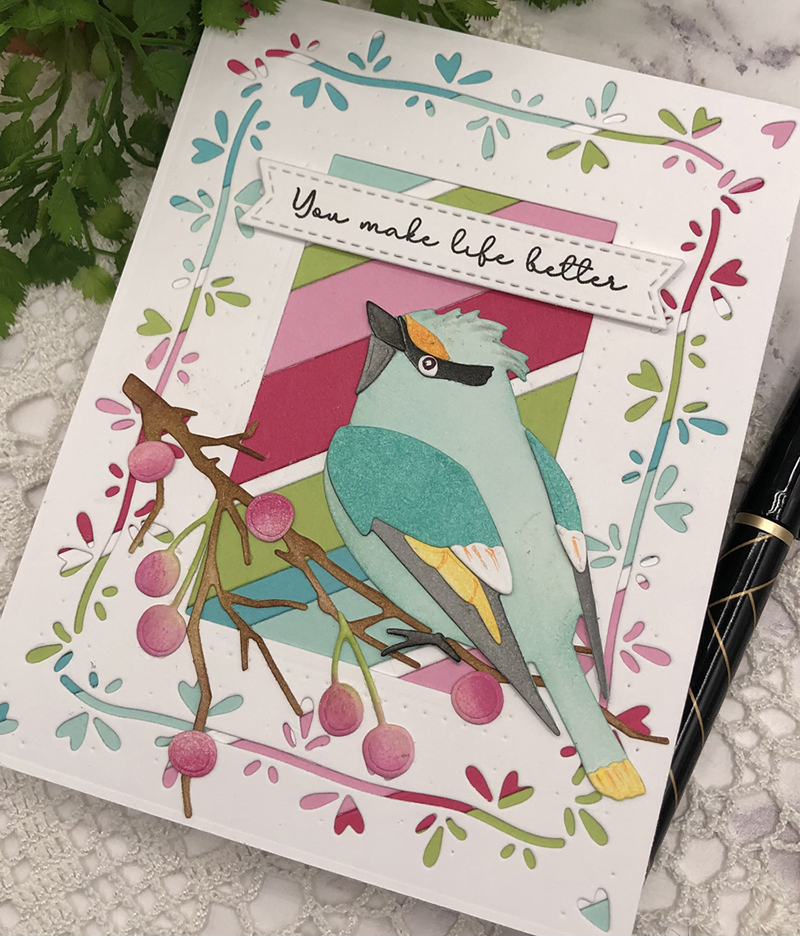
Let’s start the day off with our gorgeous, new Feathered Friends 19 die collection and Border Bling: Blooming Hearts die.
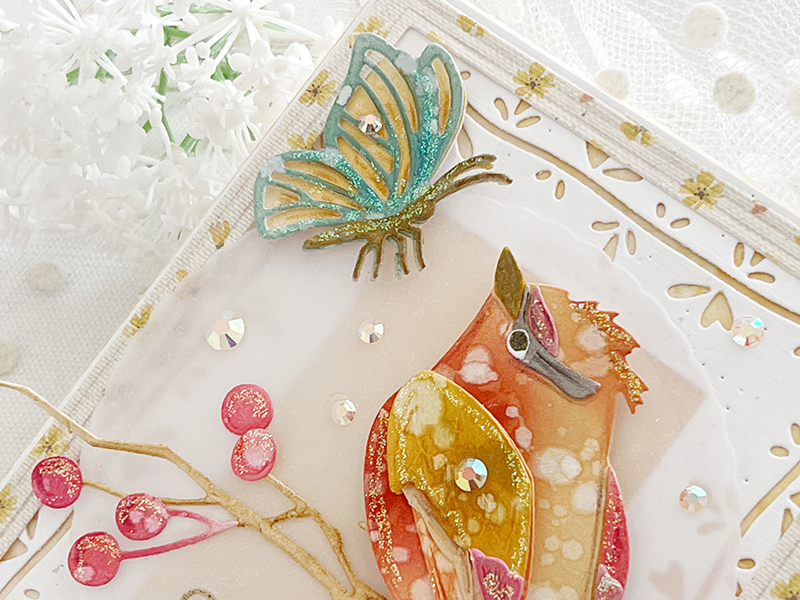
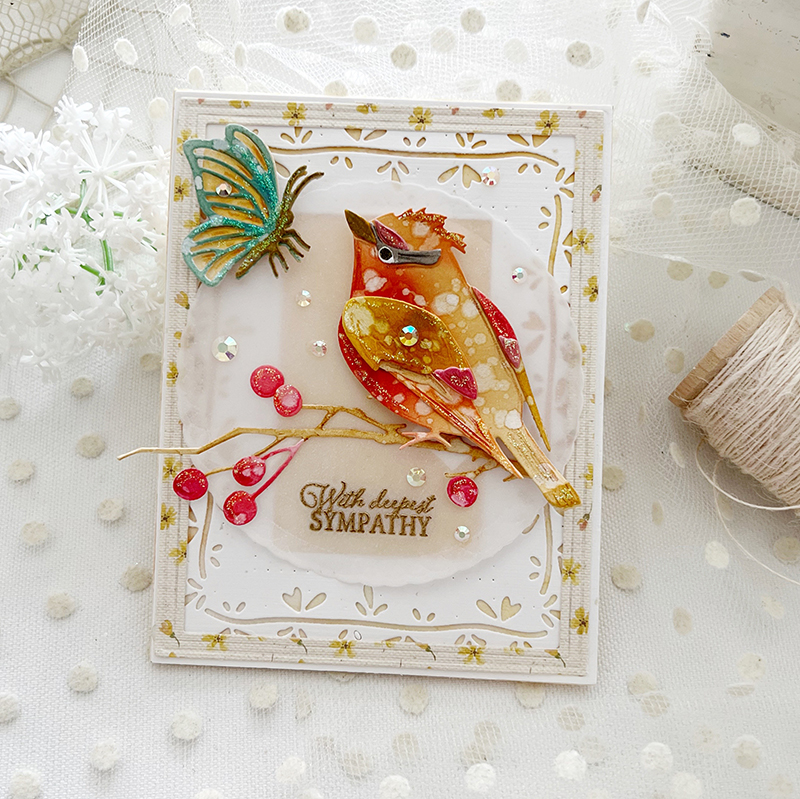
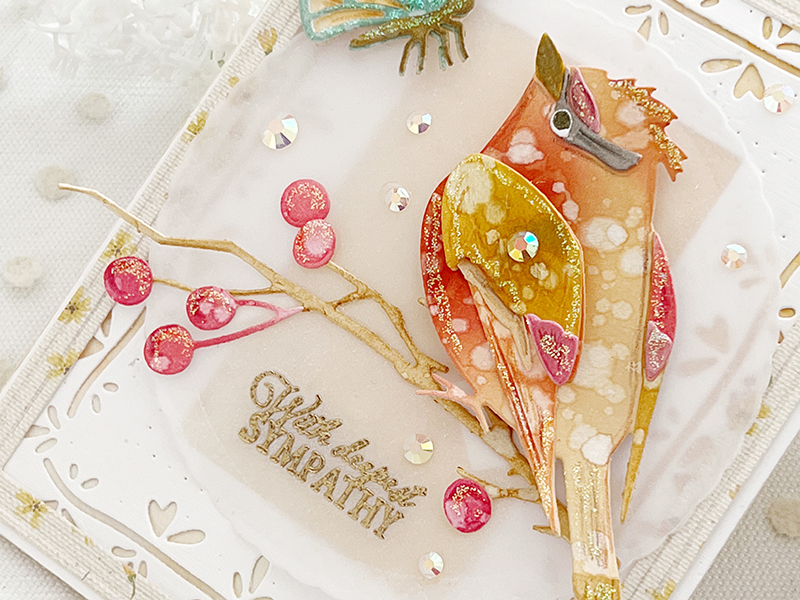
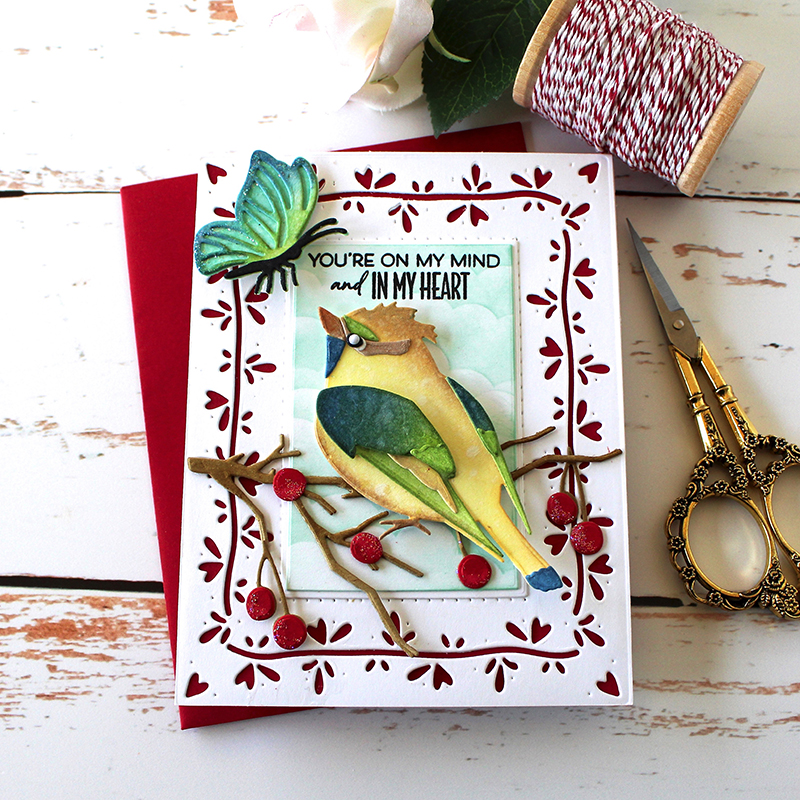
This sweet bird will win your heart in an instant. He or she comes with other elements so you can create a scene. Included with the bird are the branch, berries, butterfly, and sunshine. I mixed in Bright Buttercup, Summer Sunrise, Pure Poppy, Fine Linen, Honey Nut, etc. to create a warm, golden feel to my bird. The berries were created using the same color of ink sponged over them, along with a spritz of water to allow the colors to blend together and soften. I used Ocean Tides and Bright Buttercup on my tiny butterfly, and used the same technique to create a watercolor feel.
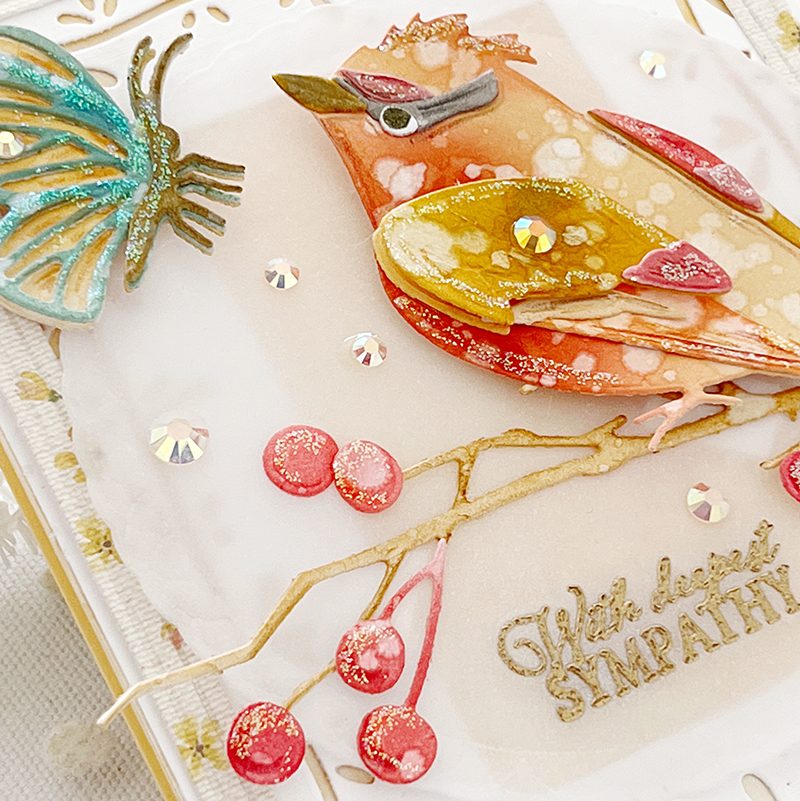
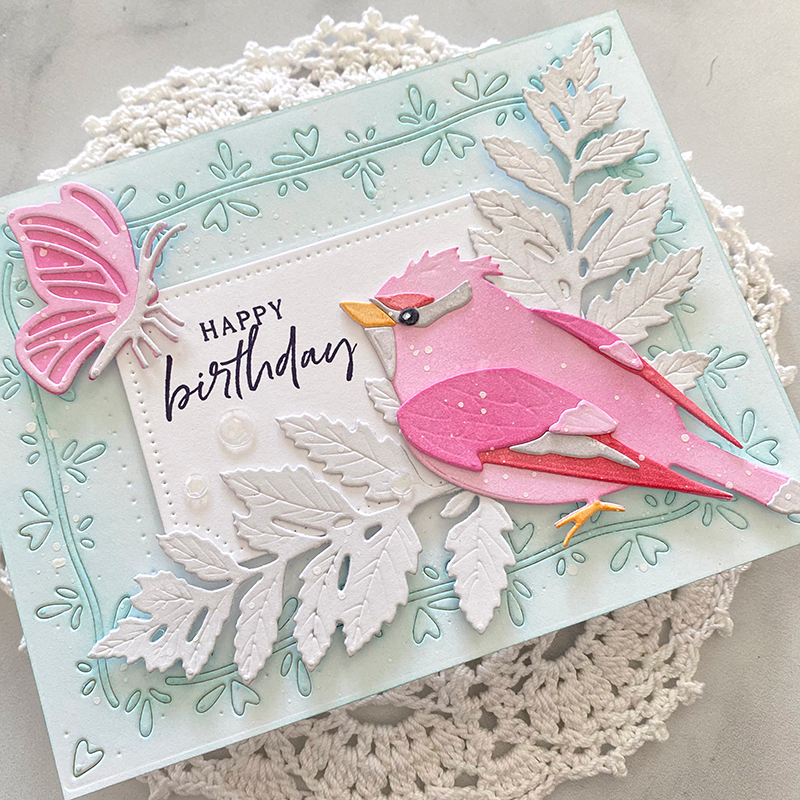
In the background you’ll notice the gorgeous, new Border Bling: Blooming Hearts die cut. It might just be my favorite yet! I adore the tiny hearts and vines that create a delicate and intricate border around my scene. I especially love the pierced details that add even more interest and character around this frame. Notice how the bird is looking upwards toward the butterfly. To me, this small detail symbolizes hope, friendship, and looking forward.
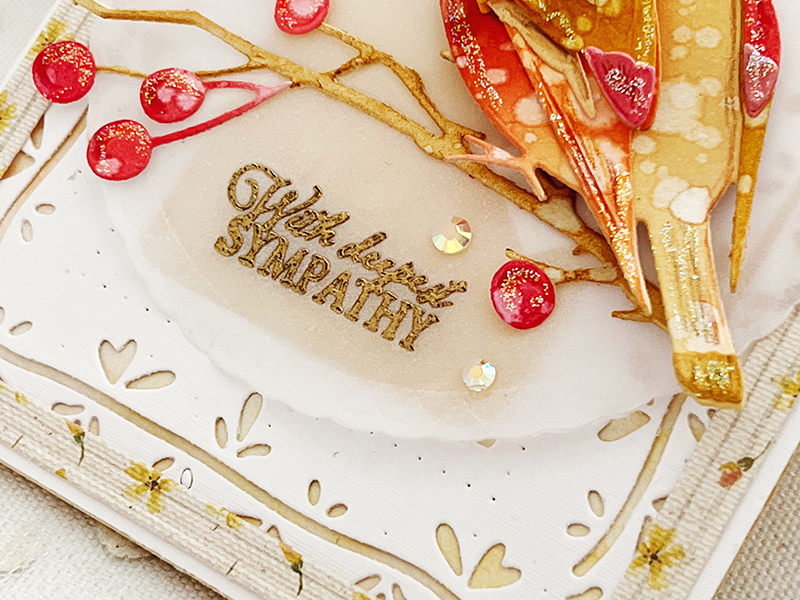
Across the bottom of my vellum Love to Layer: Scalloped Circle, I heat embossed my sentiment, chosen from the new Just Sentiments: With Sympathy stamp set. There are six different sentiments to choose from in this set, each perfect for sharing heartfelt sympathy and hope. These new products pair so well together! Our new Feathered Friends 19 and Border Bling: Blooming Hearts dies are perfect for many different celebrations or occasions.
Supplies Used:
STAMPS: Just Sentiments: With Sympathy
INK: Bright Buttercup, Fine Linen, Honey Nut, Saffron Spice, Summer Sunrise, Ocean Tides, Pure Poppy, Autumn Rose, Olive Twist
PAPER: Fresh Snow Linen, Sheer Basics Vellum
DIES: Feathered Friends Mini 19, Border Bling: Blooming Hearts, Border Bling: Skinny Embossed, Love to Layer: Scalloped Circles
OTHER: patterned paper, gold embossing powder, adhesive gems, Stickles Crystal glitter


- To create colors that blend and create a soft, watercolor look, use blending brushes and your chosen ink colors. Lightly spritz water over your colored die cut pieces and allow them to dry. Watch the magic happen!
- To achieve a crisp, heat embossed sentiment, use an Anti-Static Bag over the surface area. Then stamp using watermark ink and follow with embossing powder and your heat tool.

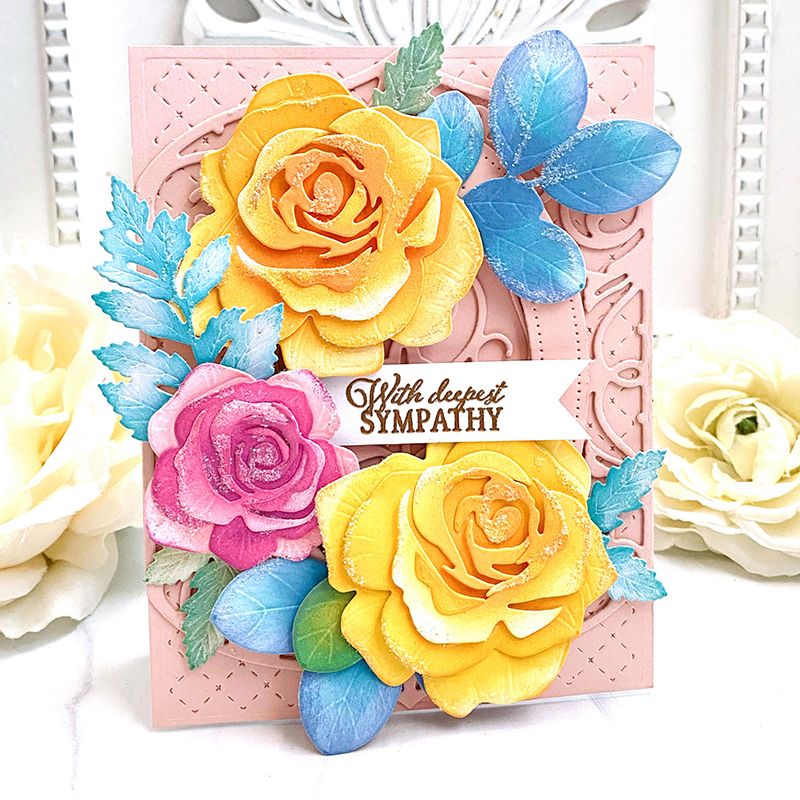
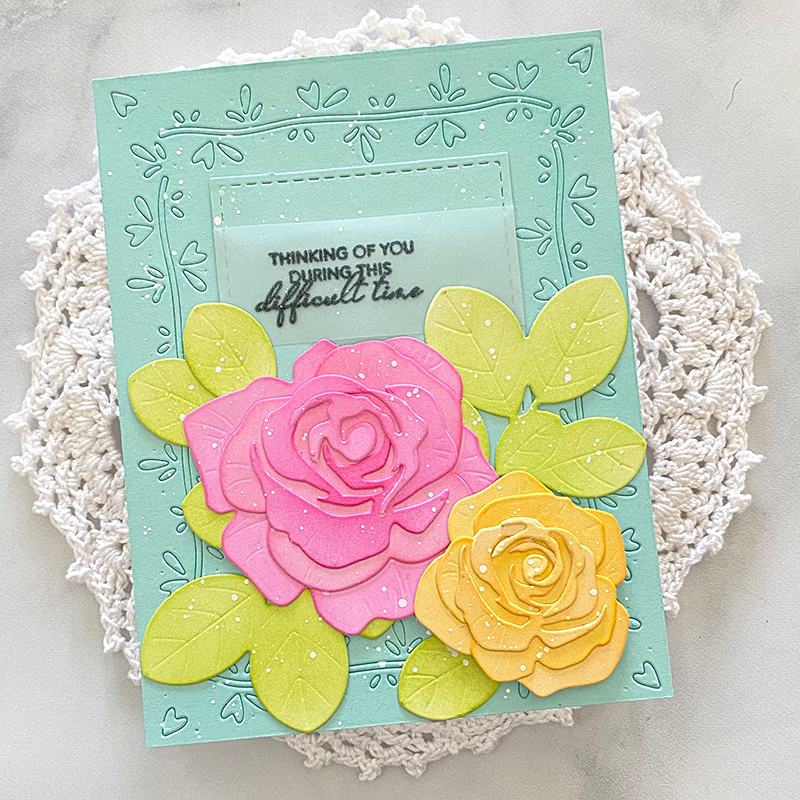
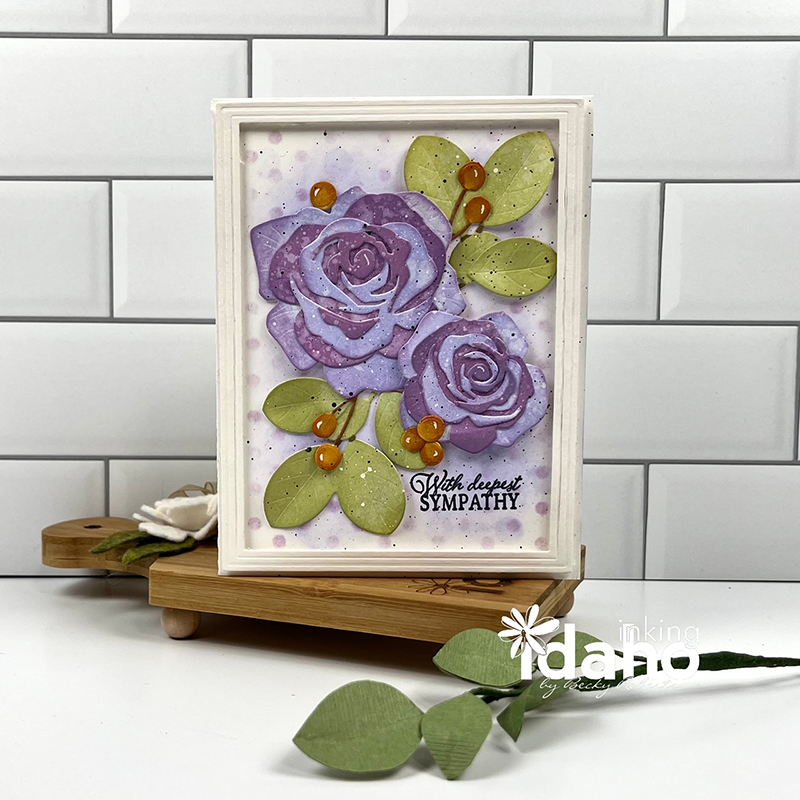
Are you ready for January’s Into the Blooms flower? I know you’ll love it just as much as I do! Introducing the new Into the Blooms: Roses die collection.
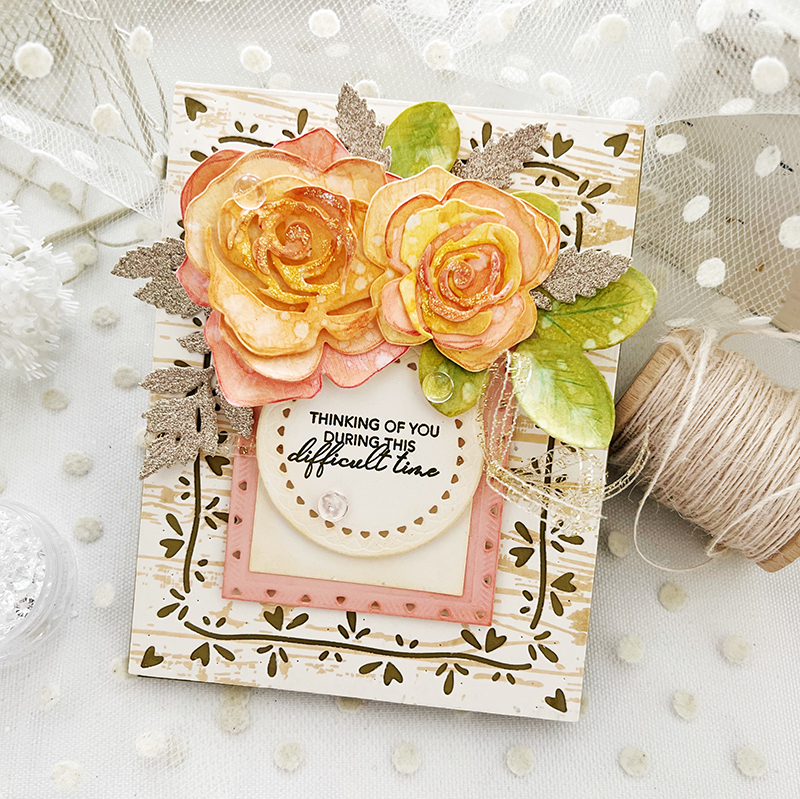
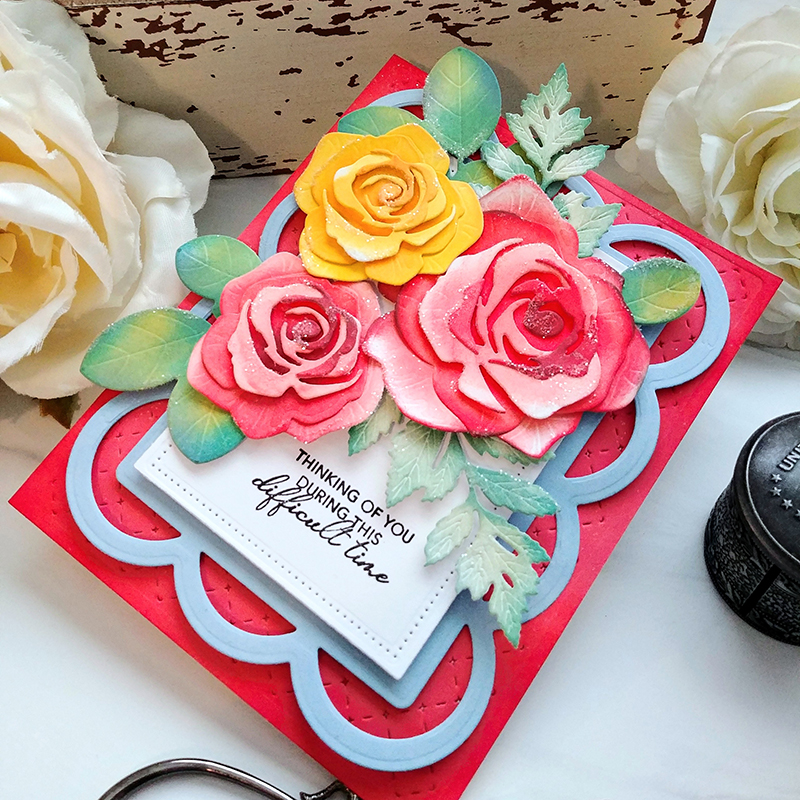
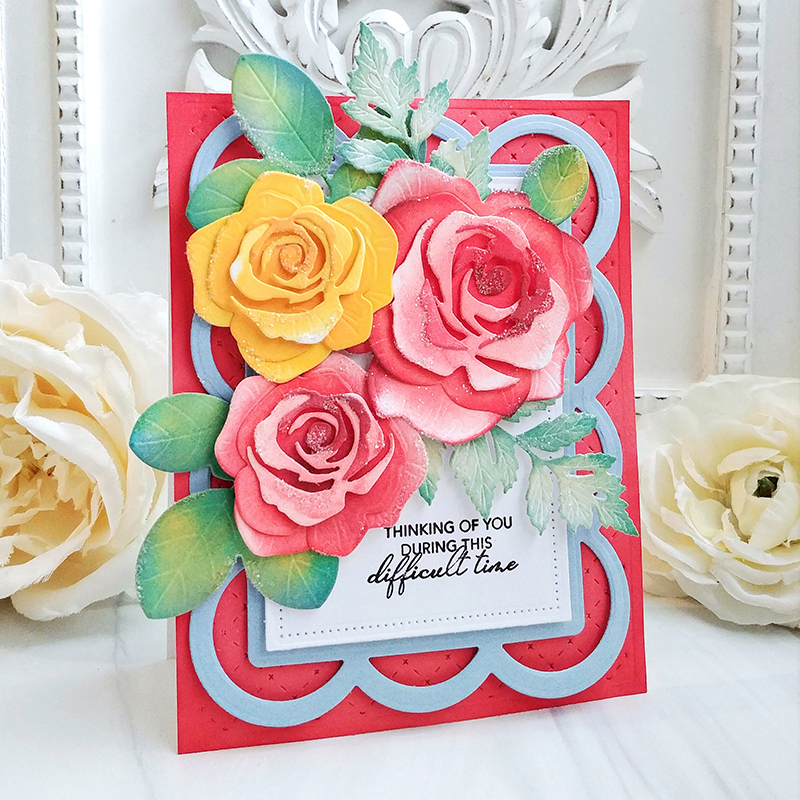
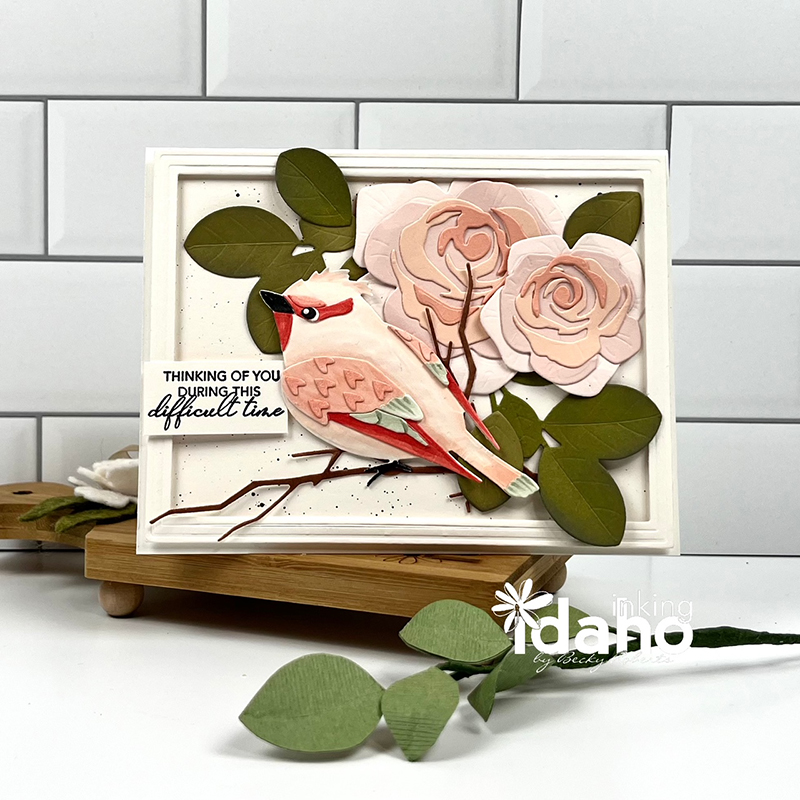
These gorgeous roses are so easy to assemble. They may look time consuming and difficult, but they come together in a pinch! I started with Stamper’s Select White cardstock and sponged ink over each die cut in shades of pink and yellow.
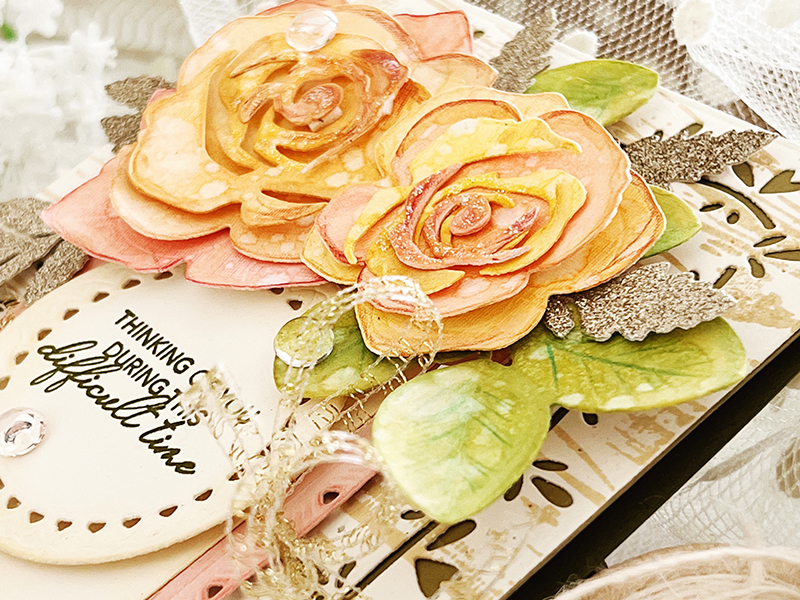
Next, I added a spritz or two of water and let the flower layers dry. I used my colored pencils to add just a bit of shading and detail to my beautiful flowers. I repeated this same process for my leaves.
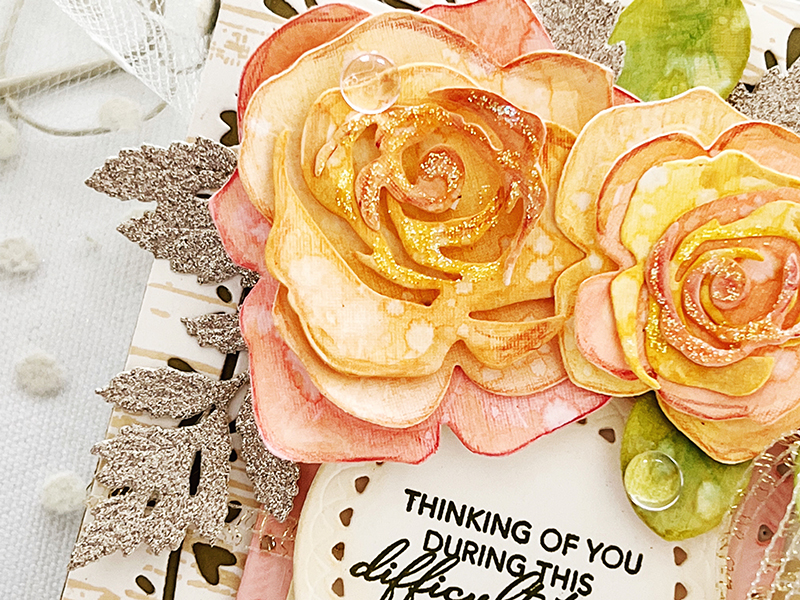
I just think these roses turned out perfectly! You really can’t mess these little beauties up! I added some filler from the Into the Blooms: Dahlias die collection, cutting my leaves from gold glitter cardstock. I tucked these pieces under the flowers where I wanted to add more bulk and filler.
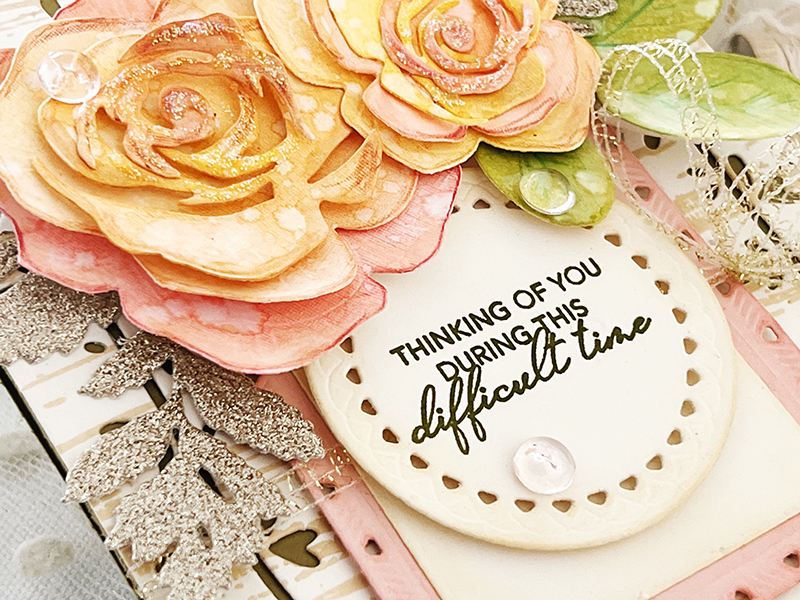
I used the new Border Bling: Blooming Hearts die in the background, stamping it with the Weathered Wood Background and Fine Linen ink. I layered the frame over Saffron Spice cardstock and love the way the darker cardstock beneath the lighter allows the details to really come forth. I selected my sentiment from the new Just Sentiments: With Sympathy stamp set and added it to a die cut Love to Layer: Scalloped Circle. I love this sentiment, don’t you? It will be one that I draw from over and over again.
Now onto amazing projects created by our Design Team. Enjoy!

TIPS:
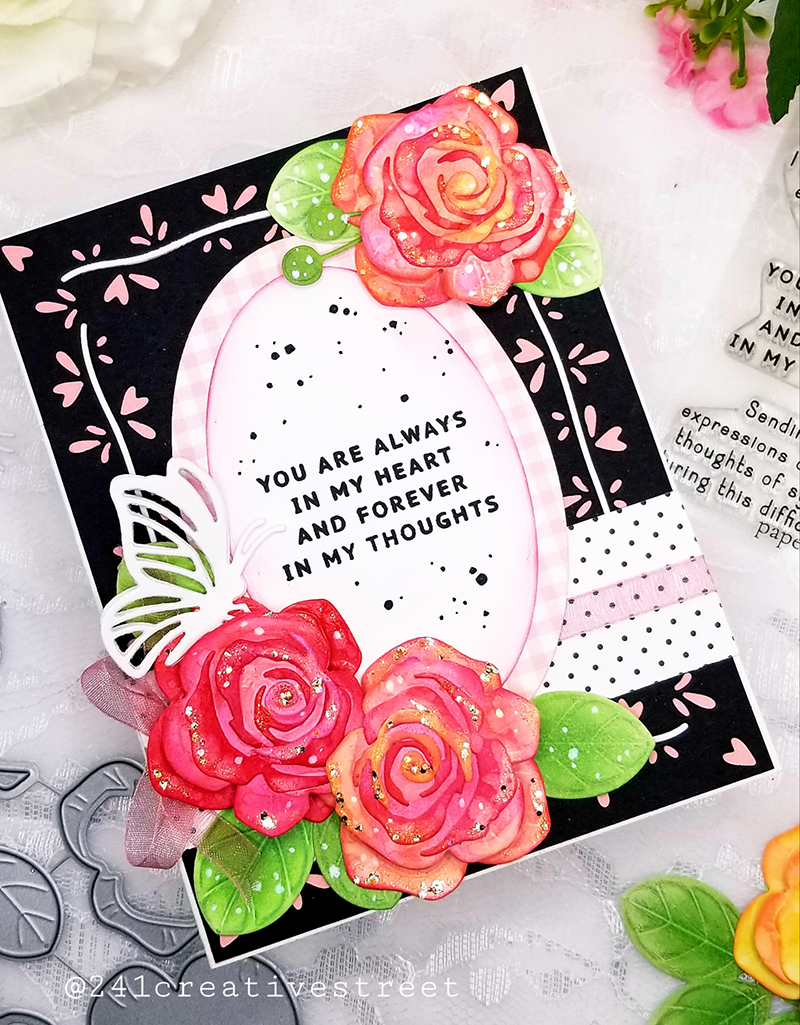
- Try using two or more colors of blooms for visual interest
- Try using colors found on opposite sides of the color wheel for contrast
- Add glitter to the flowers and leaves for a dewy look

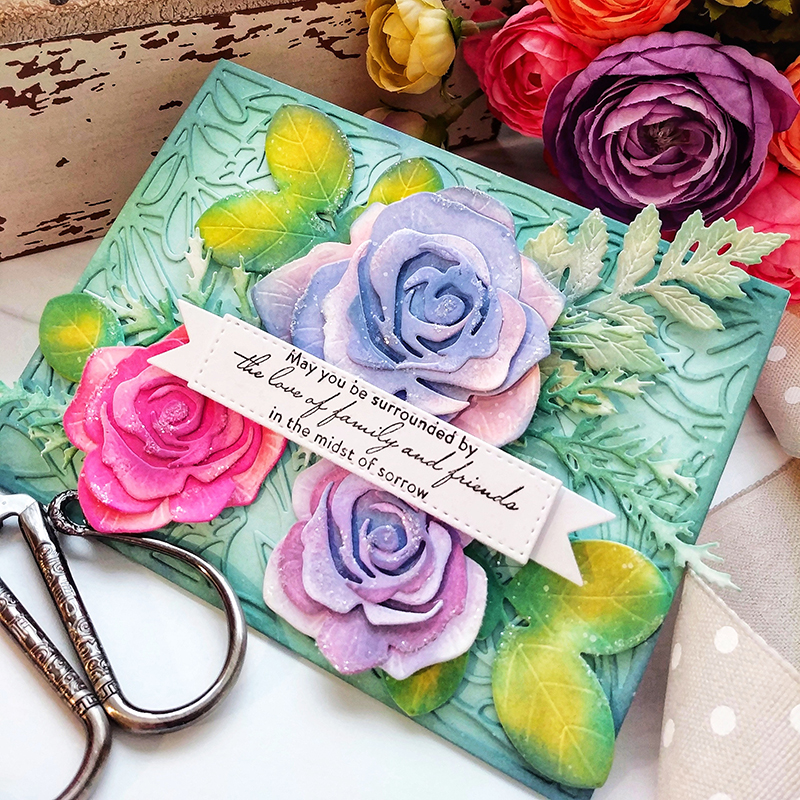
TIPS:
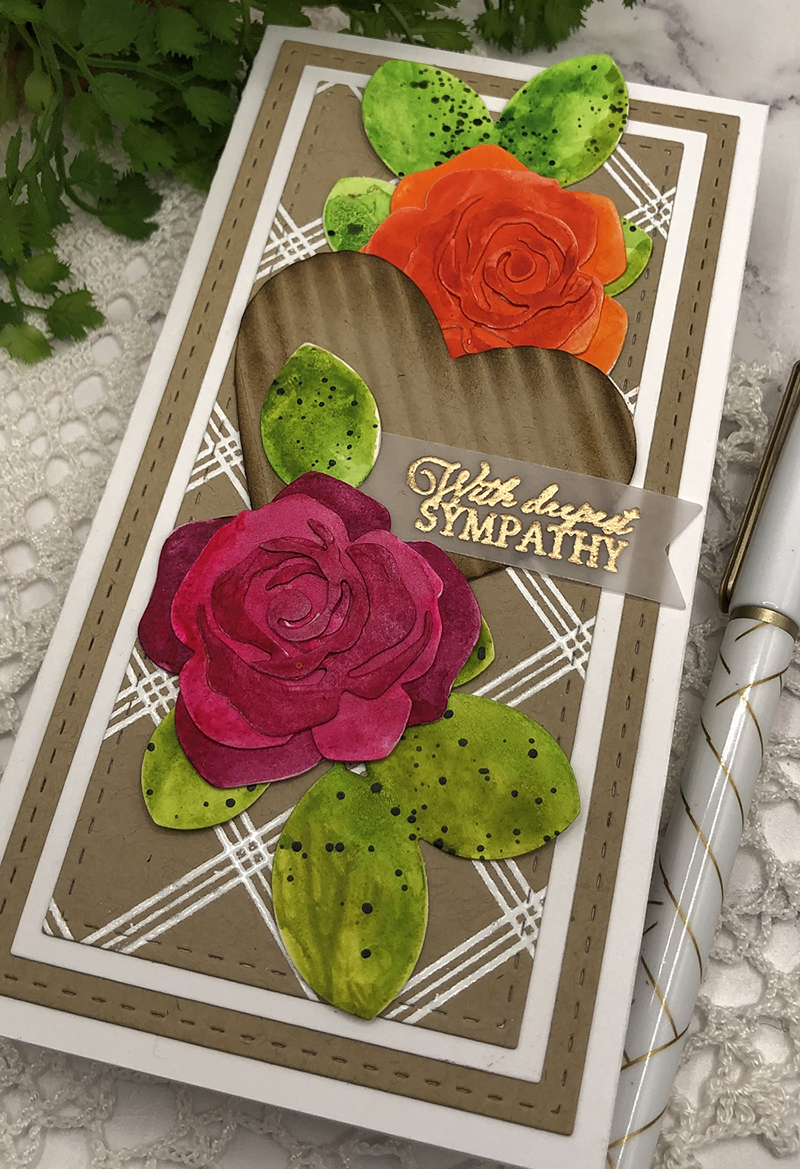
- Use tone-on-tone background pieces to add interest,but allow the flowers to pop!
- Try using different colored leaves for something different and unique
- Leave white space on your flowers to give them realistic highlights

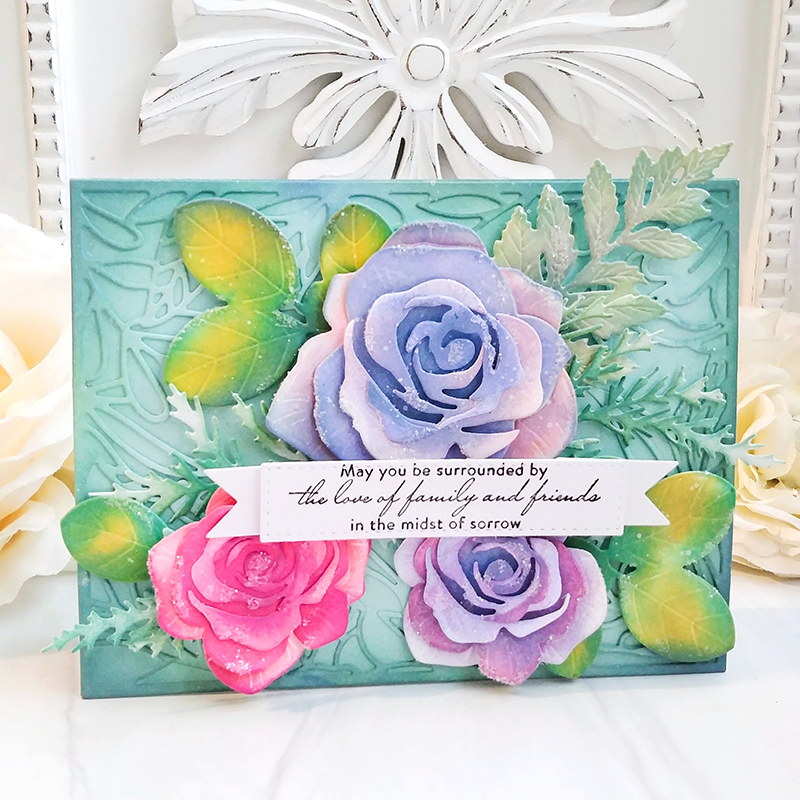
TIPS:
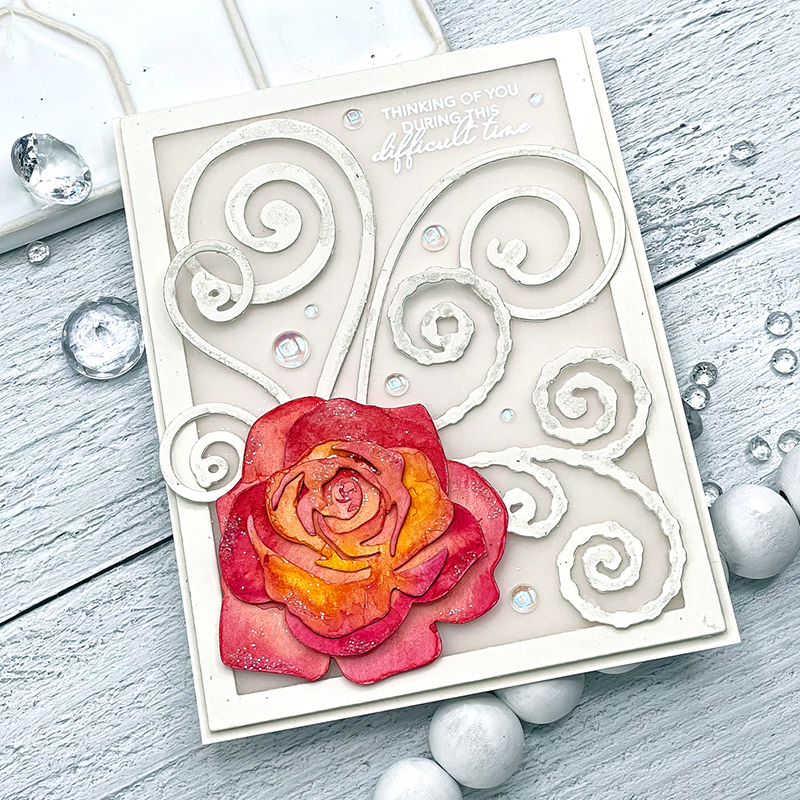
- Alternate die cut layers for the roses starting with light on the bottom and then dark to create realistic looking blooms.
- Add darker ink around the perimeter of the card for contrast
- Use 2-3 different colors of ink on each layer of the rose for variation
We hope you have enjoyed all the creations that we have shared with you today! We would love to hear your initial thoughts on everything we introduced! Please leave a comment on this post to tell us what you think of the new products, and you will be eligible to win big!

Leave a comment today and you’re automatically entered to win a $50 Papertrey Ink or Ink to Paper gift certificate! You have until 7am ET, January 23rd to leave your comment and be eligible to win. Only one comment per person please. One randomly selected winner will be posted on the January Release Winners Page by 10PM ET on January 26th.


Leave a Reply