


Hello, Everyone! Welcome to Melissa’s Fab Friday Feature
_____________________________________________________________________________________________
“I love creating for Fall and am so happy that it’s right around the corner! For my card today, I’ve used one of my most favorite techniques called paper-piecing. I’ve also created a “Stepped Up” card, showing a fun option in adding just a bit more character and dimension.”
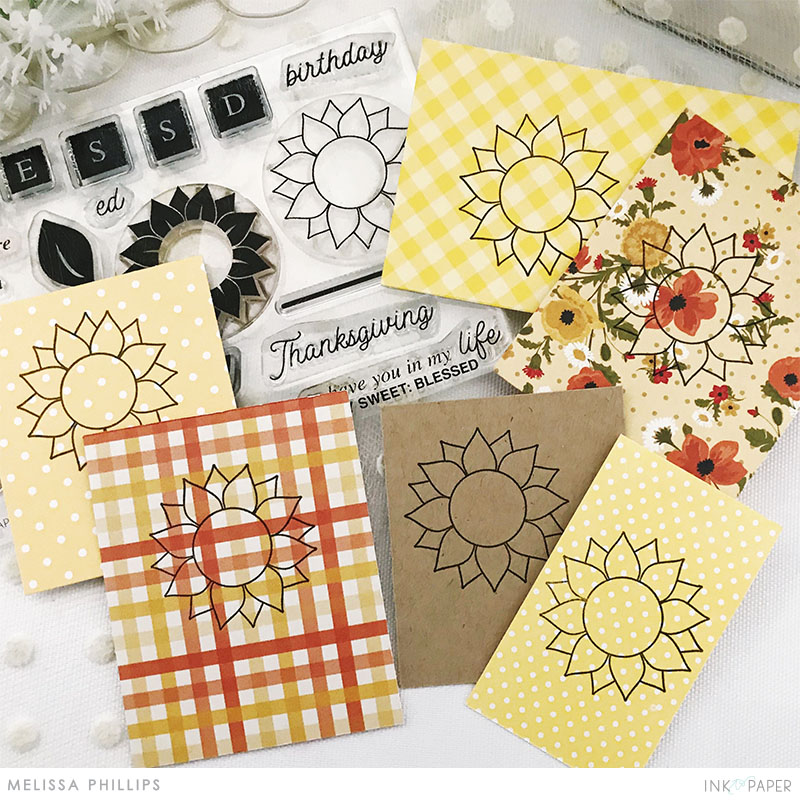
STEP 1: Stamp a sunflower on Kraft cardstock and assorted scraps of paper in coordinating colors.
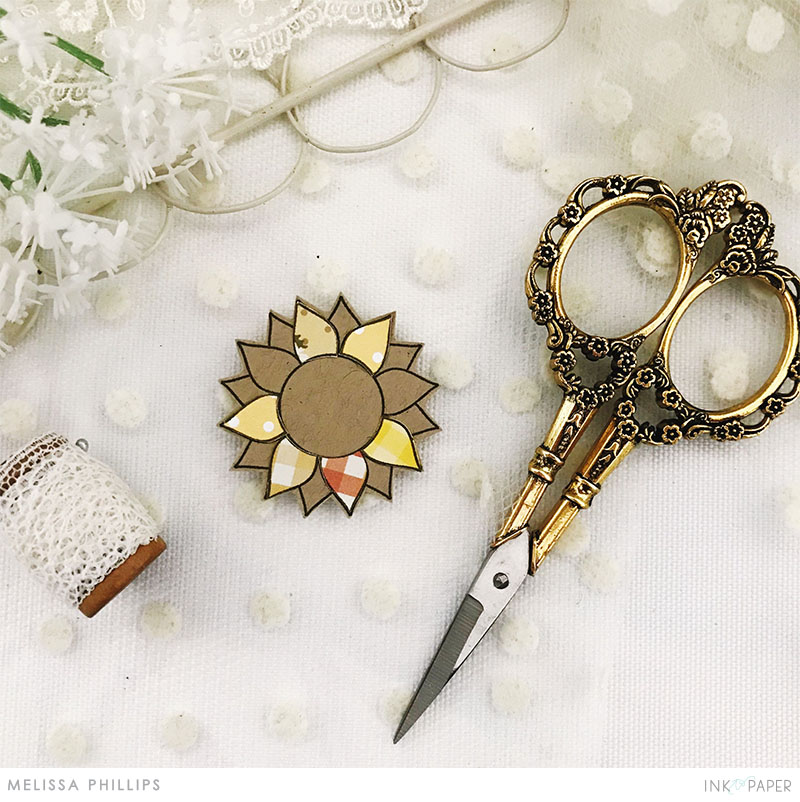
STEP 2: Die cut the Kraft sunflower and fussy cut individual petals from each flower stamped on patterned paper. Adhere patterned petals to Kraft sunflower.
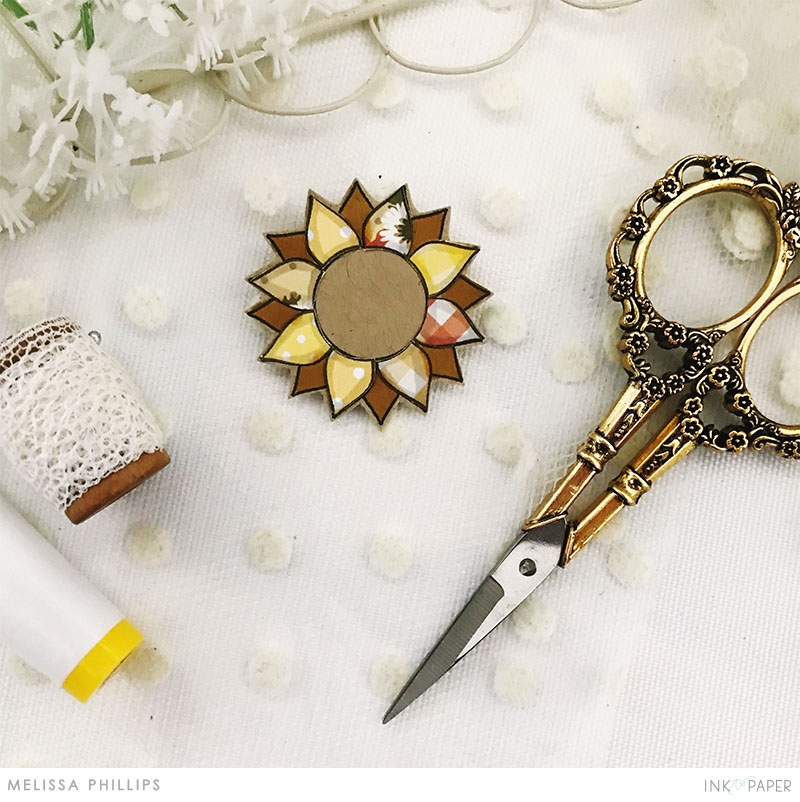
STEP 3: After each petal has been cut and adhered to Kraft sunflower, color in smaller petals using a Copic marker or colored pencil in a coordinating color. Stamp center of sunflower using circle image in the Simply Sweet: Blessed stamp set using Honey Nut ink. Stamp small dots in Olive Twist ink.

STEP 4: On a die cut Love to Layer: Notched tag, stamp sentiment in Honey Nut ink followed by leaves stamped in Spring Moss and Ripe Avocado.

STEP 5: Layer the Lover to Layer: Aztec piece under Kraft frame cut using the Border Bling: Skinny Diagonals Frame. Use Sheer Basics Vellum in the center of frame. Using dimensional adhesive, adhere stamped Love to Layer: Notched die cut to the center of the card.
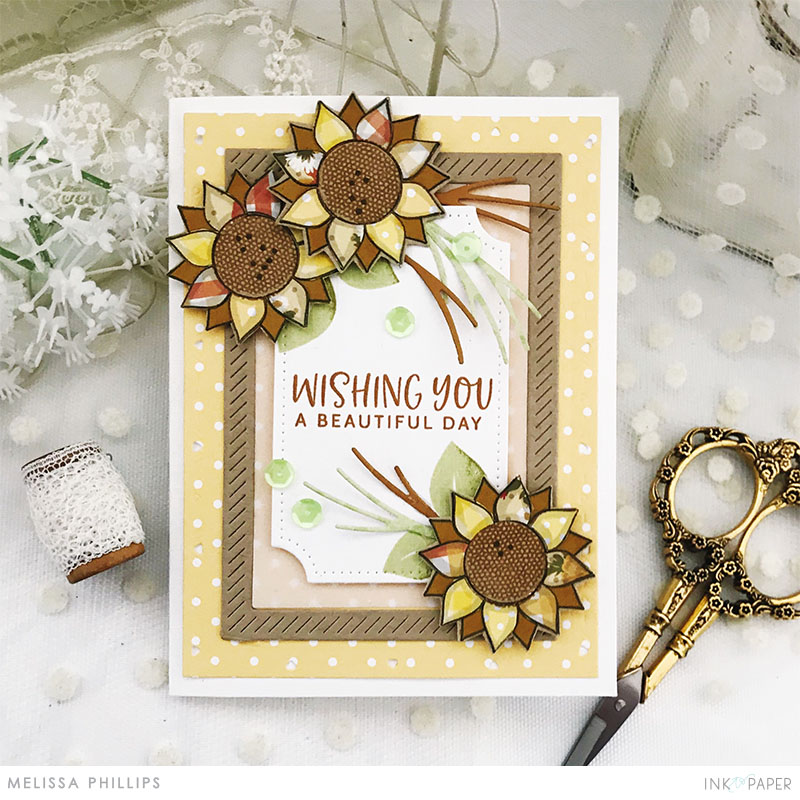
STEP 6: Adhere paper-pieced sunflowers to card front. Embellish with twigs cut using the Dear Friend dies and coordinating sequins.
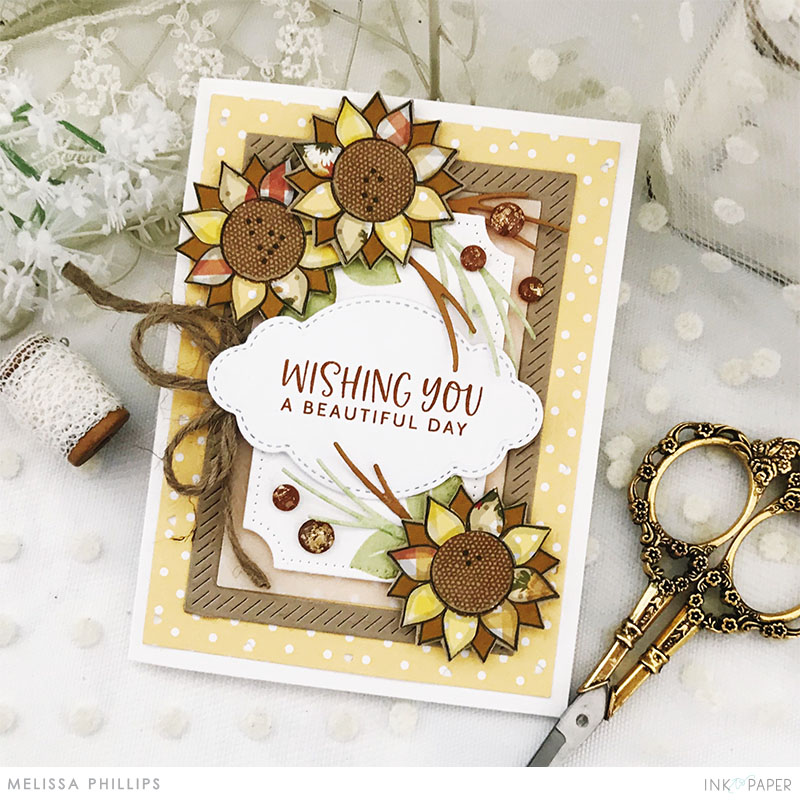
To step up my card I stamped my sentiment on die cut It’s A Sign: Hanging Frames Stitched. I added it to the center of my card with dimensional adhesive. I then added adhesive crystals and a bow tied in twine.

STAMPS: Simply Sweet: Blessed, Dandelion Wishes Sentiments
INK: Honey Nut, Olive Twist, Spring Moss, Ripe Avocado
PAPER: Kraft, Stamper’s Select White, Sheer Basics Vellum, Bitty Big Harvest Gold
DIES: Simply Sweet: Blessed, Love to Layer: Notched, Love to Layer: Aztec, Dear Friend, Border Bling: Skinny Diagonals Frame, It’s A Sign: Hanging Frames Stitched Layers
OTHER: Copic Marker, sequins or crystal gems, pattered paper scraps, twine

PRIZE
One winner will be chosen at random to receive a $25 gift certificate.
RULES
To enter, participants are required to create a Wishing You project using Ink to Paper/Papertrey Ink products and share it via the link below. We can’t wait to see what you make!
Only one entry per person and the deadline is August 14th at 6am. This post will be updated with the randomly selected winner.
CHALLENGE
EDITED TO ADD THE RANDOMLY SELECTED WINNER
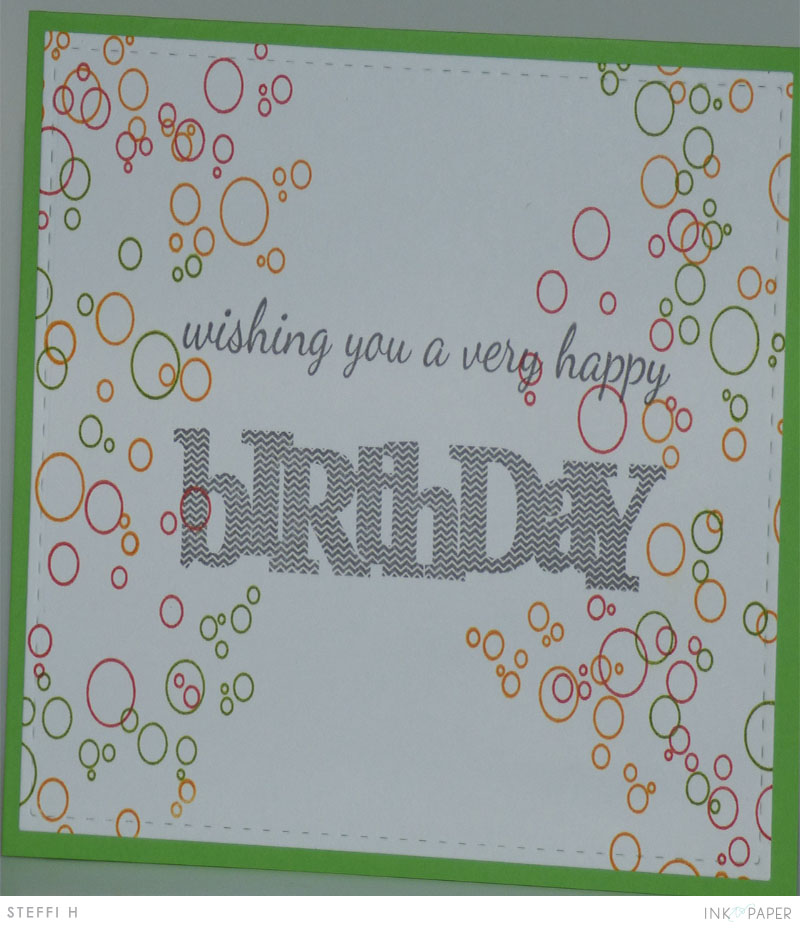
Congratulations, Steffi H! Please send an email to customer service and provide them with your full name and the email address you would like your gift certificate sent to. Thanks so much to everyone for playing along!
Leave a Reply