


Hello, friends! This is Yana Smakula and I am excited to bring you my monthly video tutorial for Papertrey Ink from the “In The Studio with Yana” video series. I am sharing video tutorials on the 24th of each month, you can catch previous episodes here.
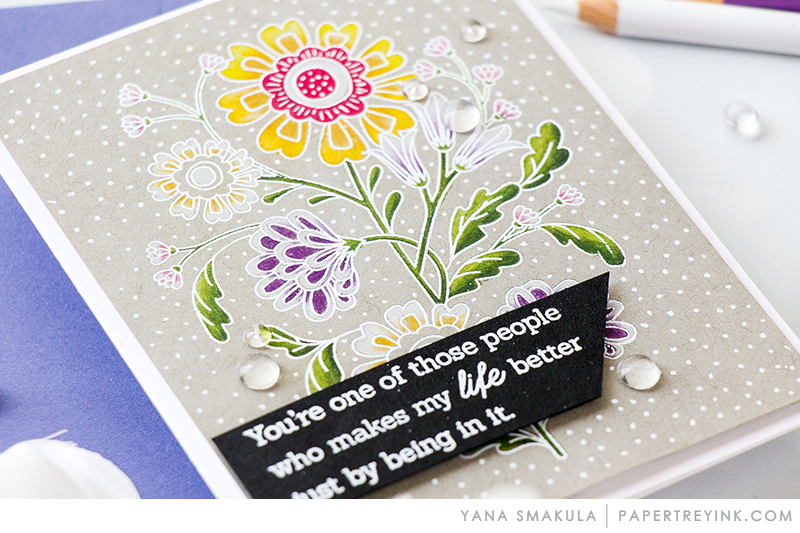
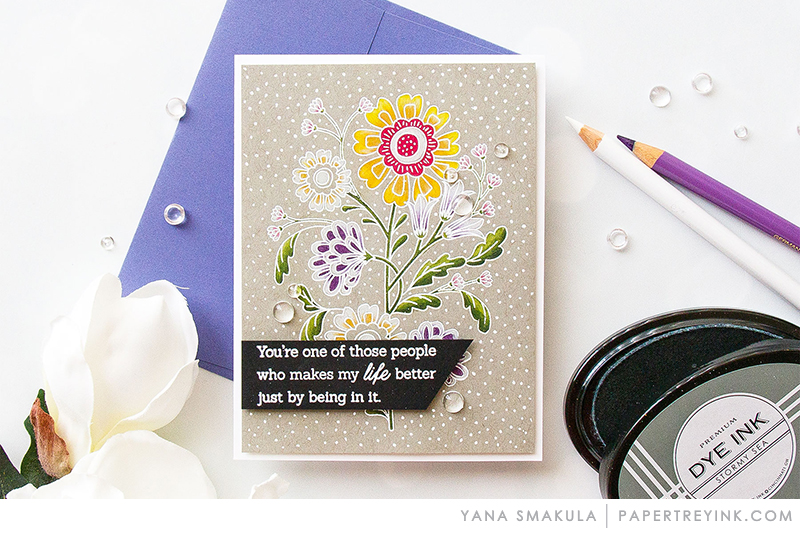 I decided to use beautiful Better Together stamp set for my project – I’ve had my eye on this set for a long time as I thought it would be a great one to use for coloring with pencils. I started by stamping image in a light color of ink onto a gray cardstock panel, I used specialty paper that works really well for pencil coloring and did my stamping in Stormy Sea ink.
I used Polychromos pencils from Faber-Castell for coloring as these pencils happen to be my favorite. I used an array of colored pencils along with a white pencil. The white pencil was used for several things – to map out the lightest areas of the image and also, in some cases, to do blending.
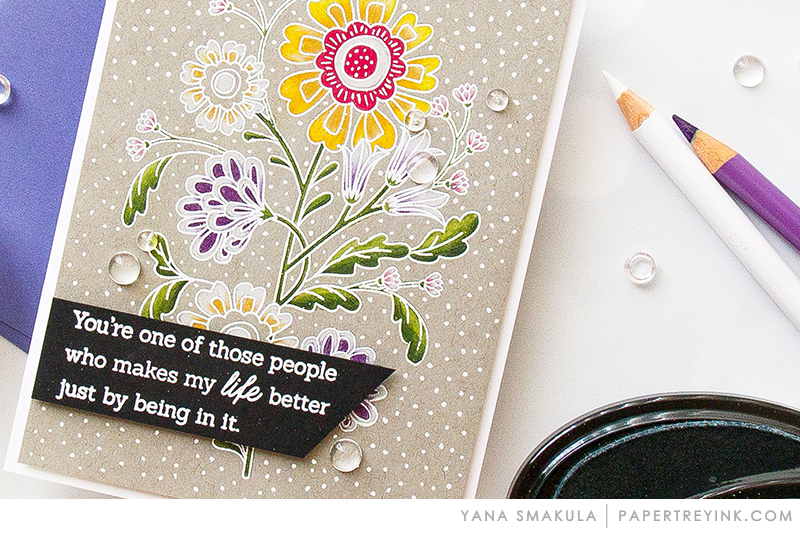 Coloring doesn’t happen in one single layer, if you want your image to have detail and look dimensional you need to do coloring in stages. I like to compare pencil coloring to Copic coloring, although it is very different, in many ways it’s also very similar. You start with a light, go a medium and add dark. Next return to the medium and light colors to blend.
I very much like to color with colored pencils on dark papers, I don’t like using them on white paper and this is why I decided to do my stamping on Strathmore Toned Gray paper for this project.
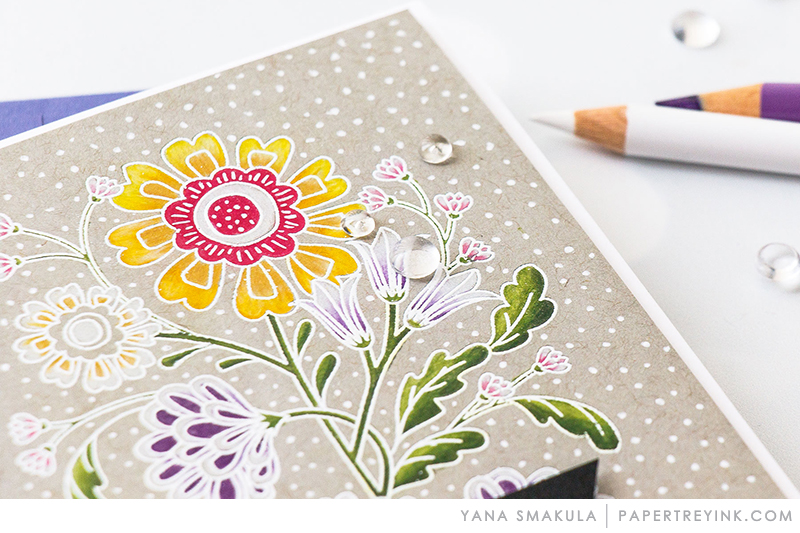
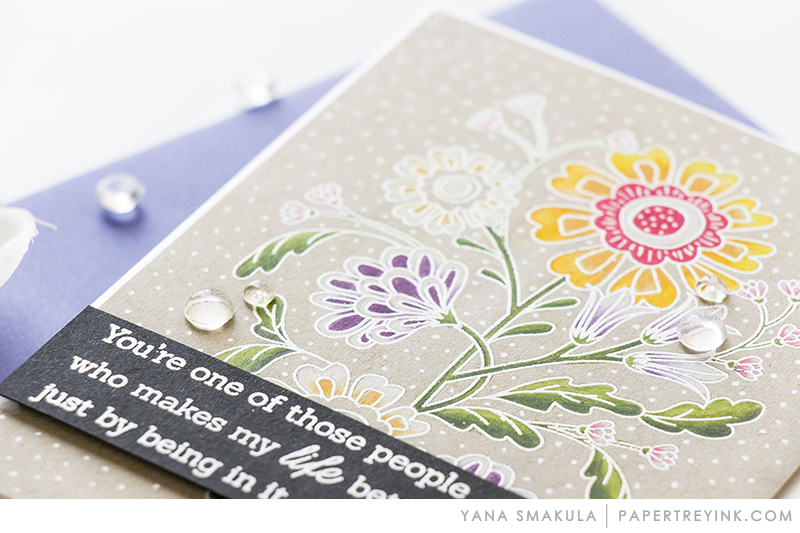 Once I finished coloring my image I put it back into mini MISTI – I kept my stamp there and I didn’t move it after I had stamped the image the first time. I treated my paper with an anti static powder tool and stamped same image again, but using clear embossing ink. Next, I added white embossing powder and heat set it with the help of my heat tool.
I white heat embossed a beautiful sentiment onto black cardstock and this sentiment reads: You are One Of Those People Who Make My Life Better by Just Being in it. And this is actually also a good sentiment to put on the inside of the card.
 I trimmed my panel to 4 x 5 1/4″ and foam mounted onto an A2 white card base and I also foam mounted the sentiment piece on top.
To dress this card up I added several clear droplets in different sizes and I adhered them using glue. Finally, I felt like I wanted to add some additional detail to the background so I used a white gel pen and added small white details onto the gray background where I didn’t have the coloring or the sentiment.
 Have fun stamping!
Supplies:
- STAMPS: Better Together
- INK: Stormy Sea
- PAPER: Neenah Solar White 110 Lb cardstock, Black Cardstock, Strathmore Toned Gray paper 400 Series
- OTHER: Polychromos Pencils by Faber Castell, White Fun Foam, Scor-tape, Pretty Pink Posh Clear Droplets (Small & Medium), Tonic Deluxe Adhesive, Mini Misti, Scrapbook Adhesives Black Foam Tape, Sakura White Gelly Roll Pen, Hero Arts White Embossing Powder, Heat Tool, Anti Static Powder Tool
Leave a Reply