


Here we are, already day four of the countdown! The days are certainly going fast!
Today I get to present my two favorite sets from this month (well…favorite transportation themed sets anyway *wink*).

Fly Away is a new delectable morsel designed by our very own Becky Oehlers. It includes two different airplane images (one for Copic lovers and one for non-colorers) along with a special little banner that can be pulled behind the plane with interchangeable sentiments. Just adorable!
The details.
- Fly Away will be available for purchase on April 15th.
- It will retail for $5.
- Fly Away contains a total of 8 stamps (2 airplanes, 1 banner, 4 sentiments and a small star accent image)
The second set is a little something I designed. Enjoy the Ride contains a versatile car image that can be interpreted as either the front-end or back-end of a favorite classic car. The license plate area is open so you can add any of 15 sentiments that are designed to coordinate with that spot. With the variety of sentiments available, you will be able to use this image for almost any occasion! And don't miss the coordinating die to make cutting out this car a breeze!
The details.
- Enjoy the Ride will be available for purchase on April 15th.
- It will retail for $15.
- Enjoy the Ride contains a total of 23 stamps (1 outline car image, 1 solid overlay for car, 6 large sentiments & 15 small license plate sentiments)
- There is a coordinating die for the car, which will be sold for $5
These two sets can be easily adaptable to cards for both boys and men. Once you start playing around with all the possibilities, you will find yourself using them again and again!
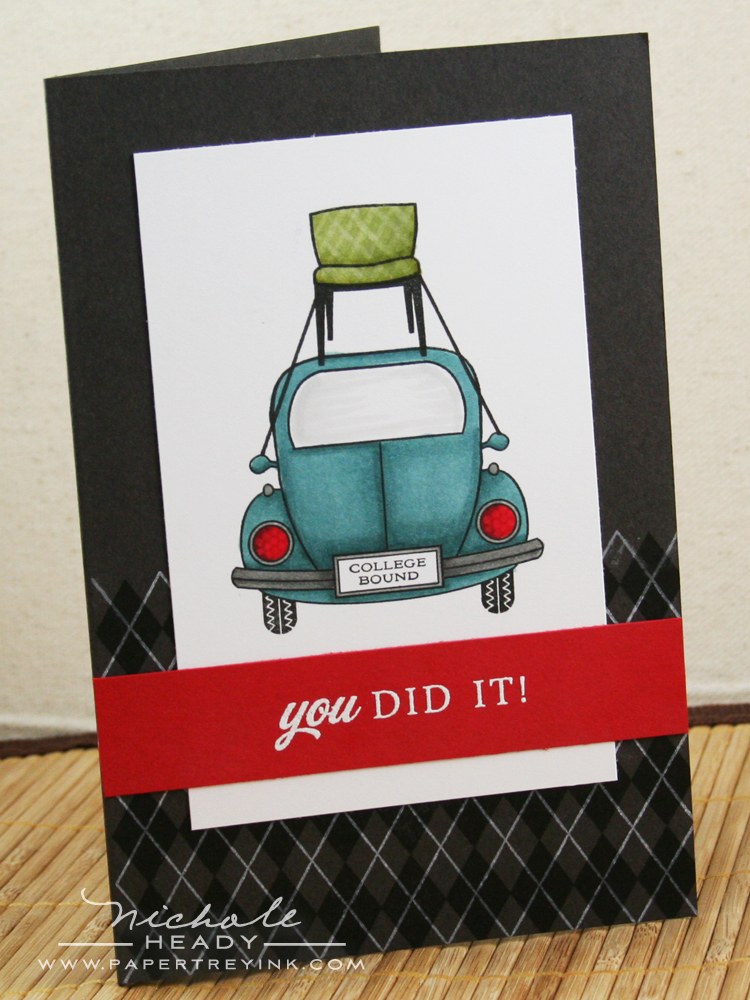
For my first card I thought it would be fun to pair up Lisa Johnson' new Chair-ished set with the car from Enjoy the Ride. I used it as College Bound/Graduation card, but it could certainly work as a moving card as well.
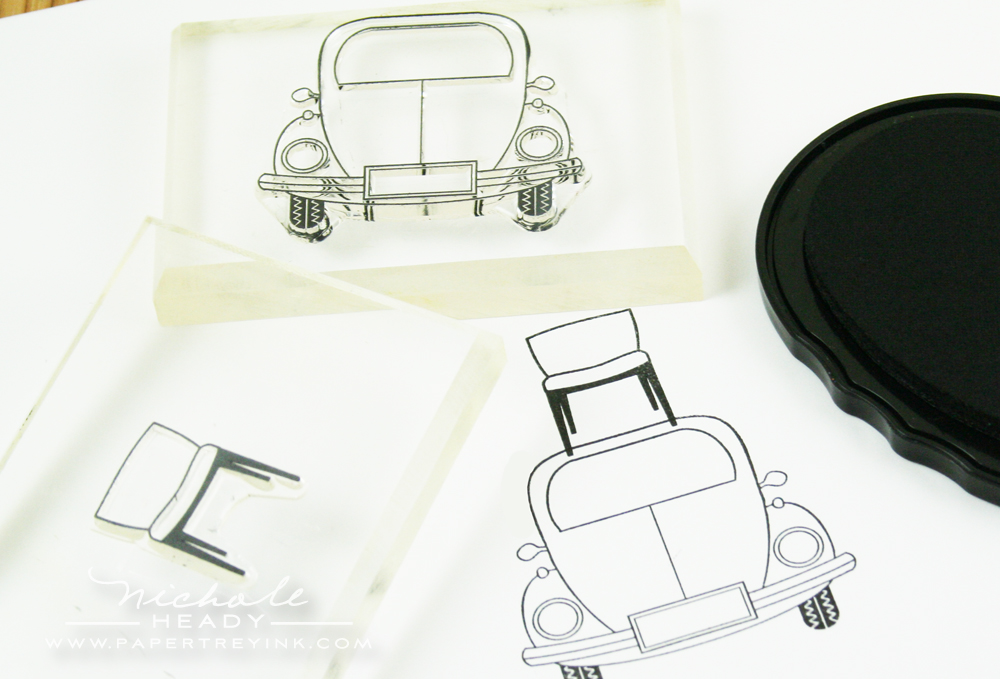
There was no masking at all required. I just stamped the car outline with Noir Palette ink, followed by the chair directly above it, overlapping them just slightly.
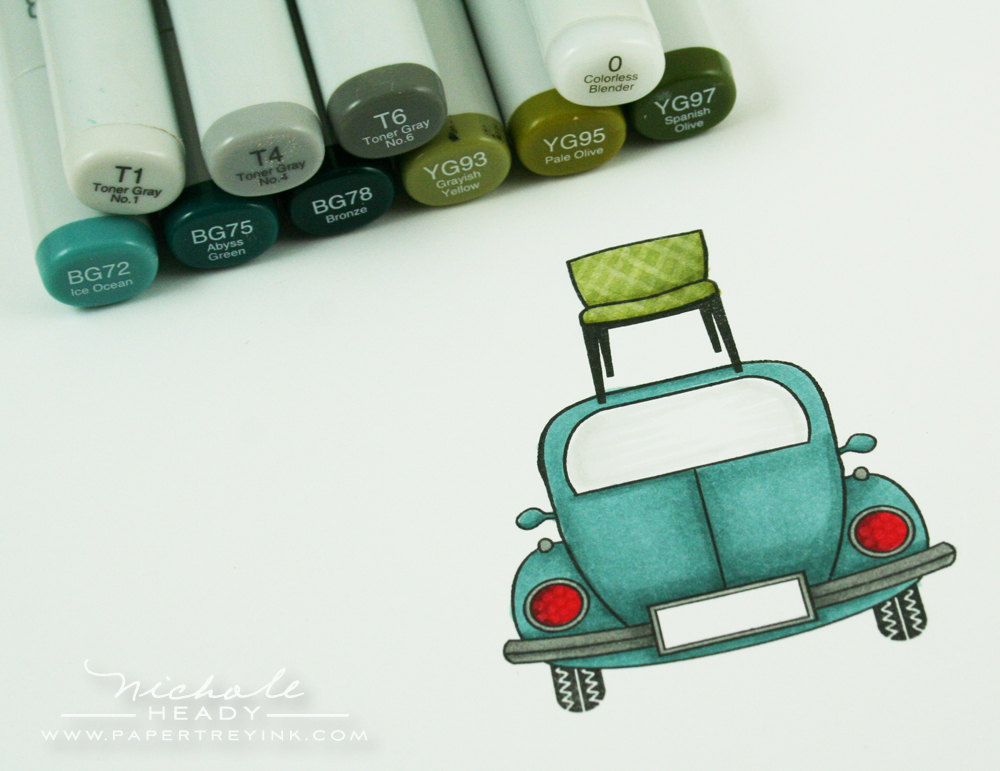
I colored the car using the Ocean Tides Copic Trio, with accents in Pure Poppy & Smokey Shadow trios. The chair was colored with the Ripe Avocado trio. If you look really closely you will see that I added a few details with the colorless blender. There are some small dots on the taillights and I created a plaid pattern on the chair.
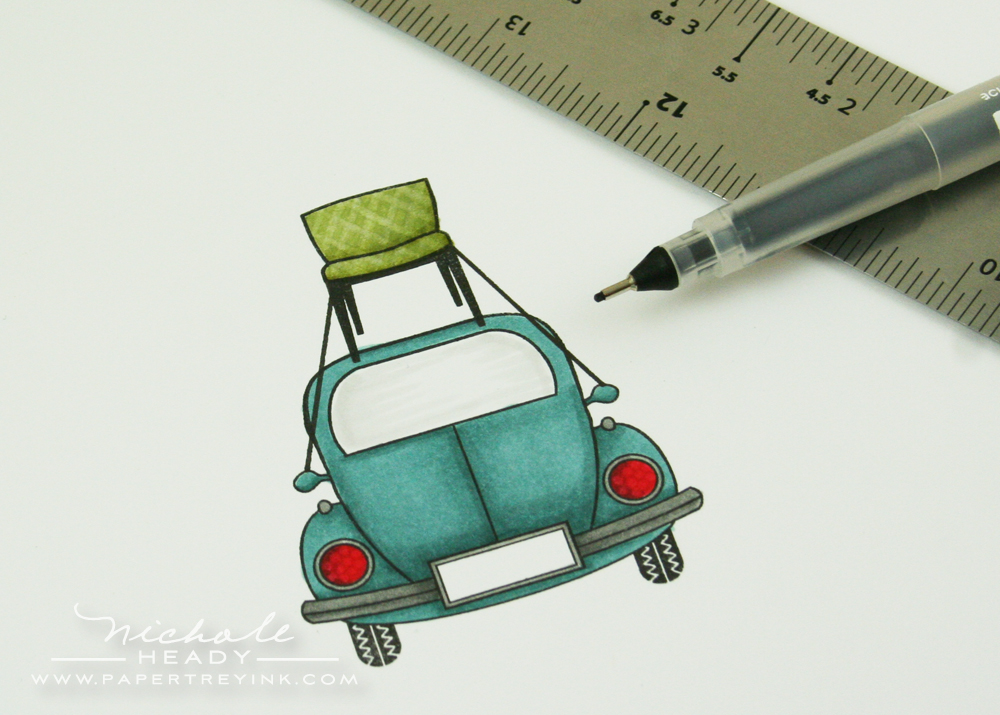
To help make it look as though the chair was strapped to the roof of the car, I drew two simple straight lines using a ruler and black pen. The lines started at the mid-point of the chair and continued to the mirrors on each side of the car.
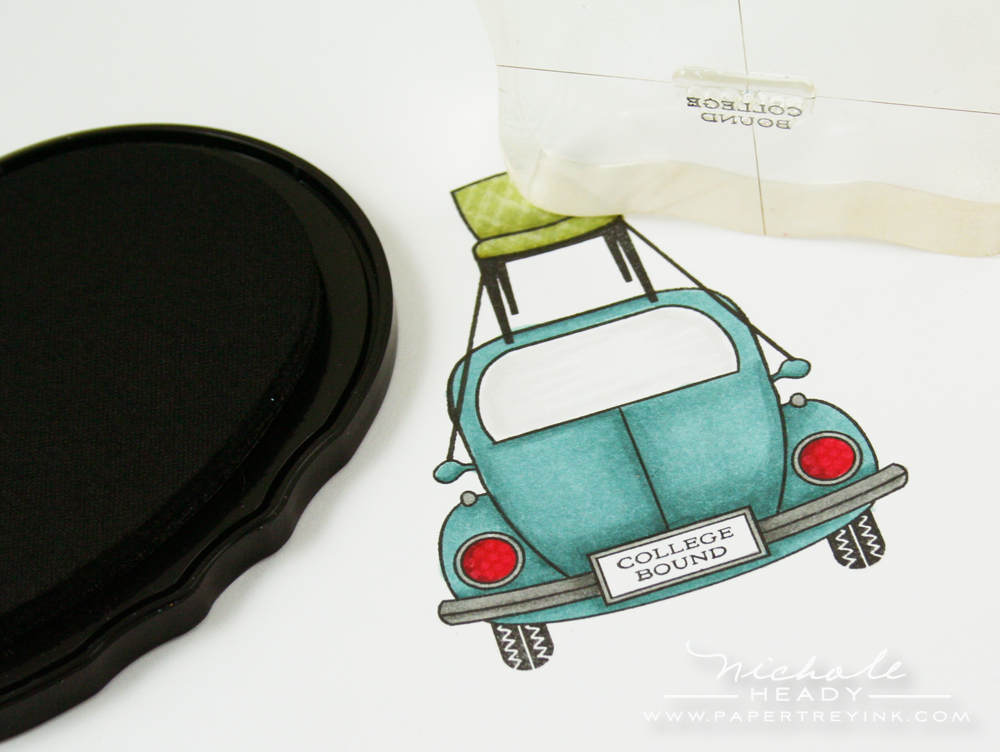
As I described in the Enjoy the Ride overview above, there are 15 sentiments in the set that can be used to fill-in the license plate area. Here I chose "College Bound".
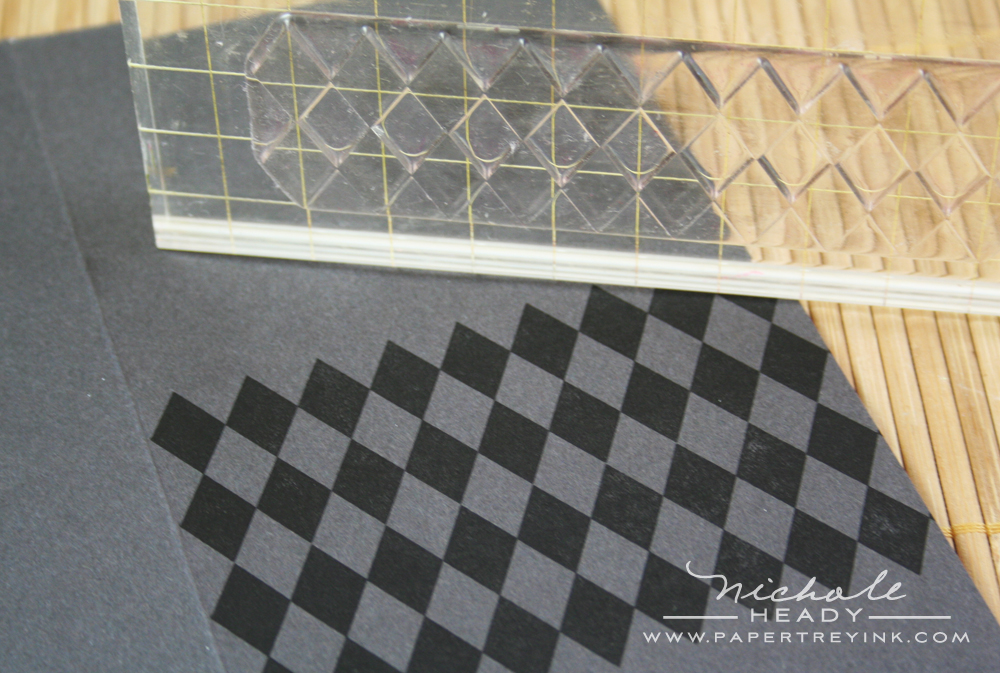
I added pattern to the Smokey Shadow card base using A Little Argyle set. The solid diamonds were stamped in True Black ink in two rows.
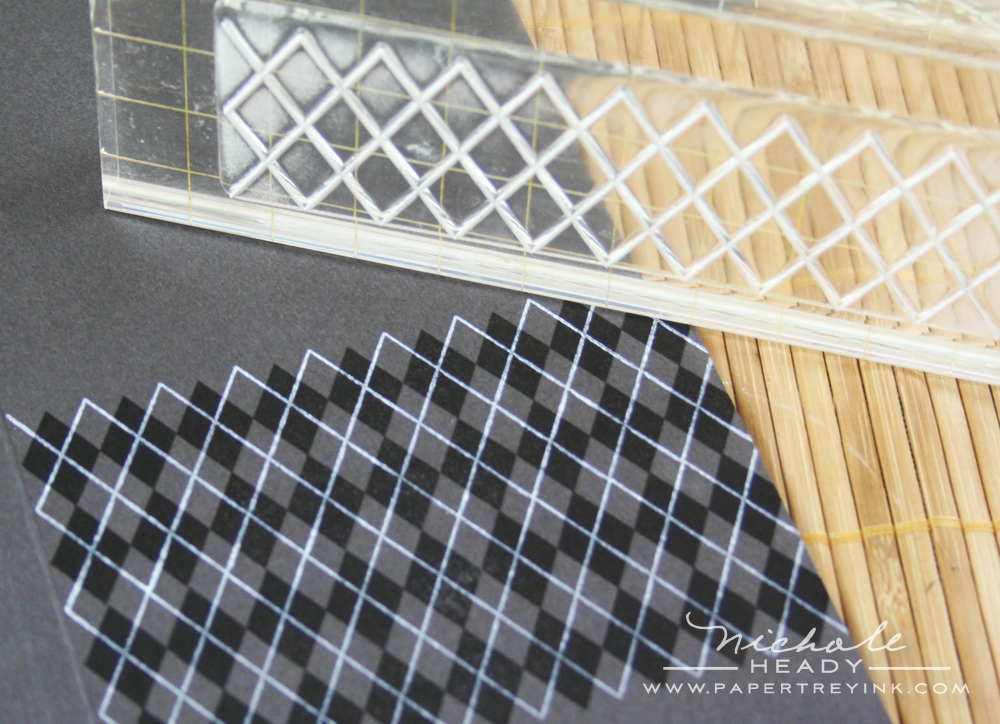
Followed by the the solid line overlay, stamped in Fresh Snow ink. I'm just lovin' how this turned out. Such an easy set to use.
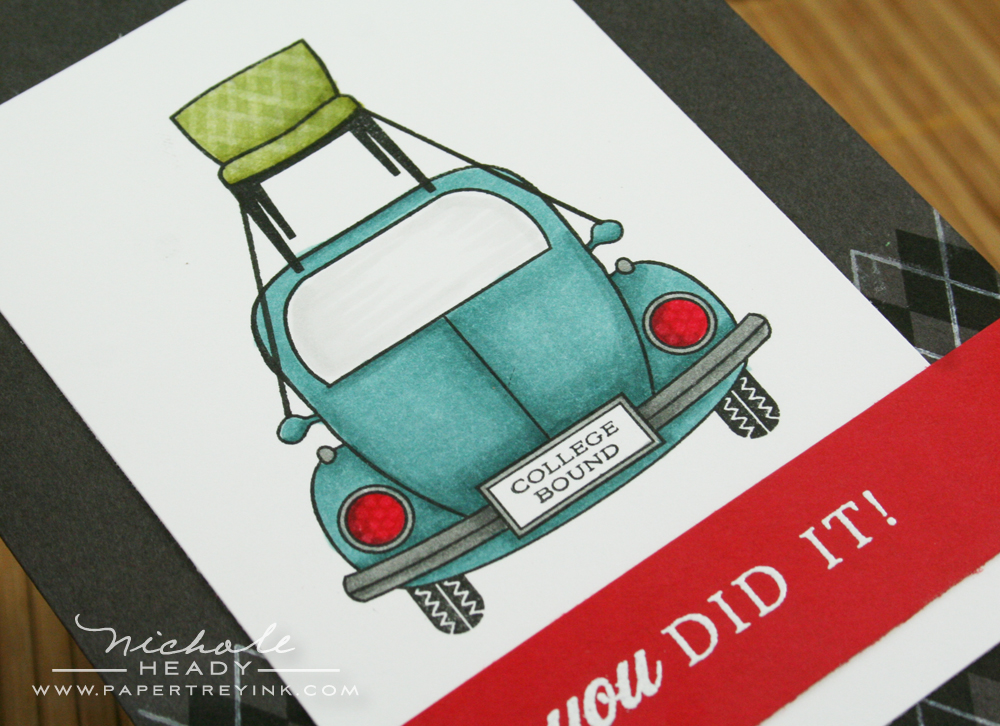
You can see here how the Smokey Shadow card base really allows the car focal point to pop.
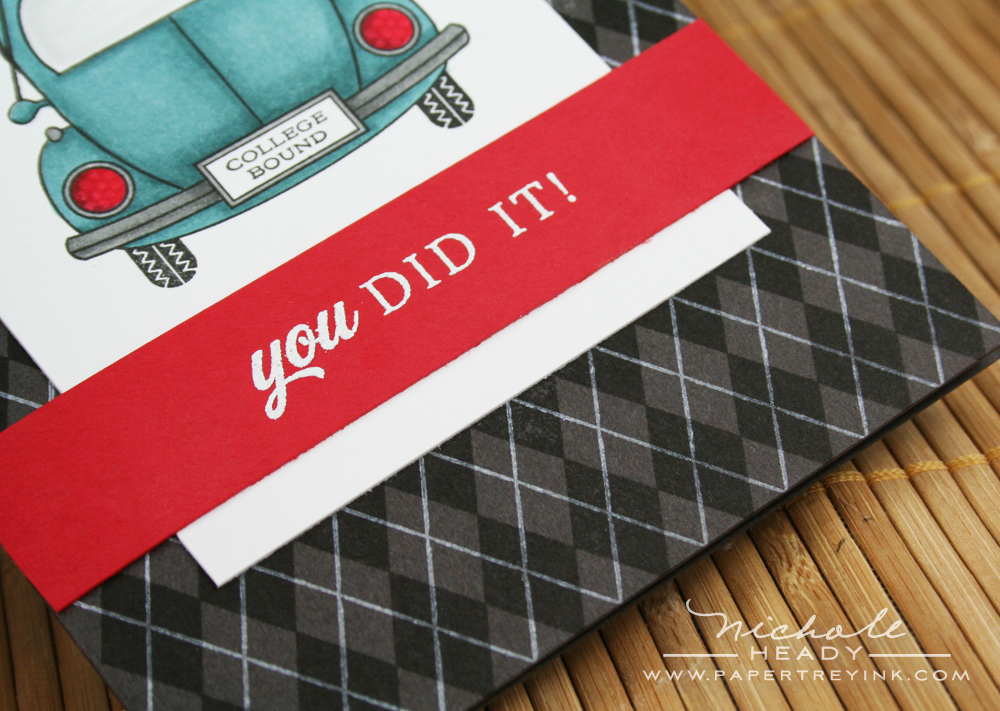
The "You Did It!" sentiment is also from Enjoy the Ride. It was stamped with Versamark ink and embossed with White Filigree Embossing powder on a strip of Pure Poppy cardstock. The red strip helps to add balance to the red taillights of the car.
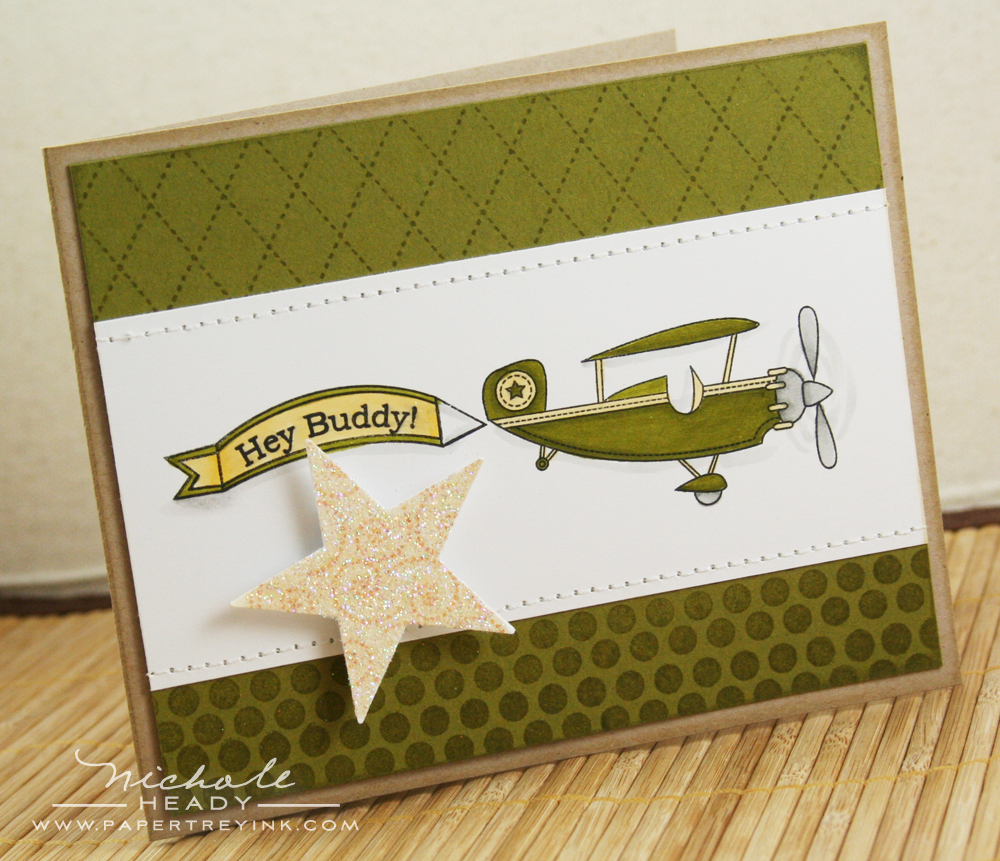
Now, how about a project using Fly Away? It was fun coming up with a pattenr combination to be featured above and below the focal point strip. The top half uses the dashed pattern from A Little Argyle and the bottom half uses Polka Dot BAsics II. Both were stamped in Versamark ink onto the Ripe Avocado cardstock.
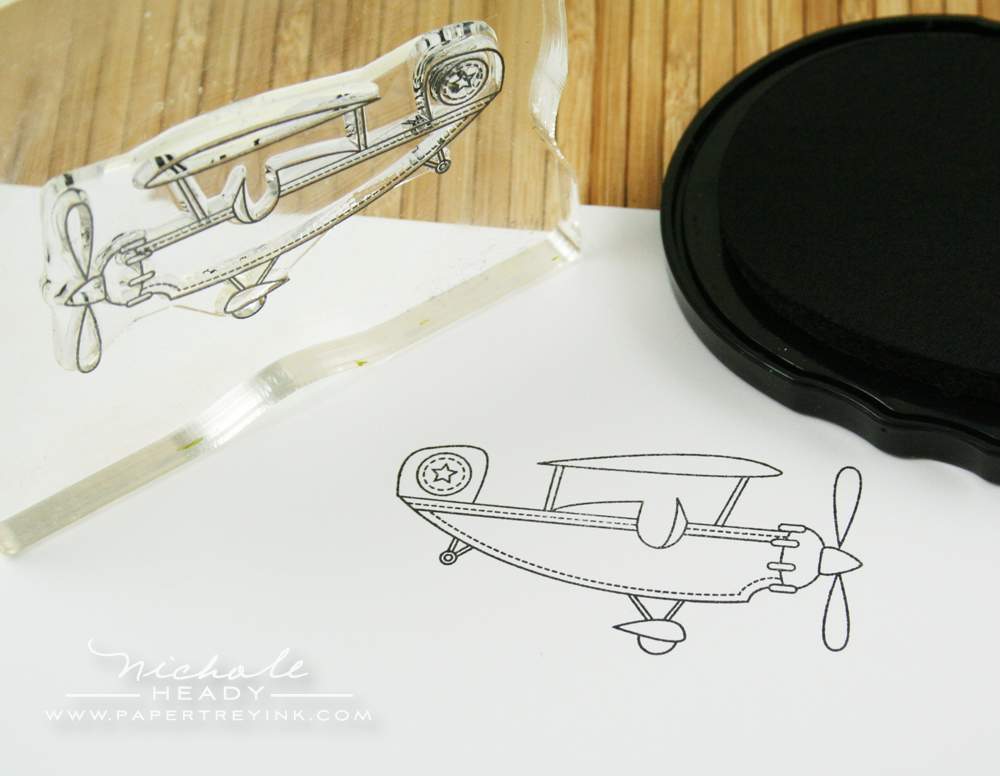
I inked Becky's line-drawn airplane with Noir Palette ink and stamped it onto Stamper's Select White cardstock. She included so much detail on this image and it is just a joy to work with!
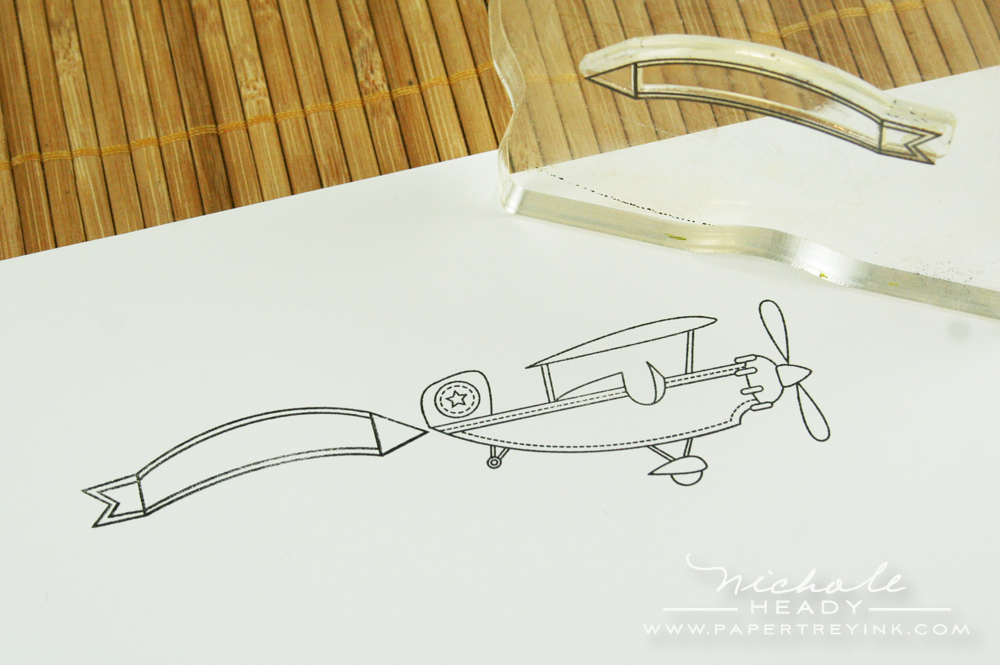
There is a separate banner image and I added it behind the airplane using the same ink.
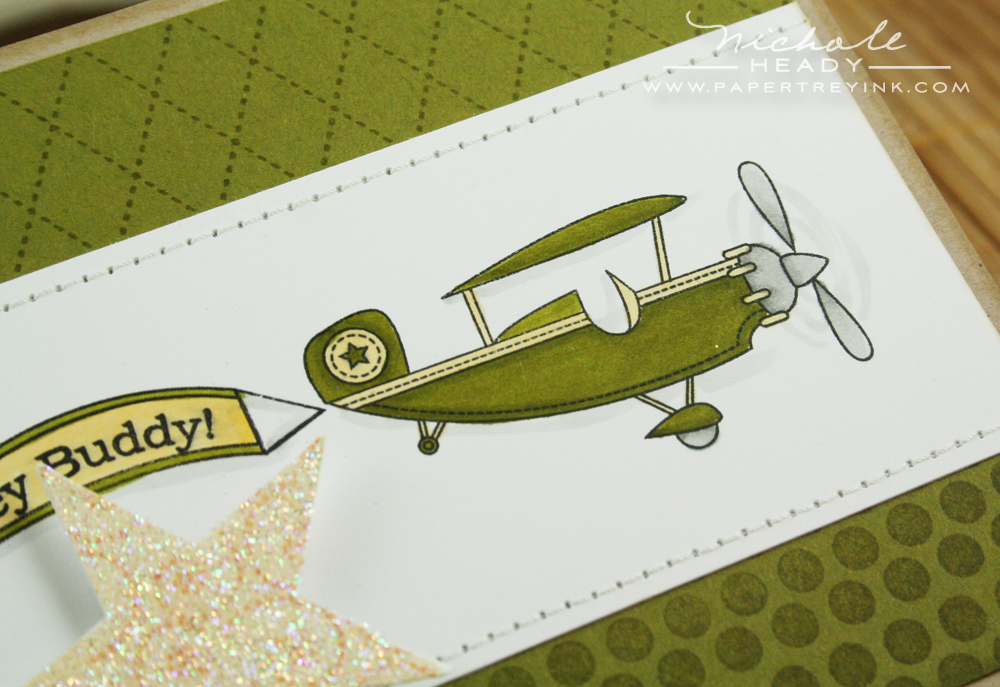
I colored the plane and banner using Ripe Avocado & Lemon Tart Copic Trios. There are a few accents done using the Smokey Shadow trio as well. I added a few swipes of the T1 Copic around the front propeller to make it look as though it were in motion.
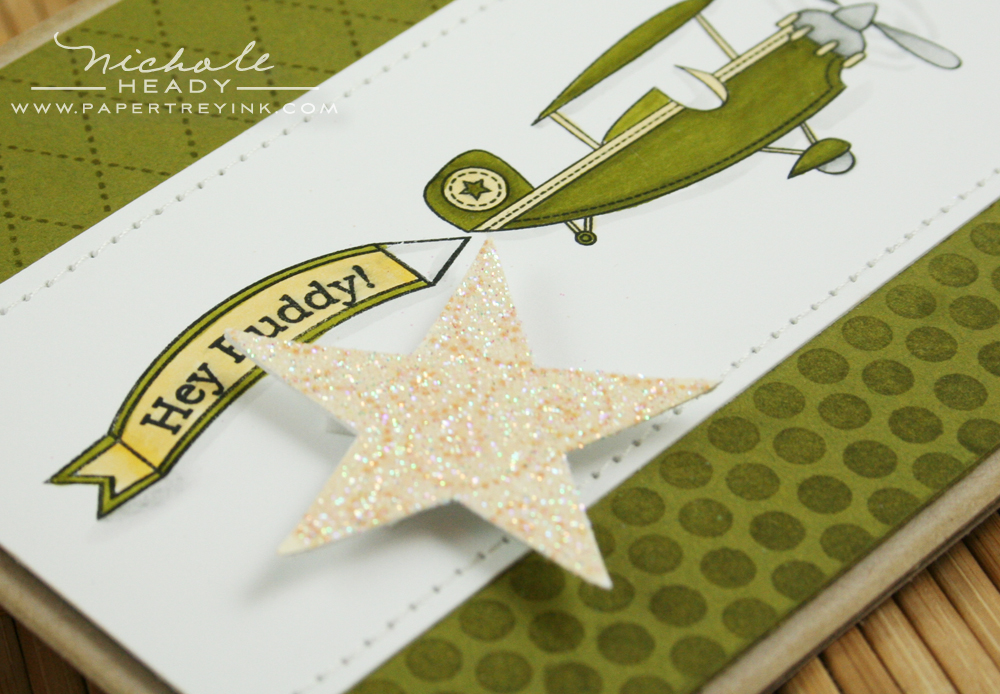
Notice the sentiment in the banner? I was able to add that after coloring. With four sentiments to choose from for the banner, you can really use this set for a variety of occasions & recipients. The sparkly star was punched from the Lemon Tart swirl paper included in the Pretty Pastels paper pad. I punched it out with the large Fiskars star punch we carry in the store. I ran it through my Xyron Sticker maker and added Prisma glitter to it as a finishing touch.
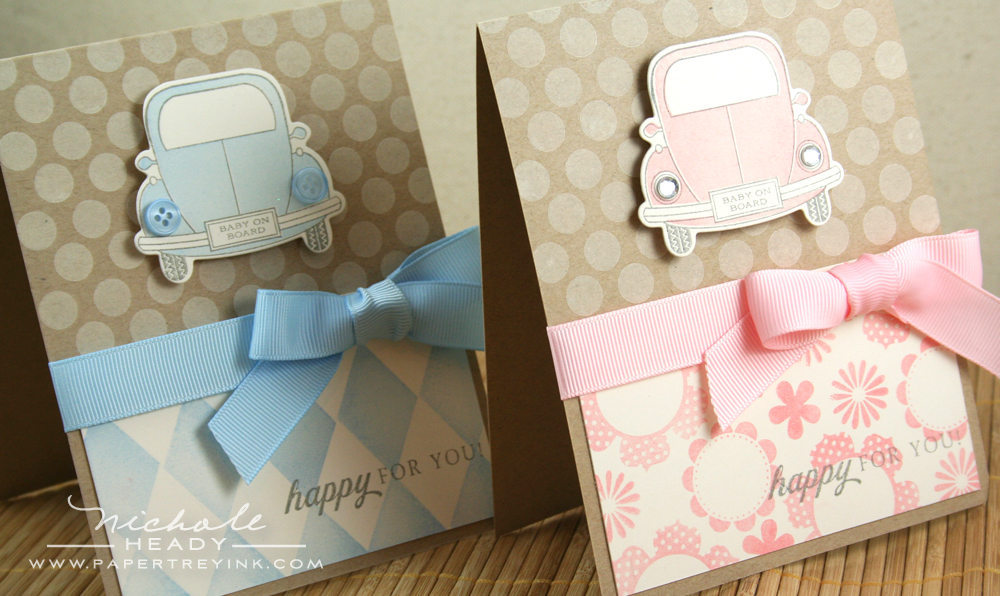
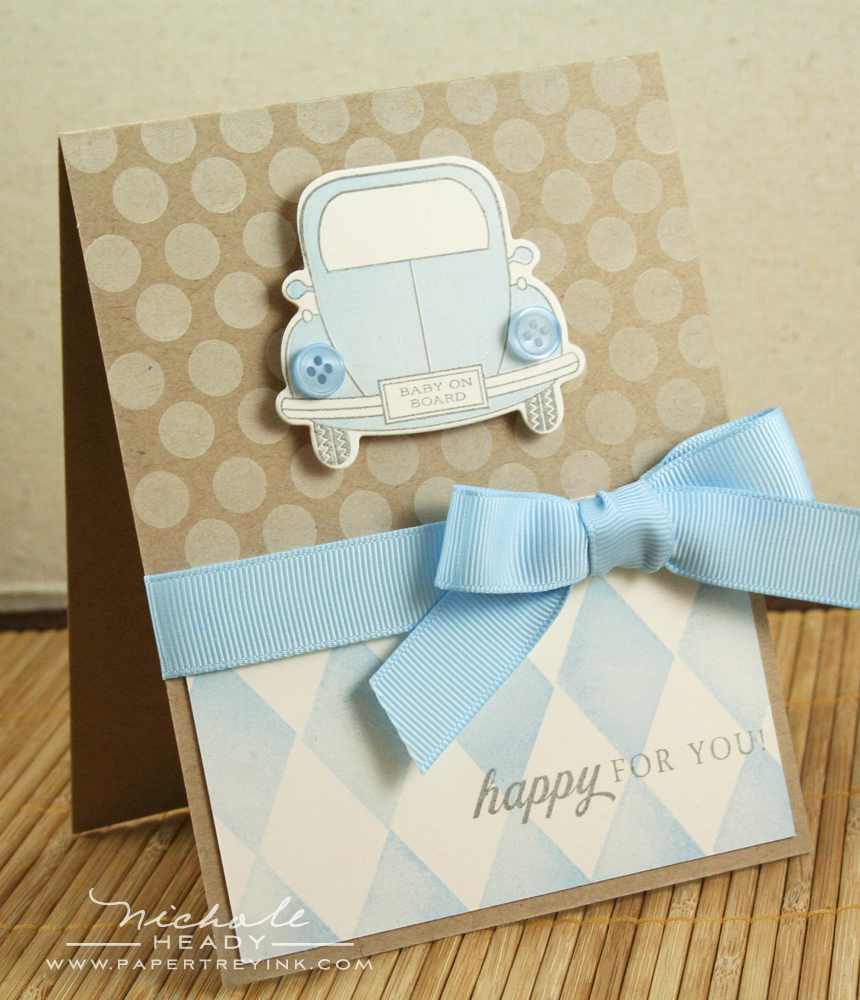
I tried to think about THE most unpredictable use for the Enjoy the Ride set and the first thing that came to mind was babies! I created two similar cards, just swapping out colors and patterns. One for a boy and one for a girl!

The die designed to coordinate with the car image makes quick work of cutting out the focal points. I die cut Vintage Cream cardstock to begin and then stamped the car outline image using Smokey Shadow ink.
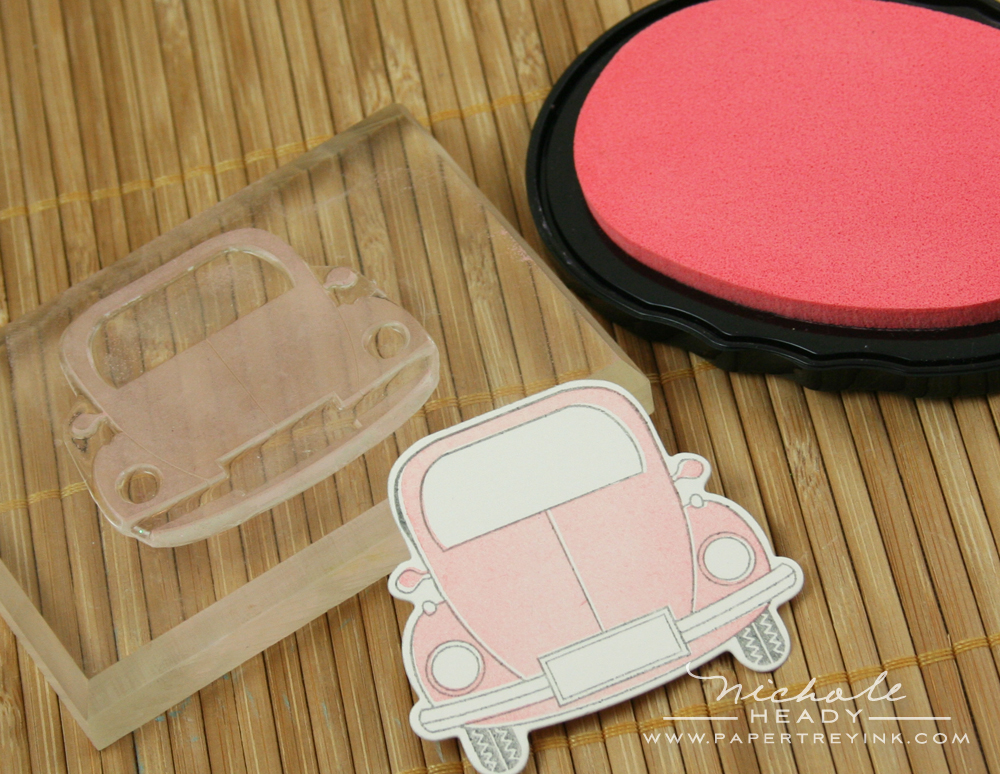
This set includes a solid overlay stamp for those that might not like to color, and when you need a quick & easy application. Here, I've stamped the overlay with Sweet Blush ink. As long as you line up the headlights/taillights when looking down through the overlay image, you will get it perfectly lined up every time!
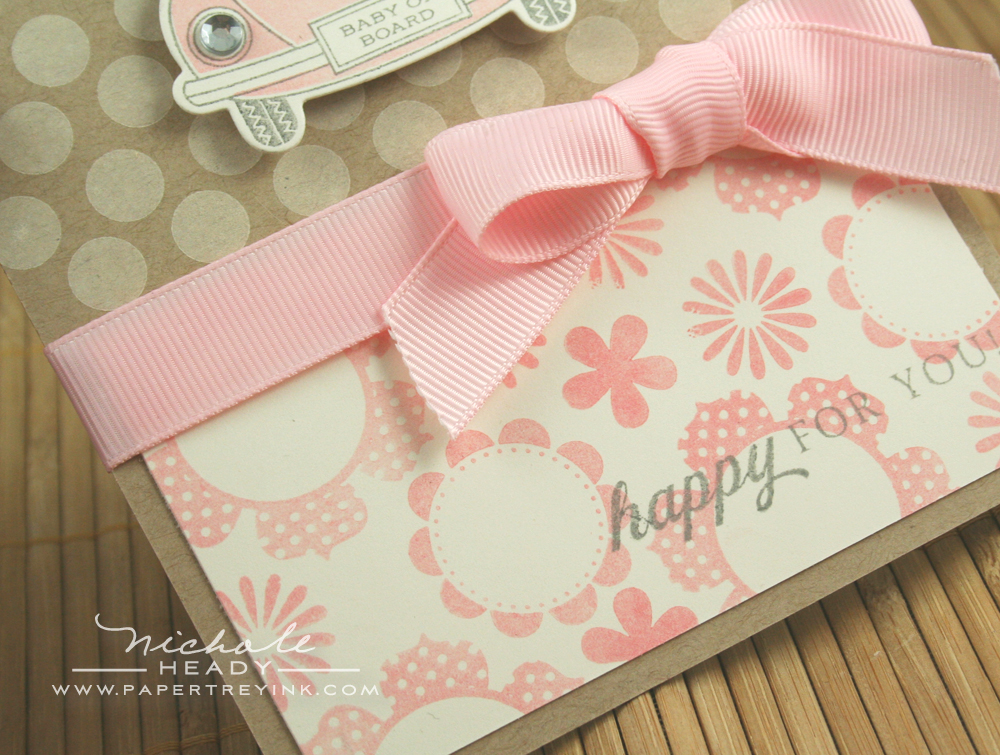
For the bottom patterned portion of the girl card, I build a background using Beautiful Blooms II with Sweet Blush ink. The "Happy For You" sentiment is another one from Enjoy the Ride, stamped here in Smokey Shadow ink.

I think the sentiment, paired with the "Baby on Board" license plate makes this card usable to congratulate someone on either a pregnancy, adoption or a new arrival. One other detail to note, I added two large clear rhinestones over the taillights. A little sparkle is always a nice touch!
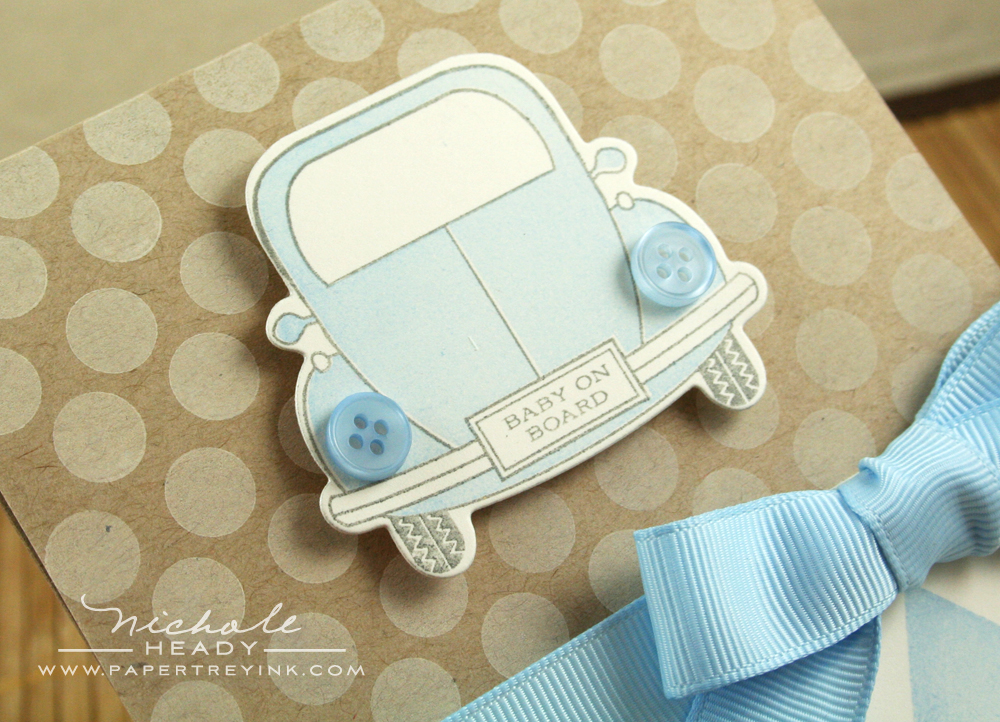
For the boy card, I used Spring Rain for my color accents. You'll notice I added small Spring Rain Vintage Buttons over the taillights here.
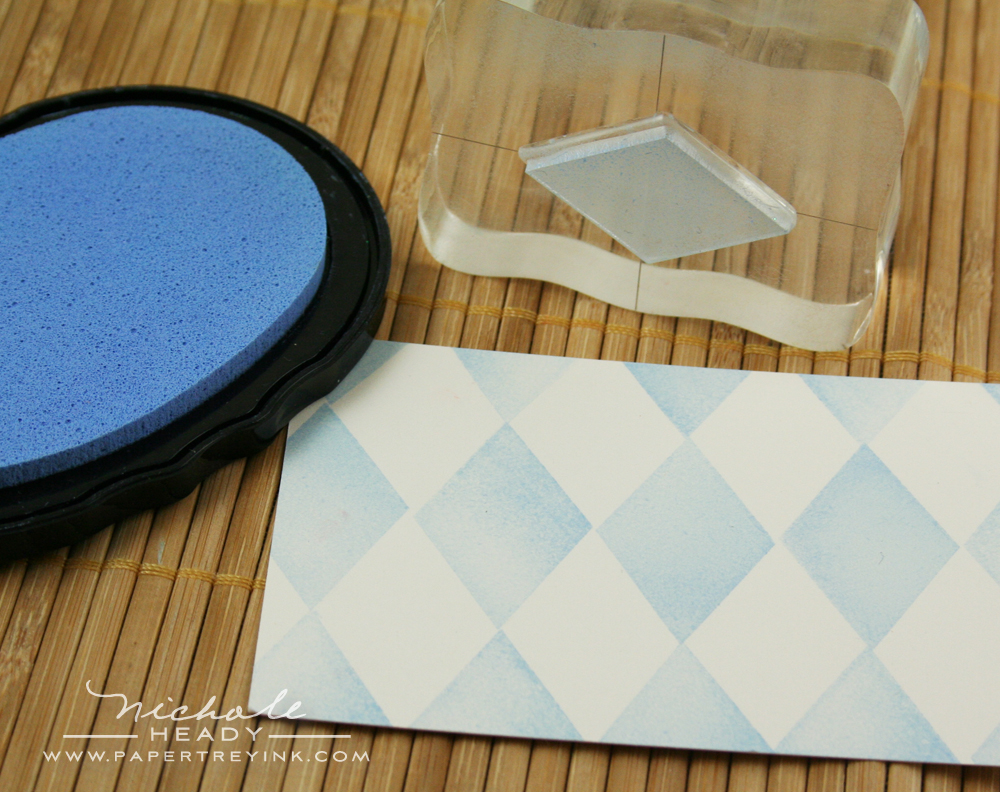
I used the large single diamond from A Little Argyle to build my own pattern with Spring Rain ink. It was extraordinarily easy to line up.
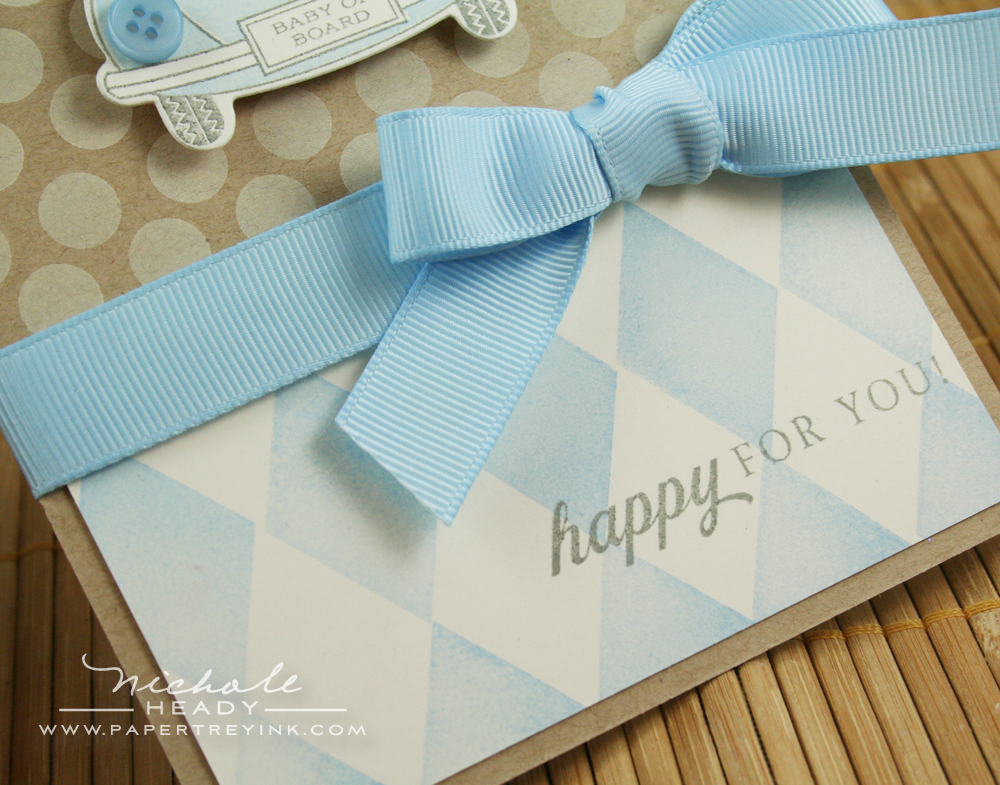
The "Happy for You" was used again here in the same color as the first, Smokey Shadow.
Super sweet & simple, don't you think?
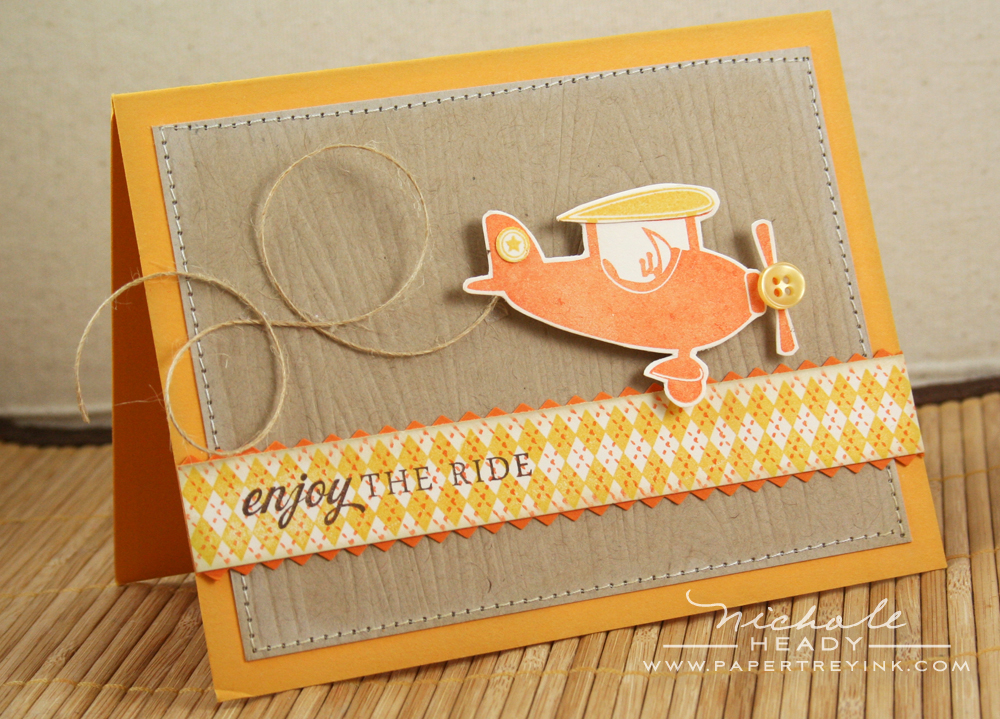
Here's another project using Fly Away. This time opted to go without the banner and create my own little "flight trail" with jute button twine.

The solid airplane is stamped with Orange Zest ink onto Vintage Cream cardstock.
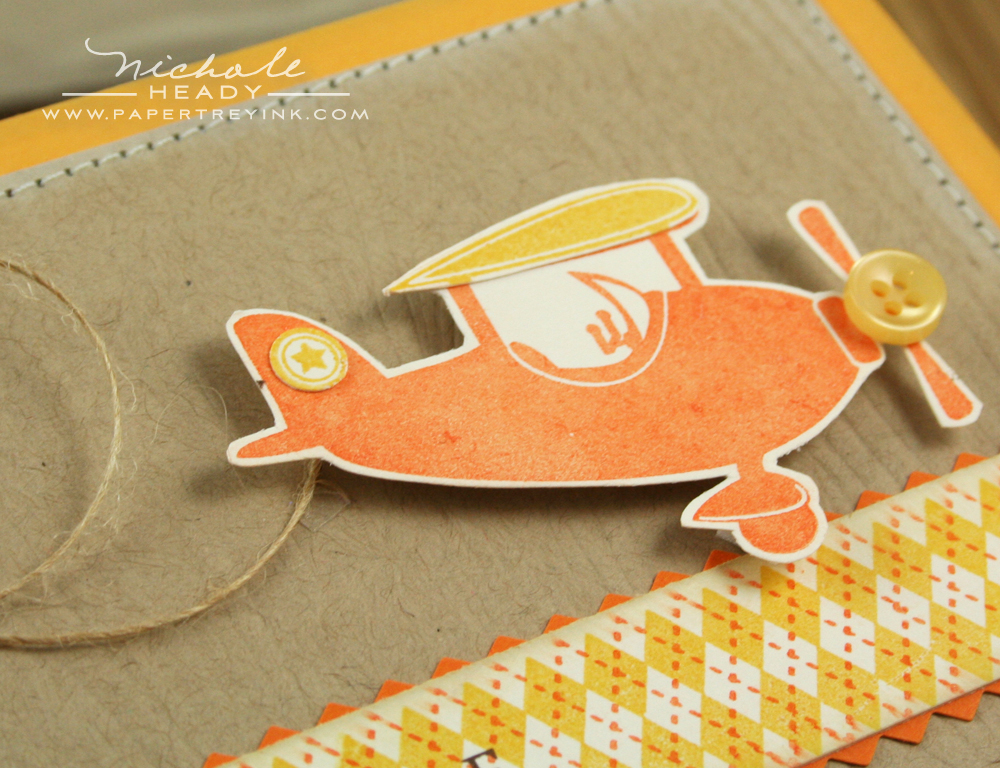
I had stamped the plane a second time using Summer Sunrise ink and cut out the roof portion to paper piece with the orange plane. I also used a 1/4" hole punch to punch out the small star accent near the tail of the plane and add it here to help reinforce my color scheme. A small Summer Sunrise button was adhered at the center of the propeller with a mini glue dot.

I used the new Woodgrain Impression Plate on the Kraft cardstock background and stitched the layer in place with my sewing machine. The Rustic Jute Button Twine was adhered in place at each of it's loopy intersections with small pieces of 1/8" Scor-tape.
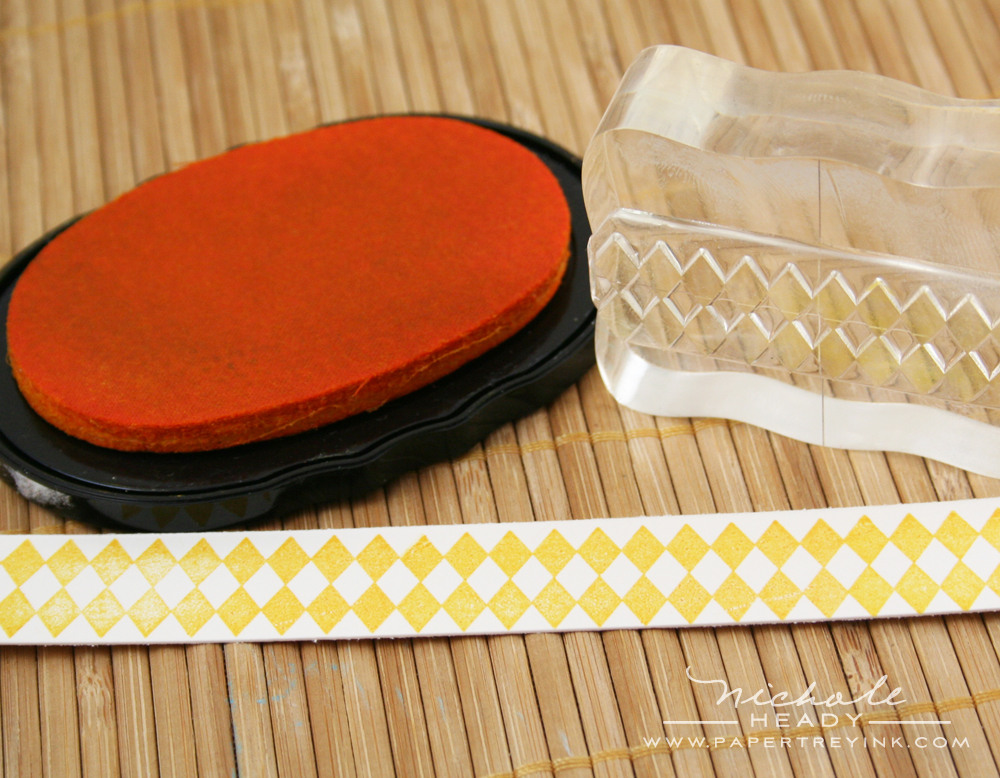
To create the argyle accent strip, I stamped the small solid diamonds from A Little Argyle along it's length using Summer Sunrise ink.
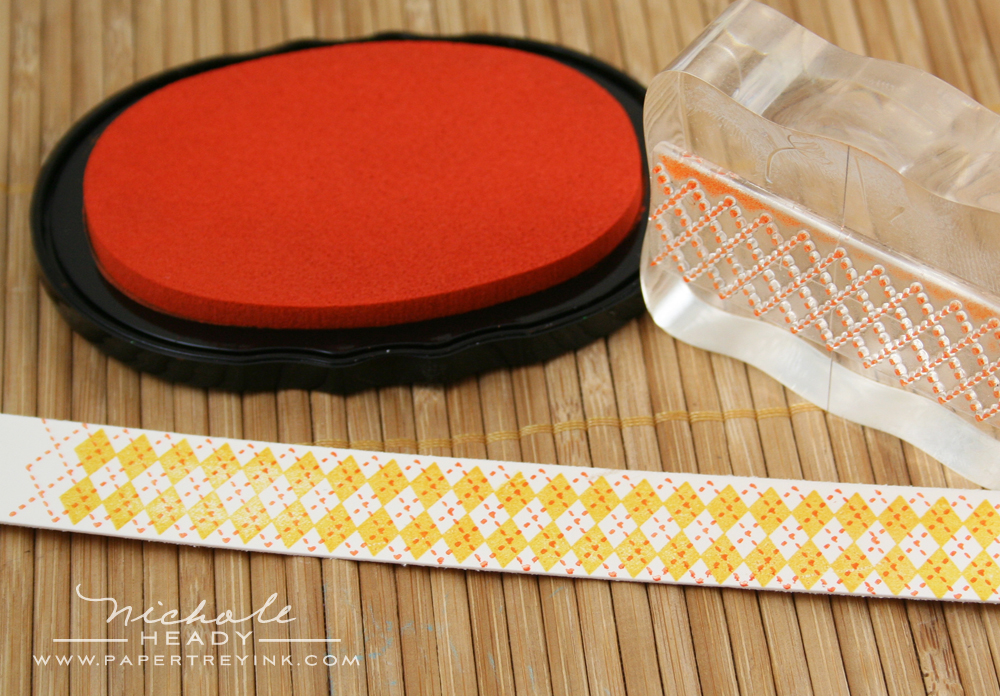
I then followed with the coordinating dashed line image using Orange Zest ink. This created a fun, color coordinated accent for my card that helped to ground everything.

One last card for you today using Enjoy the Rise. I wanted to make a card that was done i a style that would make it appropriate to give to my grandfather for his birthday, and this is what I came up with, proving that these sets can be used for the young AND old!
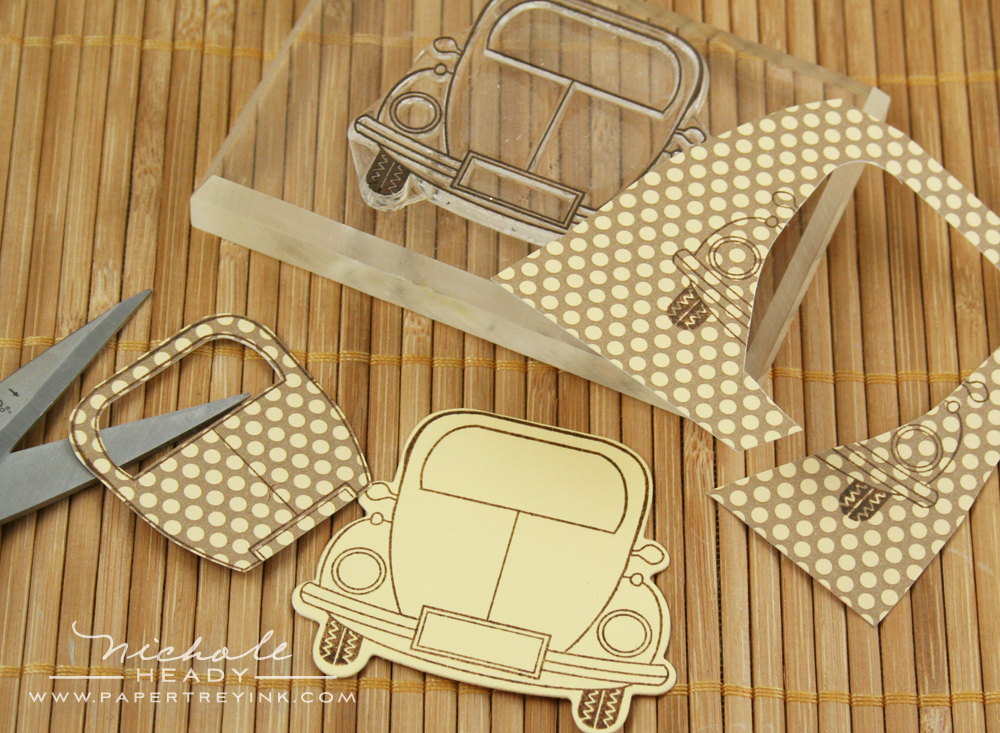
I die cut Lemon Tart cardstock wit the car die. I then stamped the car outline using Dark Chocolate ink. I stamped the car a second time on Dawn's new Dotty Biscotti Lemon Tart patterned paper. I used my sharp paper snips to cut out the center portion of the car.
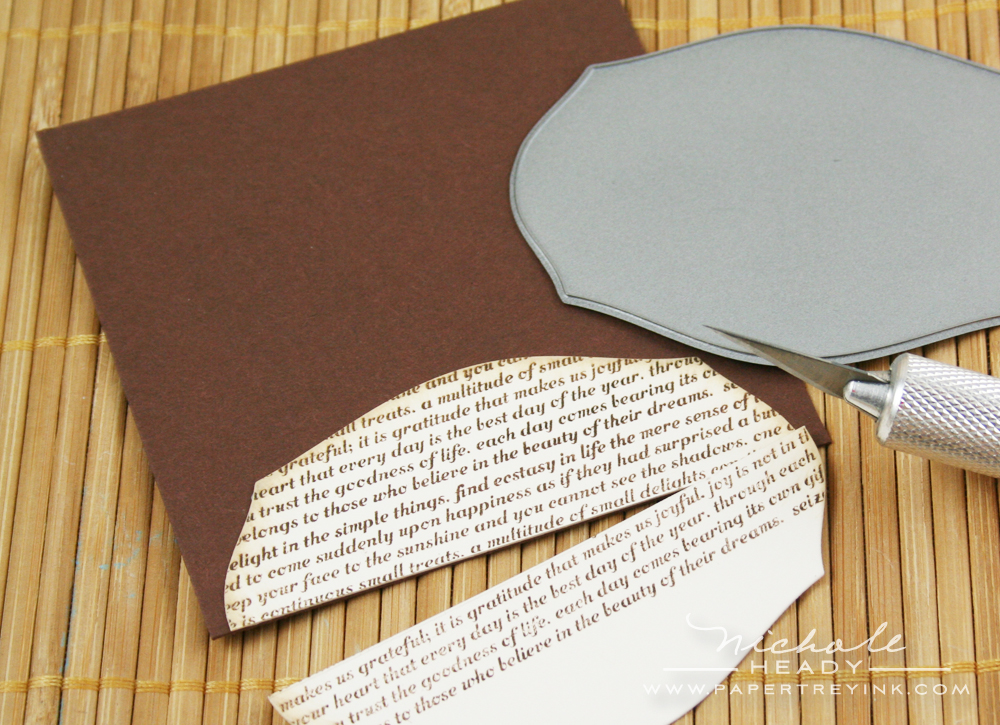
To create a "road" for this little car, I die cut Vintage Cream cardstock with the new Mat Stack die. I then added text using Dark Chocolate ink and Text Style II. I aged the edges with the Chamomile Tea Dye Duo ink.
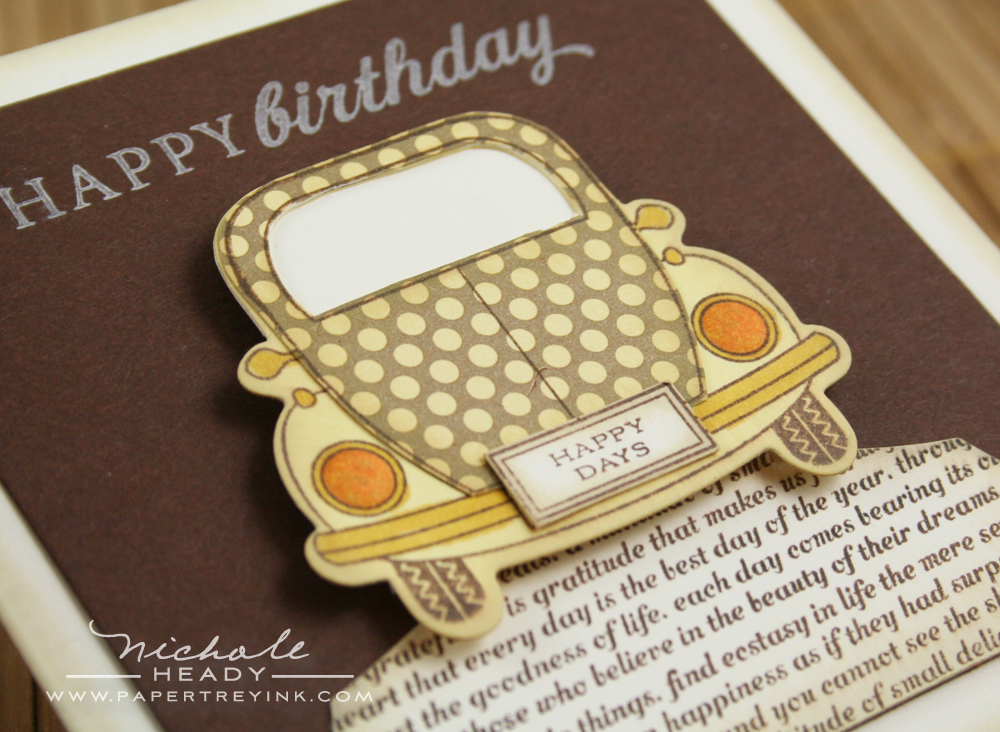
To finish the car, I added a little color to some of it's accents using Copic markers (Y32 & YR12). I also inked the edges of each piece with the Tea Dye Duo. I thought "Happy Days" was the perfect sentiment for the license plate, reminding my grandfather of all the good times he's seen in the past and the many to come.
Aren't these just THE most fun sets EVER! We would love to hear your first impressions of these sets! Leave a comment today letting us know what you think and you could have a chance to win a fantastic prize package to help you create many of the projects from today's post!
- Fly Away stamp set
- Enjoy the Ride stamp set
- Enjoy the Ride die
- Picnic Plaid Impression Plate
This AMAZING package has over a $40 value! This contest ends at 7am EST, Wednesday, April 14th, so be sure to leave your comment before then! One winner will be randomly selected. Only one entry per person please. The winner will be announced by noon the same day on our April Release Winners page.

Becky Oehlers has even more to share with you today using Fly Away. You can also check out her posts from earlier this week HERE, HERE, and HERE.
Dawn McVey has another post showcasing Color Couture & Woodgrain.
Lisa Johnson is sharing even more with her new sets.
And don't miss the second post below!

For measurements & complete supply lists for all of today's projects, please CLICK HERE.
Leave a Reply