


Today I am excited to announce a brand new sentiment set that we are introducing this month entitled Big & Bold Wishes.
A little about the origins of this set…it actually started with one of my few guilty pleasures. Something I have admitted to almost no one…

I'm a total L.A.Ink fan. I admittedly have my DVR programmed to record all the new episodes. Yeah, I'm that hooked. For those of you who may not be familiar with it, L.A. Ink is a reality show on TLC dedicated to Kat Von D, a female tattoo artist, and the adventures she has while running her own shop in Los Angeles. I think I enjoy it so much because Kat is the exact opposite of my persona & style, but at the same time I can identify with her artistic abilities and struggles to run a business.
So back to the stamp set… while watching L.A. Ink one weekend it occurred to me what a FUN & unique sentiment set could be created using similar fonts to those found in classic tattoos. What is really great about the way the set turned out is that the script used is classic enough that it can be elegant, trendy or rustic, just by what other design elements are paired with it.
The details.
- Big & Bold Wishes will be available for purchase on November 15th.
- It will retail for $24.
- Big & Bold Wishes contains 24 images (5 large script words, 18 small complimentary sentiments and 1 flourish).
So let's get onto some projects!
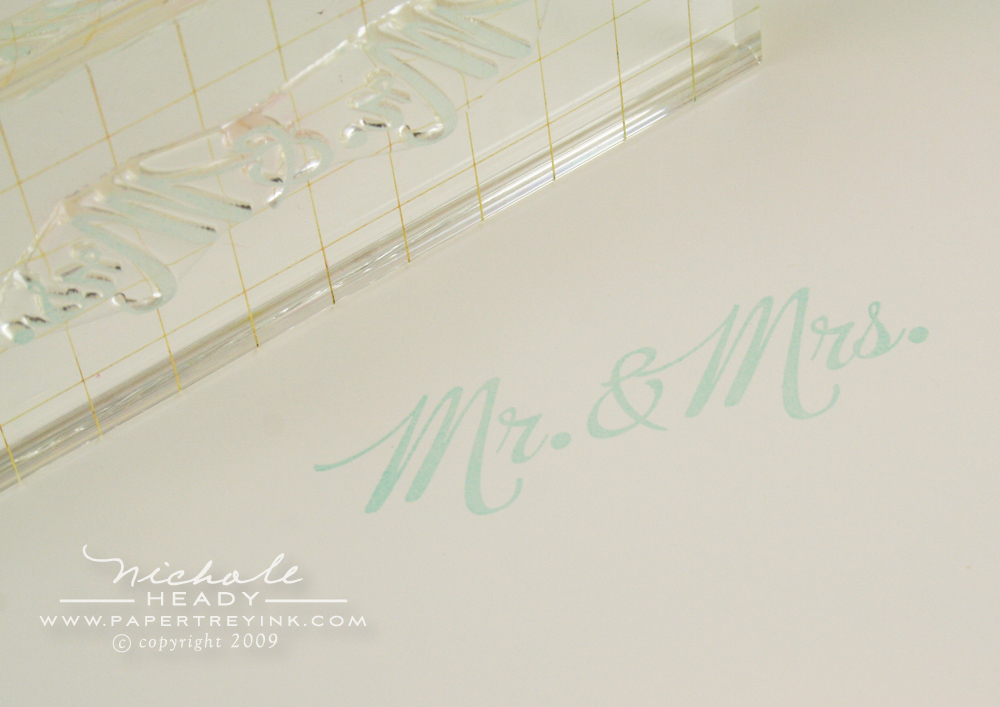
First, let me start of by saying how much FUN this set is to work with! I think I could probably play with it ALL day, and never tire of all the possibilities! I thought for my first project, I would show you how the various pieces can be used together, if desired. I started by stamping the large script sentiment with Aqua Mist ink onto Vintage Cream cardstock.
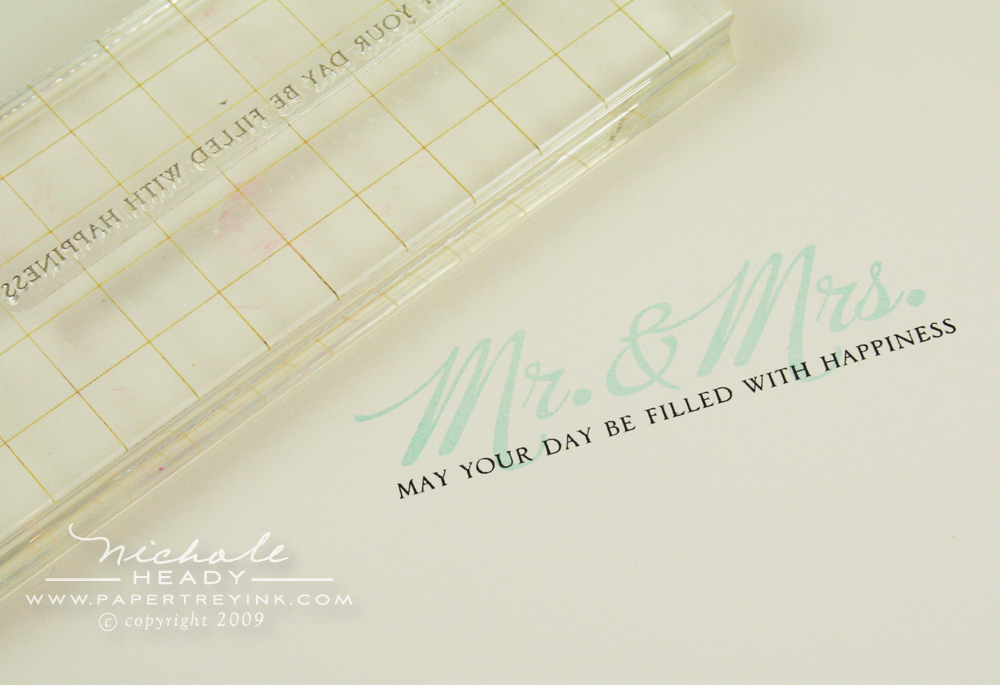
Next, I added one of the complimentary sentiments underneath it using True Black ink. Don't you just LOVE the way they fit together! There are at least 3-5 complimentary sentiments to go along with each large script phrase! Tons of mix & match options!
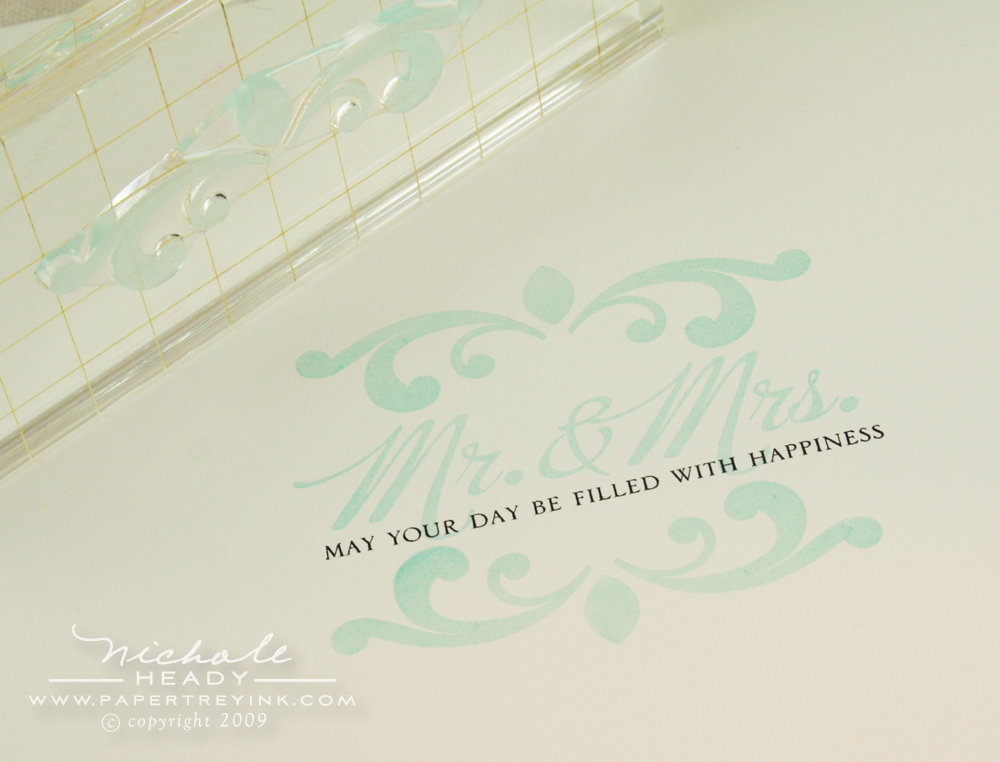
Last, I added this large flourish above and below the sentiment I built. The fun thing about this flourish is that you can add it to the top and bottom, as I did here, or you can add it to just the top OR just the bottom, depending on how you want it to fit in with your design plan!
(click on the above image for a larger view)
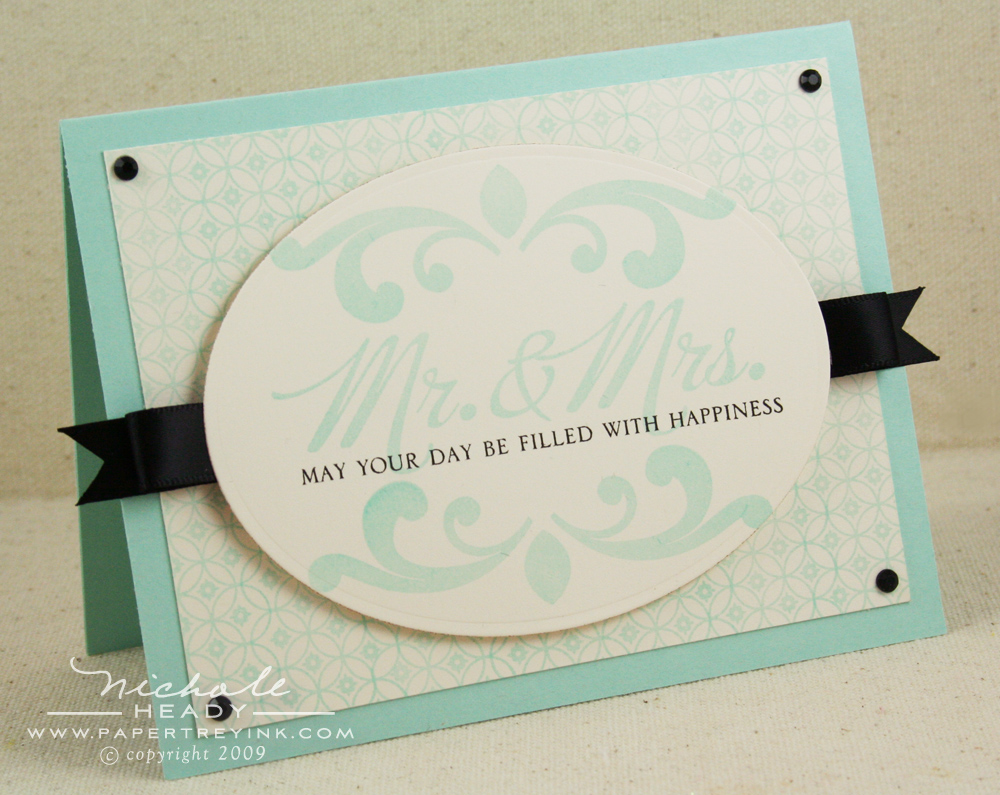
Here's my completed card. It only took about 15 minutes to make because the focal point that the sentiment creates really takes center stage; not a lot of fuss required to make it look "finished".

To accent the focal point I created a background using the new Background Basics: Diamonds (more about it later this week). It is stamped in Aqua Mist ink onto Vintage Cream cardstock. The corners of this decorative layer are accented with black rhinestones.

Loops of True Black Satin Ribbon are affixed to either side of the focal point, giving it a formal, elegant look that is so appropriate for a wedding. Lovely, isn't it!
(click on the above image for a larger view)
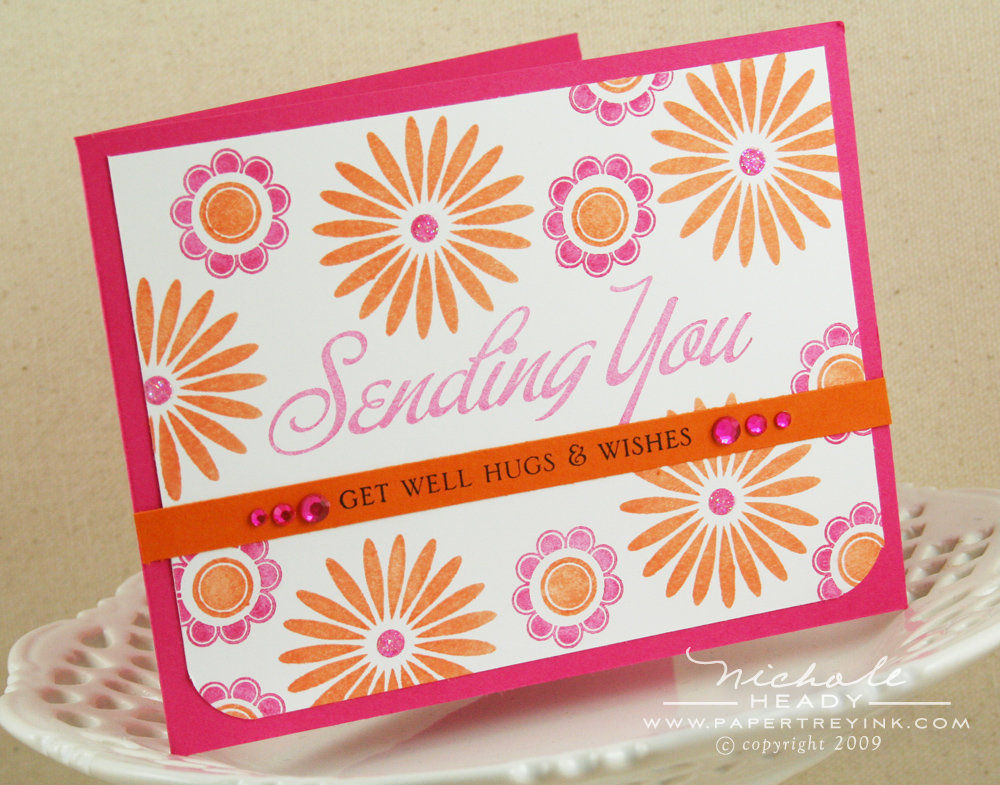
How about a card that shows you another way to use the two sentiments together? On this project, I stamped the smaller sentiment onto a separate strip of Orange Zest cardstock. The pop of color that it allows you to add while also bringing more emphasis to this catch phrase is fun and cheerful. The background pattern was created with one of our classics, Floral Frenzy, using Orange Zest & Raspberry Fizz inks.
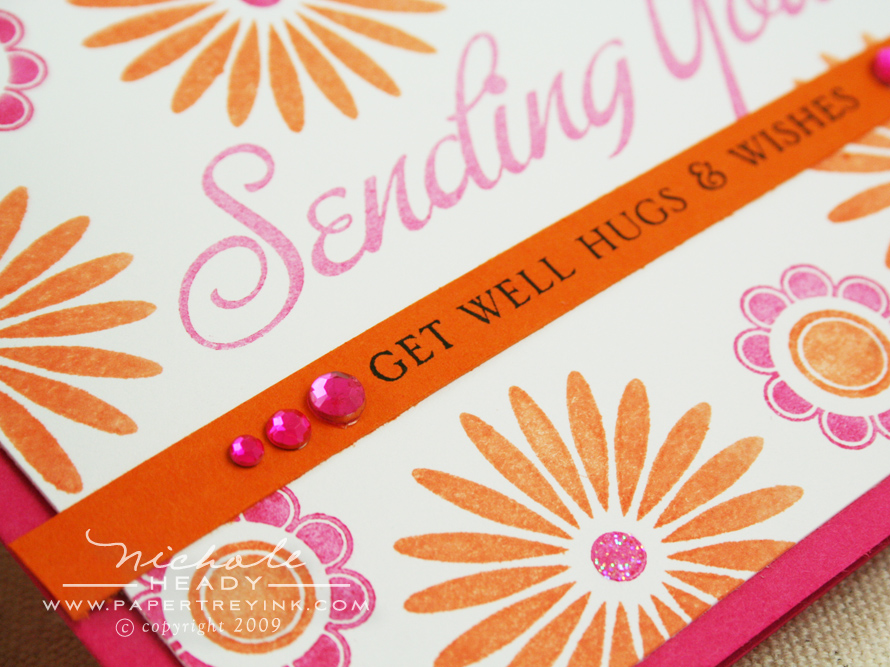
For special detail I added three raspberry fizz rhinestones (being added to the store on November 15th) on either side of the sentiment strip. I also added small drops of Star Dust Stickles to the daisy centers for some additional sparkle. I think it makes for a very bright & sunny card, perfect for get well wishes!
(click on the above image for a larger view)
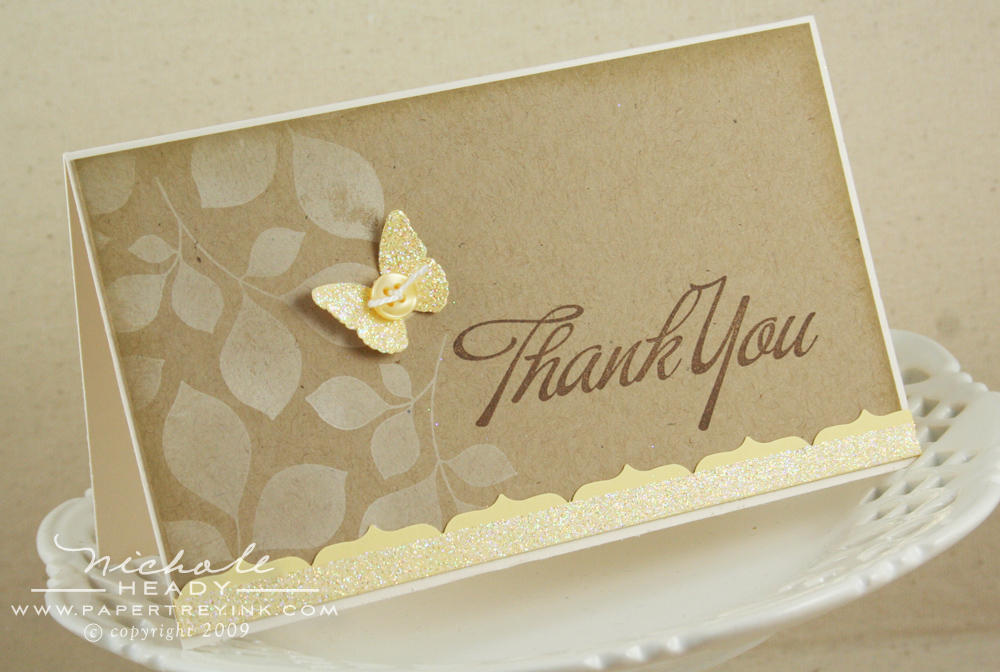
Now how about using those large script words by themselves? On this card, I let the scripty "Thank You" hold it's own. The leaves stamped on the side of the cover are from the new "Turning a New Leaf" set (which you'll hear more about tomorrow), stamped in Vintage Cream ink. The Crest border at the bottom (Fiskars border punch) was made from Lemon Tart cardstock. I also added a strip of glitter using Scor-tape and our Prisma Glitter. (Dawn has been doing this a lot on her blog lately and I just love the way it looks).
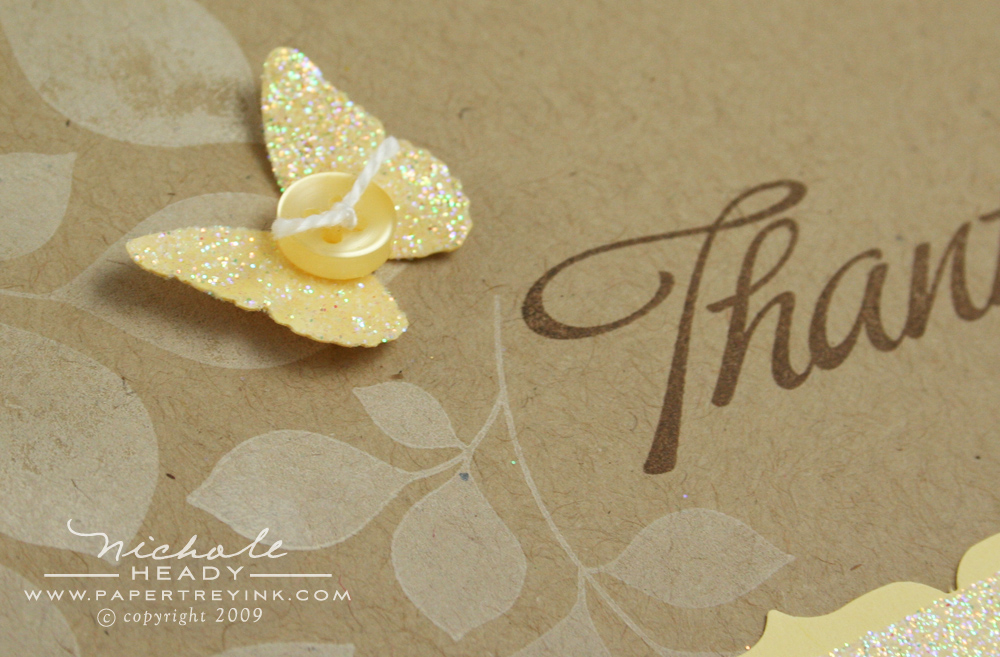
The butterfly (Martha Stewart) was punched from Lemon Tart cardstock as well and glittered. A small Lemon Tart Vintage Button was added to it's center using a glue dot. Thank You was stamped with Dark Chocolate ink. I think this is a simple card that packs a lot of punch!

(click on the above image for a larger view)
This last card showcases how you can trim down the sentiments in this set to be used as a smaller accent. Here, the "Hey There" was stamped in Melon Berry ink, followed by the companion sentiment in Smokey Shadow. I love how stylish this looks together on this particular card, don't you?
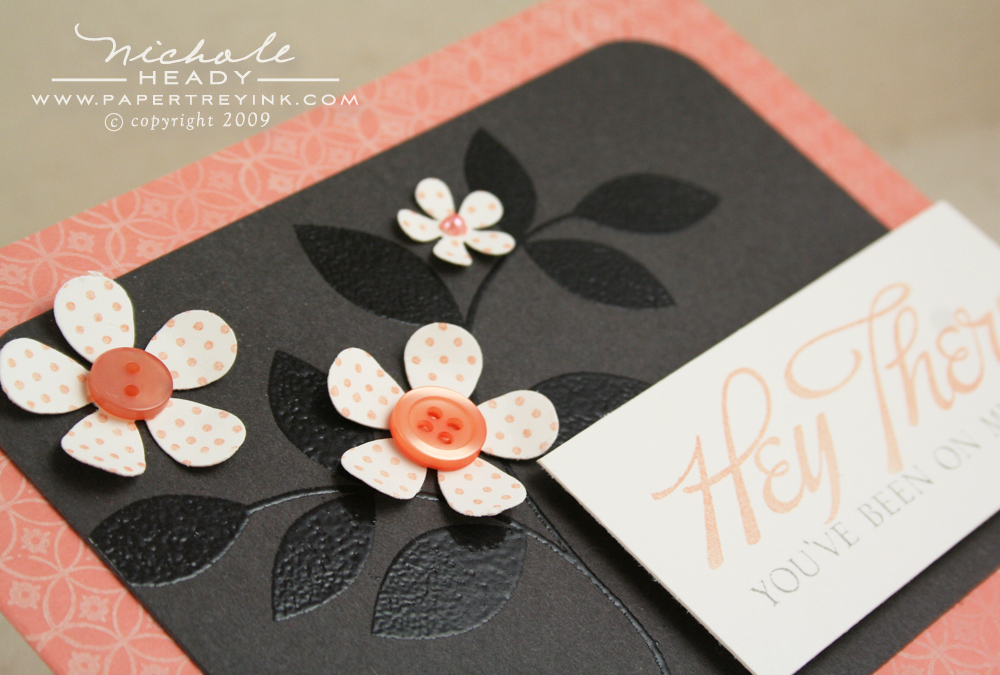
The leaf image is another one from "Turning a New Leaf" (available November 15th) and it was heat embossed onto Smokey Shadow cardstock using Filigree Clear embossing powder. The flowers were created with EK Success punches. The Vintage Cream cardstock they are made from was first stamped with Polka Dot Basics II using Melon Berry ink. They are adhered in place with glue dots followed by Melon Berry Vintage Buttons to their centers. Notice that Background Basics: Diamonds is used again here, only this time stamped in Vintage Cream ink. Ohhh la la!
I've just begun to scratch the surface in regard to what you can do with the sentiments contained in this set. I am eager to see what else all of you think of as you begin to play with the set once you receive it.
Here's your chance to win your very own copy of this set! Leave a comment letting me know what you think of Big & Bold Wishes and extra large sentiments in general. Just for taking the time to do so, we are offering up a generous prize package full of BIG sentiments…
- Big & Bold Wishes stamp set
- Giga Guide Lines stamp set
You have until 7am EST, Wednesday, November 11th to leave a comment
and be eligible to win. Please play nice, only one comment per
person. One winner will be randomly selected and announced the same
day no later than noon EST. The winning announcement will be made on
our November Release Winners page.

Want to see more of Big & Bold Wishes? Stop by Lauren Meader's blog today to see more!
Dawn McVey also has a new set releasing this month that you can see a peek of today!
Tiffany Pastor has a project to share with you using her new set.
Alli Miles is debuting her first set of 2009 as well! So be sure to check out her peek!
I am super excited to introduce you to THREE new members of our template promotion team, who all have SPECIAL sneak peeks to show you today, all featuring one of the new November Timeless Templates!
- Jennifer Holmes
- Laurie Schmidlin
- Charmaine Ikach
- also check out existing member, Kelly Lunceford!
Please be sure to give each of them a VERY warm Papertrey welcome! These three talented ladies will now be contributing to the idea downloads that are included with the template purchases!
I also have one more peek at the new Time for Take-out template from our Guest designer, Kate! You can visit Kate's new blog HERE! Kate is one of the most gifted guests we have featured yet so please be sure to visit her for some amazing inspiration!

You can view complete supply lists for all of today's projects HERE.
Leave a Reply