


If you have been following along with the countdown festivities all week, then you have already seen quite a few projects created with both of the stamp sets I am about to formally introduce to you today.
Dawn McVey has been a busy little bee over at her blog this week as she has been showcasing oodles of inspiration that can be applied to her new Vintage Ornaments & Vintage Ornaments Additions stamp sets.
The details.
- Vintage Ornaments & Vintage Ornaments Additions will be available for sale October 15th.
- Vintage Ornaments will retail for $24, Vintage Ornaments Additions for $15.
- Vintage Ornaments contains a total of 20 stamps (3 ornaments, 7 decorative companion images and 10 sentiments) while Vintage Ornaments Additions contains 12 decorative companion images.
Let's start with showcasing a little bit about layering the images in these sets!
(click on photo above for larger view)
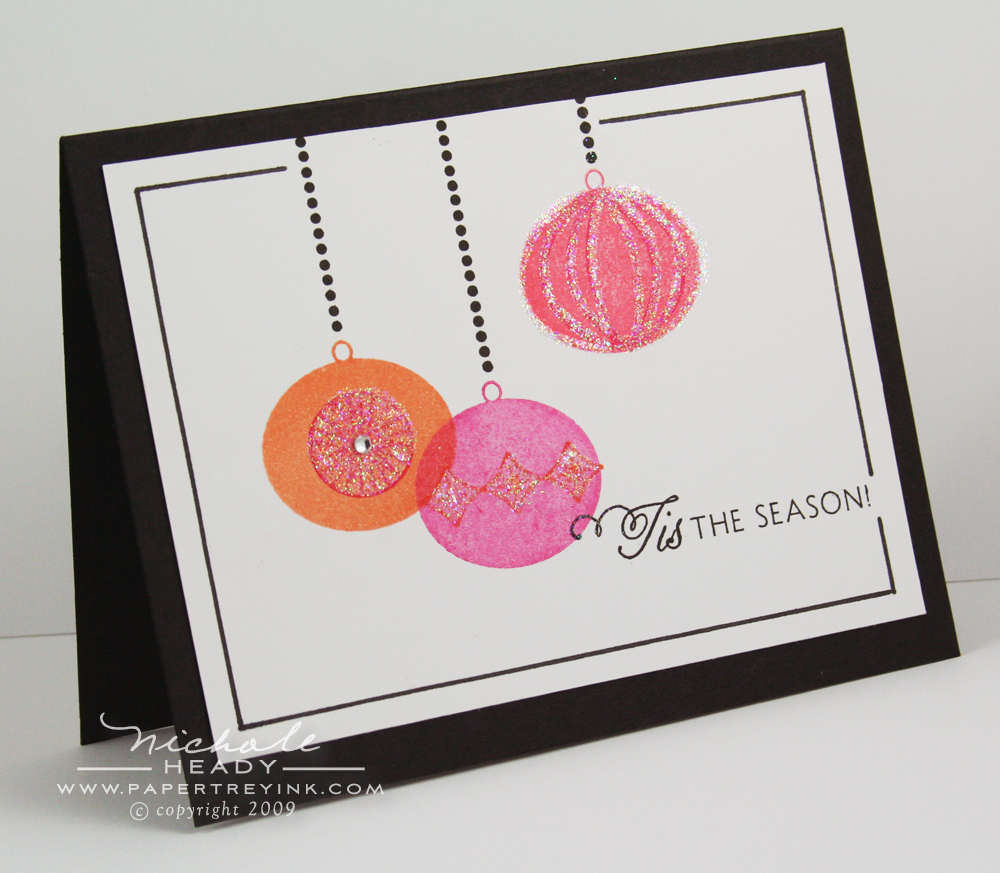
This first project uses one of my new favorite color combinations, Orange Zest, Raspberry Fizz & Berry Sorbet. I think it is a nice break from the traditional Christmas colors I tend to use! After stamping the solid ornaments, I decided to use the dotted line from Faux Ribbon to "hang" them from the top of the card. The bold black ink really creates some contrast to the bold, bright colors of the ornaments. I am in LOVE with how that turned out!
(click on photo above for larger view)
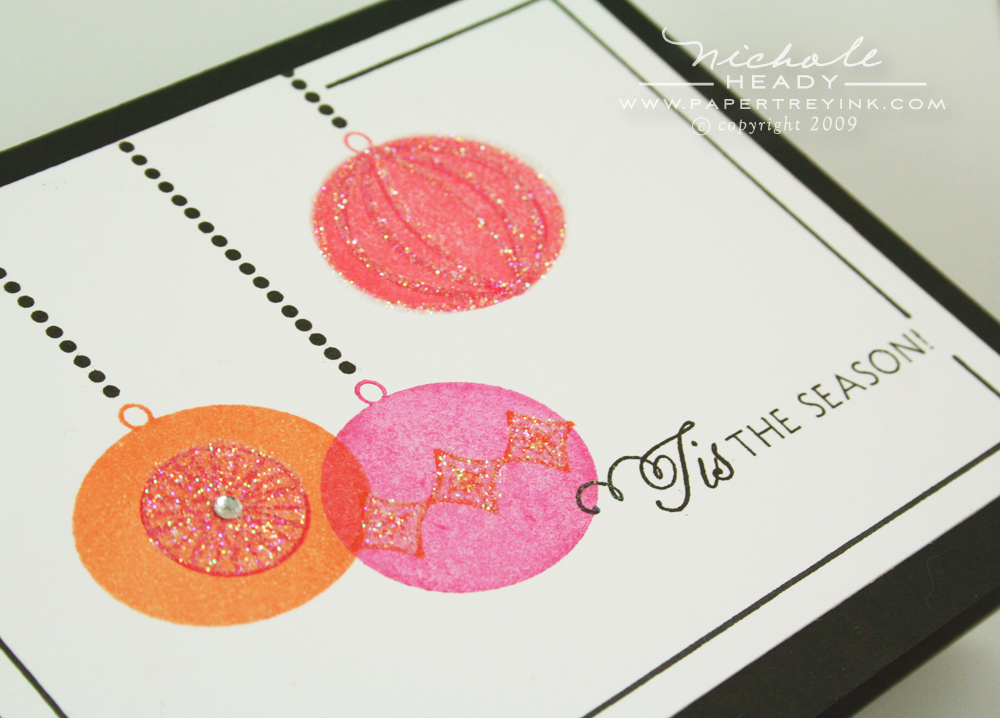
After that, I was able to go back in with the design elements I spoke of earlier and add them to the ornaments in alternating colors. These images make it so easy to add detail to the ornaments without having to do any masking! A 2-way glue pen and some of our Prisma Glitter is all you need to add some sparkle to those decorative accents to make them pop. I used a black pen to draw around the perimeter of the card front to create a border. It helps to ground everything and give it a slightly modern feel!
(click on photo above for larger view)
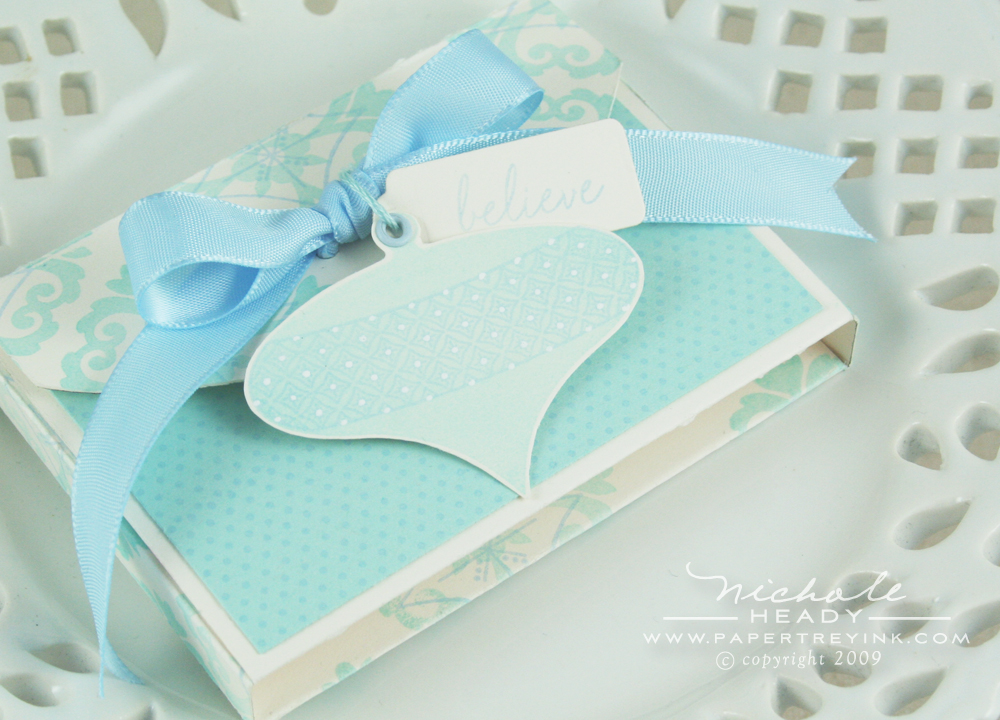
Next is a little gift card enclosure, Cash or Charge #1 (part of our Cash or Charge Trio Template that is being released this month) that I wanted to share with you today. It's so fabulous, it really deserved some extra love!
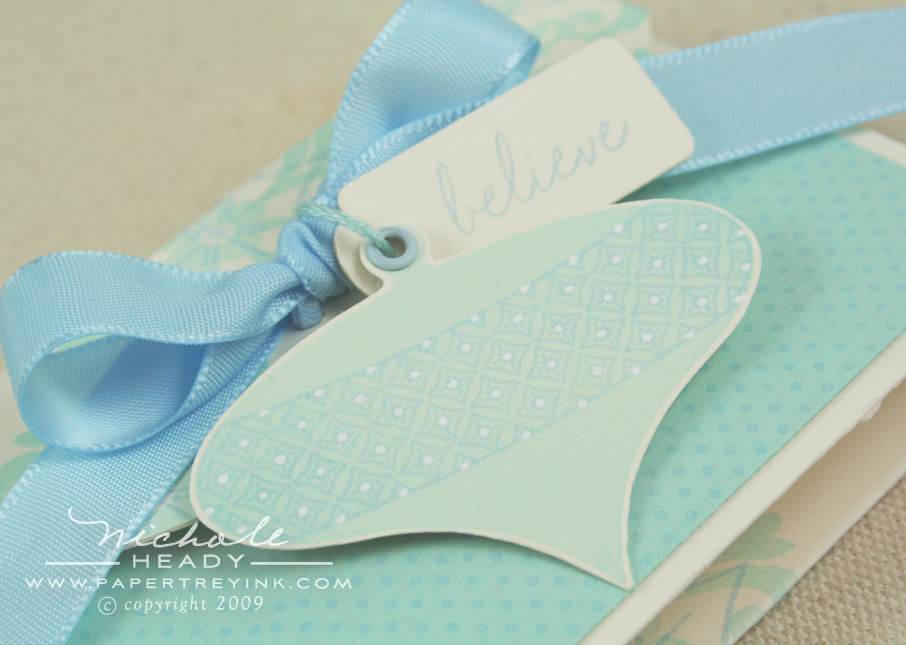
First, I'll start with the tag! I stamped the large solid ornament with Aqua Mist ink onto Vintage Cream cardstock. I then added the decorative strip to it using Spring Rain Ink. I am CRAZY about how these bits & pieces all work together! As a finishing detail, I added small white dots with my gel pen. Love how this turned out!
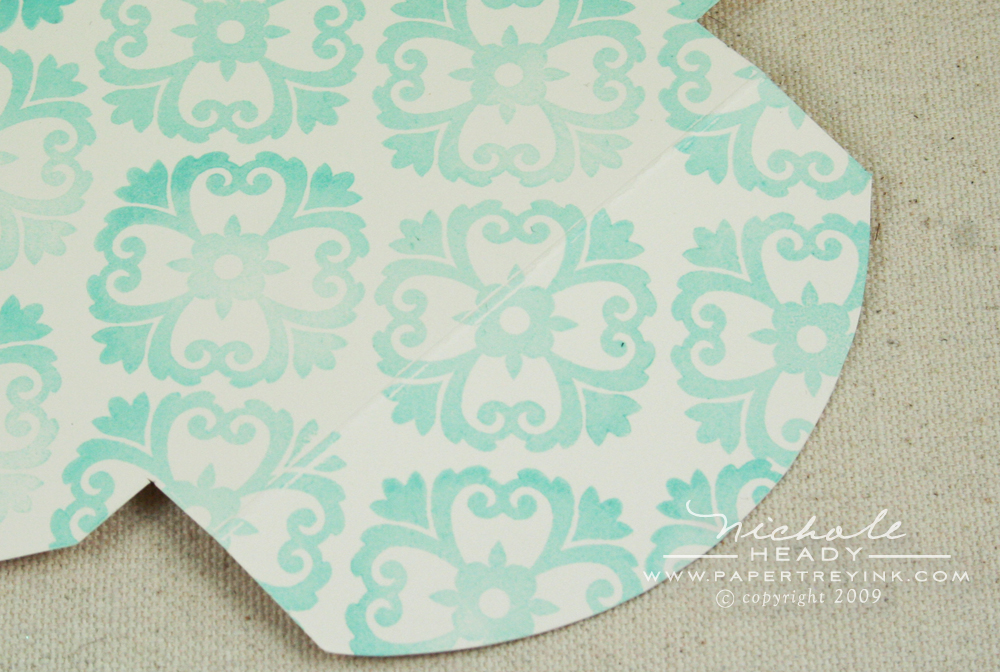
I stamped my own pattern on the box before it was assembled, using Giga Guide Lines and Aqua Mist ink. Since this new scale is so large, it only took a few repetitions to fill the area necessary!
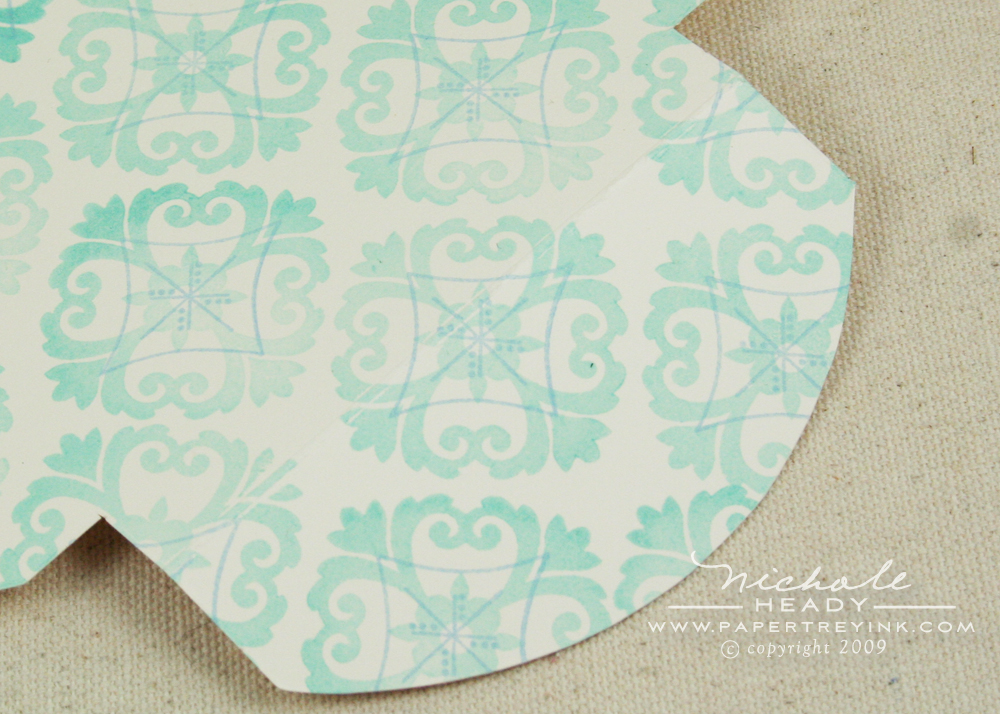
I found that some of the decorative elements included in the Vintage Ornaments set, compliment the Giga Guide Lines patterns beautifully. You can see an example of the pairing above. I stamped the secondary pattern directly on top of the first using Spring Rain ink. Pretty, isn't it?!?!?
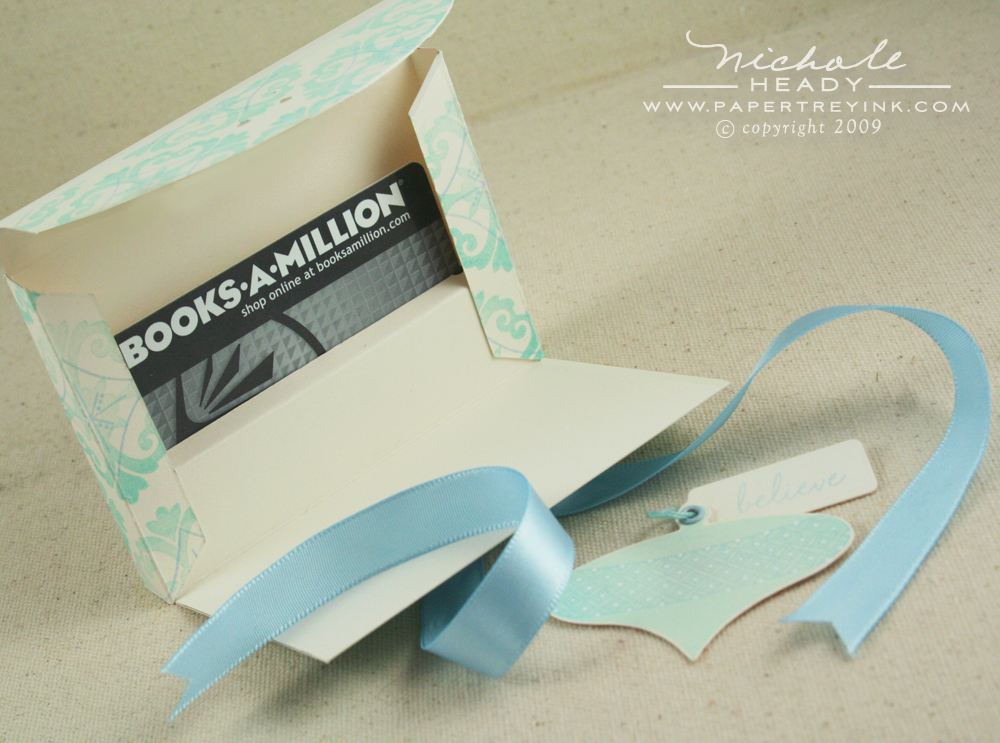
Now let me show you a few of the innovative details that Lauren worked into this template. When the bow is untied and released from the holes, the front flap folds down to reveal the gift card. Just like magic!
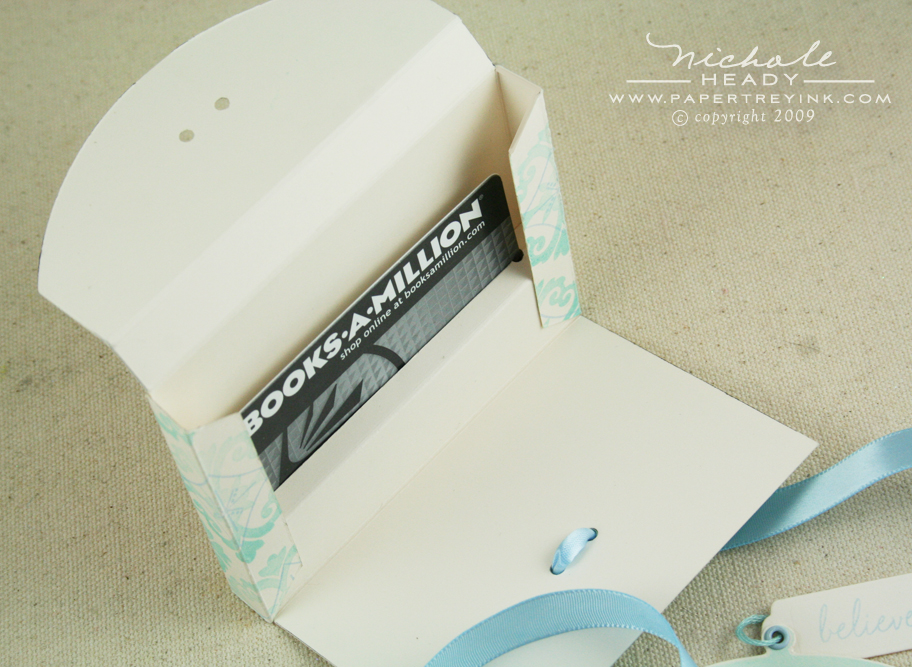
If you look carefully, you will notice that the card is suspended inside.

This is because of the clever little slot that Lauren designed! The gift card sits right in it, creating a unique way to present a little something to those that may be hard to shop for. Don't forget, this template is being sold WITH 2 others in one download for $5, all designed to hold gift cards! You can't beat that great value.
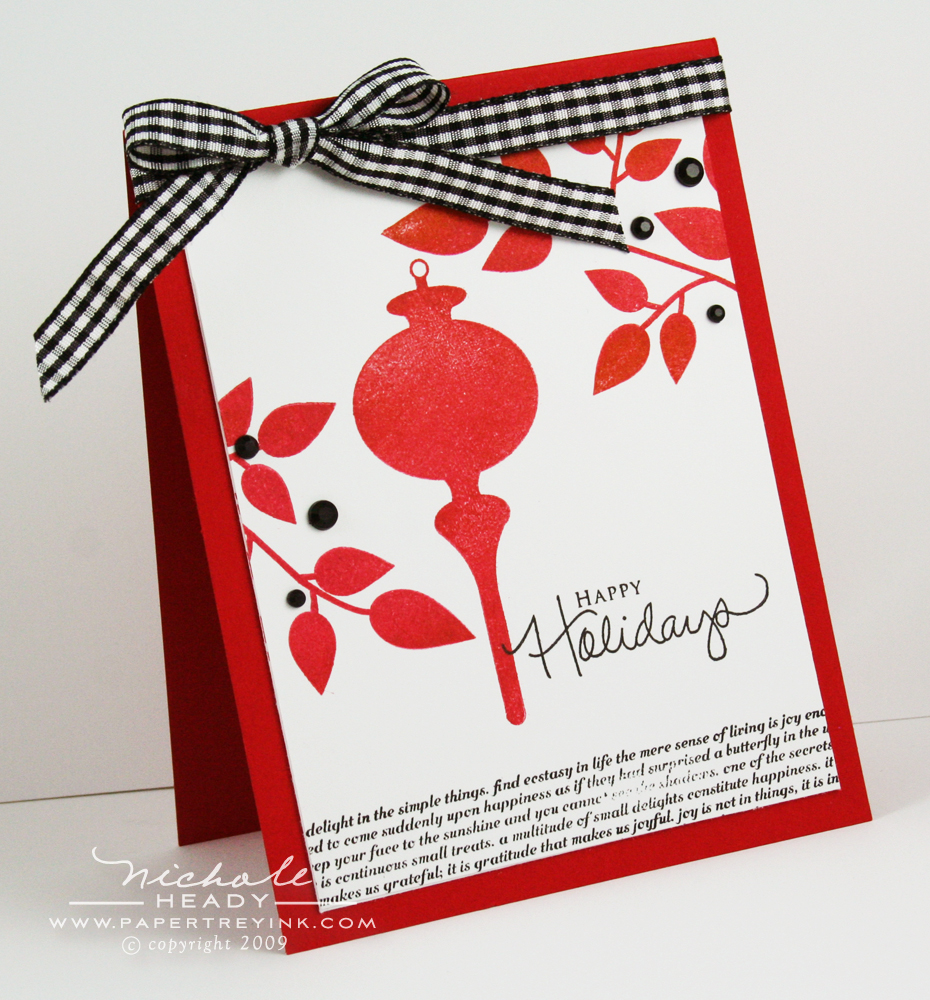
I saved my favorite for last! A clean & bold color scheme that is sure to grab anyone's attention! This shows that you can totally use the ornament images by themselves without adding any of the layers or decorations. This last project uses a new set along with Vintage Ornaments. Background Basics: Text Style II is exactly like the original just featuring different fonts. This allows you to create even MORE styles of text paper, borders and backgrounds!
The details.
- Background Basics: Text Style II will be available for sale on October 15th.
- It will retail for $15.
- Background Basics: Text Style contains 3 images, each a different font.
Now back to my card!
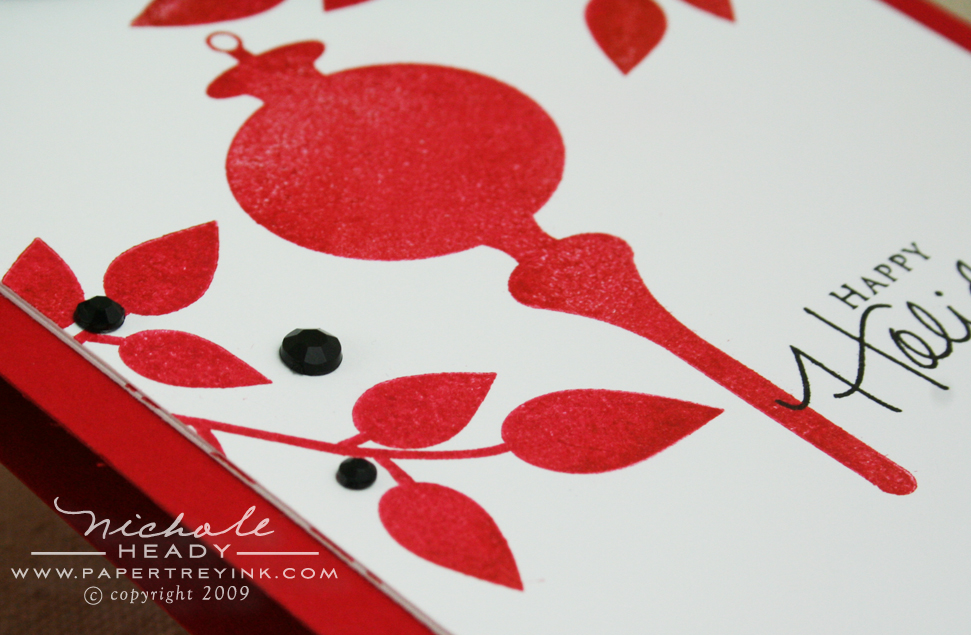
I stamped the leaves (from Beautiful Blooms) & ornament with Pure Poppy ink onto white cardstock. The sentiment from Signature Christmas was stamped in True Black, just slightly overlapping the ornament. Super easy! Placement of a few black rhinestones provides the perfect finishing touches.
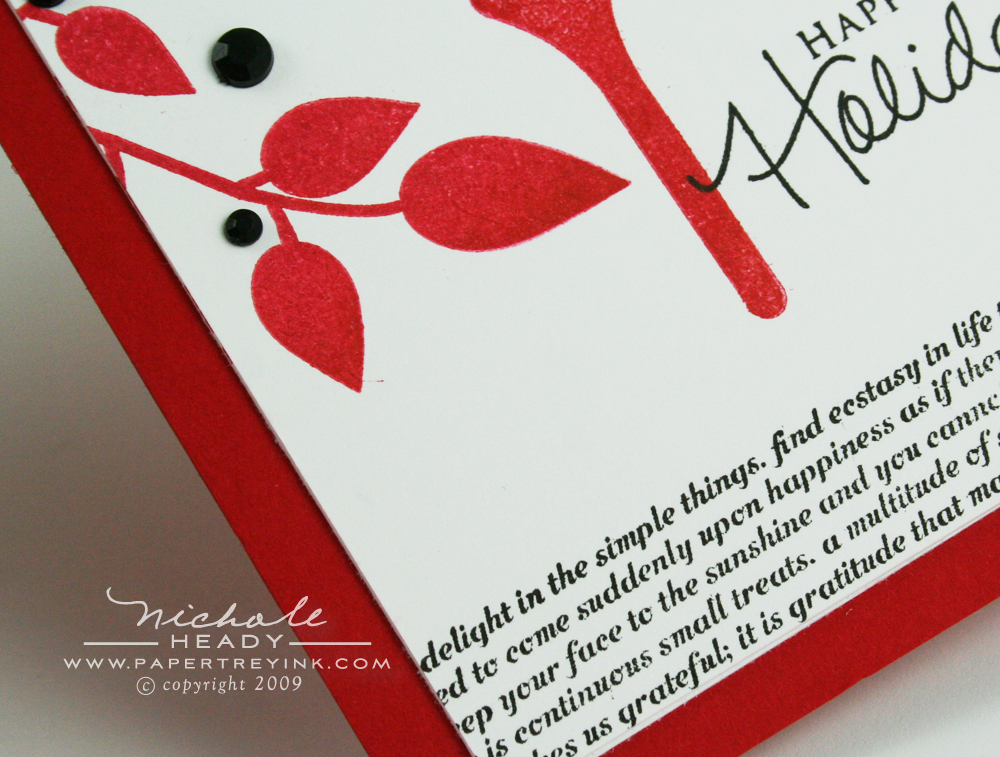
This is one of the fonts in the new version of this stamp set. It's fresh, funky and stylish! Doesn't it look great as a border at the bottom of the card front? I know I will keep coming up with more and more uses for it!!!
I'm so very proud of Dawn, for capturing the beauty of the vintage ornaments that are so near & dear to her heart. You can practically feel the love she put into each piece of the set when you're using it. Is your mind whirling with ideas yet? Do Dawn's images conjure up memories and pull at your heartstrings too? Share your thoughts
with us in the comments section of
this post to be
eligible to win the following prize package:
- Vintage Ornaments stamp set
- Vintage Ornaments Additions stamp set
- Background Basics: Text Style II stamp set
You have until 11:30pm
EST, Wednesday, October 14th to leave a comment
and be eligible to win. Please play nice, only one comment per
person. One winner will be randomly selected and announced the same
day no later than noon EST. The winning announcement will be made on
our October Release Winners page.
Don't forget, tonight's the big party! I hope to see you there!

Want to see more of Vintage Ornaments? Check out what Becky has done with it.
You can see more of Dawn's projects using this set HERE.
Lauren has a few more ideas to share using her new October Templates.
Heather has another project using Holiday Tree.
Anabelle O'Malley, our Distinguished Guest Designer for this month is sharing some projects using some of our new stamp sets!
There are THREE posts here on my blog today! Don't miss the Holiday Cards 101 post below! Along with the announcement of our new patterned paper!

Complete supply lists for all of the projects shown today can be found HERE.
Leave a Reply