


 One of the things I like most about Heather Nichols' stamp sets, is at first glance they are very simple in design, but once you start using them, hundreds of ideas start jumping into your head and you can't put the set down! They are also always incredibly flexible to meet just about any style.
Boo to You is an ADORABLE little Halloween set that allows you to build several holiday themed images, including a trick-or-treat pail, a jack-o-lantern, pumpkin, ghost and even bats!
The details.
- Boo to You will be available for purchase on August 15th.
- It will retail for $24.
- Boo to You contains 22 stamps total; 15 images and 7 sentiments.
(click on the above image for a larger view)
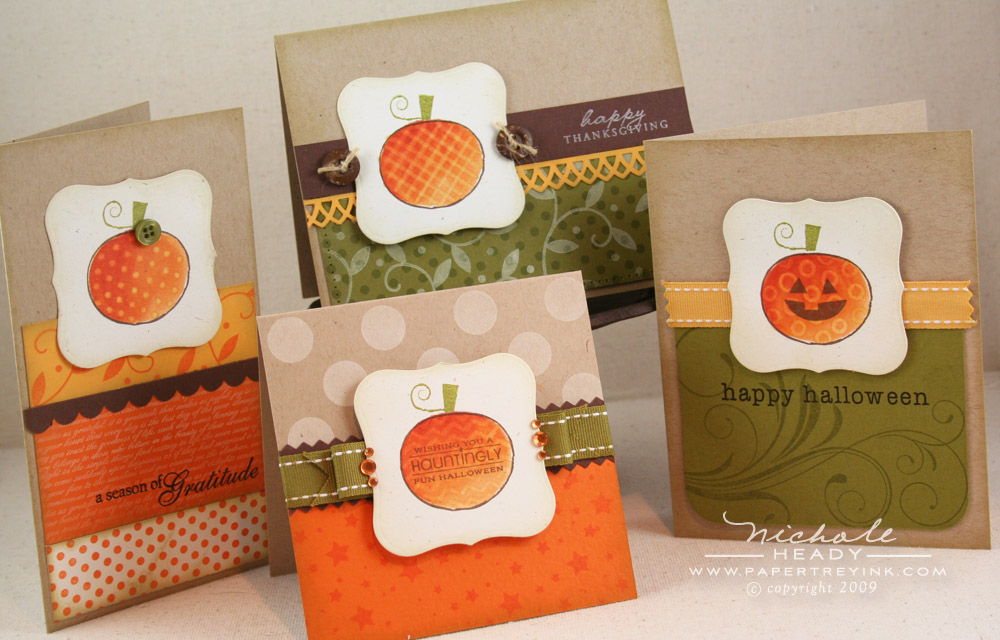
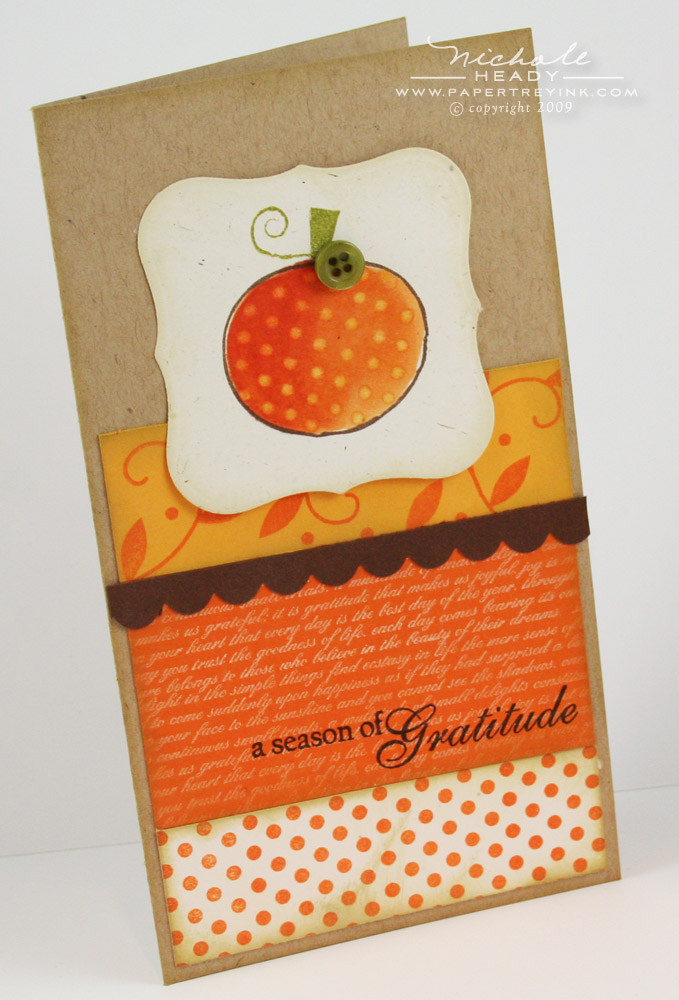
My personal favorite image from Heather's set is this sweet little pumpkin. In fact, I liked it SO much, I made a collection of cards that I would like to call "Pumpkins 4 Ways".

It all started with the bit of Copic coloring I saw in Heather's post yesterday. It totally inspired me to see how much further concept could be taken. Here is the pumpkin outline stamped in Dark Chocolate ink, followed by the little stem in Ripe Avocado all on Rustic Cream cardstock. Now, there is a nice solid stamp to stamp a second layer for the interior of the pumpkins so that you wouldn't need to color, but I decided to forgo that for this particular series.
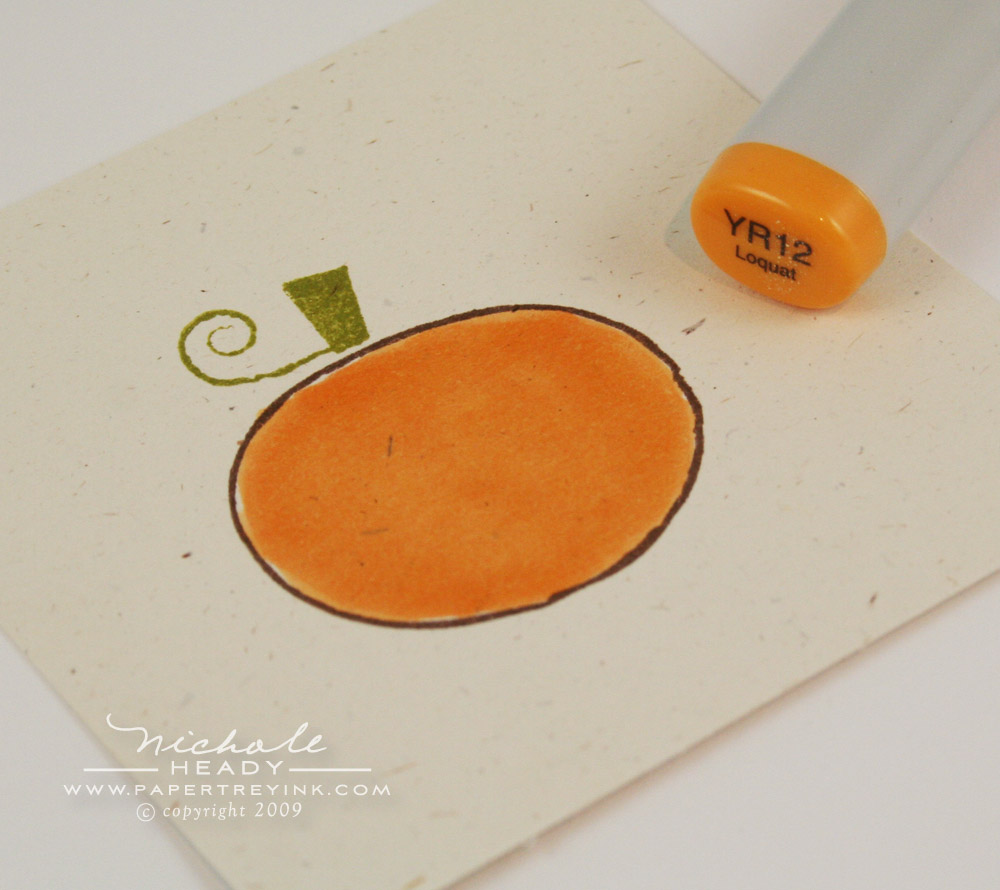
I colored the pumpkin base in completely with YR12.
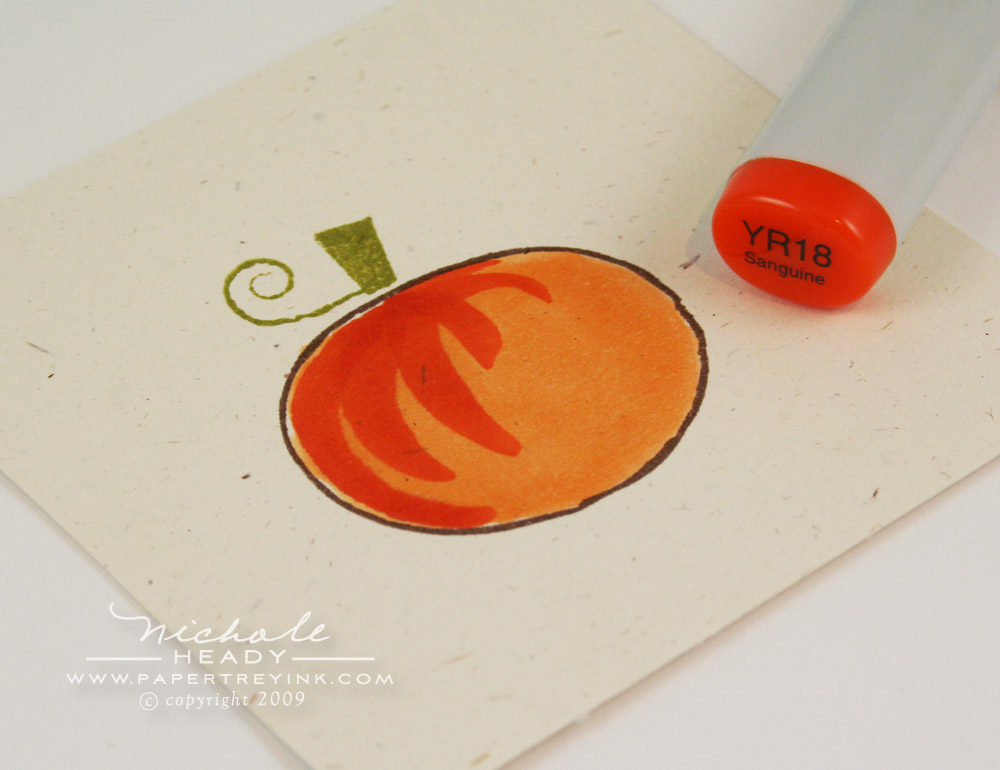
I then added a few strokes around the top and side with YR18.
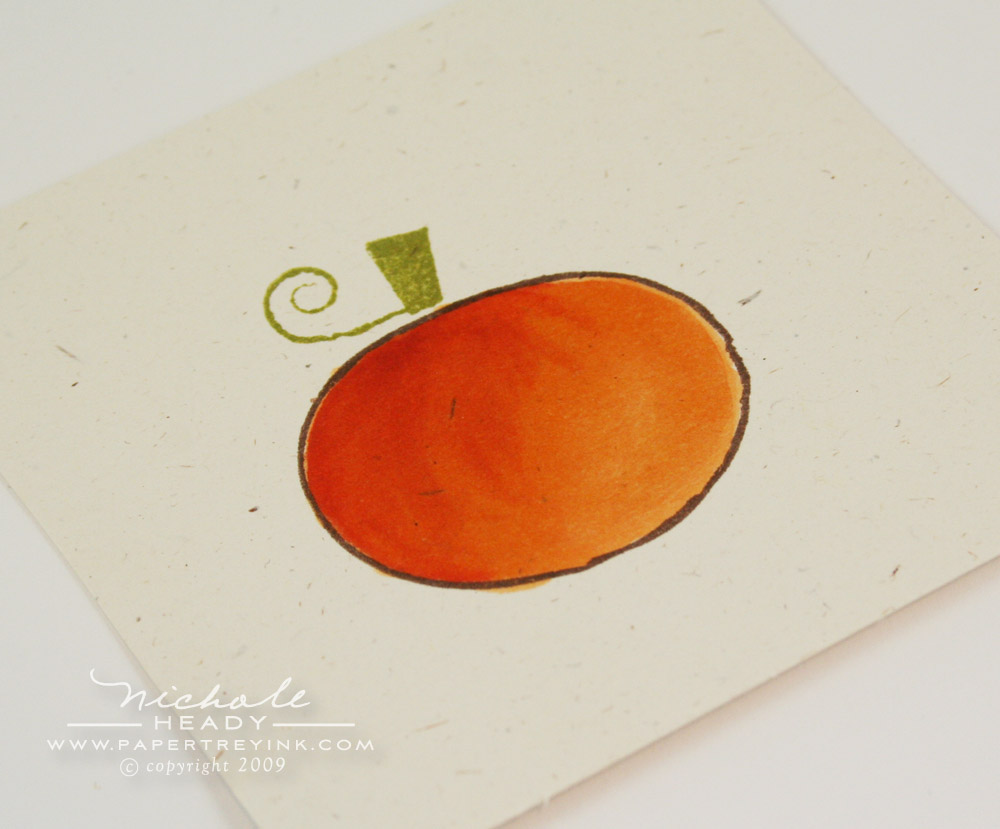
After going back over the whole thing with YR12 a few times, my blending was complete! I created three more identical to this before I moved onto the next step.

I used a colorless blender pen to *remove* color and create patterns on each of the pumpkins (like I did HERE with teapots). I love how fun & festive they all turned out!
(click on the above image for a larger view)
I thought it best to focus in on each individual project a bit. This first one uses what I like to call the "bitty dot" pumpkin, because of the pattern it features. I create three strips of patterns using (from top to bottom) Beyond Basic Borders, Background Basics: Text Style and Polka Dot Basics II. All of these were inked with our Tea Dye Duo. Did you know the Tea Dye Duo is an exclusive product to us? Have you tried them yet? I am SO in love with the super soft coverage they give, directly with the pad!!! No sponge required! If you haven't given them a shot yet, I highly recommend them! (You can read all about why I love them HERE!!!)
I added a small Ripe Avocado button to the top of the pumpkin as a finishing detail. It was adhered with a glue dot. Isn't it just the cutest!

(click on the above image for a larger view)
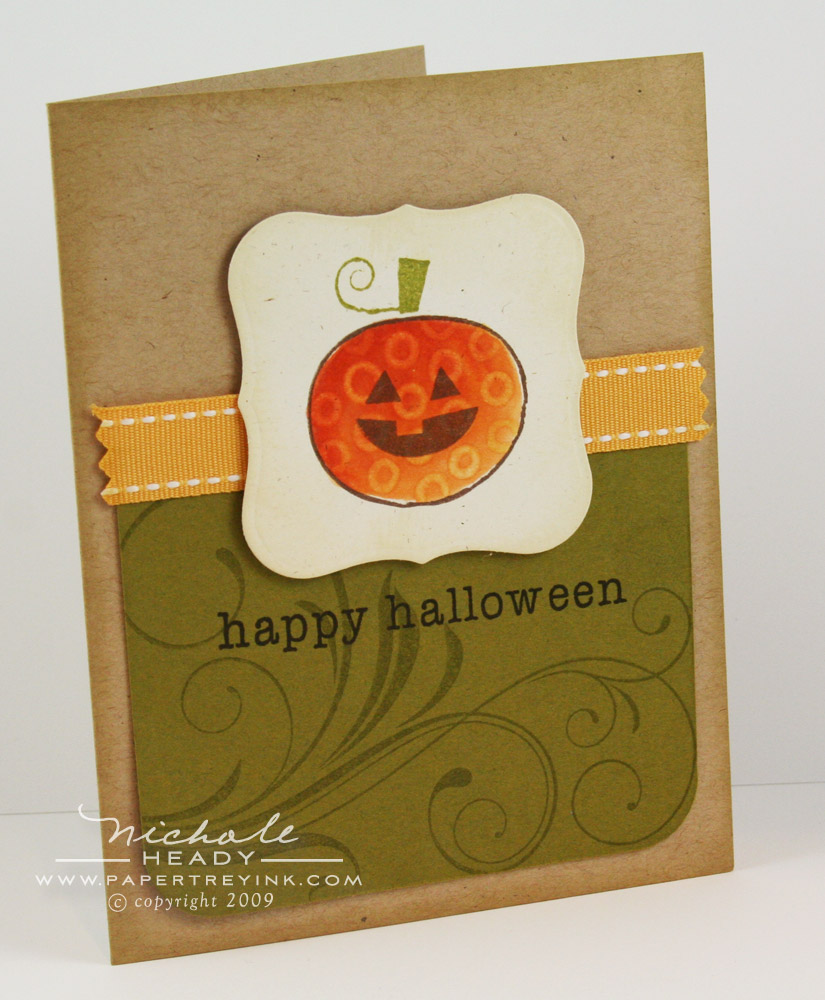
For this "zigzag" pumpkin, I stamped a sentiment within it's boundaries. This particular one is part of a set that will be debuting later this week. However, many of the sentiments from Boo to You itself along with Mixed Messages and other popular sets would work too! Polka Dot Basics & Vintage Cream ink are used to create the fun background for this card.
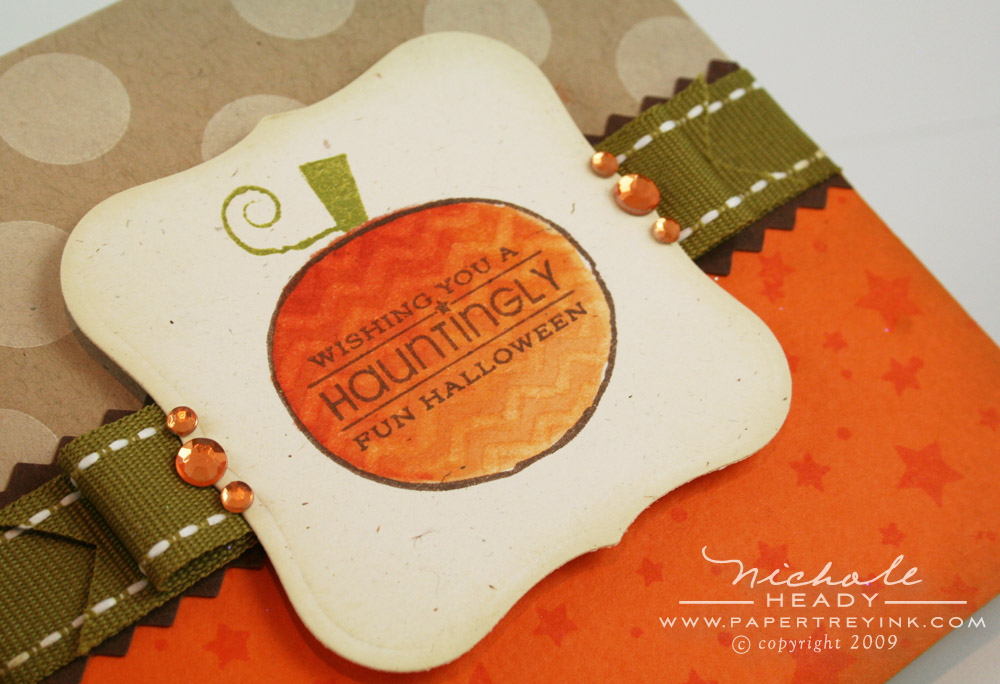
Ripe Avocado stitched ribbon was added behind the pumpkin focal point along with small orange rhinestones. Speaking of rhinestones, have you noticed that I've been using them a lot this month? That's because we will now be selling them!
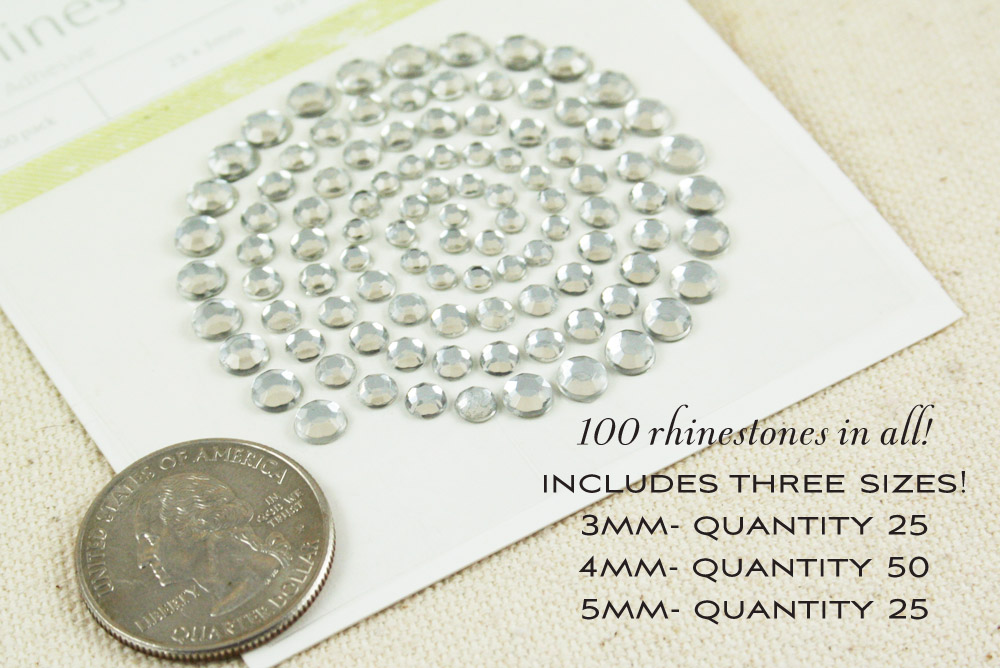
We've looked high and low for the PERFECT self-adhesive rhinestones, and now we've found them! There are three sizes included on each color collection card, with a total of 100 rhinestones included, all for $2. Each rhinestone is separate and has it's own adhesive, so no cutting required! This photo depicts the clear version, which I personally use the most often.

In addition we'll be releasing a couple autumn/Halloween colors as well. Here's the orange, which is a nice cross between our Summer Sunrise & Orange Zest color collections.
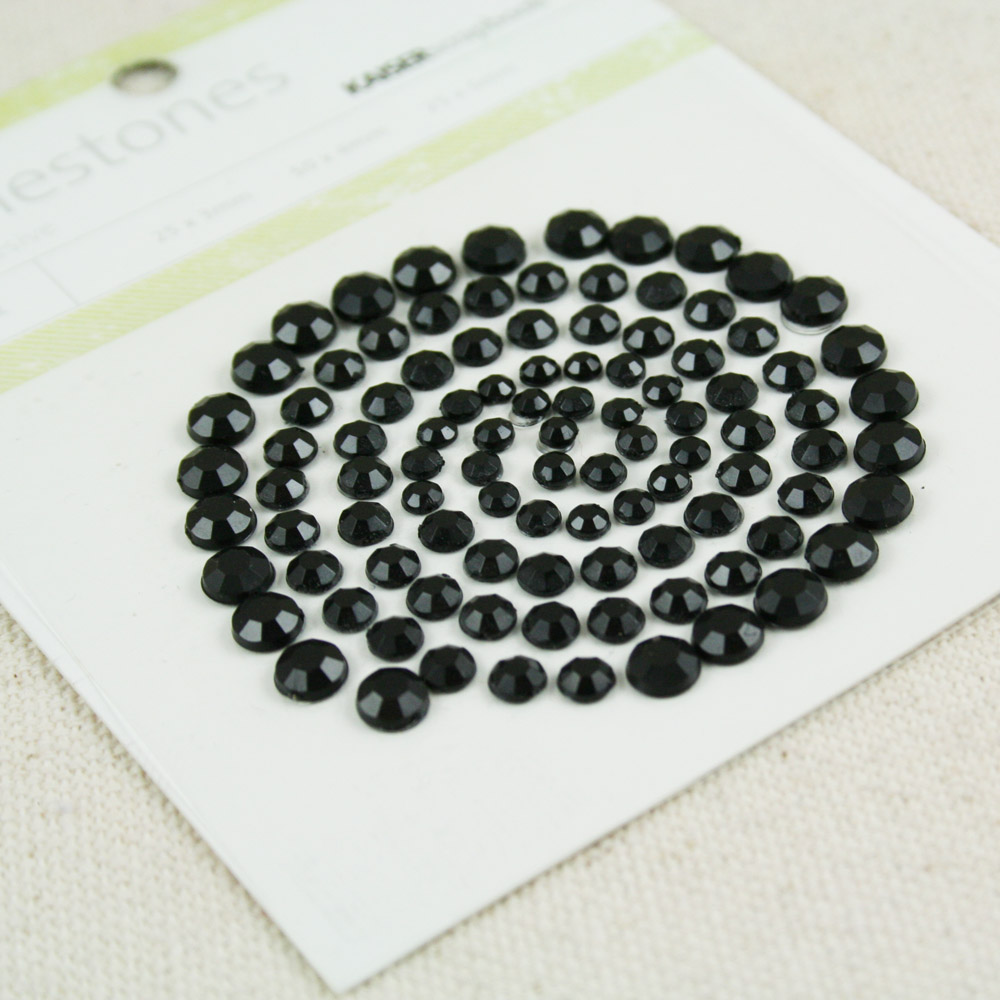
And a beautiful, elegant black! (These are what I used on my Halloween card yesterday with the machine stitching that everyone liked so well!) All three of these will be available in the store on August 15th and we are looking forward to adding more colors in the future!
(click on the above image for a larger view)
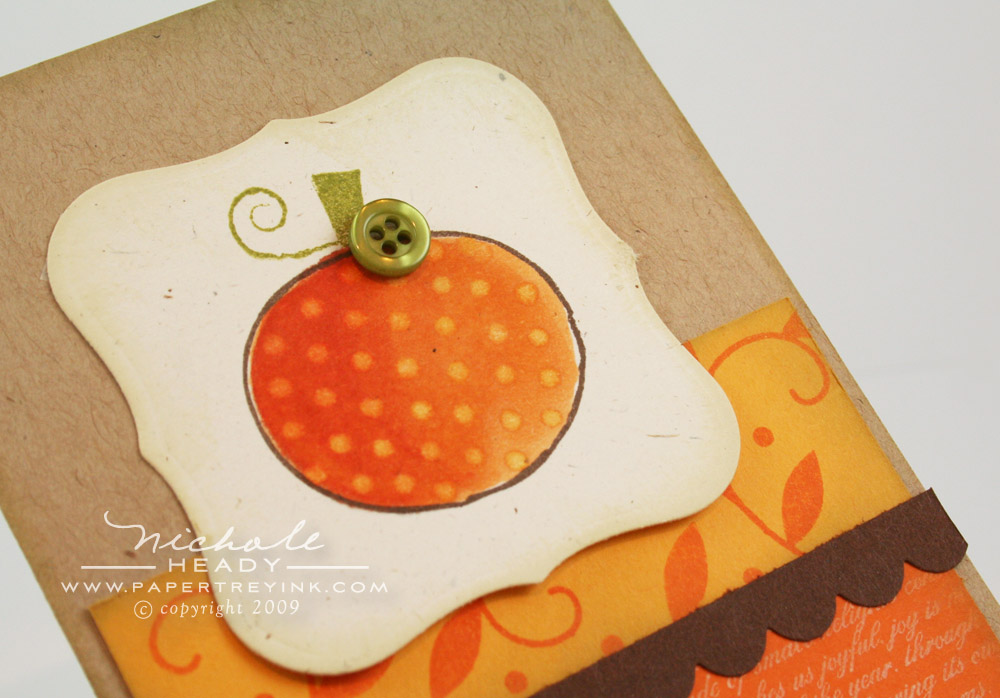
Now back to the pumpkins! This quick little card uses the sentiment from Boot to You itself. I love how big and bold Heather makes all of her sentiments! The ripe avocado cardstock mat is stamped with Fancy Flourishes. A bit of Summer Sunrise stitched ribbon is added underneath the pumpkin with freshly pinked ends. (I owe my current love affair with my pinking shears to Melissa Phillips. Love that girls stuff!)
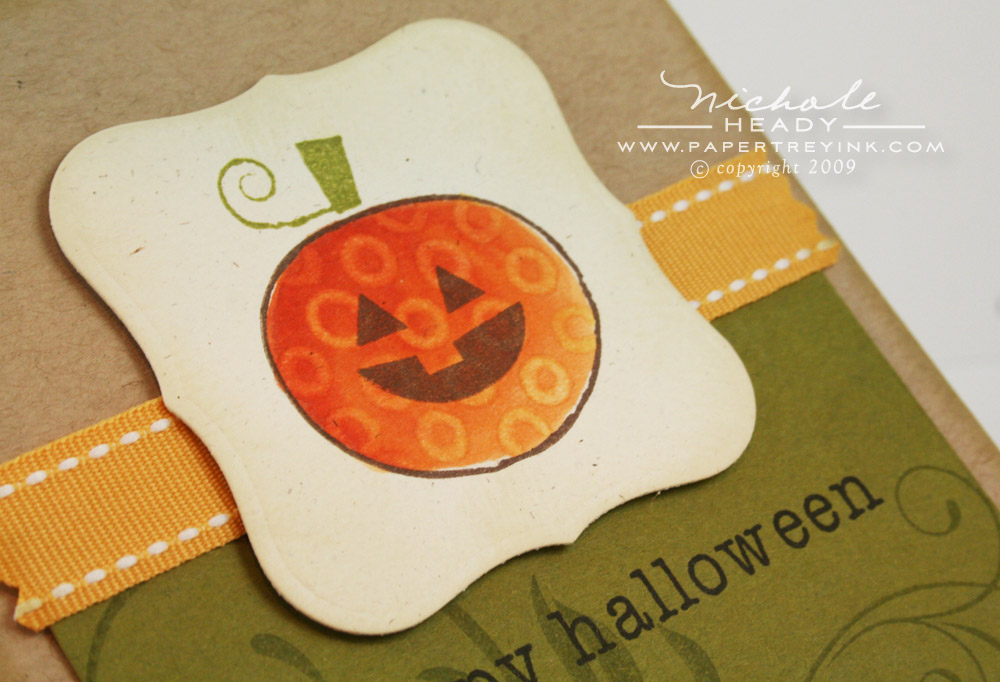
I love this little "donut" patterned pumpkin. The separate face stamp (also from Boo to You) was added right on top of the Copic coloring. Sometimes I forget that you can layer on top of it like that. It really opens up a lot of possibilities!

(click on the above image for a larger view)
One last pumpkin card. This shows that is doesn't HAVE to be for Halloween. Why not Thanksgiving? The sentiment is from a set debuting later this week. The background pattern was created with Polka Dot Basics & Beyond Basic Borders. (Love the layers of stamping on that, inspired by Dawn McVey)
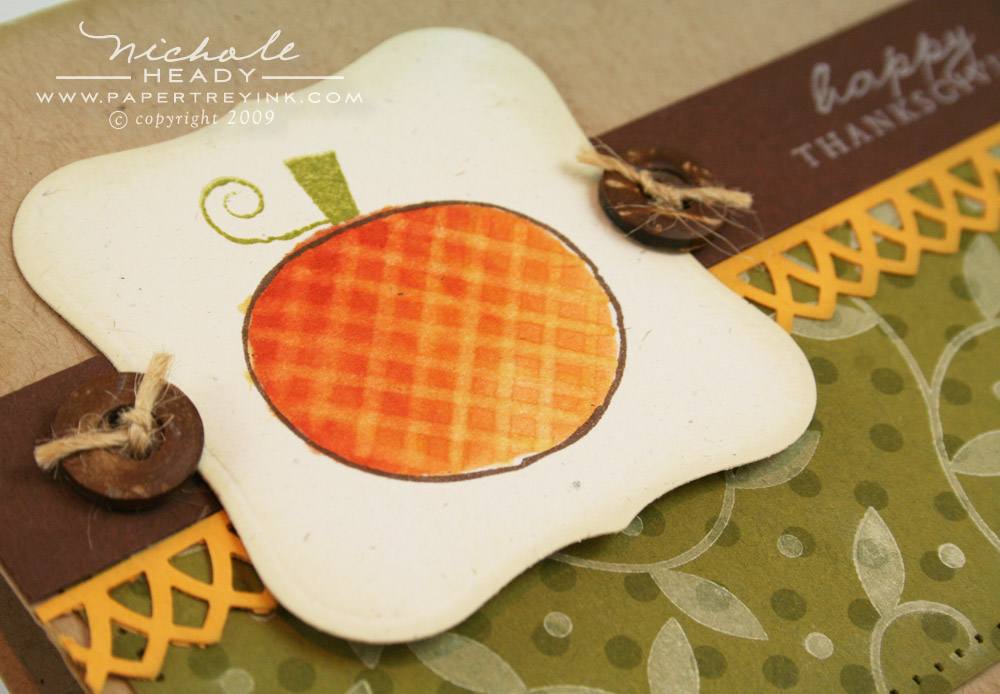
A little gingham-styled pumpkin closeup. I love how the intersecting areas that I created with the colorless blender are a lot lighter, just like real gingham! A couple of Rustic Wood Buttons flank the sides.

(click on the above image for a larger view)
I figured I better put those pumpkins DOWN, and make at least one other project using one of the other cute images! I decided on the bats! I first stamped the star background usign a cluster from Boo to You, in Orange Zest ink. Followed by the bats layered on top of that with True Black ink.
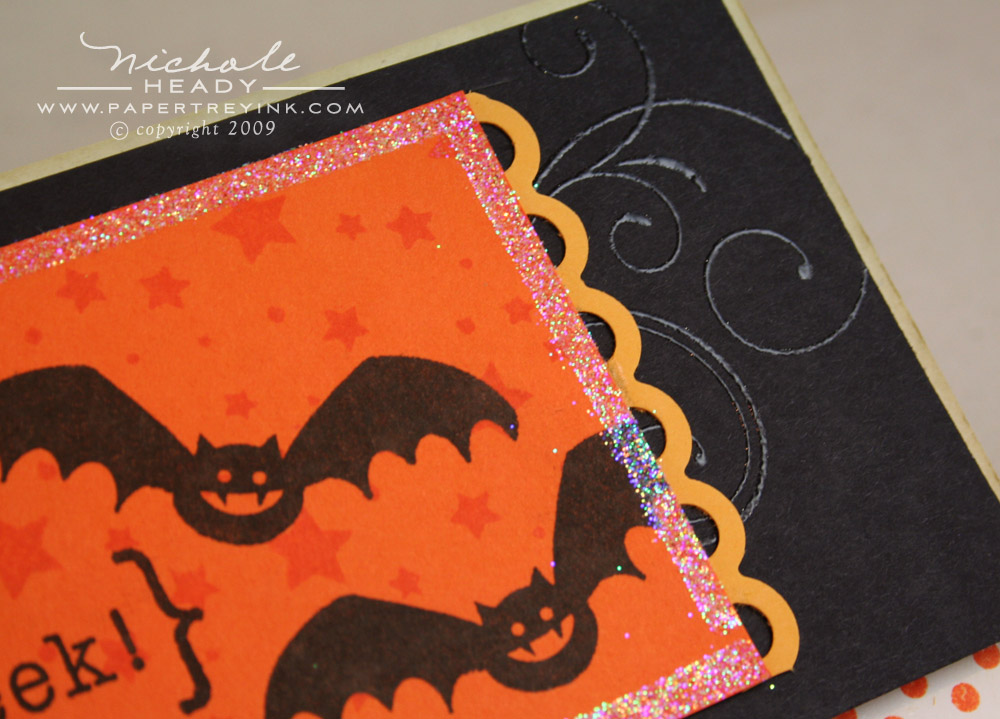
I used a glue pen to apply adhesive around the edge fo the focal point and applied Prisma Glitter. Fancy Flourishes is heat embossed with clear filigree embossing powder in the background. LOVE that detail!
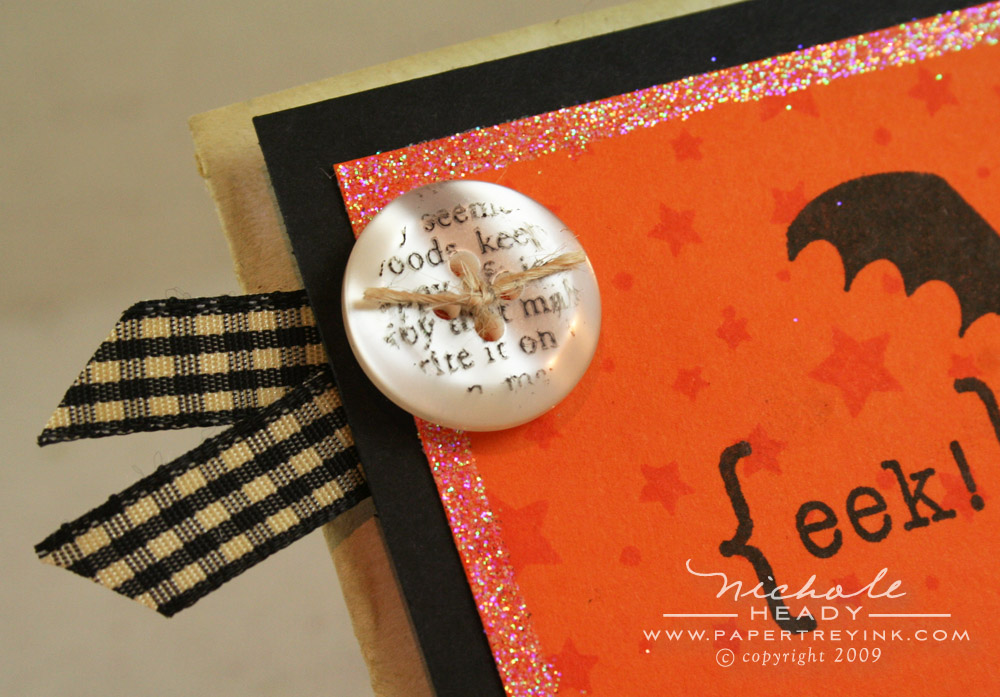
As one last touch, I stamped a vintage cream button with Background Basics: Text Style using Noir Black ink. The button is tied in place with our Rustic Jute Button Twine. One other detail worth mentioning is that I inked our True Black gingham ribbon directly with our Tea Dye Duo to make it look more vintage. Love the way that turned out too.
Aren't you just in love with this sweet little set! From whimsical adult projects to fun crafts for kids, this set will fit in whatever it is used for! What fun things do you to celebrate Halloween in your house? Is there a particular type of project you make every year? Can you already visualize this set being used to help you celebrate the holiday? Tell me all about it! Just for sharing, you'll have a chance at winning…
a FREE Boo to You stamp set!
You have until 8am EST Wednesday, August 12th to leave your comment.
The winner will be announced shortly thereafter (by noon EST) on our August Prize Page which can be found HERE.
Please remember to play nice, only one comment per person please. Good
luck to everyone and thanks for stopping by today!

Heather has even more to share with you in regards to Boo to You!
Melissa has some fun things that she created with Sign Language on her blog today.
Dawn has some amazing projects & ideas using Scattered Showers Additions.
Tiffany shares another Autumn Blessings project with you today.
Lauren is keeping you inspired with more template details!
Kelly has another peek at one of her new template projects.
Mona, our guest template team member, is excited to share a peek with you too!

Complete supply lists for all of today's projects can be found HERE.
Leave a Reply