


 Back in October, we participated in a fabulous Caribbean stamping cruise. While making preparations for ALL the wonderful goodies we would give away at the event, we knew we wanted to pre-release something special with a nautical theme as a special treat to the cruise-goers! Candice Aguilar just happened to have something put together that fit the bill perfectly and here we are nine months later officially releasing it to the public!
The details.
- Out to Sea will become available for purchase on July 15th.
- It will retail for $24.
- It includes 11 nautical themed images and 9 coordinating sentiments.
You know I'm all about finding great inspiration before starting in on any project. I found that…
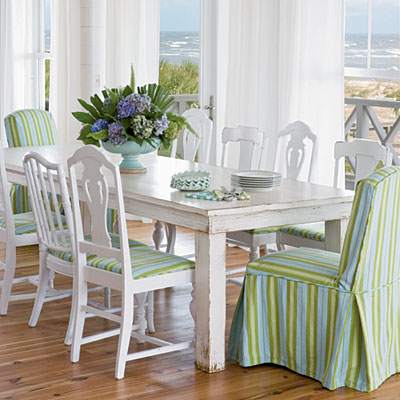
Coastal Living magazine & their website
…really got me going with this set. All of the photos pertain to the sea and therefore offer both color inspiration and general ideas as to how to showcase this new stamp set at it's best! This was one of my favorite photos that I ran across. Isn't it dreamy! *sigh* Wish I was there!

(click on above image for larger view)
I just LOVED the color combo found in the slipcovers paired with the crisp white furnishings & walls. I translated that into Papertrey colors, New Leaf & Aqua Mist. I heat embossed a background created with Polka Dot Basics II onto Aqua Mist cardstock using our Clear Filigree Embossing Powder. (It's all Dawn's fault!) Love the way that turned out! The grid pattern on the new leaf was created with Journaling Lines set and Versamark ink.
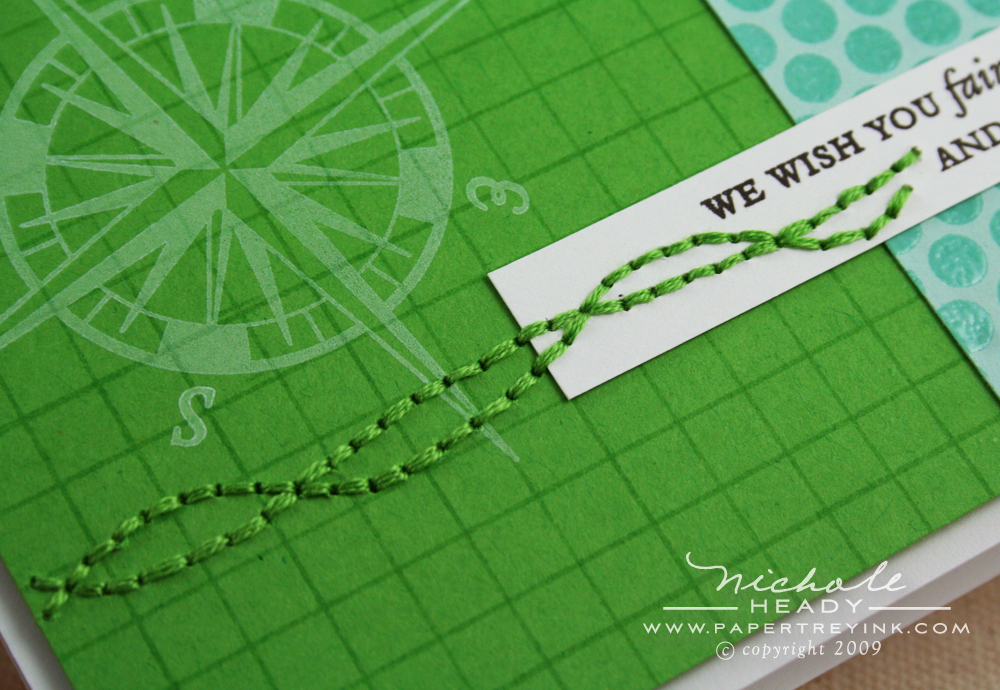
The fabulous HUGE compass rose image is from Out to Sea. The letters representing the different directions are each separate, so you can choose to place them at the ends of the large points or between them, like I did here. The compass is stamped in Fresh Snow ink directly on top of the grid pattern.
I added the stitched border to represent waves & the ocean in an abstract kind of way. I love how it turned out and it accents the sentiment to nicely too.
(click on above image for larger view)
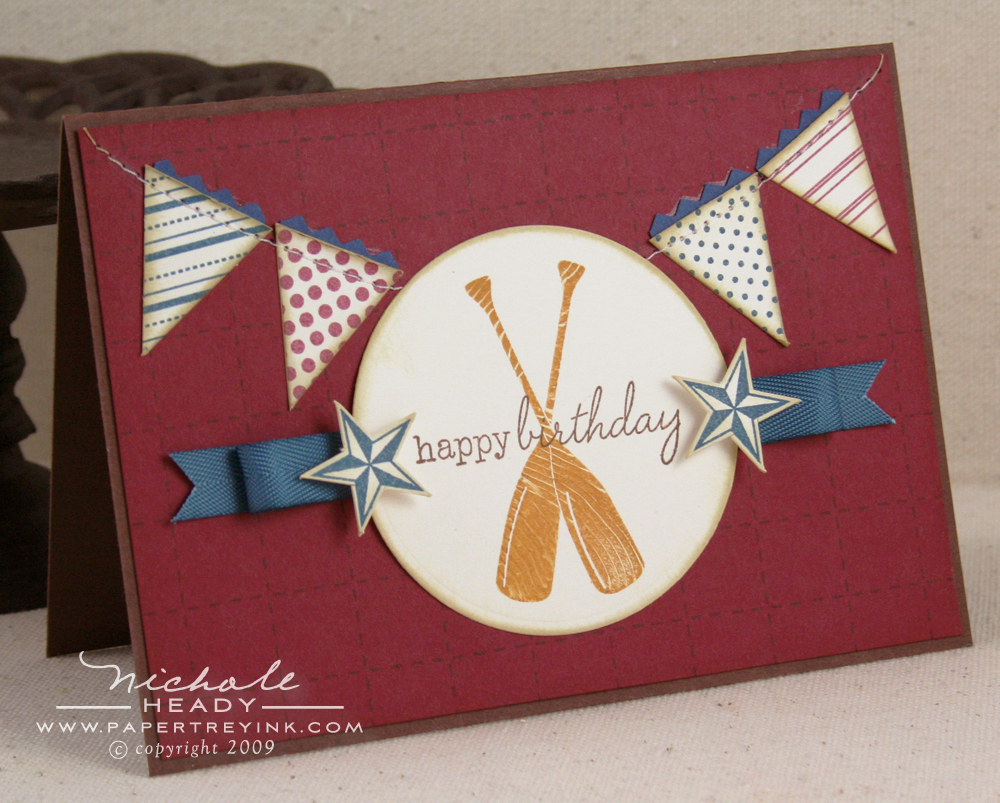
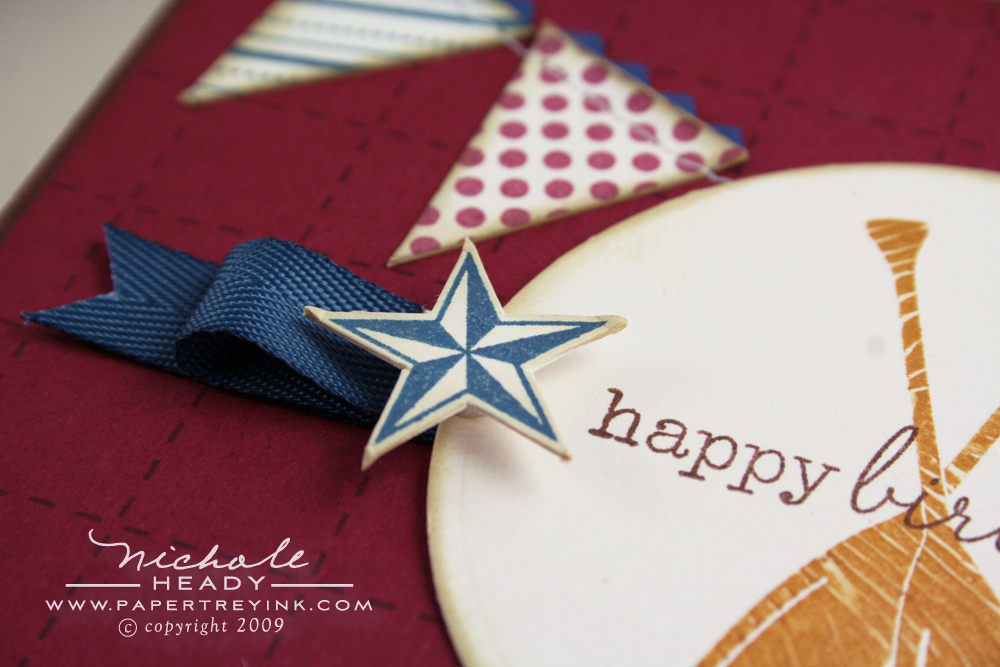
The style of this card is quite a bit different from the first, going a bit more masculine & vintage. The little pennant flags are one of my favorite accents on this piece! They were SO fun to make! They were stamped as using many of our popular background sets. From left to right, I used Let Freedom Ring (striped image), Polka Dot Basics II and Journaling Lines. Little bits of Enchanted Evening cardstock were added to the tops of each pennant and trimmed with pinking shears.
I also used the adorable pair of crossed oars from Out to Sea in addition to the stylish nautical stars.

I gave the oars a bit of a special treatment to make them a bit more textural and realistic. I inked them with Cognac Palette ink and then went over the stamp with a fine tooth comb, LITERALLY! Just one little swoop is all it takes! You want to apply a fair amount of pressure so that you scrape off the ink with the comb.
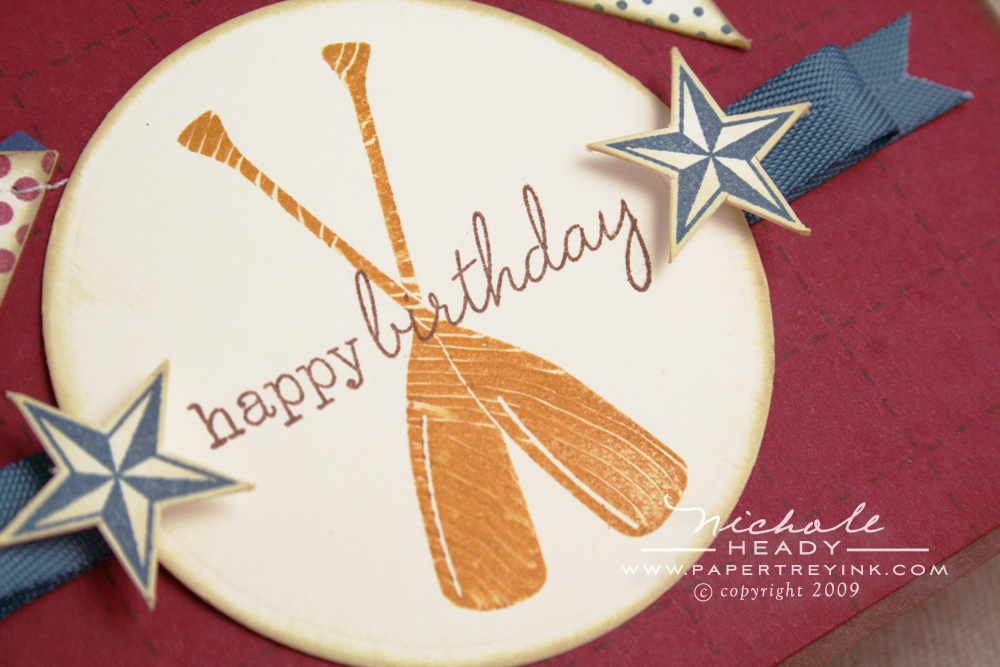
Then you just stamp it! The comb creates almost a woodgrain type of texture. It's a quick, fun & easy technique that urge you to play around with! I thought this font combination from Vintage Picnic was the perfect happy birthday sentiment to add as a second layer on top of the oars. I love when I am able to layer stamps like that!
The nautical-styled stars were cut out and attached the card with foam tape. It's almost like having a free embellishment to use over and over again instead of brads or buttons. These little stars just make THE best accents!
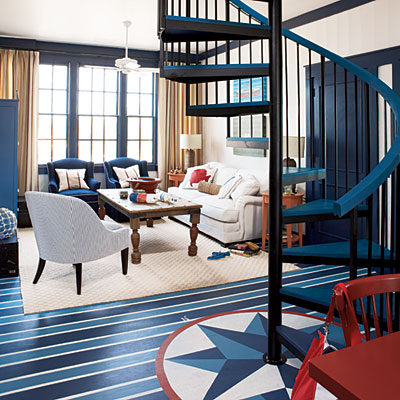
Another inspiration photo, courtesy of Coastal Living. I loved the bold contrast in this room and thought that it just screamed nautical style.
(click on above image for larger view)
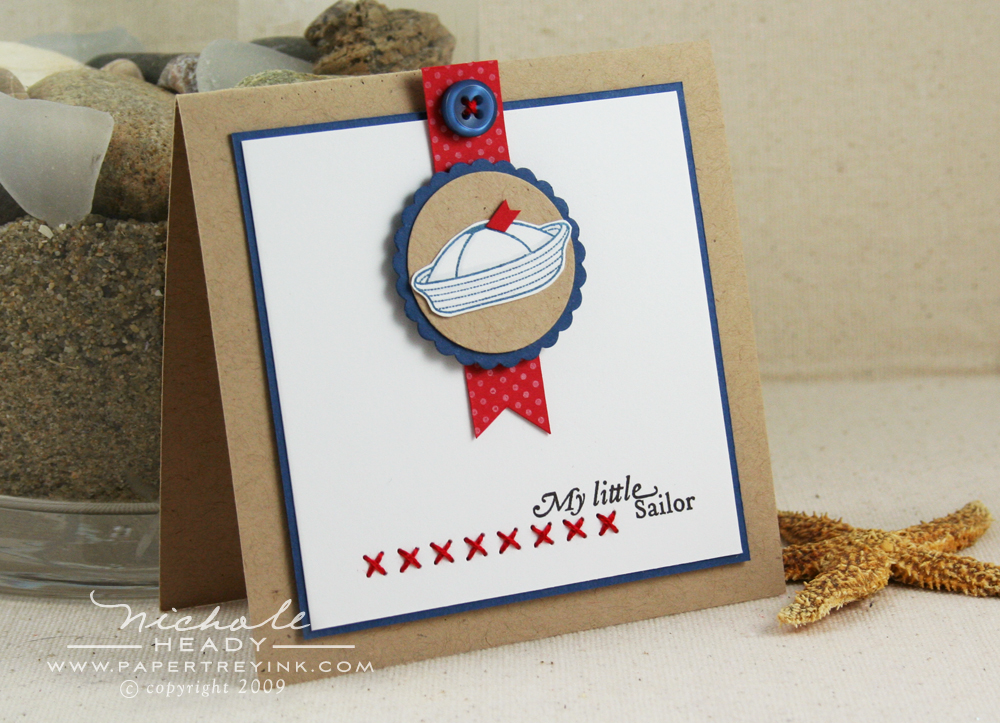
I decided to apply the scheme to a card prefect for a little boy, an area I always struggle in. I was so happy with the way this turned out! This little sailor hat and sentiment are from Out to Sea and they work perfectly together for my chosen theme. The hat was stamped with Enchanted Evening ink and then just a few strokes of Copic Marker T1 were added to create some shadows and shading. I cut out a little snippet of red cardstock to form a bitty flag to adorn the hat. It also helped to emphasize my rule of threes when it comes to accent colors.
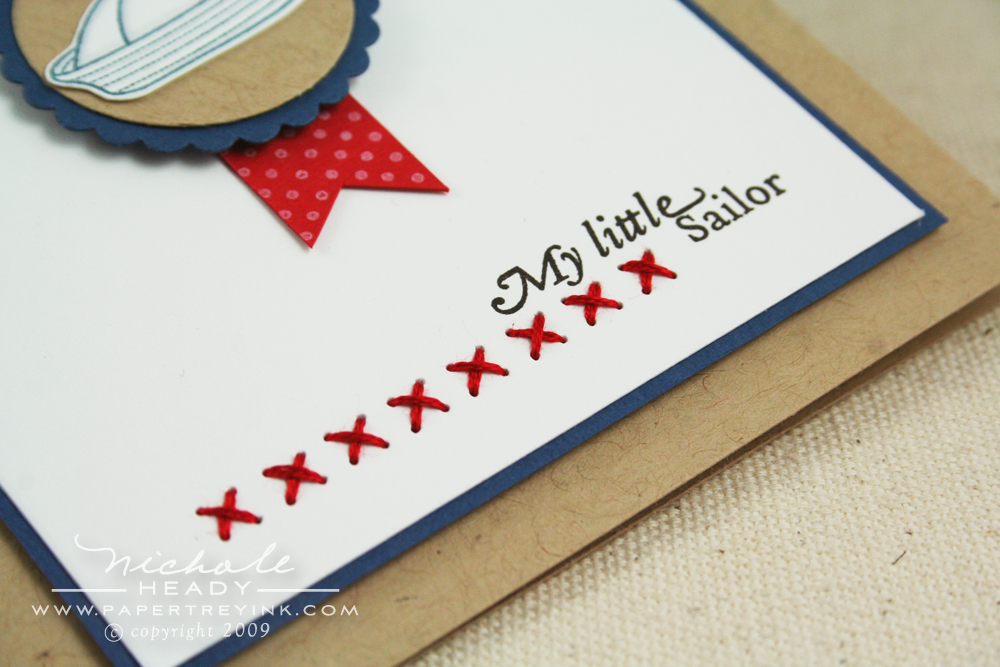
The sentiment seemed to have the perfect place to add a border stemming from the left side, so I obliged with this pretty little row of cross-stitches done with embroidery floss. Since I pre-pierced the holes first, it only took a few seconds to complete my stitching. I just love this little card! It makes me think of my little Ethan!
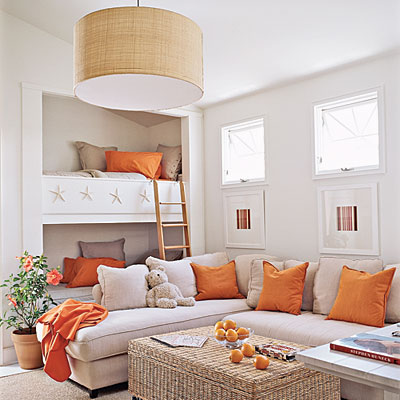
This is the next room I used as inspiration (again, courtesy of Coastal Living). Don't you just love it?
(click on above image for larger view)
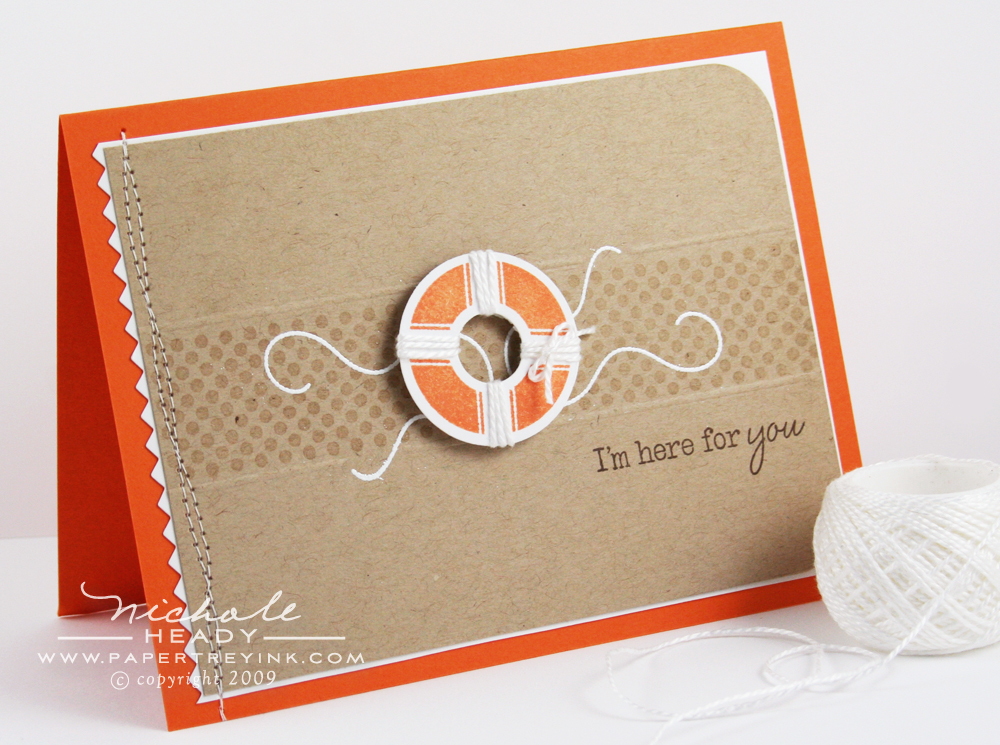
I thought the citrusy orange color would work perfectly with this life preserver image from Candice's set. I used Kraft & White as my companion colors. The little life preserver is so easy to cut out using circle punches.
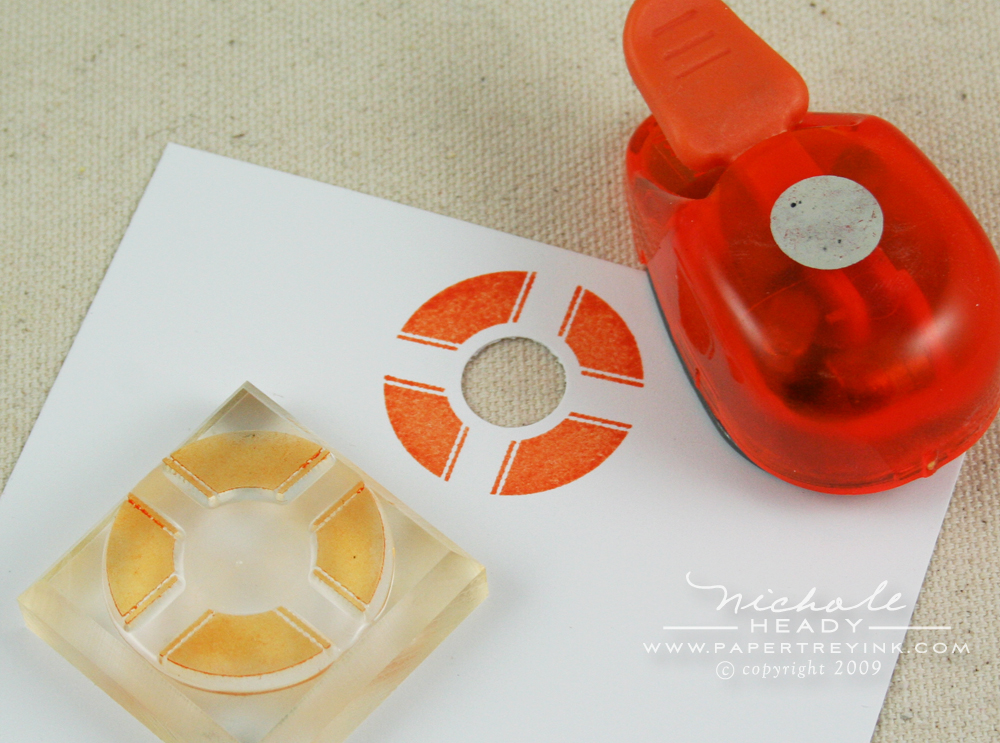
You want to start by punching a 1/2" circle first and then stamping your preserver around it, which is easy to do with clear stamps! Here I used Orangerie Palette ink.
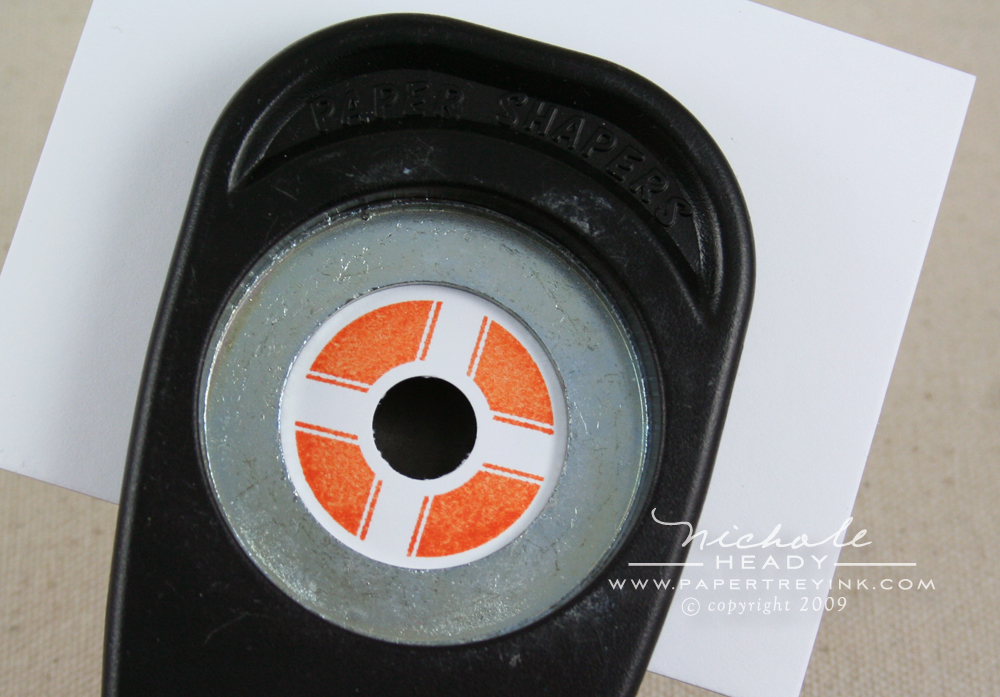
Then use a 1-3/8" circle punch for the exterior. Using these two punches gives you a perfectly equal border on the inside and outside of the preserver.
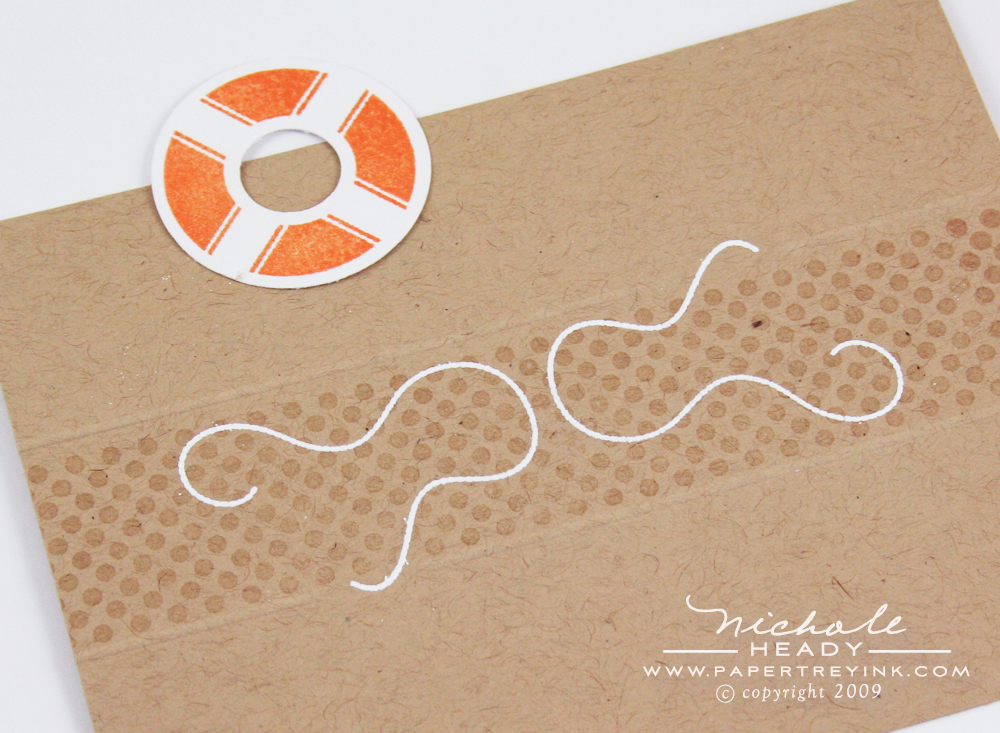
The rope/chain image included with the set works perfectly behind the preserver. The polka dots were added using Polka Dot Basics II with Versamark ink. I also used my ScorPal above and below the polka dot strip to create an embossed accent line.
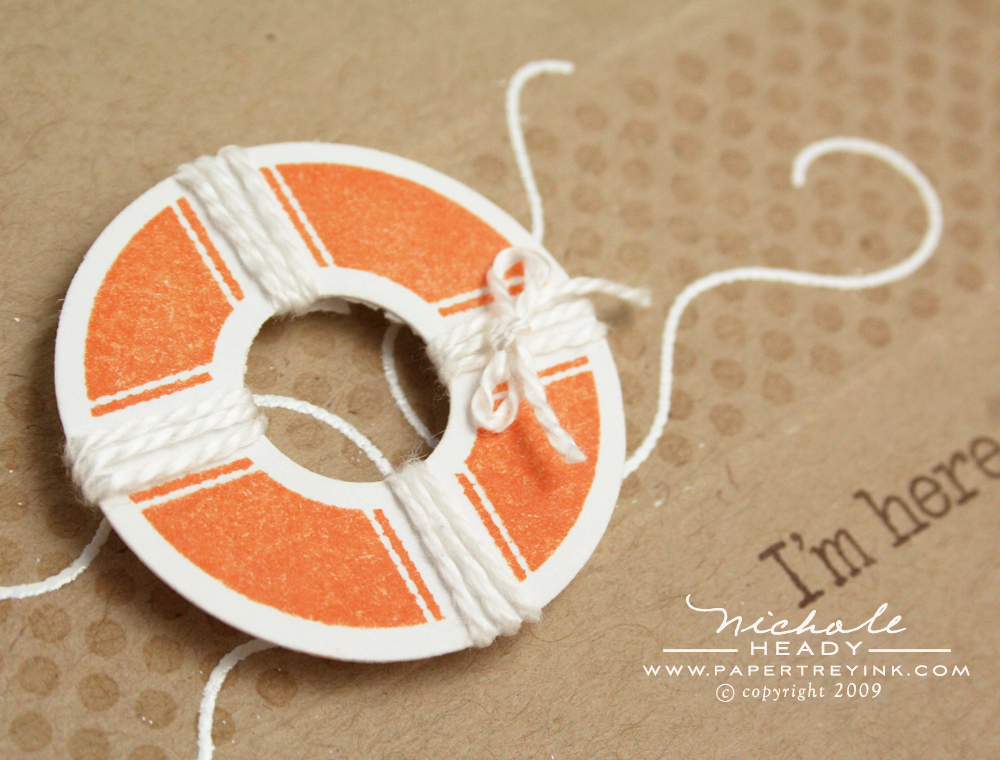
The life preserver was wound with some cotton crochet thread to give the illusion of rope. I though that the addition of the tiny bow was a nice finishing touch for the project.
Isn't this set so fresh & fun? I love getting to stamp with something unique and gets me to exercise my creativity and think outside the box! I hope you enjoyed my presentation today! I would love to hear from you in regards to this new set! Are you an ocean-lover like me? Do you happen to have the luxury of living near the ocean (I'm so jealous!) ? If nothing else, did you learn anything new today that you think you will be able to use in the future?
Just for sharing your thoughts with us today in the comments section
below, we are giving away an Out to Sea prize package!
- Out to Sea stamp set
- Enchanted Evening color collection
- Pure Poppy color collection
You have until 8am EST Tuesday, July 14th to leave your comment.
The winner will be announced shortly thereafter (by noon EST) on our
July Prize Page which can be found HERE.
Please remember to play nice, only one comment per person please. Good
luck to everyone and thanks for stopping by today!

Want to see more of Out to Sea? Check out Michelle's blog for more nautical inspiration!
Lauren has some additional sneak peeks of this month's new templates.
Dawn is featuring even more uses for Mod Squad!
Lisa has pulled out all the stops with her projects today using On My Couch!

Complete supply lists for all of today's projects can be found HERE.
Leave a Reply