


Today is the day I have been waiting for! I've spent nearly three months busting at the seams to spread the word about the latest and greatest innovation from Papertrey Ink! This my friends, is a momentous occasion! Just the beginning of many exciting things to come with the announcement of our new Button Bits collection!
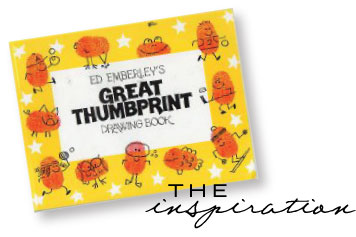
It's no secret that I love buttons. REALLY love them. I like to look at them sitting in their jars all lined up. I love the homespun feel they add to a project when they are hand-stitched in place. I love the variety of textures shapes & sizes. My passion for buttons paired with this beloved book from my childhood inspired the entire concept behind Button Bits.
In the book, Ed Emberley shows children how to turn their fingerprints into people, animals, flowers and all sorts of fun things. (It's a fantastic series now and I HIGHLY recommend it for any of you that have little ones!) I recently stumbled across some of my thumbprint art from when I was a child and it got me to thinking how fun it would be to have a stamp set that allowed you to apply the same concepts to buttons.
Details.
- Everyday Button Bits is the first of many sets that will eventually make up the Button Bits Collection.
- Everyday Button Bits will be available July 15th for the price of $24.
- It contains 11 images that can be completed with the addition of buttons or circle punches, along with 17 complimentary sentiments.
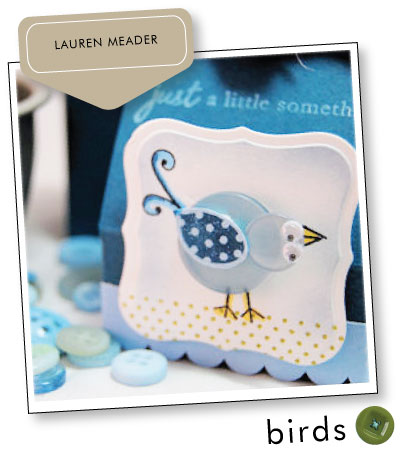
I thought I would start with one of the most fun images in the set, and that is of this little birdie. I know, I know. You're probably thinking, "THAT does NOT look like a bird!"
Trust me. Read on for more!

The bird body is stamped in Noir Black ink onto Stamper's Select White cardstock. This would be a good time to mention that there are TWO of these little guys in this set; one large and one small. You can use them separately, as I am here, or they can be friends on a card cover together.
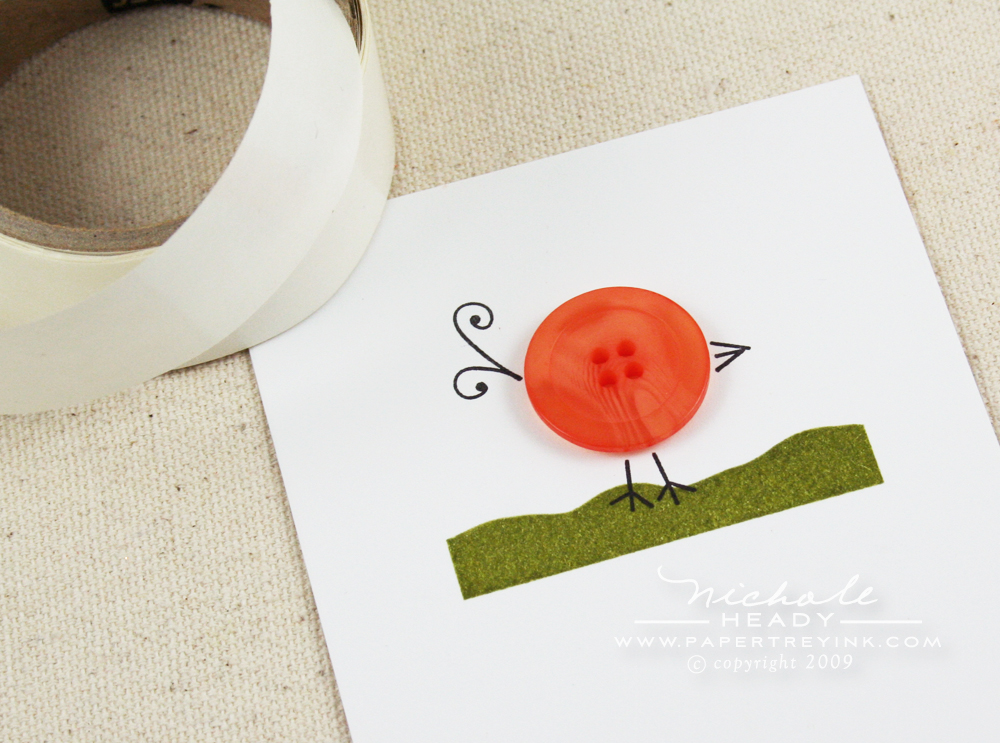
Here is the original bird body with the addition of a stamped grass image from the set. The grass image can be paired with a number of different images in the set to help *ground* them. I've also selected a Melon Berry button for his body. Such a great use for the larger Vintage Buttons that you all are always inquiring about! I simply used Glue Dots to adhere my button in place.
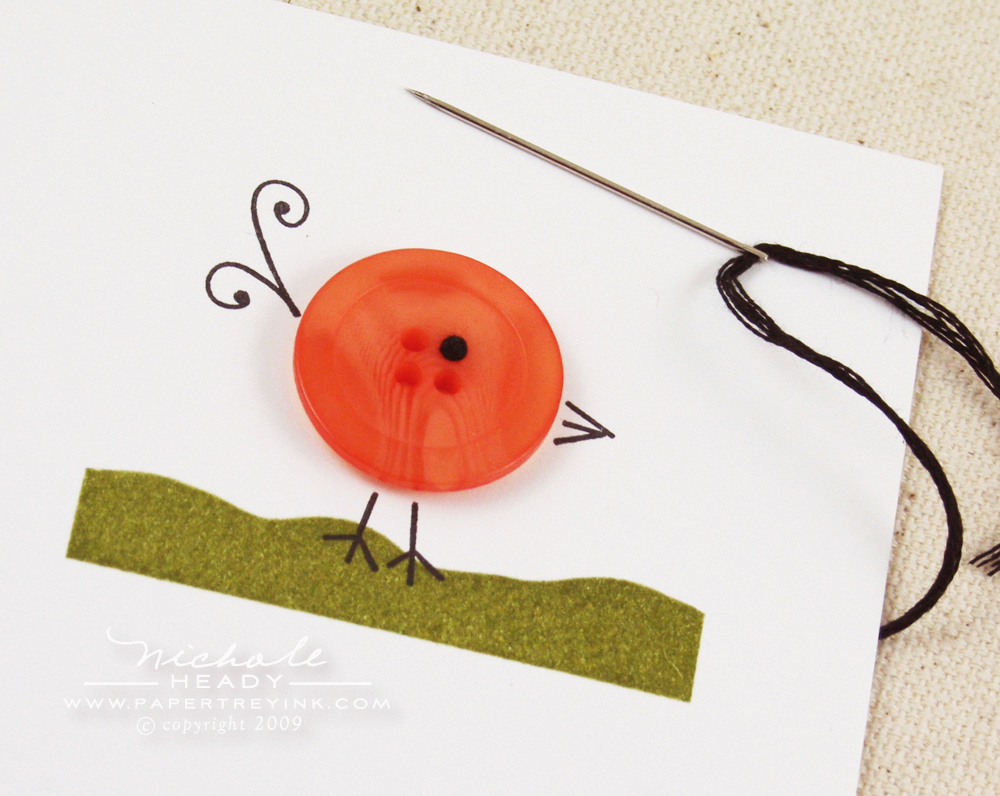
I wanted to make him a little eye (he needs to be able to see!) and decided it would be clever to add a french knot with black embroidery floss to the upper right button hole.
(click on the photo above for a larger view)
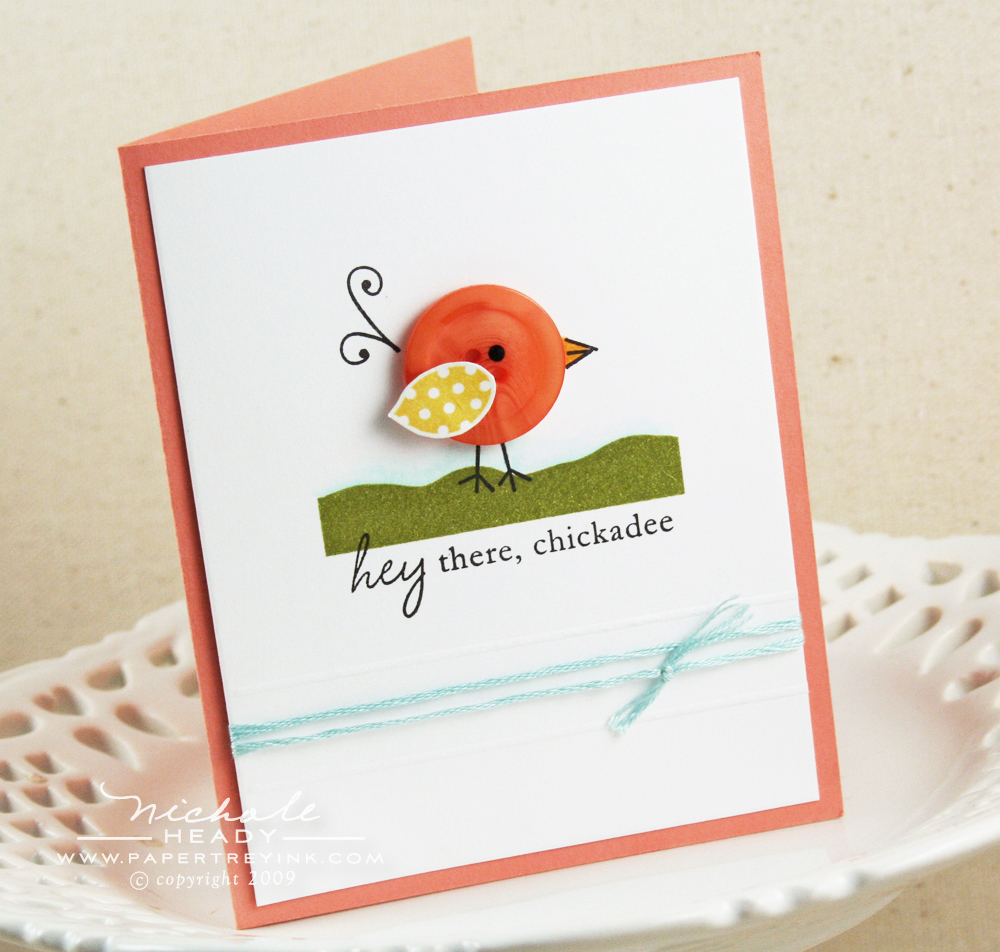
There are two wing choices for each of the birds, stripes or polka dots. The wings are separate stamps so that you are able to cut them out and layer them on top of the button. They are easy to adhere with Glue Dots.
And something new I've been playing around with. Remember my PTI/DMC coordinating embroidery floss chart (CLICK HERE if you missed it the first go round!) ? I've started using the floss as I would ribbon and wrapping it around my card fronts. I love the tiny punch of color it adds. Quite a different effect when compared to wider ribbons.
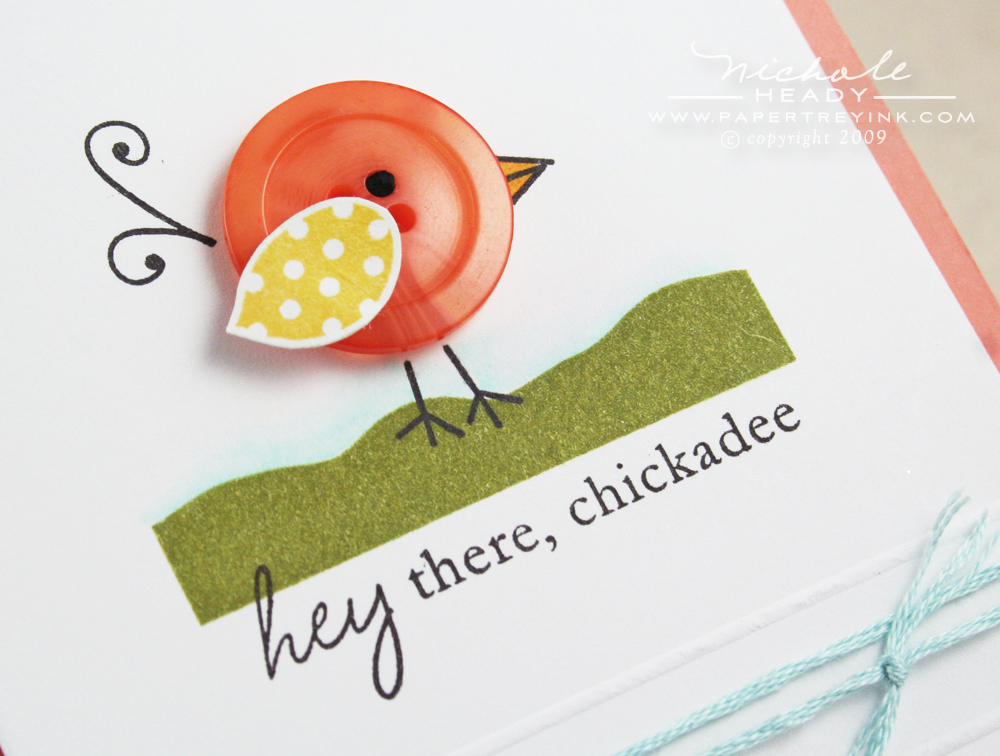
And how about that cute little sentiment? I happened to be on the phone with my dear friend Dawn when I was finishing up this set and she thought that I should add this, since it is one of her favorite phrases. I think it pairs so well with this image too!
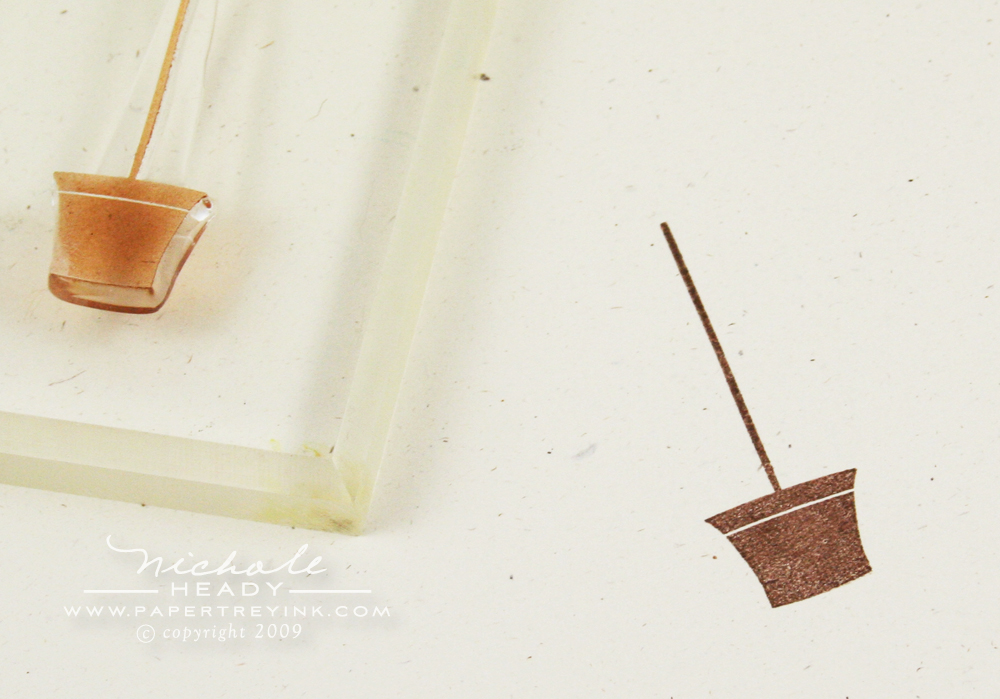
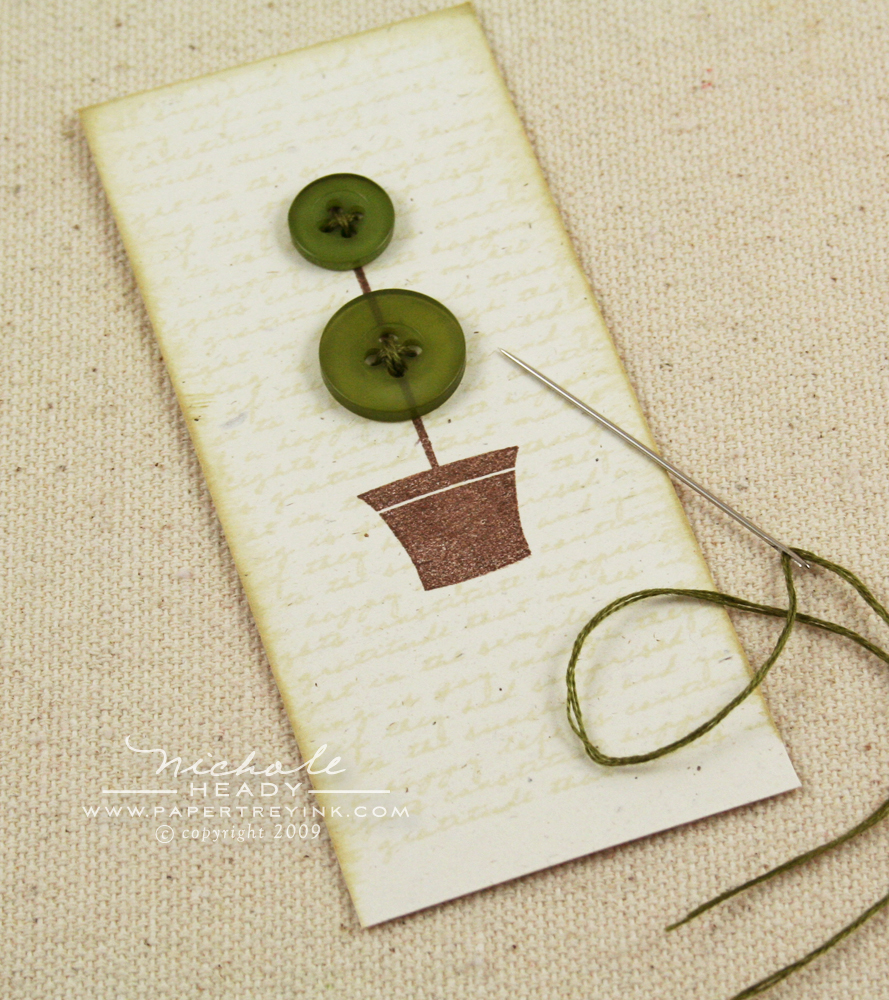
How about an introduction to another image from this set? This Button Bits image is designed to be used as a topiary base. I stamped it in Dark Chocolate onto Rustic Cream cardstock.
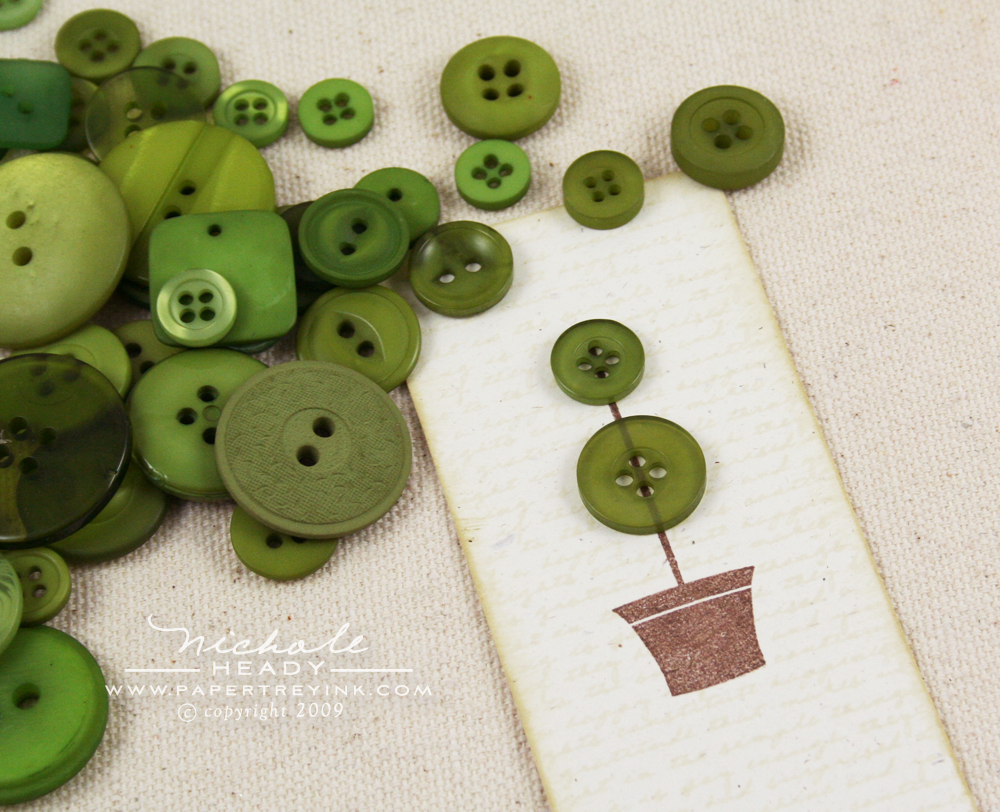
One of the fun things about this set is getting to dig through all your Vintage Buttons to find the *perfect* ones for your project at hand! Notice that I trimmed down the topiary base and added Background Basics: Text Style with Chamomile Tea Dye ink as a background. I also inked the edges with our Vintage Tea Dye Duo.
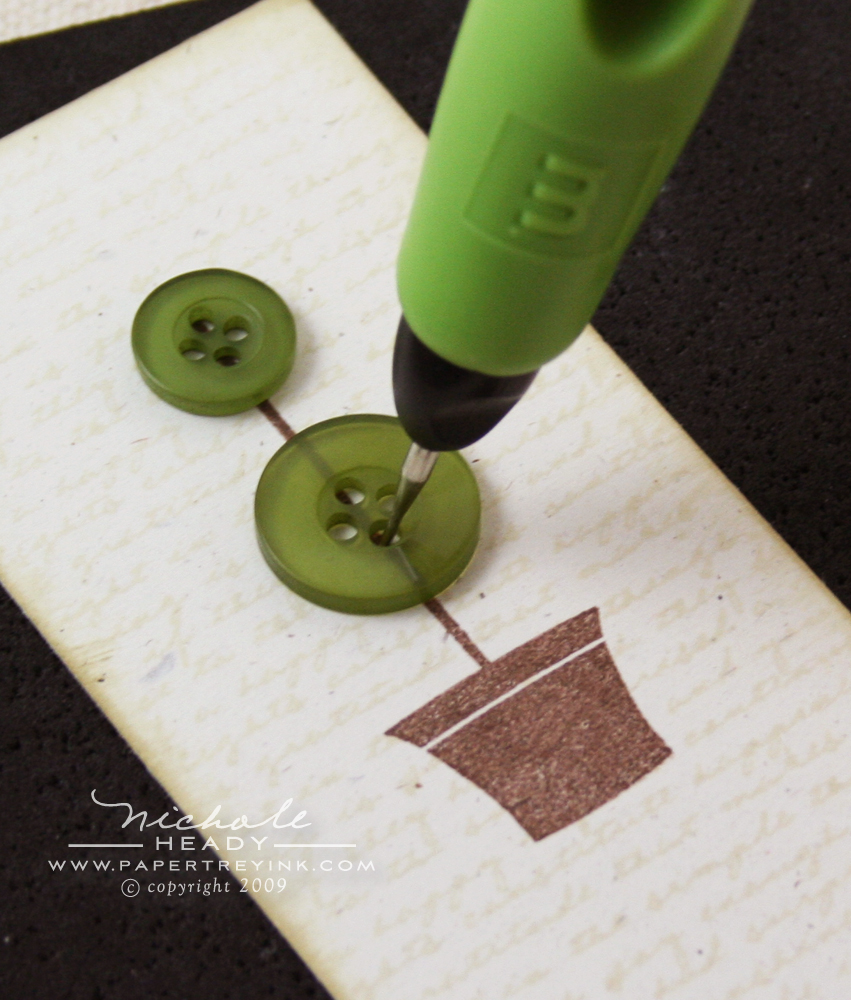
If you are wanting to stitch the buttons directly in place, the best way to start is to position them exactly where you would like and pierce through the button holes and therefore down through the paper. Having a foam mat or mousepad underneath your cardstock will be a huge help.

Here's a little tip. Whenever I do any stitching I like to secure the ends to the back of my image with Scotch tape. It's not as bulky as a knot and I know it won't pull back through while I am working. If you don't do this already, you totally need make the switch!
Here are my buttons stitched perfectly in place!

I felt like I had quite a bit of dead space around the topiary, so I decided to stamp the vine image from Heather's Beyond Basic Borders set on either side of the focal point block. I LOVE the way it turned out and the ol' wheels are already turning as to what other applications this could have!

(click on the photo above for a larger view)
The finished card. I matted the focal point topiary with Dark Chocolate cardstock and left a little bit of extra height at the top to trim with pinking shears. The look kind of reminded me of an old merchandise tag of sorts.

I ended up stamping the topiary base a second time and cutting out the pot portion. I adhered it to the existing one on the card cover with foam tape. I found that the project needed this to balance the sentiment strip at the bottom that was also adhered with foam tape.
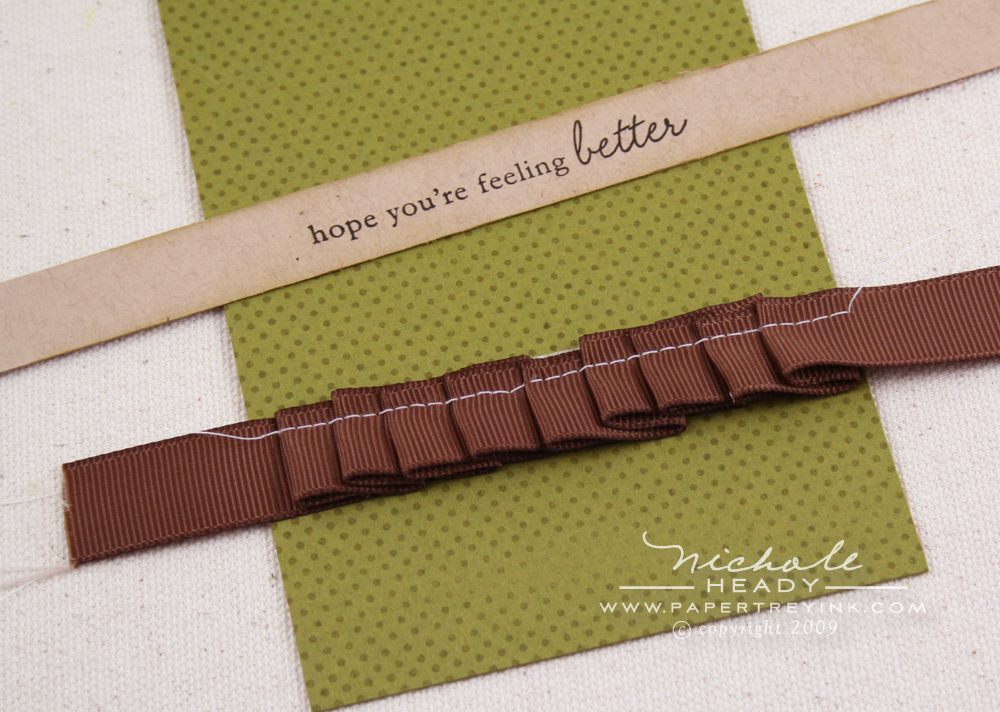
For the pleating underneath the sentiment strip, I simply stitched Dark Chocolate Grosgrain ribbon into a random pleated border. This was achieved by folding the ribbon back and forth as I sewed down the length of the card front. I chose to stitch it like this so it would stay in place where as adhesive may not have held as well with all those layers.
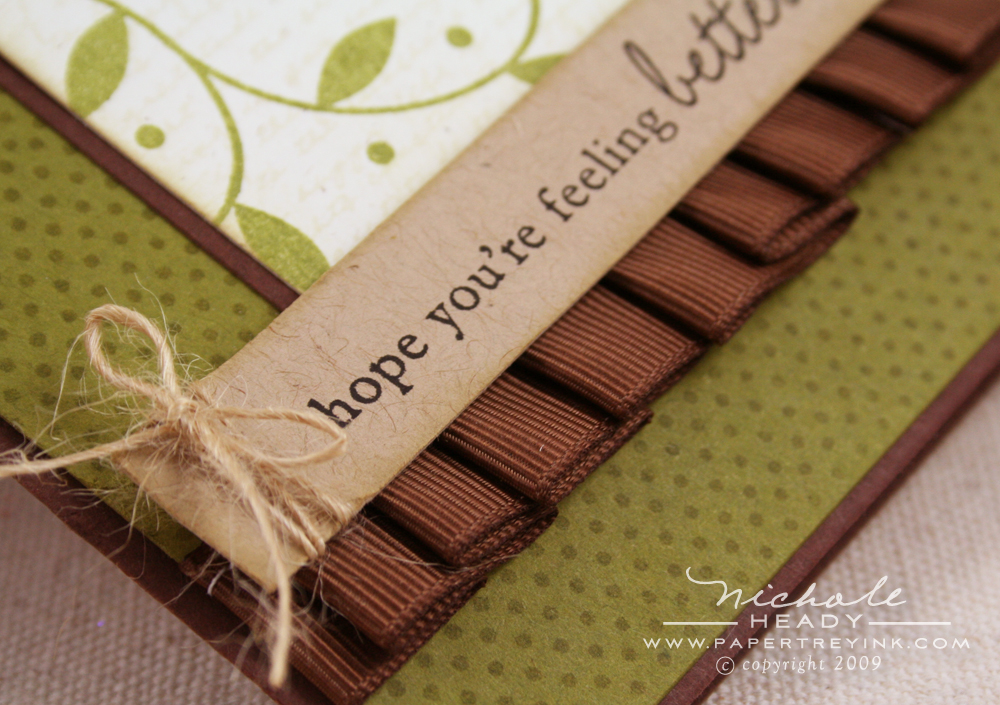
I tied a bit of Rustic Jute Button Twine around the end of the sentiment strip and finished it off with a tiny little bow.

One more quick little card for you, using yet another one of the many image in Everyday Button Bits. I started with my background treatment, which I like to call "Half & Half". I do this technique a lot, especially when I need to change things up from my standard same-old backgrounds. All you do is select two different background stamps and stamp one half of your card front with each. I used Versamark ink on Scarlet Jewel cardstock for my sample here.

(click on the photo above for a larger view)
The cherry stem & leaves is one of my favorites from the set (you may remember it from the sneak peek earlier this week). I stamped them with Spring Moss ink onto some cotton fabric cardstock I made. I've make several sheets of this at once by cutting fabric into 8,5 x 11" pieces and adhering it to white cardstock using Heat n' Bond.
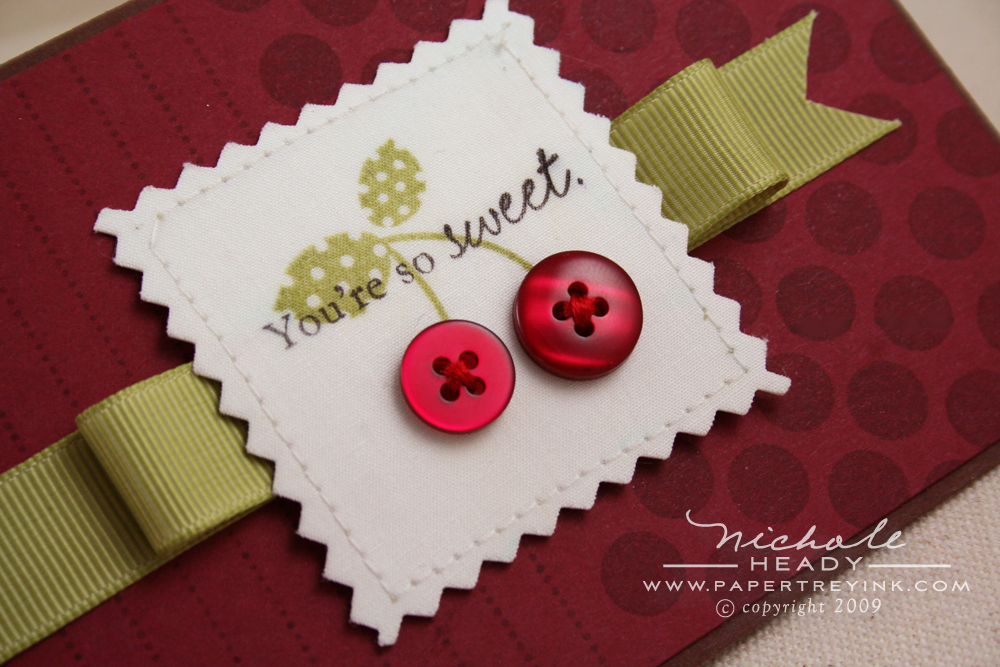
All I had left to do was add the sentiment with Noir Black ink followed by stitching two Scarlet Jewel Buttons in place to represent the cherries. A little stitching with the sewing machine around the perimeter followed by a trim with my pinking shears did just the trick. SO fun!
I've recruited the entire design team to help me showcase Everyday Button Bits to the fullest! Be sure to stop by each blog and see how they used the different pieces to create their own little masterpieces!

CLICK HERE to read more from Heather Nichols.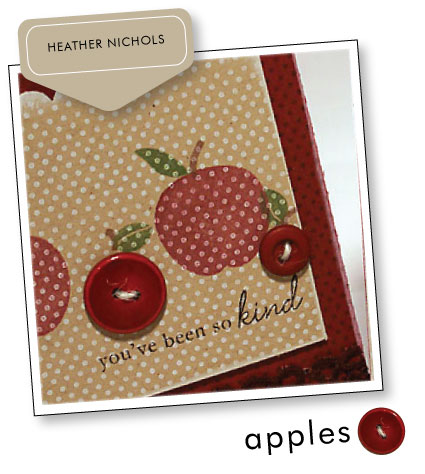
CLICK HERE to read more from Niki Estes.
CLICK HERE to read more from Becky Oehlers.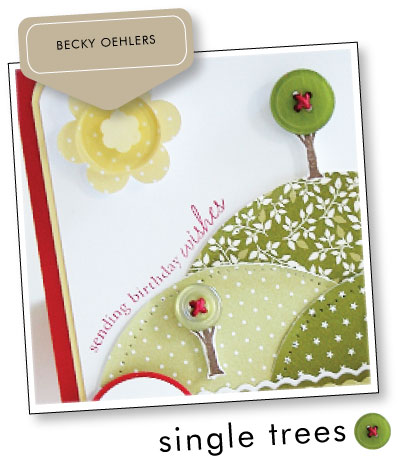
CLICK HERE to read more from Dawn McVey.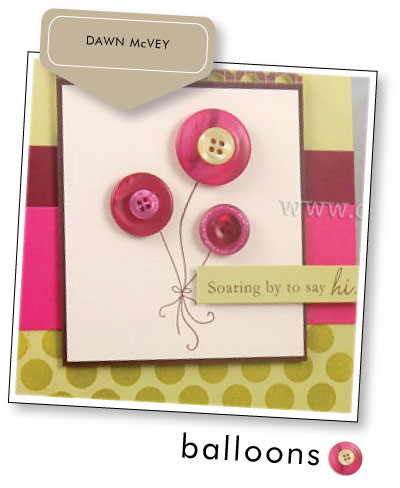
CLICK HERE to read more from Debbie Olson.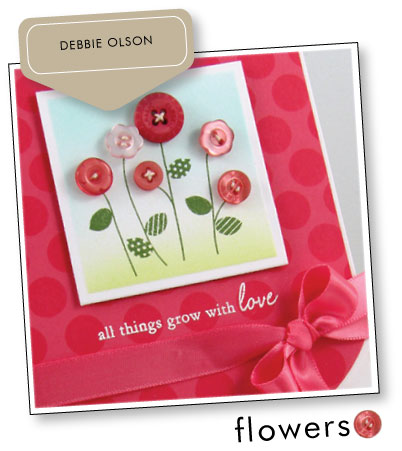
CLICK HERE to read more from Lisa Johnson.
CLICK HERE to read more from Melissa Phillips.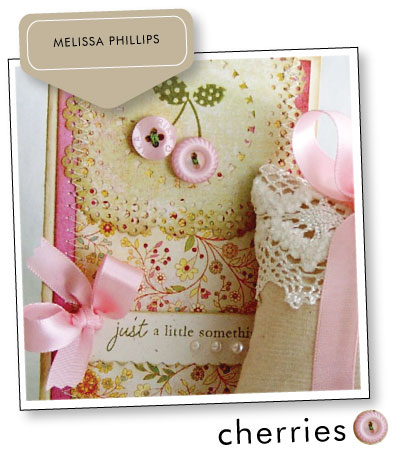
CLICK HERE to read more from Geny Cassady.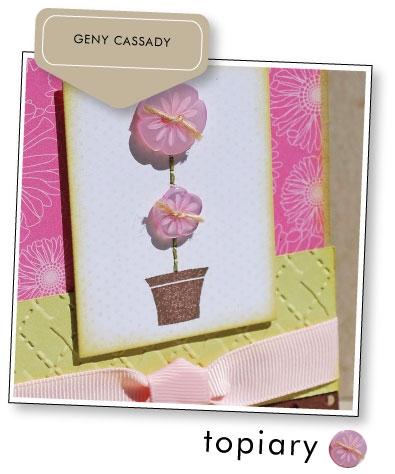
CLICK HERE to read more from Lauren Meader.
CLICK HERE to read more from Betsy Veldman.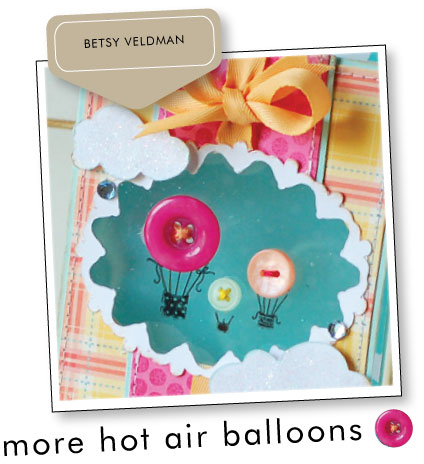
CLICK HERE to read more from Michelle Wooderson.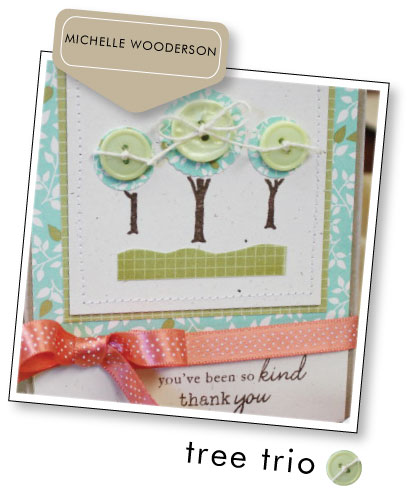
What an amazing bunch of artists I get to work with, huh? And I don't think I could ever communicate exactly how magical it is to see all of them use the very sets I design and bring them to life in such a beautiful way! I hope you enjoyed ALL of the amazing inspiration today!
We want to know what you think about Everyday Button Bits and the Button Bits concept! What other images or sets would you like to see in the future following along the same theme? What image from Everyday Button Bits speaks to you the most as a must have?
Just for sharing your thoughts with us today in the comments section below, we are giving away an Everyday Button Bits prize package!
- Everyday Button Bits stamp set
- One bag each of Vintage Buttons in EVERY color we carry, 17 bags TOTAL!
This prize package has a retail value of over $100!!!!
You have until 8am EST Sunday, July 12th to leave your comment.
The winner will be announced shortly thereafter (by noon EST) on our
July Prize Page which can be found HERE.
Please remember to play nice, only one comment per person please. Good
luck to everyone and thanks for stopping by today!

And believe it or not, there's still more!
Lauren has an additional post featuring more template sneak peeks!
Dawn put together even more projects using the hip new Mod Squad set she designed.
Lisa pulled out all the stops with her cards today using On My Couch & Additions!

Complete supply lists for all of my projects today can be found HERE.
Leave a Reply