


I've mentioned many times in the past how fascinating it is to me the way so many handcrafts and their individual supplies are now merging into one another. One of which is fabric. This pliable medium is SO fun and easy to incorporate into paper crafting, offering you so many new levels of exploration with the supplies you already have on hand.
The challenge this month was to stamp on fabric and then integrate it into a project. While I was experimenting with some different techniques, I accidentally left the cap off of one of my Copic markers and it had bled onto the fabric I was working with. At first I was frustrated with what I had done to my work in progress, but then decided that I actually liked the look and would embrace the technique!

The fabric I used was an old white bed sheet that I have been saving for ages, thinking I would one day have a good use for it! If you don't have any old ones, you can get a new sheet at any big box store for a bout $5. I used a ruler and various Copic markers (aqua mist, ocean tides & spring rain) to create a series of stripes. I chose to use the broad tip, but either one would work depending on the final look you were going for. One thing I LOVE about this technique is the color coordination. Since I have Copics that coordinate with our colors, I am able to create stripes in dozens of different combinations that coordinate with our products too. What's not to love about that!

I love how *artistic* the stripes look, almost like some kind of watercolor paint technique, only without the mess! After I completed the stripes, I adhered a piece of white cardstock to the back of the fabric using Heat n' Bond. If you don't feel like getting the iron out, you could also use wide pieces of Scor-tape.
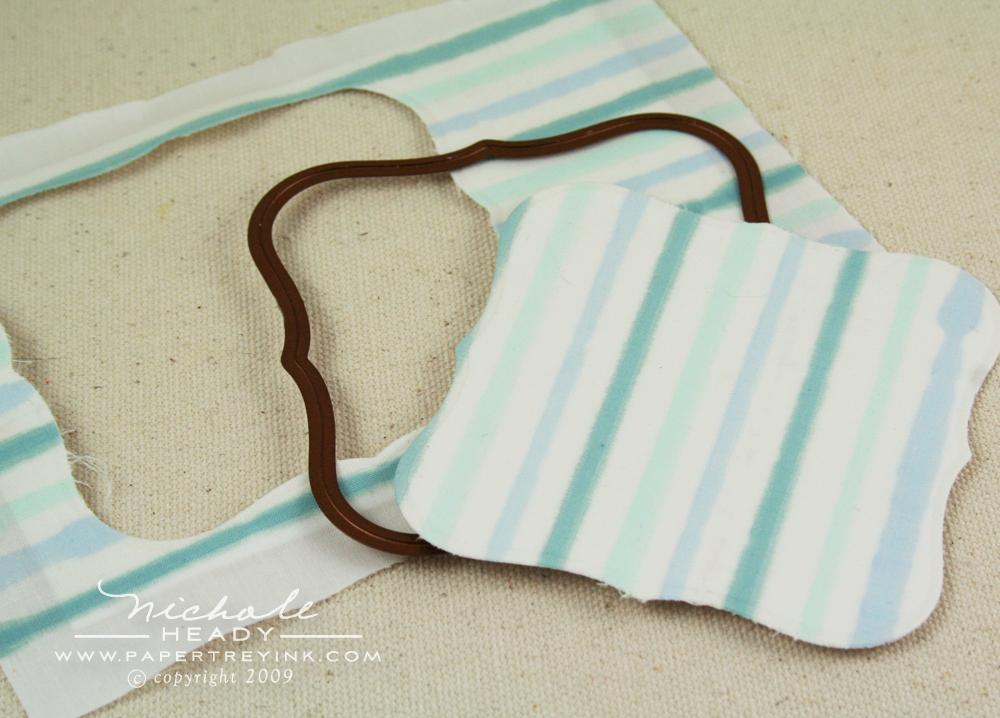
The cardstock provides some stability so that you are able to get a more defined cut and a bit of the embossed look when using Nestabilities. Here I have used Labels 1. You can run the fabric back and forth through your machine several times for a clean cut or just a few times for something it bit more rough, like I did here. I used my fingernail to pull a few of the threads loose around the edges to help reinforce that.
(click photo for a larger view)
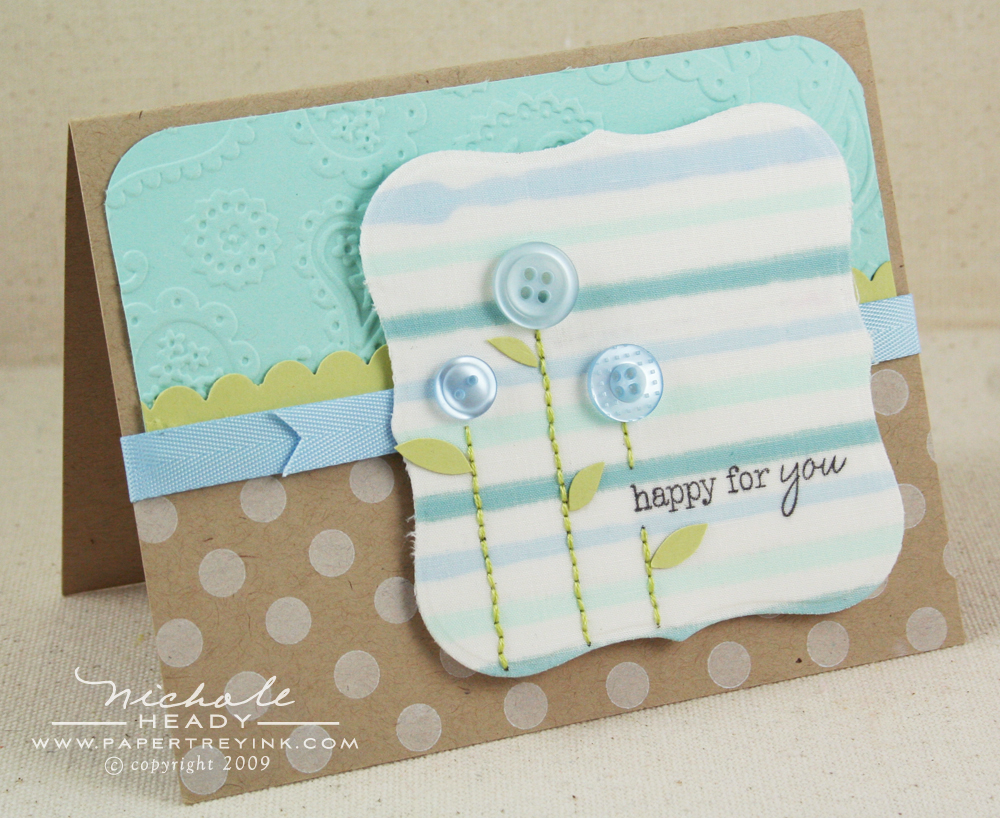
Once the die-cut shape is integrated into a project, it really adds a little bit of zest that it would have been lacking without the pretty patterned fabric. The aqua mist cardstock was embossed with a paisley embossing folder from ProvoCraft. Spring Rain Twill was used as a border through the center of the card. Polka Dot Basics & Fresh Snow ink were used on the lower portion of the card.
(click photo for a larger view)
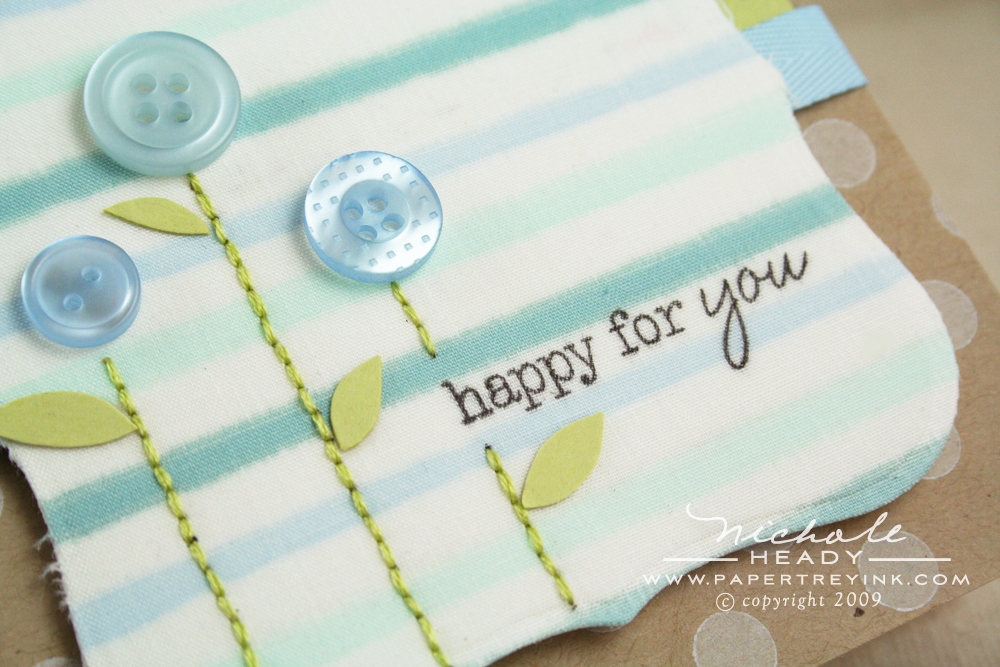
Spring Rain buttons and embroidery floss with a few bitty cardstock leaves thrown in, make up the focal point created on top of the die-cut fabric. The sentiment (from Vintage Picnic Sentiments) was stamped in True Black ink directly onto the fabric. Overall, just a fun little card to brighten someones day!

I challenged the senior design team to take a new look at fabric in their stash and incorporate it into a fun project. You won't believe some of the incredible things they have come up with!
To read more from Heather Nichols, CLICK HERE.
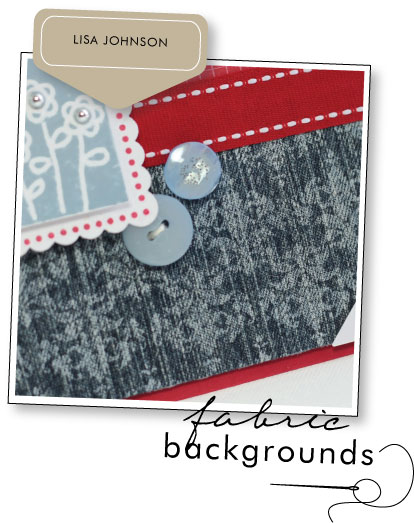
To read more from Lisa Johnson, CLICK HERE.
To read more from Michelle Wooderson, CLICK HERE.

To read more from Lauren Meader, CLICK HERE.

To read more from Becky Oehlers, CLICK HERE.

To read more from Wendy Sue Anderson, CLICK HERE.

Want more? Here are a few other projects I personally have done in the past that execute some of the ideas surrounding today's challenge…
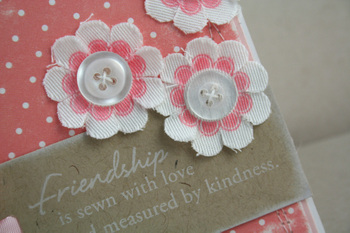
To read more about these rustic fabric flowers, CLICK HERE.
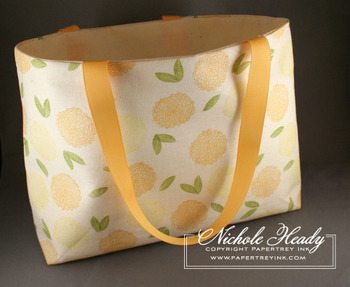
To read more about how to construct this simple fabric purse, CLICK HERE.
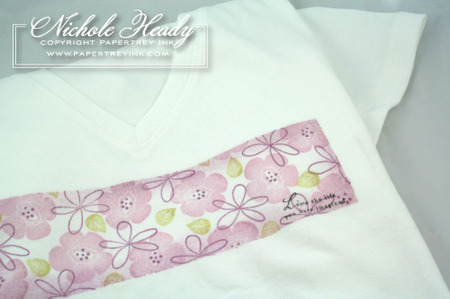
To read more about stamping your own custom t-shirts, CLICK HERE.
I hope you enjoyed all of today's inspiration! So what are you waiting for! Go grab some fabric, experiment and have fun! You never know what you'll come up with! I'd love to see what you create! Please feel free to leave a link in the comments section!

Stamps: Polka Dot Basics, Vintage Picnic Sentiments
Ink: fresh snow, true black
Paper: aqua mist, spring moss, classic kraft, stamper's select white
Other: spring rain vintage buttons, spring rain twill, scalloped scissors (Fiskars), DMC embroidery floss, Labels 1 Nestabilities.
Finished Size: 4.25" x 5.5"
Leave a Reply