


 I know I am not alone when I make a formal declaration that I love this girl! What? Who's that girl, you're asking? Well, none other than Michelle Wooderson, of course (but her friends like to call her Mish!). Several months ago, I got an unexpected email from her that outlined an entire stamp set that she dreamed of becoming a reality. As I was reading everything that she had written, I immediately felt her excitement and also shared *the vision* and have been sketching different ways to execute her ideas ever since. Everything finally came together in perfect form a few months ago. And to think it all started with this…

(you can click on the image for a larger view of Michelle's original sketch!)
…along with the contagious enthusiasm that only Mish can exude. I am positive that once you see some of the samples made with (in my opinion) one of the best Papertrey sets of all-time, Mish will have you hooked too!
Vintage Picnic ($24) & Vintage Picnic Sentiments ($15) will both be released on June 15th. Vintage Picnic (a set of 27 images) contains a variety of vintage picnic baskets along with a selection of "toppers" that can be mixed & matched. Vintage Picnic Sentiments compliments it perfectly with 17 different ways to show you care. Now how about a few projects?

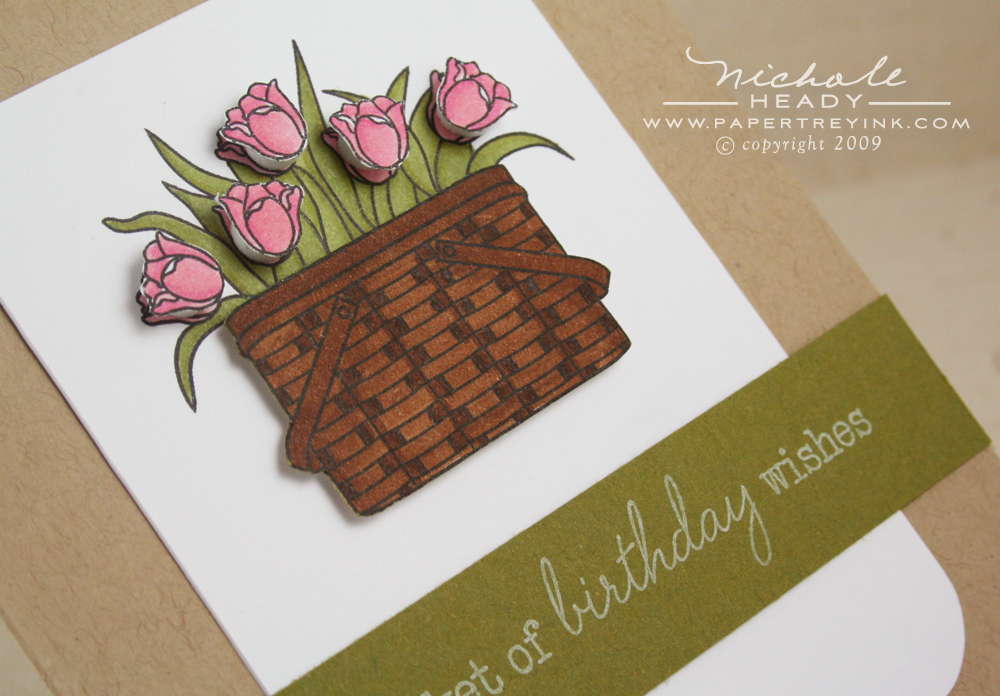
(you can click on the image for a larger view)
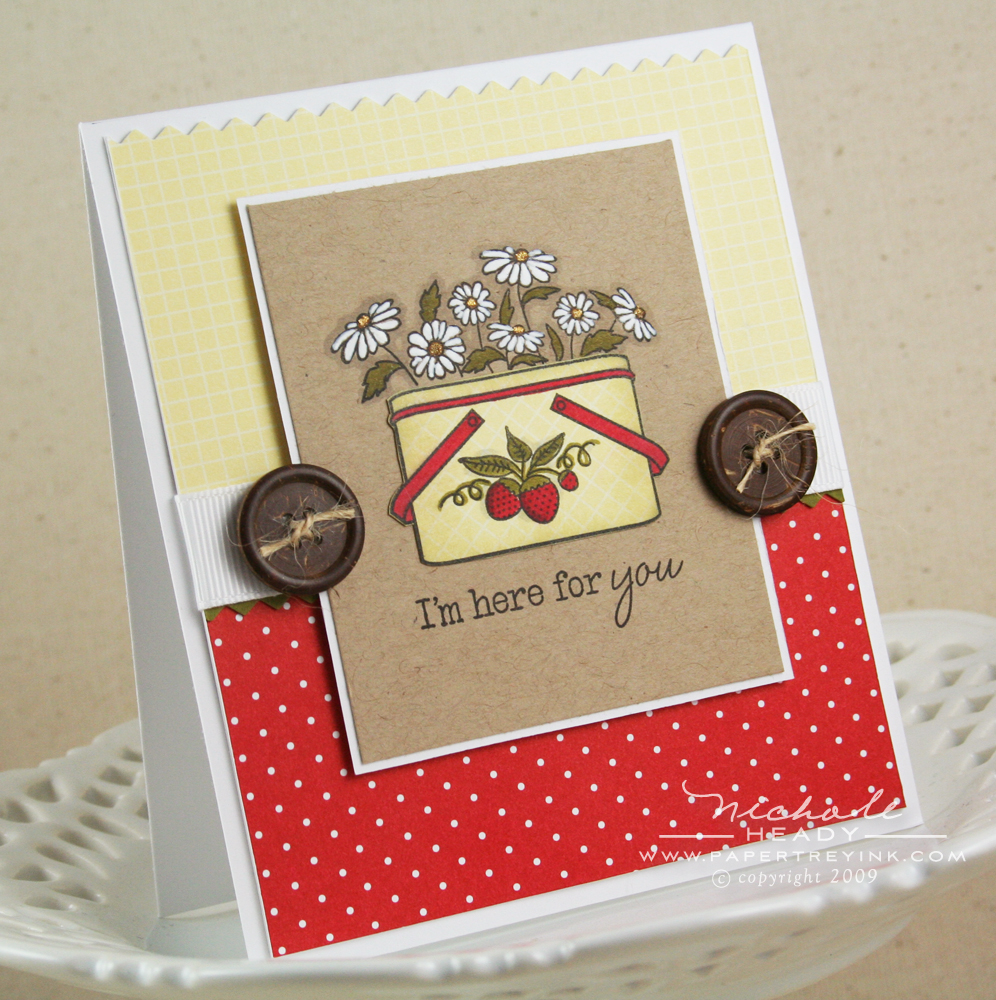
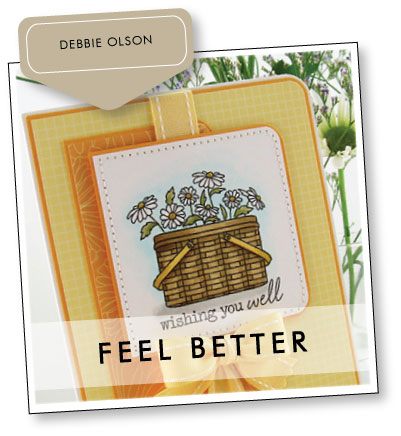
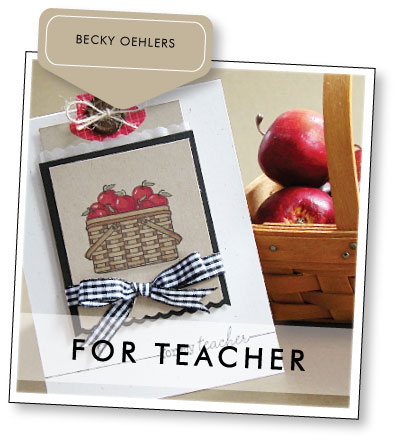
First up is a perfect "feel better" card (how's the ol' saying go, an apple a day keeps the doctor away?). With the bright cheery colors, this type of project is sure to brighten almost anyone's day! If you look closely by enlarging the photo, you will notice the dainty pattern stamped on the red cardstock with Versamark ink. It is a small daisy cluster stamp that is designed to fit perfectly on the front of one of the plain picnic baskets, but as shown here, it also works well for creating custom backgrounds.

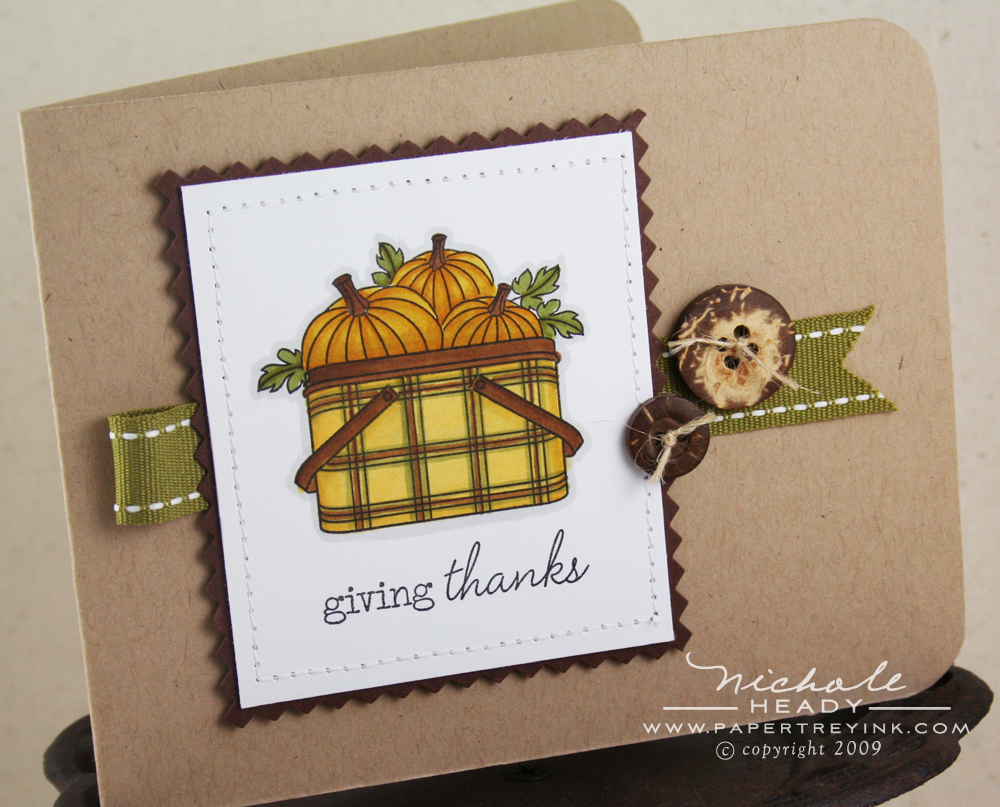
I love this particular picnic basket. The corners and handles feature a small stitching detail that is just adorable! Reminds me of stitched leather accents in a way, which is why I chose to color them brown. Speaking of coloring…
I know a lot of you have months, or even years of experience with Copic markers. Then there are others of you who may perhaps be left scratching your head trying to figure out how they work and how to use them. I put together some compact little tutorials for each of my projects today that ought to help any beginners pick up a few tips & tricks. You can even print them out to keep by your side while you're working!
So here is a little step by step break down for my apple project!

(you can click on the image for a larger view)
An important tip is to always work while your ink is wet for better blending results. In other words, the sooner you apply the darker shading color to the lighter base layer, the better it will blend since everything is wet. If you instead apply the light base layer, leave, get a cup of coffee, have a piece of pie and then come back to apply the shading layer, the blending results won't be as ideal. 🙂
Using the same type of coloring method, only working section by section on the pumpkins, rather than apple by apple, you can achieve the same amazing results with a different image.

It's hard to believe that the pumpkins & basket are two different
images, isn't it? The way the *toppers* are designed, they fit
PERFECTLY and easily directly on top of the basket images. Just wait
until you get to experience this set firsthand (trust me, you won't be able to put it down!)
(you can click on the image for a larger view)
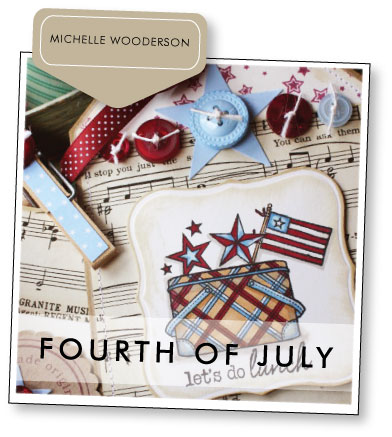
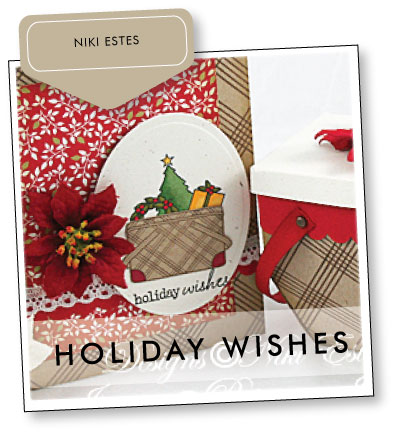
Here's the card I created with my colored pumpkin image. I thought it would be perfect around Thanksgiving or just as an autumnal thank-you card. The thing I love about these plaid baskets is how fun it is to come up with unique color combinations. To get you started, you can always use the inspiration images at the top of this post or you can google "vintage picnic baskets" to see what other results you can get. Plaids were some of the more popular patterns for these baskets back in the day, which is the reason behind two different versions in this stamp set.

I used pinking shears to trim the dark chocolate mat around my focal point image. And check out those buttons. I'm loving our Rustic Wood buttons the more I use them. The large one is actually "upside down", utilizing the unfinished back for it's true rustic charm.
(you can click on the image for a larger view)
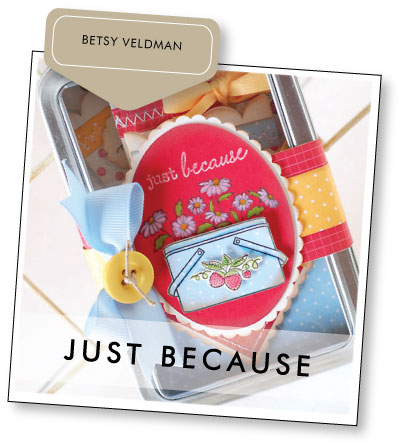
How about some strawberries & daisies now? I've had a few occasions when I needed this sentiment but didn't have it in a good font combination, so now, here it is! (I'm allowed to be just a bit selfish from time to time when I'm designing, don't I?)

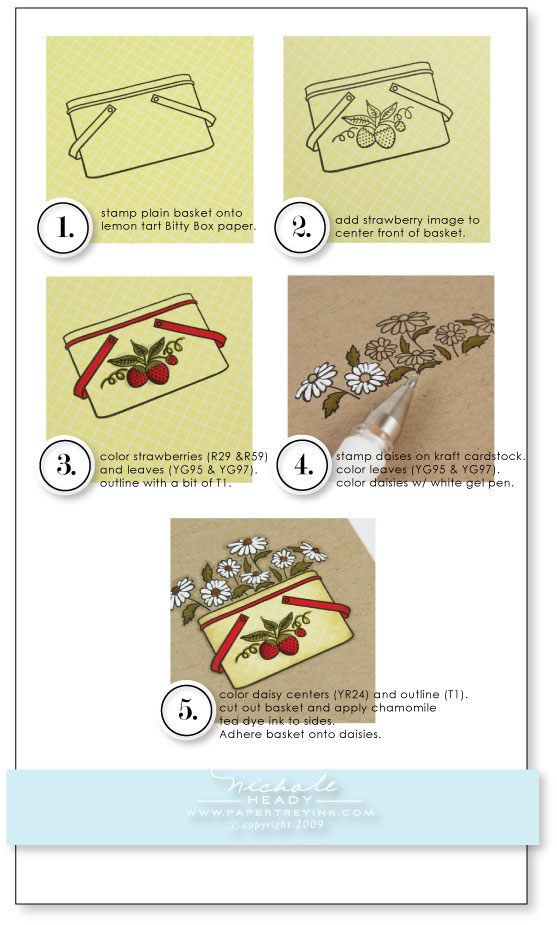
I really like the way these daisies look when stamped on kraft and then filled in white with a gel pen. They just pop from the page and look so realistic. The following is a little tutorial on how I used a mixture of paper piecing & Copics to create my finished basket.
(you can click on the image for a larger view)
Gotta love the bitty strawberry that is interchangeable on the front of that basket! There are a total of four different images in this set that you can put on the front, just like the strawberries. So fun!
(you can click on the image for a larger view)
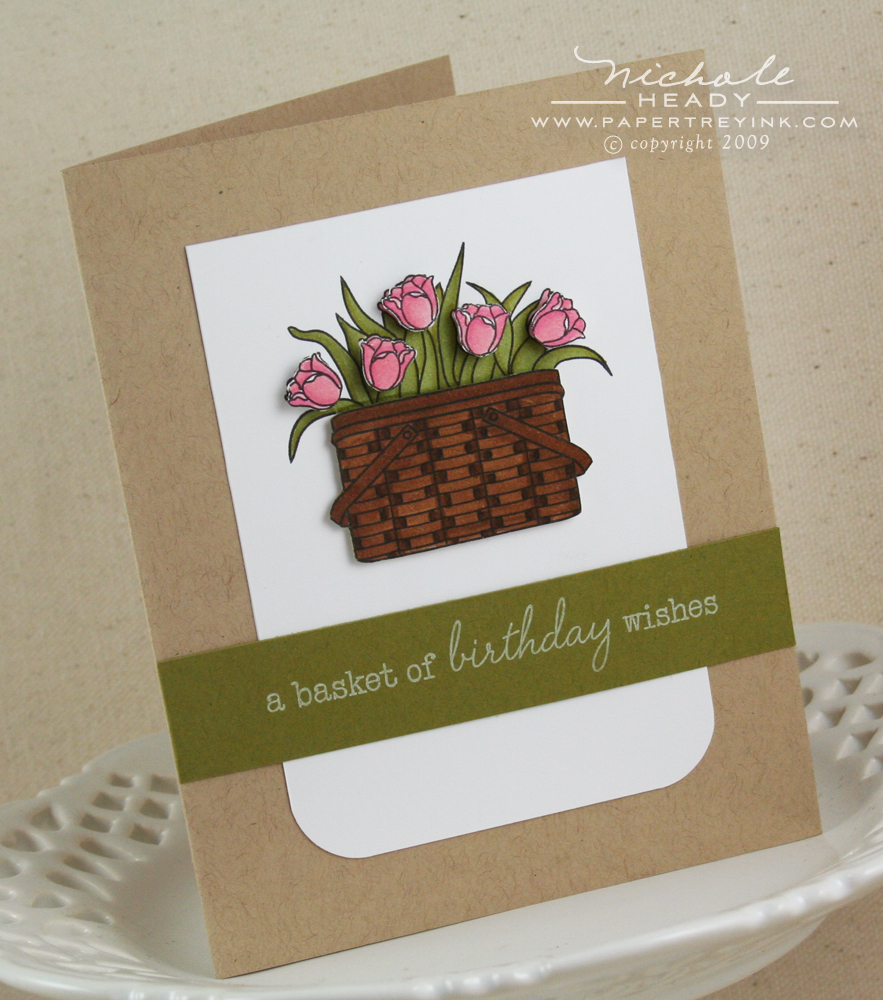
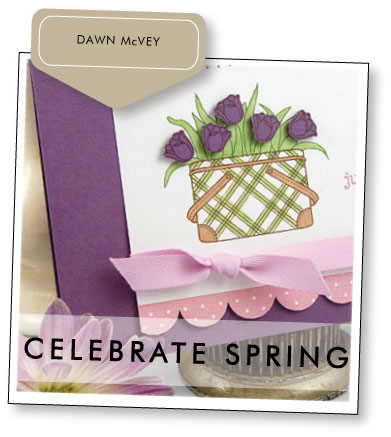
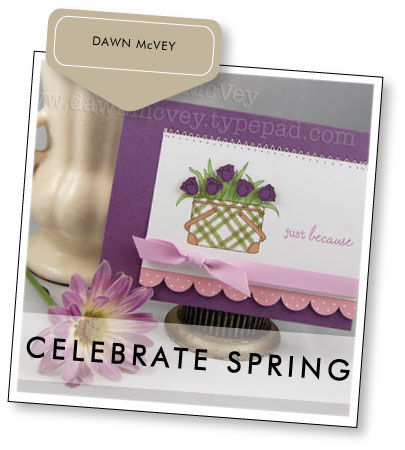
If I was absolutely forced to pick a favorite project from my line-up today, this MIGHT be it! So simple and clean, yet pretty & sophisticated. All of my favorite traits coming together at once.
One of the most enjoyable aspects of this set is how easy it is to cut out the baskets. I designed them to purposely only have a few straight lines composing their perimeter so it would be *easy peasy* (as Mish would say) to layer and add dimension. I've outlined all of the steps I took to create this project, below…

(you can click on the image for a larger view)
So, there you have it! Four little projects created with Vintage Picnic paired with three tutorials to demonstrate that you, YES YOU, can do this too!
Now, if all of that wasn't inspiration enough, the rest of the design team gals have created an entire library of Vintage Picnic inspiration for you to browse through today. Totally worth grabbing a cup of coffee (or tea) and taking your time, devouring every word, just like you would with a good book! Enjoy!
To see more from Michelle Wooderson , CLICK HERE.
To see more from Debbie Olson, CLICK HERE.
To see more from Betsy Veldman, CLICK HERE
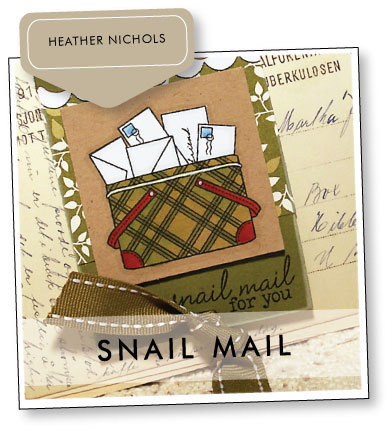
To see more from Heather Nichols, CLICK HERE.
To see more from Geny Cassady, CLICK HERE.

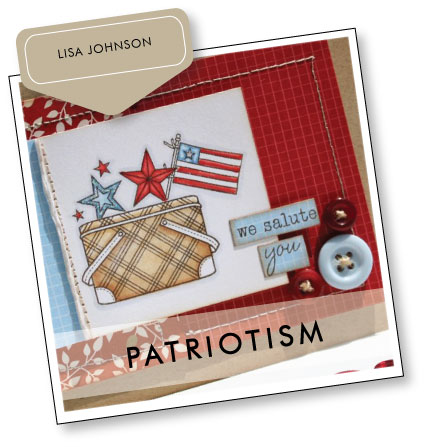
To see more from Lisa Johnson, CLICK HERE.
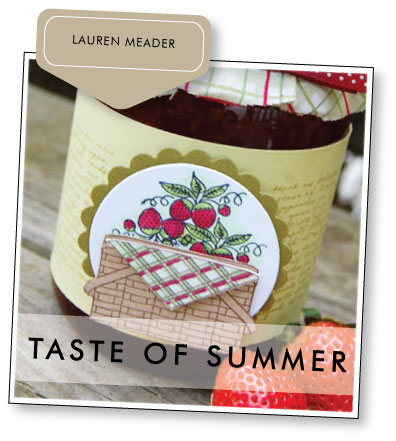
To see more from Lauren Meader, CLICK HERE.
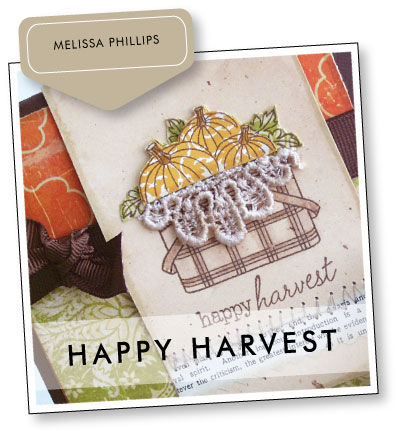
To see more from Melissa Phillips, CLICK HERE.
To see more from Becky Oehlers, CLICK HERE.
To see more from Niki Estes, CLICK HERE.
To see more from Dawn McVey, CLICK HERE.
Wow, what a whirlwind all of this has been! I hope you have thoroughly enjoyed all of the inspiration & instruction that has been provided to you today, courtesy of Papertrey Ink! Did you learn anything new? Did something jump out at you as an "aha" moment? Or perhaps you just thought that one of the projects you saw was pretty dawn cute! Or maybe you just want to thank Mish for deciding to take the time to share her ideas so that that this stamp set could be born! We want to know! Share your thoughts with us today for your chance to win the following prize package:
- Vintage Picnic stamp set
- Vintage Picnic Sentiments stamp set
You have until 8am EST , Sunday, June 14th, to share your thoughts here. One comment
will be randomly chosen to win this free stamp set! The winner will
be announced HERE on our June Prize Page, after noon EST the same day. Please play nice, only one comment per person.
Thanks
for
stopping
by today and I look forward to seeing you again tomorrow! We have even MORE exciting stuff to share!!! Including the full reveal of the new patterned paper you have seen bits and pieces of already! 'Til then…

Lisa Johnson has created an additional post for your viewing pleasure today, using her new set, Heavenly Medley!

Supply lists for all of my personal projects today, can be found HERE.
Leave a Reply