


 Dawn McVey is rapidly becoming one of the most sought after designers for not only customers of Papertrey Ink, but the stamping industry as a whole, as evidence by the orders continuing to pour in for her first set, Damask Designs. It's no surprise that her latest set, becoming available April 15th, is already gaining a lot of interest just from the sneak peek.
…………………………………………………………………………………………..
Scattered Showers is a set full of several different types of umbrella images. Throw in some clever coordinating sentiments and you have an instant winner on your hands! I can tell you from my personal experience with the set, that I could NOT put it down! It can have SO many looks (which is proudly one of Papertrey's ongoing characteristics) and really begs you to have fun experimenting and playing with all of the possibilities it holds.
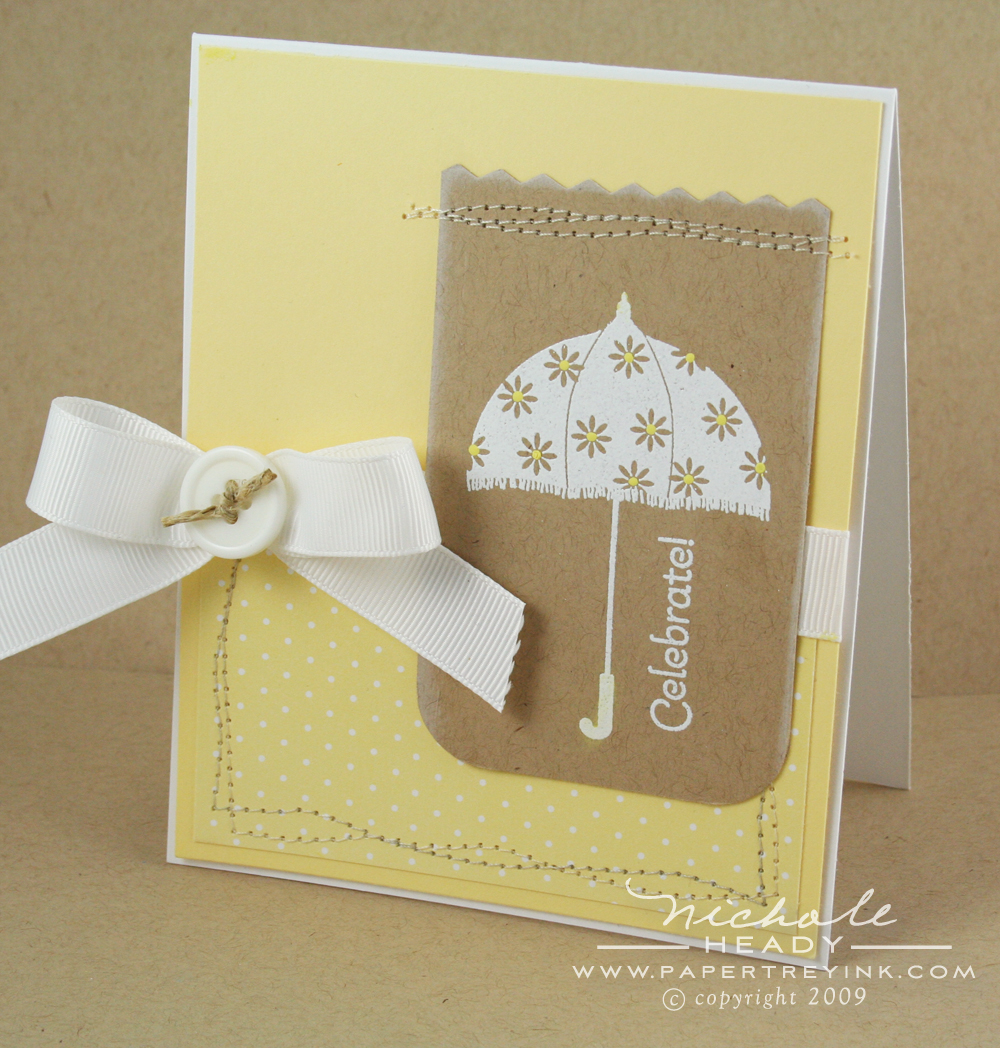
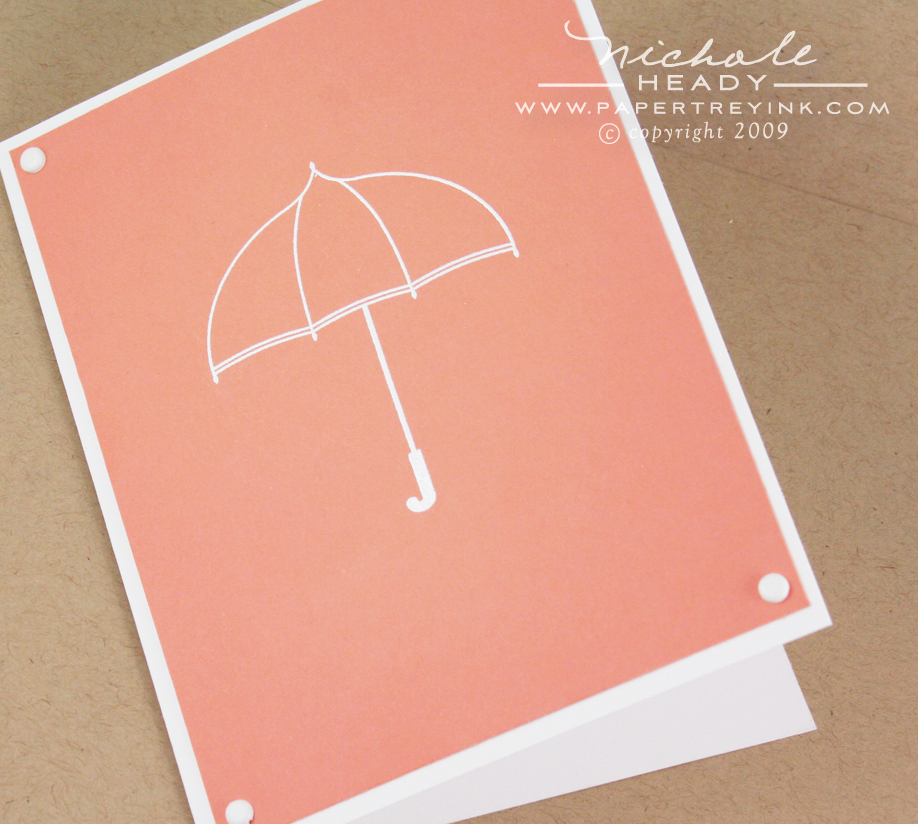
First up is a quick card I created using some simple heat embossing. It is a super simple layout with a color scheme that just screams spring and sunshine!
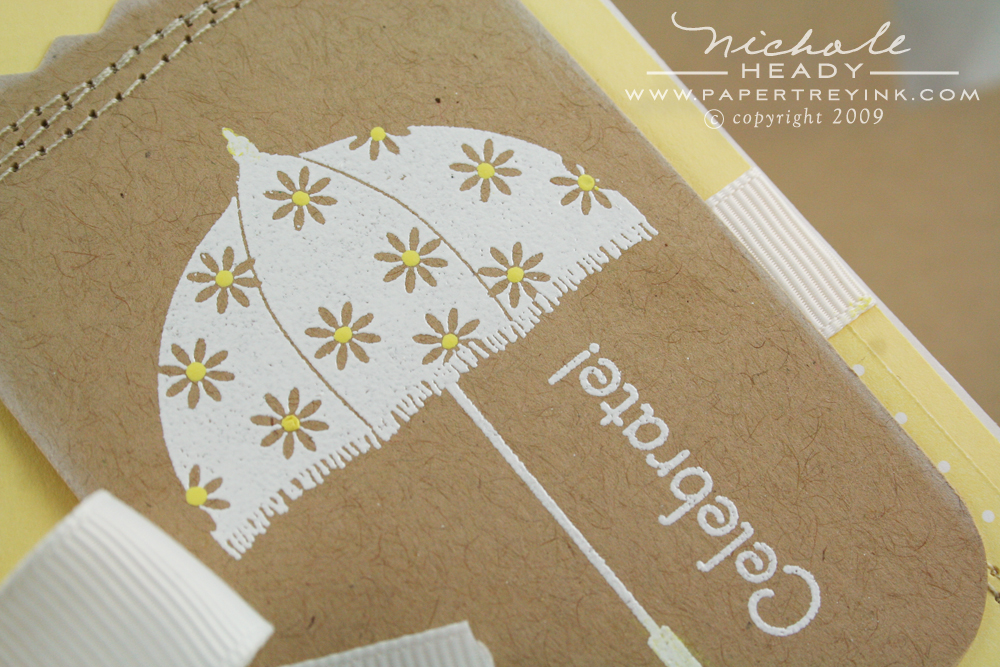
The umbrella was embossed with White Filigree detail embossing powder. To help tie in the yellow color, I added small dots of acrylic paint (using a toothpick) in the center of each flower found in the umbrella pattern.
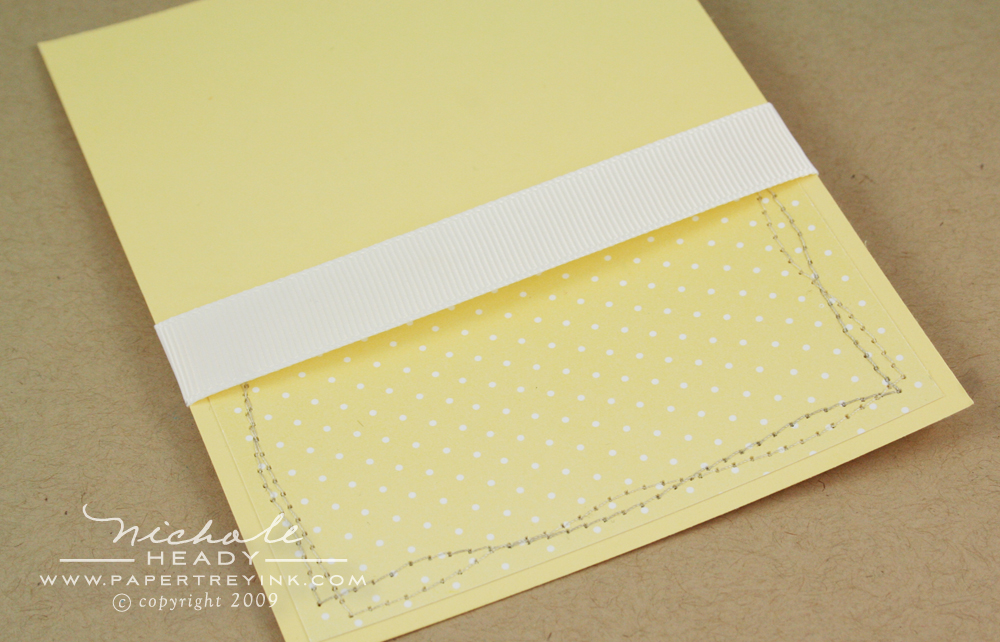
There has been lots of chatter on our forum about making bows with our pretty little vintage buttons tied in the middle. I am sure every designer has their own way of doing it, but I thought I would share the process I use when creating mine. First, I attach a strip of ribbon across my card front. I do not put any adhesive on the front of the card when doing this. I just use some scor-tape on the back of the card front and wrap the ribbon ends around to it.
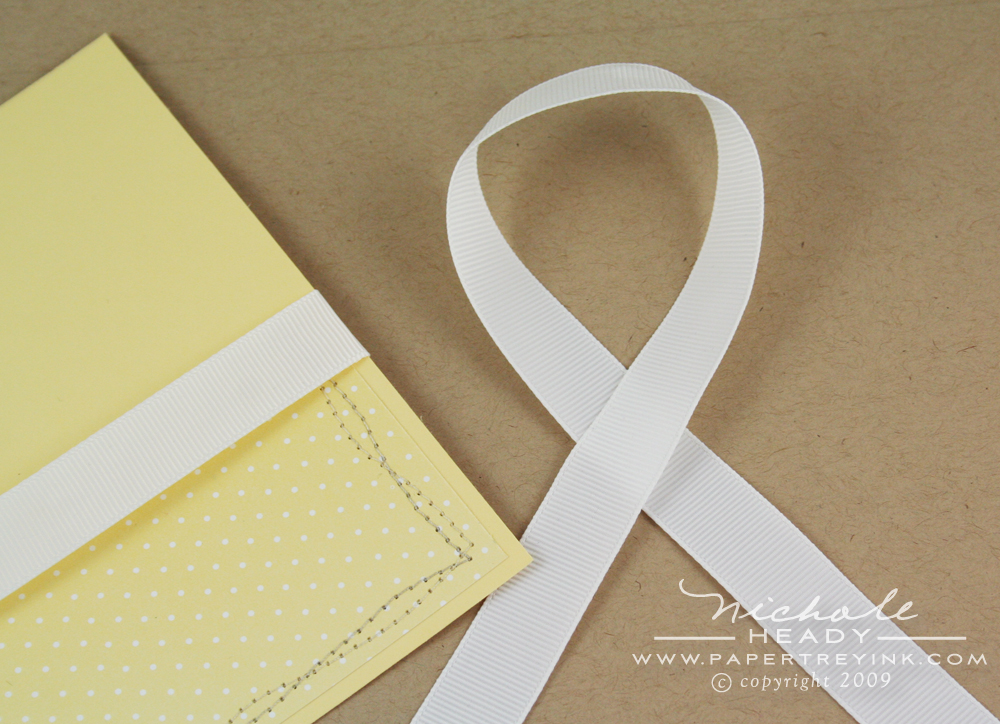
Next, I take a length of the ribbon and create a loop, like that used for awareness ribbons and such.
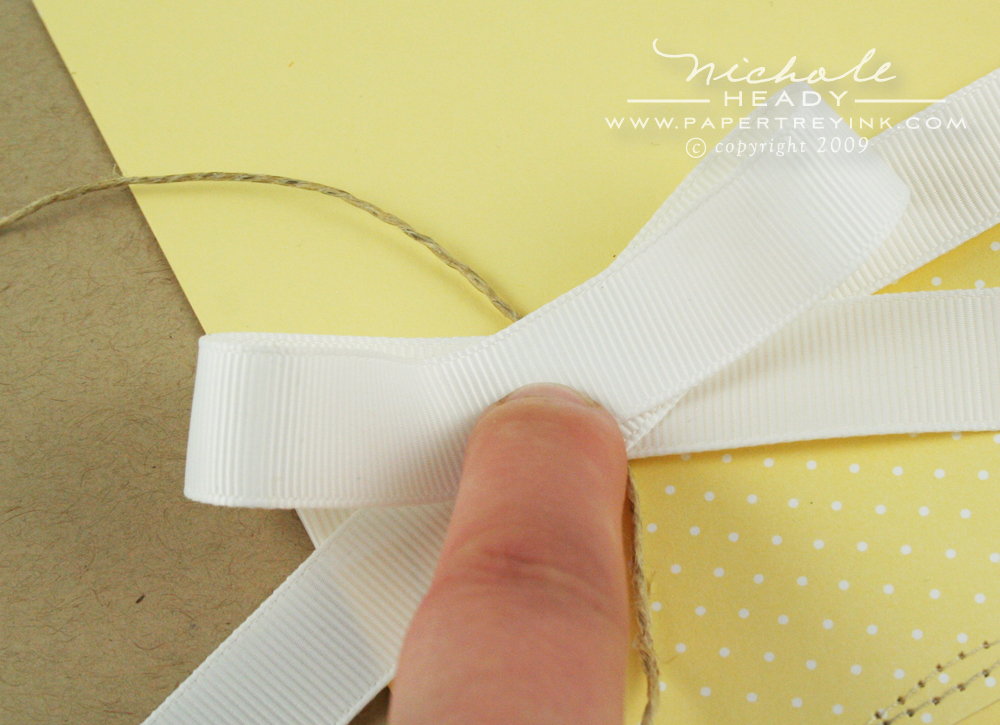
Place the crossover point of the loop on top of your ribbon strip and pull the center of the actual loop down to the crossover point. This will ultimately create two *bunny ears* for you. Thread a piece of twine or embroidery floss (depending on the look you want) down under the ribbon strip AND loops. By doing this, it will allow the loops to be attached the ribbon strip securely without having to adhere them on later.
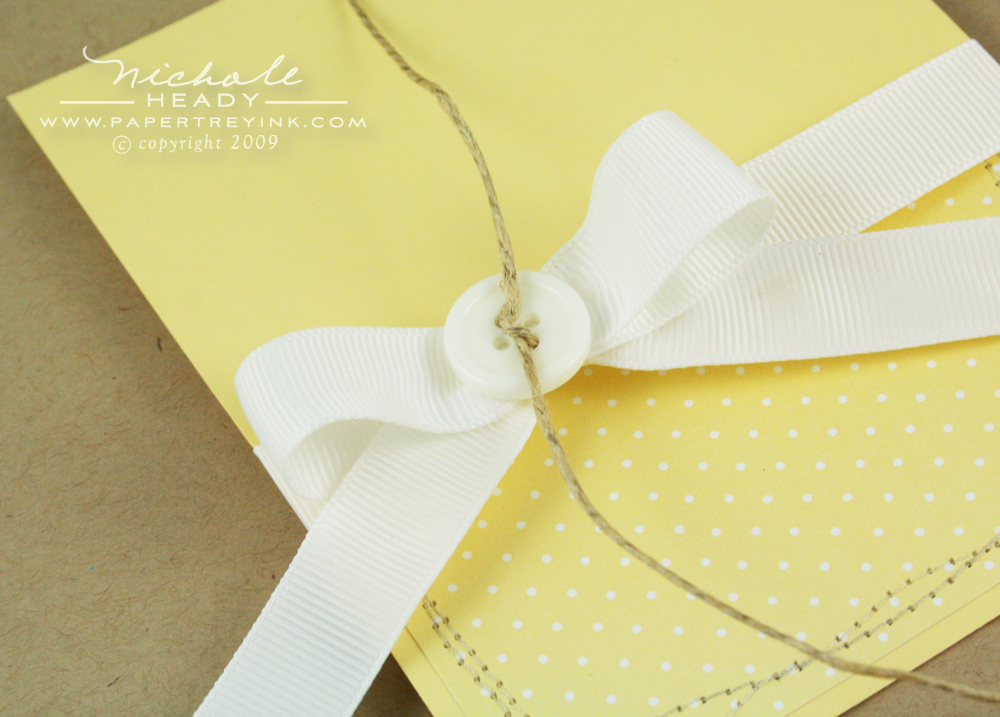
Thread the ends of twine (or floss) through two of the button holes and knot tightly, cinching the loops and strip as you go along.
Here is a closeup of the finished bow. What I like most about this method is after the tying is done, I am free to *move* the bow anywhere along the ribbon strip, like a slider, without any fuss!
Next up is a quick little card I created using the outline umbrella image that Dawn included with this set. Not only is the outline good for paper piecing opportunities (can you just picture three different patterned papers, one for each section of the umbrella!!!) but I thought it would work well for a window application as well. I started by stamping & heat embossing the image on my Melon Berry card cover.

I carefully used a craft knife to cut just within the outline of the top of the umbrella.
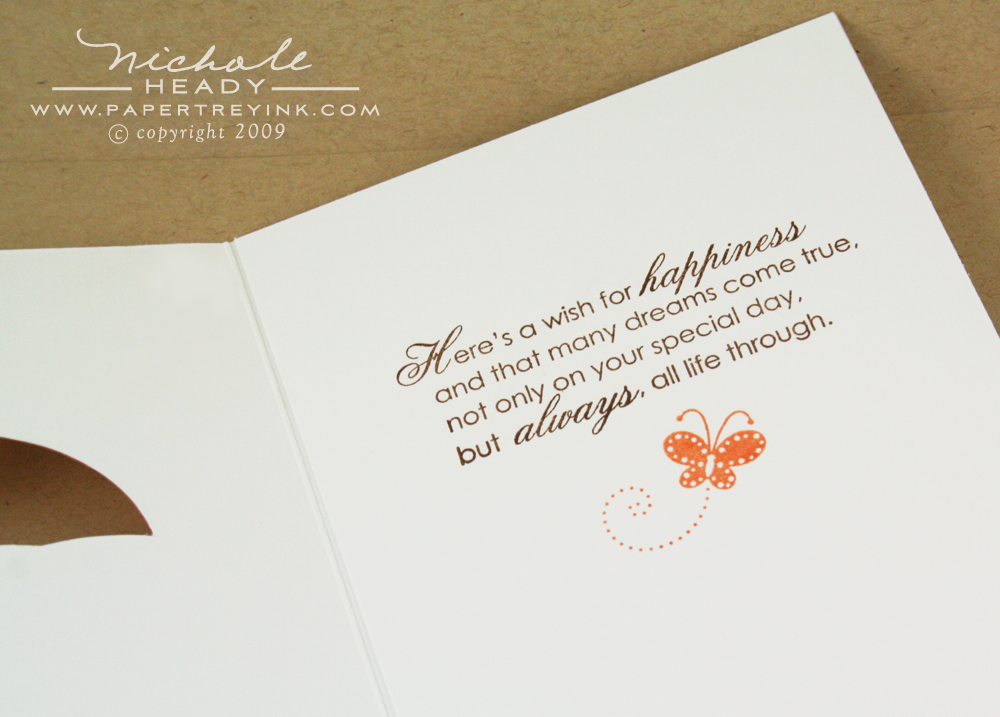
By closing the card and tracing the opening onto the card interior with pencil, you can stamp your sentiment perfectly, so that it will line up with the opening. Here I used a sentiment from Heartfelt Basics ( a favorite set of Jennifer McGuire!) stamped in Dark Chocolate. I also added the small butterfly image from Tags for Spring (stamped in Melon Berry) to accent the sentiment. I allowed the ink to dry for a few minutes and then erased my pencil tracings.

When the card is shut, you can get a little peek of the sentimental wording that can be found on the interior of the card.
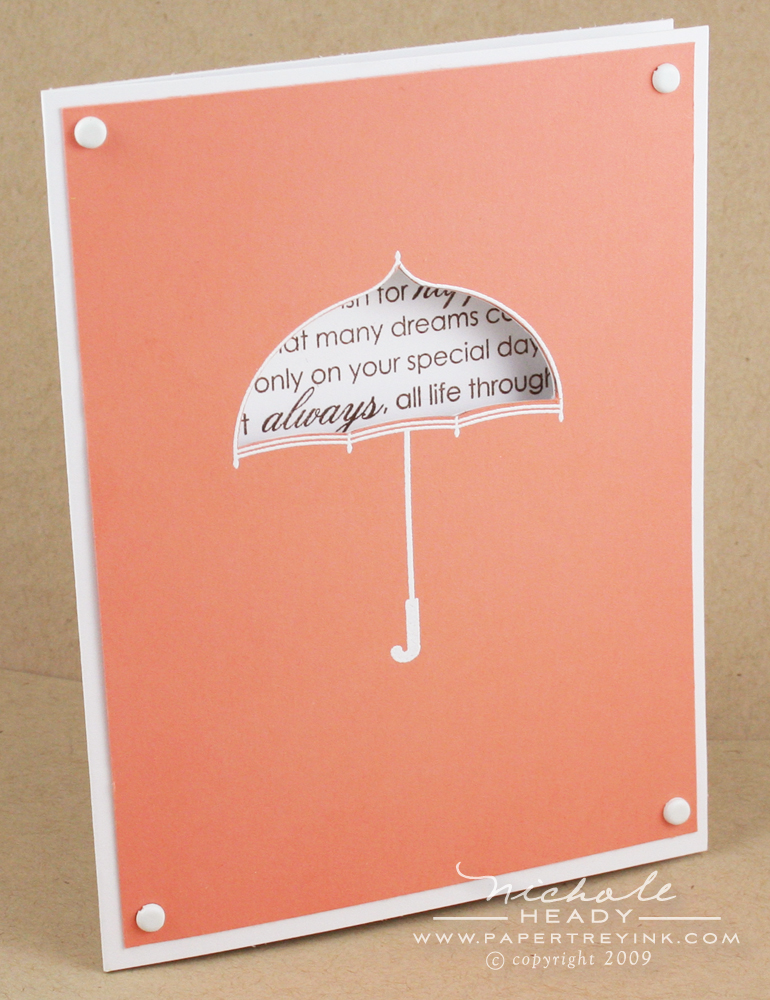
The completed card looks like this. I love the way it turned out and am anxious to try it in alternate colors too. (Think Hibiscus Burst or New Leaf!)
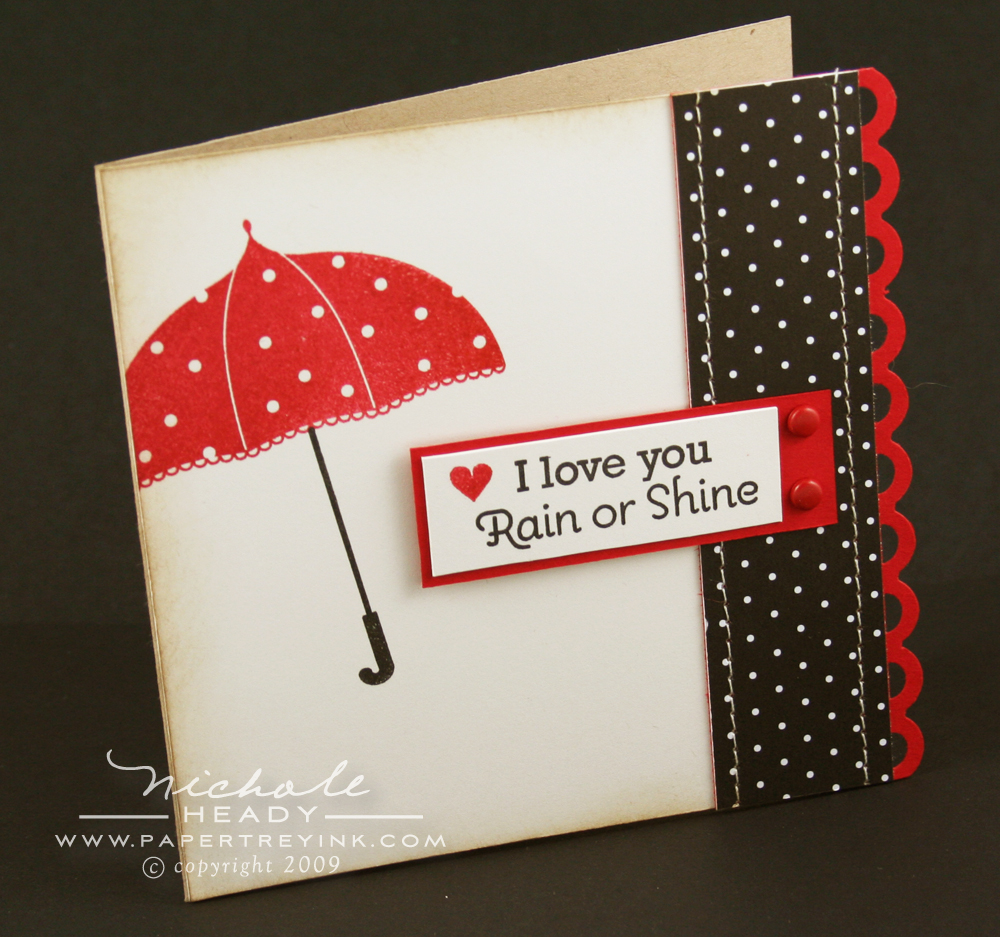
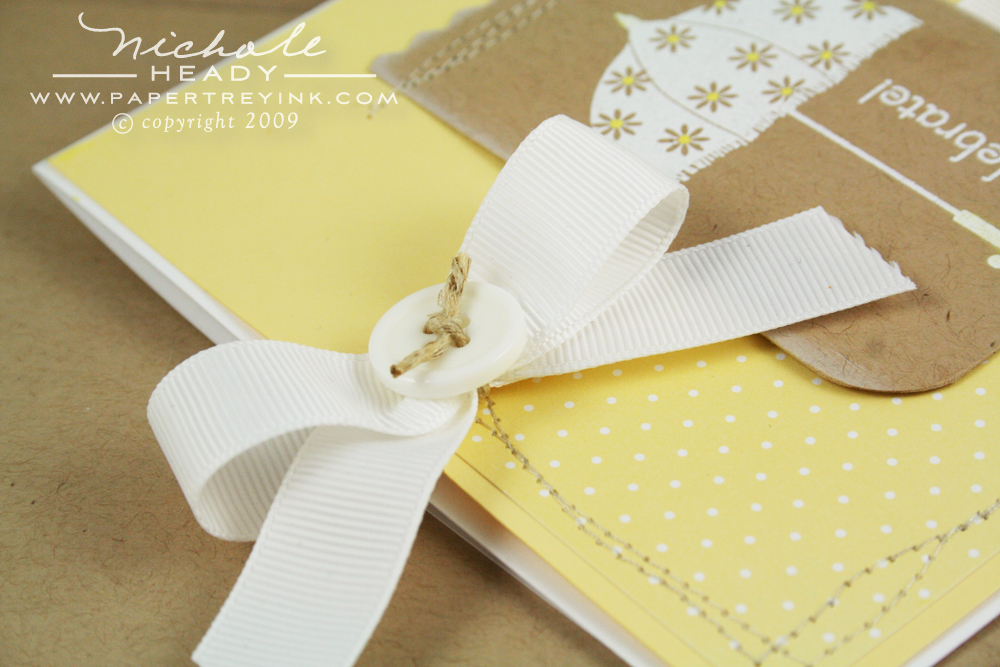
This card doesn't really use any special techniques or design elements, but I thought I would share anyway. I think the polka dotted umbrella in this set is one of my favorites. This card was a bit of a revelation for me, because I pretty much ALWAYS stamp images perfectly horizontal or vertical. It's just my personality! I stepped out of my comfort zone and stamped the umbrella focal point at a bit of an angle. I really like how it ended up accenting the sentiment block perfectly.
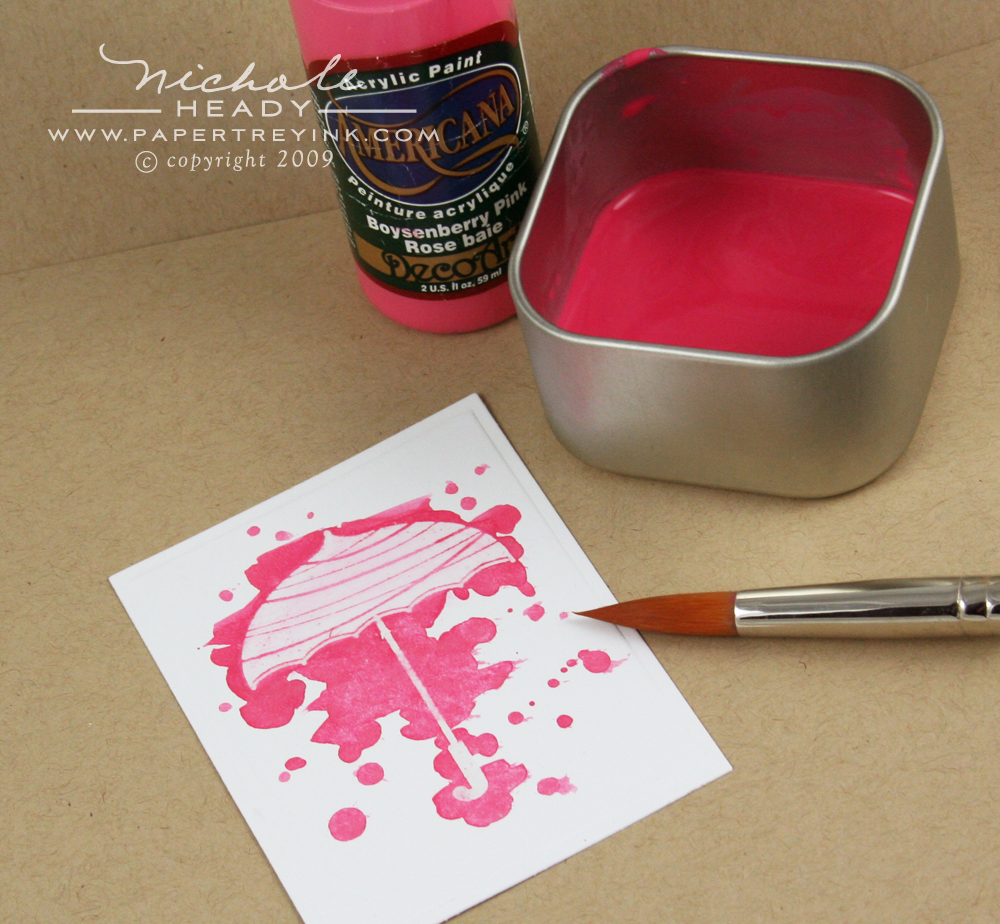
Last, but not least, is my personal favorite card that I created with Scattered Showers. I stamped and then heat embossed this modern striped umbrella image with Filigree Clear embossing powder. (If I haven't mentioned it lately, I just LOVE this stuff. It really picks up all the detail of these images!). I watered down some ordinary acrylic paint (about 75/25) and used a paintbrush to drip & splatter the paint on top of the umbrella. It was SO fun, like being back in Kindergarten again!

To get a bit more opaque look and to help reveal the *resist* technique I was doing with the umbrella image, I gently dropped a paper towel on top of the image while the paint was still wet. I pulled the paper towel back up and it revealed this! After it was dry, I was able to stamp the sentiment in True Black ink.

I think the final result is a real *artsy* looking card, that really is just the result of having fun playing with a bit of paint! wouldn't this look great in Ocean Tides too?
So there you have it! A bit of fun with the new Scattered Showers set! I hope you found some inspiration today that you feel as though you can use in your own stamping adventures!
As always, I appreciate your feedback on today's post and Scattered Showers in general! Share your thoughts with us today and you can have a chance to win…
a FREE Scattered Showers stamp set of your very own!
This contest will end at 8am EST, Saturday, April 11th. The winner will be announced shortly thereafter, by noon EST on our April Release Prize Winner page. Please play nice, only one entry per person.

Of course Dawn has a few projects today that showcase her new set!
You can see what Lauren has created using Scattered Showers in conjunction with one of her new templates for this month!
Heather has revealed a bit about her new April release today.
Lisa showcased her new set in a special way too!

Complete supply lists for these projects can be found HERE.
Leave a Reply