
Alli Miles is rapidly becoming well-known for the whimsical, fun style she brings to Papertrey. Her new set being released May 15th, Mailbox Greetings is another example of this. This set is packed with so much versatility, the value of adding it to your collection is enormous!
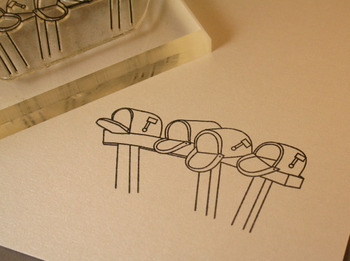
For my project today I wanted to create a simple card using the main focal point image (and also the namesake!) from her set, the mailboxes. When I first saw her image it instantly brought me back to childhood. This is exactly the way or mailboxes looked in rural Maine alongside the gravel road. I stamped the image onto metallic cardstock using Noir Black Palette ink. I thought by using the metallic cardstock it would add a more realistic detail to the project, since mailboxes are made of metal.

I used R29 Lipstick Red (Copic) to color the mailbox flags.

T5 Toner Gray No. 5 (Copic) for the shading on the interior of the mailboxes.
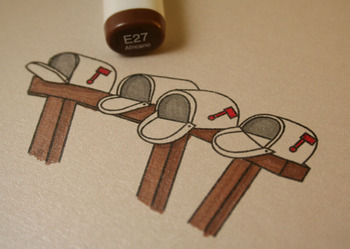
And finally, E27 Africano (Copic) for the wooden frame.
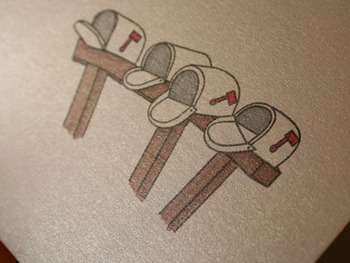
Here’s a better view of the shimmer and shine in this paper.
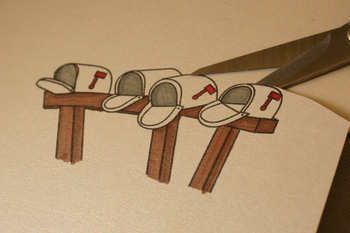
After the coloring was completed, I carefully cut the mailboxes out.
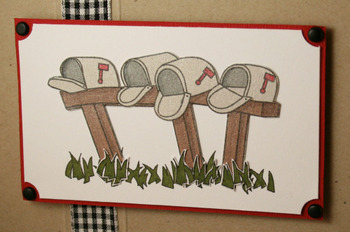
There are several different types of ground cover images in this set that you can add under your mailboxes, coordinating with different seasons. I chose to use grasss, so I stamped it at the bottom of a white cardstock block. I colored it with G99 Olive (Copic). I adhered the now cut-out mailboxes on top of the grass.
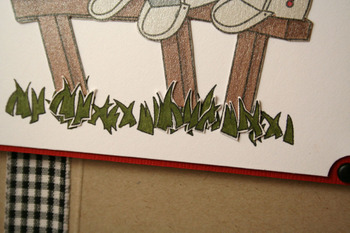
I stamped a second set of grass on scrap white cardstock and once again colored it in green, I snipped out a few tufts of grass and added them at the bottom of the mailbox posts to make it look more realistic.
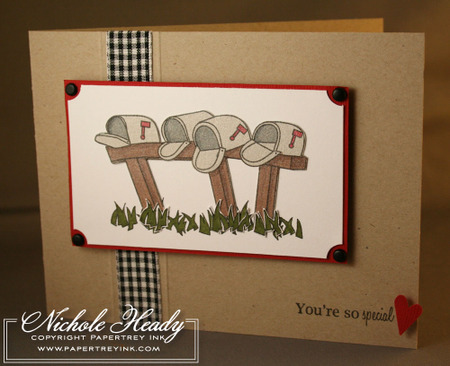
Here is my completed project. I created my card base from Kraft cardstock to give it more of a homespun feel. Several small accents really help bring it the whole project together.
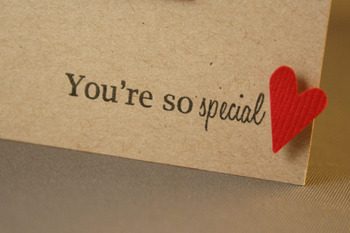
I stamped the sentiment (love these fonts by the way) in black directly onto the kraft. I punched a small folk heart from red cardstock and used a bit of foam dimensional to adhere it in place.
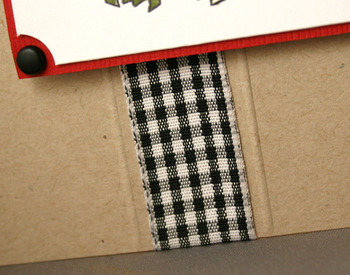
Another finishing detail that I enjoyed adding was a scored/embossed line on either side of the ribbon strip.
I hope that you may have stumbled upon a few little things you may try today with your own stamping. Thanks for stopping by, and make sure to check back tomorrow for some additional peeks that you won’t want to miss!
………………………………………………………………………….
Stop by Lisa’s blog today for another project using Mailbox Greetings. Alli has a little something up her sleeve as well! Happy blog hopping!
…………………………………………………………………………..
STAMPS: Mailbox Greetings
INK: Noir Black Palette ink
PAPER: Stamper’s Select White & Kraft from Papertrey Ink, Red from Bazzill, Metallic Creme Brulee from Prism
OTHER: Gingham ribbon from May Arts, black brads from Paper Studio, Folk Heart punch from EK Success, Markers from Copic,


Leave a Reply