If you haven’t noticed by now, I am fanatic about polka dots. Any size, any color, I love them all. I have been jotting down characteristics I would want in THE ultimate polka dot set for a few months now. I am proud to make this set a reality and now offer it to all of you!
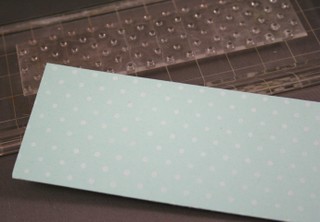 There are SIX different polka dot background stamps in this set. This is an example of the smallest dots included. They are a little less than 1/8-inch in diameter each. For this strip of paper I stamped them with white pigment ink.
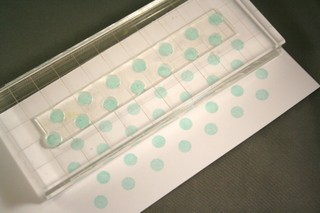 These are the third size up. I wanted to show you how well the actual stamps are designed. They are specially designed so that when you repeat images, they will fit together like puzzle pieces WITHOUT having to compensate towards the left or the right, making your pattern seamless! This characteristic was a HUGE priority for me and I am so thrilled that I was able to execute it with all six patterns. (I used our new Aqua Mist Palette Ink here)
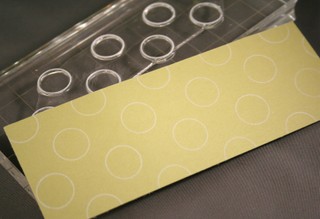 Then there are these dots. The largest of the set. This particular size and the next one down have both solid and outline images. Meaning you can use them separately (like I did here) or layer them on top of one another using different colors.
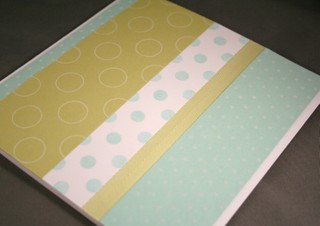 After I finished all my polka dot stamping, I pieced together a card front for my 5-1/2 inch square card. Notice that I integrated a strip of our new Spring Moss twill tape into the pattern. I loved that I was able to cut the twill at the edge of the card front and didn’t need to worry about any fraying! So exciting!
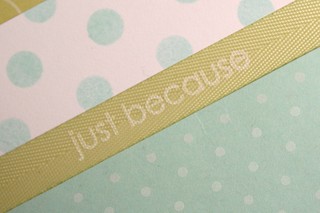 I ended up deciding to stamp on the twill tape with the "just because" sentiment from Shapes By Design. I used white pigment ink and it worked beautifully!
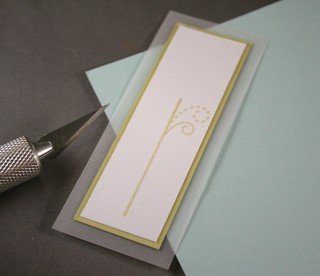 I wanted to add a floral accent, so I ended up using one portion of the unique stem stamp from Women of Life. I trimmed it down, matted it with Spring Moss cardstock followed by a layer of vellum. Because of the layers on the card front alternating with Spring Moss & Aqua Mist cardstock already, I knew my Spring Moss Mat would blend into the pattern. Matting with vellum is one of my favorite tricks for when a colored mat would be "too much" or get "lost" in your background.
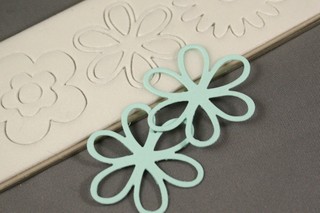 I decided to mix things up a little bit and use a die cut with the stem instead of a stamp. I die-cut this pretty flower with Aqua Mist cardstock.
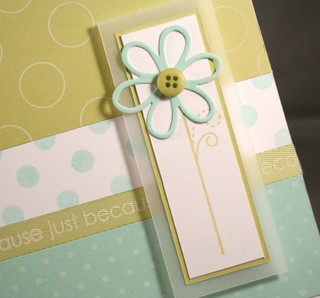 I adhered the flower in place and topped it off with a small button from my stash.
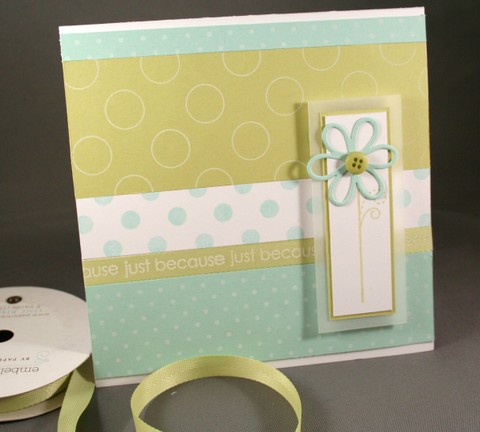 And here is the completed card. I just LOVE the way the stamping turned out on the twill! So understated but a perfect compliment to the project all at the same time!
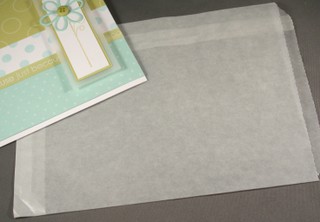 I thought I would share another little something that I like to do when I am hand-delivering cards. Papertrey’s Large Glassine Bags make the perfect specialty envelope and they are SO inexpensive compared to the real thing. These bags are only 16-cents each!
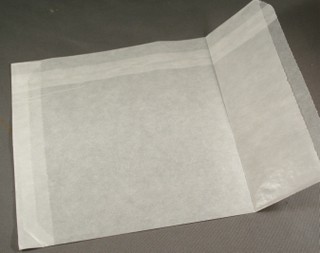 First, I scored it at 5.75 inches from the bottom edge.
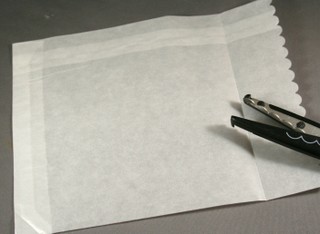 I then trimmed the top with scalloped scissors.
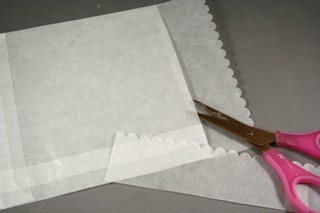 Two snips down the sides and then across the score line on the top layer only, creating your envelope flap!
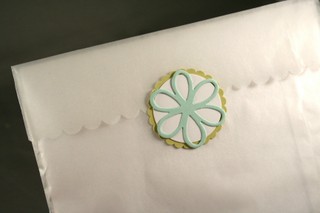 After I inserted my card, I fastened it shut with this custom seal made with coordinating products used throughout the rest of the project.
 To finish it I made a small label for the front of the envelope using a rectangle scalloped punch and the "sister" stamp from Women of Life. I really love the soft look the glassine bag/envelope adds to the presentation of the card!
………………………………………………………………………………………………………….
So, do you love polka dots too?
Would you like to receive a FREE set of Polka Dot Basics?
I would love to hear from all the polka dot lovers out there! Leave a comment on this post to enter to win. I will pick one comment using the Random Number Generator. This contest will close as of Wednesday (02/12/08) at 12pm (est). The winner’s name will be announced here! Good luck to everyone! Polka dot lovers unite!
…………………………………………………………………………………………………………..
Still want to see more?
Be sure to stop by Heather’s blog today! She is featuring another sneak peek using Polka Dot Basics! Her fun technique demonstrated with her tutorial is out of this world! I can’t wait to try it myself!
……………………………………………………………………………………………………………
SUPPLY LIST-
Inks: Aqua Mist & Spring Moss Palette inks, White Craft ink from SU!
Stamps: Women of Life, Shapes By Design & Polka Dot Basics from Papertrey
Paper: Aqua Mist, Spring Moss & White cardstock from Papertrey, vellum from SU!
Other: Spring Moss Twill Tape from Papertrey, scalloped scissors from SU! (retired), large glassine bag from Papertrey, extra jumbo scalloped circle punch & super jumbo scalloped rectangle punch from Marvy, Flower die from Cuttlebug (Provo Craft)


Leave a Reply