Here is another sample created with the Snowflake serenade set that will be debuted Sunday night (midnight EST) at Papertrey Ink. I am SO excited to see what all of you do with this set!
Today I felt like pulling out an old technique that I haven’t done in YEARS! Faux silk. While scrolling through my email a few days ago, a customer remarked how she reused EVERYTHING that came in her packages from us, including the tissue paper that wraps each individual item. What better way to recycle then to use the leftovers to make a card?!?!?
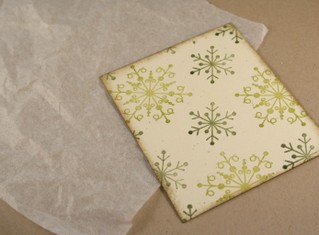 To do this technique, you need a stamped focal point on cardstock and tissue paper. For my focal point I combined a few of the snowflakes from our new set along with a little distress ink around the edge.
 Next, crumple the tissue into a tight ball (th the more crumpling, the better!)
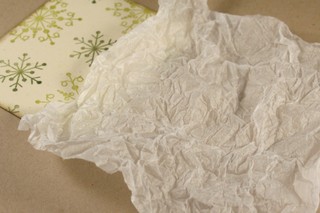 Uncrumple the tissue, and flatten it just slightly.
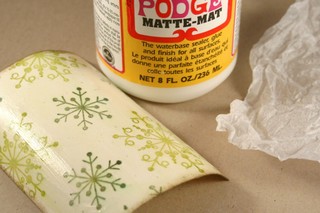 For adhesive for this technique, I normally use a good ol’ fashioned glue stick. But I did not have one handy, so I used Modge Podge instead. You want to apply your adhesive directly on top of your stamped focal point.
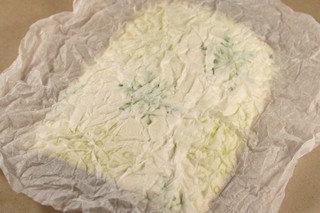 Then lay the tissue on top of your focal point.
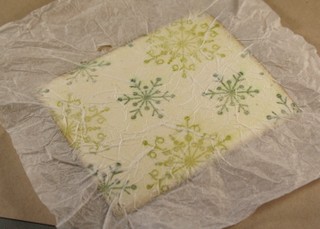 Use the palm of your hand or a brayer to flatten the tissue. The wonderful wrinkles that remain add so much character.
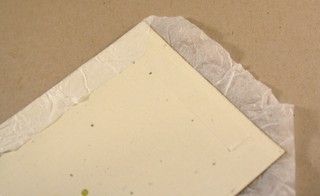 To finish, flip the focal point over and apply your regular paper adhesive around the edges. Miter the corners of the tissue and gold the edges over to the back of the focal point. Burnish to adhere tightly.
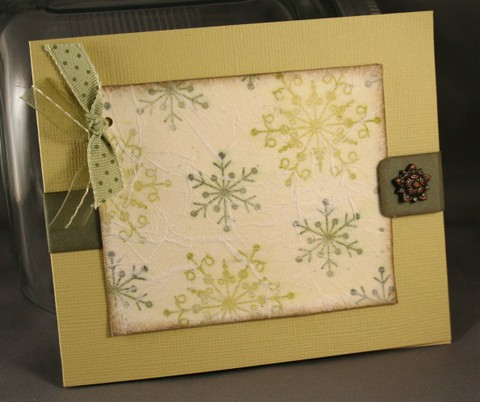 I tied some ribbon to the edge and then added it to complete my card!
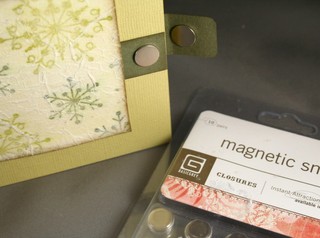 It has a special closure on it that I created with a strip of cardstock and Basic Grey Magnetic Snaps. I love these things! They are so thin, that your card can easily be mailed!
 For the inside of the card I added "three" of the sentiments included in this set. The reason I say three, is because of the fun separation of the images, allowing for more creative freedom, like I talked about yesterday. I really like being able to arrange the beginning & end of this particular sentiment to suit the needs of my card shape. In this case I was looking for a more horizontal look.
I have another post using the new cake set that will be posted in just a few minutes!
SUPPLIES:
INK- Old Olive & Always artichoke Classic Ink SU!, Frayed Burlap Distress Ink Ranger
STAMPS- Papertrey Ink
CARDSTOCK- green from Bazzill, Confetti Cream * Always Artichoke from SU!
OTHER-Magnet Closure from Basic Grey, Decorative Brad from Paper Studio (Hobby Lobby)

Leave a Reply