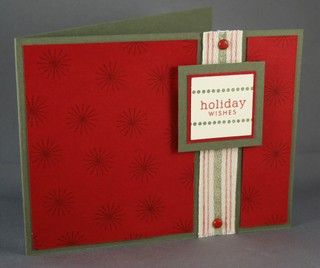
It is never too early to start on Christmas cards, right?!?! One of the main reasons I wanted a set like Faux Ribbon is to save money on mass produced cards, along with the flexibility of custom colors.
Twill tape has been all the rage for some time now and is a main staple that most stampers have on hand. With this stamp set you can customize the twill just by carrying over the same ink colors that you utilized on your project. This project also shows that this stamp collection doesn’t just have to be used to create ribbon. You can also use it as a fun border addition. Here I added the dots stamp above and below the sentiment for a perfect balance. This particular "holiday wishes" stamp is one of TWENTY perfectly proportioned, small-scale sentiment s in the Faux Ribbon set. For this project I punched the sentiment out with the 1-1/4" square punch and the red mat with the 1-3/8" punch. It makes things so much easier to have sentiments work well with supplies you already own. Perfection is just a punch away!
Speaking of perfection, I always get asked what is the best method to get these long linear stamps straight on a block. I have tried many methods, but have finally come up with one that is NO fail every time!
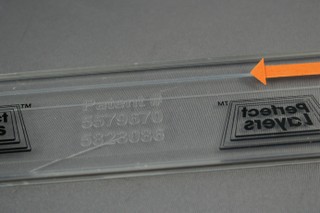
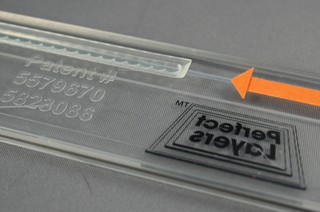
Find a straight edge with some kind of groove in it. (I am using the perfect layers tool marketed by SU! & QVC)
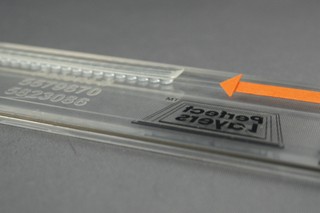
Lay your stamp, image side down, right along the edge of the groove. (This works best with stamps that have been used a couple times. When they are brand new and ultra sticky, it can be a little more difficult.) Here’s a side view…
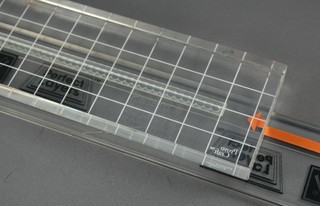
Hold your grid block just above the stamp. Look down through and be sure that one of the central lines match up with the edge of the groove in the ruler. Lay the block down on top of the stamp and press firmly to adhere.
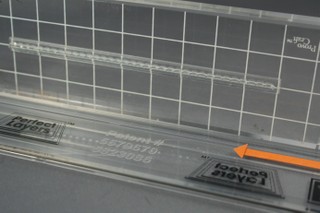
Flip up your block, and there you have it, a perfectly positioned stamp!
So the big day is almost here! Saturday night, midnight EST, Faux Ribbon will be available for purchase at our website! We have something else very exciting to debut, and I may let you in on that little secret tomorrow! So stay tuned!


Leave a Reply