

We are excited to share a new version of Make It Monday called Mondays with Melissa! We all enjoy Melissa Phillips eye-catching designs in her soft, shabby chic signature style. Today, Melissa shares creative tips on ways to use your paper crafting supplies to design amazing projects.
Hello! I have a couple of cards to share with you today using a fun technique to help make your sentiments take center stage. My cards uses the Emboss Resist technique…which is a favorite of mine, but not one that I often use for my sentiments.
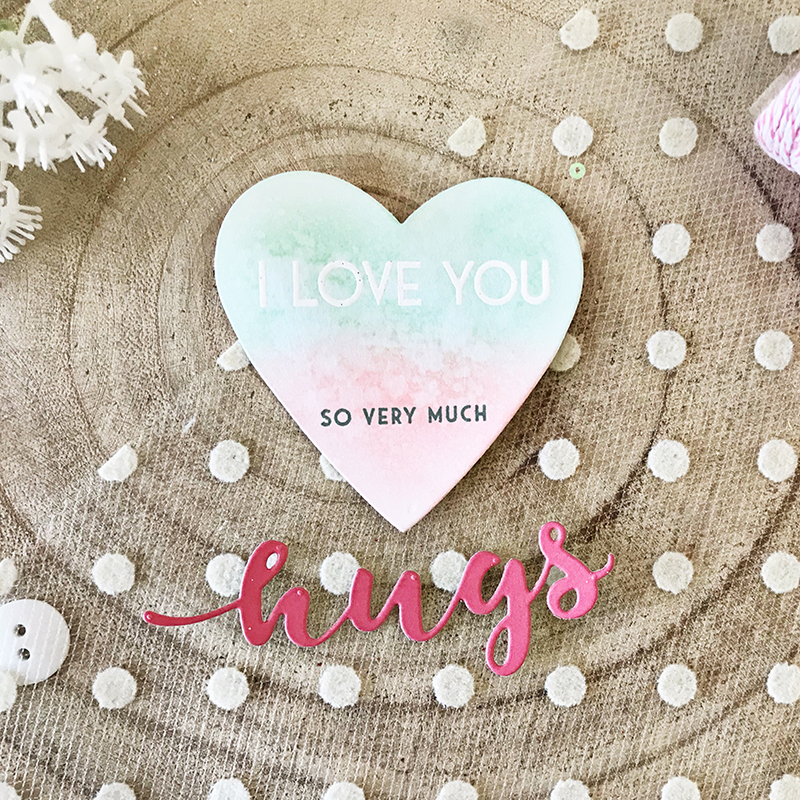 On my first card, I stamped my sentiment on a die cut heart, cut using the Limitless Layers: 2 1/4″ Hearts die collection. I began by stamping “love” from the Sentiment Staples: I Love You stamp set using watermark ink. I then heat embossed it using white embossing powder.
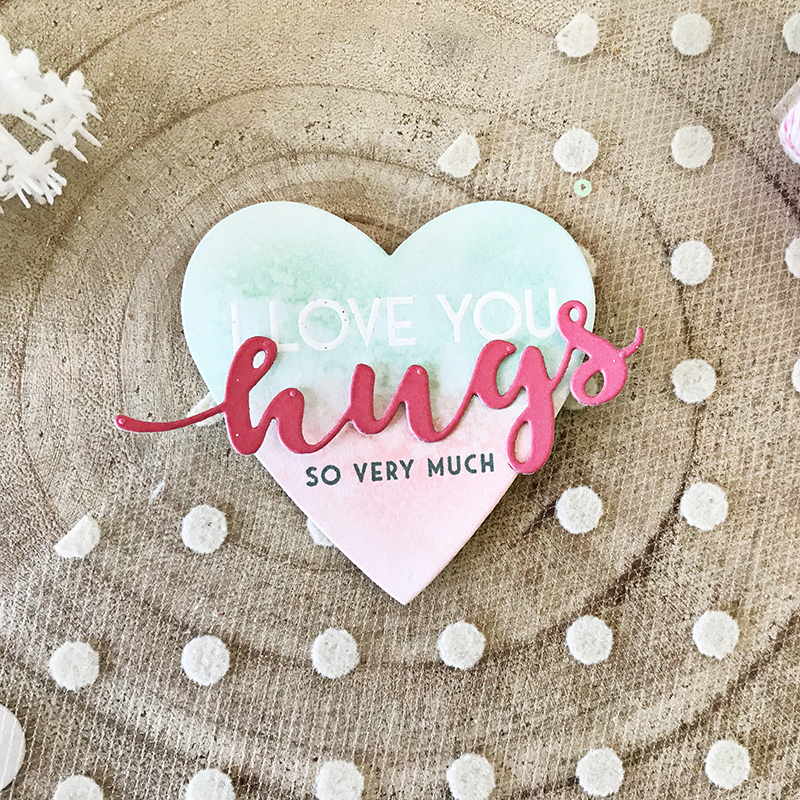
Next, I sponged on Aqua Mist ink and allowing the sentiment to become visible. I sponged Pale Peony ink over the bottom portion of my heart and then added a bit of water to create a soft, watercolor feel. Once my heart had dried, I added the second portion of my sentiment, stamped in Ocean Tides ink. I then added the “hugs” die cut, cut using the Bold Borders: Polka Dots die, cut from Berry Sorbet cardstock.
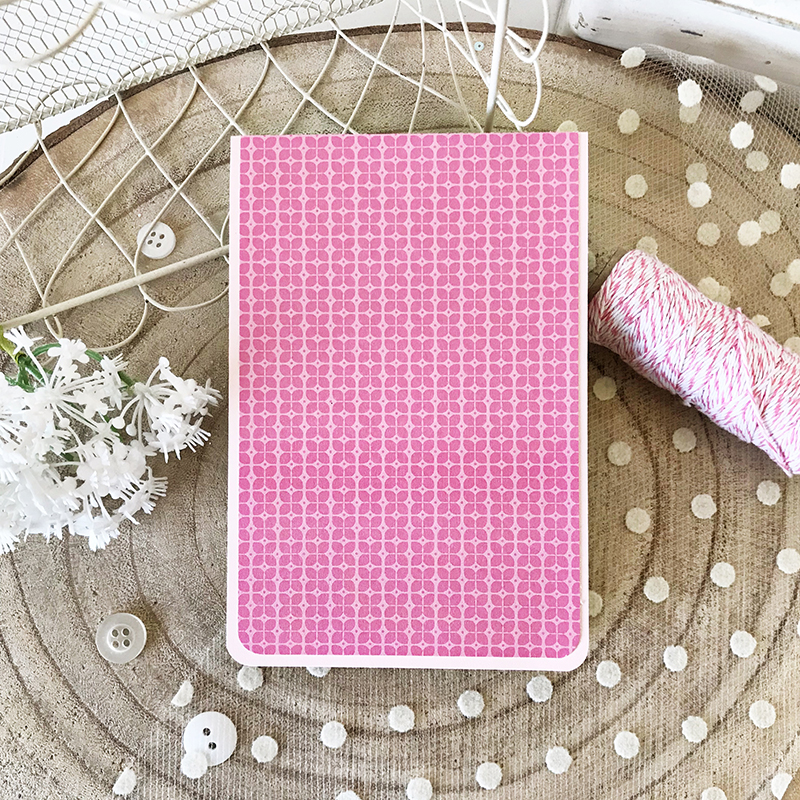
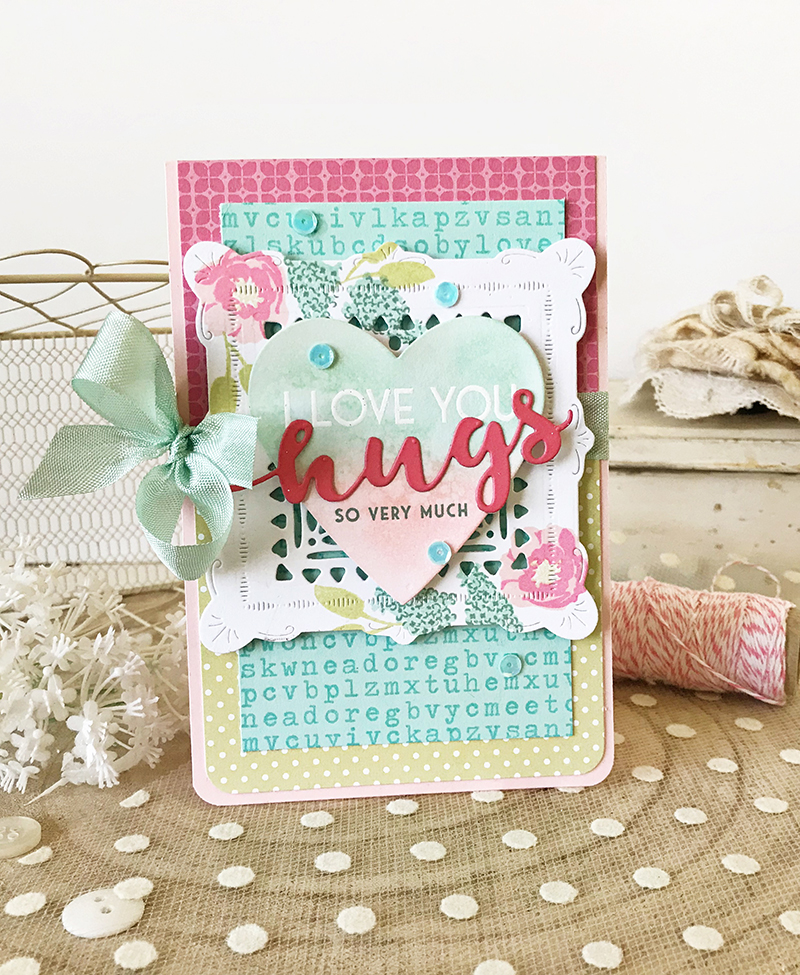
To create my card, I started with Sweet Blush cardstock and then added patterned paper to the front. I love the softness that rounded corners adds, so for this card, I rounded my bottom corners.
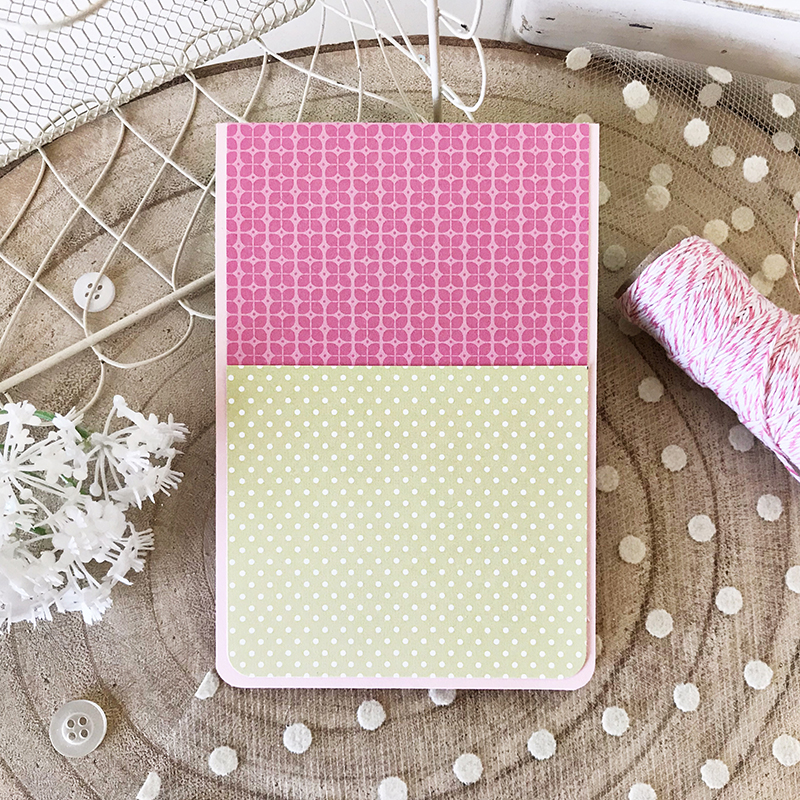 Next, I added Bitty Big Spring Moss paper across the bottom half of the card.
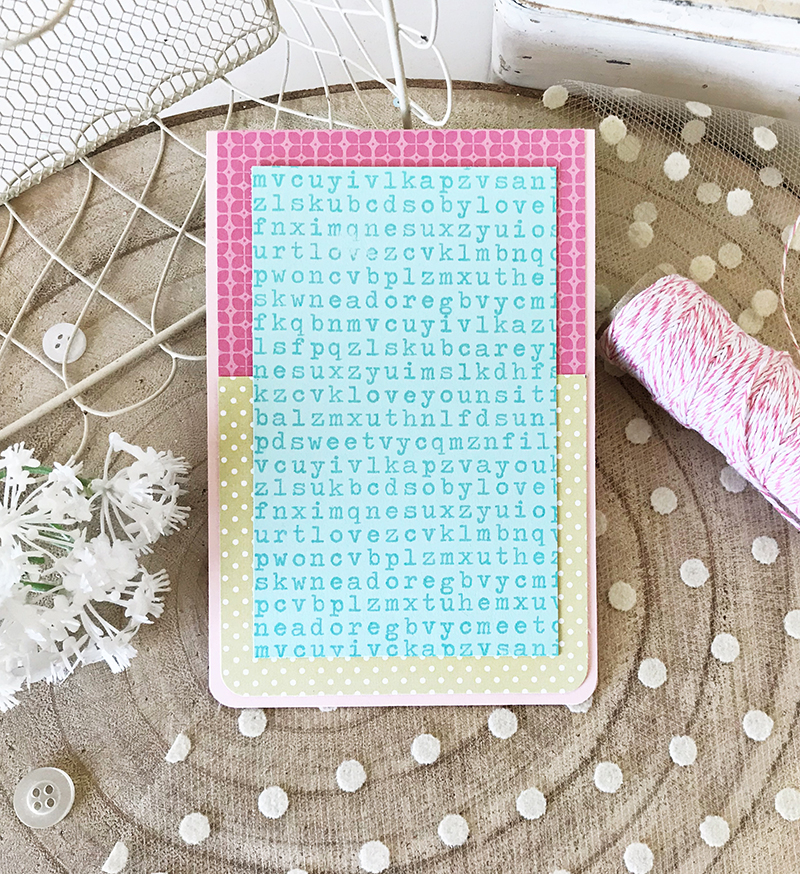
I added an Aqua Mist block of cardstock to the center of my card, stamping it with the Vintage Type stamp set, stamping with Hawaiian Shores ink.
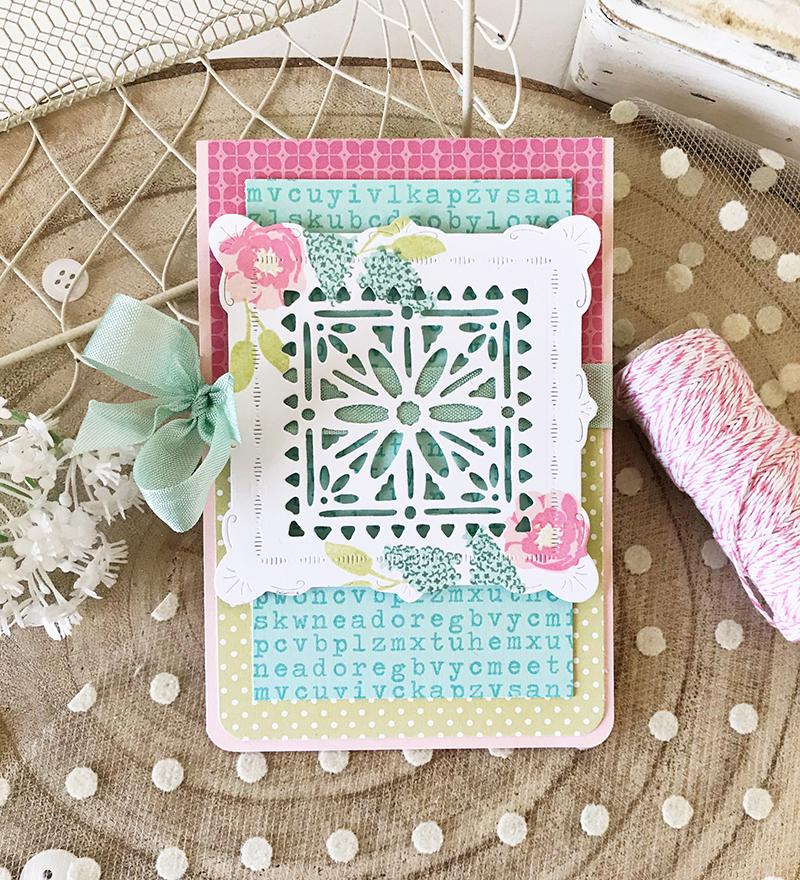 To create a spot for my stamped heart to rest, I used the Shape Shifters: Square 4 die, cut from Stamper’s Select White cardstock. I added stamped flowers from the Seasonal Borders: Spring stamp set in two of the corners. I added a bit of my favorite aqua seam binding as well, because I thought this card just needed a bow :).
My stamped heart with the sentiment was added next, tying in all of the lovely, fresh colors used on the rest of my card. To finish I added aqua sequins.
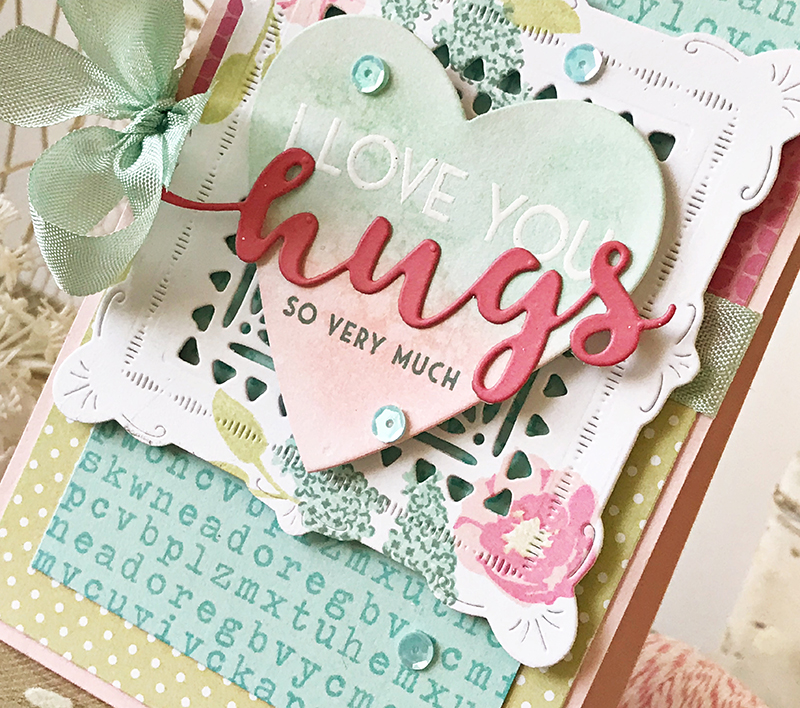
I love the softness of the emboss resist sentiment, mixed with the bold die cut “hugs”.
Supplies:
- STAMPS: Sentiment Staples: I Love You, Seasonal Borders: Spring, Vintage Type
- INK: Aqua Mist, Sweet Blush, Pale Peony, Hawaiian Shores, Berry Sorbet, Spring Moss, Fine Linen, Hibiscus Burst, Ocean Tides
- PAPER: Aqua Mist, Stamper’s Select White, Sweet Blush, Bitty Big Spring Moss
- DIES: Shape Shifters: Square 4, Limitless Layers: Hearts, Bold Borders: Polka Dots
- OTHER: patterned paper, seam binding, sequins, white embossing powder, watermark ink
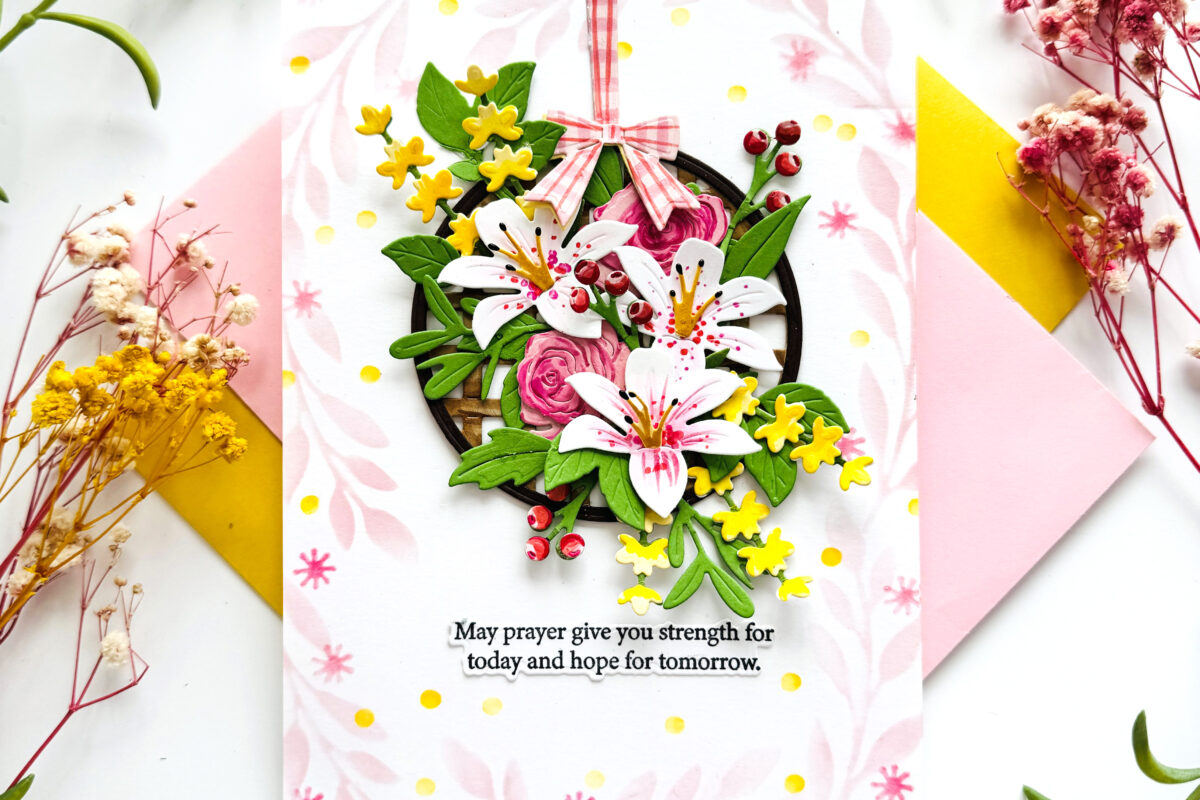
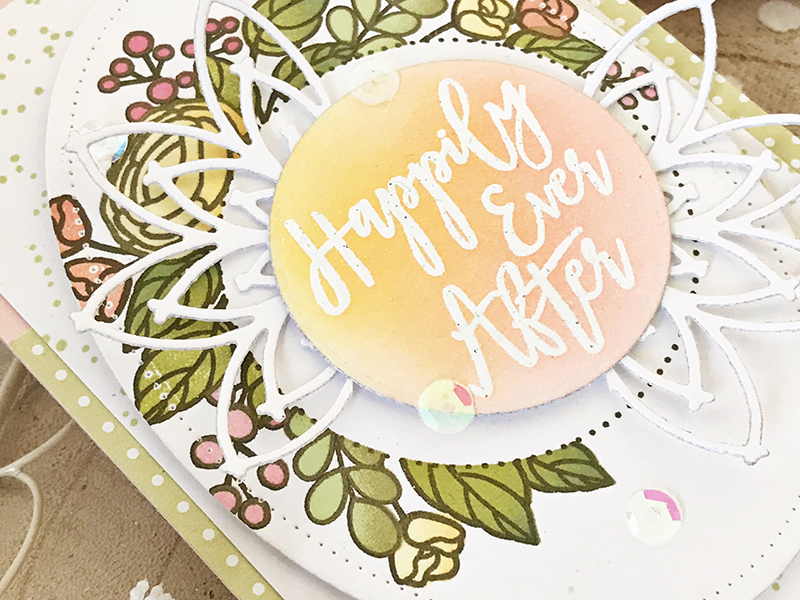
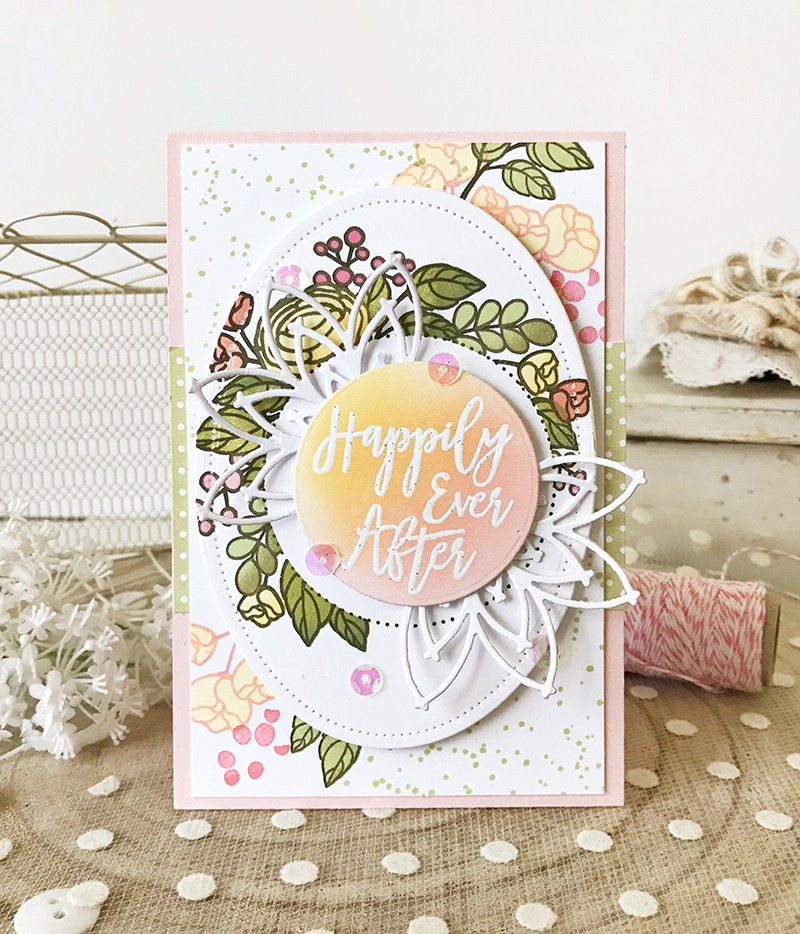
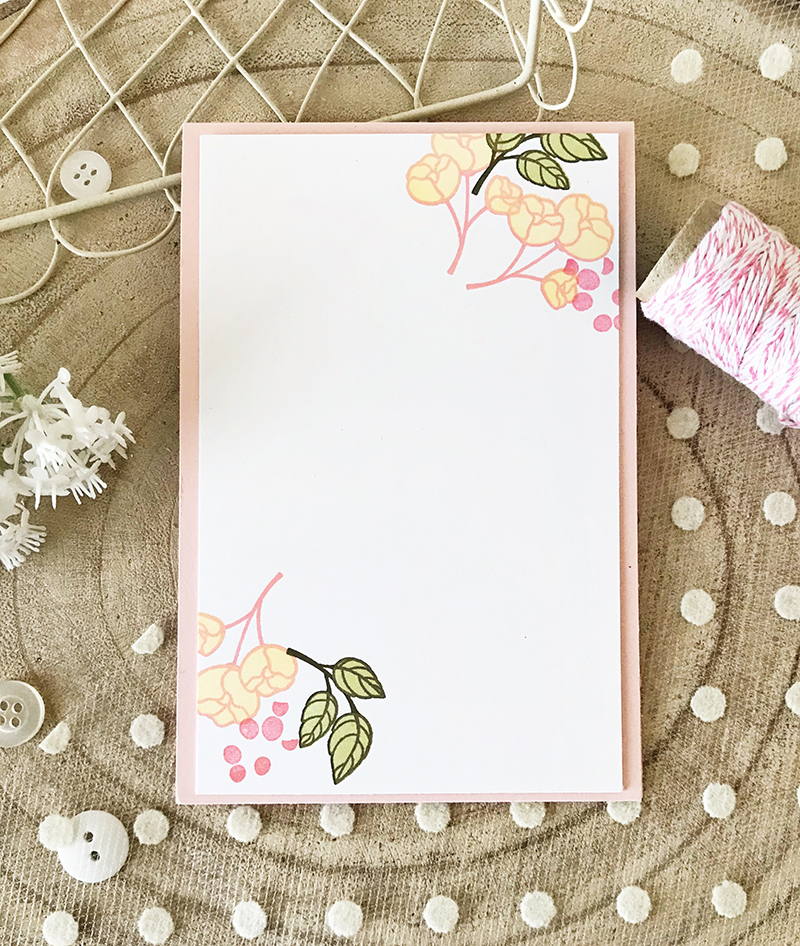 I used the gorgeous Circle of Love stamp set on my next card. I began by stamping a few of the florals in the lower left and upper right corners. I stamped using Pale Peony, Lemon Tart, Berry Sorbet, Ripe Avocado, and Spring Moss ink.
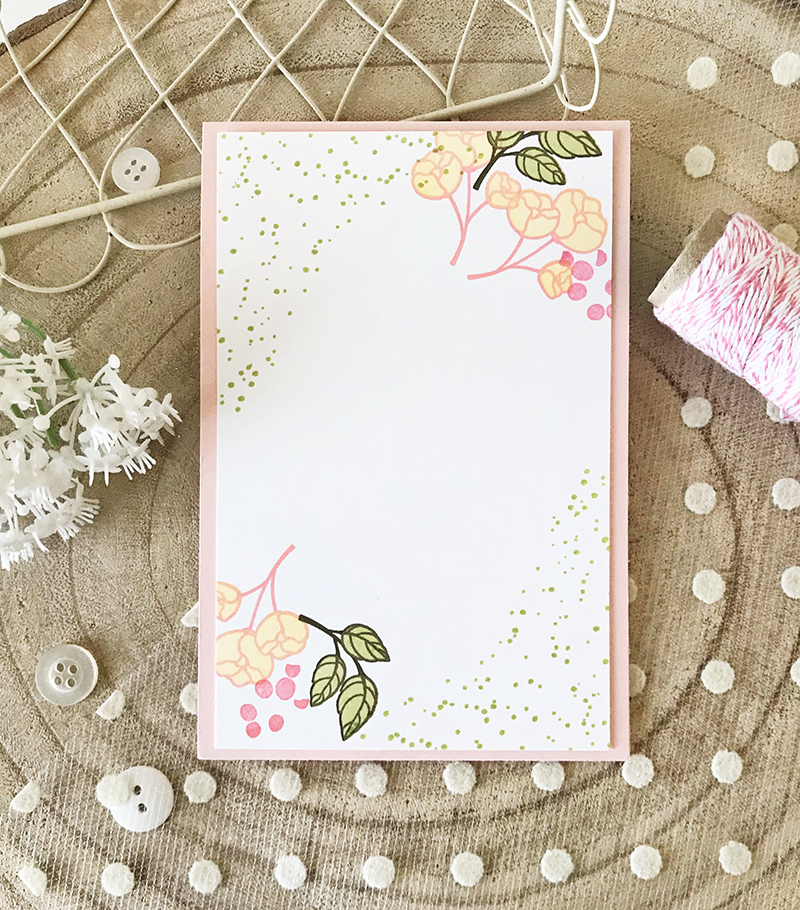
In the opposite corners, I used the Corner Adorner: January Mini stamp set, stamping in Spring Moss ink.
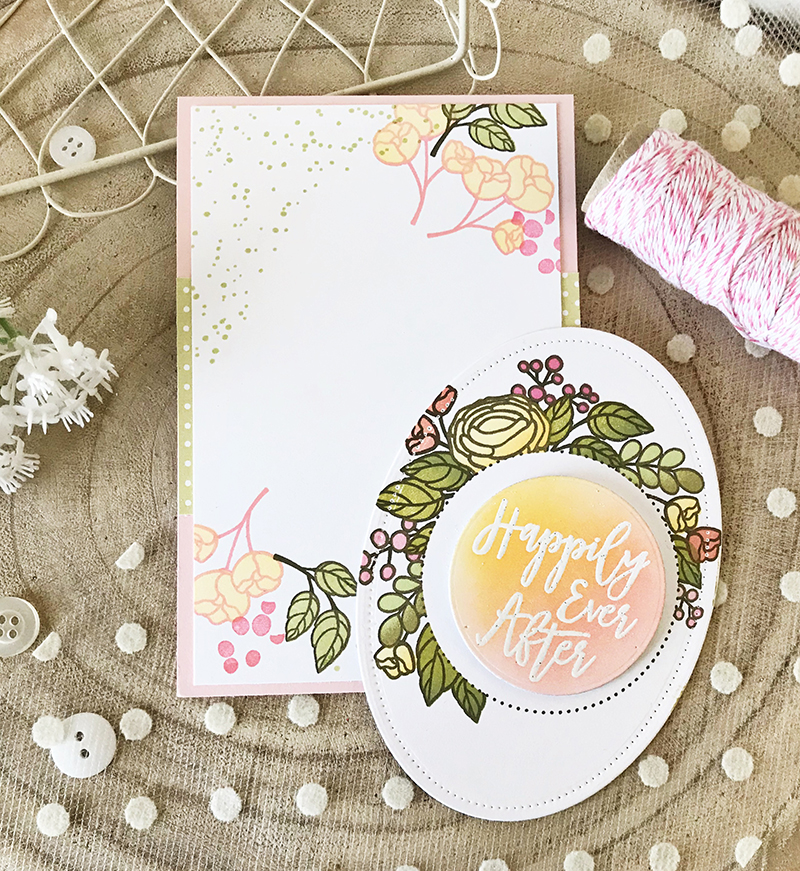
To create my focal point where my sentiment would be, I began by using the Nesting Basics: Ovals and Nesting Basics: Pierced Ovals. I then stamped my florals using Olive Twist ink and added the solid florals stamped in Spring Moss, Prairie Grass, Lemon Tart, Summer Sunrise, and Berry Sorbet.
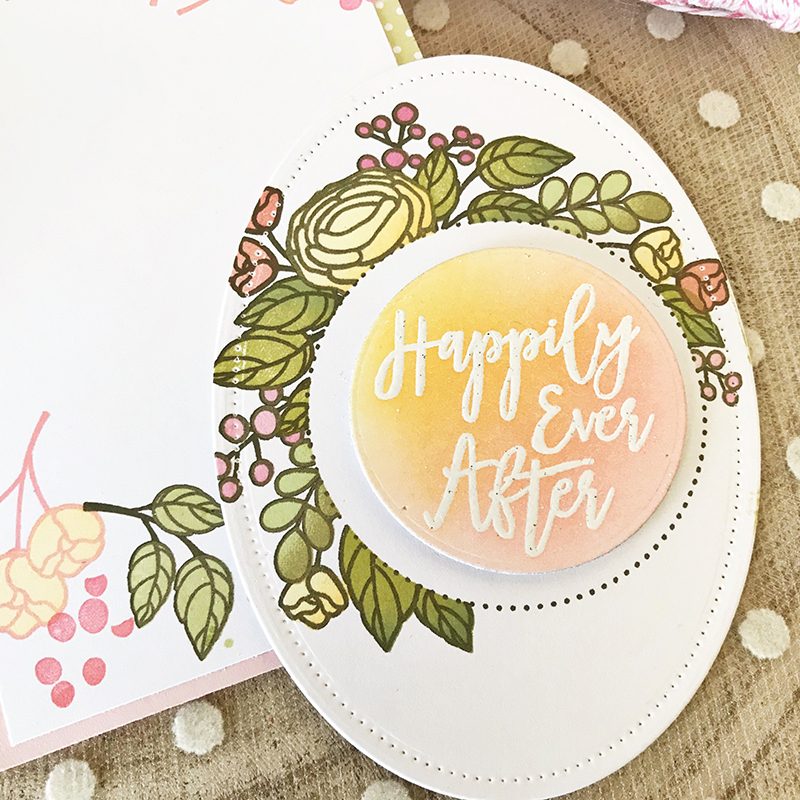
I then stamped my sentiment using watermark ink to the center of another die cut circle. After heat embossing it with white embossing powder, I sponged on Summer Sunrise and Pale Peony ink. I love how it makes the sentiment stand out but remain soft and subtle as well.
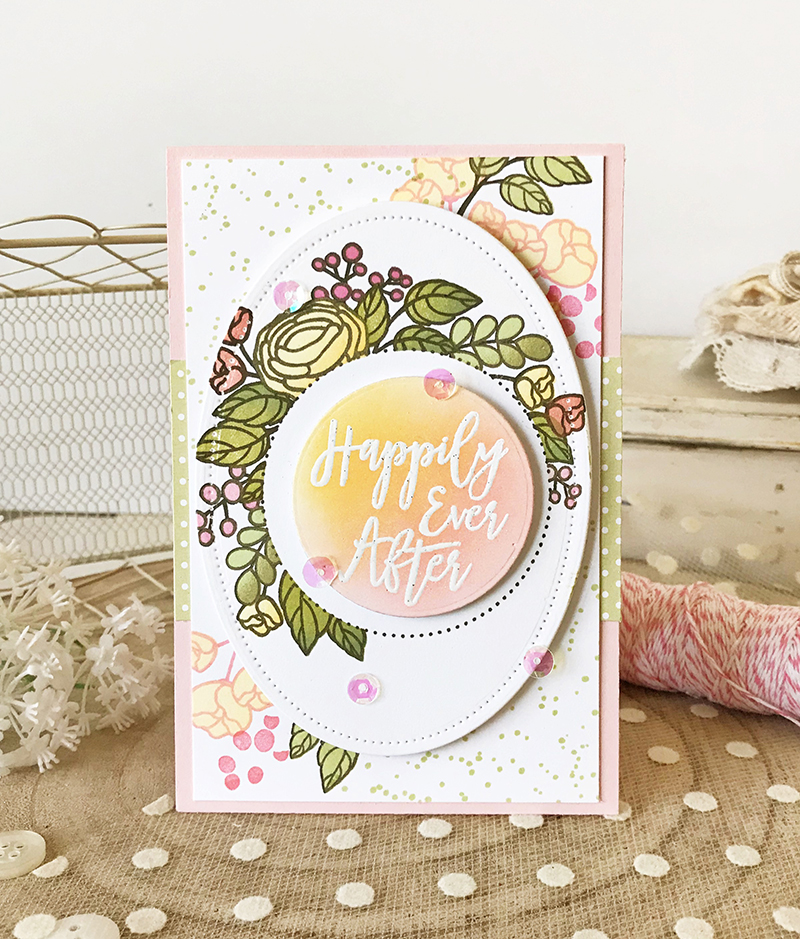
To finish I added my oval to the center of my card, adding a few sequins to bring in a little shine.
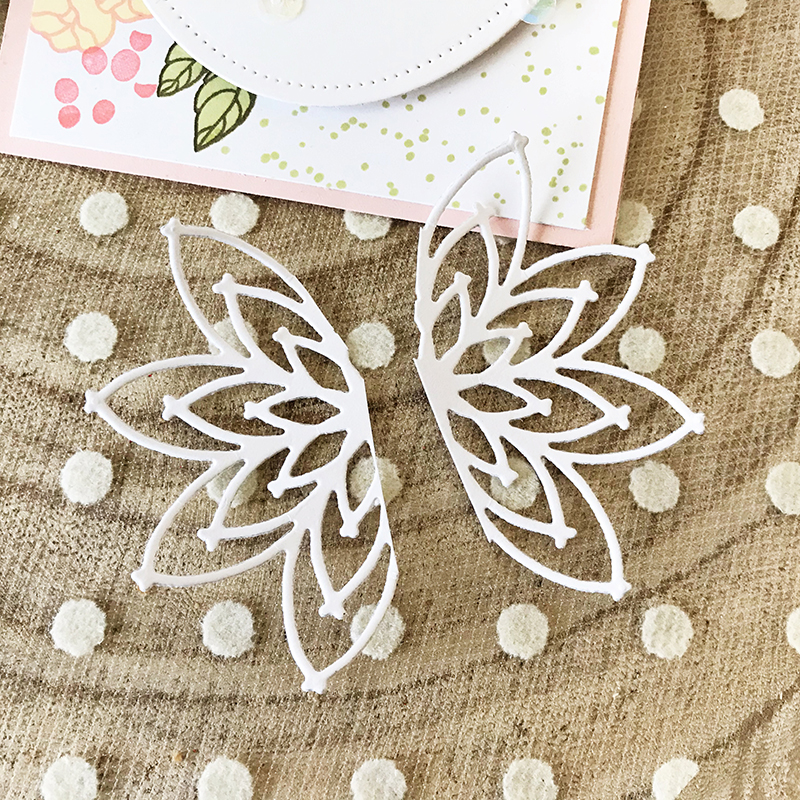 Once my card was finished, I felt like it was missing just one more little addition. So, to step up my card I used the Delicate Dies, cutting them from Stamper’s Select White cardstock. I snipped them in half and trimmed them just a bit before tucking them under my sentiment.
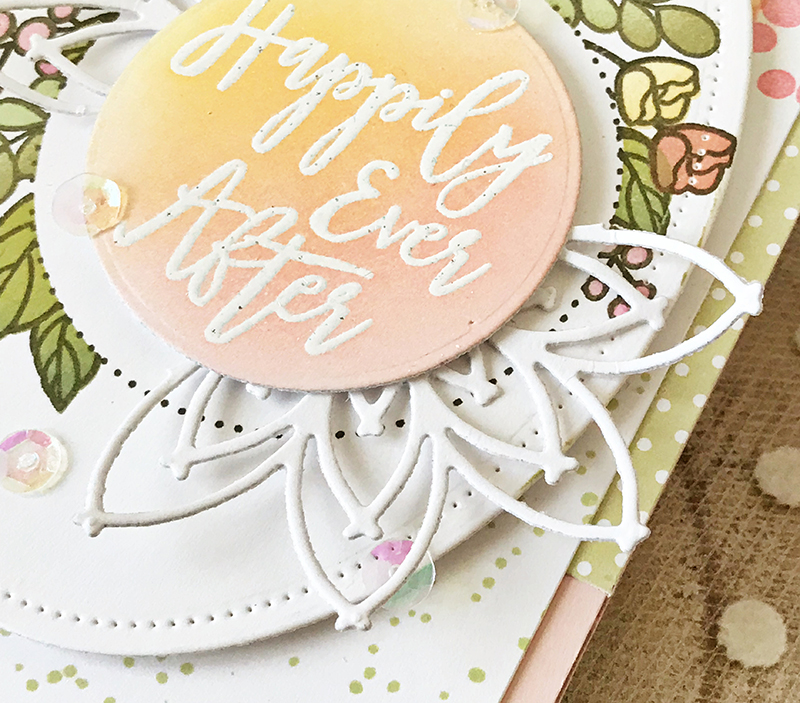
I love the addition that one more layer adds, and by cutting it from white cardstock, you get the intricate details, without it overpowering your card.

Supplies:
- STAMPS: Circle of Love, Corner Adorner: January
- INK: Lemon Tart, Spring Moss, Prairie Grass, Olive Twist, Pale Peony, Berry Sorbet, Summer Sunrise
- PAPER: Stamper’s Select White, Sweet Blush, Bitty Big Spring Moss
- DIES: Delicate Dies, Nesting Basics: Ovals, Nesting Basics: Pierced Ovals, Nesting Basics: Circles
- OTHER: watermark ink, white embossing powder, sequins
I hope you’ll put your favorite sentiment stamps to use this week and try a bit of embossing as you design your card.
Thanks for visiting!
Melis
Leave a Reply