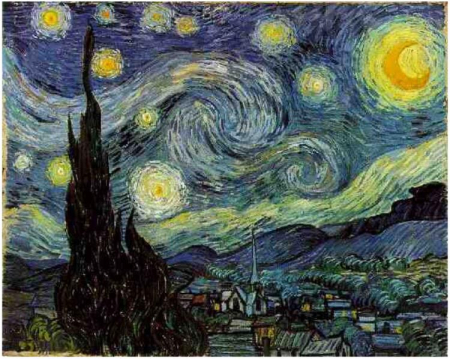
Amy Sheffer brings you the magic and mystery of Van Gogh this morning. Check out this video that tells a little bit more about his life and his work.
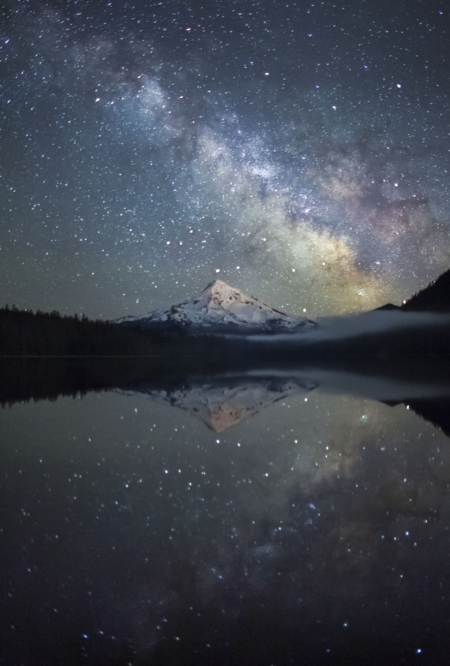
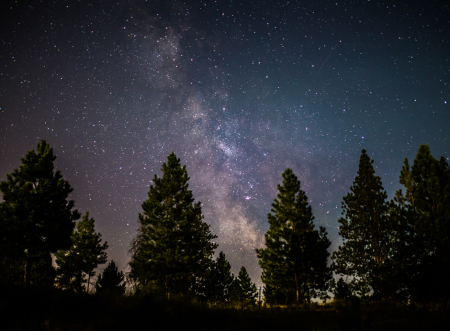
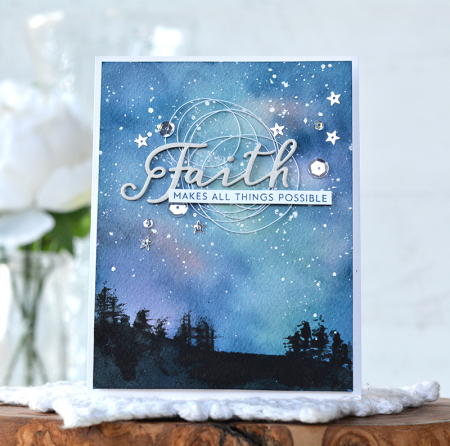
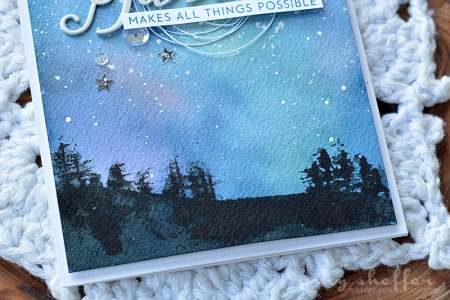
Amy says, “Vincent van Gogh wrote about the technical challenge of depicting a night sky: “It often seems to me that the night is even more richly colored than the day, colored with the most intense violets, blues and greens…. It’s clear to me to paint a starry sky it’s not nearly enough to put white spots on blue-black.” In this tutorial, we’ll apply a range of colors to create a rich and variegated night sky background. We’ll begin with ink blending, follow with watercoloring, and finish with acrylic paint. I’ll also show you how to create tree silhouettes along a horizon line for an easy way to complete a night scene.”
SUPPLIES:
- STAMPS: Inspired: Faith
- DIES: Inspired: Faith
- INK: Enchanted Evening, Aqua Mist, Mint Julep, Winter Wisteria, Pale Peony ink pads; Enchanted Evening re-inker (optional); True Black re-inker
- PAPER: watercolor paper; Soft Stone and Stamper’s Select White card stock
- OTHER: ink blending tool and foam; watercolor brush, round #6 (or whatever you have on hand); white acrylic paint; metallic silver watercolor paint (optional); make-up wedge or small (1″) foam brush; clear sequins, assorted sizes; silver star sequins; white thread; clear Wink of Stella pen (optional); fun foam or foam tape
- 1 top-fold white A2 card base (4 1/4″ wide by 5 1/2″ tall)
- 1 watercolor panel, 4″ wide by 5 1/4″ tall
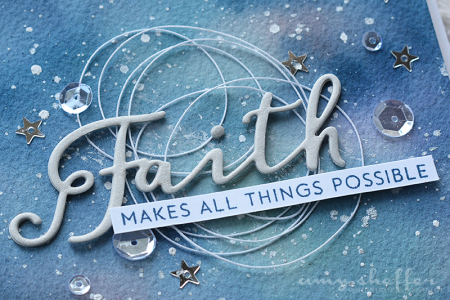
- 3 Soft Stone Inspired: Faith die-cuts, stacked
- 1 length of white thread, approximately 18-24″
MASTER TIPS FROM AMY:
- Use an ice cube tray to hold water when watercoloring. That way you’ll always have clean water handy.
- When adhering the dots to the i’s and j’s of your word die-cuts, lay the die-cut negative back over the die-cut so that you can see exactly where the dots should be adhered.
- Label your reinker lids with hole-punched circles of the coordinating card stock for quick and easy identification.
- Mount watercolored panels onto card bases with a layer of foam, such as foam adhesive strips or a panel of fun foam. This helps to both flatten and disguise any warping of the watercolor panel.
–Now it’s your turn! Create a starry night sky background for a project. You can choose to re-create the exact project from Amy above or design your own using the same concepts. Your project must also incorporate at least one Papertrey product.
–Post your project on your blog, in your gallery or on any other photo-hosting site (such as photobucket or flickr).
–-Add your project to the InLinkz list below.
–You will have until 7am ET, Tuesday, July 26th, to add your link to the list to be eligible to win. One project per person please.
–As a reminder, you will have until 7am ET, Tuesday, July 26th, to add your link to the list to be eligible to win.
–TWO randomly selected winners will be chosen from ALL the entries within this list on Tuesday, July 26th. The winners will be posted on our Tuesday night Stamp-a-faire winners page after 9pm ET. The randomly selected winners will each get a $25 PTI gift certificate to spend however they like!
Thanks for joining us! We look forward to seeing your projects!


Leave a Reply