 Hello! With all of the baby stamps and dies that were released last month, I had a serious case of baby fever! While having a baby is fun, it’s also lot of work, so I settled for living vicariously through some friends who are expecting babies instead, and happily created some adorable gift bags for their impending arrivals. I hope you’ll join me in this June edition of my Packaging Ambassador blog post!

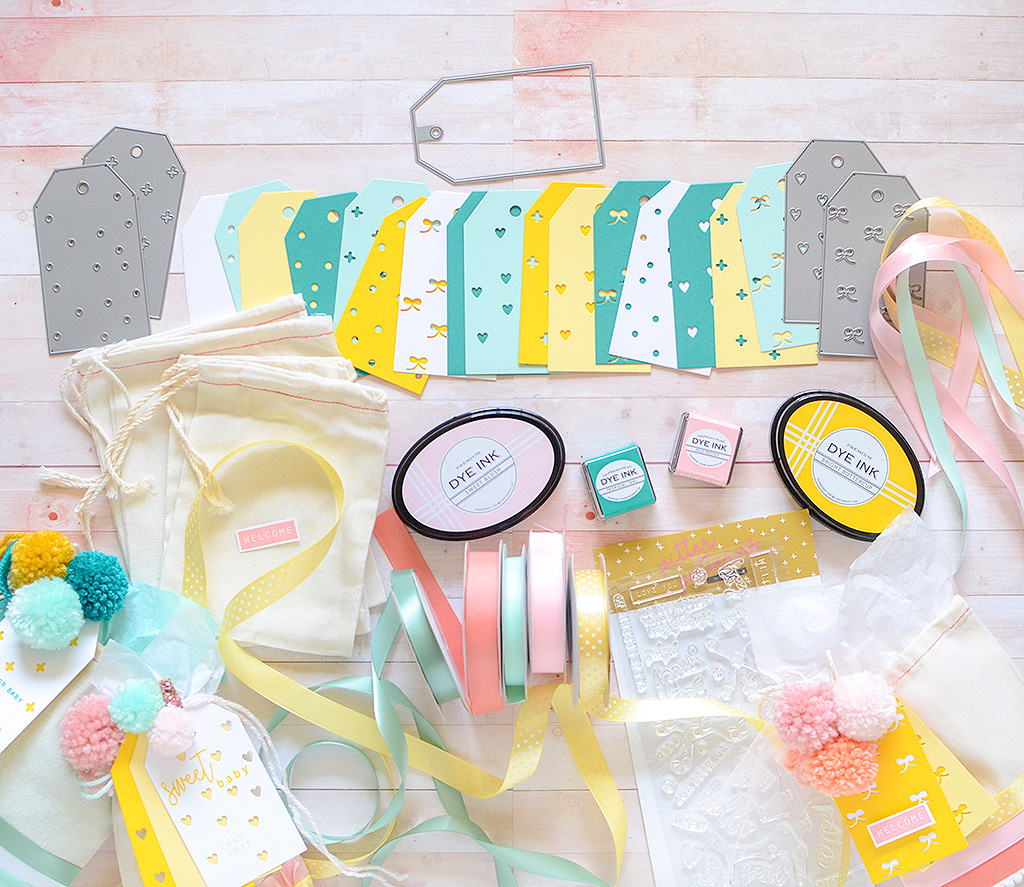
Did you know that Papertrey Ink carries these cute muslin bags in their store? I’ve used them for packaging for years so I was really excited when PTI got them in stock. They come in 3 sizes: 5″x 7″, 4″ x 6″, and 3″ x 4″. I’m using the 2 larger sizes for projects today, and I’m pairing them with my Pitter Patterns Tag dies and stamps, and PTI ribbon.
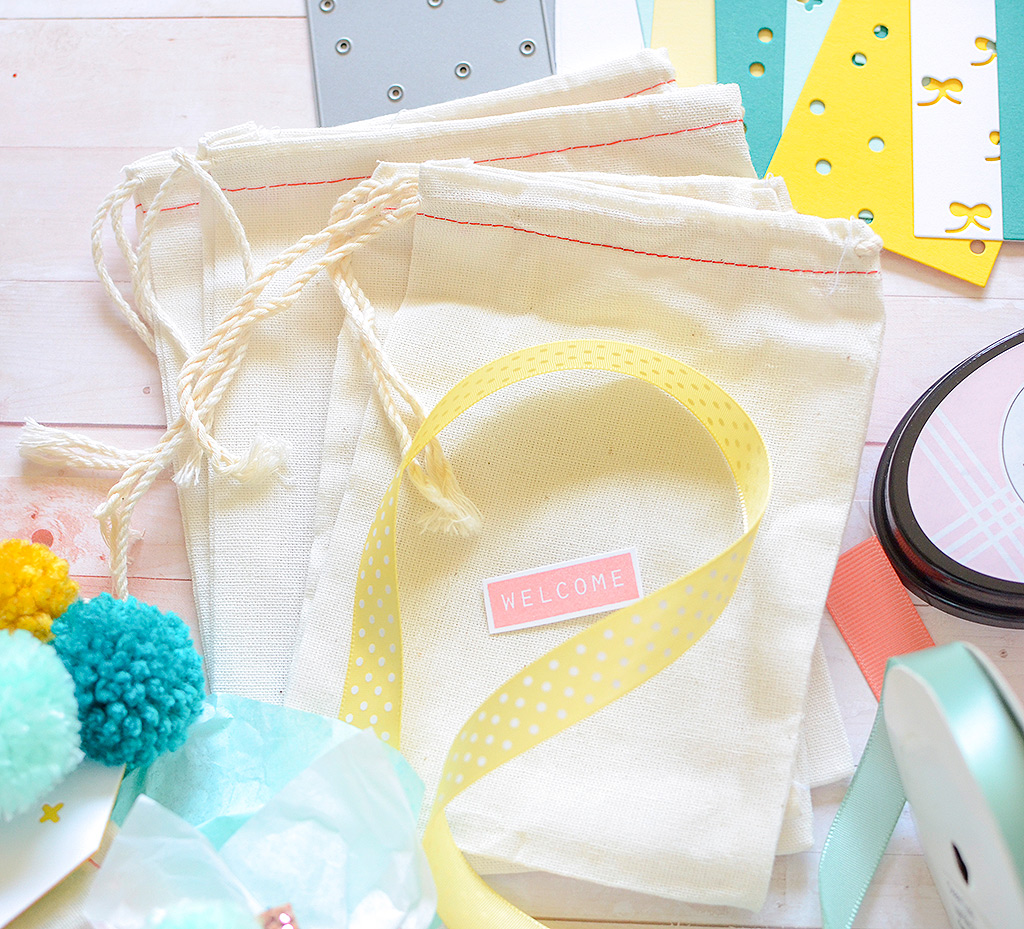
 I love these bags for their blank canvas. You can paint, stamp, or even sew on them and they’re pretty sturdy, yet very affordable. The large and medium bags are only $2.00 for 4; the small bags are only $1.00 for 4. Trust me, those are awesome deals! They are also one of my favorite receptacles for packaging card sets. You can see an example of this in this past Ambassador post.
 Today, I’ve taken several PTI ribbons and adhered them to the bags. It’s such a simple technique, but it has endless possibilities and it’s a great way to work in some vibrant color to the bags.
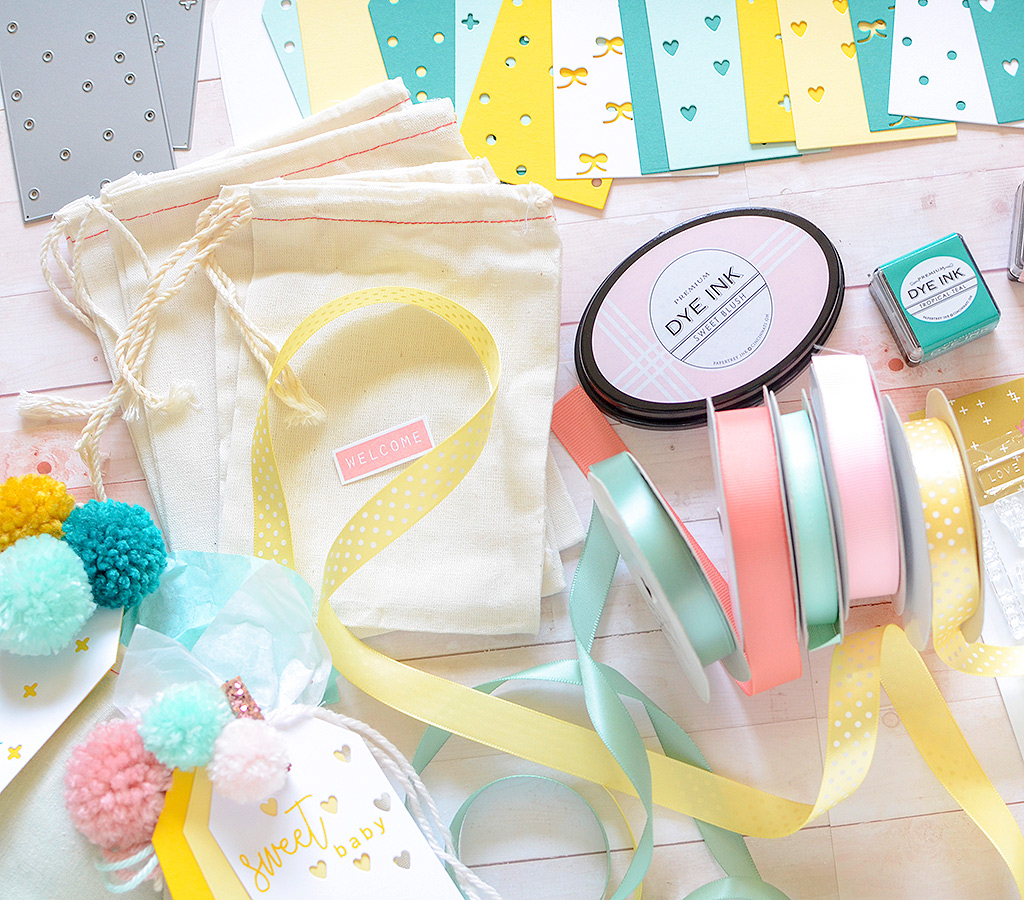 I chose my colors first, and since I was working on baby packaging, I chose pinks, yellows, and blues–though use whatever colors YOU love working with for babies, of course!
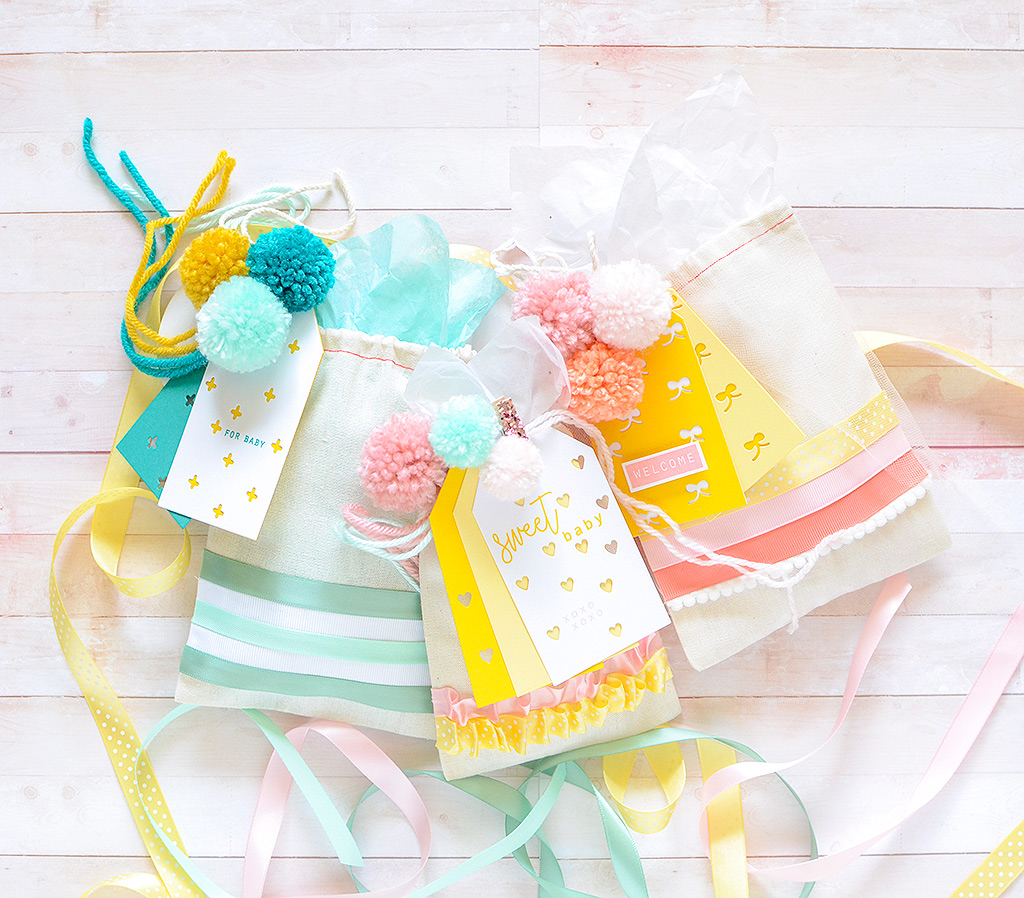
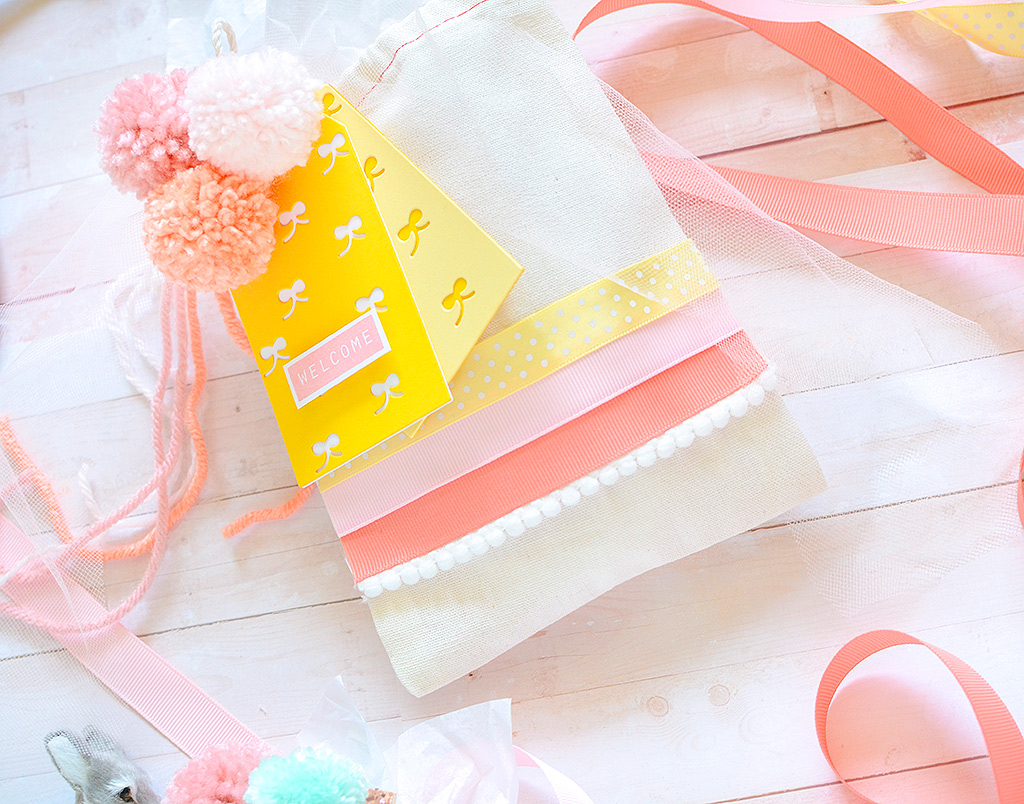
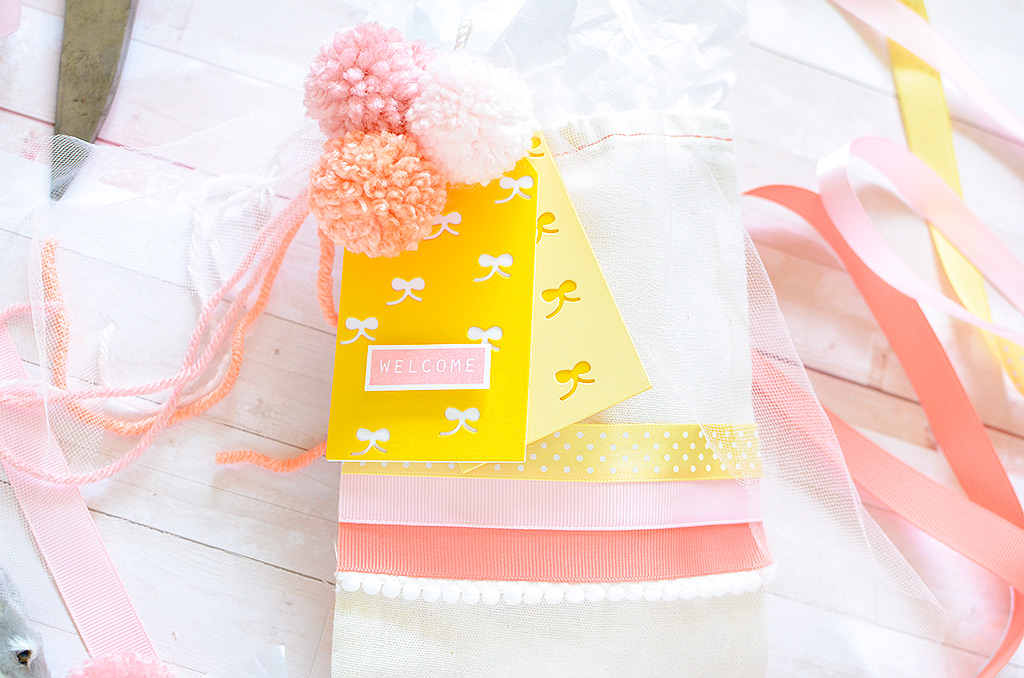
 On the first bag, which is for a baby girl and is the 5×7 size, I laid out 3 strips of ribbon: Melon Berry Grosgrain, Sweet Blush Grosgrain, and Lemon Tart Swiss Dot. Using my go-to adhesive, Fabri-Tac, I ran glue lines across the bag and then fit my ribbons in place, trimming at the edges. Along the bottom edge of the Melon Berry, I added a strip of white pom-pom trim, which is from my own stash. You can omit this part or you can add more colored ribbons…do whatever you love!
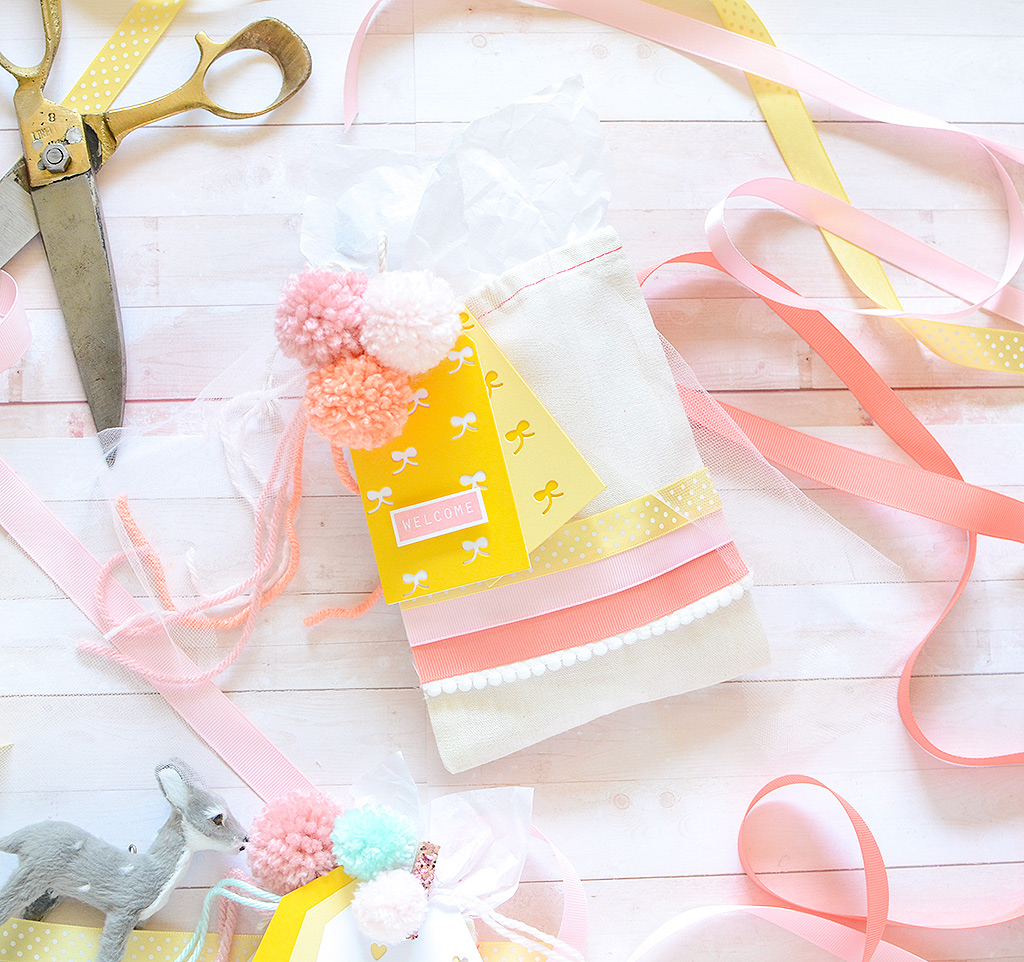
 Next, I cut out some of the Pitter Pattern tags with the bows on them from Lemon Tart and Bright Buttercup cardstocks. I trimmed 2 large tags from the Essential Tags 1 collection from Bright Buttercup and white stock, then matted the plain tags to the patterned ones. I wanted the top tag to POP which is why I chose to pair BB with white. The bottom layer of tags is more of an accent layer. I stamped the ‘welcome’ block in Pink Peony ink, then hand-cut it out. 3-D foam dot stickers give it a boost.
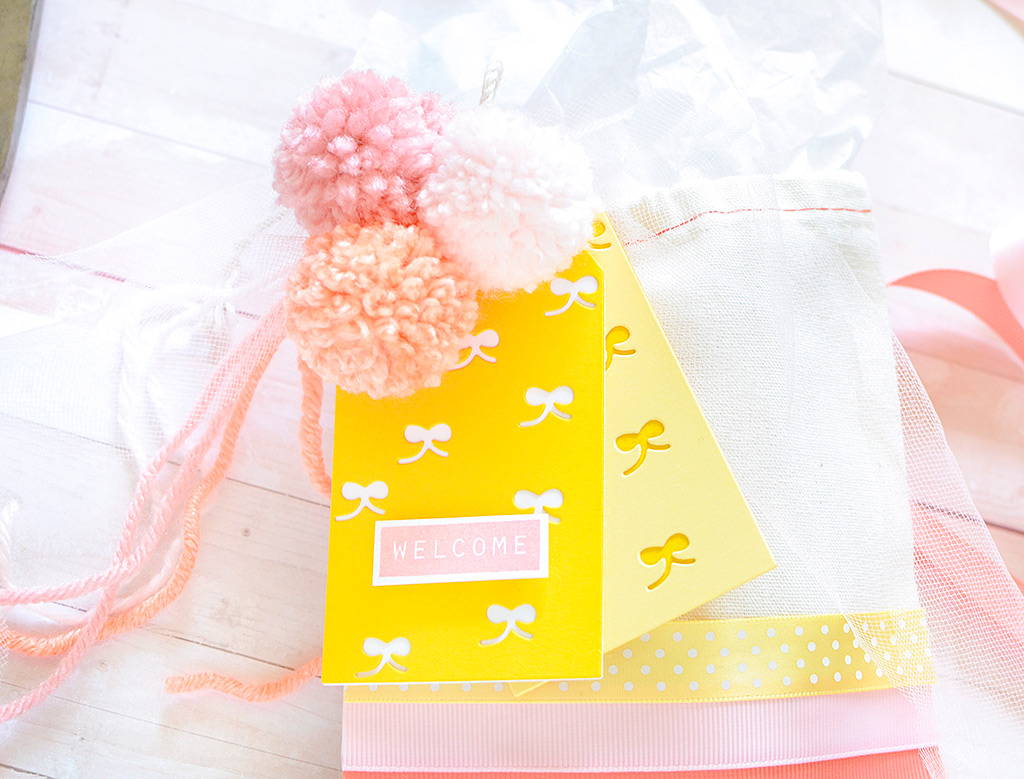
I slipped all the tags through one of the bag strings, put a bit of pale pink tulle in there, and added 3 yarn pom-poms to accent them. I made these myself with yarns I had on hand and a clever tool from Clover which makes creating them fast and easy.
 This bag is ready for a baby gift!
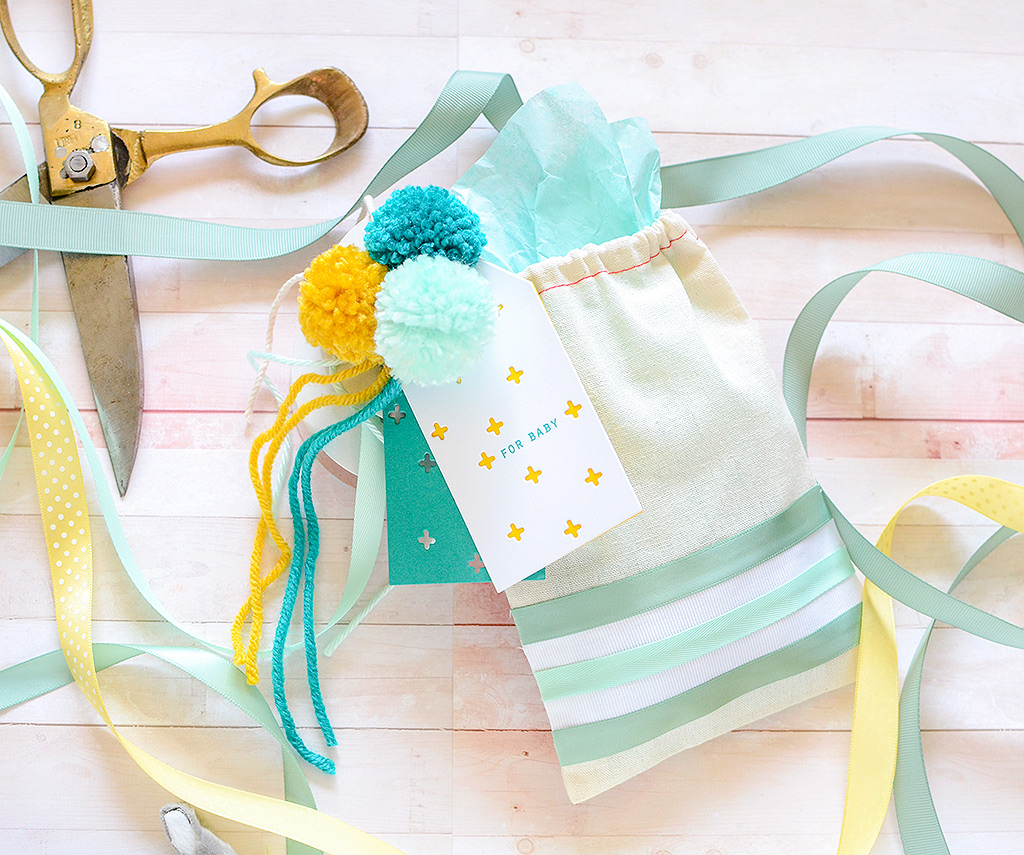
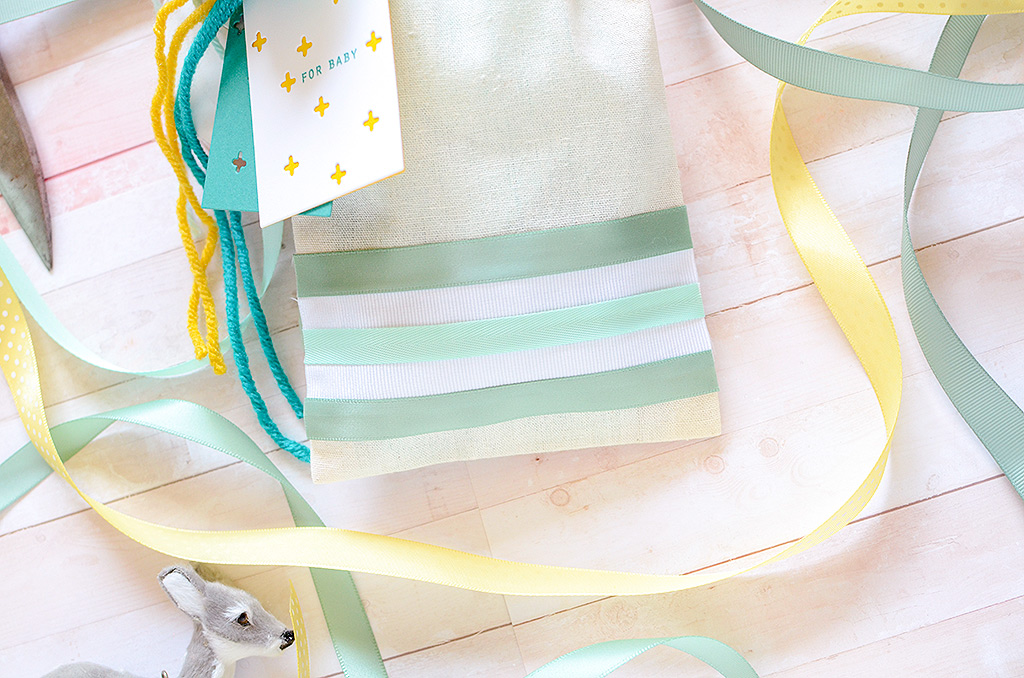
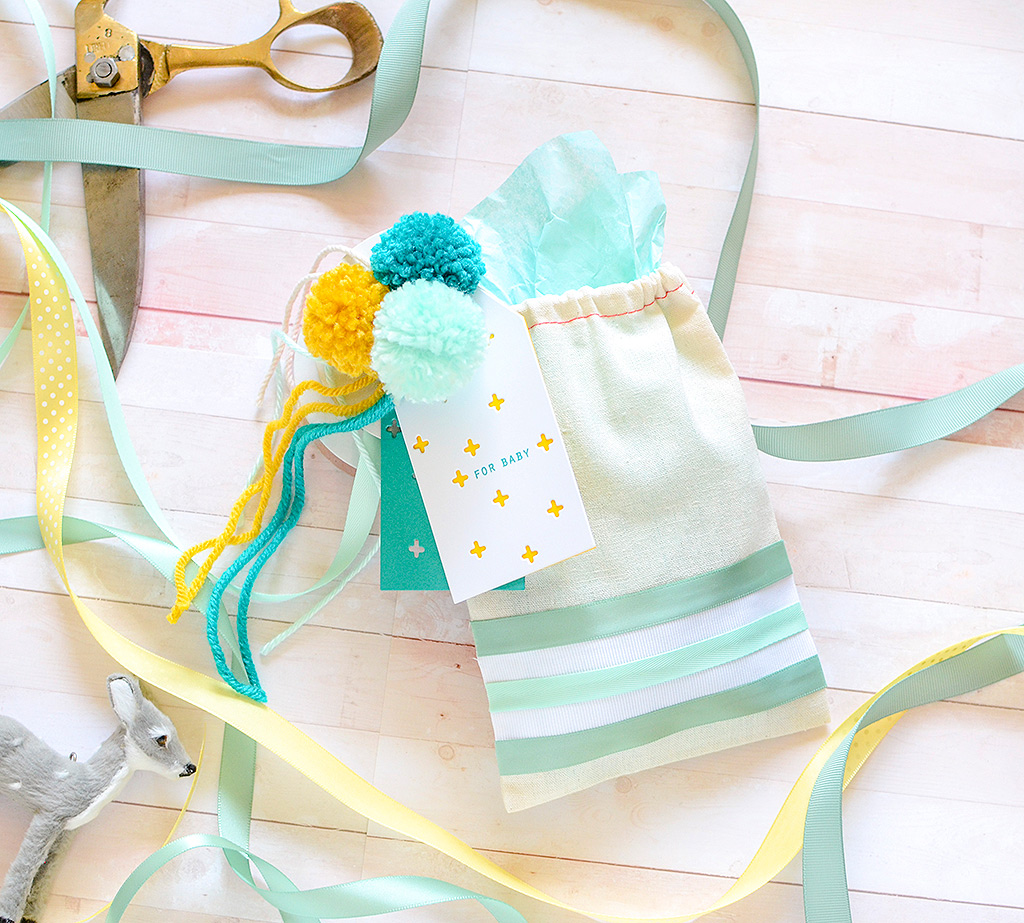 Moving onto boys next, I used another 5×7 bag with Ocean Tides Satin, Fresh Snow Grosgrain, and Aqua Mist Twill ribbons. I created a different pattern for this bag. Just as you might choose a patterned background stamp or range of stamps to create a patterned background on a card, you can use ribbon in multiple patterns, as well.
 Again, I adhered the trims to the bag with Fabri-Tac. Since it doesn’t dry instantly, it gives you a moment of play time to straighten your lines (but only a moment)! Also, make sure to put a piece of wax paper or something similar inside the bag to assure the front and back panels don’t get stuck together.
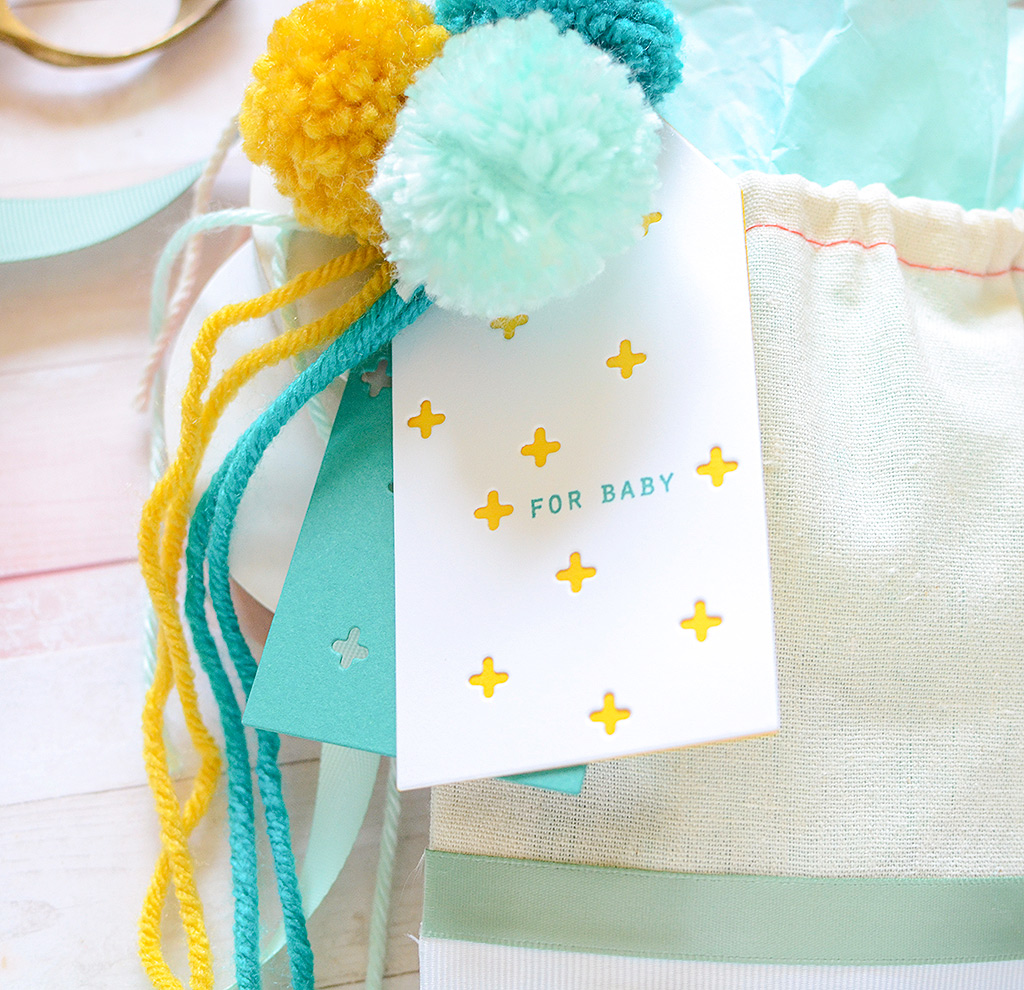
 My patterned pluses tags are cut from white and Tropical Teal stocks, while the essential tag is cut from Bright Buttercup. I like the unexpected pop of bright yellow with the white and shades of blue. On all of the Pitter Patterns tags, there are small nooks where you can add stamped messages, so I chose ‘for baby’ in TT ink. I finished off the look with more pom-poms. The soft, textural toppers make me think of baby booties or tiny infant hats!
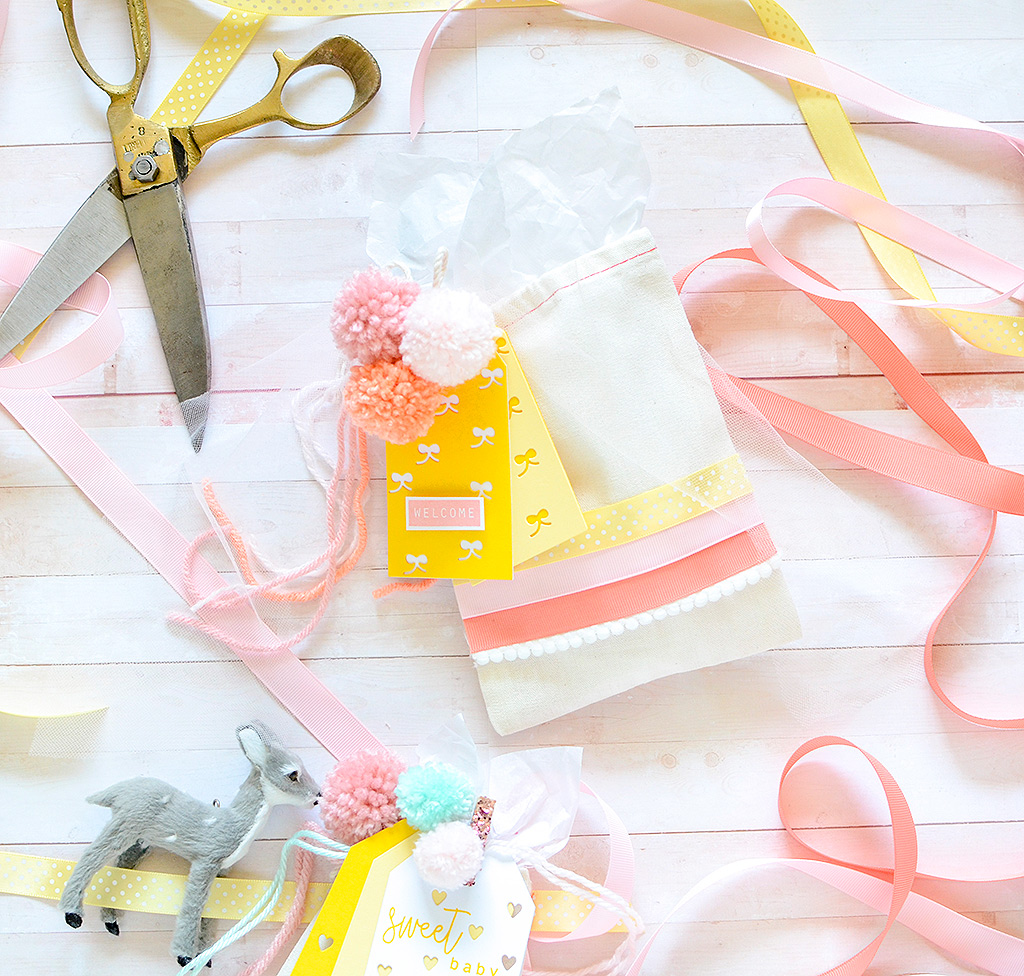
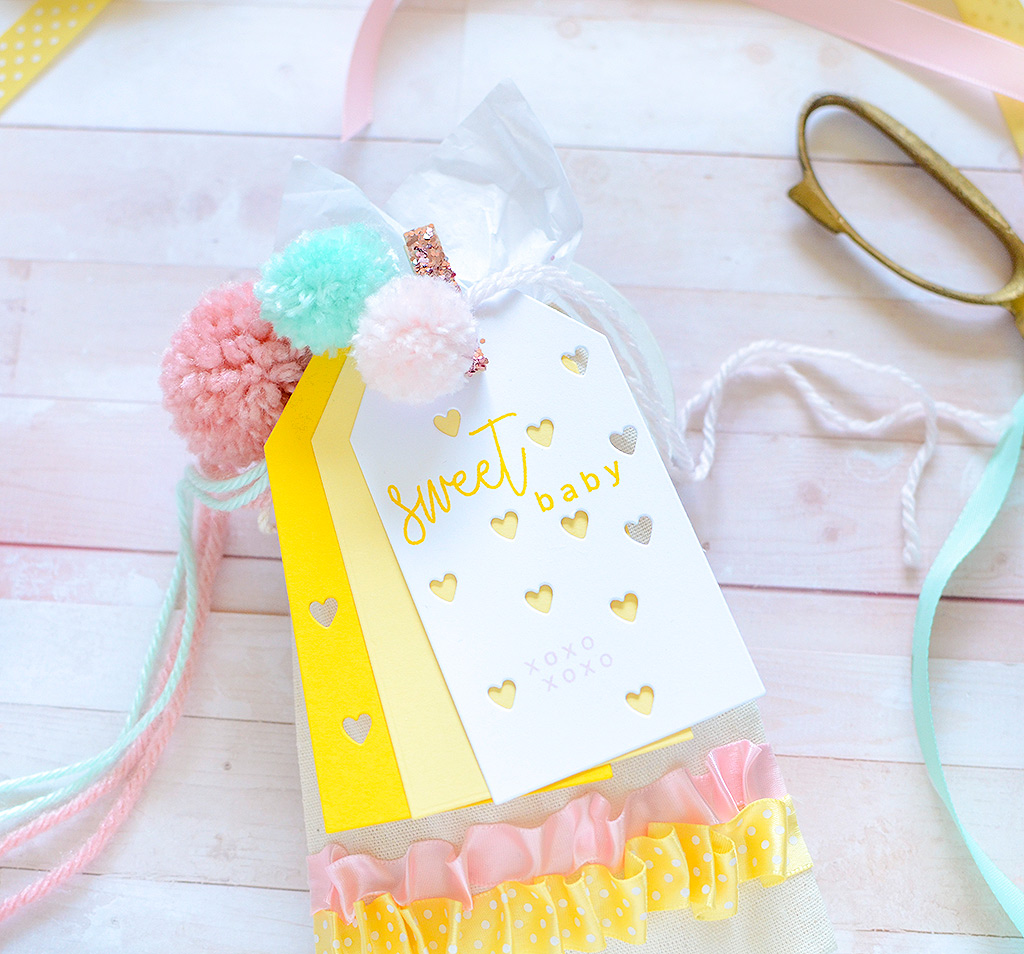 For the last bag, I used the 4×6 size and did something a little different with the ribbons. I created some ruffles here instead of a simple flat line. It’s a lot easier to do than you might think. Again, I started with a horizontal line of Fabri-Tac, then I pinched the ribbon into place. I started with the bottom piece, Lemon Tart Swiss Dot, and just kind of folded it as I went. It’s very similar to the ruffle technique I did on these card boxes using double-stick tape and crepe paper. The ribbon is heavier, though, so you have to go back every couple of folds and pinch the kinks again, but the glue takes hold fairly quickly so the whole process should only take a couple of minutes. You can use hot glue if you’re more comfortable with it.
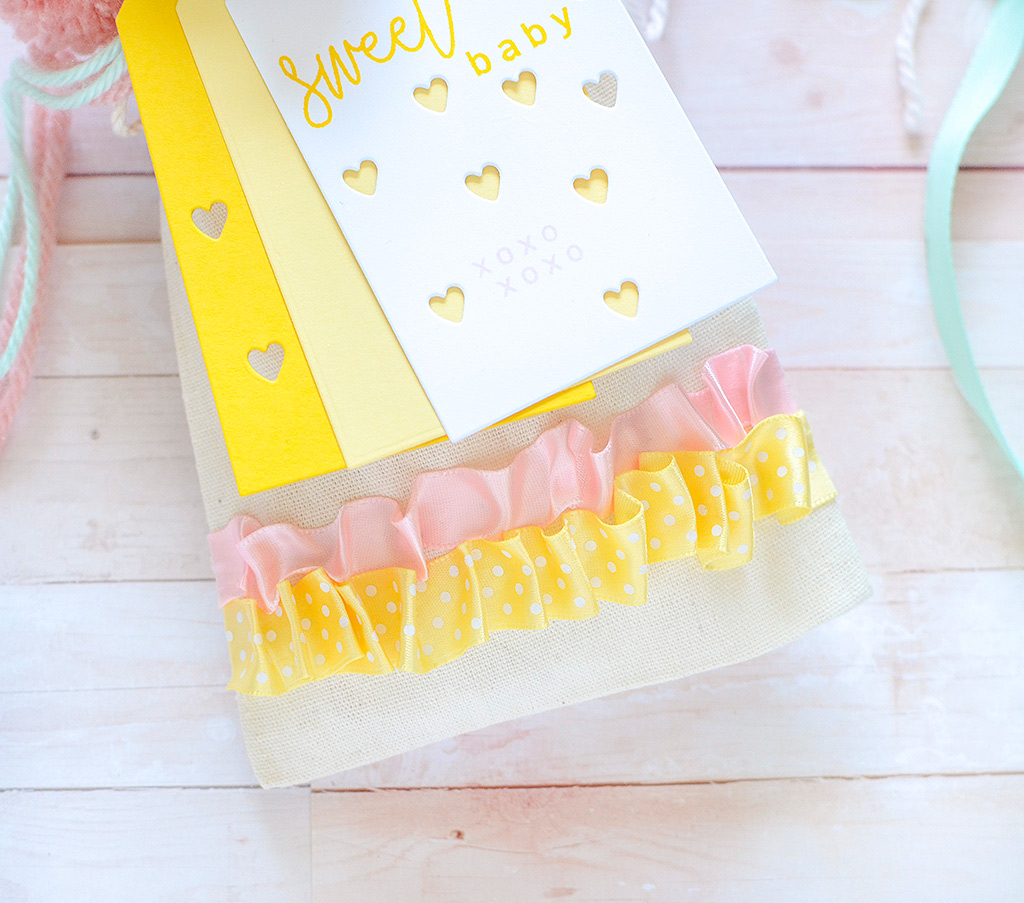 I repeated the steps with satin ribbon in Sweet Blush. I gave it about 15 minutes to dry and then trimmed off the excess at the edges. This ruffle is so adorable for babies, don’t you think?
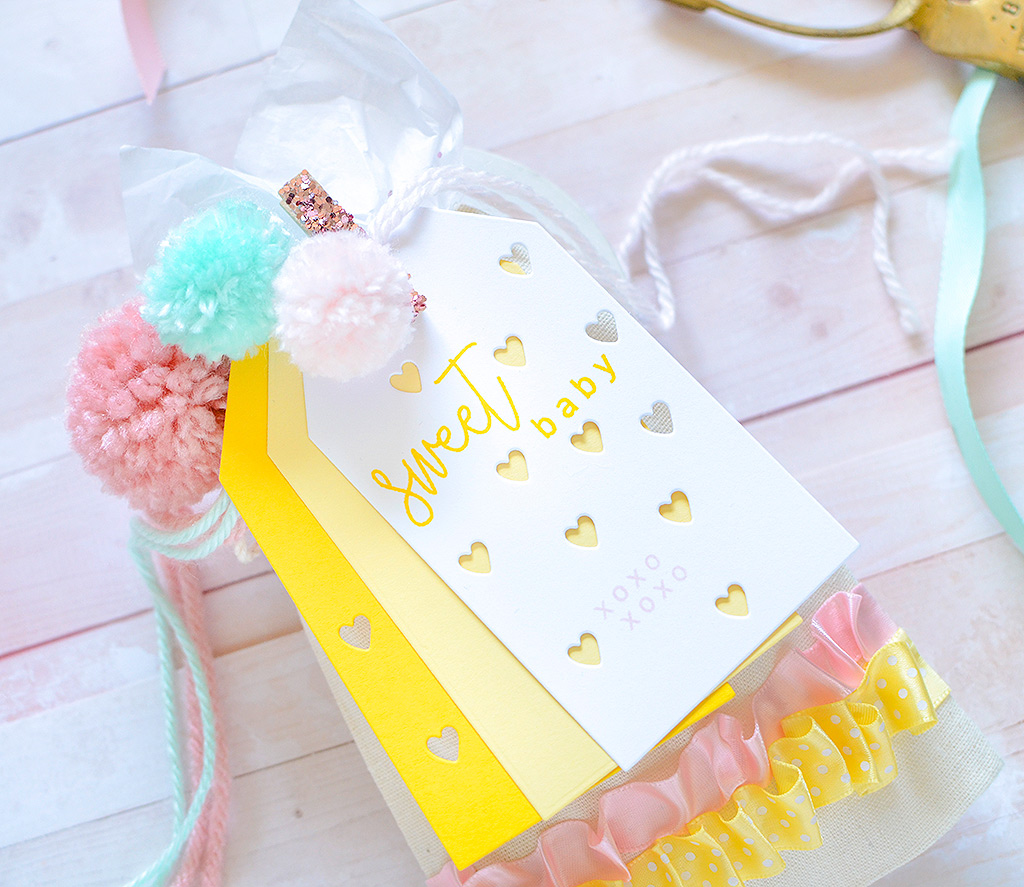
 For my tags, I used the cut-out hearts pattern tag this time, cut from white and Bright Buttercup. The solid essential tag is Lemon Tart. With BB ink, I stamped ‘sweet’ ‘baby’ (those 2 words fit perfectly in the gaps created by the heart patterns!), then stamped ‘xoxo’ twice in Sweet Blush ink. I added my handmade pom-poms and clipped the tags on with a pink glittery clothespin.
 These were so much fun to make and they actually came out looking better than what I envisioned in my head, which was a little more plain than the end result. All the pretty ribbons and the scrumptious colored tags…I hope these are something you might try creating yourself. You don’t have to save them just for the babies, either–with the right PTI colored ribbons, these bags would be fit for anyone on your gift list!
 I’ll see you here again in a month’s time, my packaging kindred spirits!
 Stamps: Pitter Patterns
Ink: Bright Buttercup, Tropical Teal, Sweet Blush, Pale Peony
Paper: Stamper’s Select White, Bright Buttercup, Tropical Teal, Lemon Tart
Dies: Pitter Patterns Tag Die Collection, Essential Tags 1
Ribbon: Melon Berry Grosgrain, Sweet Blush Grosgrain, Fresh Snow Grosgrain, Aqua Mist Twill, Sweet Blush Satin, Ocean Tides Satin, Lemon Tart Swiss Dot
Other: Muslin Bags (5×7, 4×6), Yarn, Pompom trim, Clover Pompom Maker, pink tulle
Leave a Reply