Hello, friends! This is Yana Smakula and I am excited to bring you my monthly video tutorial for Papertrey Ink from the “In The Studio with Yana” video series. I am sharing video tutorials on the 24th of each month, you can catch previous episodes here HERE.
I am all about creating unique backgrounds for my projects and I love to use small individual stamps for this. You can definitely use background stamps for stamping backgrounds and I like doing that as well, but I also love to play with smaller stamps and see what unique and one of a kind backgrounds I can make. Today I am using a fun stamp set called Medallion Trio for my stamping. The reason I picked this set over other sets from my stash is because of the uniquely shaped solid filler images that are used to add color to the parts of the medallion. These looked like fun shapes to me and I wanted to try using them to create simple linear patterns for my cards.
Before we get started I wanted to mention a few things that make stamping backgrounds like these a much easier task. Clear block with printed or etched grid lines is a good tool to have as well as a surface with printed grid lines is a must. If you are stamping a random background (like this one I shared some time ago) and don’t have a specific placement in mind you don’t need to have these things, but for the backgrounds we are making today is it useful to help tools that let you space the images out evenly. If you don’t have either of those you can use a pencil and a ruler and add a faint grid to your paper – simply measure the size of your image, figure out the spacing and add the grid directly onto the paper. Once you are done stamping and the ink has had a bit of time to dry you can erase the lines with a pencil eraser.
Every time when I plan to stamp something like this I like to practice on a piece of scrap paper – I use printer paper and not my good white cardstock and I just stamp the idea out. If it works – I than transfer it onto my specialty cardstock.
I used just the images labeled “A” from my stamp set and worked mostly with the largest elements. The larger the element you use the less times you need to stamp it onto your paper to fill the entire background.

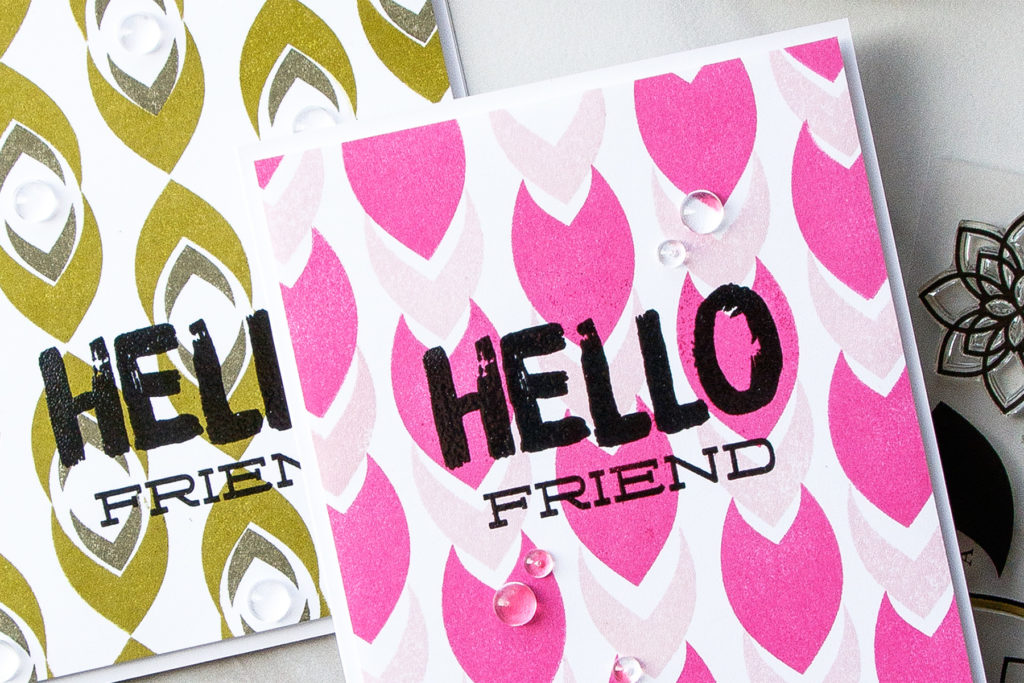
I used Lovely Lady and Raspberry Fizz ink colors for the first background. I placed my paper on my cutting mat making sure to center it according to the grid lines on the mat to help me align my stamping. I also centered the images I was using on my clear blocks.
I assigned each shape its own color of ink and started stamping from the center of my panel out alternating the images and therefore the colors of ink. Once my first column was finished I started working on the 2nd and 3rd one and I offset them to add movement and interest to this background.

If you are finding it difficult to come up with pattern ideas it is helpful to look at various patterns in everyday life. A planner cover, a cup, a blanket, carpet, shower curtain – all these things and more can have a printed pattern on them; take a closer look at that pattern, see how and in what way the elements are repeating themselves and than take that observation to your craft room and see if you can recreate that pattern with your stamps and inks. I often look at various patterns in my home and also online and I save the ones I like the most for inspiration.

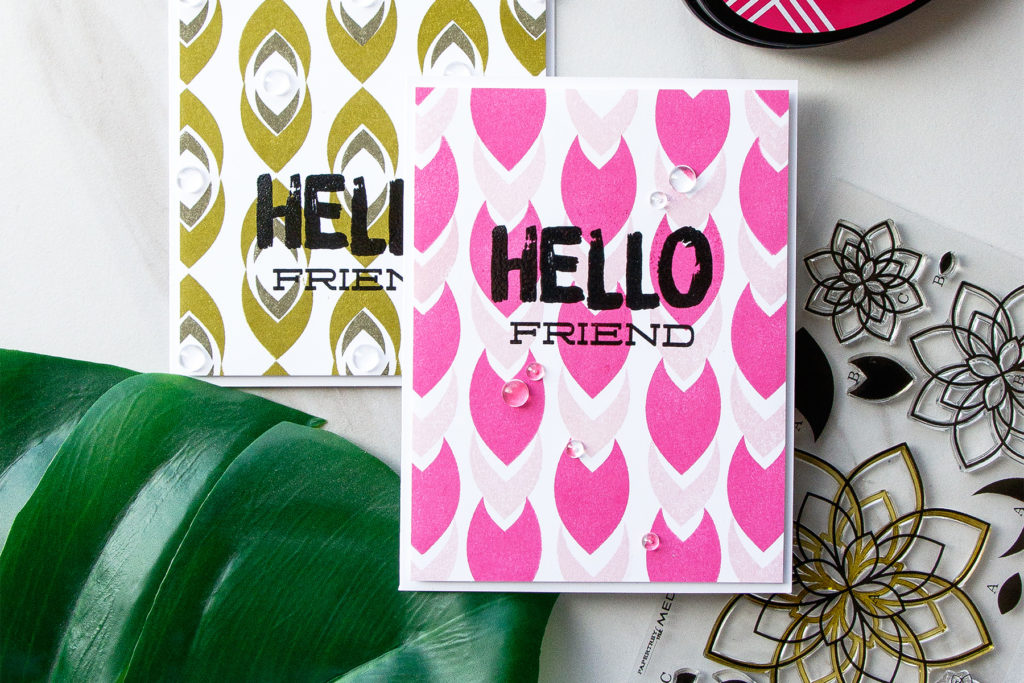
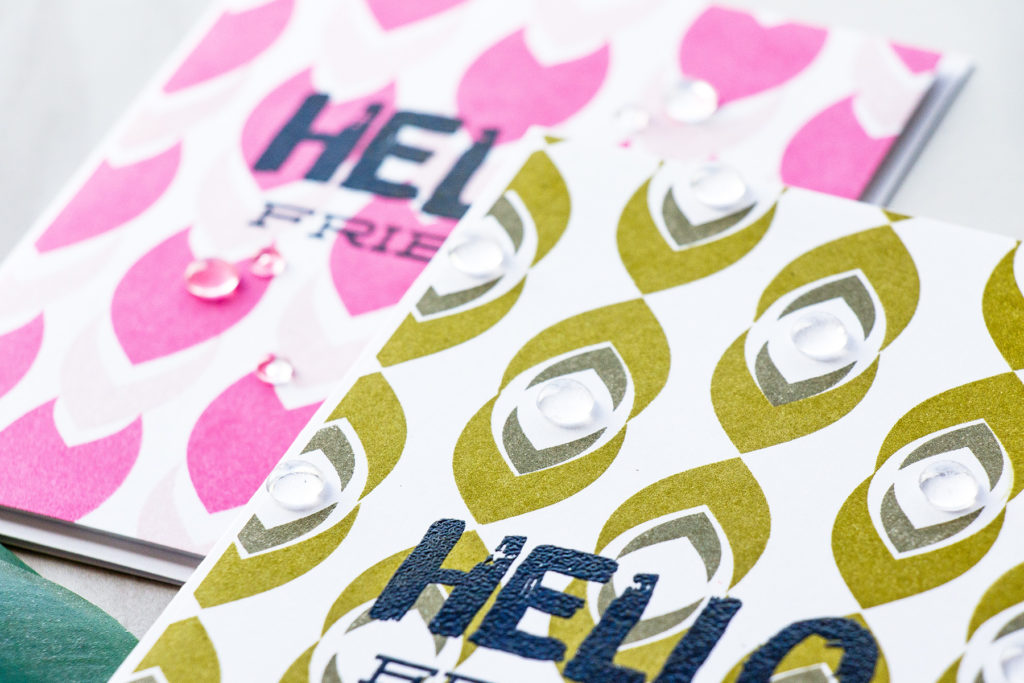
Once you have your background pattern stamped there are many ways it can be used on a card. I did some very simple stamping and heat embossing to create sentiments. I went with Fruit Salad and Blooming Cute stamp sets to create sentiments for these. I also embellished these cards using clear droplets and I wanted to show you two different embellishing options – for my pink card I followed the rule of a triangle and placed droplets around the sentiment forming that visual triangle. But for the green card I followed my stamped pattern and added a droplet onto every stamped element accentuating my stamping.
Have fun stamping!
Supplies:
- STAMPS: Medallion Trio, Fruit Salad, Bloomin’ Cute
- INK: Lovely Lady, Raspberry Fizz, Ripe Avocado, Olive Twist, Versafine Onyx Black Ink
- PAPER: Stamper’s Select White
- OTHER: Fun foam, Be creative tape, Pretty Pink Posh Clear Droplets (Small & Medium), Tonic Deluxe Adhesive, Hero Arts Clear Embossing Powder, Heat Gun, Anti static powder tool
Leave a Reply