

Hi there! I’m excited to be here this month as we gear up for the holidays! Thank you so, so much for the amazing response to my Good Tidings Packaging Kits. If you are a fan of packaging, they are so convenient; and even if you just enjoy making cards, I think you’ll still get quite a few miles out of the kits doing that.

Well, one of the big components of the Main kit is the Tearaway Gift Card Holder die. I love this idea and used to make them all the time from papers in 6×6 paper pads. The tear-off strip makes opening up the gift card such a fun, interactive idea, and I think kids especially enjoy being allowed to rip into things.
The die comes with 2 options: a quick “I have 2 minutes to make this thing” option and a slower “I’ve got some extra time and the excuse to sit and stitch a little bit is one I’ll happily take” option. For those in a hurry, simply cut the envelope out of paper with the die, fold, and tape or glue closed (don’t forget to add your gift card!). It’s so simple and really could not be easier.
I’ll share the quick option first, followed by a couple of videos detailing the more time-consuming way second. I have a tutorial that shows how to cut and assemble the stitched envelope itself, followed up with a second video where I embellish the finished product.

I’ve used all products from the Good Tidings Main and Add-On Trimmings kits, as well as my Paper & Package Essentials: Tags 1 Die Collection.
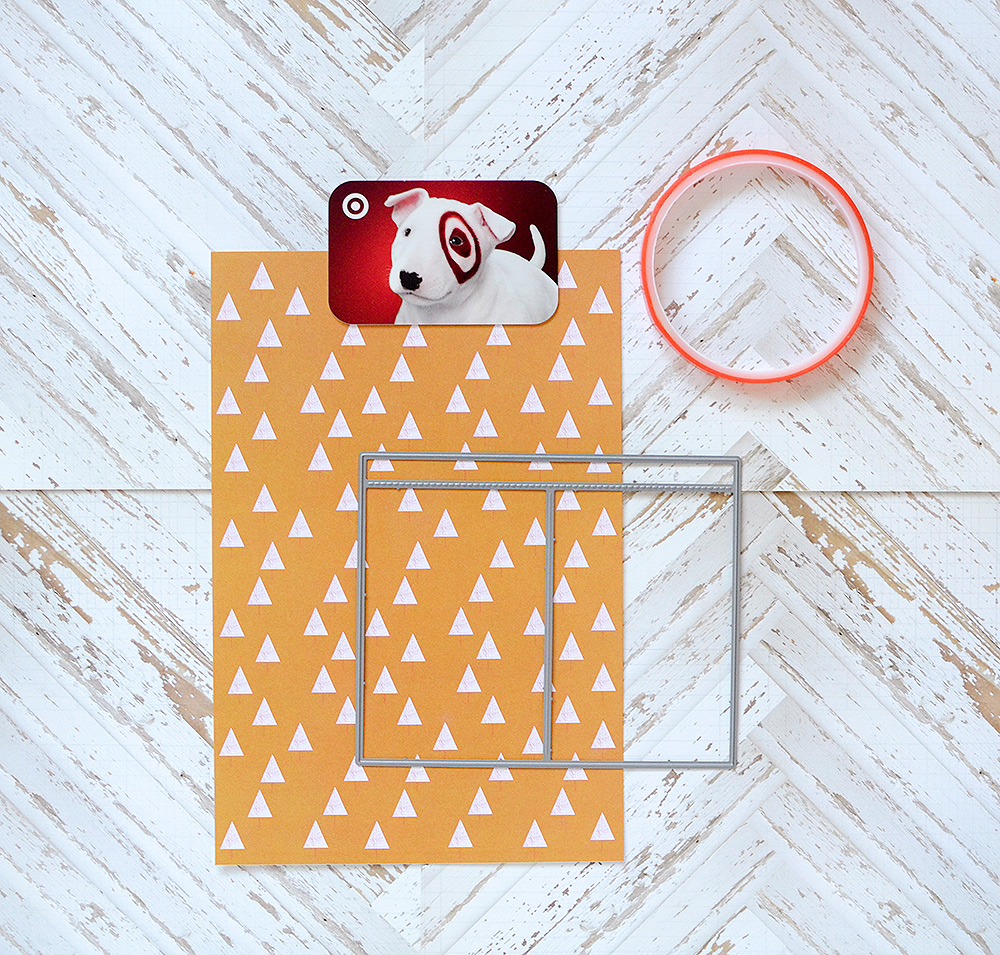
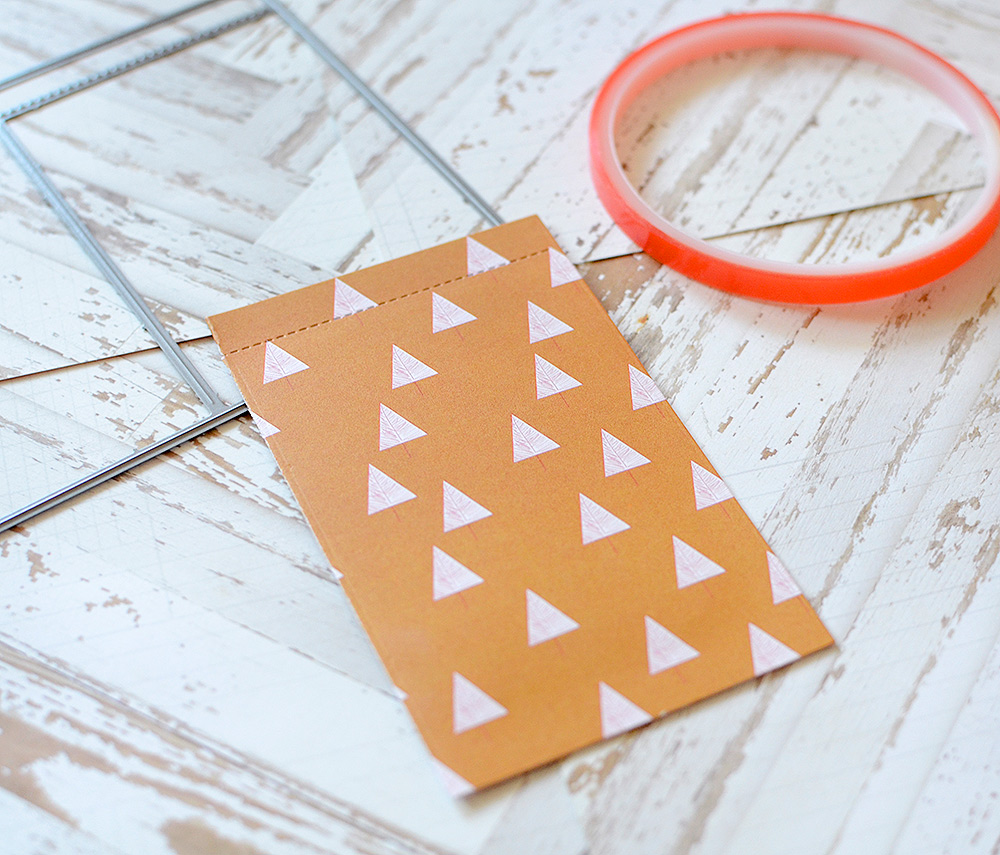
The steps to assemble the simple holder are literally just cut, fold, and adhere the 3 open sides closed. There’s a score line in the center of the cut out so you don’t need any extra tools for this.

I do recommend folding the piece in half first and opening it back up to place your gift card inside. This ensures that you leave enough room for a standard card and its fit isn’t blocked by adhesive. I also recommend using a stronger than normal tape, like Super Sticky Tape, to ensure a good bond.
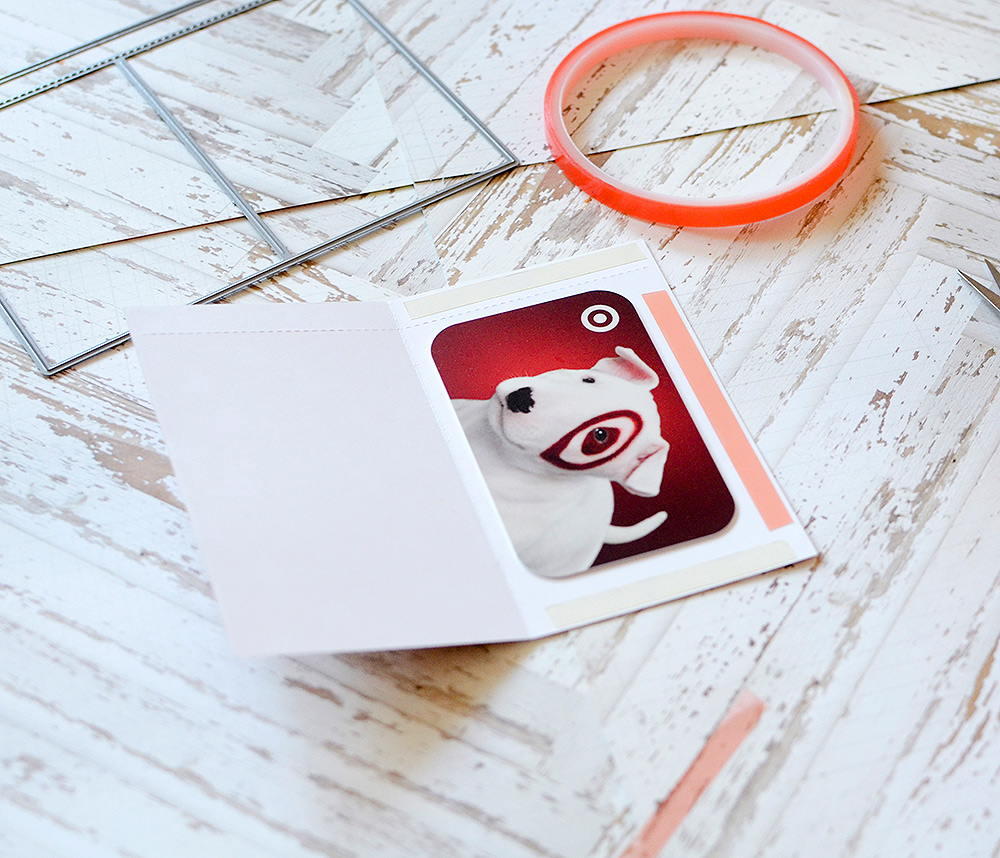
After that, just fold and press firmly so the tape grabs and holds, trapping the card inside.
If you’re in a hurry to make the gift card holder, it’s likely that you probably also won’t have much time to decorate it. So how about a quick way to add a few extra details, even if you’re short on time?
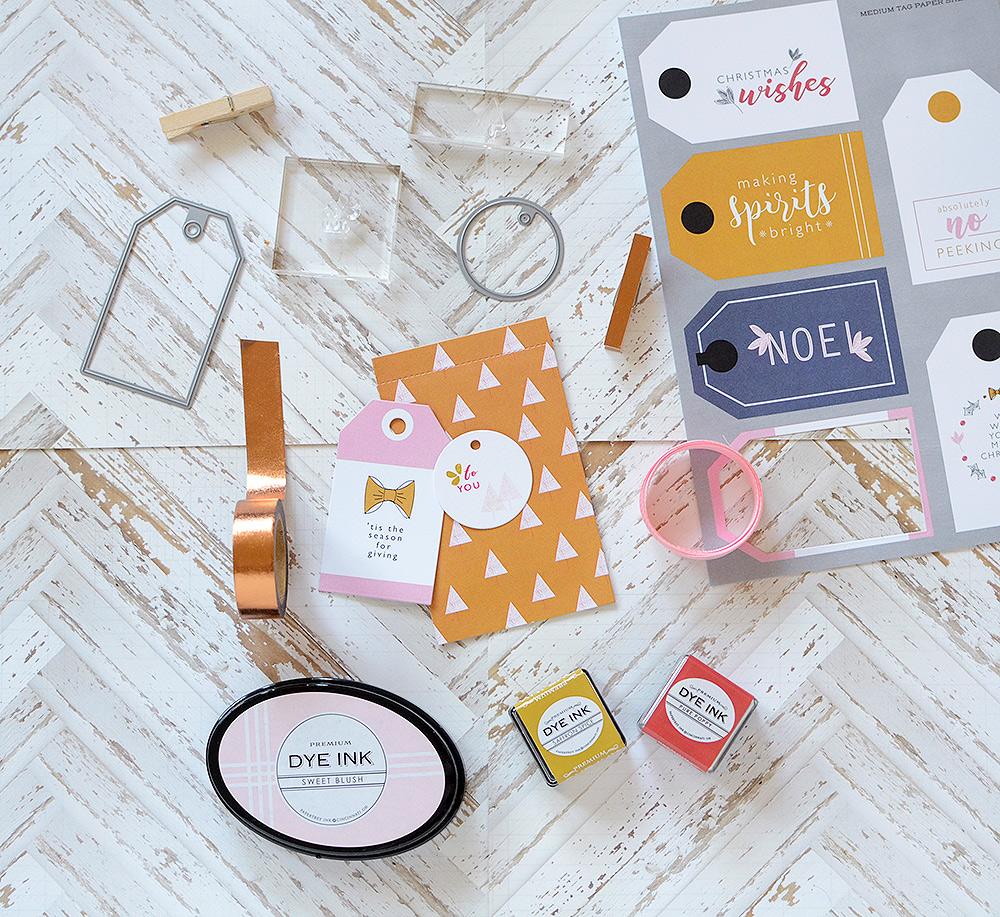
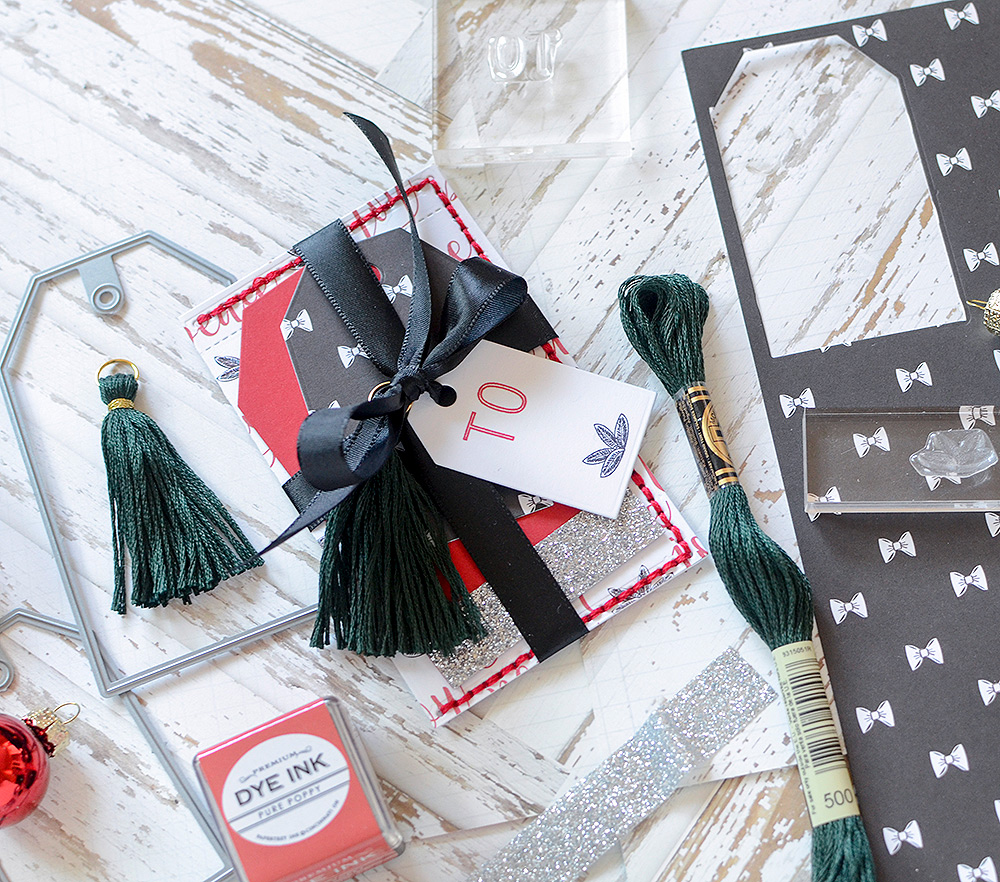
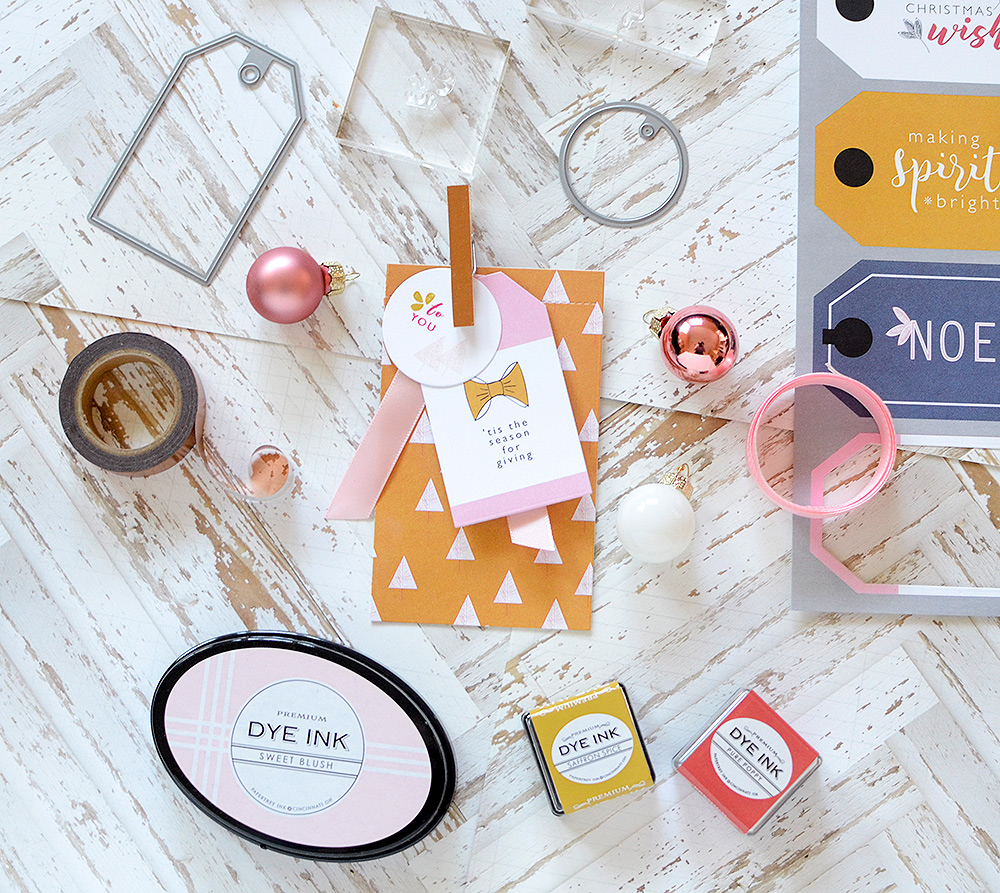
Enter: TAGS! Easy tags! When I received my Good Tidings kit, the first thing I did was to cut out all the tags from the tag sheets with their respective tag die. The tag dies are not part of the kit, due to the fact that I’m hoping to introduce more packaging kits down the line and these are common tag sizes I’ll be using. If you get the P&P Essentials: Tags 1 set now (for only $7!!), you’re set for future kits featuring these sizes.
I chose a medium tag, this pink and white one with the yellow bow, to complement the Saffron Spice paper with Sweet Blush trees I used to make the gift card holder. Next, I cut a circle tag from white tag stock, both of which are included in the Good Tidings Main kit. On the circle tag, I stamped a simple scene with images and a small sentiment from the GT stamp set. When I designed the stamps, I tried to make them multiple sizes, knowing the wide range of packages we all need to wrap up during the holidays, and needing to choose tag sizes accordingly.
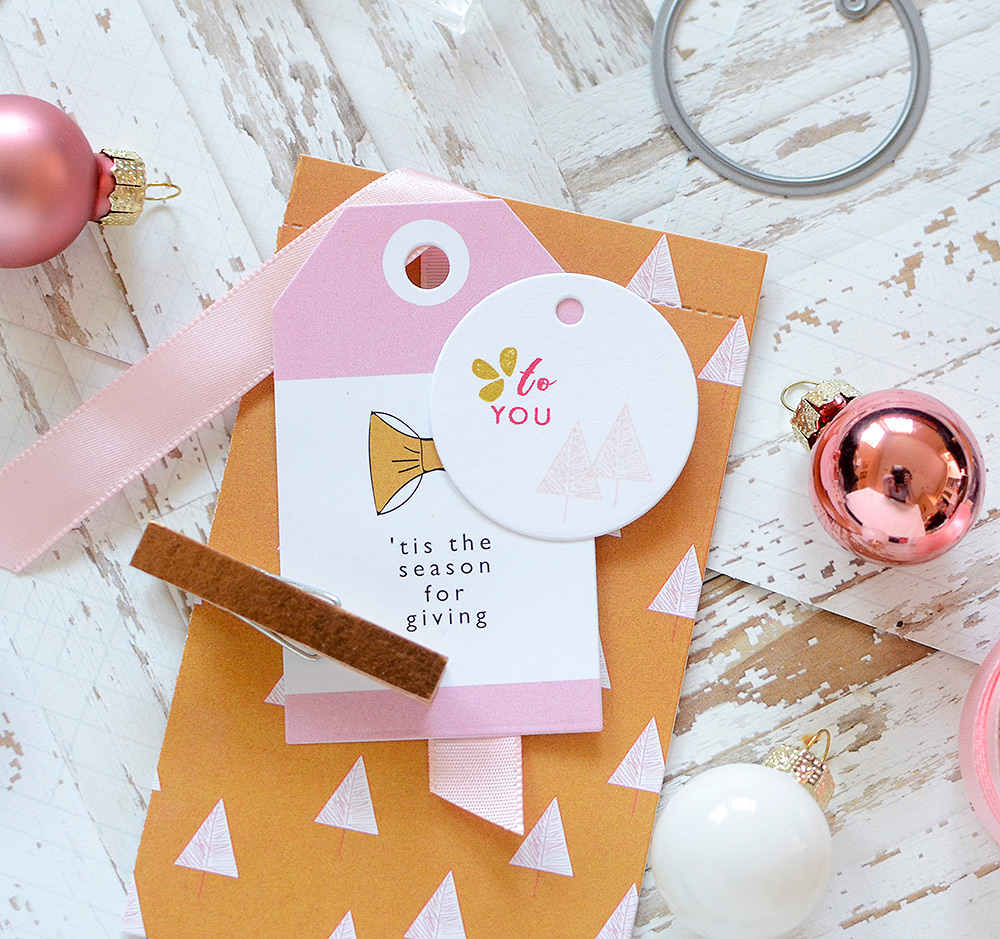
“To you” stamped in Pure Poppy, some little trees in Sweet Blush, and a flourish in Saffron Spice…easy, cute, and coordinating. I think that when things coordinate well, it looks like you spent a lot of time making them, even if you didn’t!
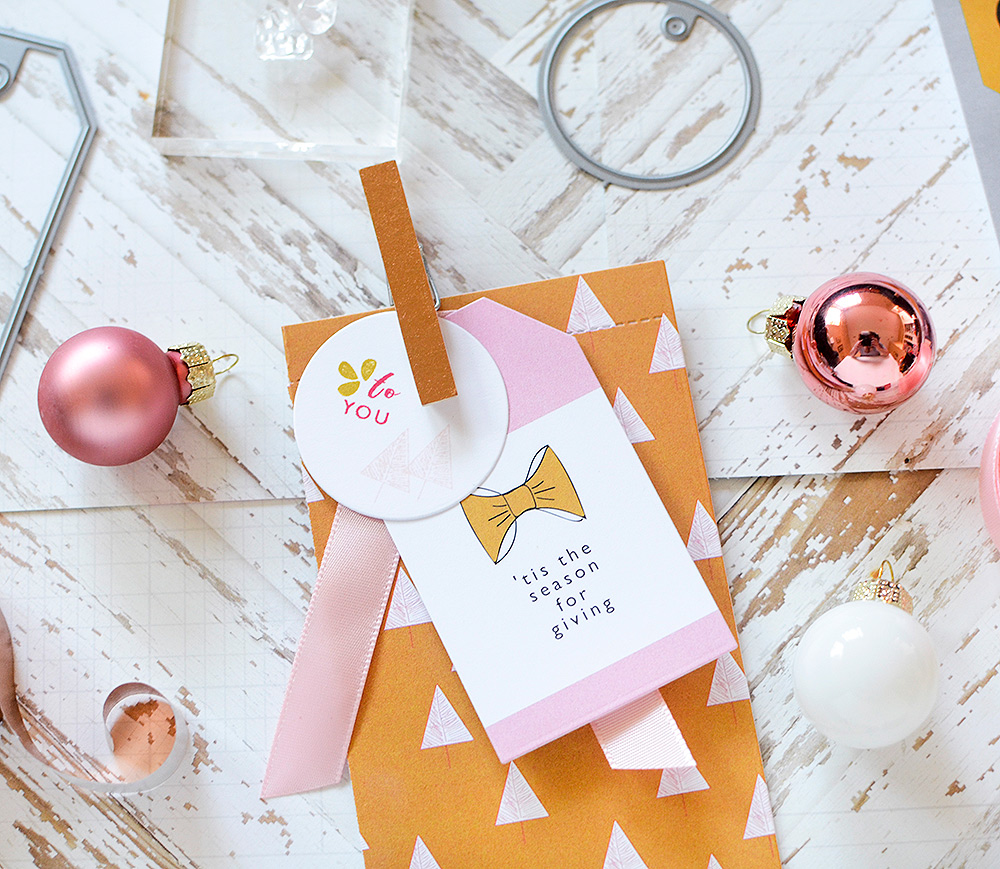
I placed a short length of Sweet Blush Satin ribbon, folded in half, underneath the 2 tags (for texture), and clipped everything in place with a mini wood clothespin. I added some copper foil decorative tape to cover the peg, but that’s an optional step if time is of the essence. The ribbon, tape, and clip are all a part of the Good Tidings Trimmings kit.
With that, the gift card is ready to be delivered, and it probably took me longer to explain here than it did to actually make it!!
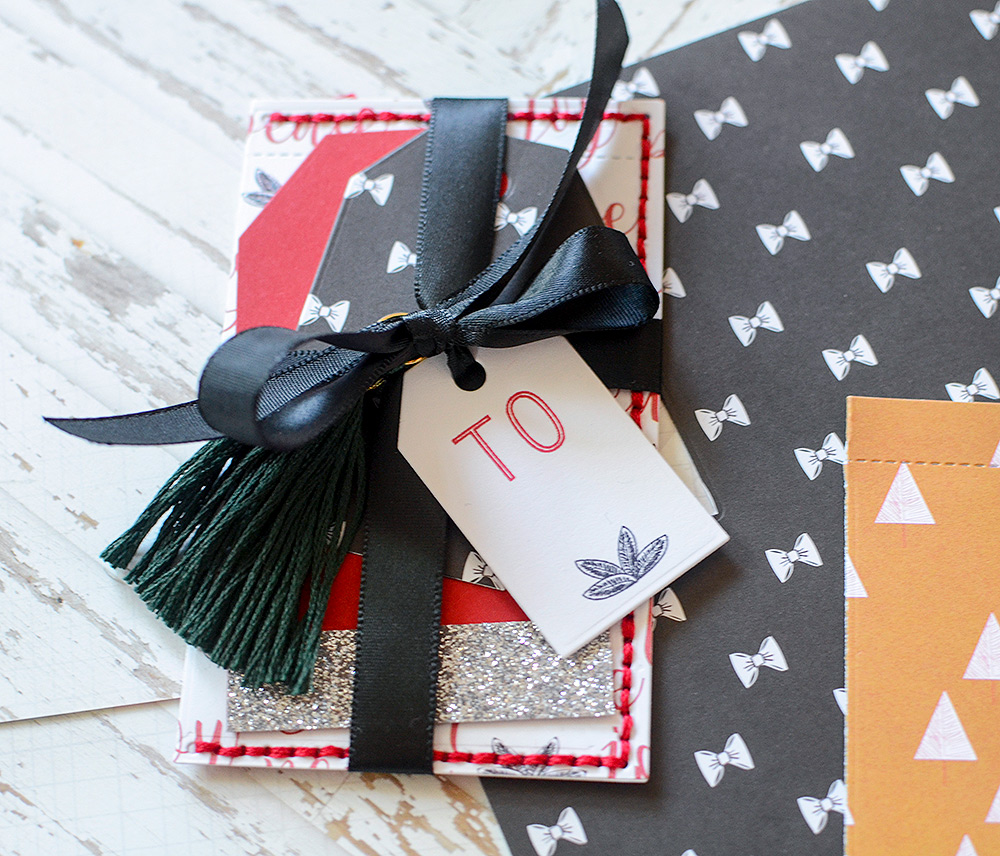
Here’s another example, from my original Good Tidings release post last month:
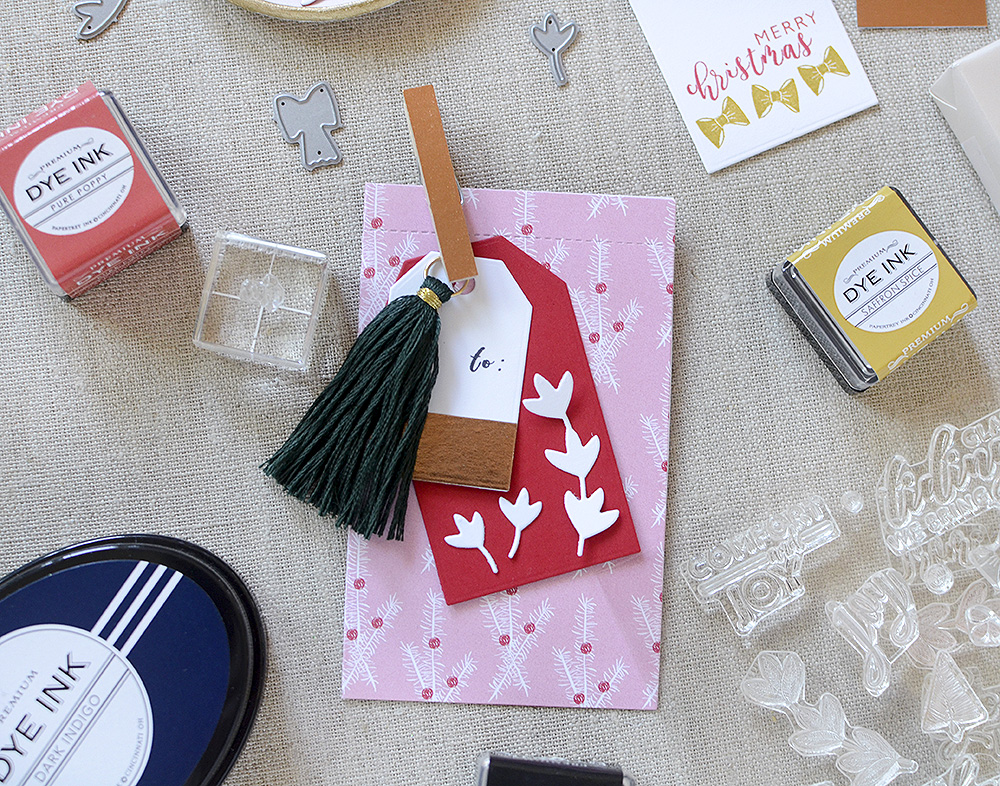
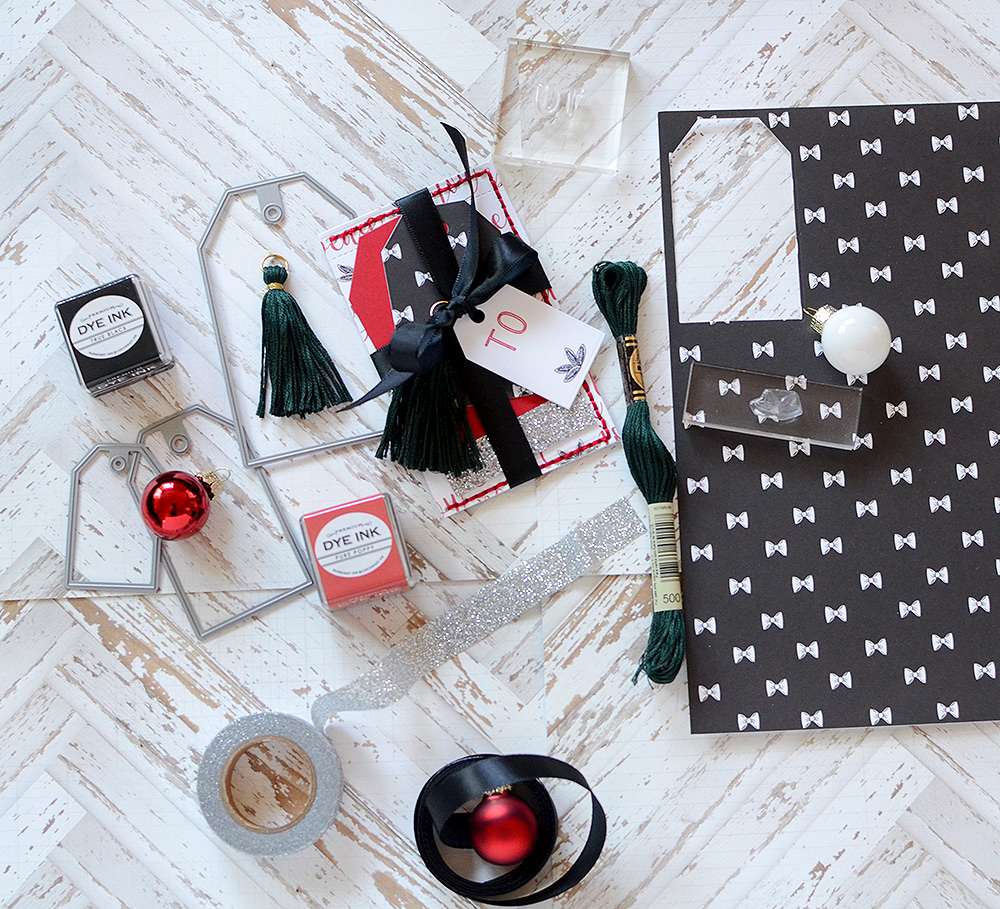
The second gift card holder takes a bit more time and effort, but I believe most of us are Papertrey Ink fans because we love to fuss and putter and take time to make things, even though it takes less effort to give a store-bought card. If that’s the way you feel, too, you might enjoy this option better. A good thing to note is that the gift card holder isn’t just for the holidays…you can use it anytime and for anyone! Perhaps it is a better option to whip up quick holders during the hectic holiday season…but for the odd birthday, stitching is welcome crafty-therapy.


In the following video, I’m taking you through the cutting and assembling of a stitched gift card holder. Have a look:
It wasn’t too bad, right? Because everyone is different–some of us enjoy stitching while others, maybe not so much–I wanted to offer you the choice, which is why the stitching hole dies are separate from the gift card holder die. I realize it’s a couple extra steps but personally, I wanted the choice for myself!
Now for embellishing this version. I went slightly more detailed here, but you can choose to keep it simple like the first one, if you’d rather. I’ve got another video for you, of embellishing in action, and there’s even a surprise embroidery floss tassel tutorial halfway through!
It definitely was more effort, but again, oftentimes, I’ll choose to make the extra effort, especially if it’s for someone special.
Thank you so much for joining me here on the awesome new PTI blog! I love how big and detailed the photos are! I’ll be back next month, but until then, I’ll be sharing several other Good Tidings projects on my personal blog and around social media. There’s a post on my blog right now, that’s all about the DIY label stickers so if you want more Good Tidings, head over there next. Have a happy holiday!


Hi Rebecca, I love your tutorial videos. I didn’t buy the good tidings kit because my thought was, “I have been doing up my wrapping for years and there is nothing new that I already don’t do.” Oops I was wrong. Love this kit and I am off to add it to my next PTI purchase. Thanks for sharing your great ideas. Deborah
That’s an amazing compliment, Deborah! Thank you! I hope you enjoy the kit and get a lot of mileage out of it this year. There’s definitely nothing wrong with incorporating a tried and true style and routine with something a little different. Happy holidays to you!
Wonderful slick and quick way to make tassels….thanks for all the tips – need some for crafting decorations and this has been very helpful. Thanks
Wonderful ideas, Rebecca! I struggle with wrapping presents and making them beautiful. You’ve inspired me and given me quick and simple tips to make my packages unique and pretty! Thanks for the tutorial 🙂
Really beautiful gift card holder cards (love the dies) and packaging tags. I’m always looking for great inspiration for Christmas packaging for gifts. Thanks for the inspiration!